As a puzzle game "Poly Bridge" which bridges a bridge with careful attention to strength and balance
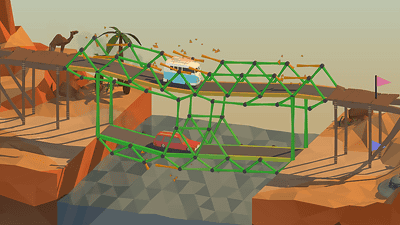
A craft game that achieves a simple purpose of "just bridging to the other side" is "Poly Bridge"is. Of course it is a game so you can not just bridge "bridging", you need to bridge the bridge, a car or a ship so that you can get through, devising various ideas, bridging the strength and balance of the bridge there is. Steam was selling a bit while January 5, so I bought and played it.
Poly Bridge by Dry Cactus
http://polybridge.drycactus.com/
You can see the outline of the game by watching this notice image.
Poly Bridge - Early Access Trailer - YouTube
Two cars crossing a two-story bridge.
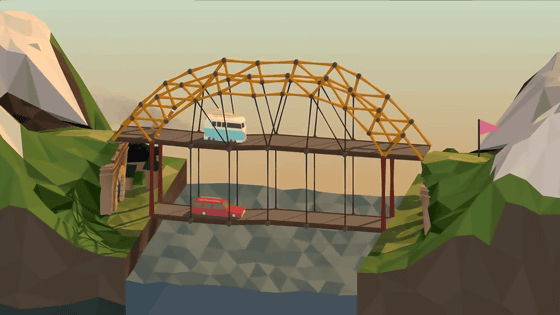
The next moment the bridge collapses.
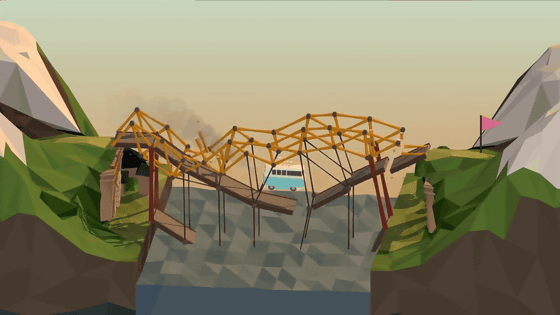
This bridge has never been seen ... ....
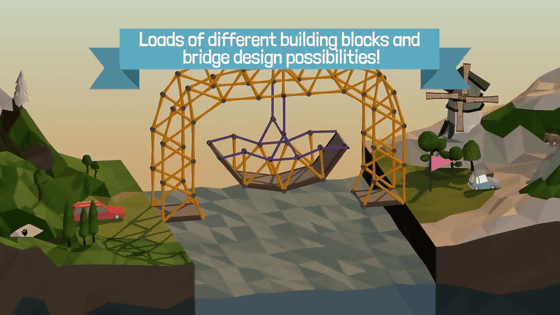
Suspension bridge that is likely to be in reality
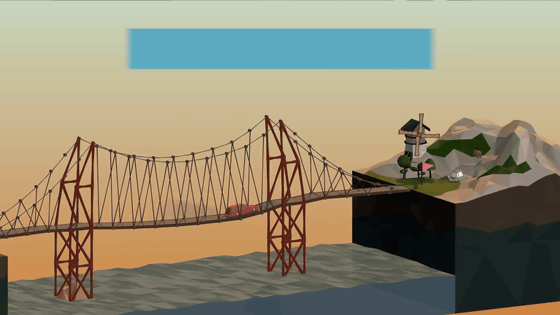
Two cars aiming at passing each other and jumping

Car over the balloon

In other words, strictly speaking, in a game "to move the prescribed vehicle to the target point", it is not necessary to cross the bridge over the bridge, but it is OK even if you jump like a jump table. However, since the weights etc. on the parts of the bridge are calculated firmly, the bridge will fall if an excessive burden is applied.
◆Purchase & install with Steam
Poly Bridge is sold on the game platform "Steam", so you need to purchase it and download and install it. People who can progress forward to installation will skip to "◆ How to play".
Steam: Poly Bridge
http://store.steampowered.com/app/367450/

First, click "Add to Cart" in the middle of the page above. The usual price is 1180 yen, but during winter sale it is 144 yen, 20% off.

Since I entered the cart, click "Buy for me".

Please check the agreement to the terms of service and click "Purchase".

Purchase is now complete. Click "Install Game" and do it all at once.

Click "Next"

This will download and install. Click "Finish".

After that, select "Poly Bridge" from Steam's library and click "play" OK. If you are creating shortcuts you can also boot from there.

◆how to play
The tutorial starts at the first start. I think that the uncle taught us to take a step forward, and it is quite a body type. I will proceed with the feeling that "try making it for the time being."

The gray screen with this background is the editing screen. From the left side of the screen to the right side, build a bridge to let the target cross. First of all, basically it starts with connecting red and red circles with "Road". After clicking the start point, click on the end point and installation will be done. At this time, a guide to how far the parts will reach will be displayed. It can also be installed at an angle.

Since it's the first stage, we only connect by road. Simulation of how it will happen if you cross the installed bridge will be played when clicking "Start Simulation" at the top right of the screen or pressing the space key.

In this stage, OK if the motorcycle grandfather reaches the flag of the opposite shore.

The bike was light, so it was OK only on the road, but as the car crossed a similar bridge the bridge fell down due to overweight.

In such a case it is necessary to reinforce with trees.

In this way we were able to support the weight of one car.

Even if the bridge gets longer, it is not necessarily the terrain that can be supported underneath. In such a case, you can use joints to join parts together and support them. This bridge with a support like a combination of trianglesWarren Truss BridgeIt is called the railway bridge and the structure which is actually used in the road bridge. As Toshi advises as "Triangles are you friend!", It becomes a point to disperse the weight of one point by making a triangle well.

Also you can also make a bridge with cable.

Depending on the stage, the ship may cross the bridge before the car passes. At this time, if the ship collides, the bridge will be broken, so you need to double-click the joint to change to a split joint, make a bounce-up bridge and avoid the ship.

An example, this is like this. The green is the split joint, and the purple line with the arrow connected to the left and right obliquely above from it is the part which stretches by water pressure. It operates once before and after the ship goes through.

However, if it is a bounce up of the letter of "Ha" ... ...

The ship will hit and the bridge will be broken.

In this way, if the shape becomes "||", the ship can go smoothly.

The two bridges are composed exactly the same parts, just changing the size of the triangular part with the telescopic parts attached. Even this alone will cause big differences, so if you do not do it you will have to refine it finely by simulating it over and over again. At first it seems easy, but as the stage of "just making bilaterally symmetrical bridges is no good" comes out quickly, it repeats trial and error anyway.

If this is the case, you might get the impression that "Why do not you put in parts and create strength bugs?", But actually you will see the budget and the cost currently in use at the top of the screen . In other words, it is necessary to target the bridge level according to the budget.

On the edit screen, the parts menu opens by clicking in the mouse or simultaneous left / right click.

There are times when the number of "roads" is fixed. In that case, it is essential to install in the shortest distance, and instead you need to make various ingenuity to the bridge.

"Tree" is an infinitely usable part. In addition, the length of the part at the time of installation is freely determined, the shorter the budget rises cheaply.

"Redo" can return the procedure one.

"Clear" will rebuild the bridge from 1.

In addition, you can "delete" "copy" "cut" by holding down the Ctrl key and selecting joints and parts. Also, pressing the Shift key will move the joint within the range you can move. When I say "I wanted to take it a bit more, but my hands slipped", it is possible to change quickly by using this shift key shift instead of deleting it.
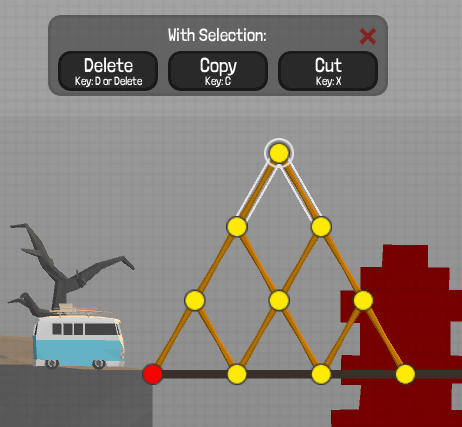
Since the tutorial is usually done at the stage, there is no switching "to end the tutorial, real battle here", and when you noticed, there was no way the uncle will advise you. To see how far you are going, click the "Exit to Map" menu in the upper left of the screen.

The map will be displayed. There are multiple stages for each world, and the landscape around the bridge is based on this world. The position of the motorcycle is the stage currently being challenged, but since it does not mean "I can not proceed next without clearing", it is also possible to capture the previous stage from this map.

Click "Exit Main Menu" in the upper left corner of this screen to return to the title screen. We start from this title screen at the beginning of the game after the first time. Although the clearing status of the stage is saved, the state in the middle of clearing is not saved, so please use the save function when interrupting.

Rules are simple, but only games with many points to devise, in the official replay gallery, things that are amazing that "such a bridge is!?" Are also made public. In addition, some are not campaign mode, but some use a sandbox function that allows you to freely create a stage.
User Submitted Replay Gallery
http://gallery.drycactus.com/
The stage where two jumping bases are continuous.
http://gallery.drycactus.com/image/popup?id=79854

Even if the bridge breaks it will be OK.
http://gallery.drycactus.com/image/popup?id=79813

A scaffold hung on a balloon.
http://gallery.drycactus.com/image/popup?id=79694

A beautiful bridge that supports heavy tracks.
http://gallery.drycactus.com/image/popup?id=79539

In addition, when it can not be cleared in campaign mode, there are some people who publish the strategy method when you search stage names on YouTube. However, it is one of my pleasures to find a solution rather than a single solution, and to fail to find answers. It is not a game not to proceed to the next stage unless you clear it, so please try slowly when there is time.
Related Posts:
