"Surface Book" proved to be the most difficult level for disassembly / repair
Microsoft's first notebook PC "Surface Book"ofRelease in JapanIt was the beginning of 2016, but in the United States it was sold on October 26, 2015. Such Surface Book will be opened to the public by disassembling various terminals such as PCs and smart phones so that internal configuration and repair information will be releasedIFixit"Has decomposed apart at once.
Microsoft Surface Book Teardown - iFixit
https://www.ifixit.com/Teardown/Microsoft+Surface+Book+Teardown/51972
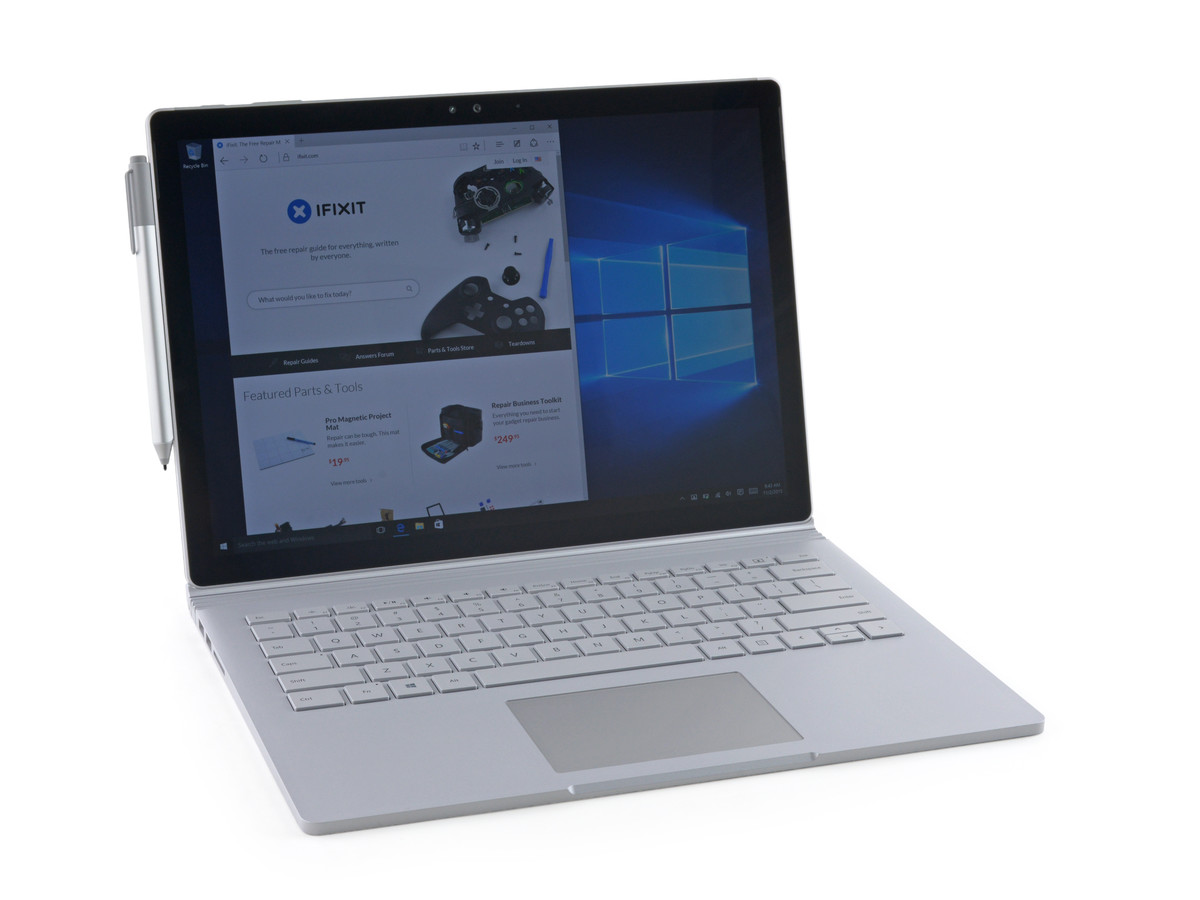
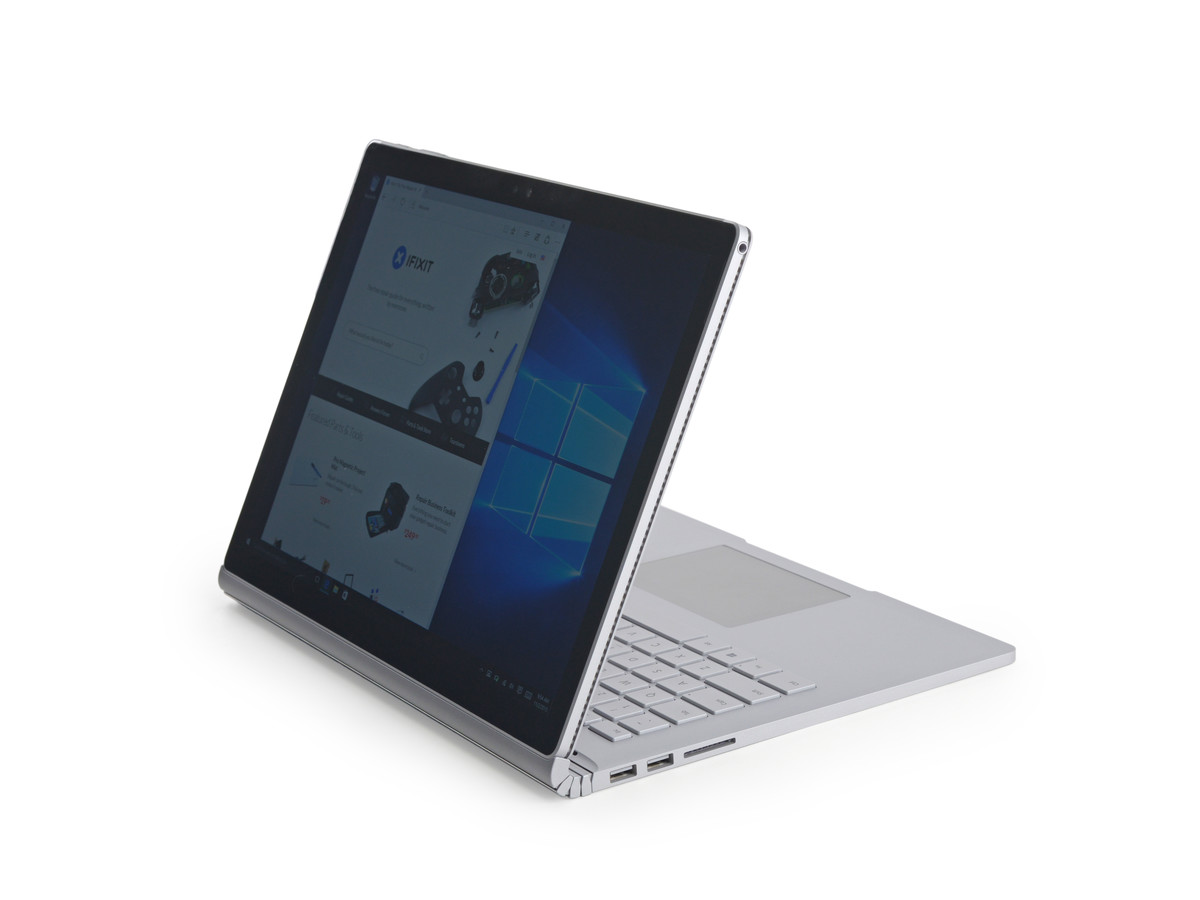
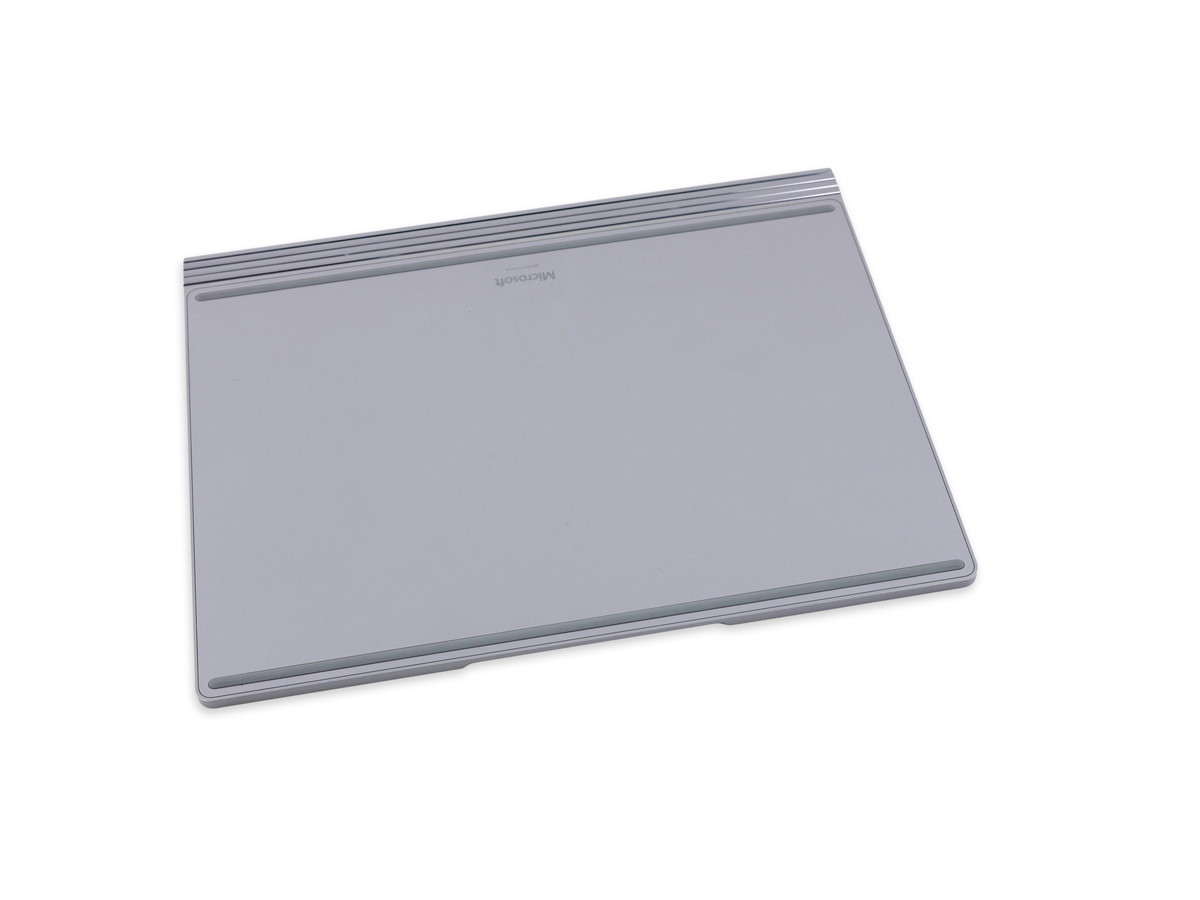
This is Microsoft 's first notebook PC "Surface Book".
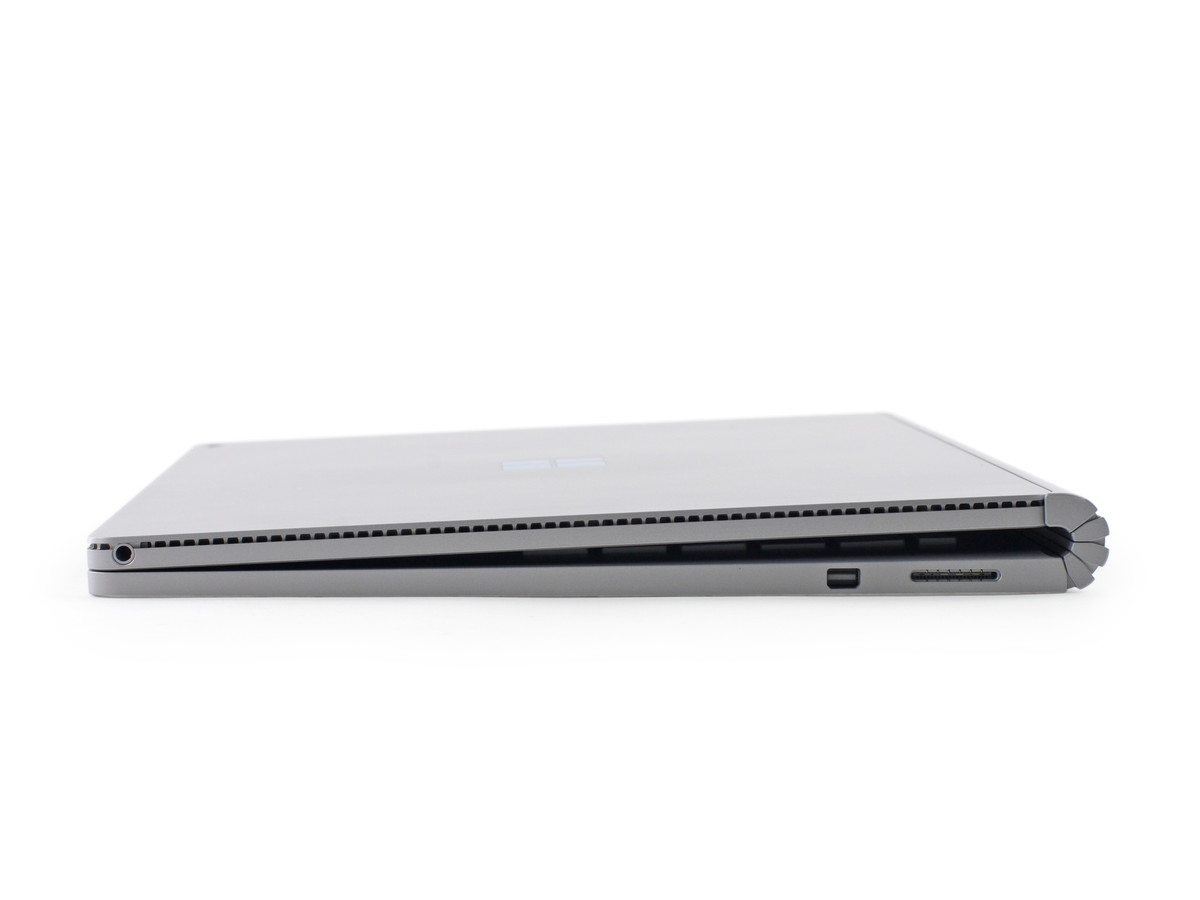
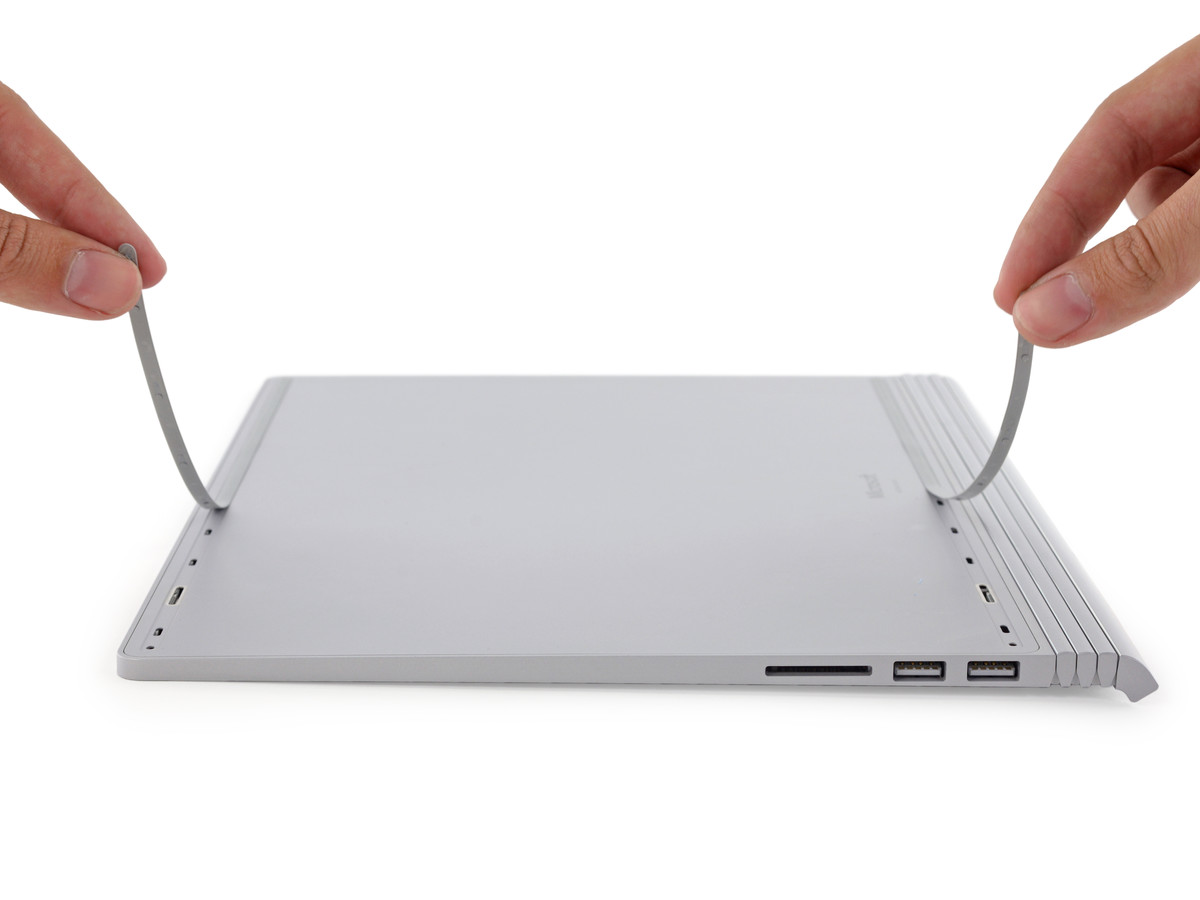
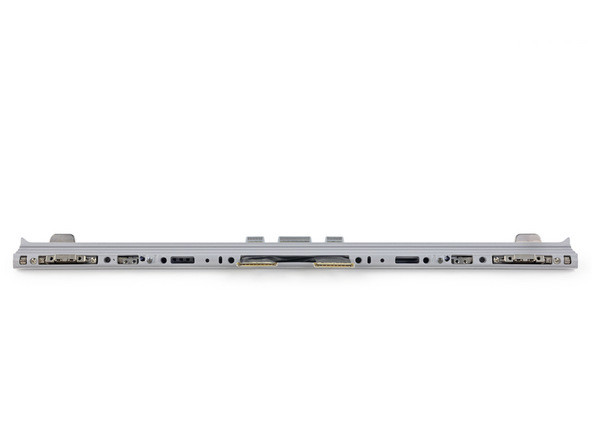
From the side view, you can see a little space around the hinges even when it is completely closed. Earphone jack and Mini DisplayPort on the right side.
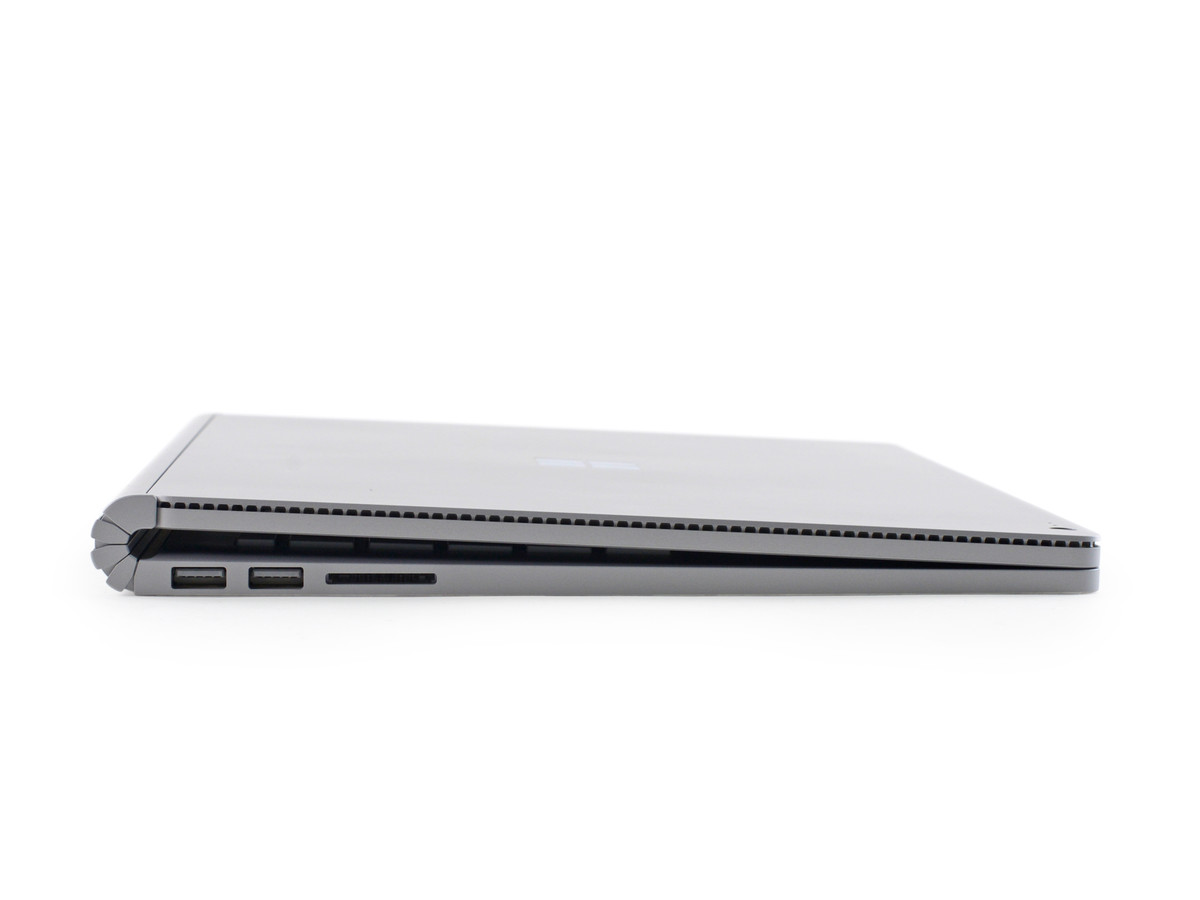
On the left side are two USB 3.0 ports and an SD card slot.
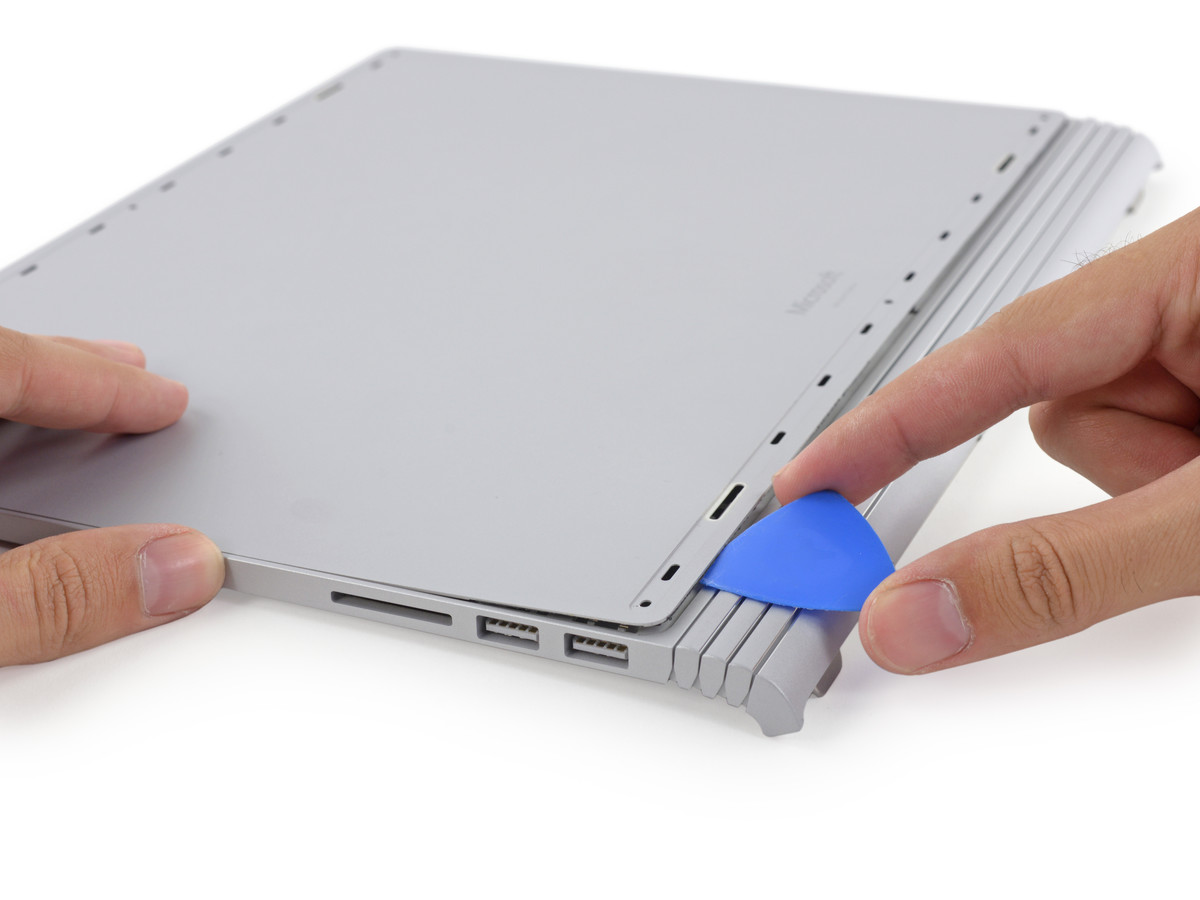
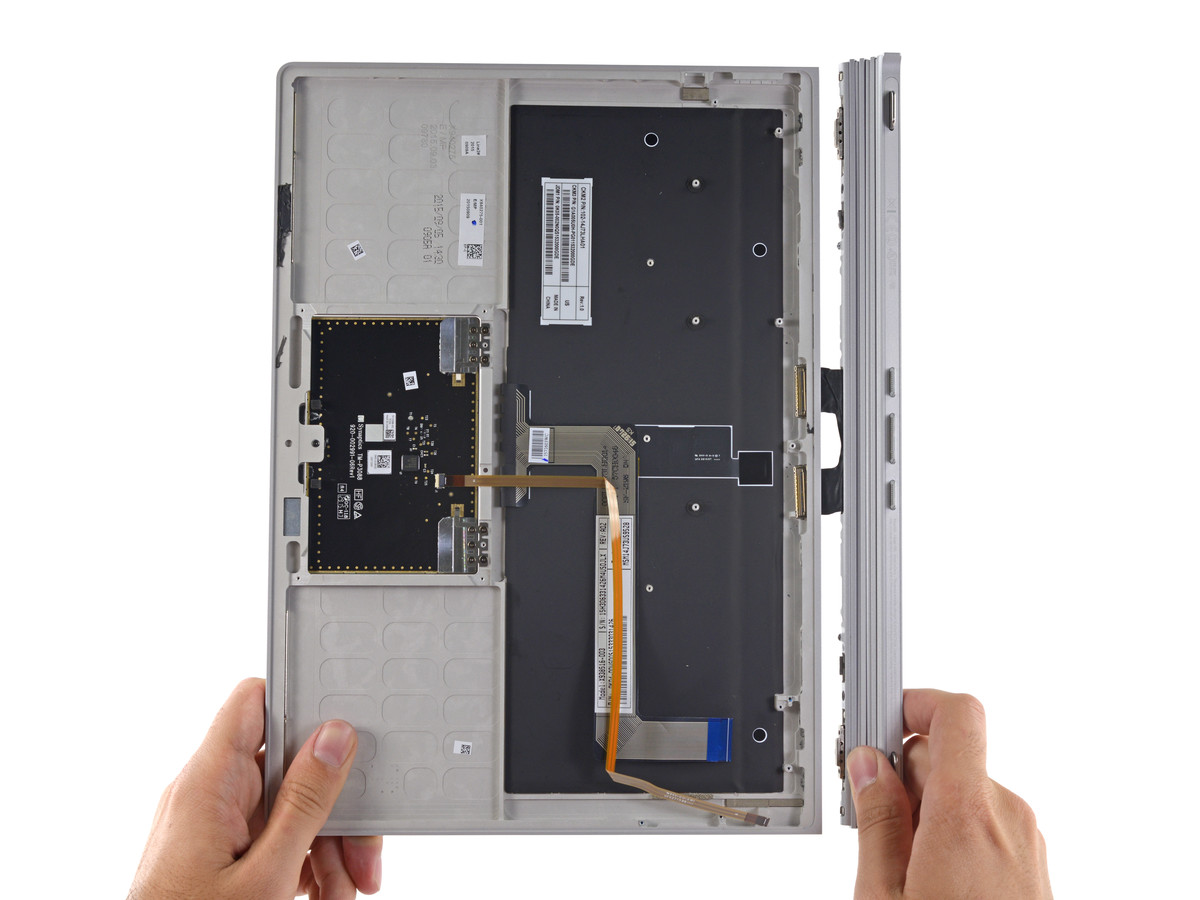
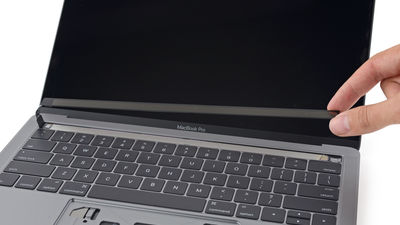
You can separate the display and keyboard by waiting for a couple of seconds by pressing the dedicated key, this removal is very smooth. However, since the battery is built in the keyboard part of the base, separating the display will reduce the battery.
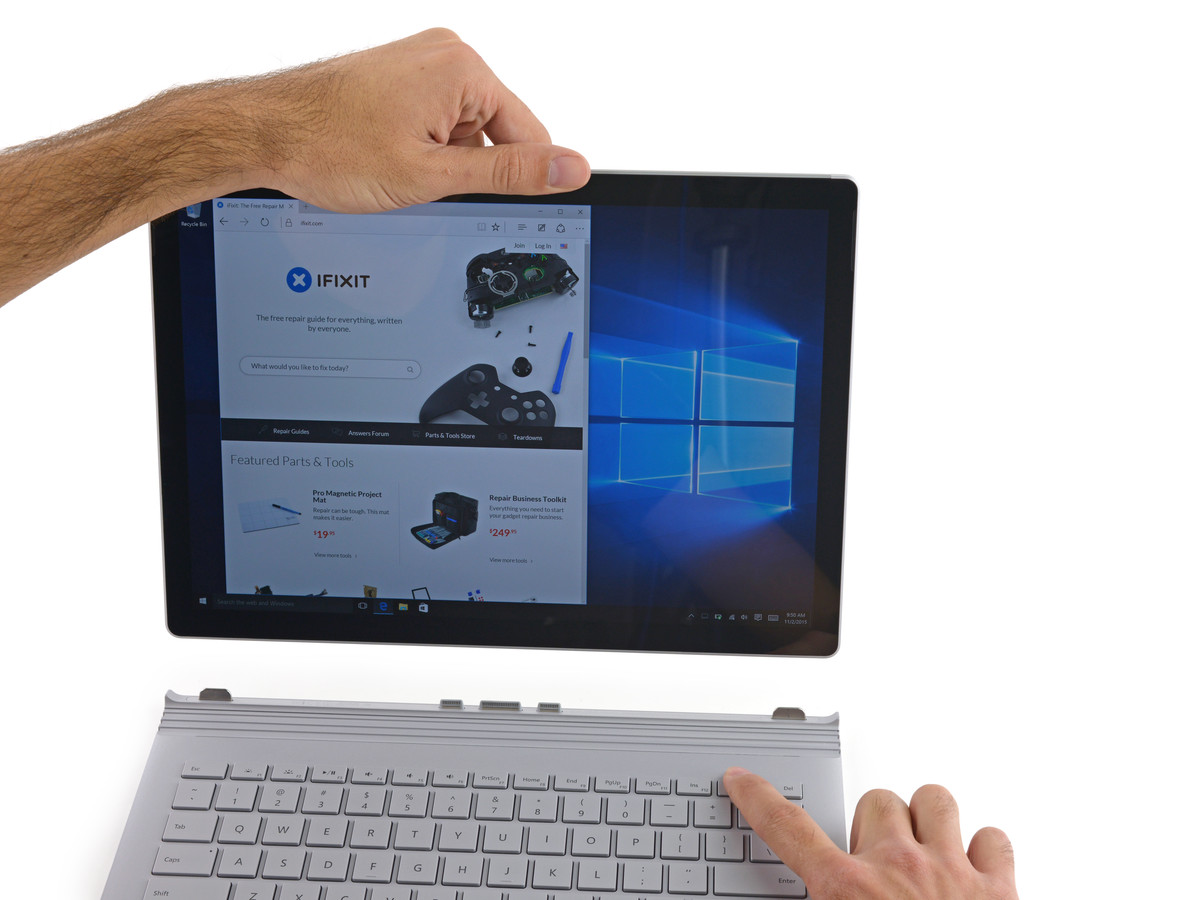
It is also possible to stick a display outward to the keyboard like this.
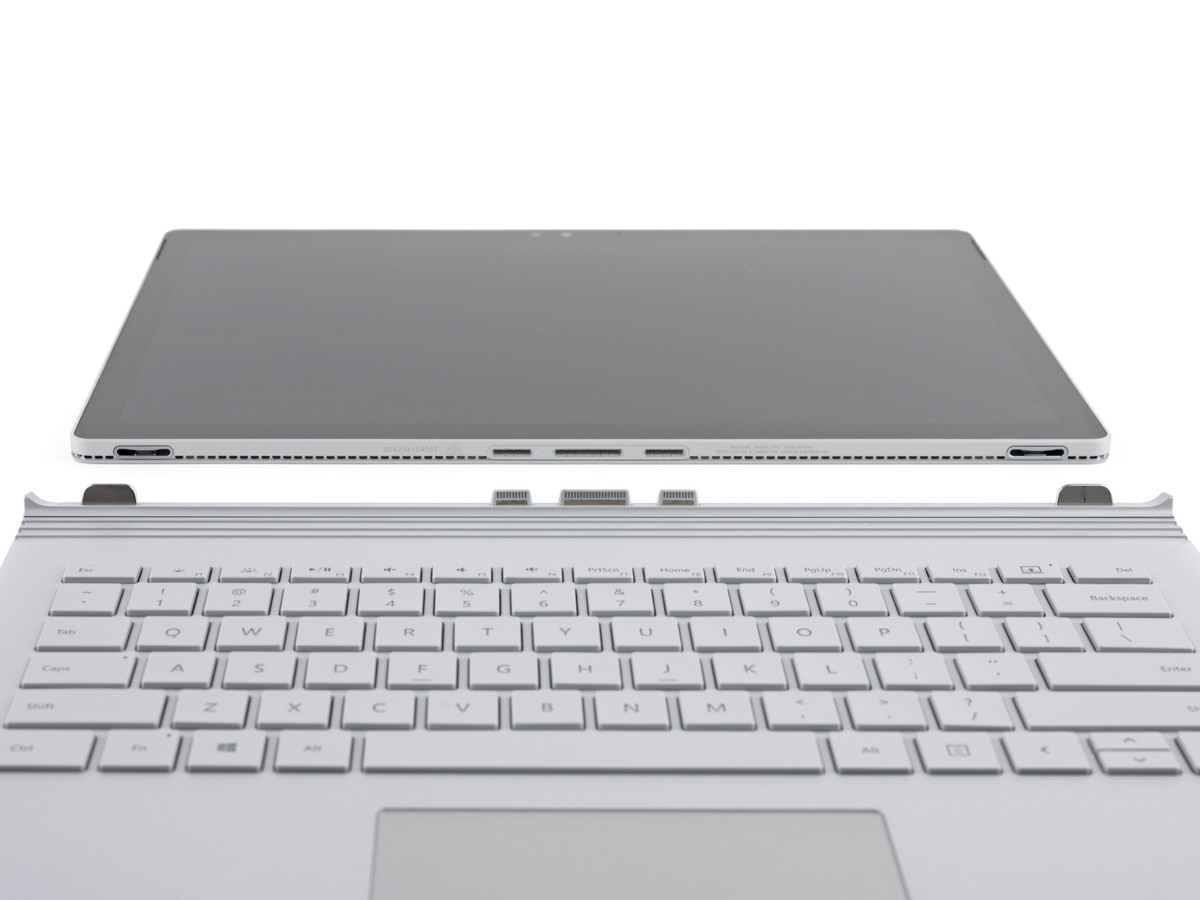
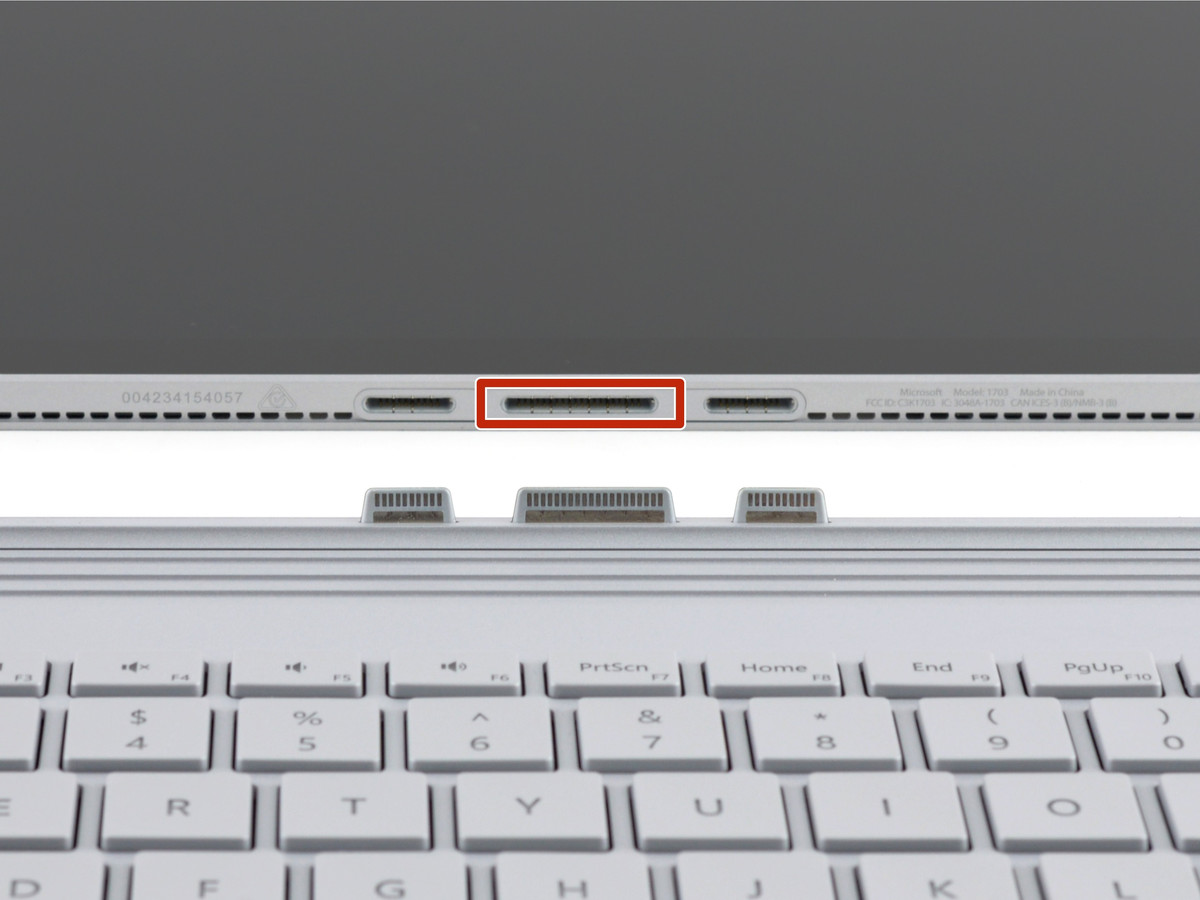
The connection between the display and the keyboard looks like this.
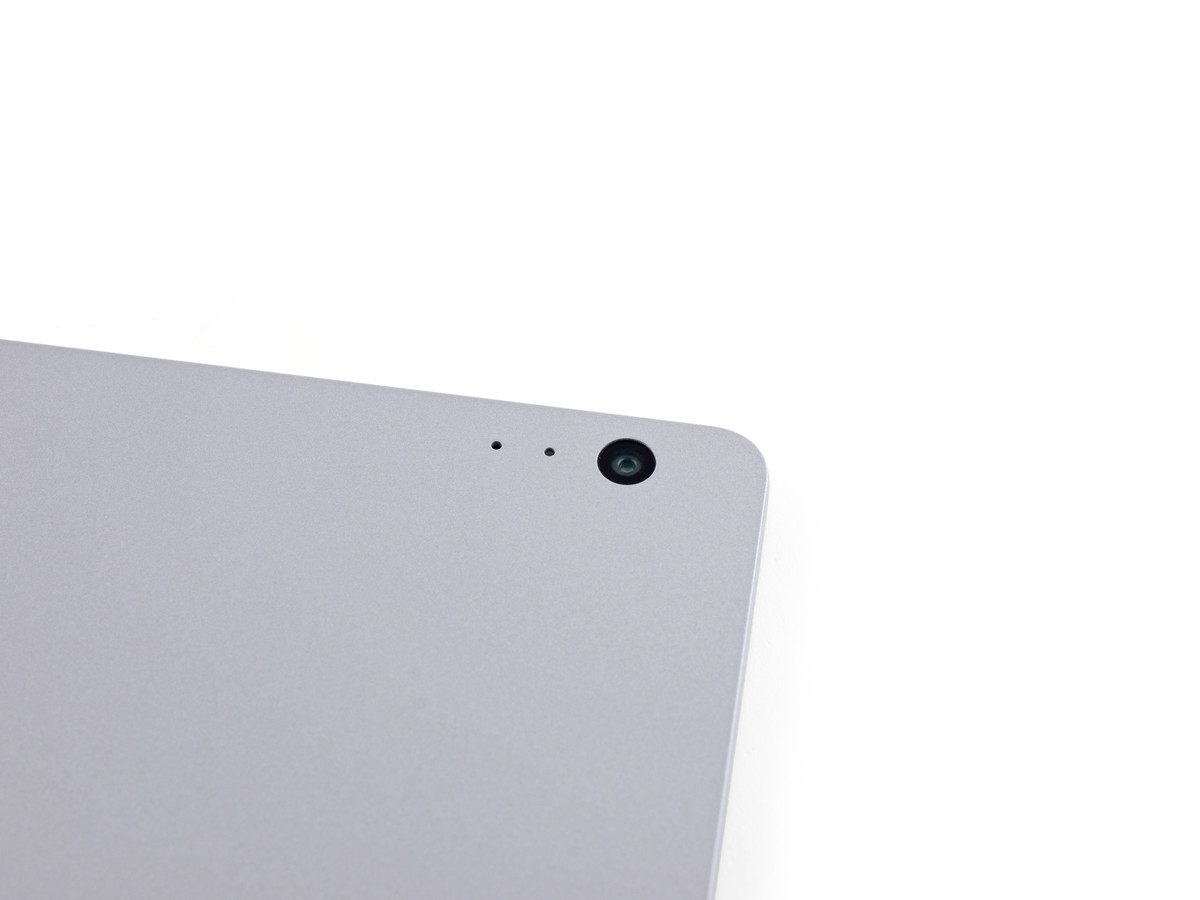
In-camera etc. at the top of the displayOf Surface Pro 4Almost like. The in camera has 5 megapixels, and the infrared camera and the illuminance sensor are lined up.

The rear camera is 8 megapixel.
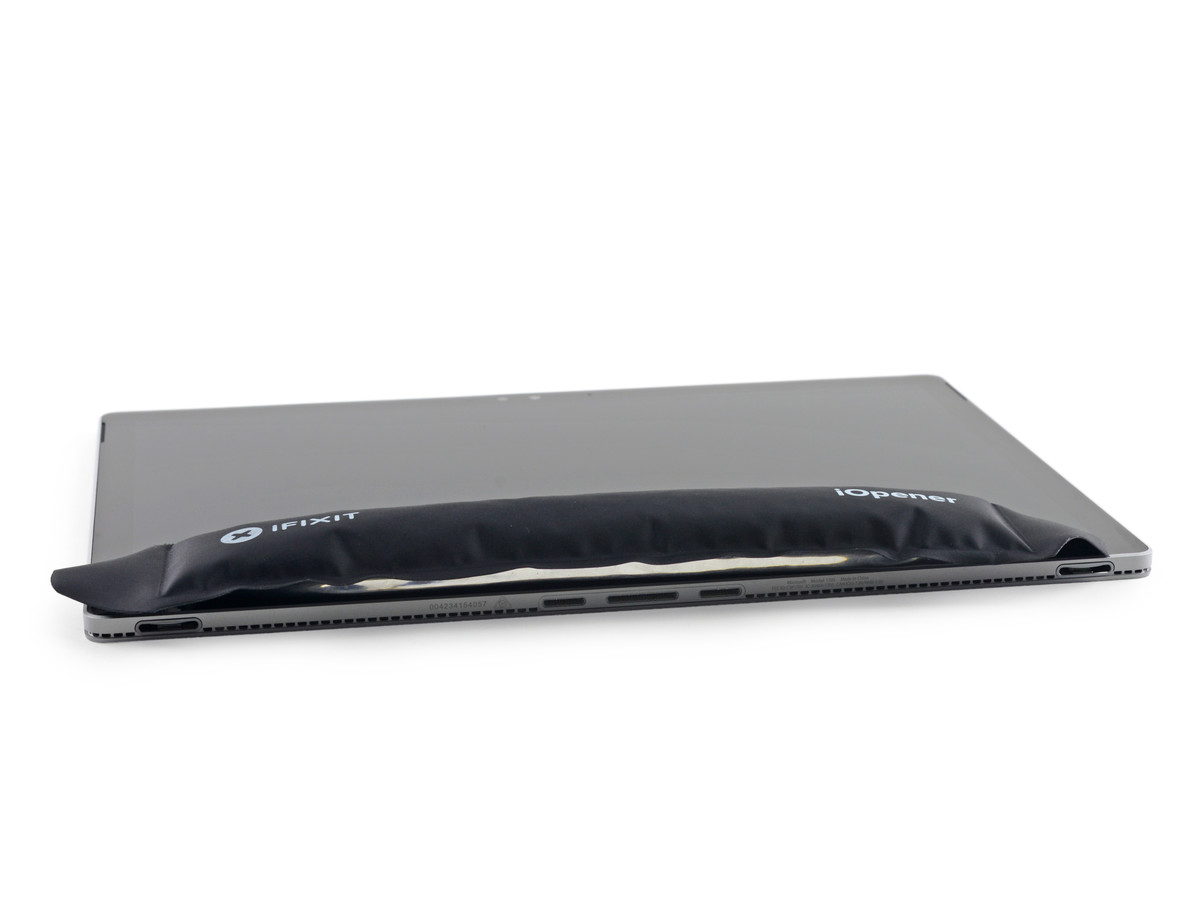
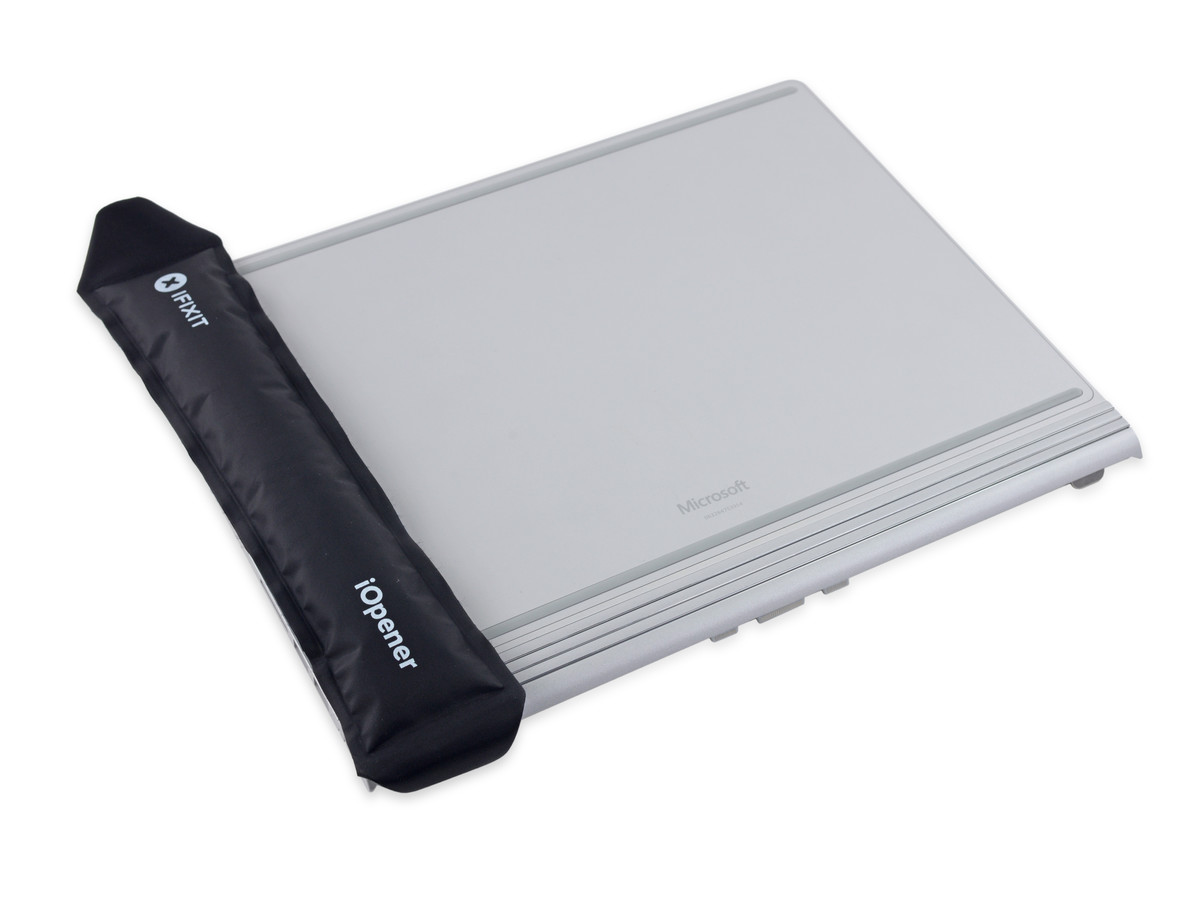
Started disassembling from here starting where you scratched the appearance. First of all it seems to disassemble only the display part by removing the keyboard part. Heat the bottom of the display with iOpener ......
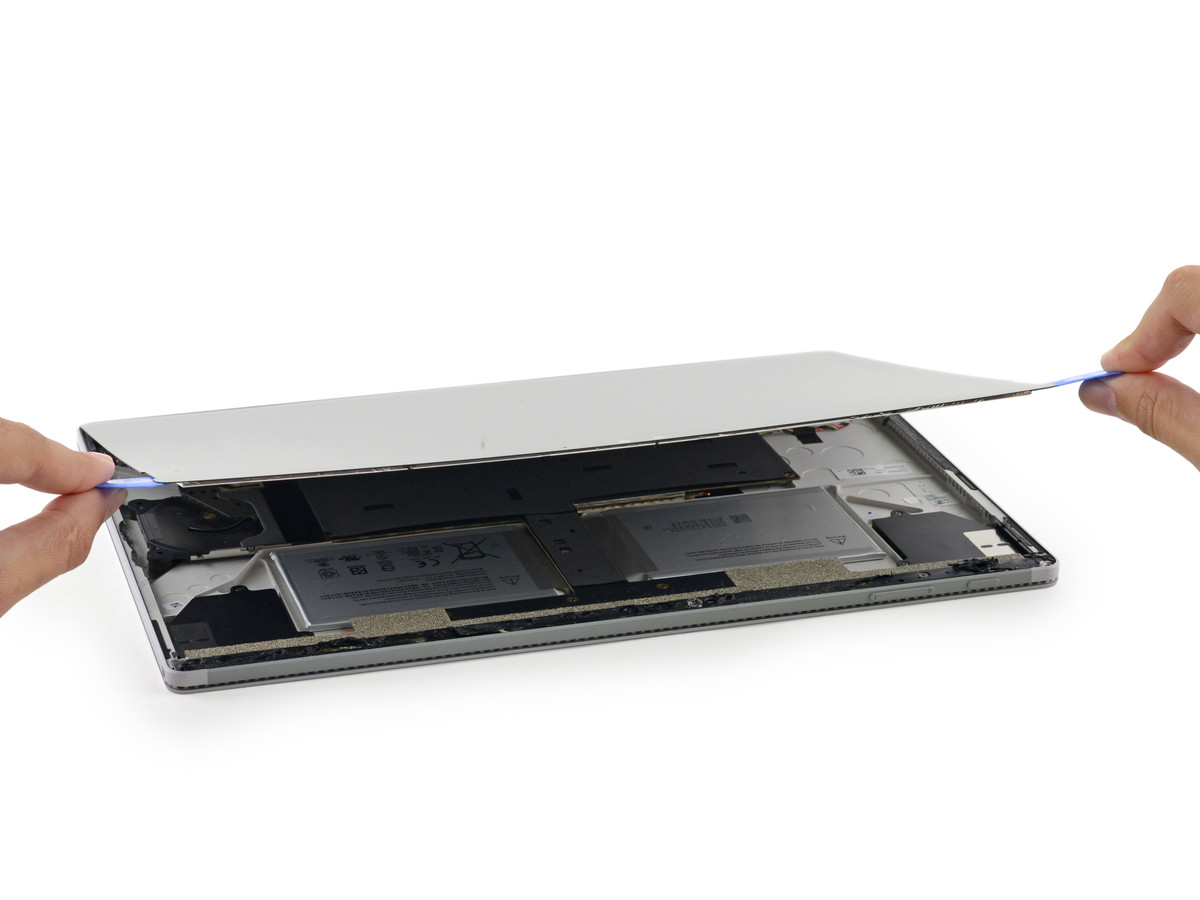
Paccari. The thickness of the cover glass of the display is 0.4 mm, it is said to be the same thickness as that of Surface Pro 4.
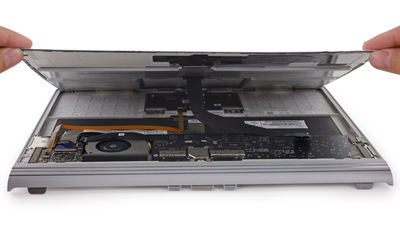
Remove the two cables connecting the display and the motherboard ......
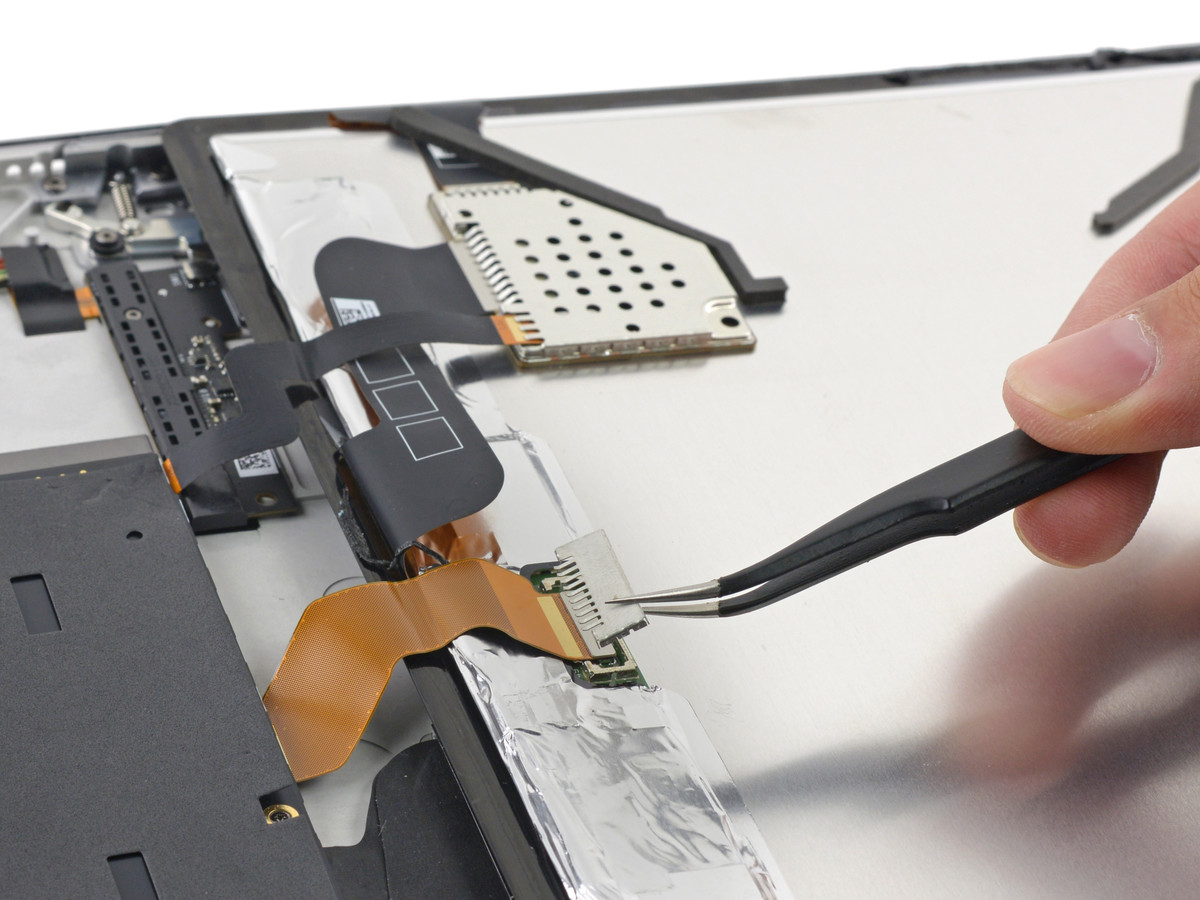
You can separate display and housing.

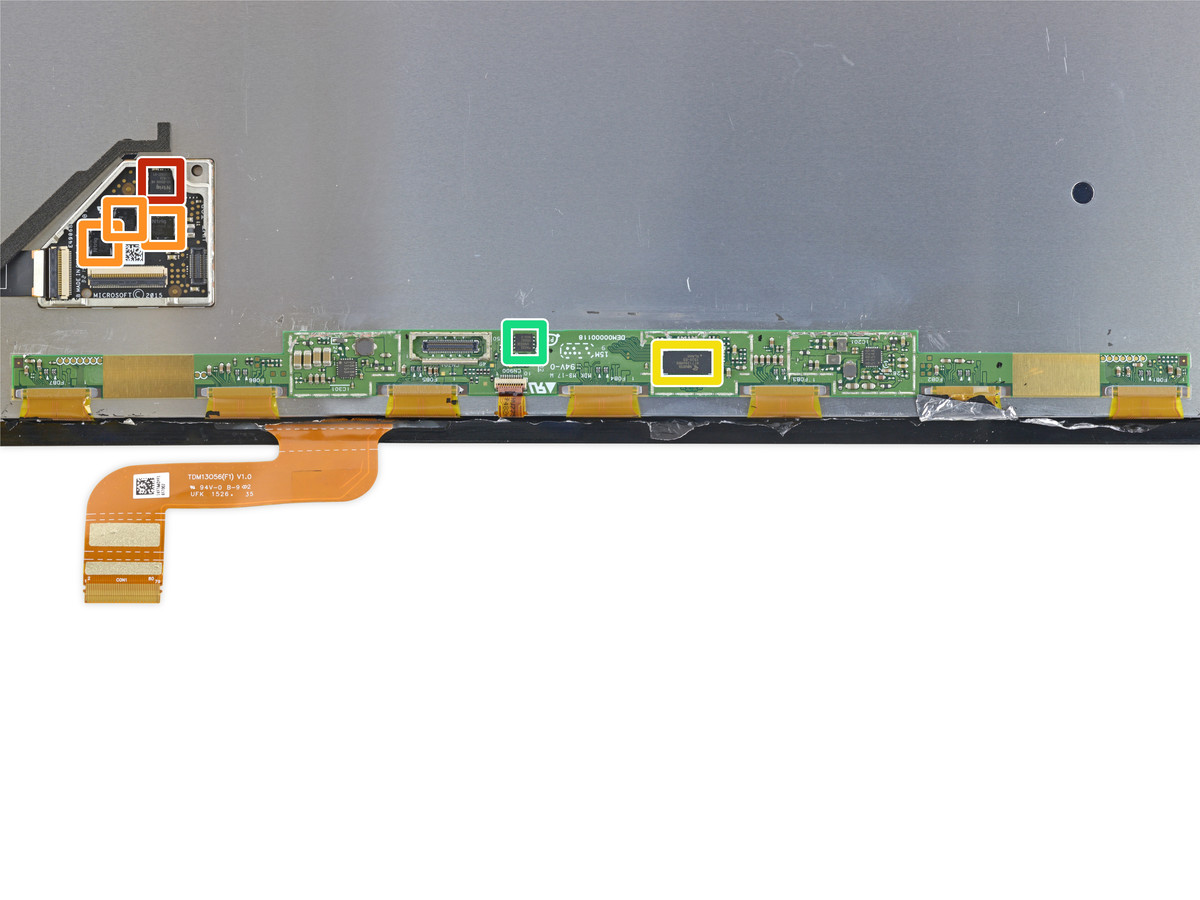
The separated display side is Kore. Some chips at the bottom.
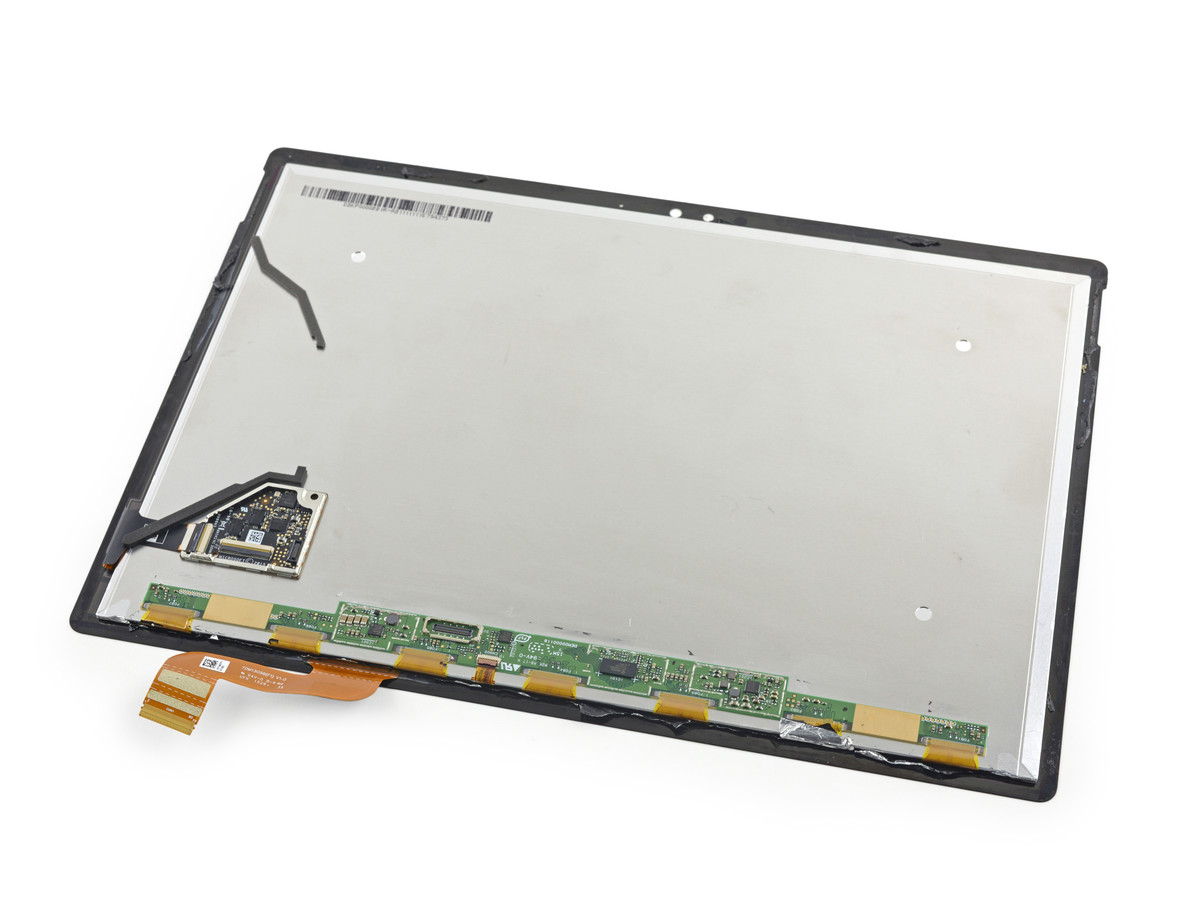
"N - trig DS - D 5000 A 0" in the red frame part, "N - trig DS - A 5048 B 2" in the orange frame part, "Novatek NT 71394 MBG 1520 - ED KLNAH" in the yellow frame part, Macronix flash memory " (PDF file)MX25U4033E".
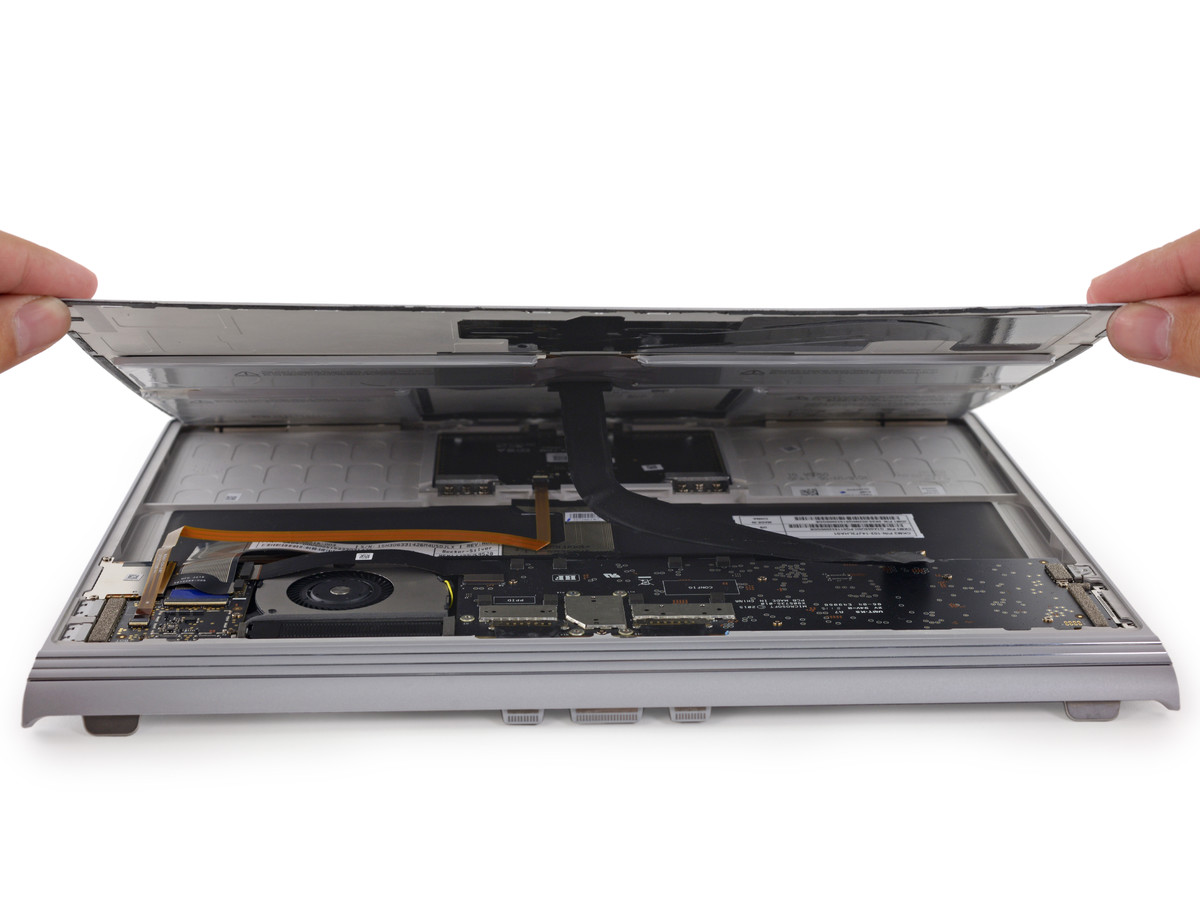
You can see that there is a motherboard underneath it by turning over a thin black sheet of the housing part. However, the motherboard is installed in the opposite direction from the normal side.
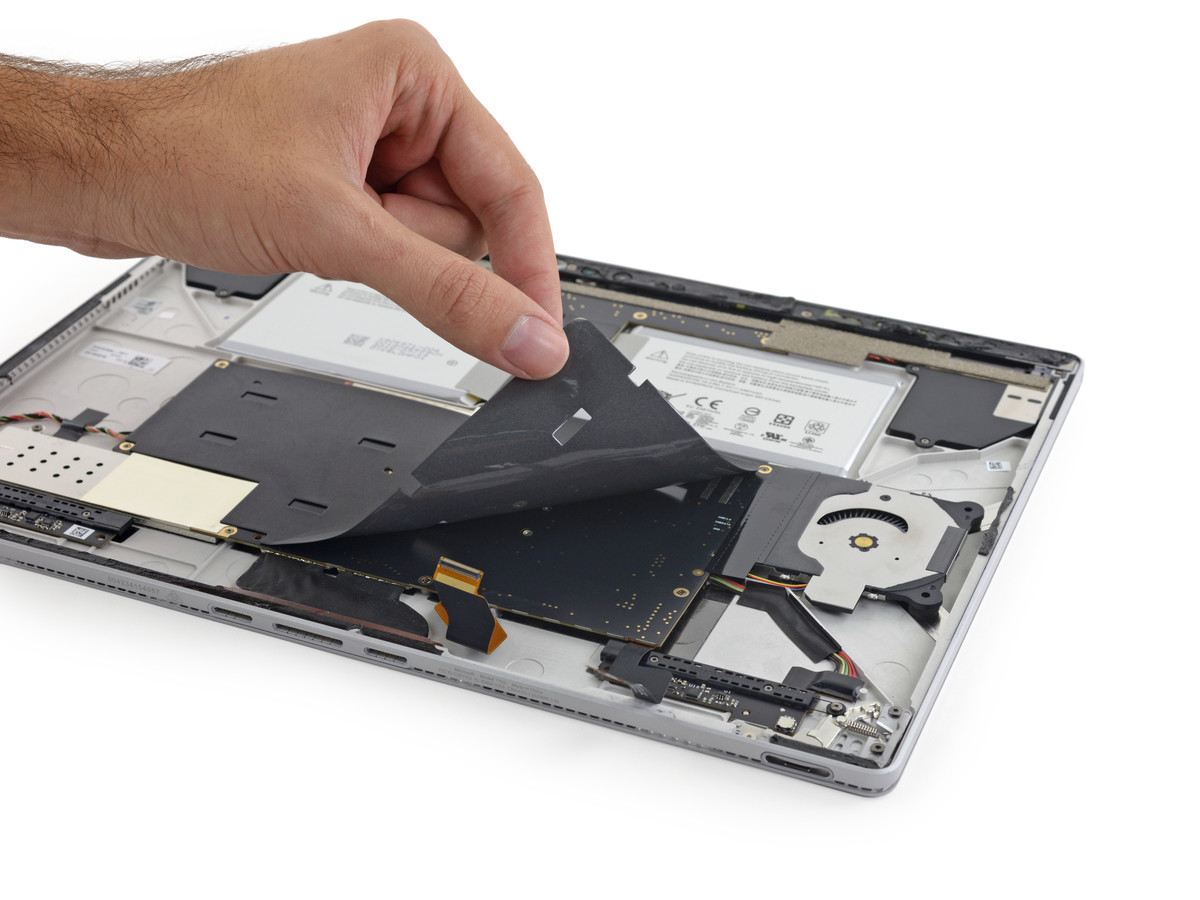
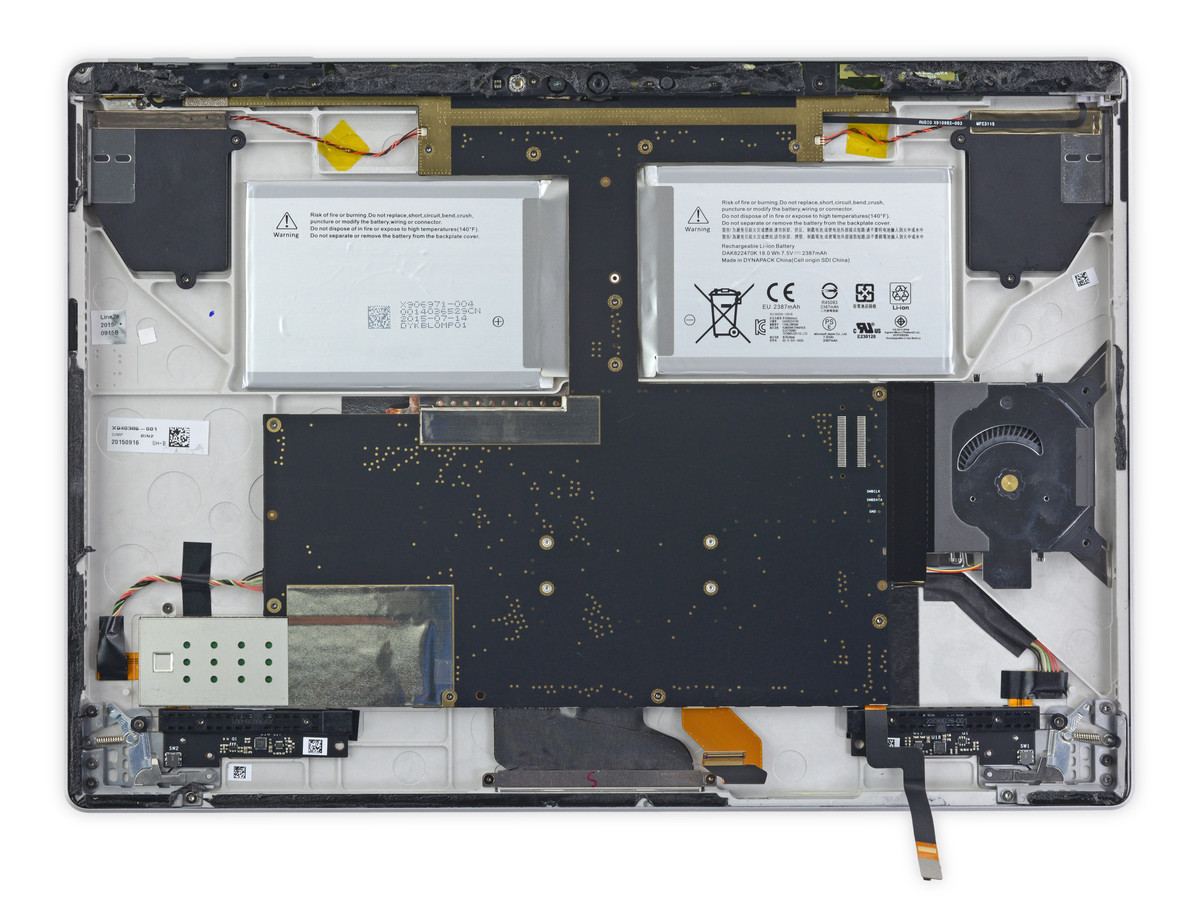
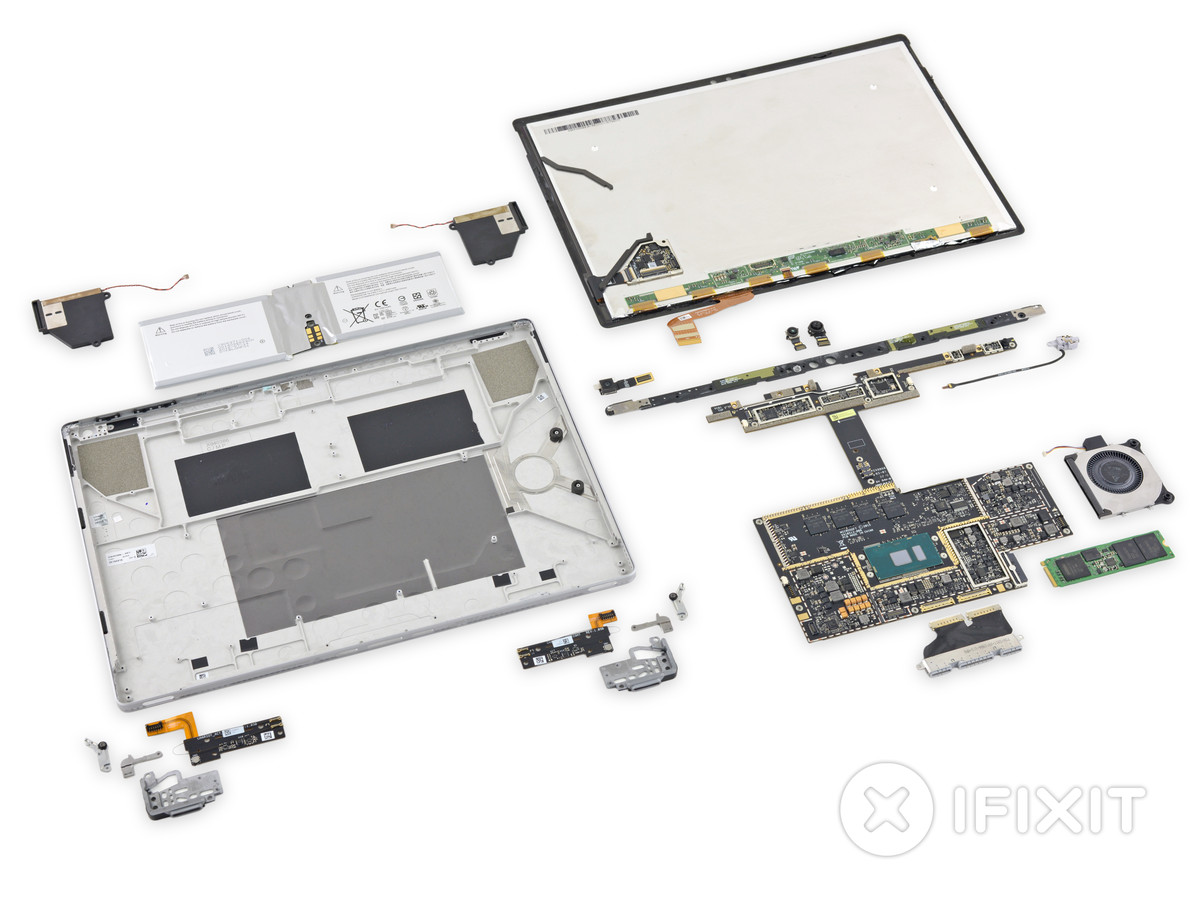
When peeling off the sheet, this way. Amazingly, a strange shaped motherboard like Tetris' block covers more than 50% of the enclosure.
The upper cover can easily be removed ... ...
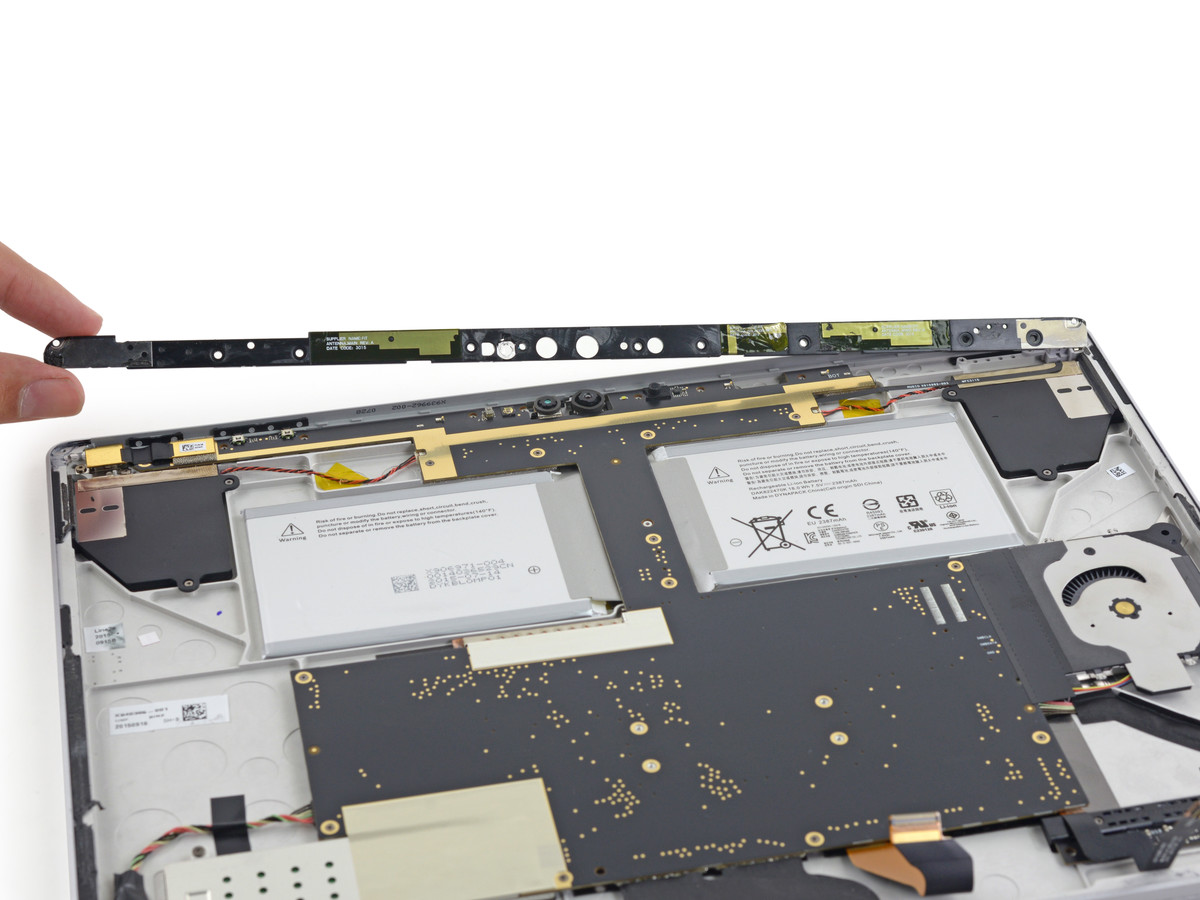
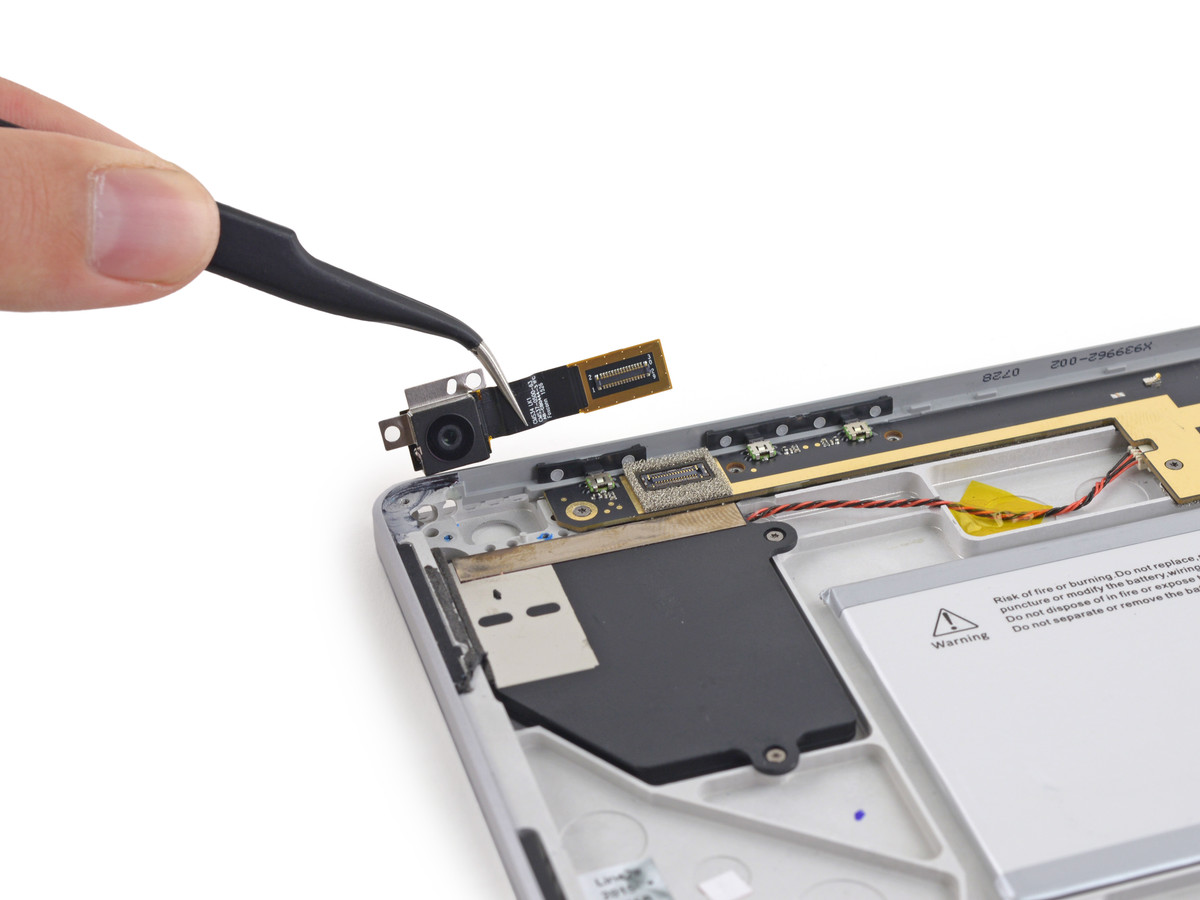
The rear camera is right in the edge.
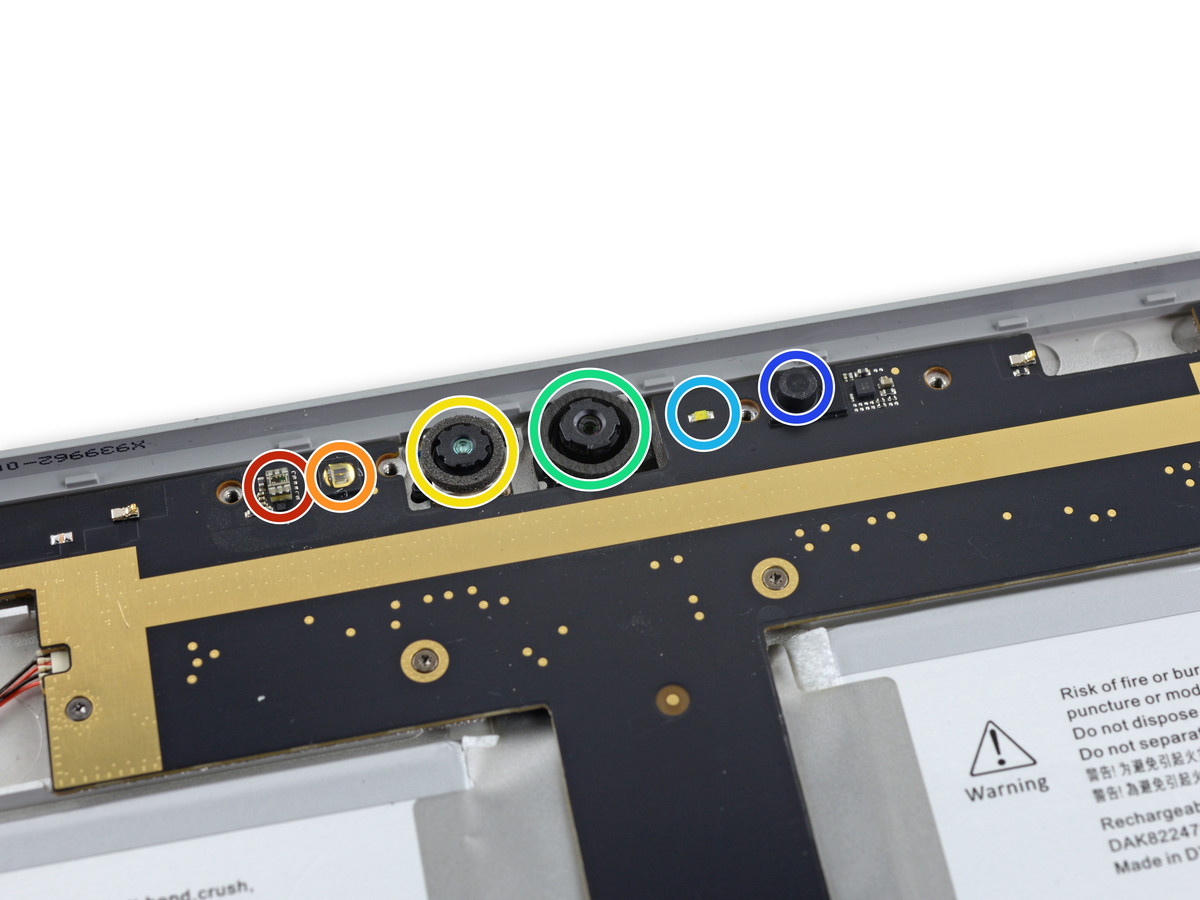
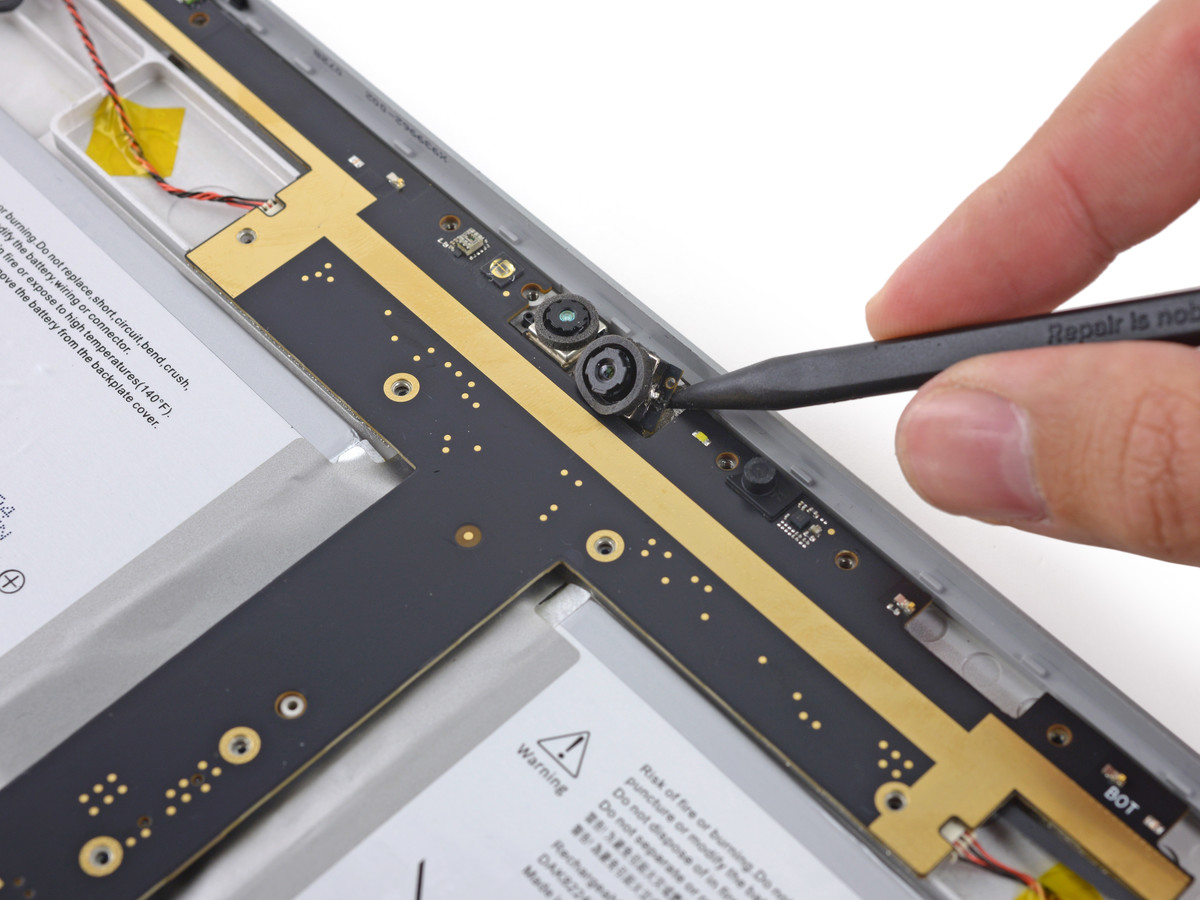
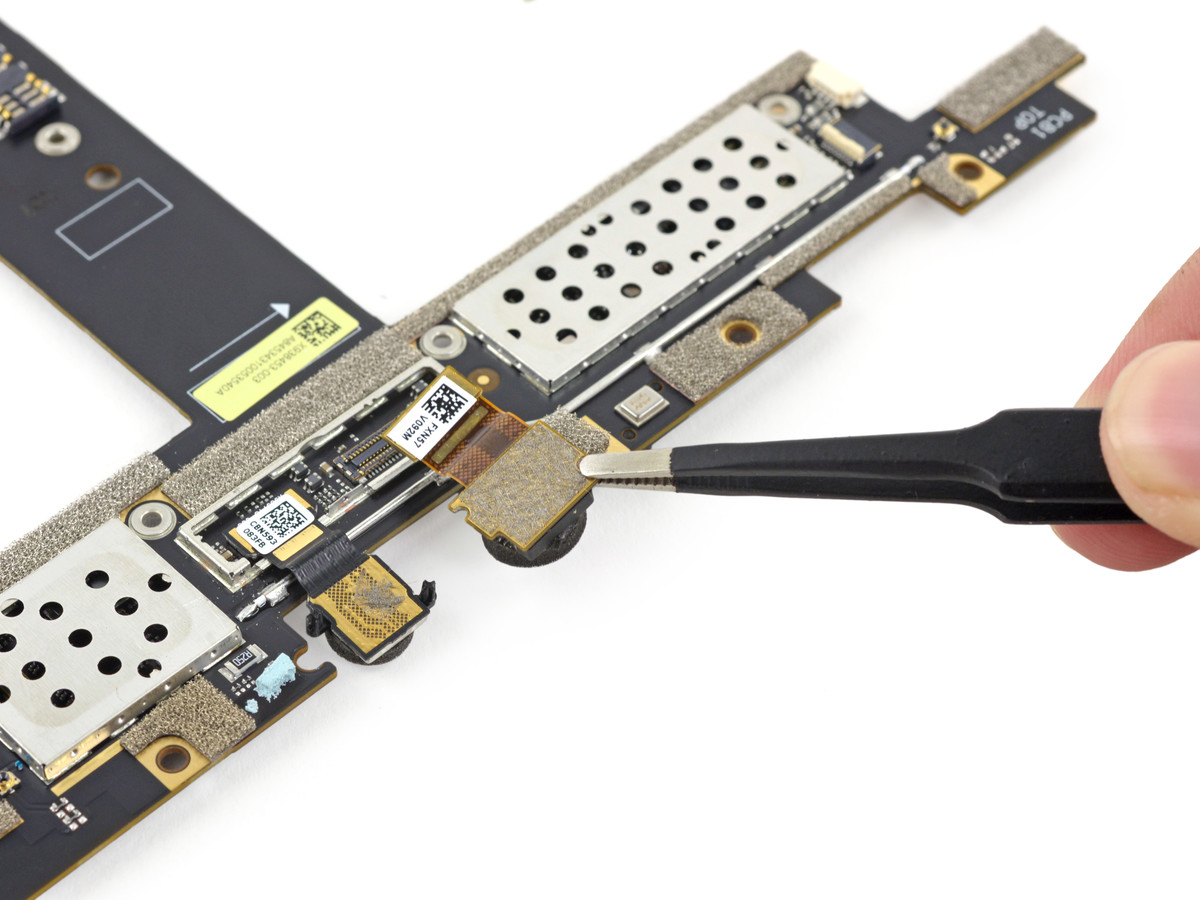
The in-camera sticks to a part of the huge motherboard, and the illuminance sensor in the red frame part, the infrared emitter in the orange frame part, the in-camera in the yellow frame part, the infrared camera in the green frame part, the LED in the light blue frame part, the blue frame There is a microphone in the part.
The in camera and the infrared camera are fixed to the mother board and the case part with adhesive.
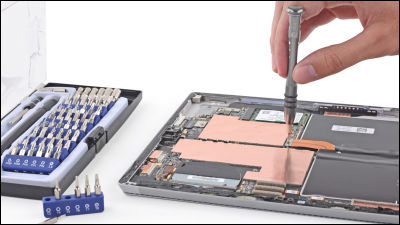
Next, in order to remove the motherboard from the casing, I will remove a lot of connectors. It seems that the connection part is covered with tape in the connector.
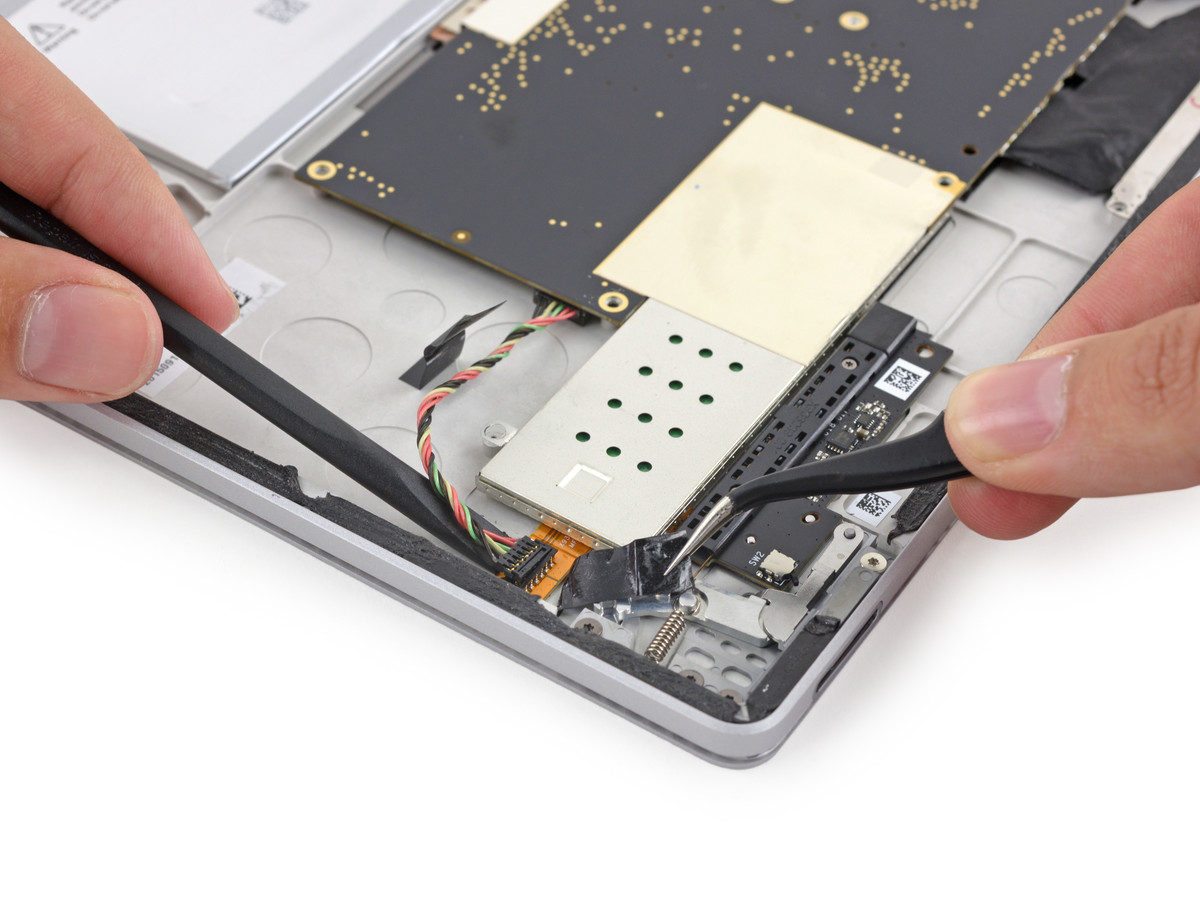
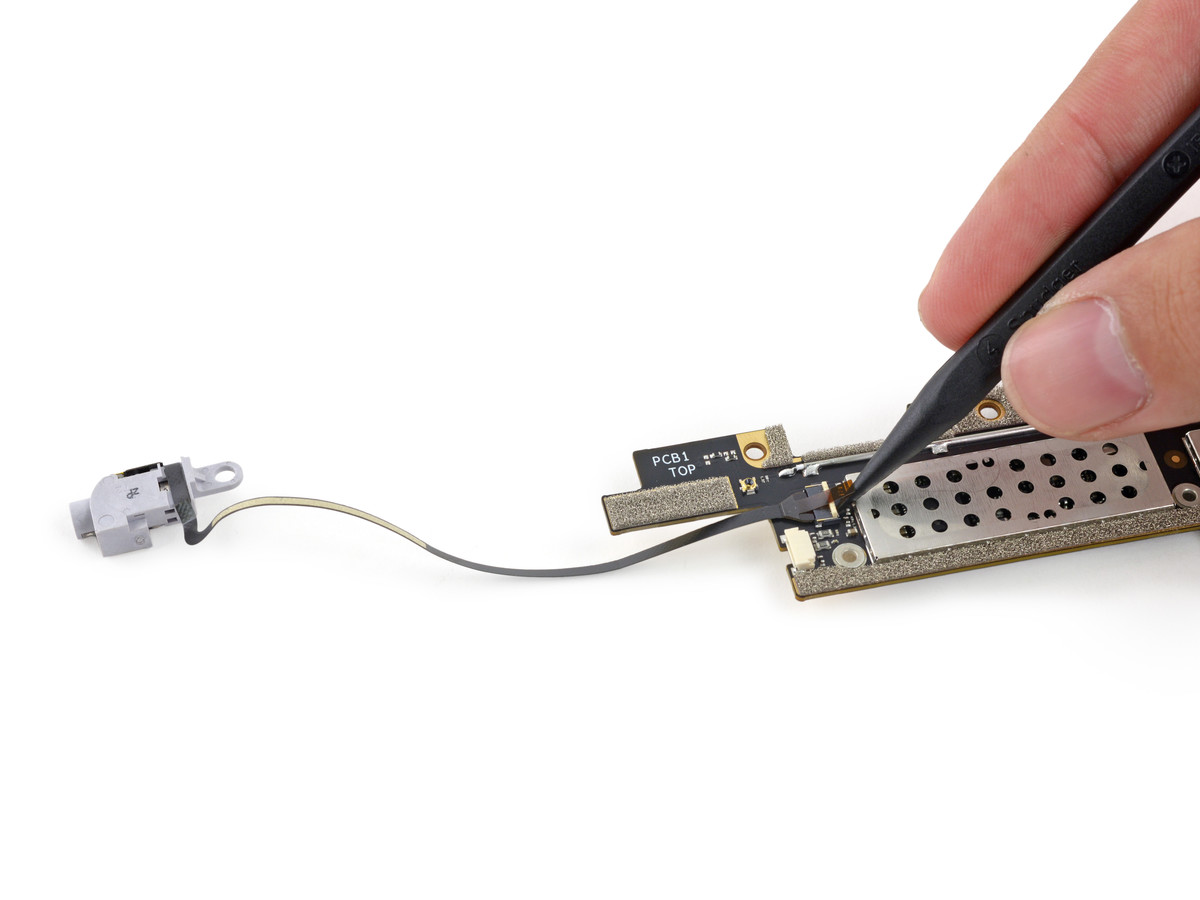
This is an earphone jack. It is connected to somewhere under the motherboard with a long cable.
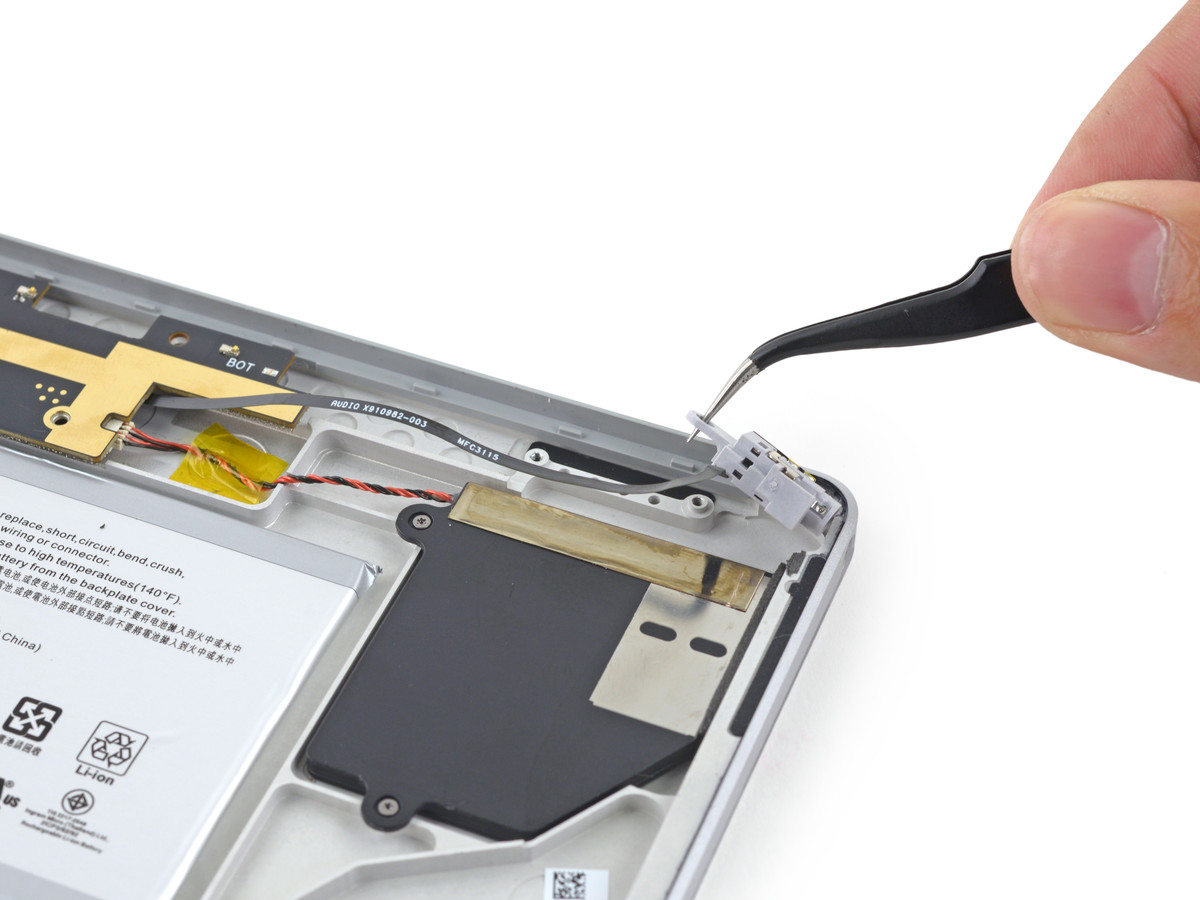
Disconnect the connection cable with the speaker ......
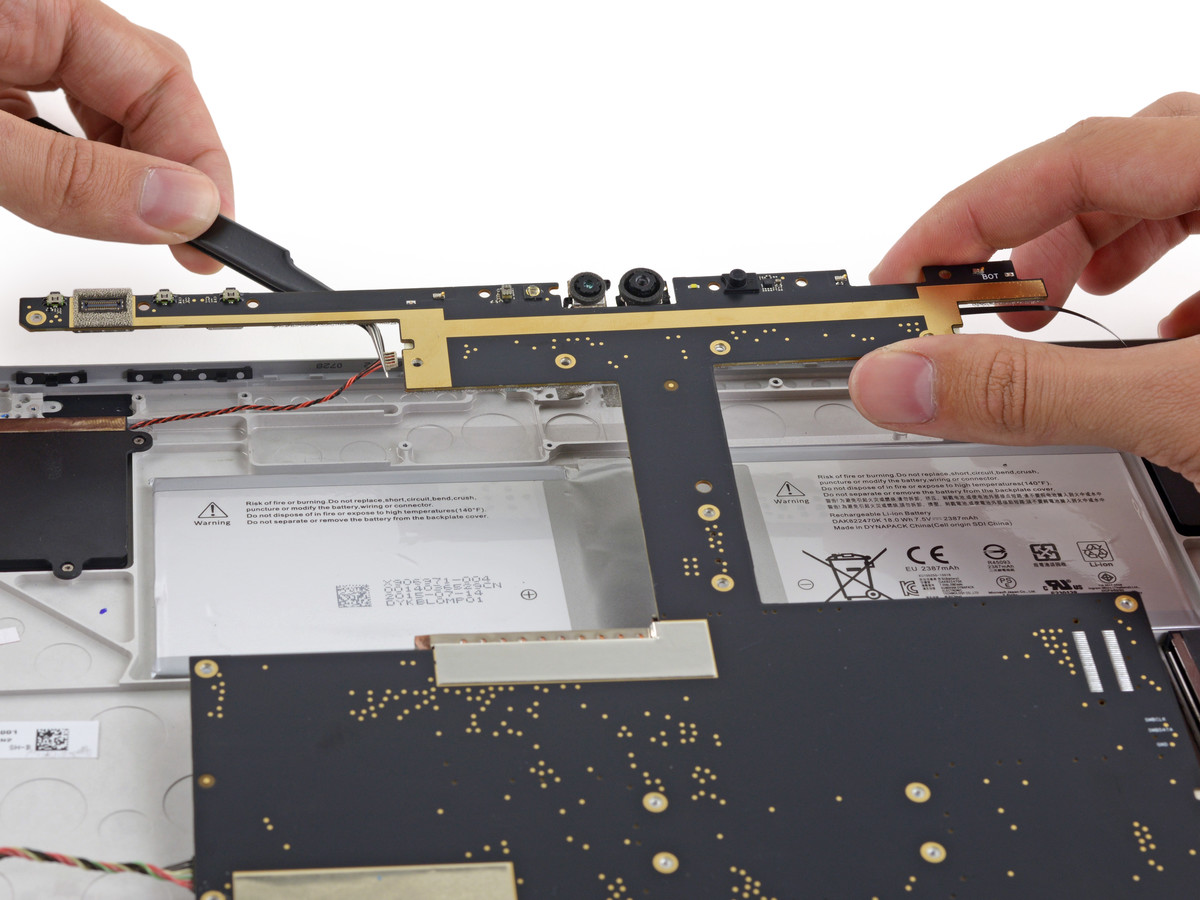
Finally you will be able to remove the motherboard from the enclosure. IFixit expresses the task of removing the motherboard as a "nightmare."
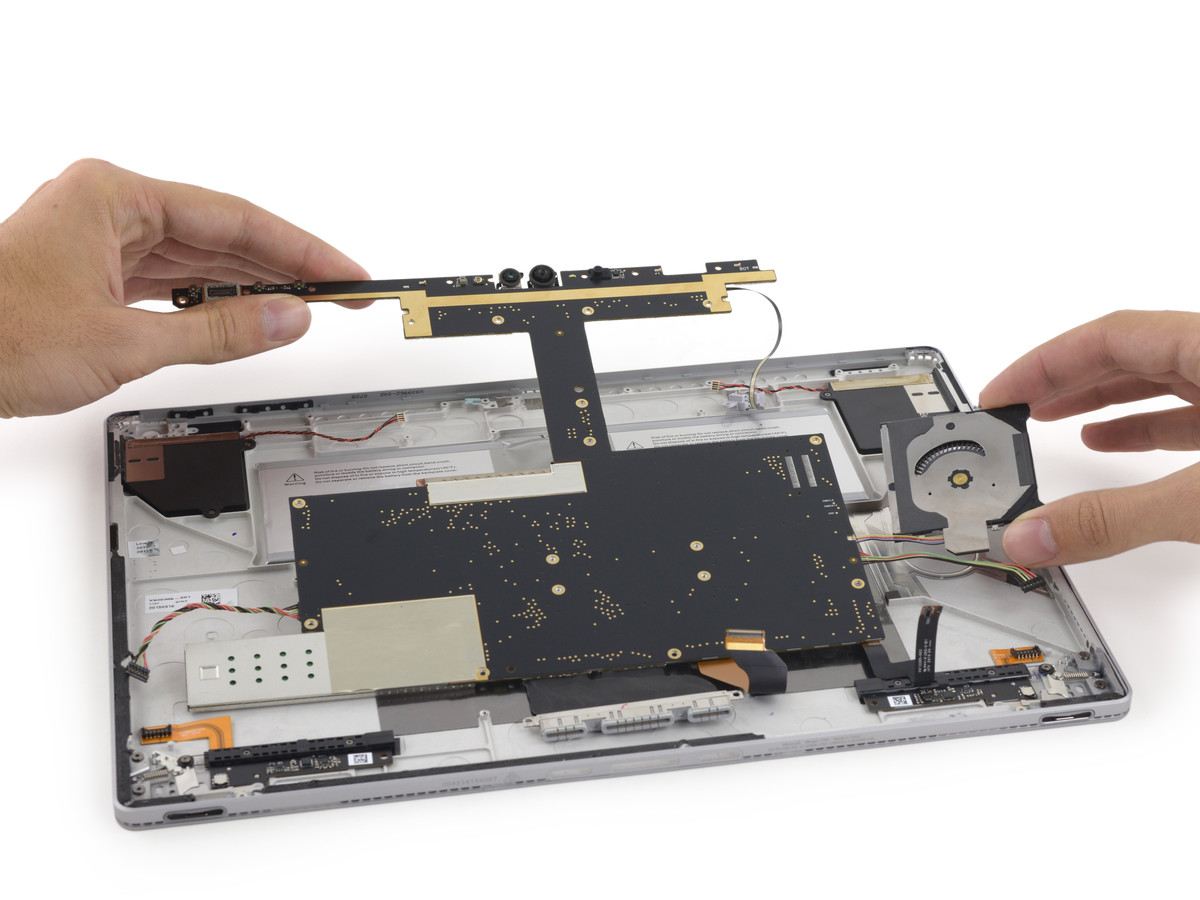
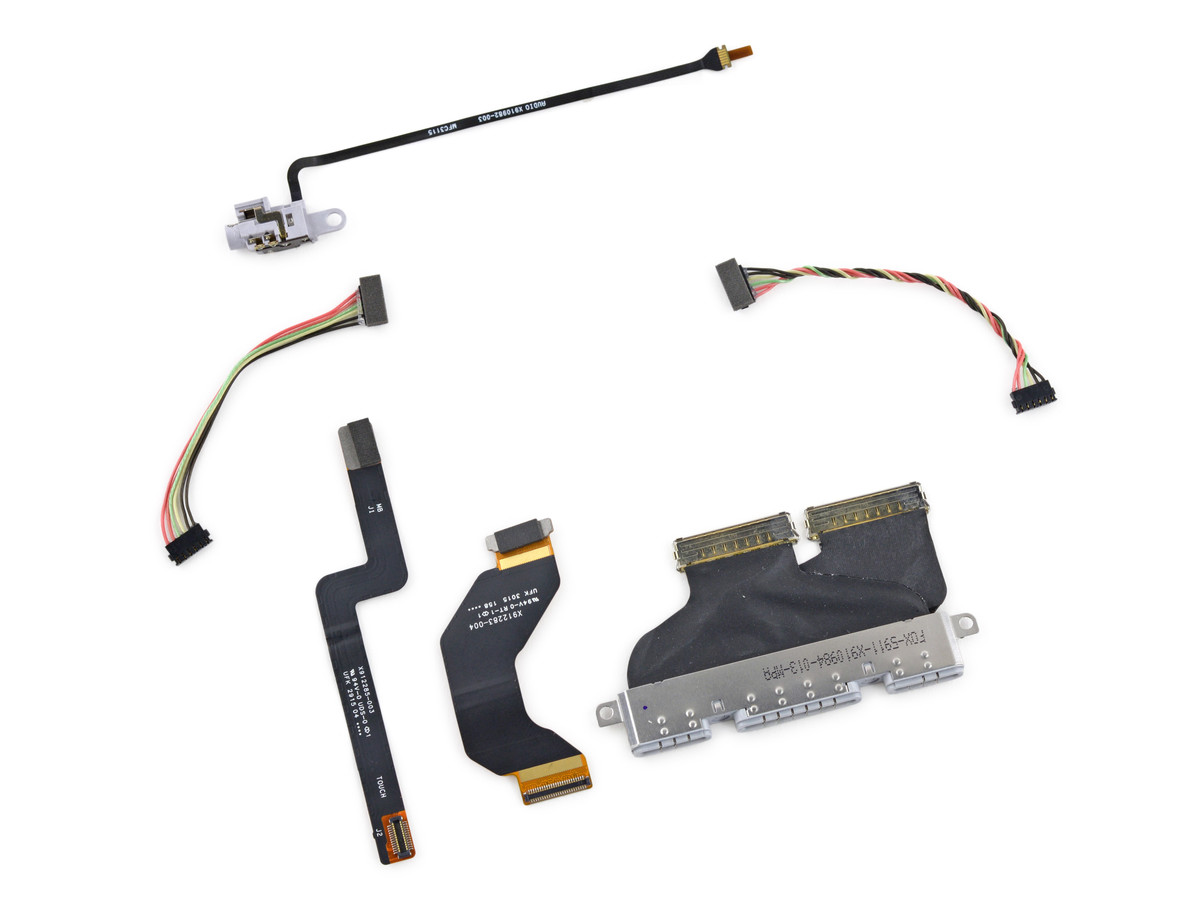
Like the previous earphone jack, if you remove the cables that were left connected to the back side of the motherboard ......
Like this.
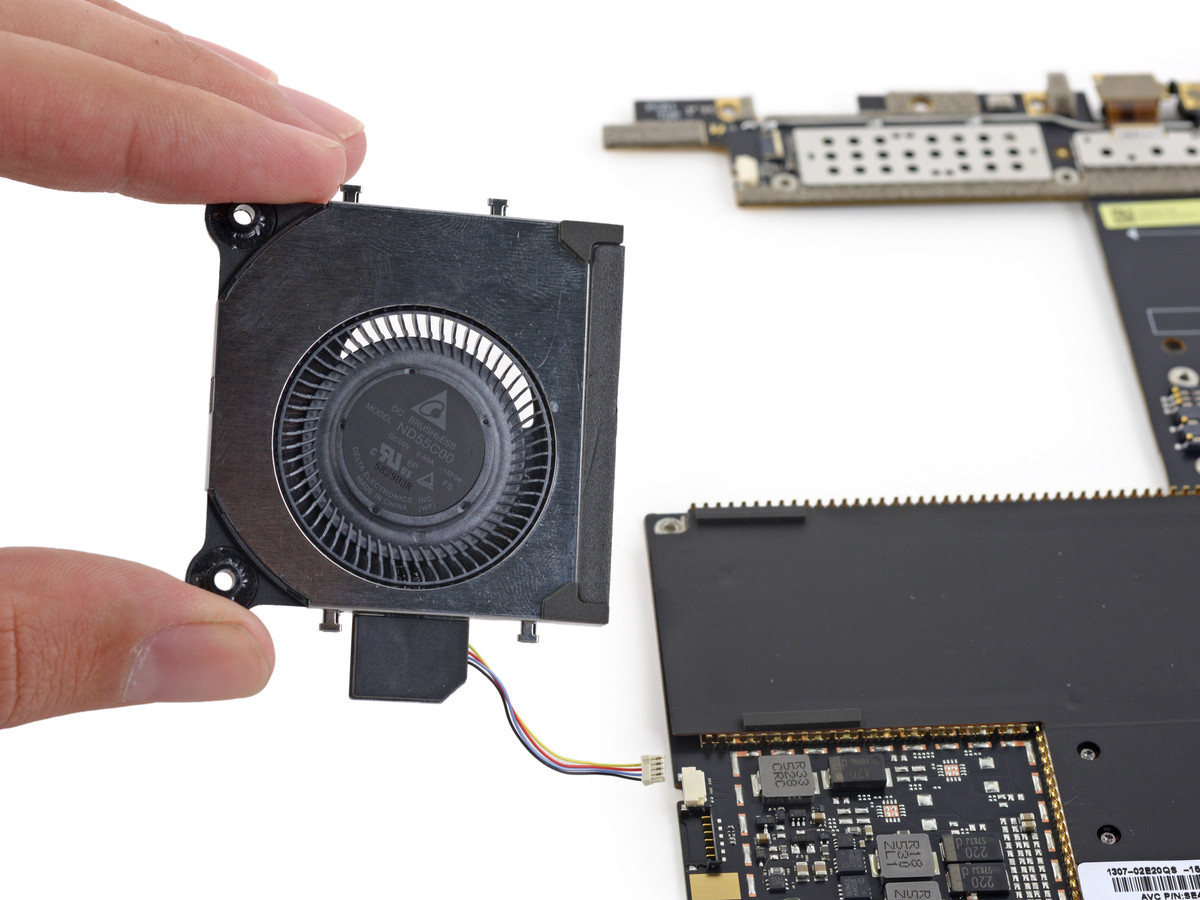
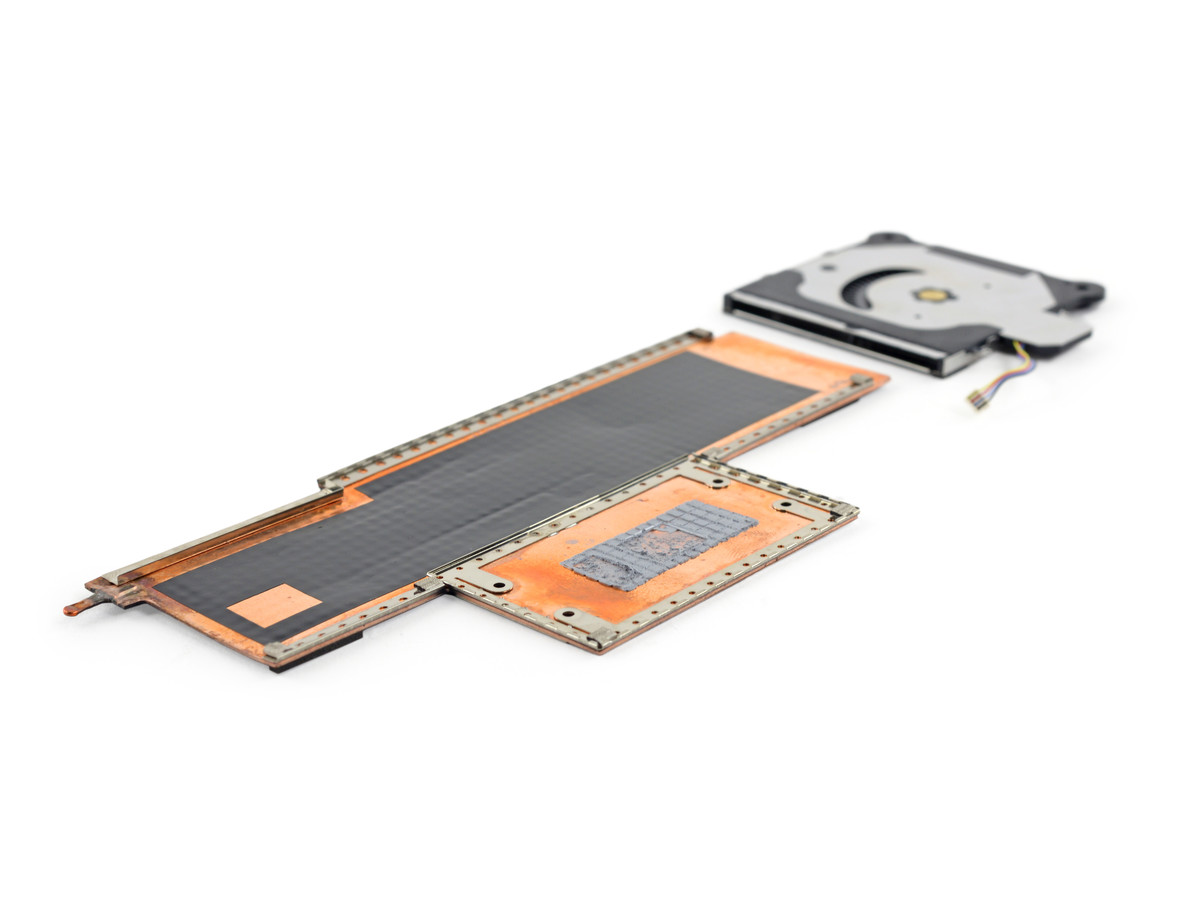
This is a 0.5 amp fan that stuck with the motherboard.
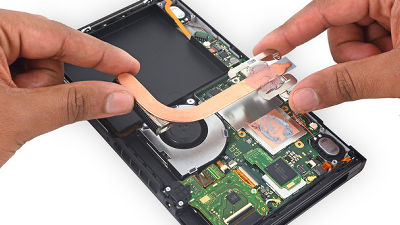
Also remove the heat sink placed on the motherboard.
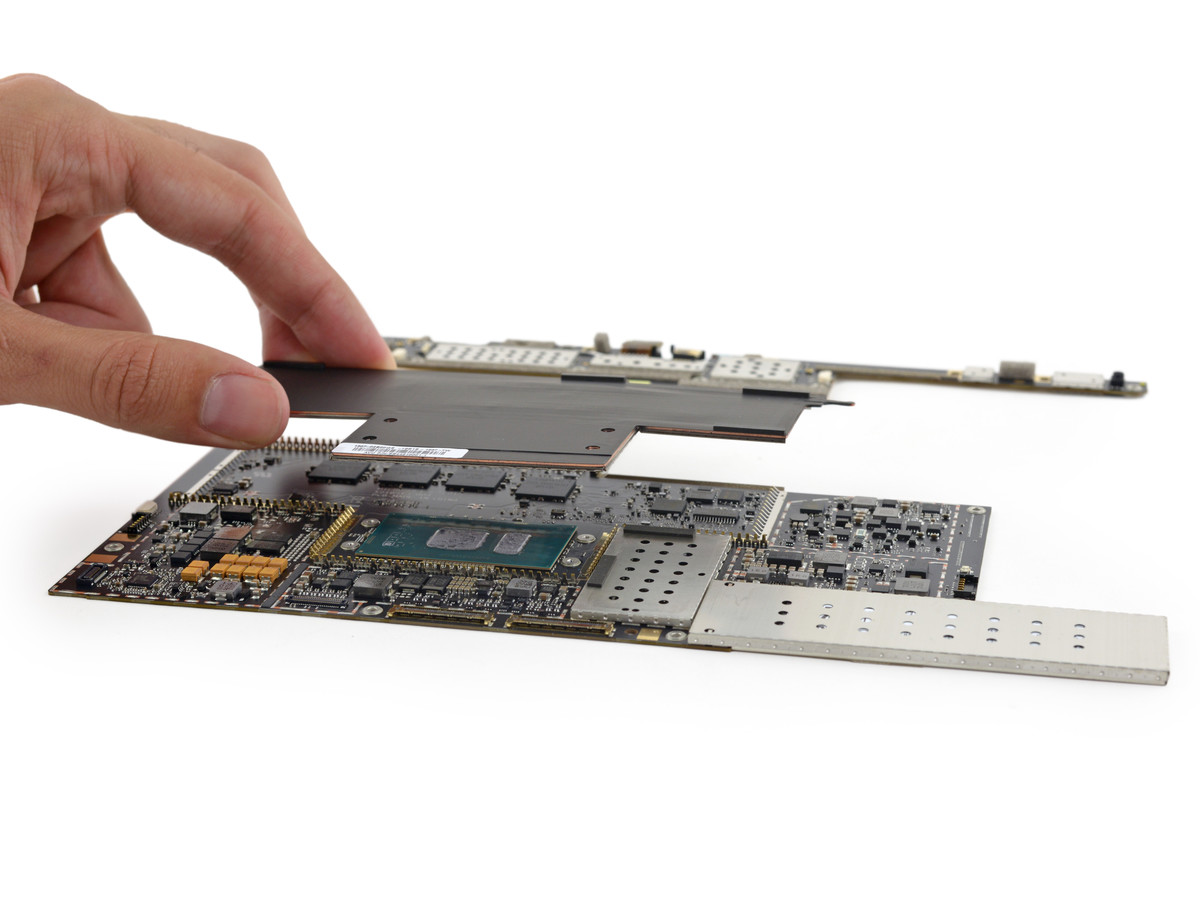
This is the cooling system of Surface Book. Made of large copper plate.
With this, we can finally separate the in camera and infrared camera from the motherboard.
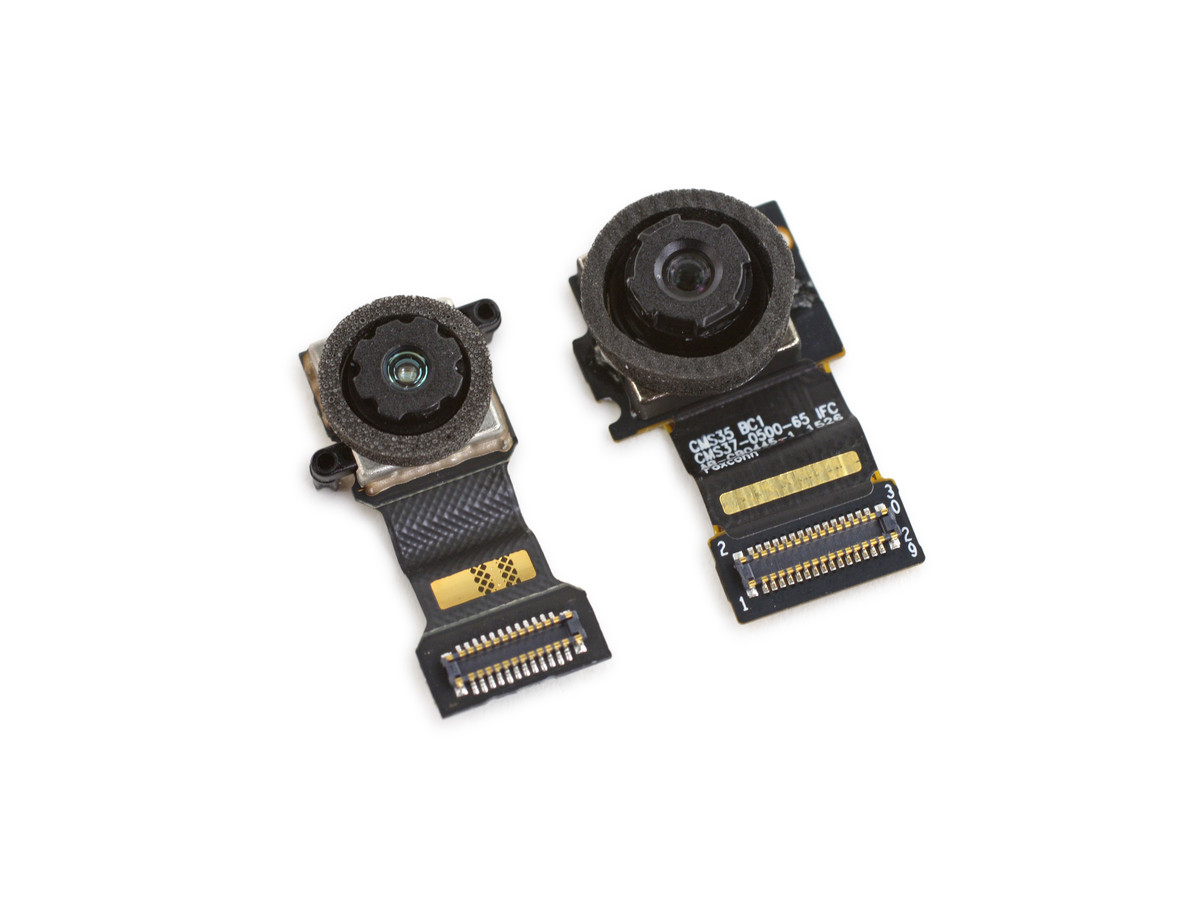
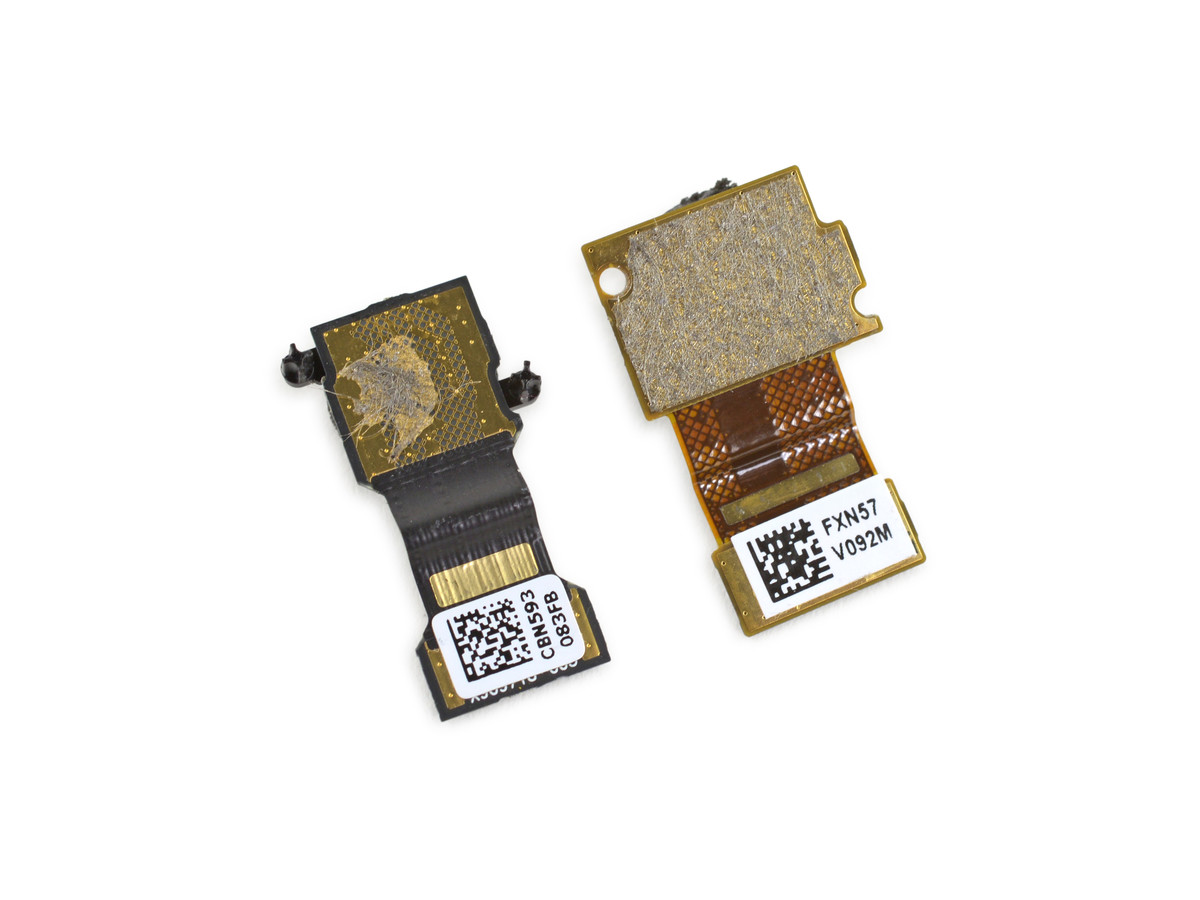
The left is the in camera and the right is the infrared camera. The infrared camera is used for authentication such as Windows Hello.
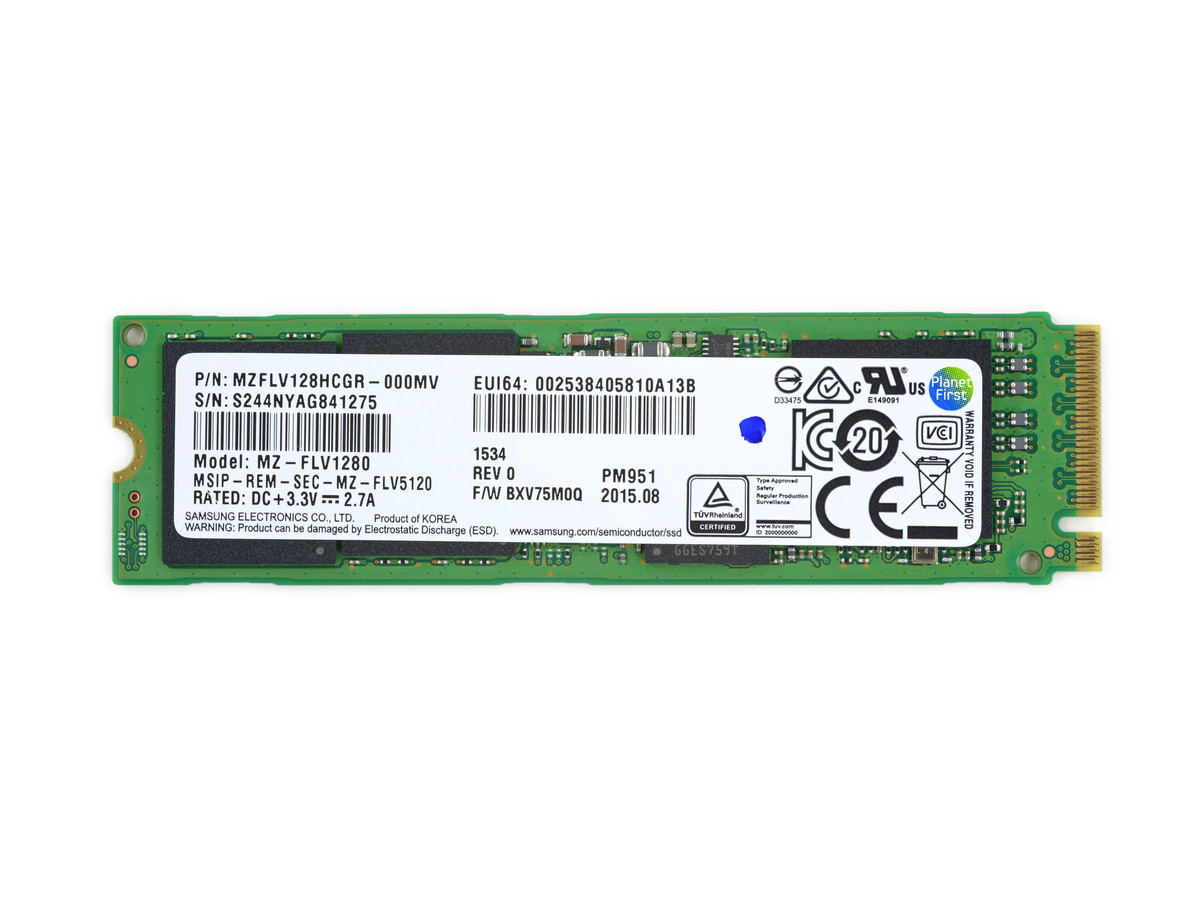
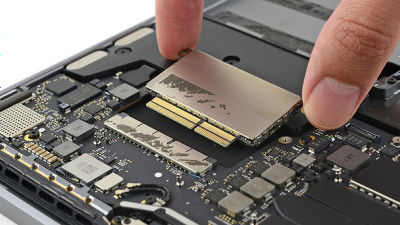
It is in the part protruding from the motherboard ... ...
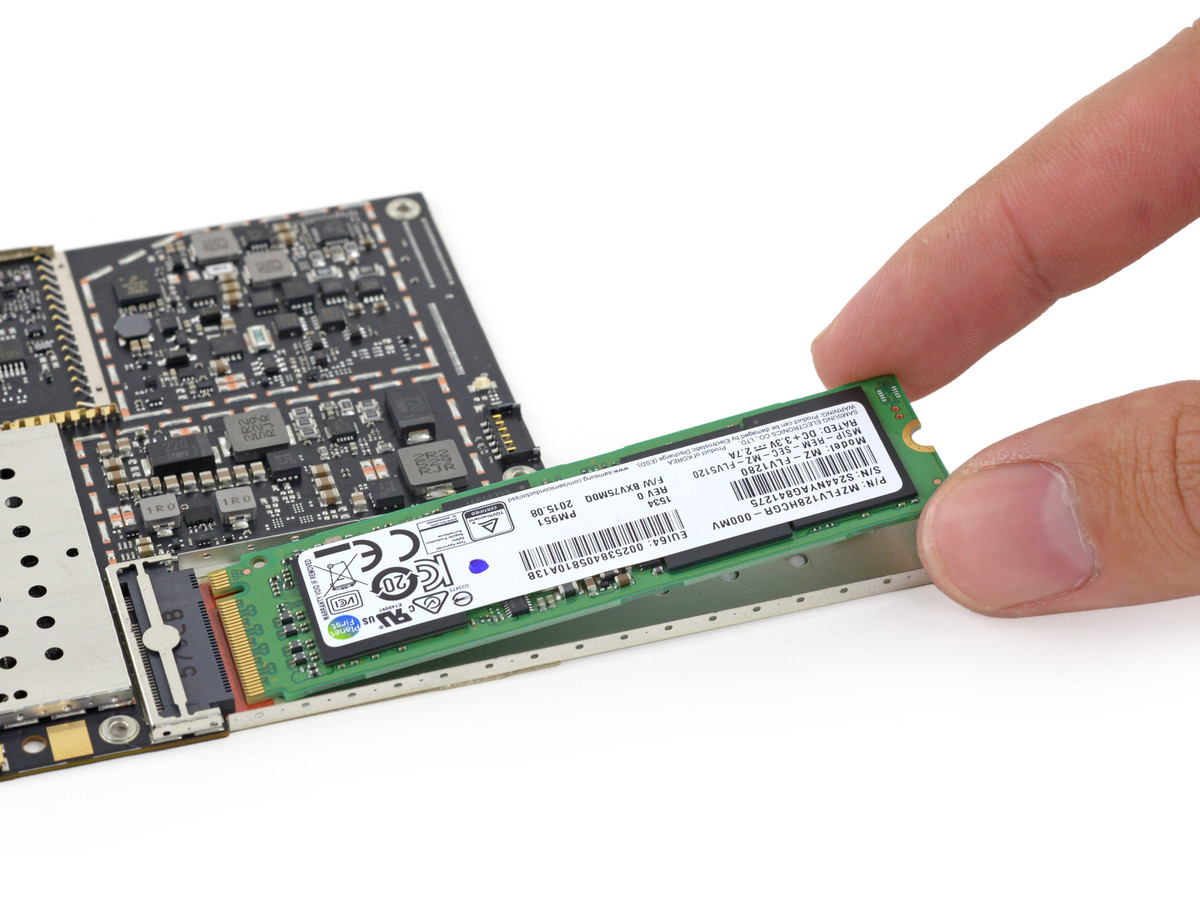
The Samsung SSD (128 GB) "PM951". this isOf Surface Pro 4Although it is very similar, the thing of Surface Book seems to be fixed to the motherboard with tape.
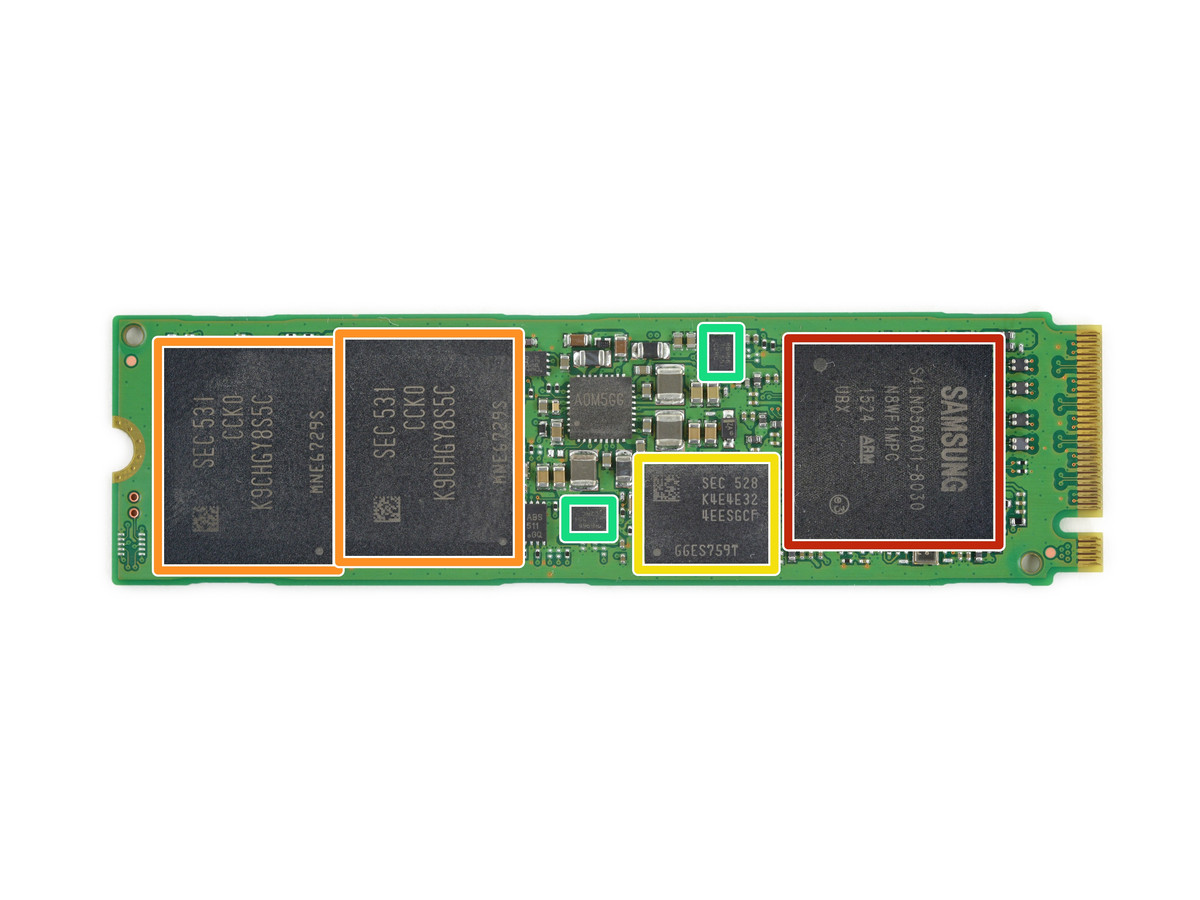
In the red frame part, PCIe 3.0 × 4 NVMe flash controller "S4LN058A01"64 GB NAND flash" K9 CHGY 8 S 5 C "in the orange frame part, 4 Gb (512 MB) DRAM"K4E4E324EE"In the green frame portion,"TPS 22966"
Finally the motherboard is made naked. In the red frame partIntel Core i5-6300U Processor(3 M cache, up to 3.0 GHz), 16 Gb LPDDR 3 1867 MHz SDRAM in the orange frame part "(PDF file)K4E6E304EE-EGCF"(4 games with 8 GB), Marvell Avastar chipset for Wi-Fi / Bluetooth in the yellow frame part"W 8897In the green frame part, Freescale's Kinetis microcontroller (Cortex-M 0 + processorBase) "(PDF file)MKL 17 Z 256 VFM 4"Realtek made audio codec" ALC 3269 "in the light blue frame part, Infineon Technologies made by Infineon Technologies in the blue frame partTrusted Platform Module(TPM) "SLB 9665 TT 2.0In the purple frame part "ISL 95857"

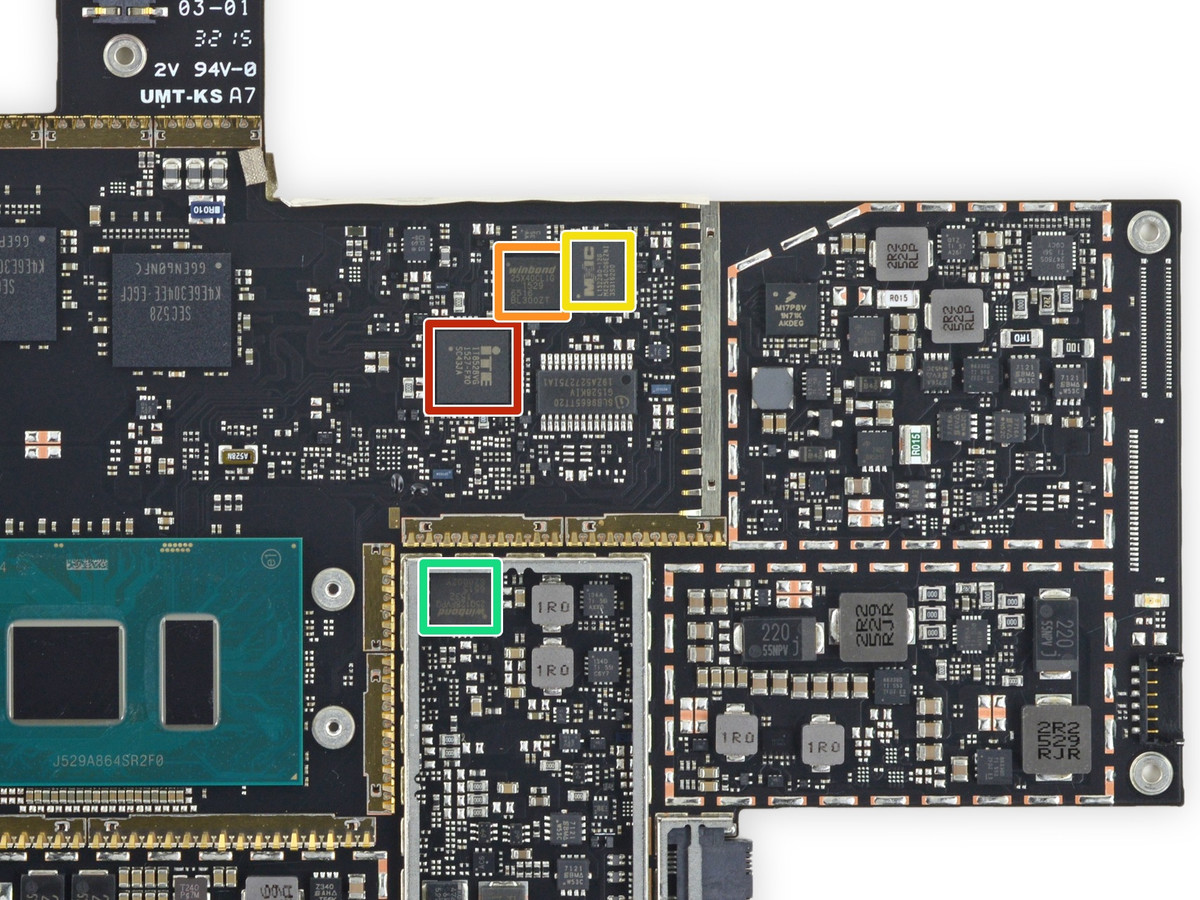
In addition, "ITE IT 8528 VG" in red frame portion, serial flash memory "(PDF file) in orange frame portion"W 25 X 40 CL", Macronix's CMOS serial flash memory in the yellow frame part"MX25L4006E128 Mb serial flash memory in the green frame part "W25Q128FV"
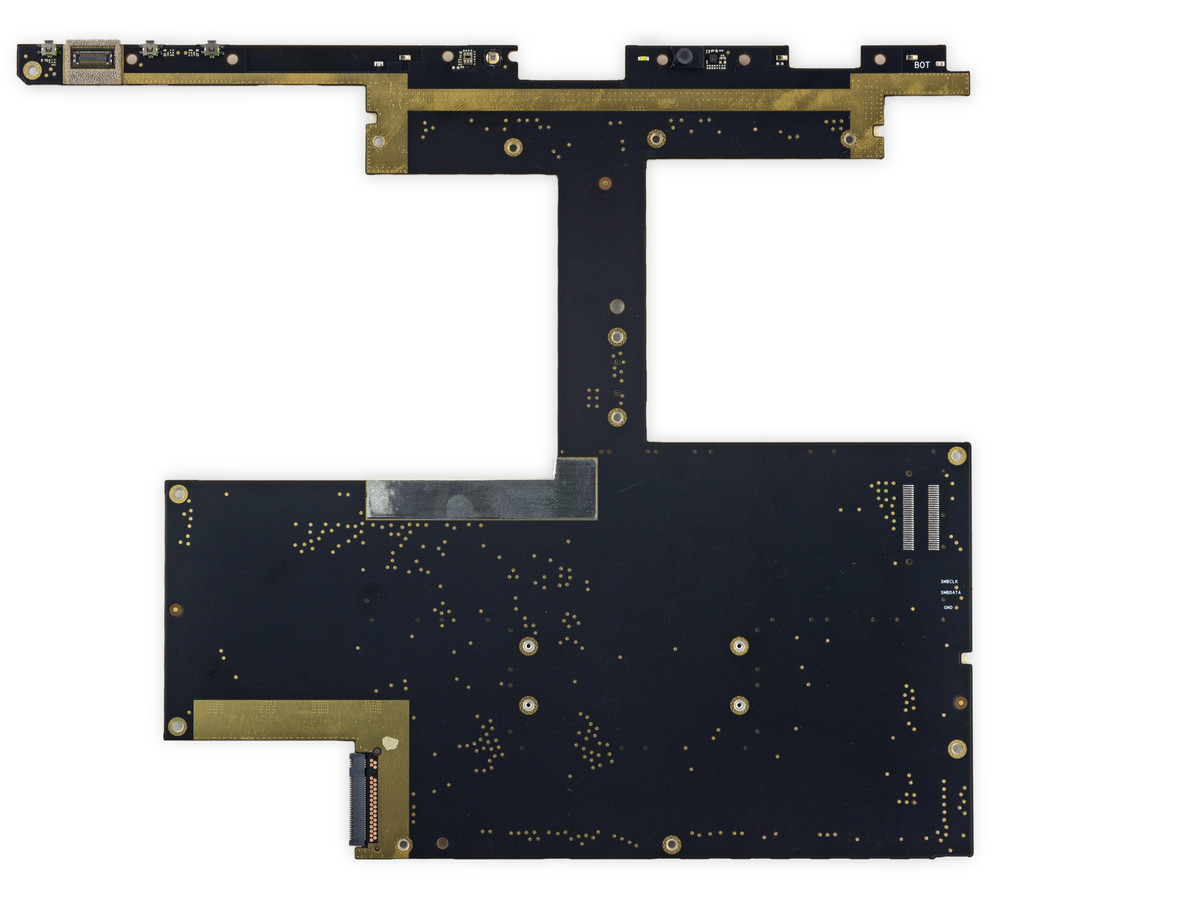
The back side of the motherboard looks something like this
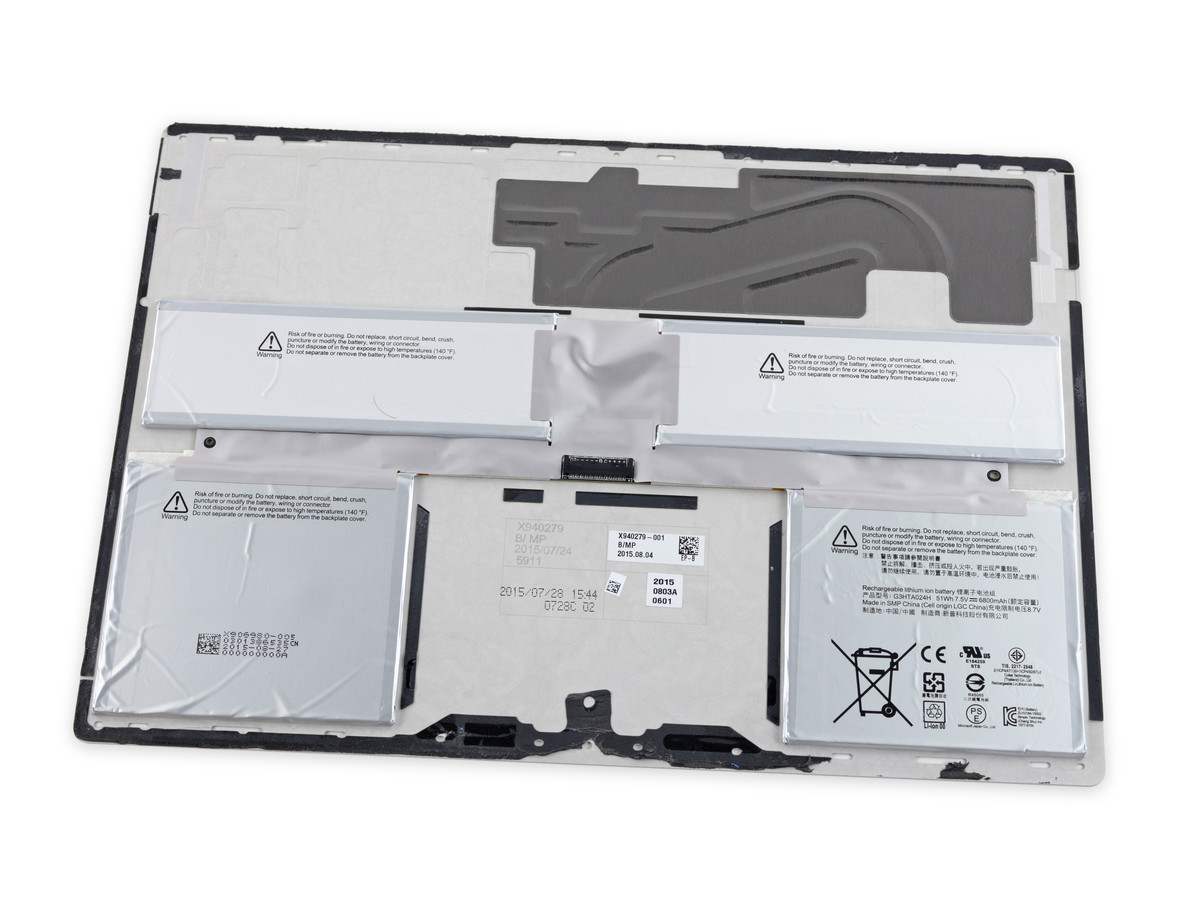
In addition, there is a battery under the motherboard. It seems that this is also fixed with the casing and adhesive.
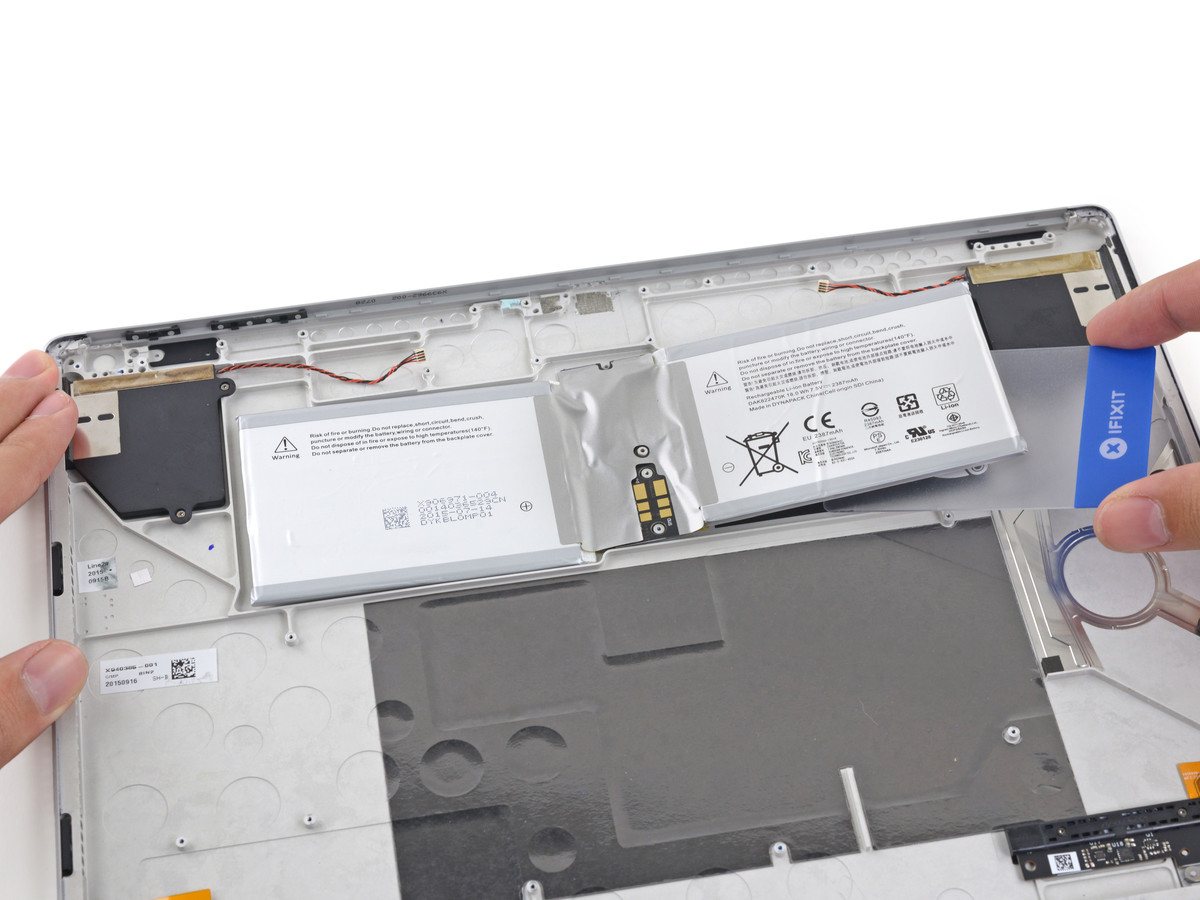
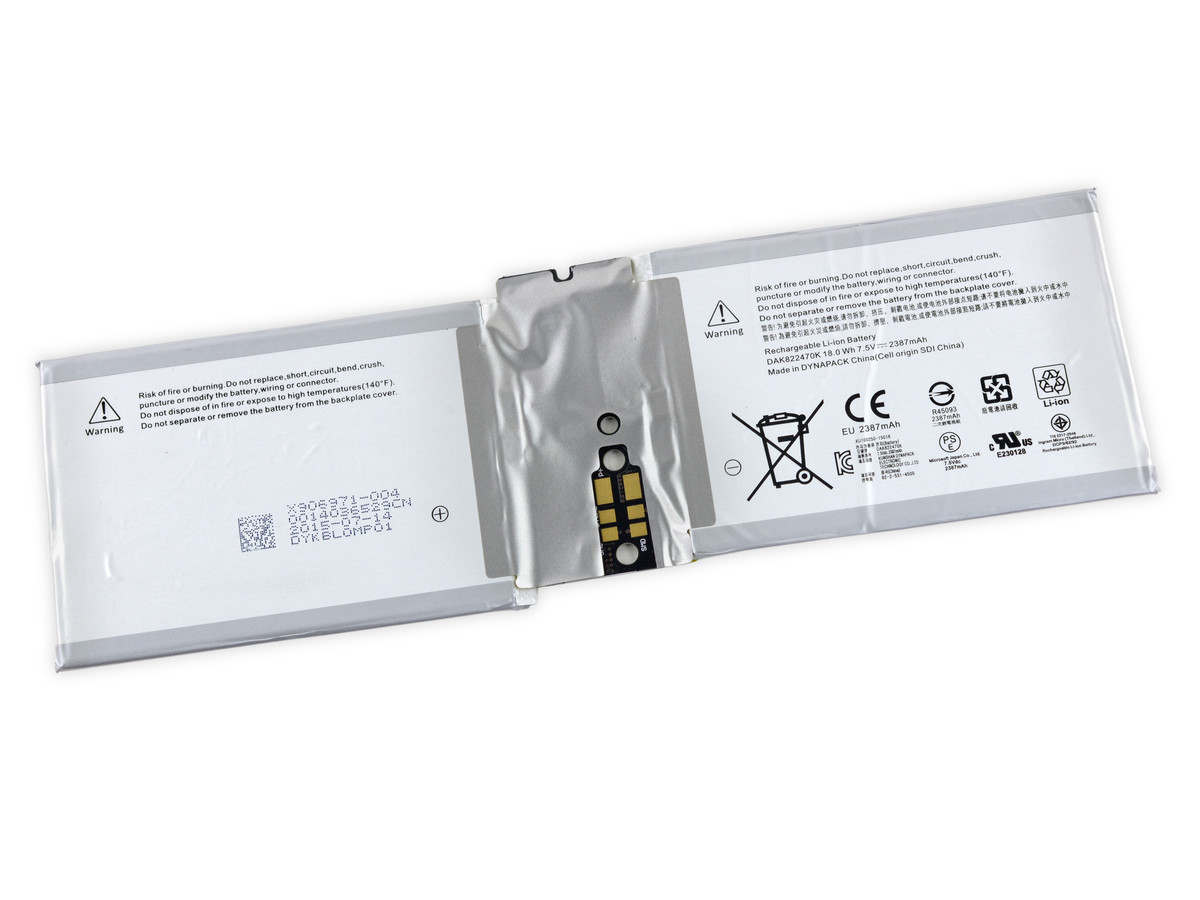
Batteries stacked on the display side are 18.0 Wh, 7.5 V, 2387 mAh. The battery of Surface Pro 4 is 38.2 Wh.
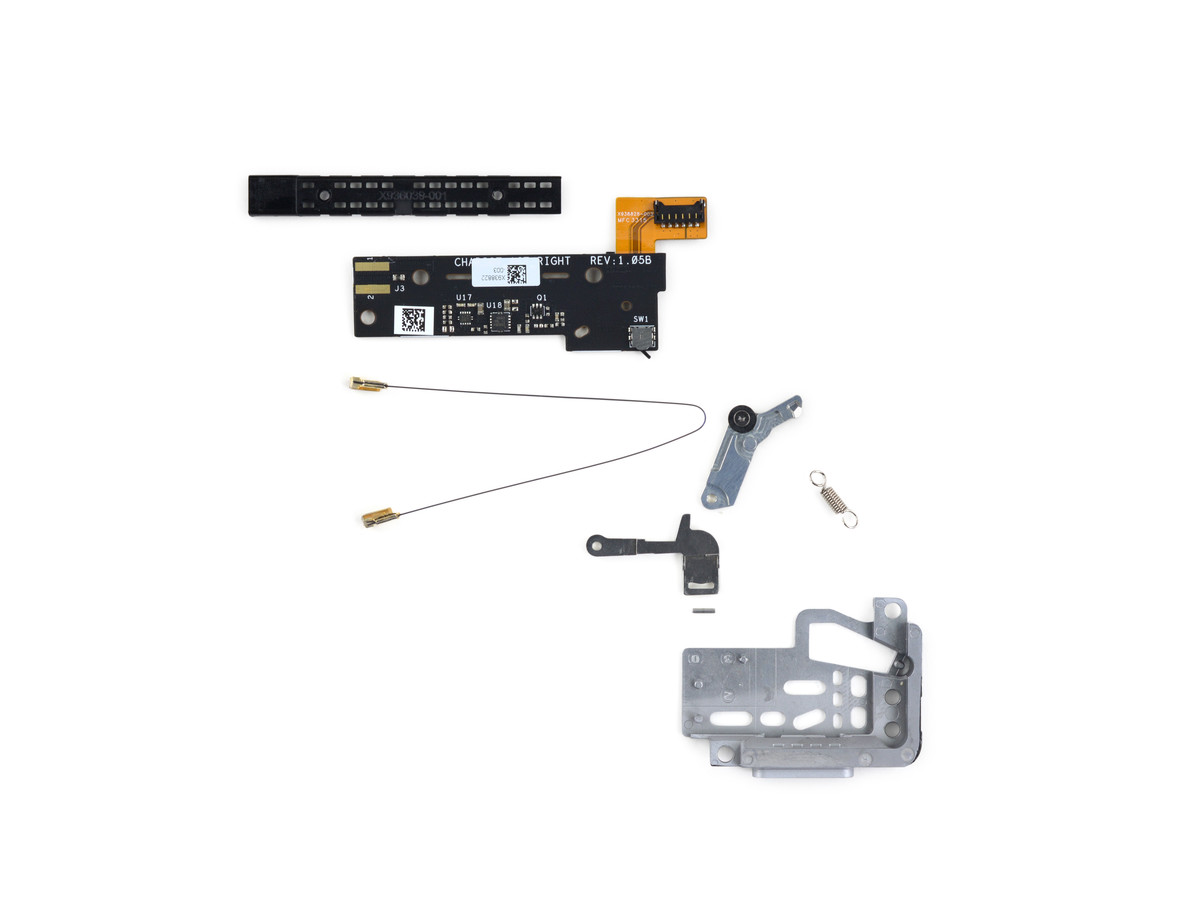
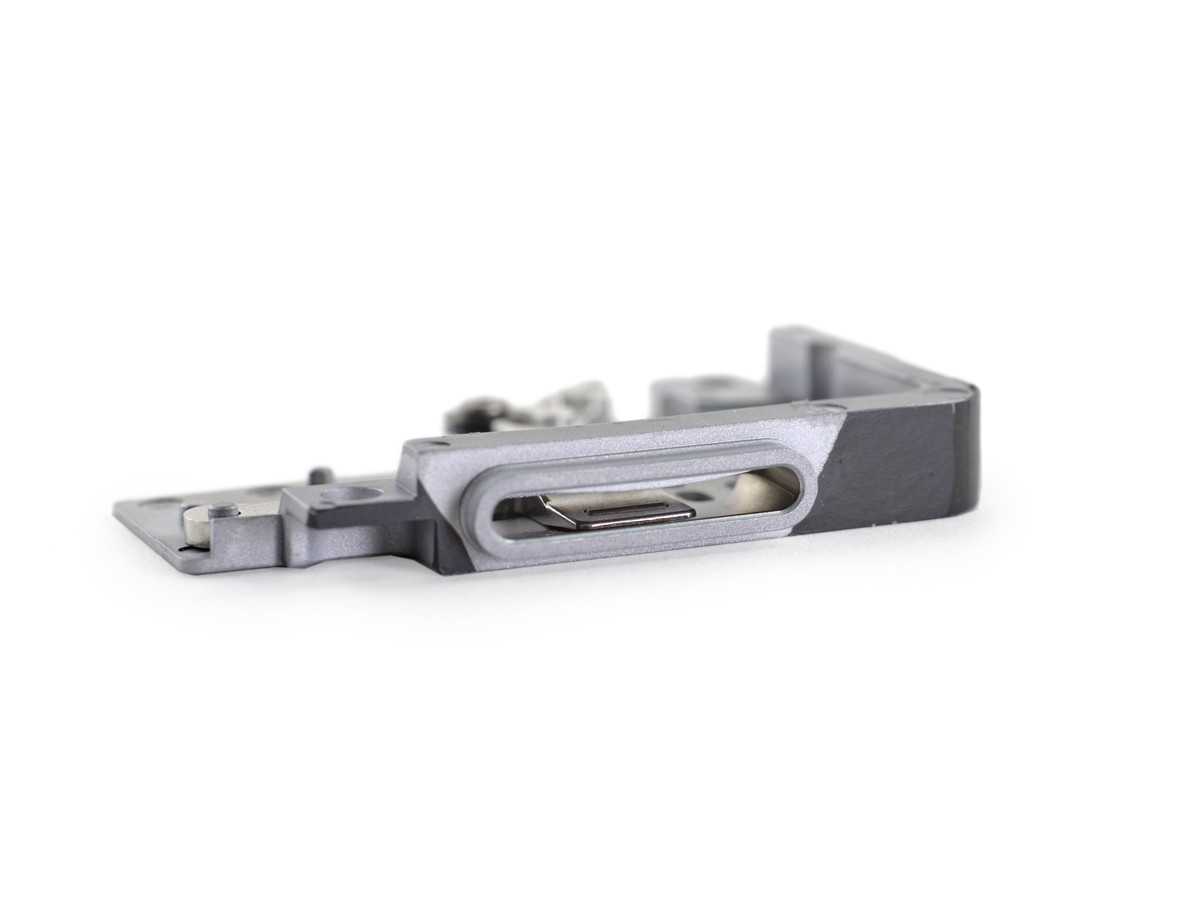
This is a muscle wire lock for connecting display and keyboard.
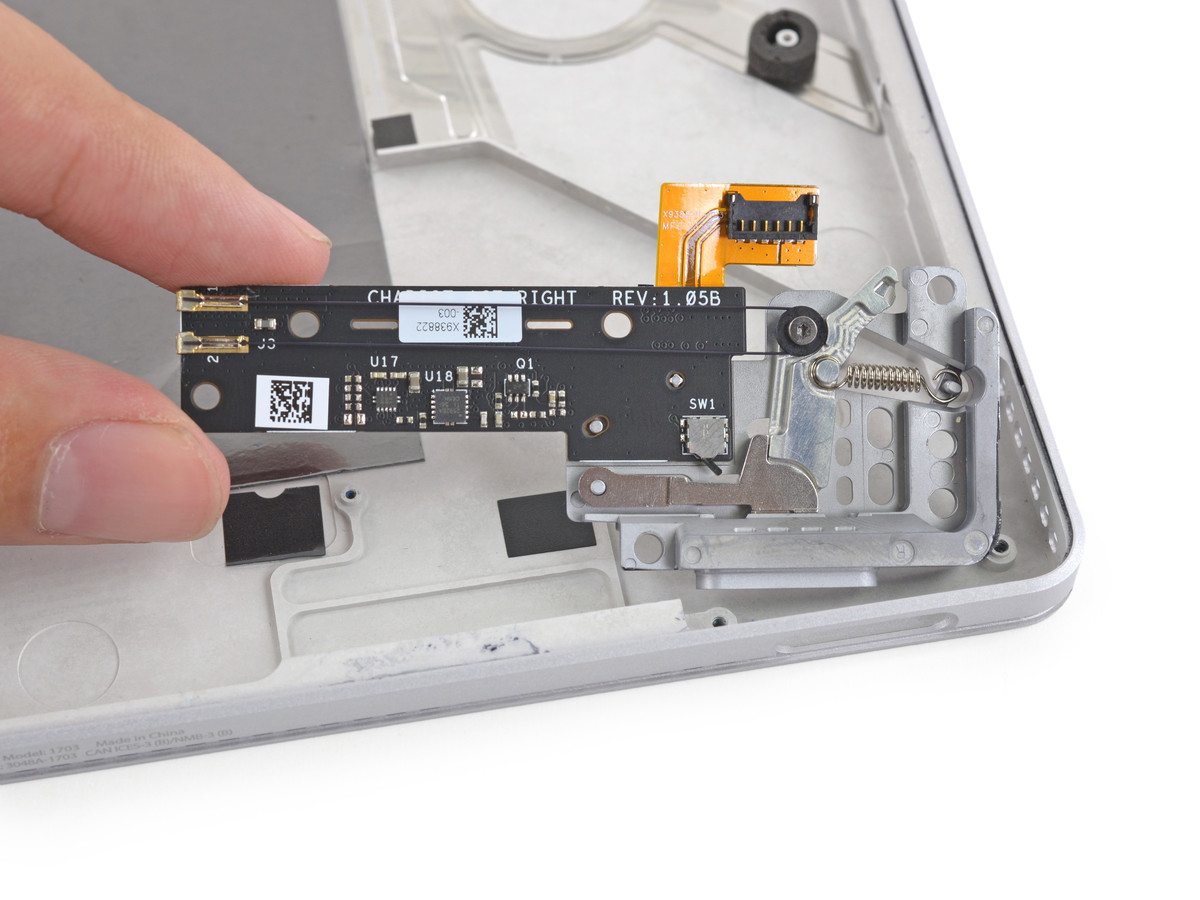
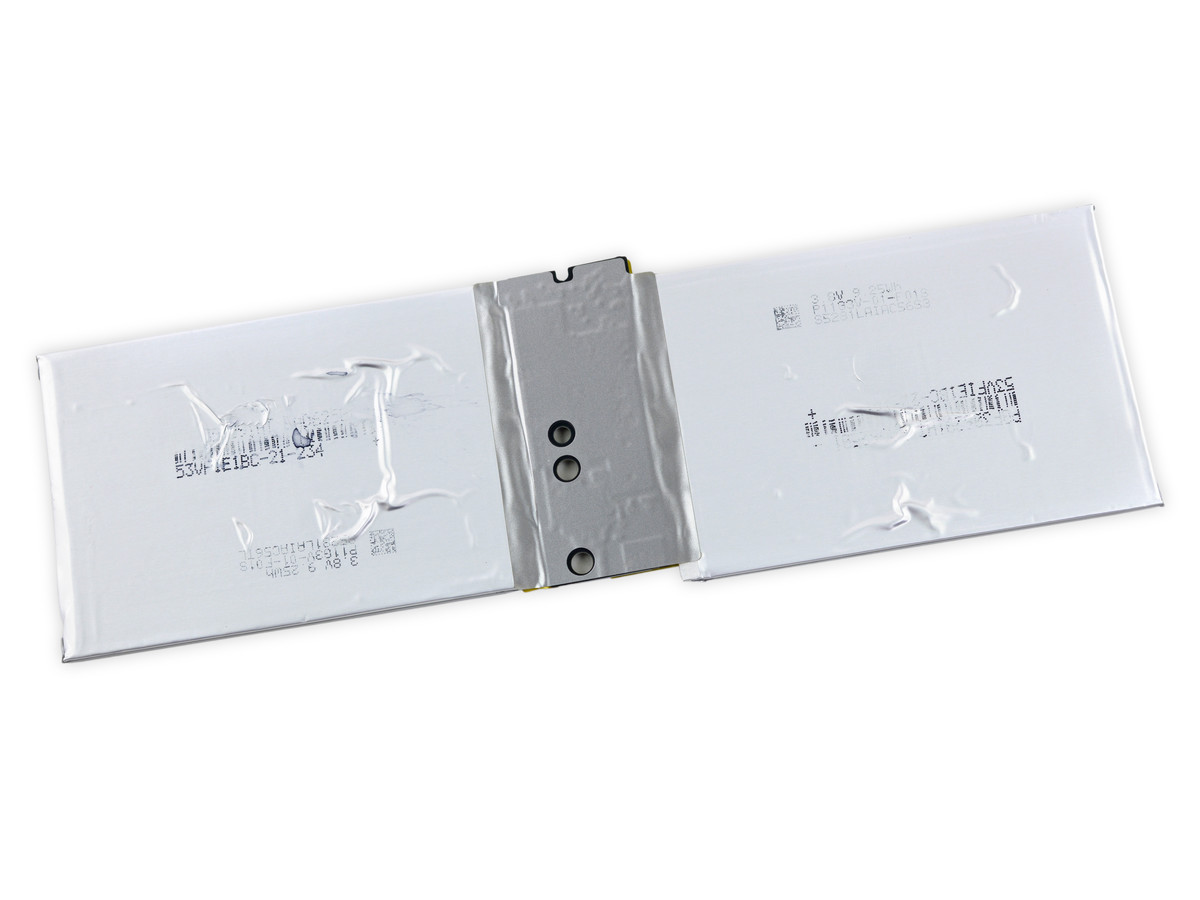
When disassembled it looks like this.
Remove the left and right speakers ......
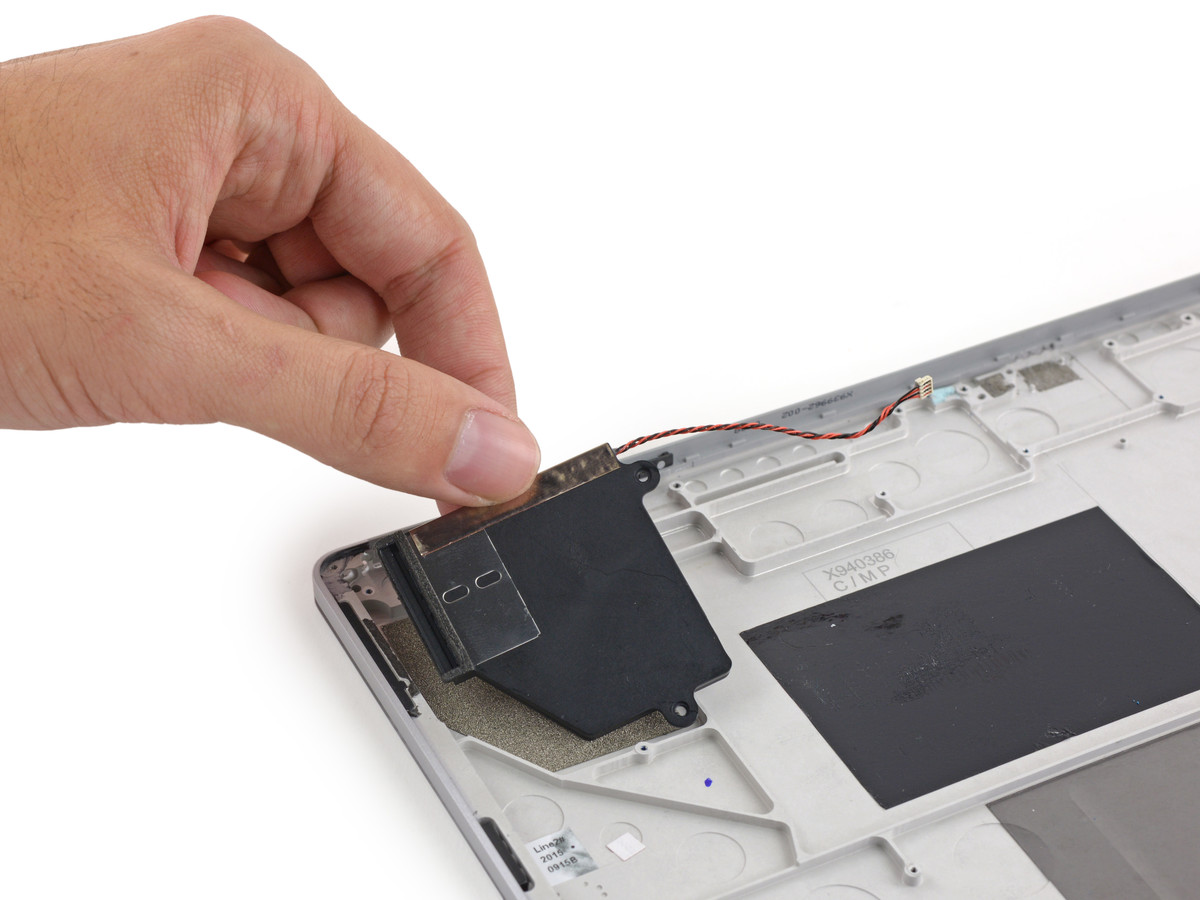
Disassembly of Surface Book's display is completed.
Then decompose the keyboard part.
Heat the back side with iOpener ......
First of all it is peripeliable anti-slip rubber on the back of the keyboard. There are not any screws here.
Then insert a thin plate ......
Paccari.
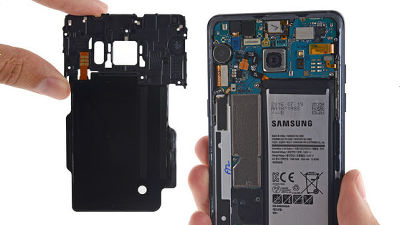
Batteries are tightly packed on the back of the keyboard. Battery is 51Wh, 7.5V, 6800mAh and the display side is totally different specification.
This is an SD card slot.
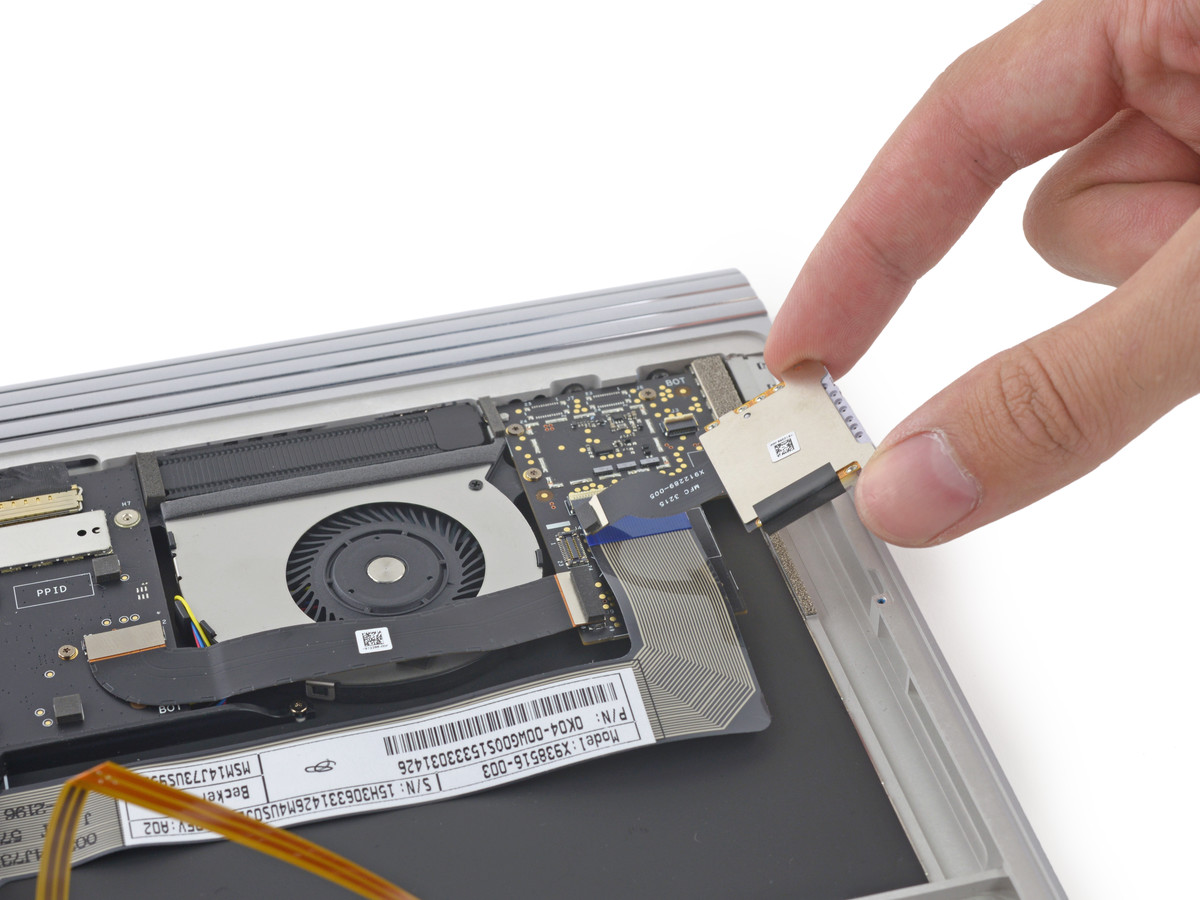
There is a board under it ... ...
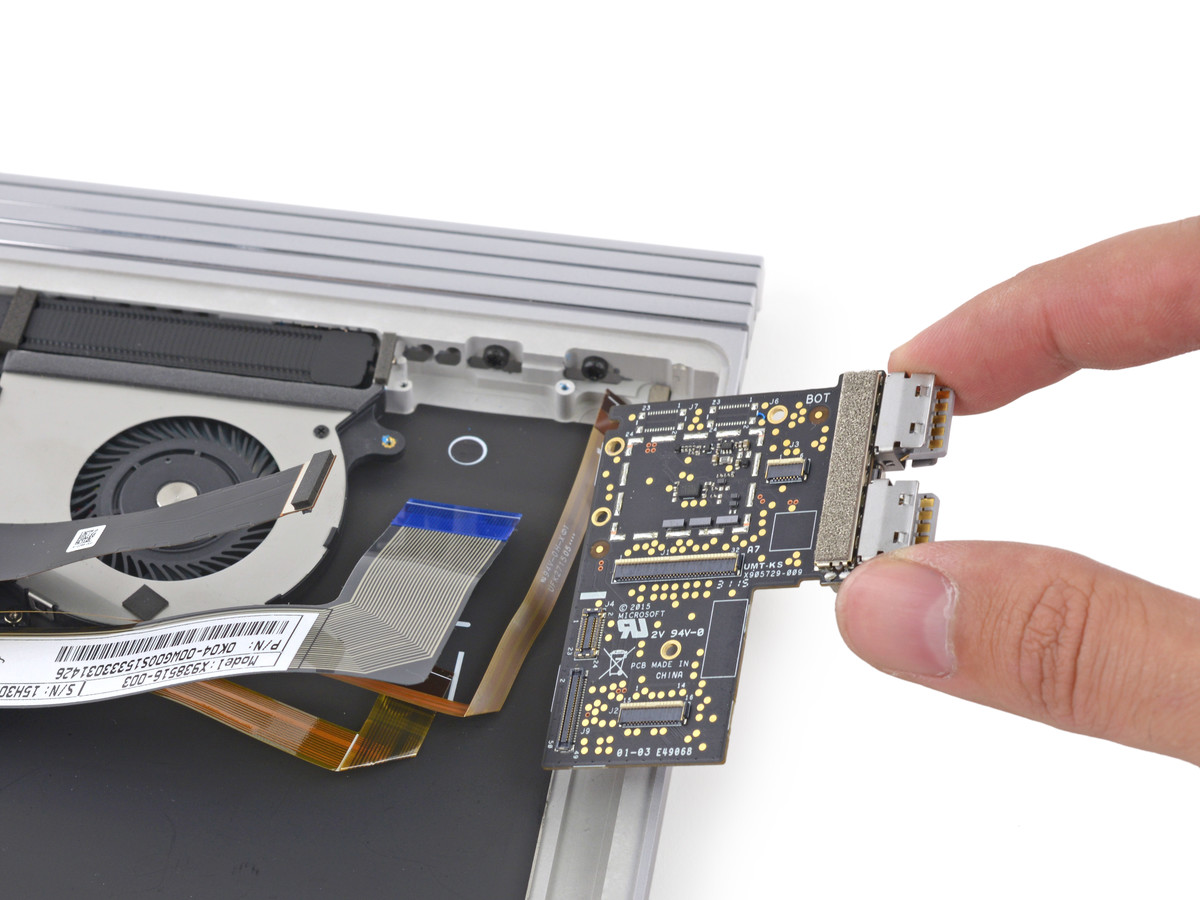
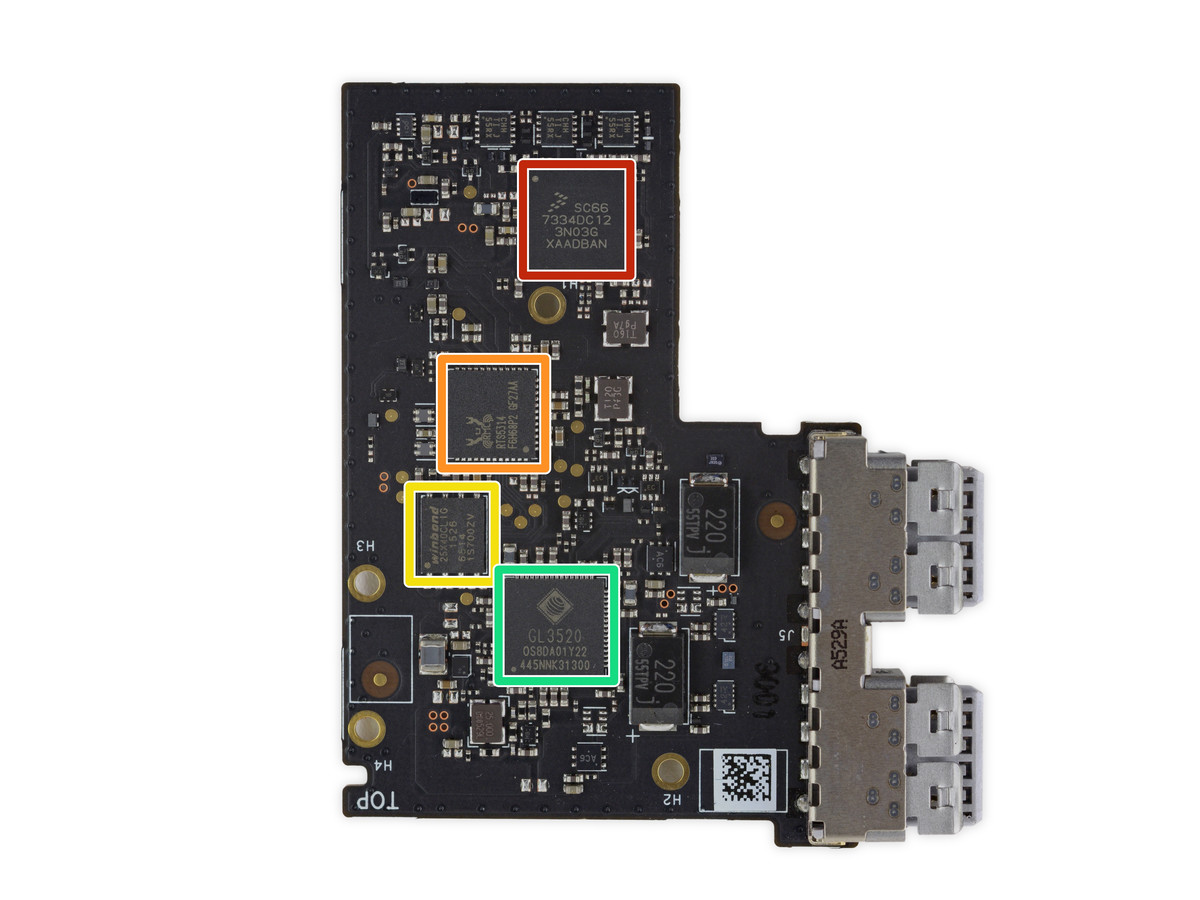
Freescale's "SC66 7334 DC12" in the red frame part, Realtek's SD card reader controller "RTS 5314" in the orange frame part, serial flash memory in the yellow frame part "25 X 40 CLIG", Genesys Logic USB 3.1 hub controller" in the green frame part "GL 3520"
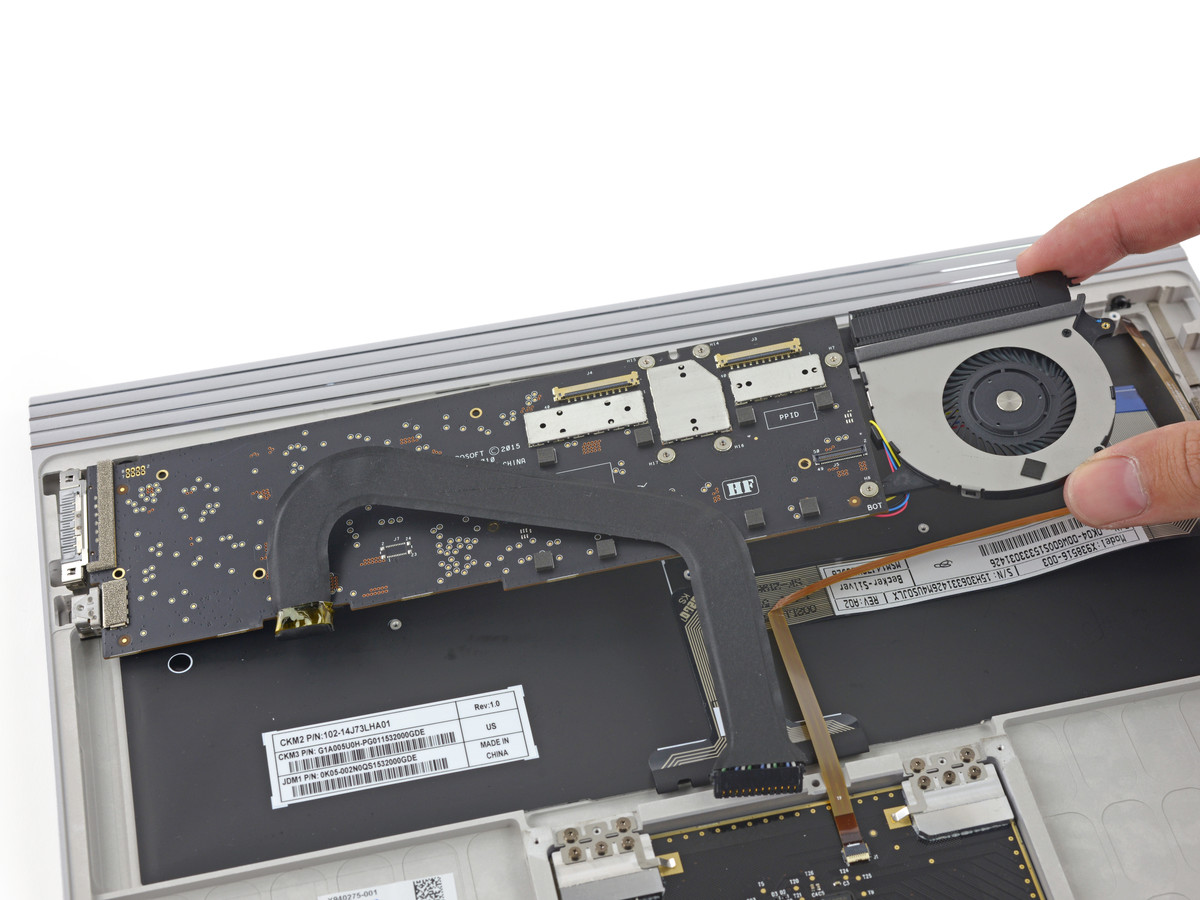
This is a GPU mounted on the keyboard part.
Remove the built-in heat sink and Apple's heat sink ......
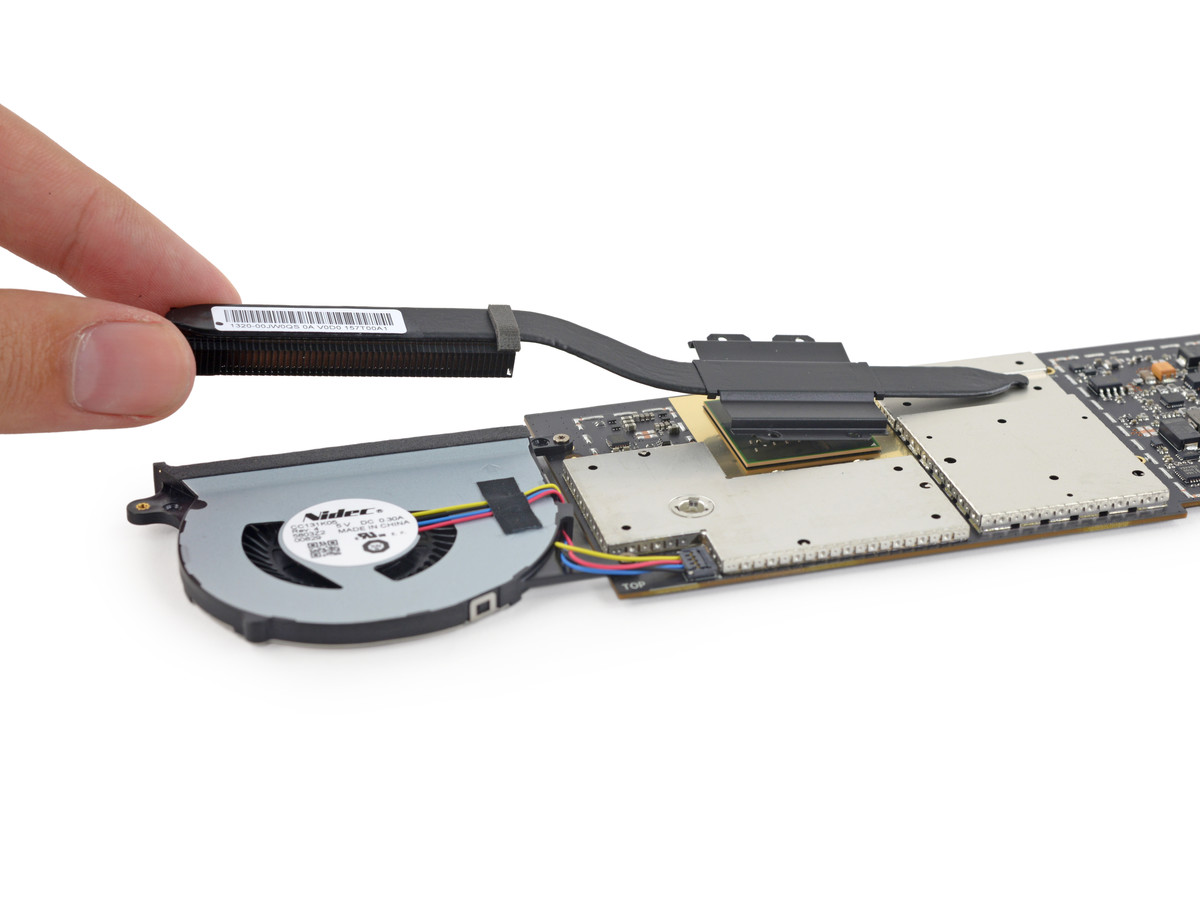
I also remove the fan.
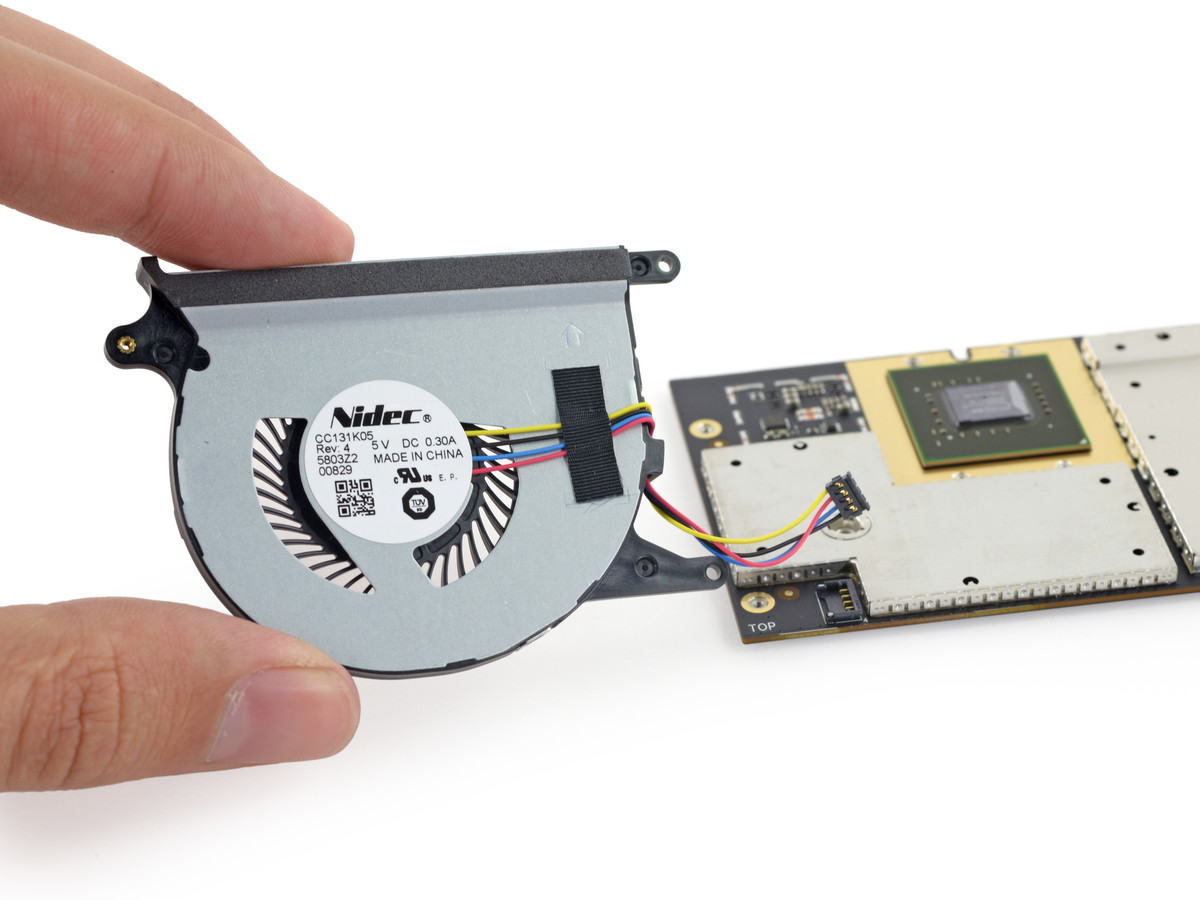
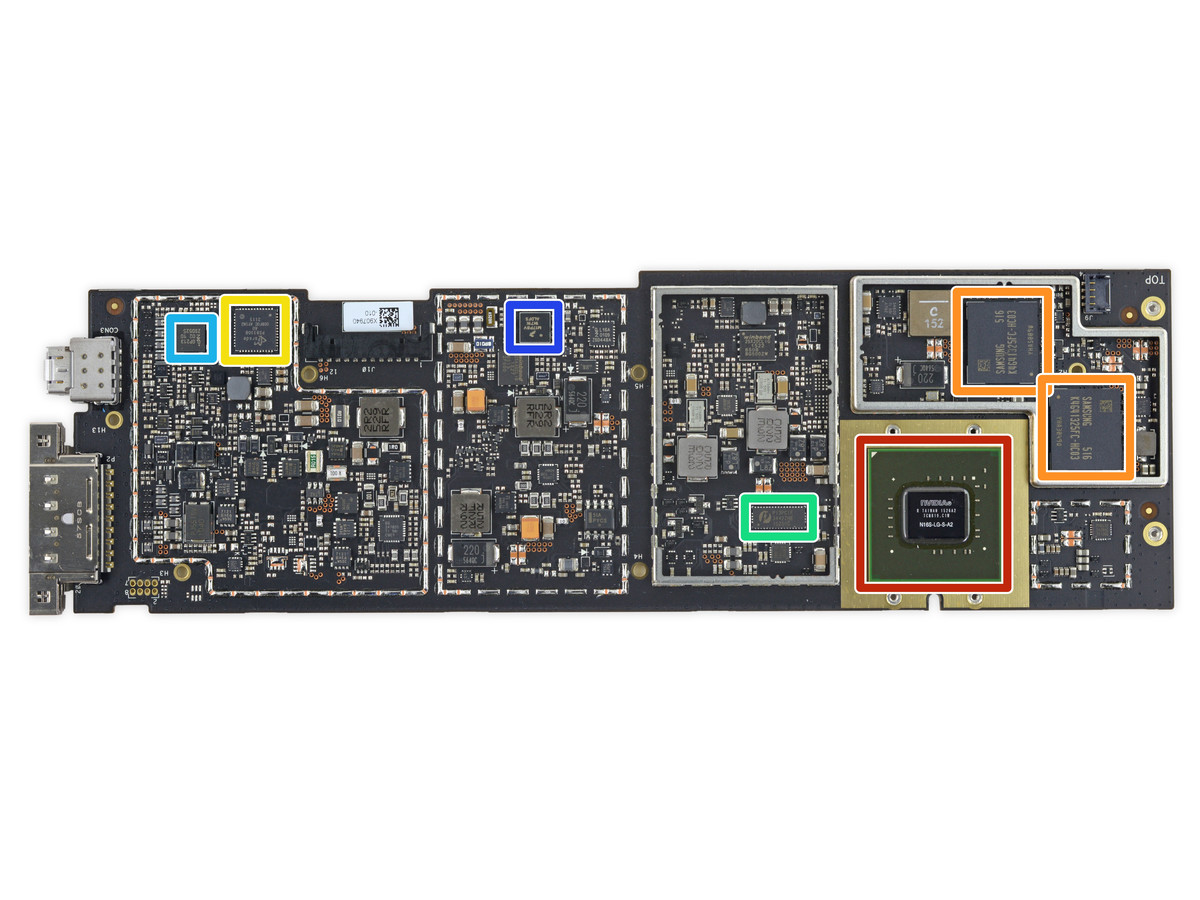
This is the GeForce GPU which was finally mounted on the keyboard part which showed its appearance. Though custom-made ones are installed,Equivalent to GeForce 940MAnd that. Nvidia's custom GeForce GPU "N16S-LG" in the red frame part, Samsung's 512 MB GDDR 5 Graphics RAM in the orange frame part "K4G41325FC", Parade's" yellow frame part "PS 8330 B", Pericom's"PI 3 PCIE, NXP's "light blue frame part"CBTL 06 GP 213 EEEFreescale's "(PDF file)KL 17"
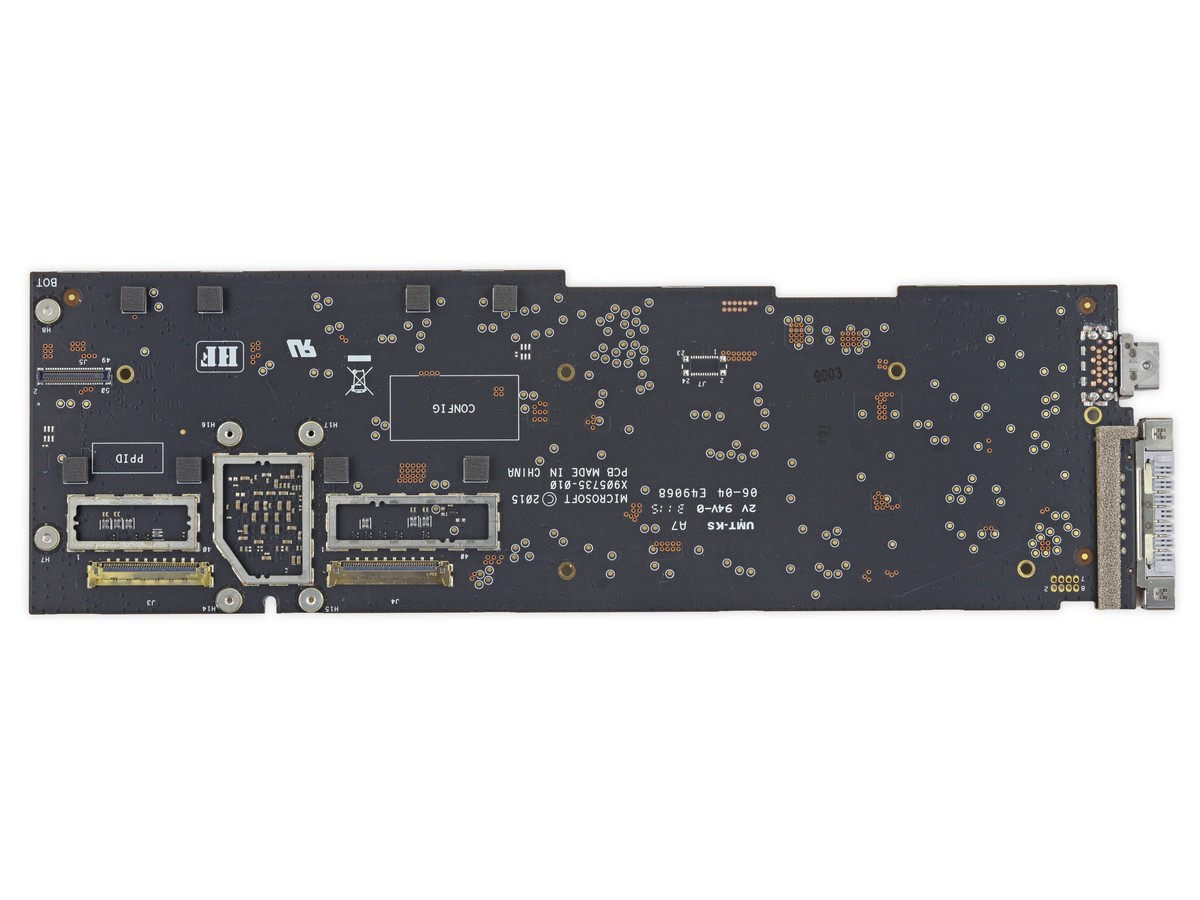
This is the back of the board.
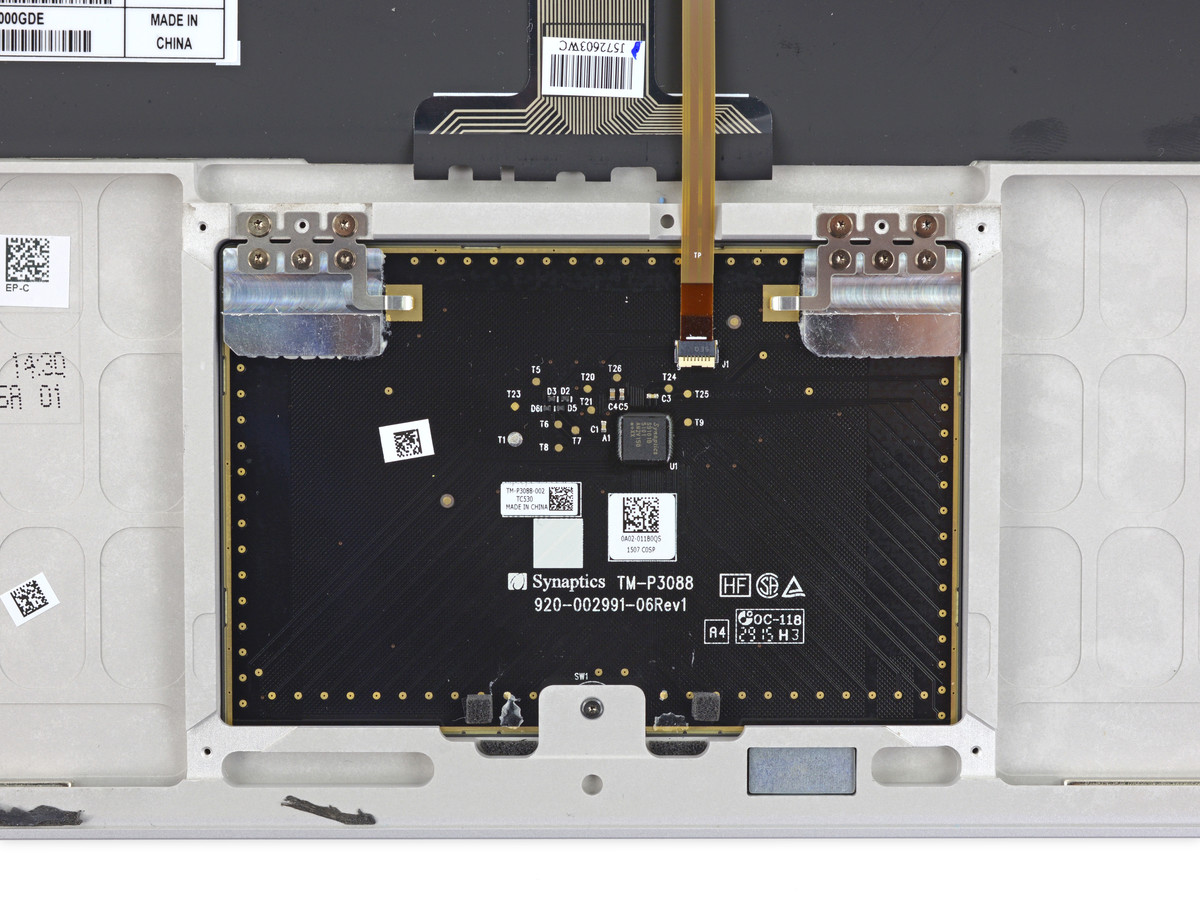
This is a trackpad.
Furthermore, remove the screw with Torx screwdriver to remove the hinge ......
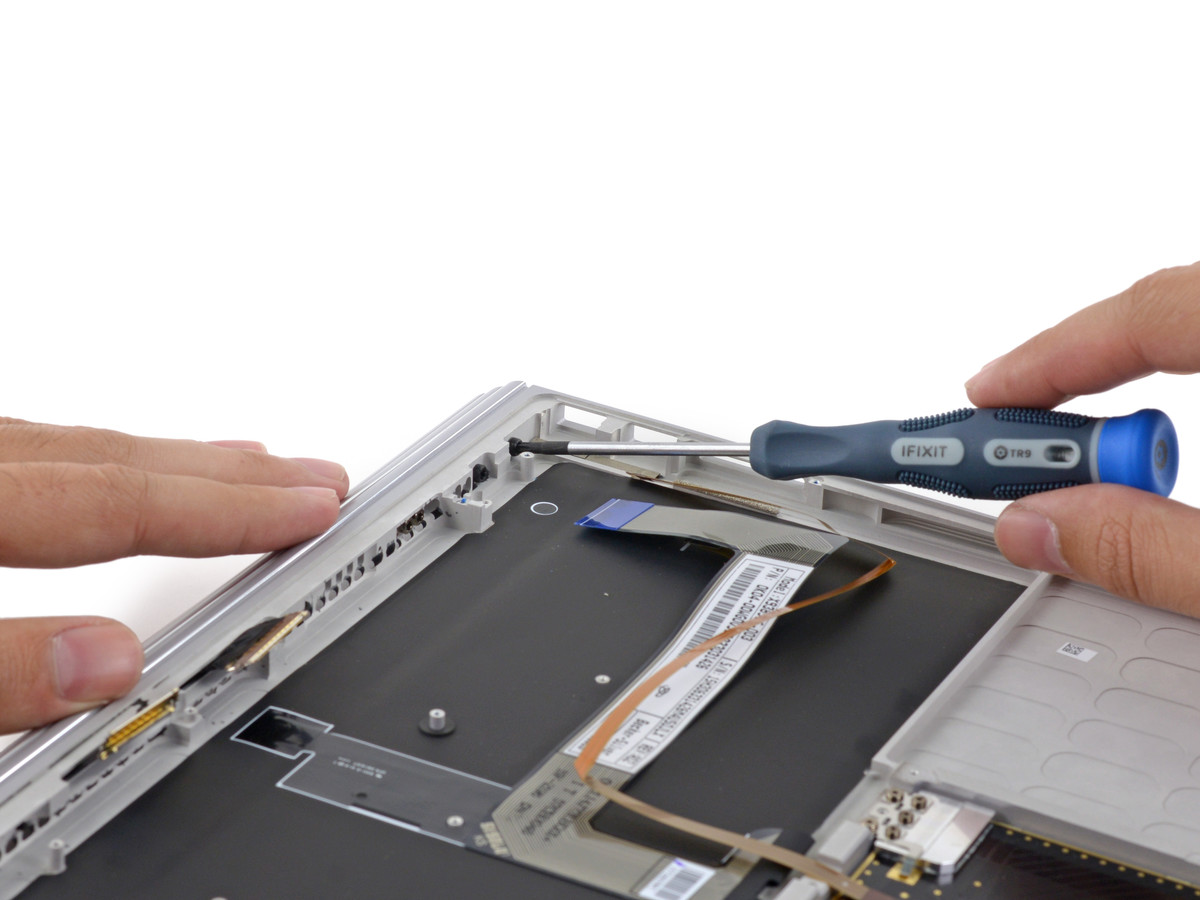
I also removed the cable that was connecting the hinge and keyboard ......
Finally the hinge is separated from the keyboard.
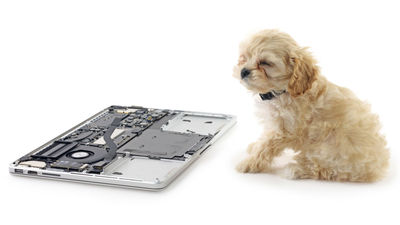
It is like this when disassembling the keyboard base apart. This completes all dismantling work.
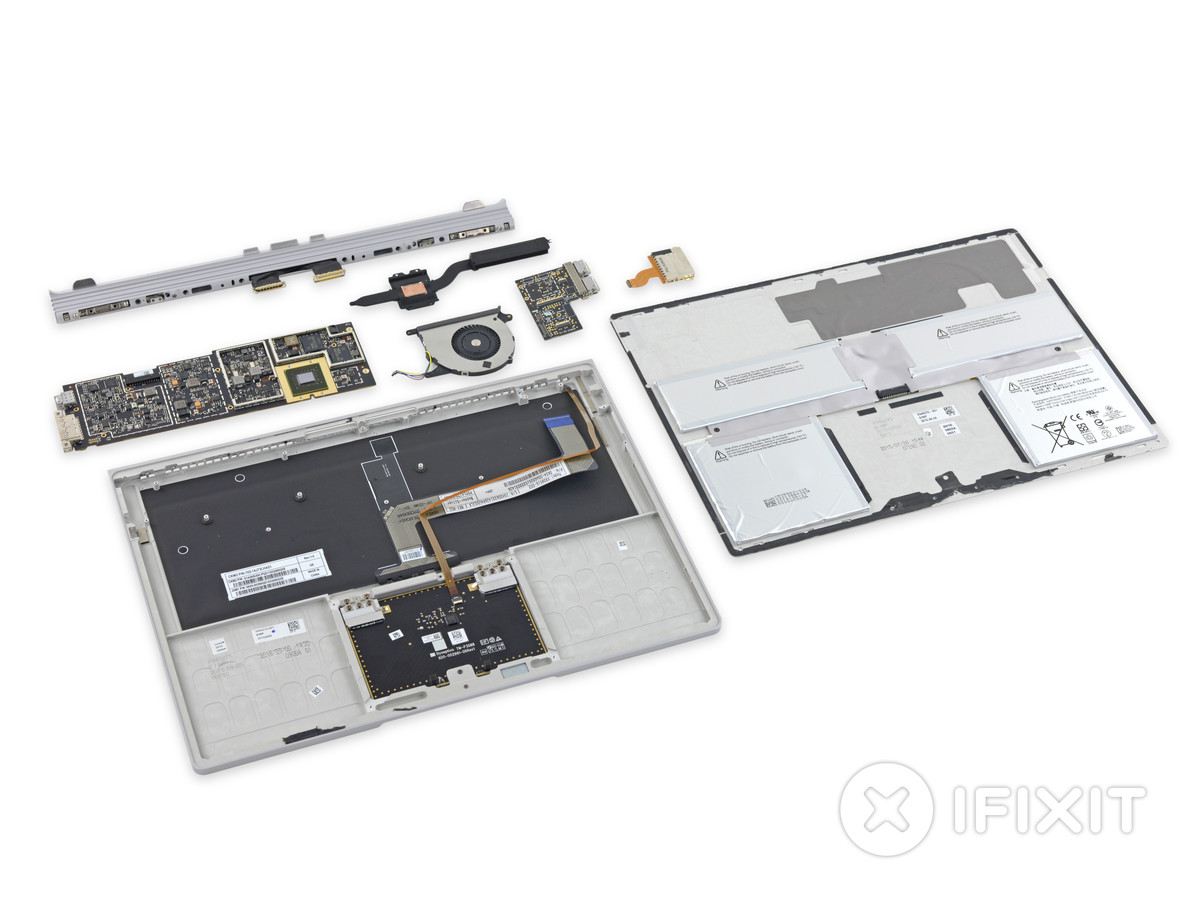
That's why repair difficulty certified by iFixit is "1", the highest difficulty of the 10 steps. About iFixit, it is difficult to repair Surface Book, "Access to SSD is bad", "Battery is firmly attached to display with adhesive" "Glass panel and liquid crystal display are together and disassembled "The point that the processor and the RAM are bonded to the motherboard" and "the point where many components are fixed firmly with adhesive" are cited.
The decomposition report of the movie version is also released.
Microsoft Surface Book Teardown Review! - YouTube
Related Posts:


in Hardware, Posted by logu_ii