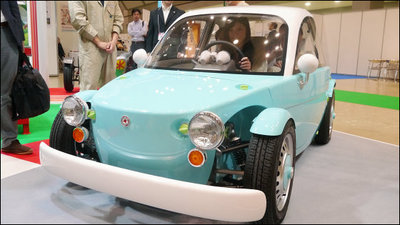
I tried assembling an "air engine car" that can blast for 50 meters with compressed air energy

A cool and unique machine that is eco-friendly, such as storing energy by storing air in a PET bottle and storing and releasing energy without using electricity or fuel at allAir engine carI tried assembling the summer holiday work regardless.
Air Engine Car [JS-7905] | Product Information | Electric Kits
http://www.elekit.co.jp/product/JS-7905
The air engine car package looks something like this.

Challenge age from 14 years old. The working time is about 4 hours.

Take out all contents from the box.

Side by looking like this. It is a kit like a plastic model.

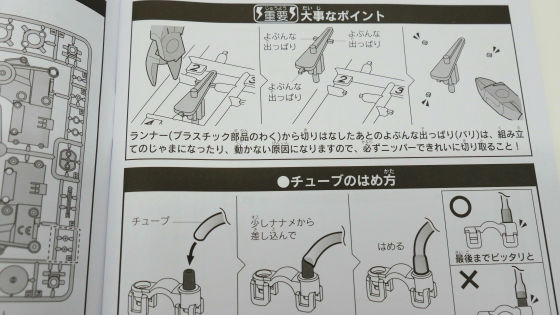
Because explanation is important point important because it is explained with illustration easily, it seems that even a person who is working for the first time such as a plastic model can make it.
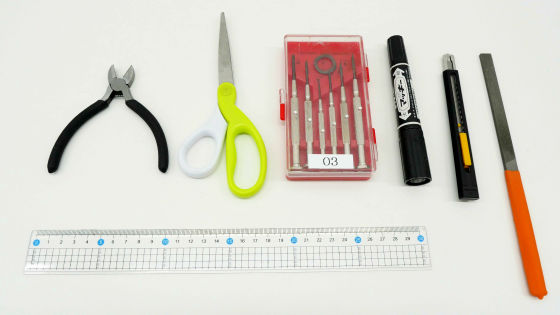
The tools necessary to assemble the air engine car are "Nippers" for cutting parts, "Scissors" for cutting tubes, "Drivers" for tightening screws, "Marking rulers" for measuring the length of tubes " Oil pen. In addition, if there is "cutter knife" and "stick file" to take the burr of the part, you can arrange the finish neatly.
Assembling the tube module
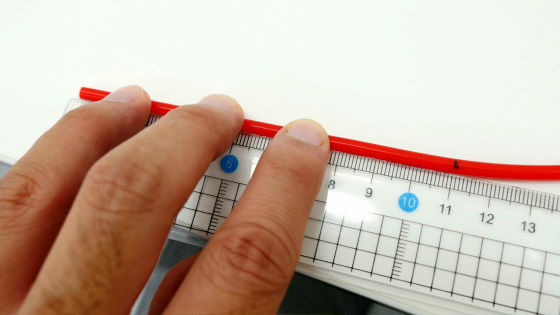
First cut two tubes to 11 cm. In addition, although the tube cuts in increments of 0.5 cm, there is about 2 cm extra, so it is better to cut a little longer.
Cut the part "A2" with the nipper and remove the burr with the cutter knife.
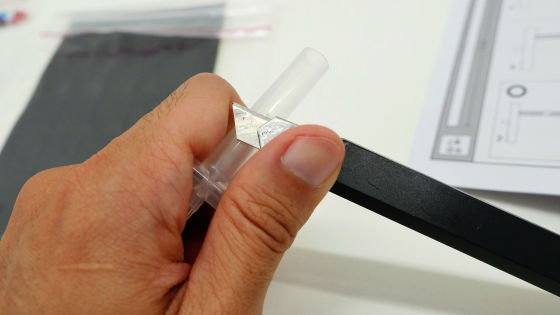
Connect "A2" and "A4" with an 11 cm tube. I will make two sets of this.
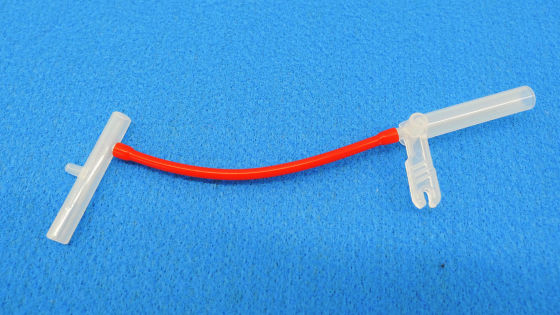
The important point is to insert the tube firmly all the way in.
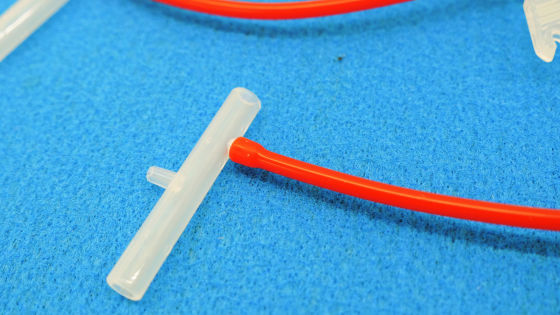
Cut two 9 cm tubes and connect to "A 5".
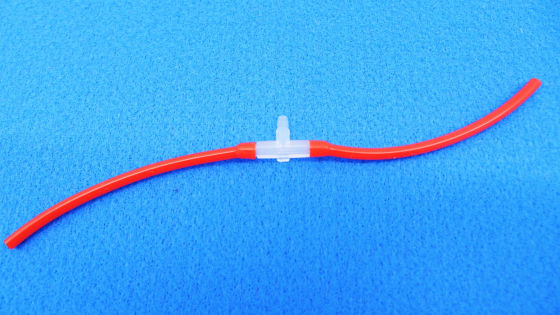
Connect "A2" "A4" "A5" as below.
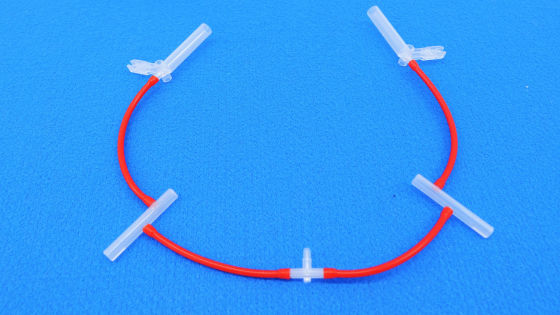
When extending horizontally with pins, it is the correct connection method that each part points in the direction as shown below.

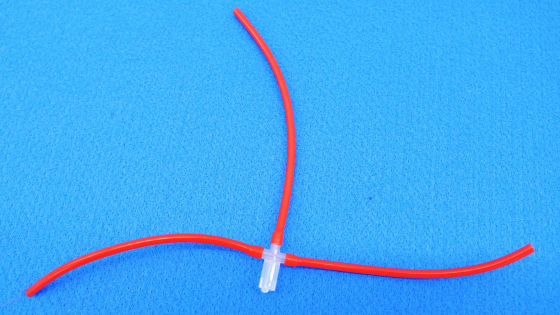
Connect the 11.5 cm tube to the left and right to "A1".
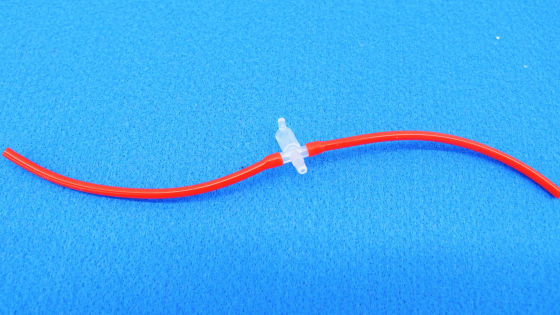
Connect a 14 cm tube in the middle.
Connect the A1 to the yellow part "B1" as below.
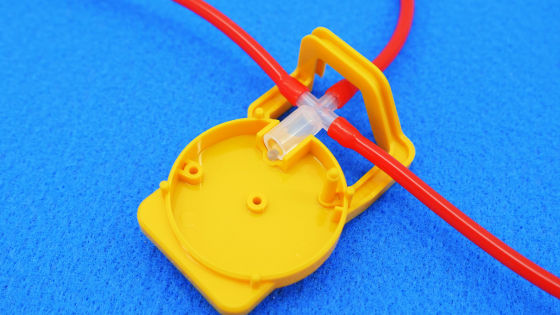
Then take out the air tank ... ...

Paste the sticker around the circle about 5 centimeters away from the mouth.

Set as "B3" with packing attached to the bottle cap ... ...
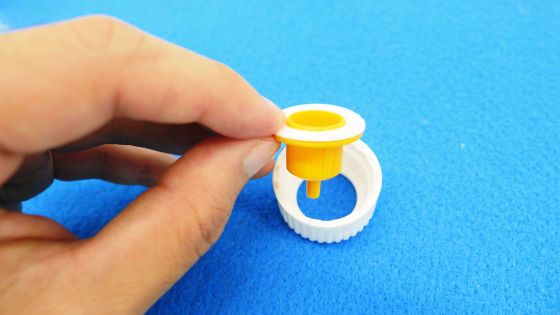
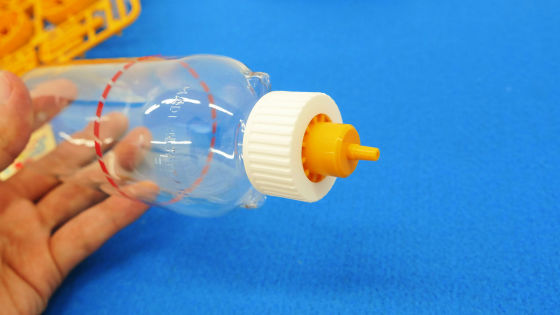
Firmly attached to the air tank.

As air leaks if you do not tighten it, it is important to fasten tightly.
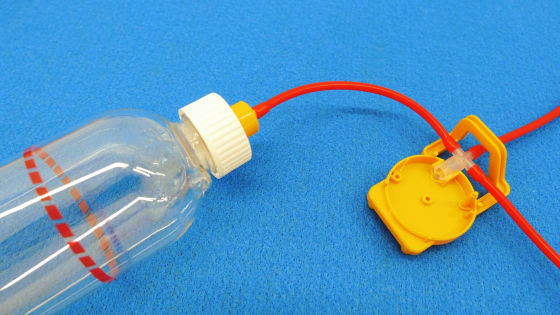
Connect the left and right tubes of A1 to B3.
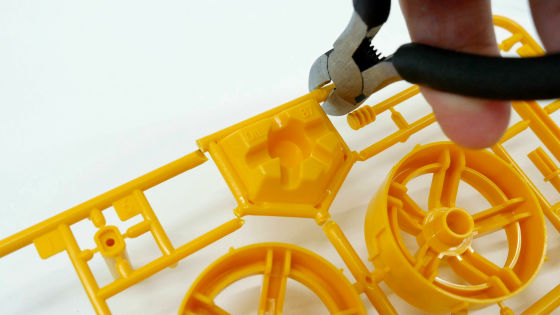
Here, prepare the oil to be coated on the moving part. Cut out "B7" ... ...
Pour half of the supplied oil.
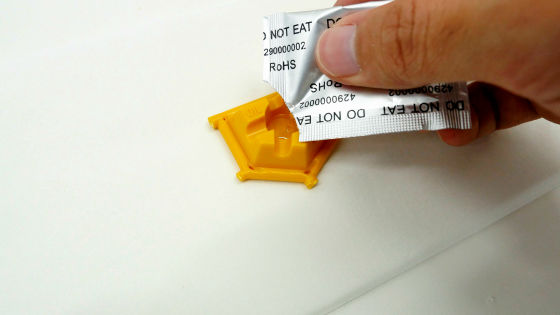
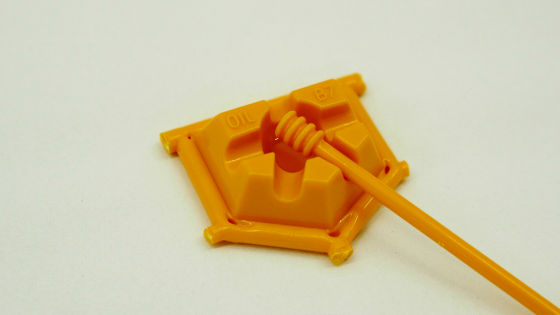
Oil is painted using bar-shaped parts "B8" OK.
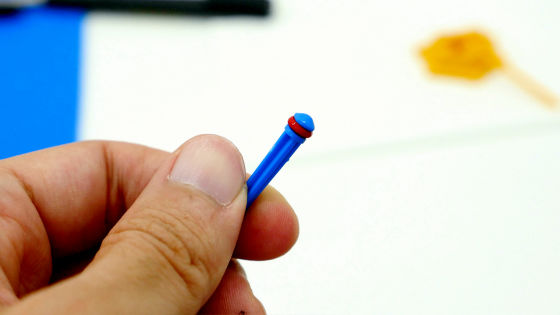
Piston ring (red) is attached to "D16" and oil is painted on the piston ring.
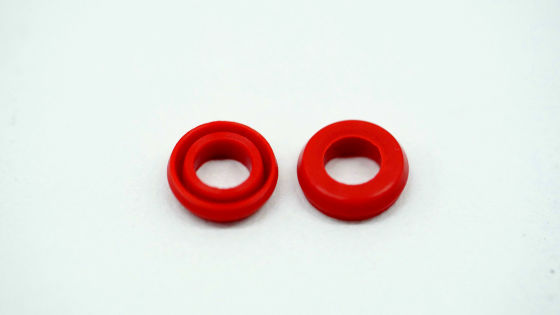
The piston rings (red) have front and back sides. Care must be taken when installing D16 in a direction without grooves when viewed from above.
Insert D16 into A1. I will check if it moves smoothly.
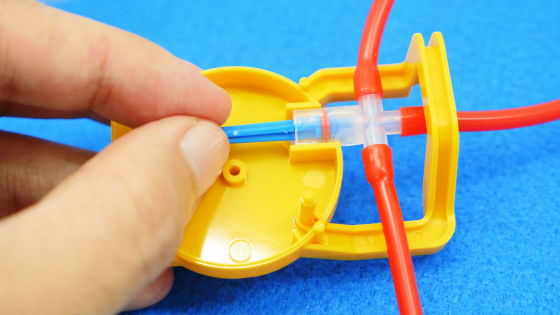
Attach "D12" and connect it to the end of D16.
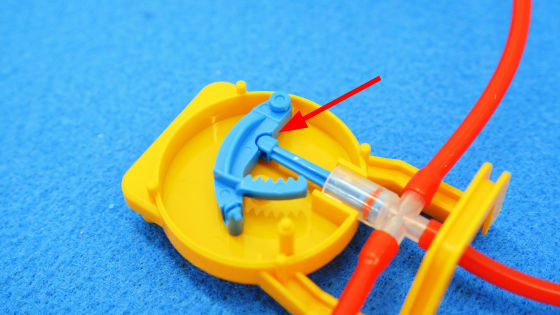
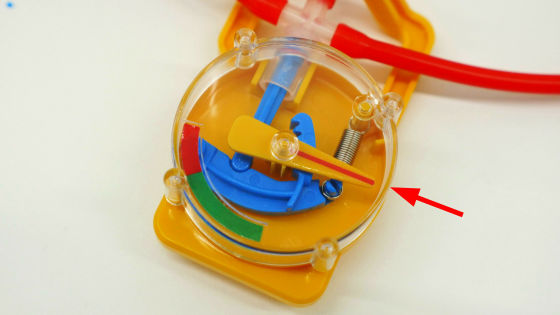
Attach the attached spring.
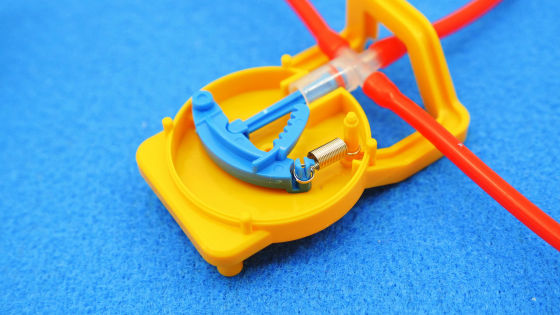
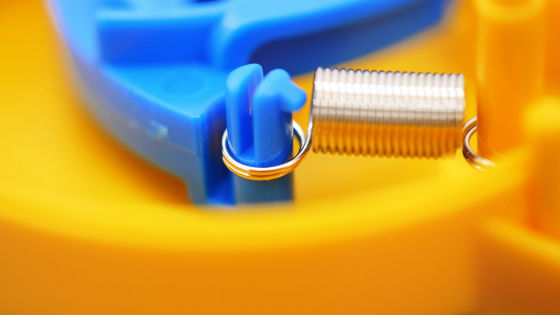
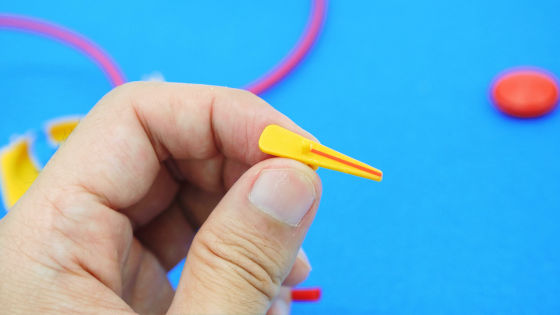
Paste the red line on the tip of "B2" with a sticker.
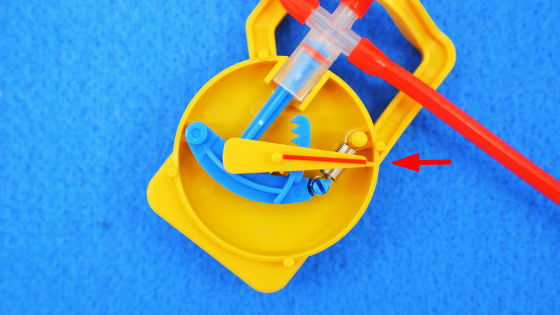
Adjust so that the tip of B2 is aligned with the mark on B1.
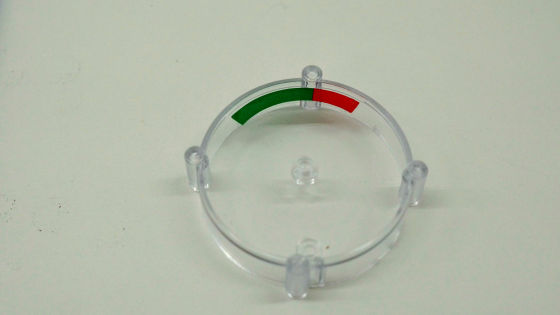
Paste green / red stickers on "E1" ... ...
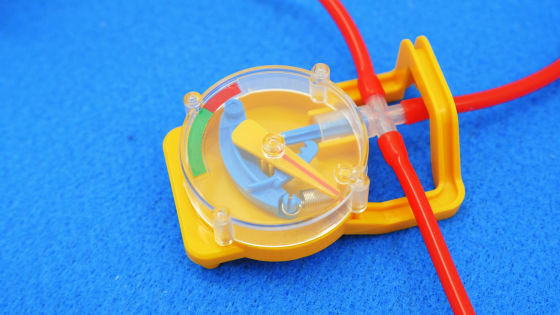
Set to B1 and the meter is completed.
· Assembling the pump
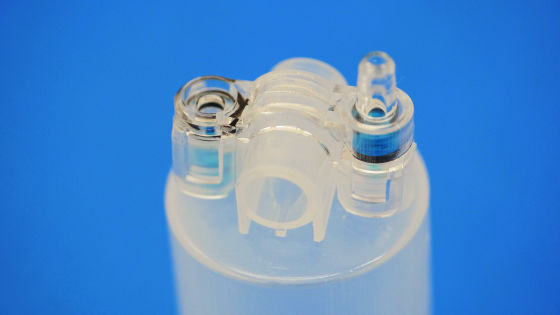
Set to place O ring (black) on "E2".
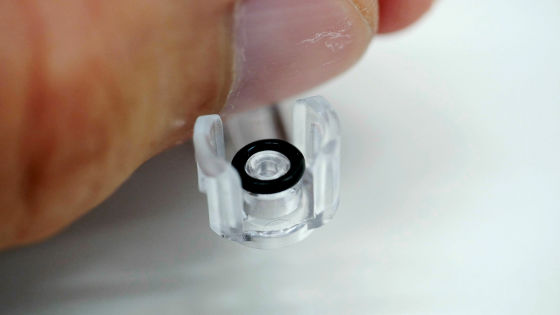
Next, set the O ring (black) also for "A3". It is OK enough to load lightly.
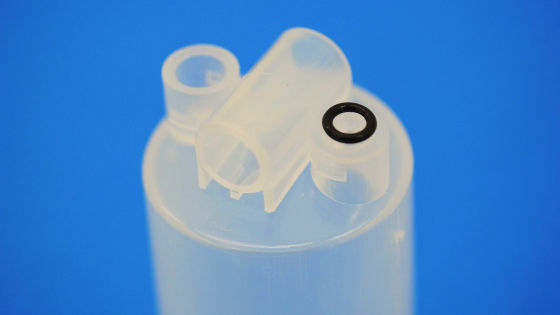
An air valve is installed from above the O ring.
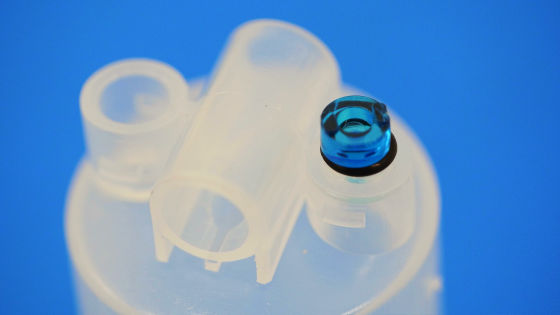
Insert the air valve in the opposite direction and into the other hole.
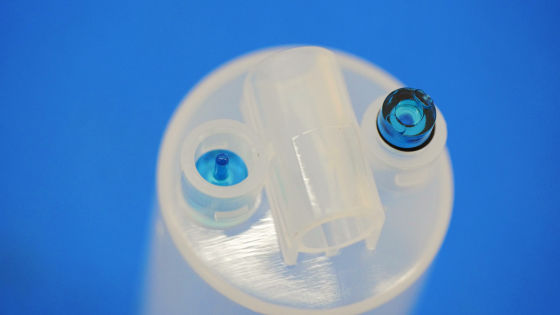
Cover the E2 with the O ring set up from above and push it firmly until it snaps and mount it.
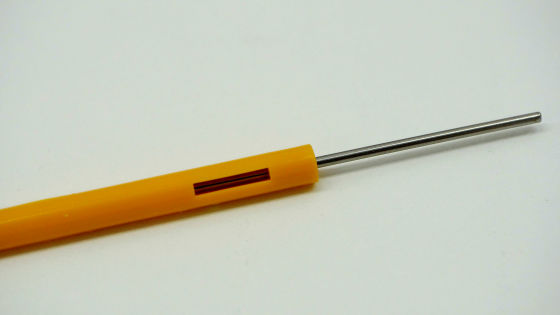
Insert a round shaft (thin) in "B14" ... ...
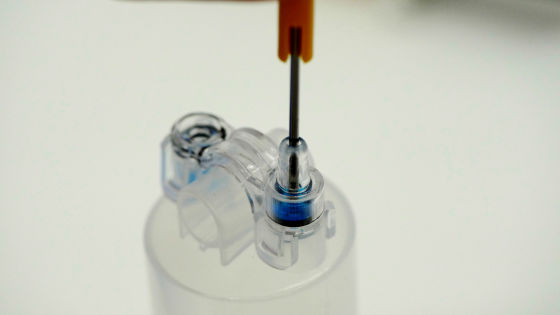
Adjust the O-ring so that it is level on the shaft part.
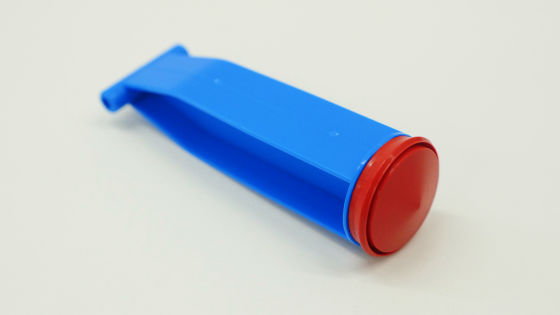
Apply large cap (red) to 'D4' and apply oil ...
Insert in A3. Here, make sure that the piston D4 becomes difficult to move when the air valve is closed with fingers. If movement does not change, it is necessary to reassemble it because air is leaking.
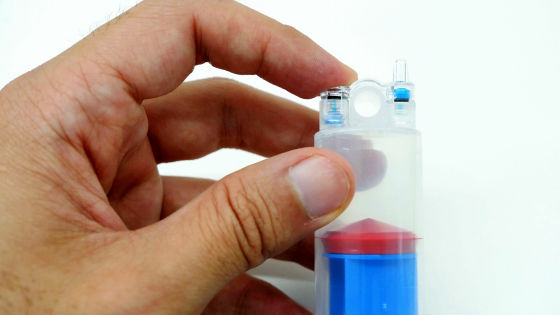
Connect the tube module and pump as shown below.
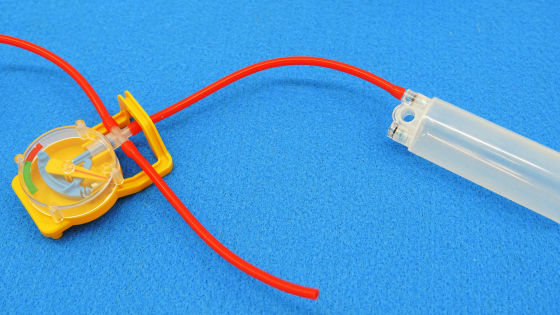
Check the air leakage here. Plug in one of the tubes so that it is bent into the hole of the pump.
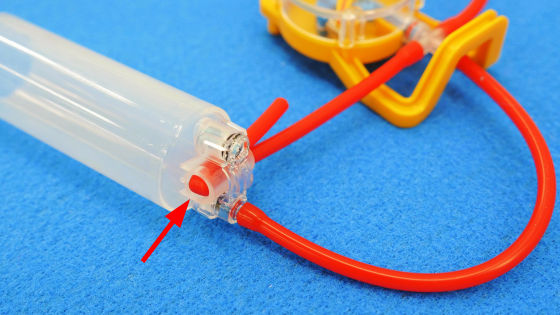
In this state, put the pump 20 to 30 times in and out.
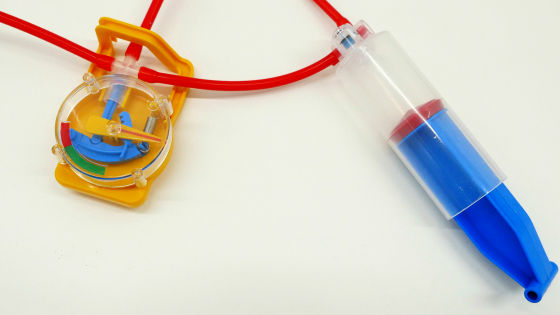
OK if the meter needle moves. If it does not move, you need to reassemble it as air is leaking.
Here, once unplug D4, leave it to B7 and keep it.
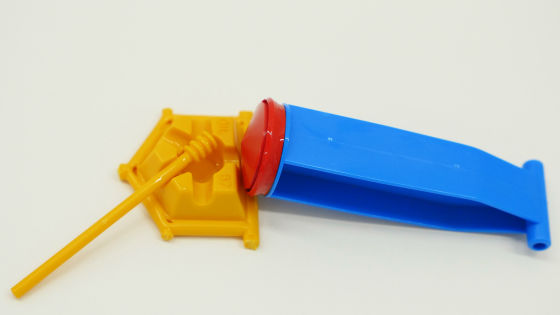
· Assembling the car body
Insert the hexagonal shaft (short) into "D5".
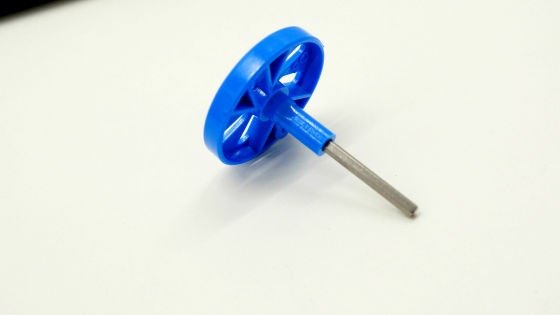
Attached to "C6" so as to pinch D5 and "D2" from both sides. In addition, D2 and D5 are installed so that the hole positions are 180 degrees opposite.
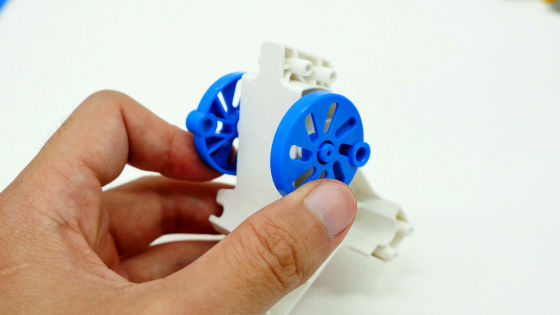
Put "C3" in C6.
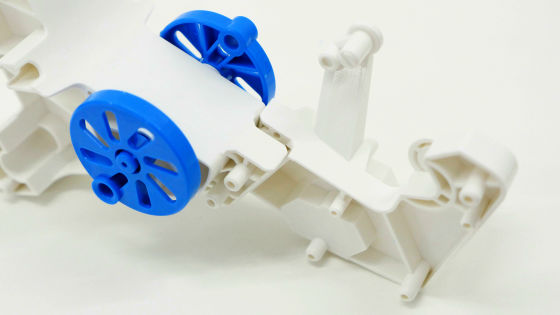
Fit securely so that there are no gaps in the coupling part.
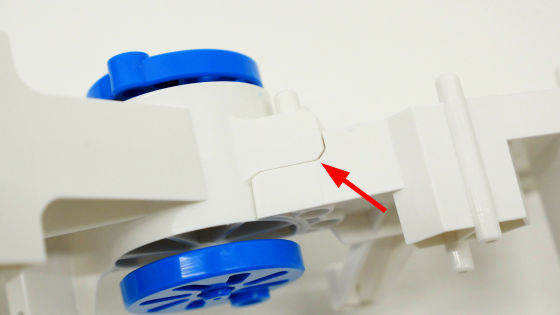
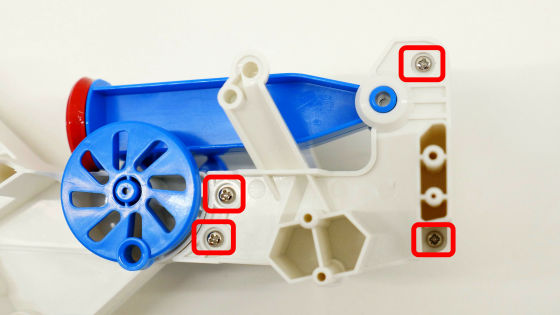
Fasten with the attached tapping screw.
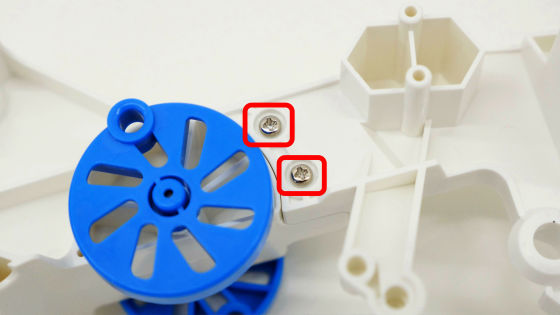
I put the D4 that I kept.
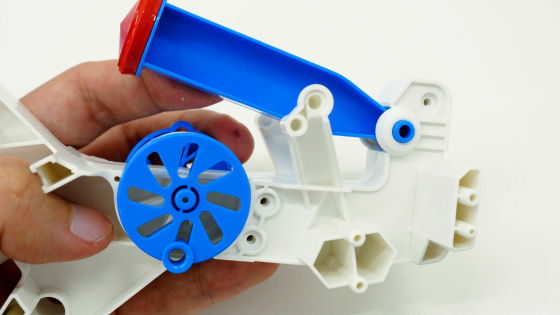
Install Cl and secure with tapping screw.
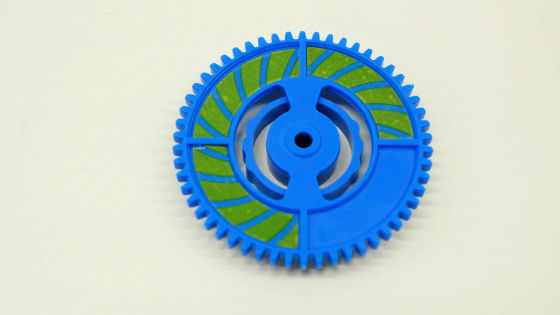
I attached a sticker to D7. Since it is a gear part, it is necessary to carefully remove the burr.
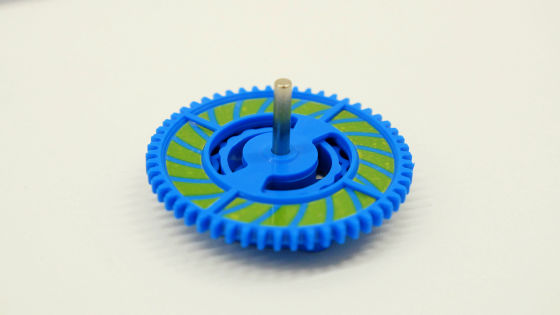
Insert a miso-free round shaft.
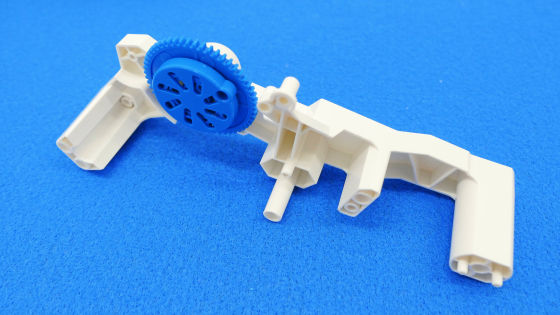
Gear is attached to C2.
Gear "D1" has a misozable shaft inserted.
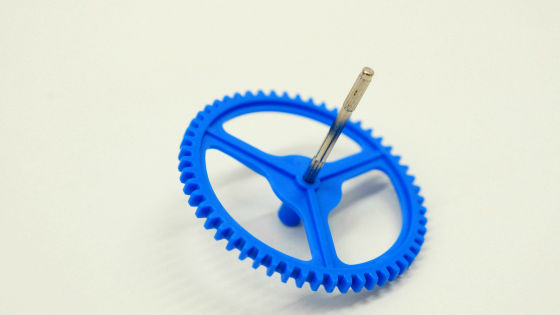
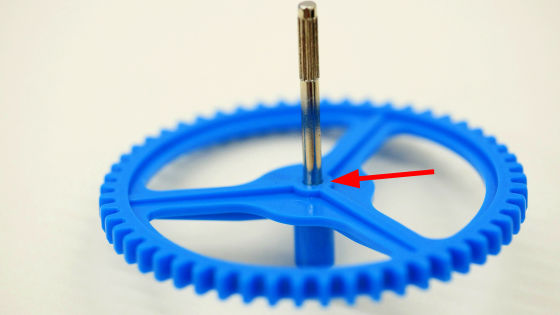
Hammer and so on until you can not see the miso.
Insert the gear in C2 ... ...
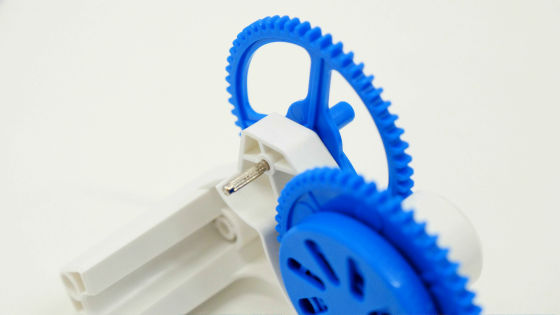
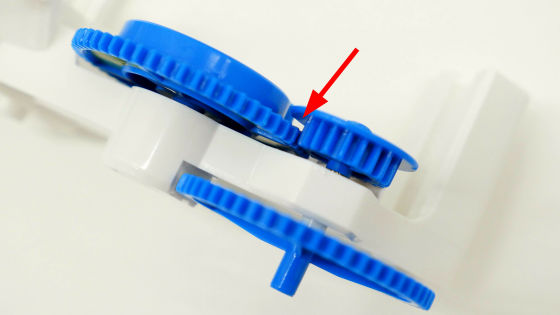
Insert "D13" with a hammer and cover.
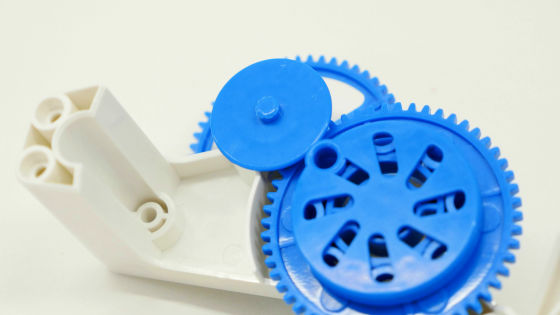
Confirm that the gears are engaged.
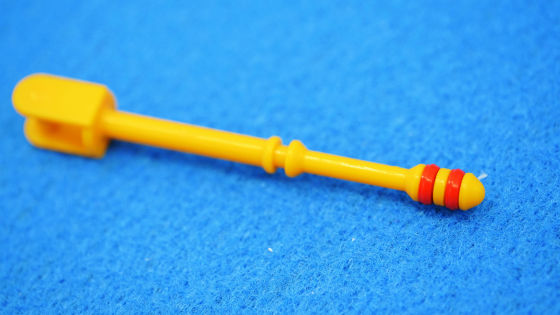
Two piston rings (red) are attached to the tip of "B13".
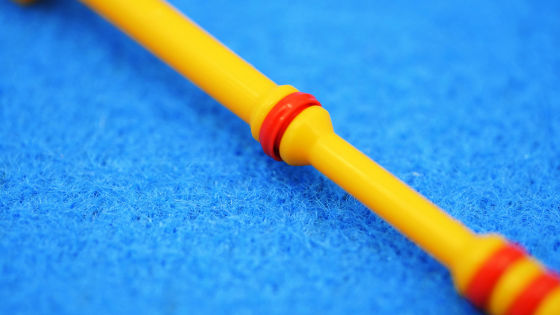
Also installed in the center of B13. In addition, the central piston ring is different from the two tips, and attention is required to install it in the direction where the grooves can be seen when seeing from above.
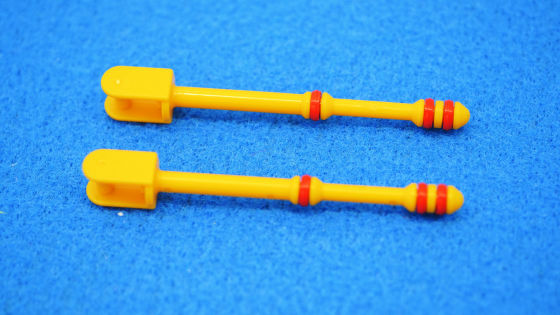
We will assemble two sets.
Next attach a small cap (red) to the tip of "B10" ...
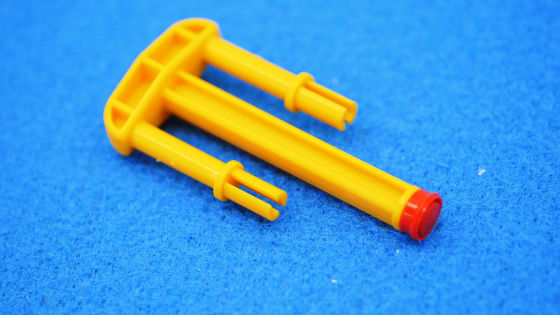
Fasten "D8" and fix with tapping screw.
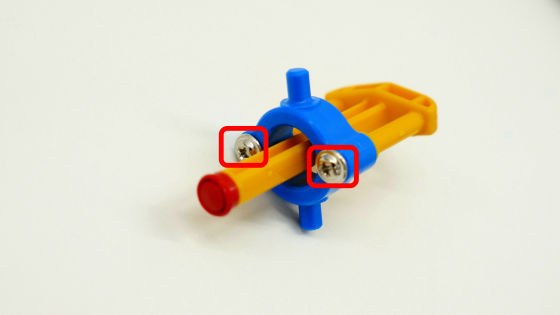
"D9" is installed so that it fits the miso of A2 of the tube module.
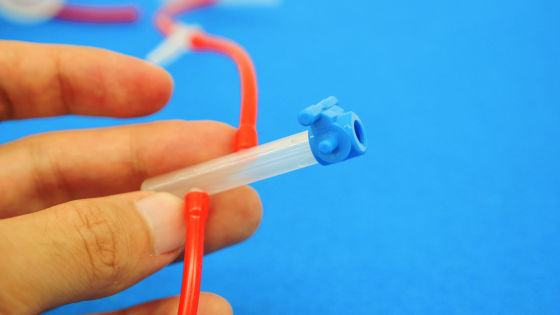
I insert B13 I made earlier.
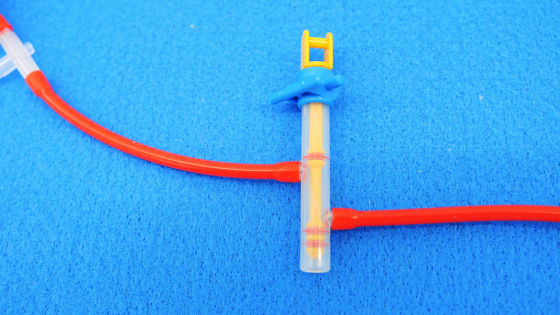
Have B10 ... ...
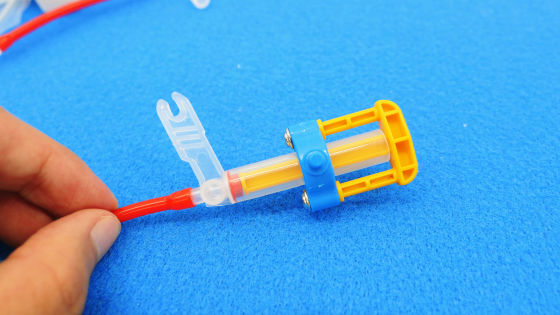
Fits in A4.
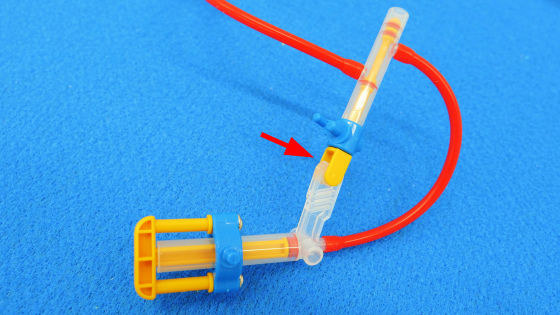
Like this.
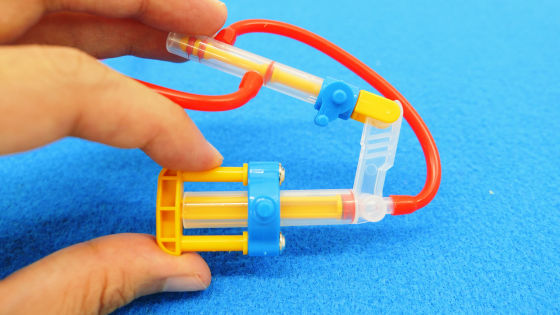
Turn the gear so that the round hole of D 2 is down ... ...
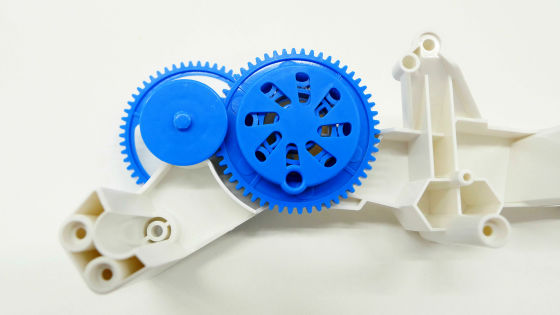
Tube module installed.
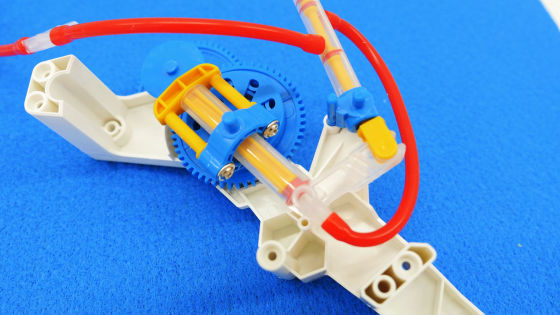
It also coalesces with the pump part.
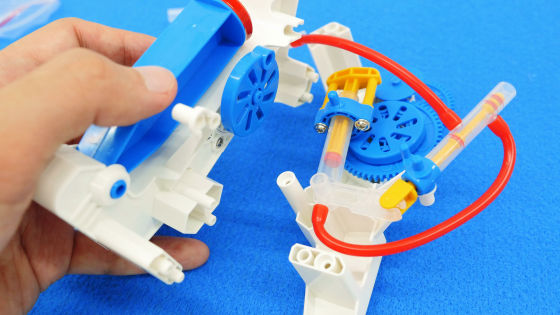
The car body gradually finished.
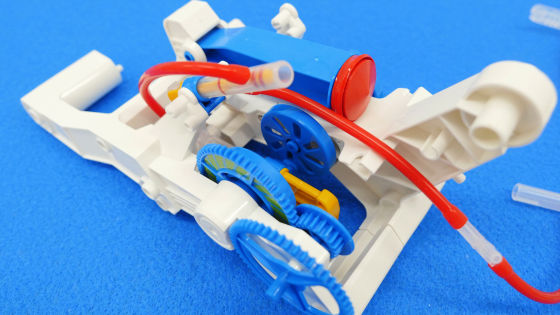
Fix it tightly with a tapping screw.
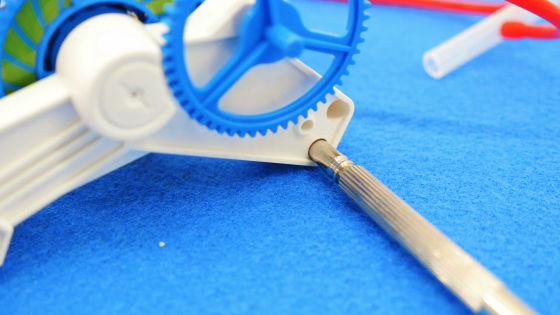
Subsequently installed "D17" which becomes a grip when lifting the car body.
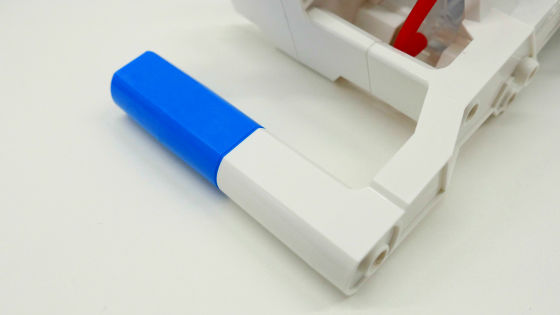
Attaching "B4" ... ...
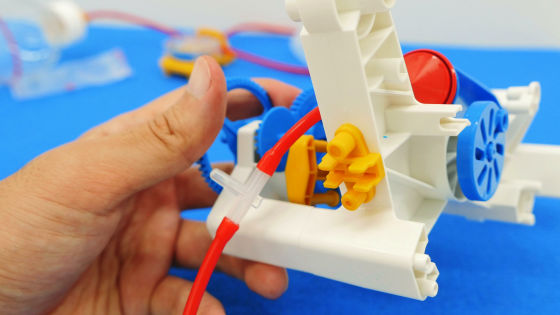
Fix the tube.
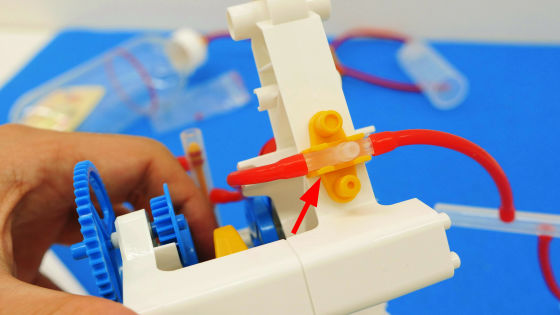
"D14", B13 is also attached to the other tube.
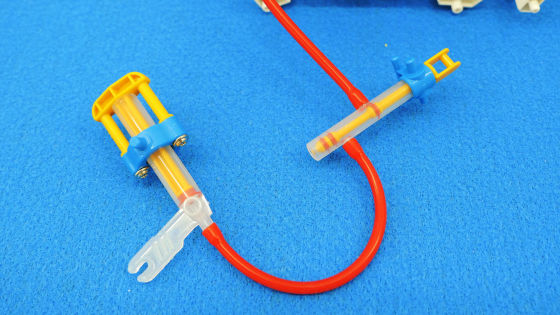
Combine them ... ...
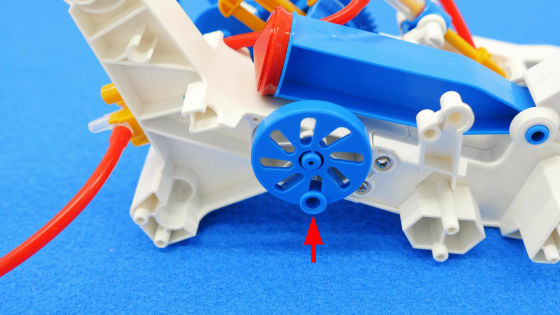
Make the round hole of D5 down ......
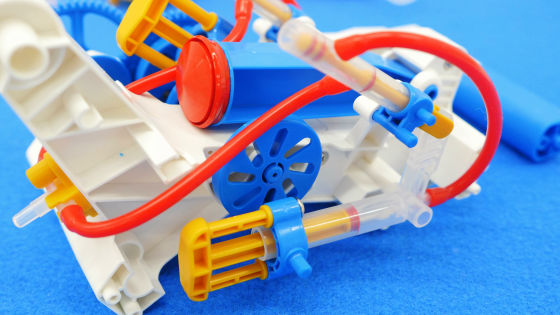
Install the tube module.
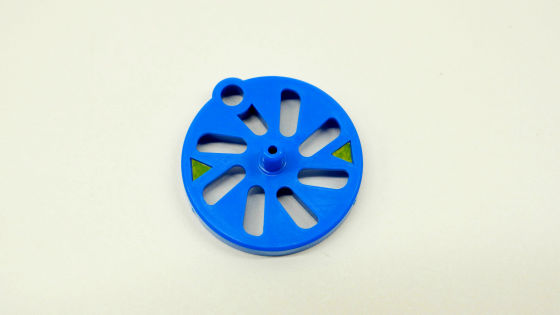
Put a yellow sticker on "D6" ......
Attached to "C4".
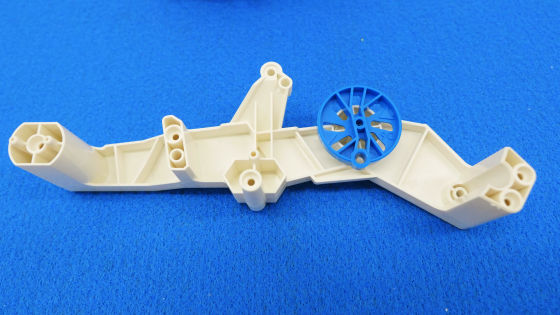
Attach C4 to the car body ......
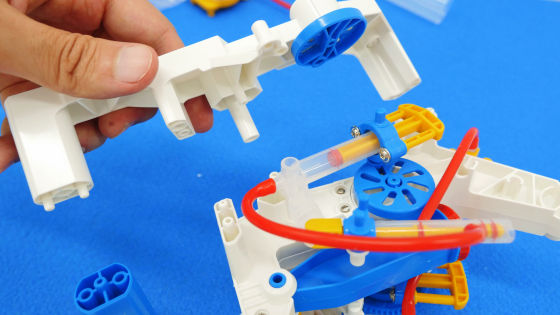
Fit it firmly.
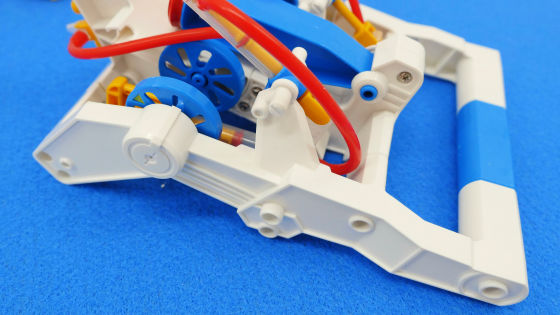
Be sure to fit the tube firmly into the groove.
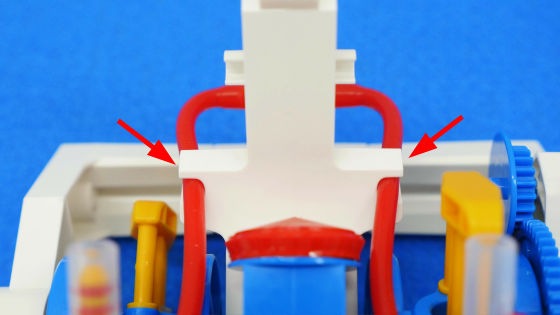
Insert A3 into D4.
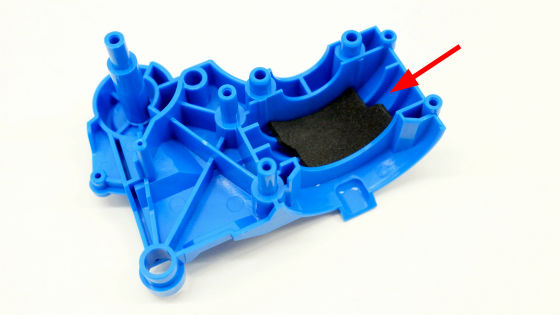
After attaching the sponge tape to the indentation on the back of "D10" ......
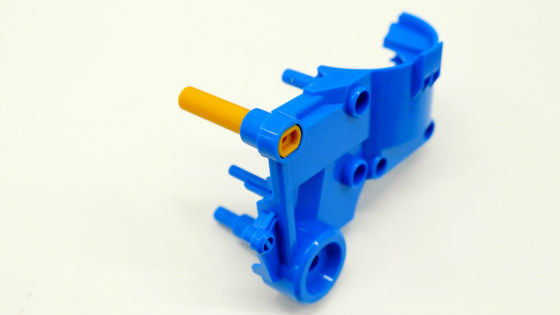
Insert "B6".
Install "D19" "D18" × 2.
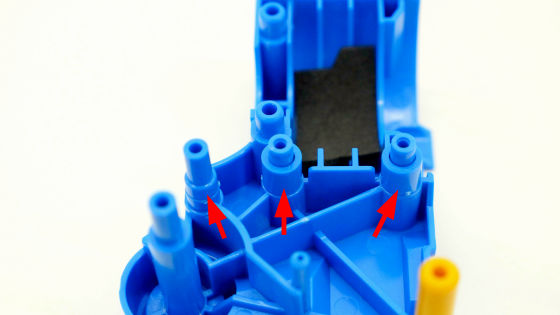
Through the tube as shown below ......
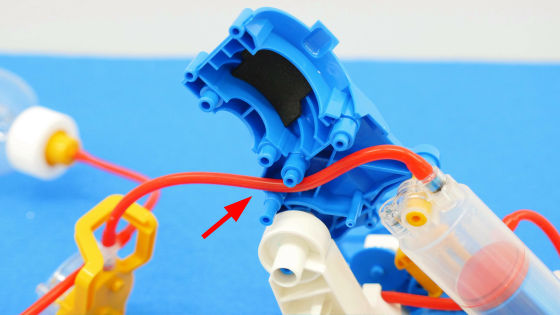
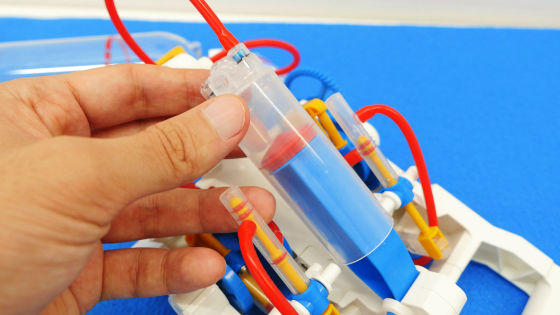
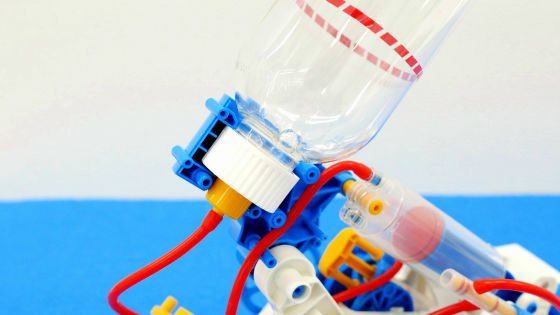
Fit an air tank.
Paste the sponge tape on "D11" ......
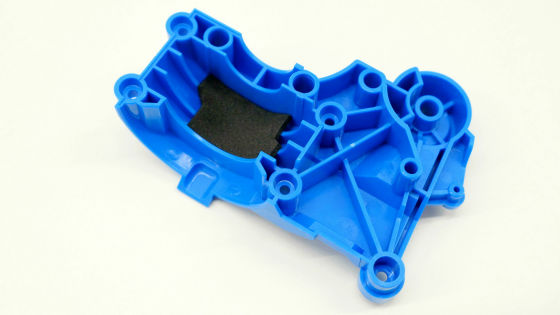
Combined with D10.
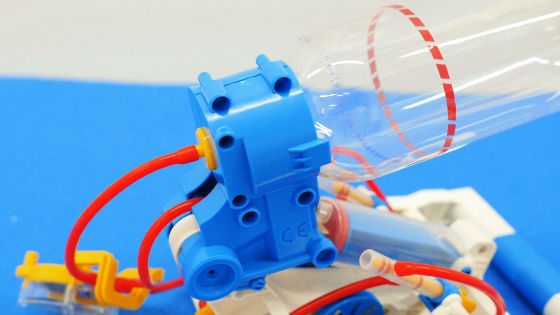
In order to firmly fix the air tank, set the tapping screws in 6 positions.
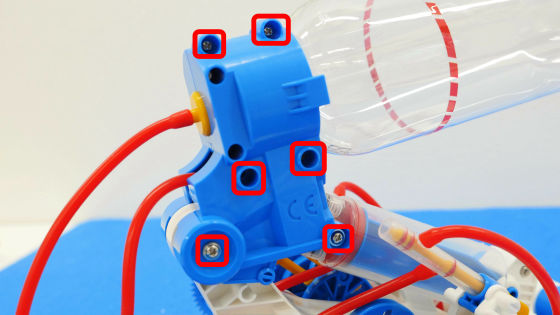
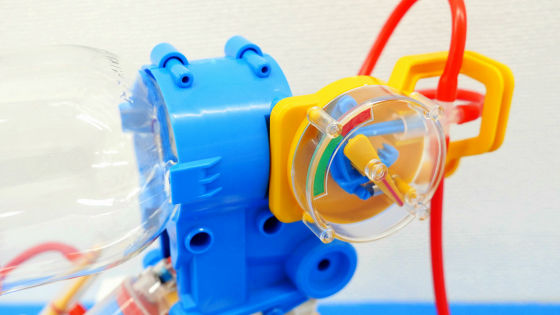
After that I attached the meter to the D 10 side ......
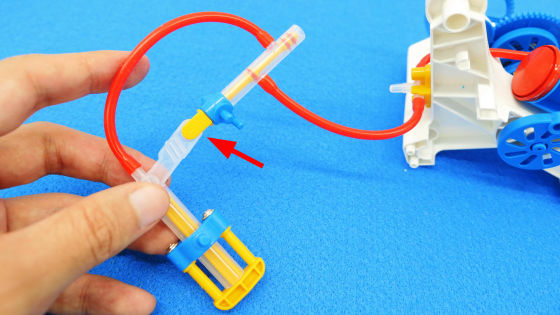
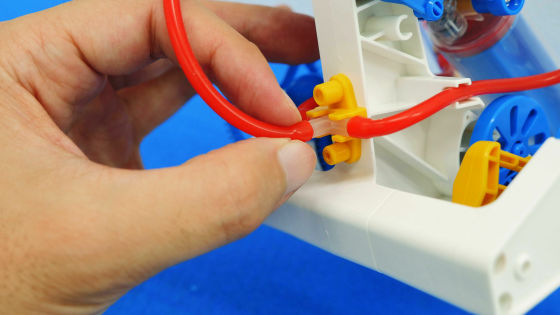
It is OK if you attach the remaining tubes to A5.
· Tire wearing
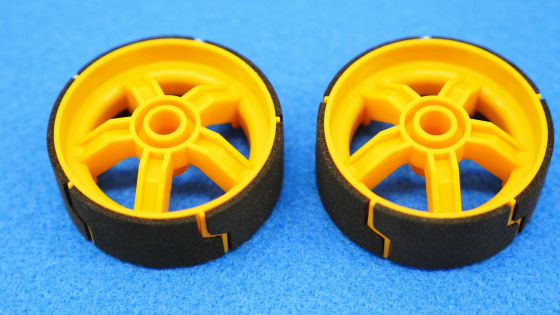
Attach the sponge tape to "B9" ...
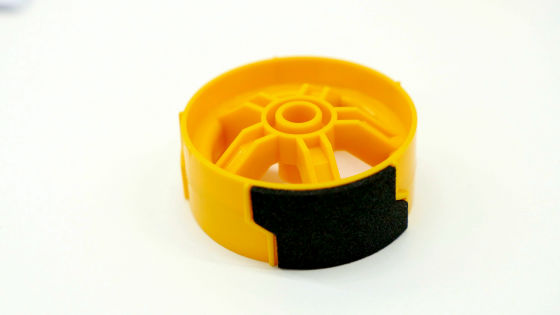
Two tires completed.
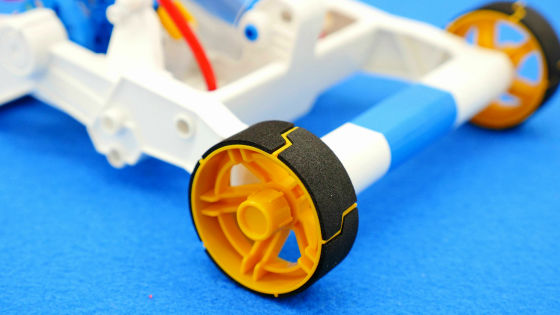
Use the cap "B5" to attach the tire to the grip part.
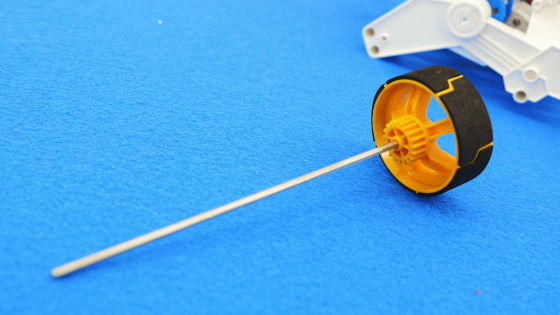
Insert a hexagonal shaft (long) into the "B12" of the wheel with gear ......
After installing the hole "B11" ......
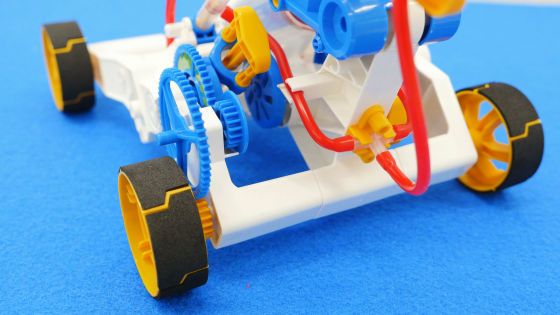
It is completion of the air engine car.
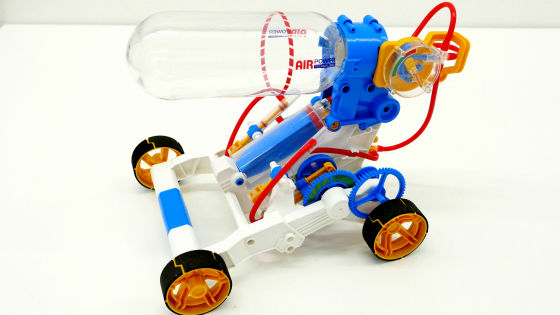
I tried running with the energy of the air
An air engine car is a machine that uses compressed air in an air tank and runs using that energy. To compress the air, open the car body as shown below ......
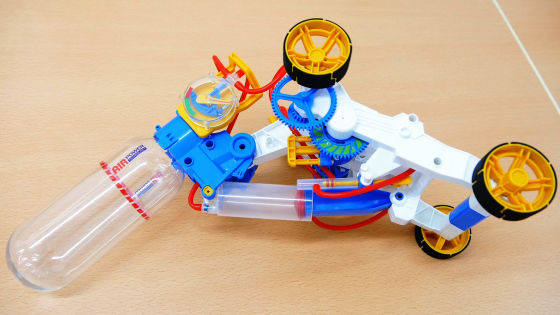
If you do the operation of folding, it is ok. The more you repeat "open" and "bend", the more air is compressed in the air tank and the energy can be stored.
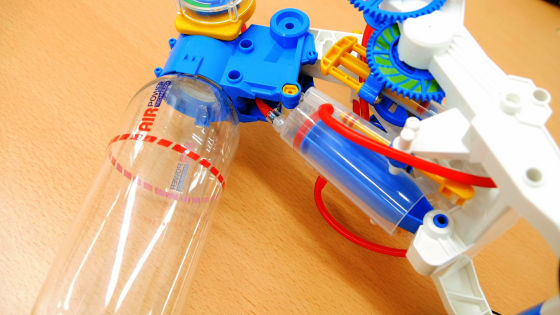
By releasing the compressed air stored in the air engine car, by rotating the piston up and down and rotating the tire, it is like this.
ELEKIT's "AIR ENGINEERER" moves piston up and down with compressed air energy - YouTube
Just watching the movement of the piston makes me excited for some reason.
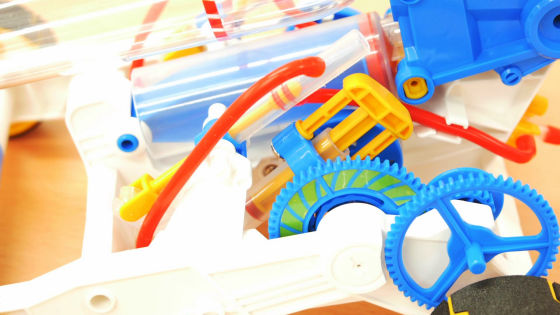
A flashy coloring called white, red, blue, yellow will tickle your man's heart.
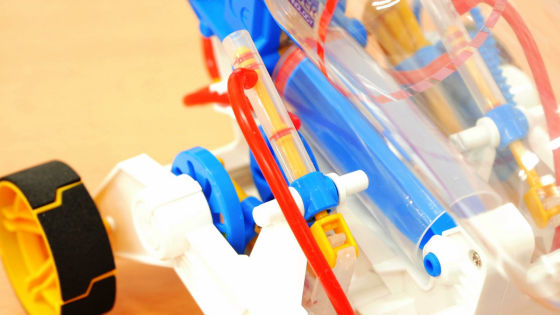
It is like this if you save a little air and run in the room.
I tried ELEKIT 's "AIR ENGINE CAR" running with the power of air - YouTube
When an air engine car saves air in MAX, it can blow up to 50 meters at the maximum. It is important that you enjoy it in a safe place without having to run on a public road repeatedly.
An air engine car is a tool kit that you can experience that you can store energy by compressing air. Although the assembly process is rather large, the achievement feeling when it gets assembled is great, and it seems that it can be said that it is a perfect tool kit for the subject of free study of summer vacation.
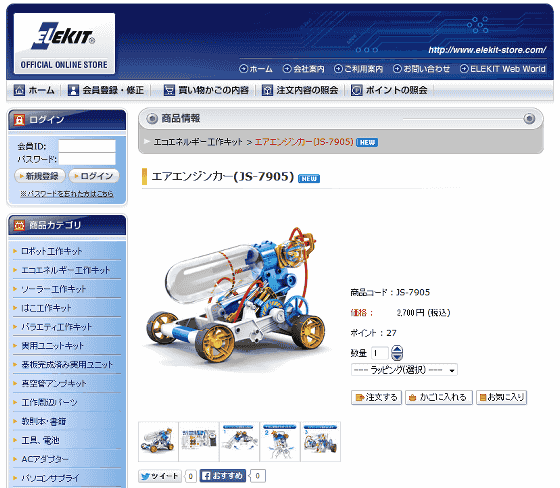
In addition, the electric engine car of the electric electricity is 2700 yen (including tax) on the official website below, and the shipping cost is 540 yen.
Air engine car (JS-7905)
http://www.elekit-store.com/shopdetail/000000001014
Related Posts:
