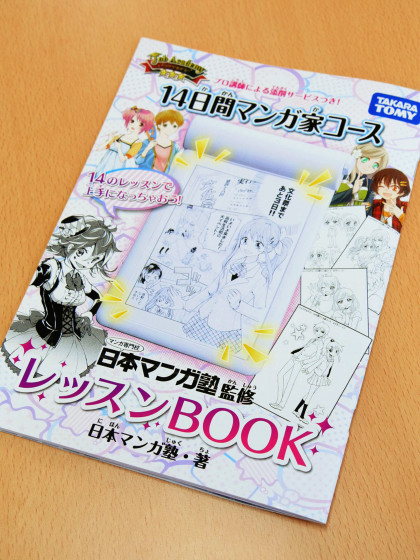
I actually tried using the '14-day cartoonist course' where professionals can correct my illustrations

From November 20th (Thursday), the '14-day manga artist course ' will be a set of tools for drawing manga and a 14-day lesson BOOK, including video lectures and a service that allows professionals to correct their own illustrations. It will be released.
14-day cartoonist course | Job Academy | TAKARATOMY
http://www.takaratomy.co.jp/products/jobaca/manga/
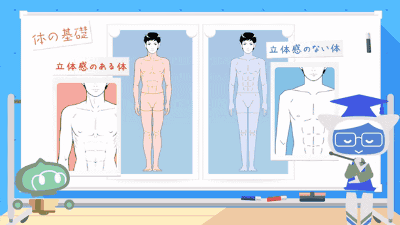
The '14-day manga artist course' is a set of 14 lessons that you can learn about drawing manga, such as a lesson book, a millipen, an original tone, an original manuscript paper, a model sheet, a correction application sheet, a light table, and a video lecture. Contents for improving manga Contents of the manga. You can check the details from the following article.
I tried using the '14-day manga artist course' that allows you to draw manga in 14 days, including the light table, video lectures, and professional corrections. --GIGAZINE
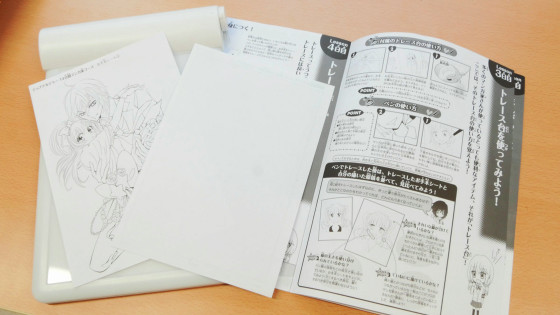
The way to proceed with the lesson book is as follows.
Lesson 1: How is it made?
Lesson 2: How to use manga tools
Lesson 3: Let's use the light table!
Lesson 4: Good points of the light table
Lesson 5th day: Let's draw a face
Lesson 6: Let's draw different faces!
Lesson 7th day: Let's draw the body
Lesson 8th day: Learn the background and direction!
Lesson 9th day: Tone processing improves manga skills!
Lesson 10th day: How to make a manga / story
Lesson 11th day: Think of your own original character!
Lesson 12th day: Let's know the frame division!
Lesson 13th day: Let's move the character along the story with your own picture!
Lesson 14th day: Let's draw a manga!
So, I actually read it in order from the first day. For example, on the 3rd and 4th days, the content focused on how to use the tracing table, so I challenged the tress using the tracing table of the set contents and the 'model sheet for tracing'.
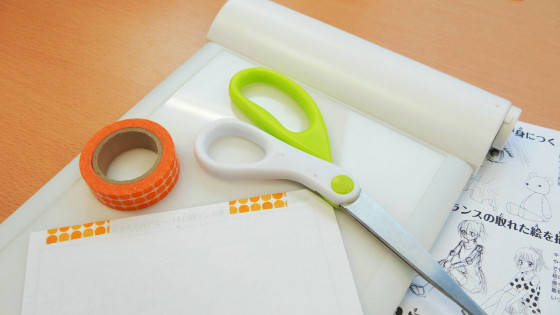
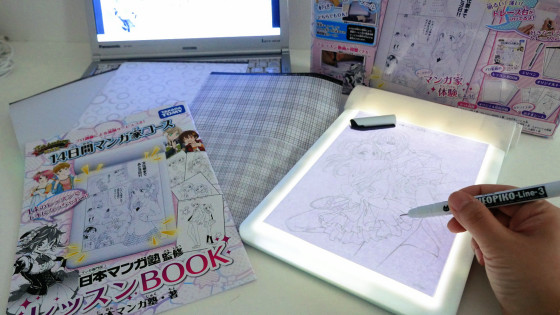
Place the paper on the light table.
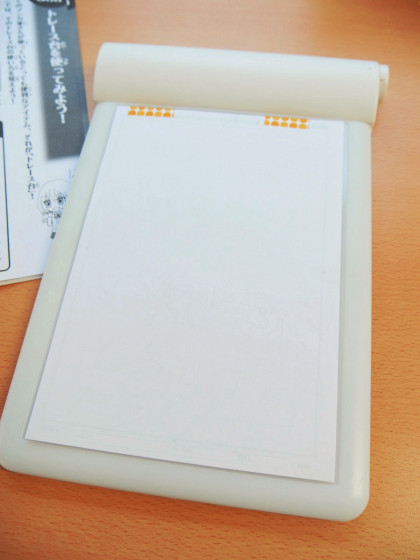
Turn on the light.
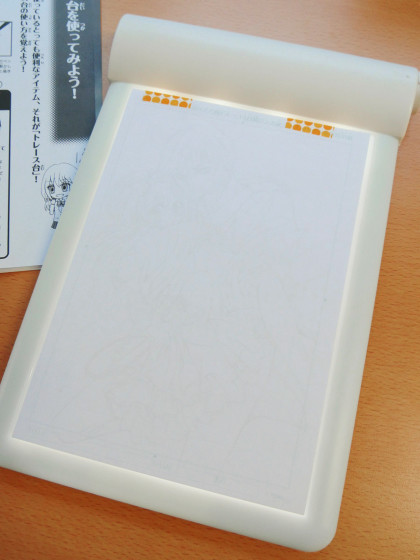
The model picture placed below can be seen through, so let's trace it carefully.
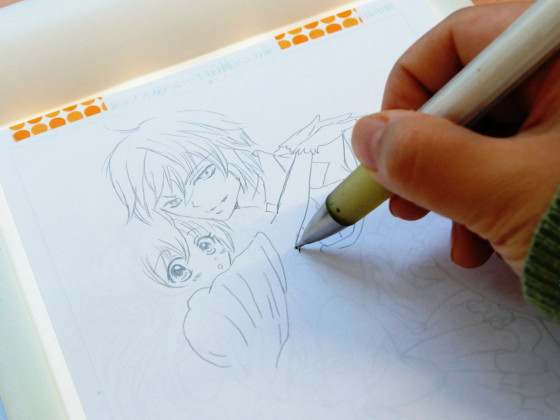
During the 3rd day of Lesson, I explained how to use the Milli-Pen and tips, so I will try using this as well.
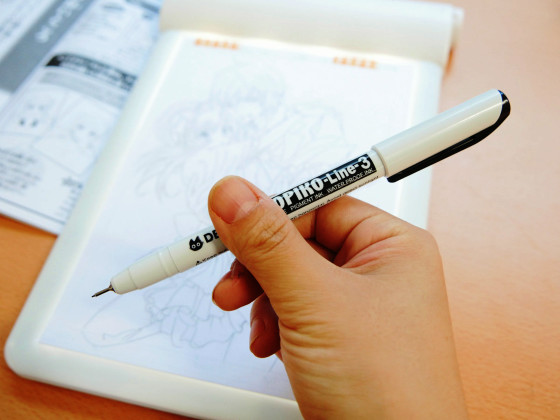
It is said that the point is to draw thick lines in the part where the shadow falls, the part in front of the reader, and the part with steps, so draw the line carefully while moving the paper in the direction that is easy to draw.
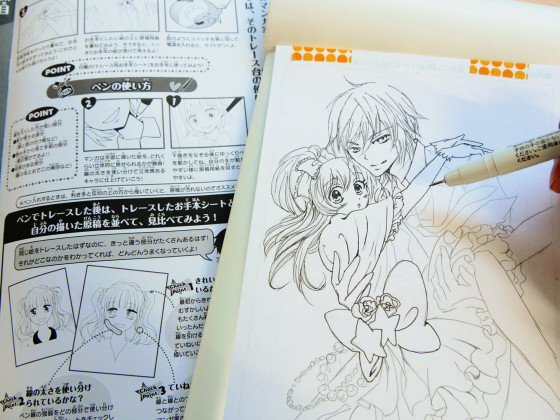
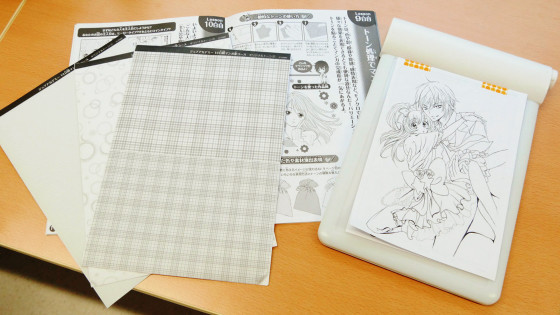
On the 9th day of Lesson, there is an item 'Improve your manga skills with tone processing!' We will process using the attached tone.
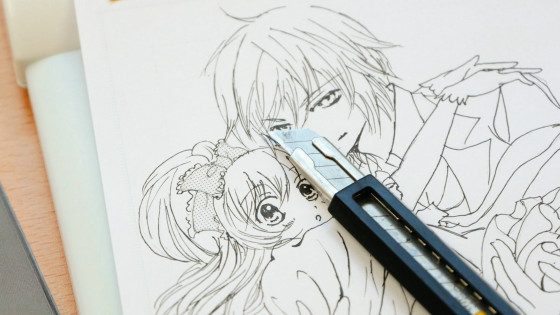
Use a cutter to paste the tone. It's quite difficult.
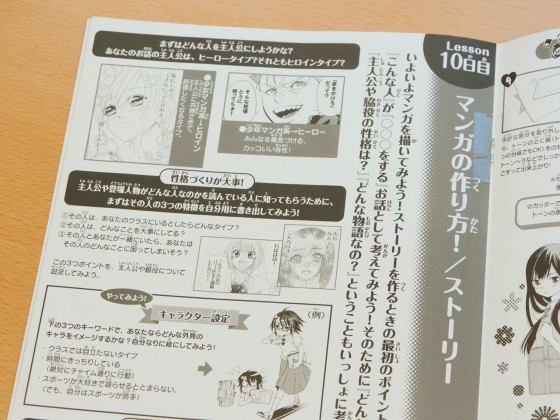
In 'Lesson Day 10: How to Make a Manga! / Story', you will find tips on how to make a character, set a character, and make a story for the main character.
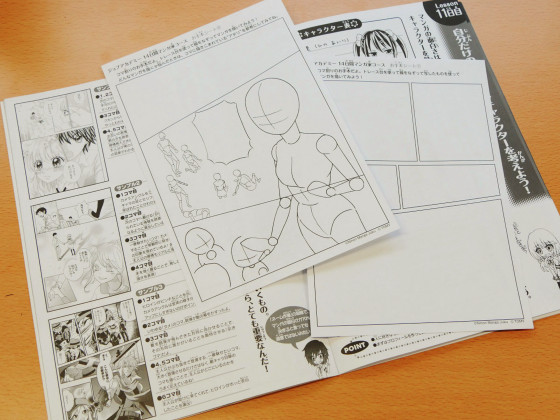
On the 12th and 13th days of the lesson, how to divide the frames and how to move the character according to the story with your own picture. A plot for 1P manga and a model sheet with characters and background atari are included, so you can actually draw a manga based on the plot while thinking 'How would you express it in manga?' I can go.
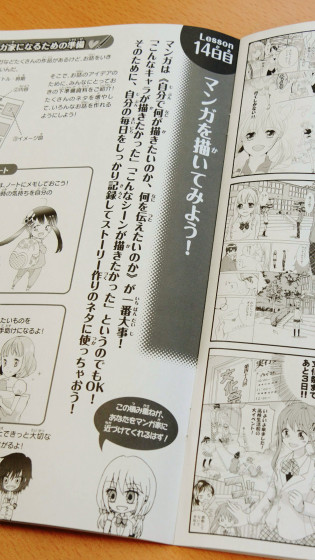
In 13 days, you will learn how to draw a picture, make a story, set a character, etc., and the final Lesson title is 'Let's draw a manga!'.
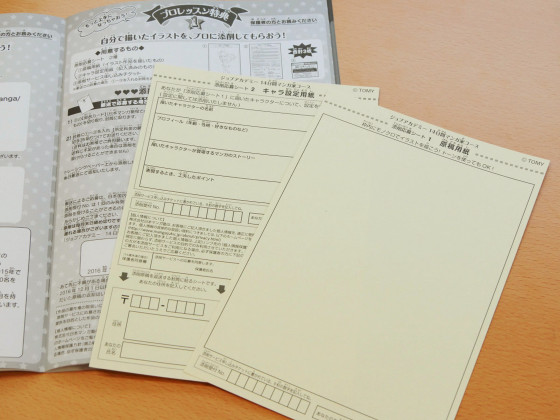
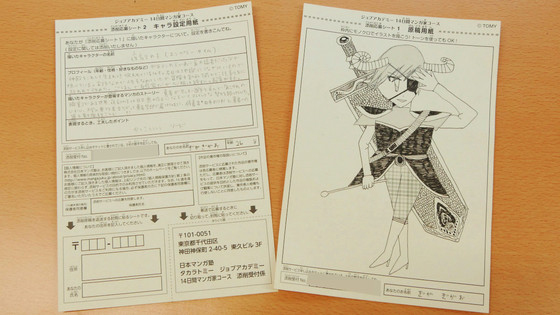
In addition, there is also a 'correction application sheet' in the set, which describes the character's picture, the character's name, profile, the story of the manga in which the character appears, and the points devised when expressing it. If you send it by mail or email to the Japan Manga School, you can have a professional instructor correct your picture.
The picture needs to be monochrome, but it was OK to put in a pen or tone it, so I drew it while making full use of the technique cultivated in 14 lessons.
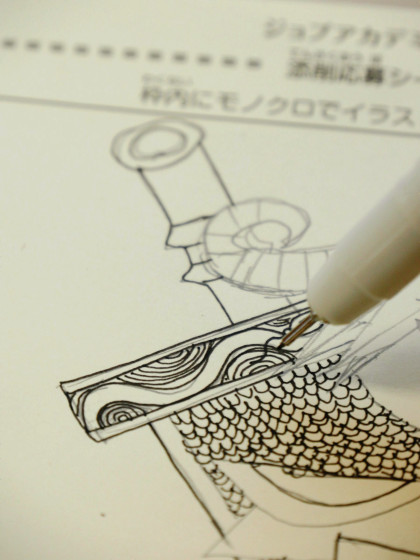
Both settings and illustrations are ready.
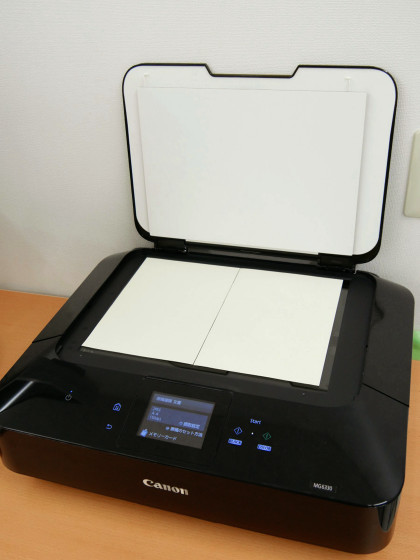
In the case of mailing, it is OK if you put it in an envelope and post it to the post, but this time I will send the illustration using email, so I will use a scanner to send two correction application sheets and the correction service application ticket included in the set. It scans and attaches the data to an email and sends it to the specified address.
That's why the illustration I got corrected is this. On the submitted illustration, how to balance when drawing a person with a red pen and points for drawing an illustration are written.

'It's a big head impression, so it's a good idea to make your head a little smaller!' 'Let's match the size and length of the arms on the left and right!' There were also points based on the character settings that I submitted, such as 'I think it's okay to have a more scary design for the eyes!' And 'The left eye that is cursed by nature is connected to hell.'

The comment 'Even if you stretch your legs, you can get a three-dimensional effect by drawing with your joints in mind!' Is explained with illustrations, which is very easy to understand.

Even if you like to draw, you don't have a chance to have a professional check your painting unless you go to a specialized school or classroom. The 14-day cartoonist course is useful not only for those who want to draw manga from now on, but also for those who have already drawn but have not learned well, to acquire knowledge for further improvement and to know techniques. It was an item. The price is 4500 yen excluding tax.
Related Posts:
