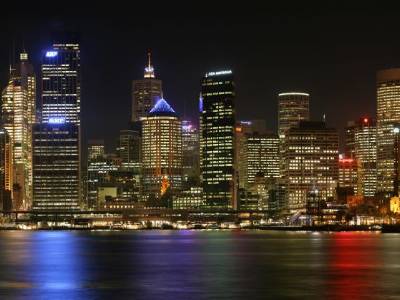
I tried to create a nightly lapse movie using GoPro HERO 4 Review

It is a synonymous existence of an action cameraGoProThe newly released "GoPro HERO 4"Series that can capture time lapse images with nighttime long exposure shooting"NightlapseFunction is installed. Since GIGAZINE editorial department was able to borrow a "Silver Edition" which is already on sale and "Black Edition" not yet released ahead of time,Shooting 4K moviesI decided to shoot various nightlapse movies.
HERO 4 / HERO 3 + / HERO Product Information GoPro NIPPON Japan General Distributor
http://www.gopro-nippon.com/product/specifications/index.html
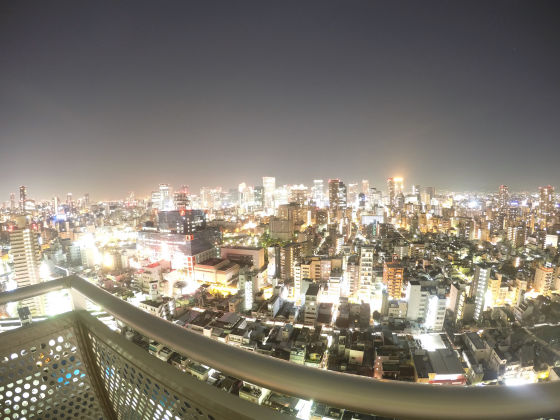
First of all, I tried night scenes taken at places where I can observe town lights as night-lapse movies. The original scenery looks something like this, but I also use this one picture taken with the Night Lapse mode of GoPro HERO 4 Black Edition.
And this is the nightly lapse movie completed. It is an image that shortened the scenery of about 2 hours to 42 seconds. We shot from 23 o'clock in the morning around 1:30 pm, and the appearance of the last train, the appearance that the light disappears from the building group, and the flow of the clouds that glow under the light of the town are recorded in a glimpse.
I took a night view of Osaka night view with GoPro HERO 4 Black Edition
In this shooting, exposure is performed in Night Laps mode for 15 seconds, in 12 megapixel mode, advanced image quality setting can be performedProtuneTake the mode off and shoot. The converted movie size is 1920 × 1080p, and correction is done to eliminate fish eye (fisheye lens effect) by wide angle lens. At the time of movie conversion, conversion is performed at 15 frames per second (15 fps), and the original file size after generation is 144 MB.
◆ Until you convert it to video by performing Nightlapse shooting
You can create a night-lapse movie by the following procedure. First I moved to a location with GoPro. Night view spot that can see Osaka plain this time "Jujitsu Pass Observation SquareI went to go. GoPro is set on a tripod to prevent camera shake. Rather than fixing the body on a tripod or some other means Nightlaps shooting is impossible.
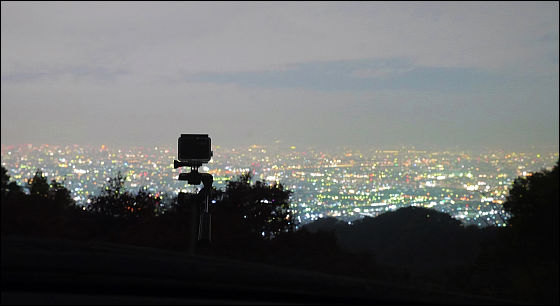
Press the shooting button to start shooting. About 540 images were saved for about 2 hours 15 minutes shooting this time.
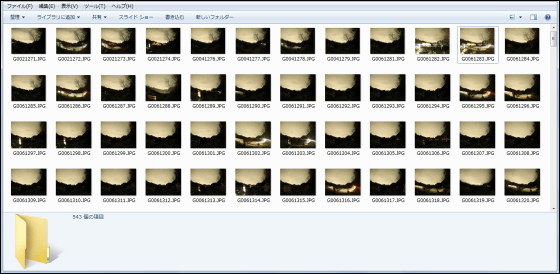
Although it is a GoPro series equipped with time lapse and night lapse mode, only a large number of still images are recorded on the microSD card after shooting. After shooting, editing is necessary to connect the images in order and convert them to movies.
When the image is ready, next, preparation of the editing software. Many types of software that can create movies are on sale, but this time the editing software GoPro releasesGoPro StudioI tried using it. Since software requires a certain level of machine power, when installingMachine recommended specificationsIt seems better to have confirmed.
GoPro Studio Software - Easily import, play back and edit your GoPro footage.
http://shop.gopro.com/APAC/softwareandapp/gopro-studio/GoPro-Studio.html
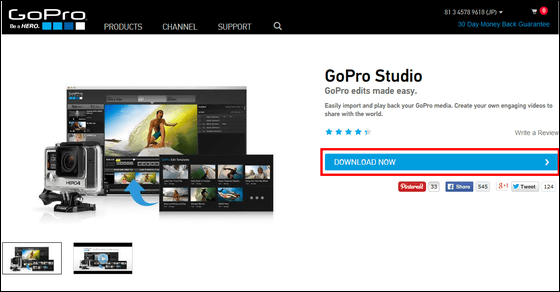
First, download the installation file. Go to the above site and click "DOWNLOAD NOW".
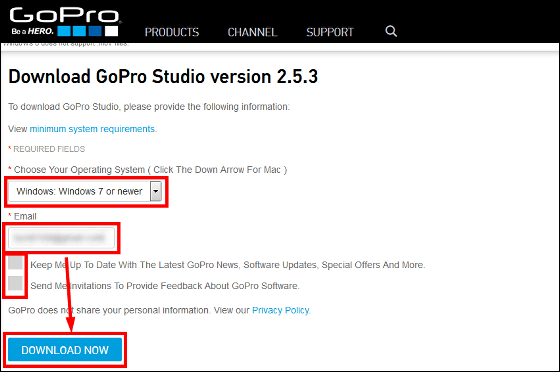
Please select the OS type, enter the mail address, uncheck the check box and click "DOWNLOAD NOW".
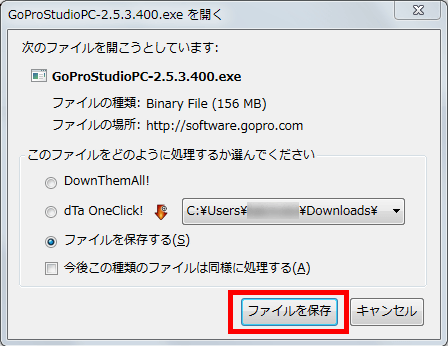
Click "Save file".
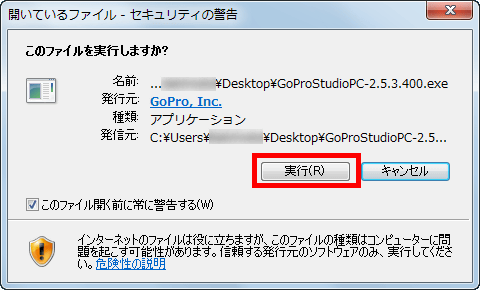
Double-click the downloaded file to open it.
Click "Execute".
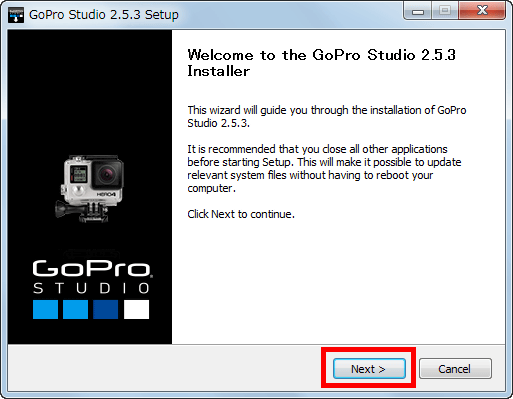
Click "Next".
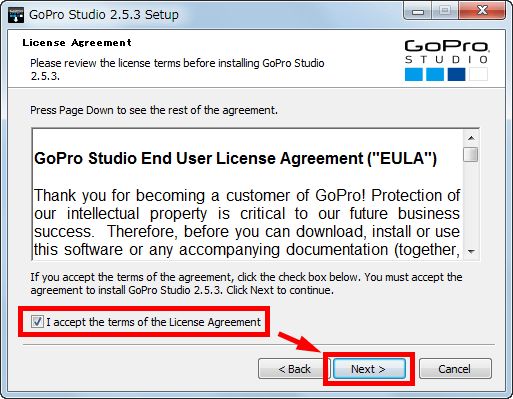
Please check and click "Next".
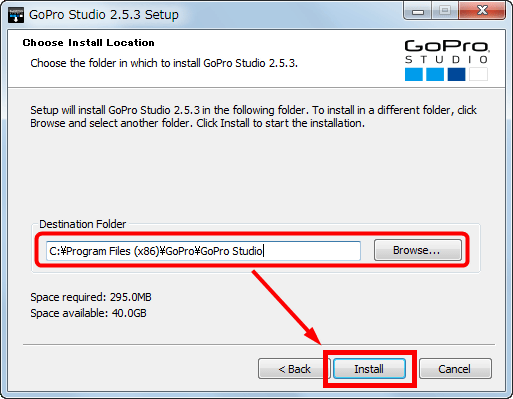
Check the installation folder and click "Install" to start the installation. Folders are OK unless you are particular about it.
Click "Finish" to complete the installation.
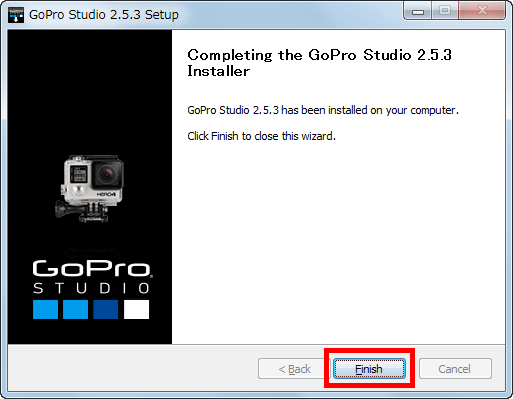
The screen that launched the software looks like this. It is roughly divided into three panes, basically designed to move the editing behavior from left to right.
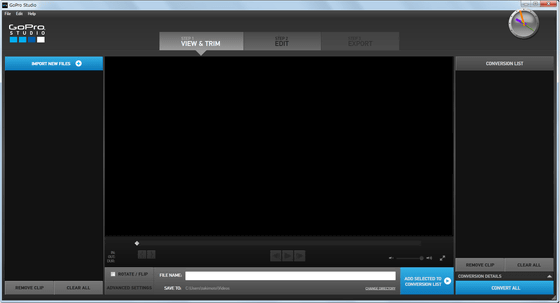
There are three major steps to create a type lapse movie: "View & Trim", "Edit" and "Export".

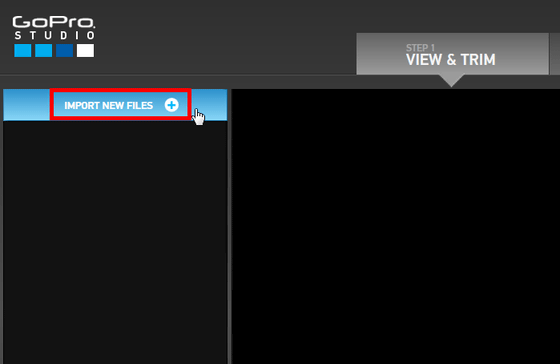
First from the "View & amp; Trim" screen in Step 1. To start editing, click "IMPORT NEW FILES" at the top left of the screen.
As the file selection window is displayed, select the file you want to convert to a movie and click "Open". At this time, it becomes easier to work by creating a folder that collects only images for which movies are created in advance. As a caveat,If Japanese (double-byte characters) is included in the path of the folder of the original file, an error will be generated when converting the movie. In order to avoid it, it is okay if you create a dedicated folder directly under C drive as shown below.
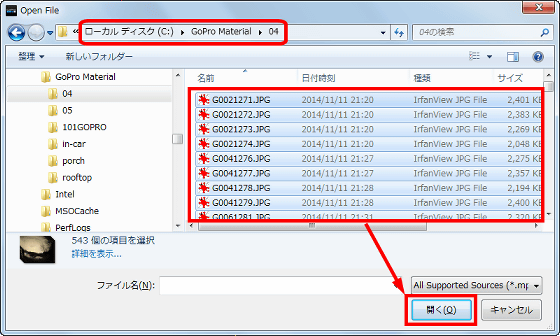
Image capture is complete. As a result of loading 543 images, 4 files are arranged in the left pane.
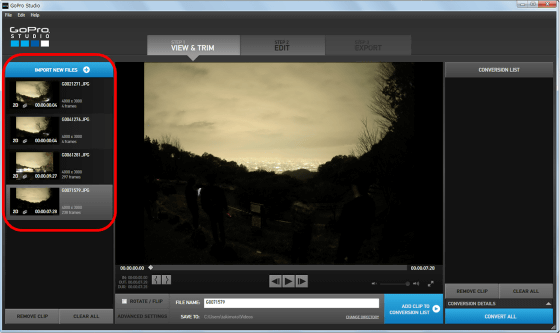
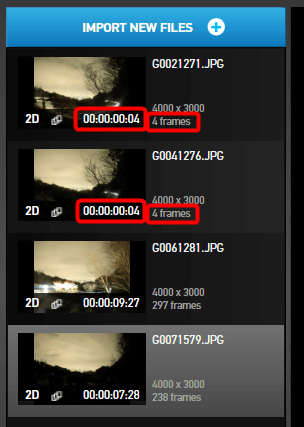
Two of the four files are extremely short in length and only four frames. This was the data of the test shoot. I just read the image, but GoPro Studio seems to have a function to automatically separate movies according to the shooting condition of the file. By the way, the 3 rd and 4 rd stopped shooting once to change the camera position, so you can see that this is also correctly carved.
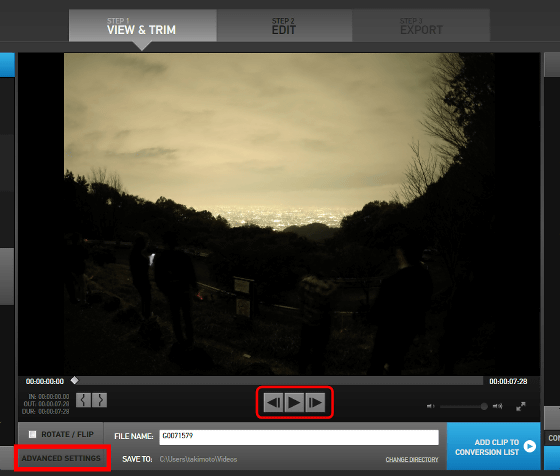
In the middle pane, you can check the image by pressing the triangle play button, or specify the start / stop point of the image. Click "ADVANCED SETTINGS" on the bottom left ... ....
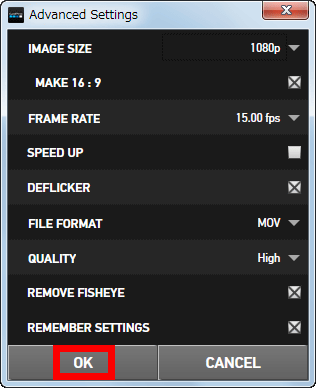
You can set parameters for video conversion. Items that can be set include size (including conversion to 16: 9), frame rate number, flicker prevention, output format, image quality, fisheye effect reduction, and so on. When all items are OK, press "OK" to close the window.
Once the setting is decided, click "ADD CLIP TO CONVERSION LIST". Then the image shifted to the rightmost pane. In this state, you are ready to convert the movie.
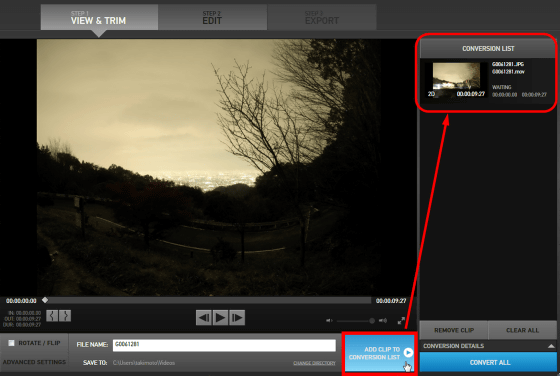
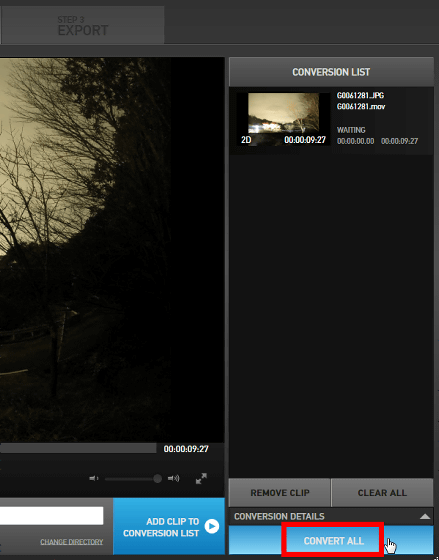
Next, when you click "CONVERT ALL", conversion starts for all movies in the upper part.
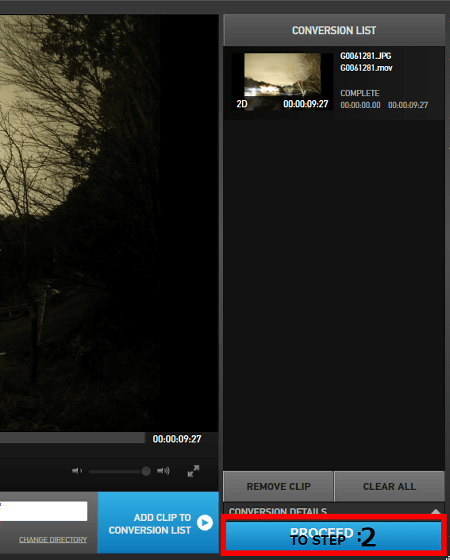
When conversion is completed, click "PROCEED TO STEP: 2" at the bottom right of the screen and go to step 2 "Edit" screen.
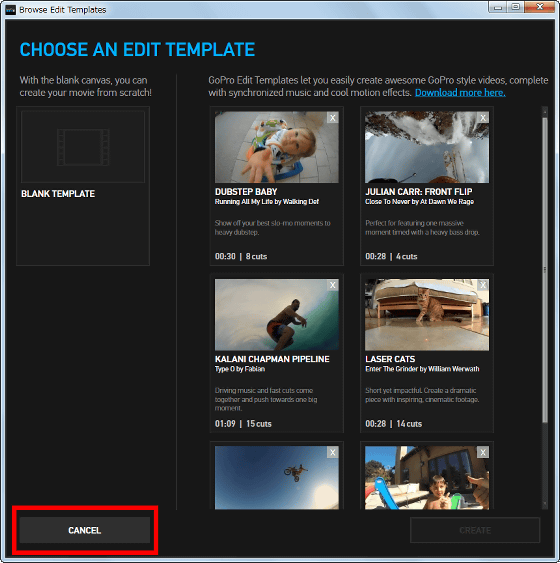
When you go to the Edit screen, the movie template selection window will be displayed first. "GoPro" logo appears at the beginning and the position and length of the scene are set in advance, but if not necessary, click "CANCEL".
The Edit screen is also divided into three panes. On the far left is the movie created in Step 1 "View & amp; Trim", and drag and drop the movies, texts, background music, etc., in the middle pane and edit the materials in combination. In the rightmost pane, you can adjust the image quality such as color tone, brightness, sharpness of the image, and adjust the enlargement / reduction.
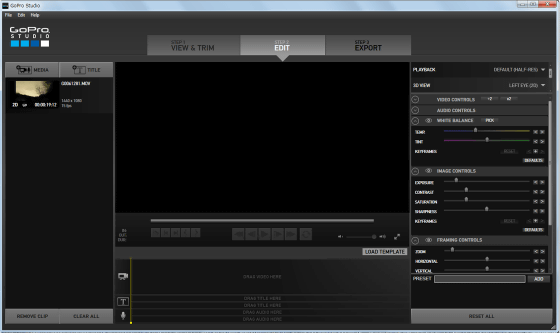
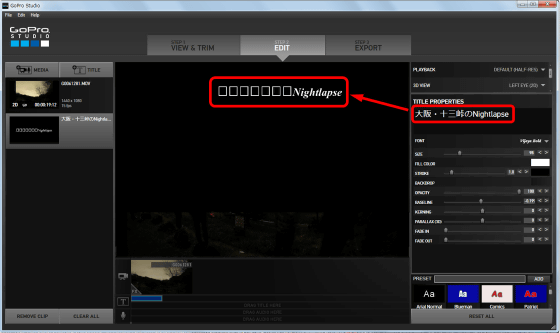
Although the title can be created in the rightmost pane, double-byte characters got garbled on the actual image. It may not correspond to double-byte characters such as Japanese.
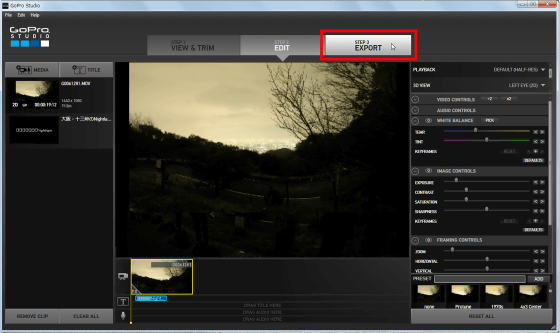
When editing is completed, click "STEP 3 EXPORT" to proceed to the last step.
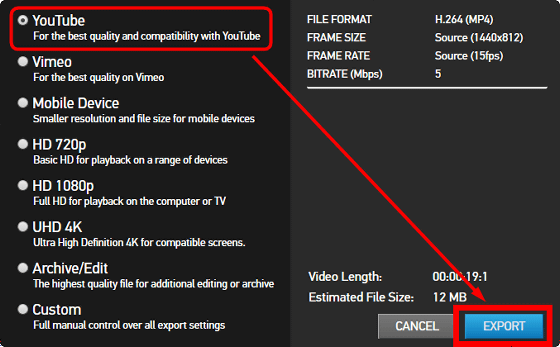
A dialog was displayed on the screen to select the converted image quality. It is okay if you choose according to the purpose, but this time we chose "YouTube" optimized for YouTube. When you select the type and click "Export", file exporting starts.
Specify the file name to export and click "Save".
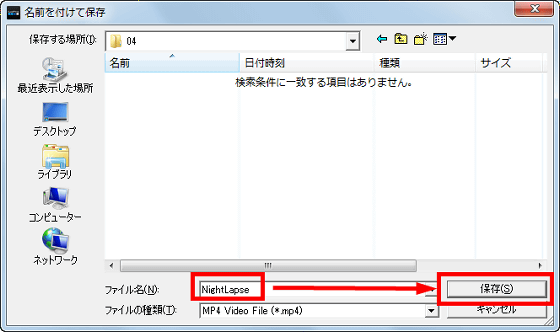
Writing is executed ......
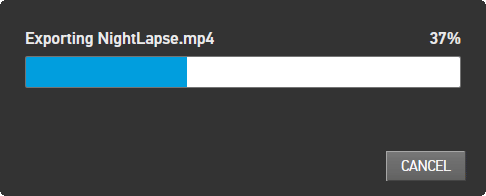
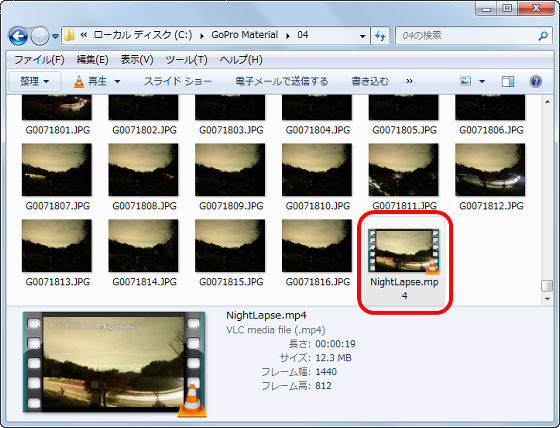
A new movie file was saved. This completes the creation of the movie.
I uploaded the movie to YouTube. In addition to the night view, the clouds flowing through the night sky and the headlight of the car climbing the slope become an impressive movie.
I took a night view of the Osaka · Jujo Pass in the Night Laps mode of GoPro HERO 4 Black Edition
In this way, using the "Nightlapse" mode newly installed from the GoPro HERO 4 series, it was possible to easily express the image which was difficult in the past.
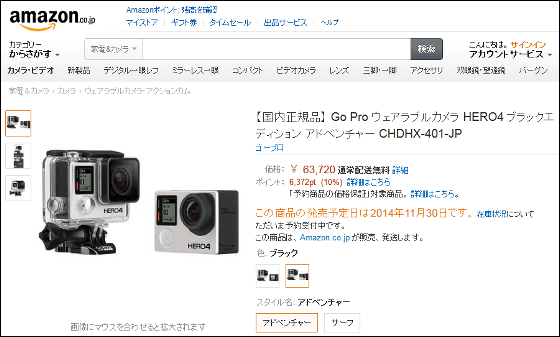
GoPro HERO 4 Silver Edition is on sale at 57 thousand yen (tax included · article writing time). GoPro HERO 4 black edition is accepting reservations at 63 3720 yen (tax included · article writing time), and the release time is undecided. For each product, it is possible to select different "adventure" package and "surf" package of accessories.
Amazon.co.jp: 【Domestic Genuine】 Go Pro Wearable Camera HERO 4 Silver Edition Adventure CHDHY-401-JP: Camera · Video
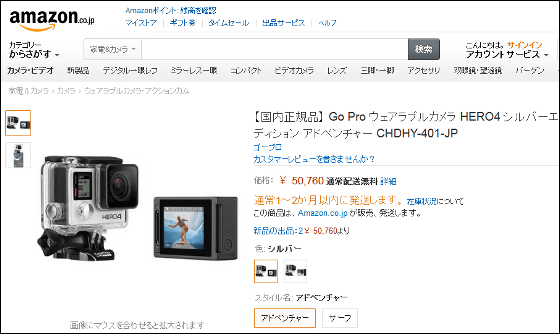
Amazon.co.jp: 【Domestic Genuine】 Go Pro Wearable Camera HERO 4 Black Edition Adventure CHDHX-401-JP: Camera · Video
Related Posts:


