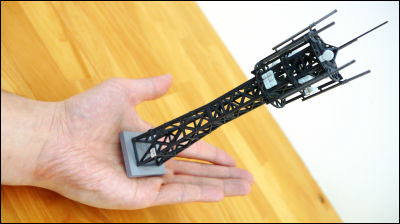
I tried to make a paper craft of "Astaco NEO", a powerful super heavy machine like a robot with two arms

Hydraulic ExcavatorSpeaking of the big arm part is impressive,A movie showing the operation technique of the arm partYaThe arm of the hero is a shovelSome people are loved as much as there are comics. By adding one arm to such a hydraulic shovel,2 armsThe hydraulic excavator which became "Astaco NEO"is. We introduced the charm of this Astaco NEO "Super heavy equipment Astaco NEO ~ 1/22 scale super precision paper craft "Astaco NEO" included ~"This book was published and I got this, so I tried exploring the charm of Astaco NEO while making a paper craft.
Minavi Books - Super heavy equipment Astaco NEO ~ 1/22 scale super precision paper craft "Astaco NEO" included -
http://book.mycom.co.jp/book/978-4-8399-4722-4/978-4-8399-4722-4.shtml
Actually made paper craft "Astaco NEO" is such a feeling, it is a hydraulic excavator with two arms drawing a lot of attention.
◆ Photo review
This is "super heavy machinery astaco NEO ~ 1/22 scale super precision paper craft" ASTAKO NEO "with", in the photograph that transferred the real Astaco NEO from every angle and the developer interview of Astaco NEO etc. are listed .

As you turn the cover, you will find a paper craft kit inside, so take it out and try opening it quickly.

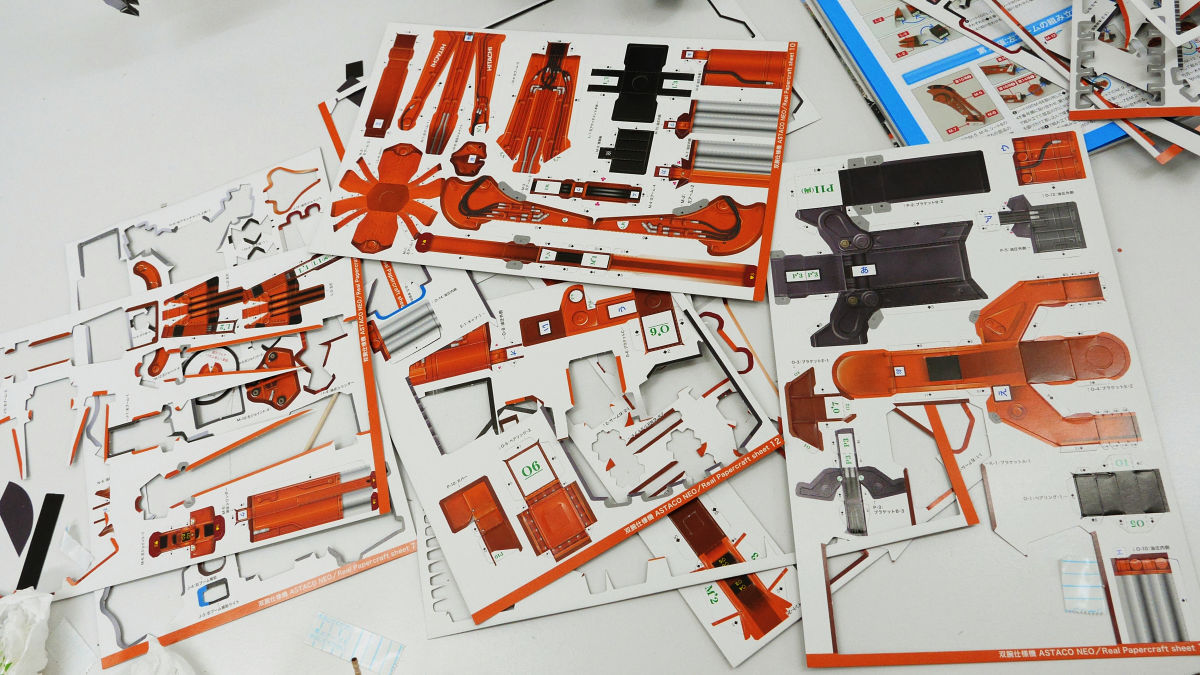
By arranging the parts of the paper craft, it looks like this, there seems to be a considerable amount of parts.
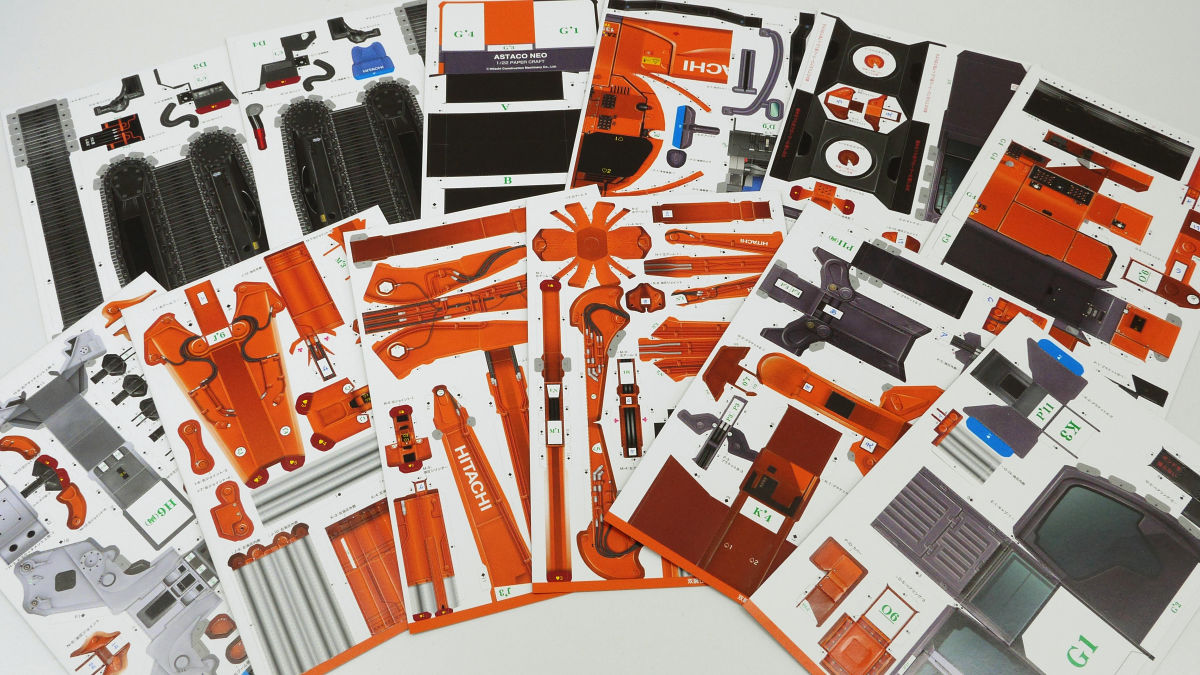
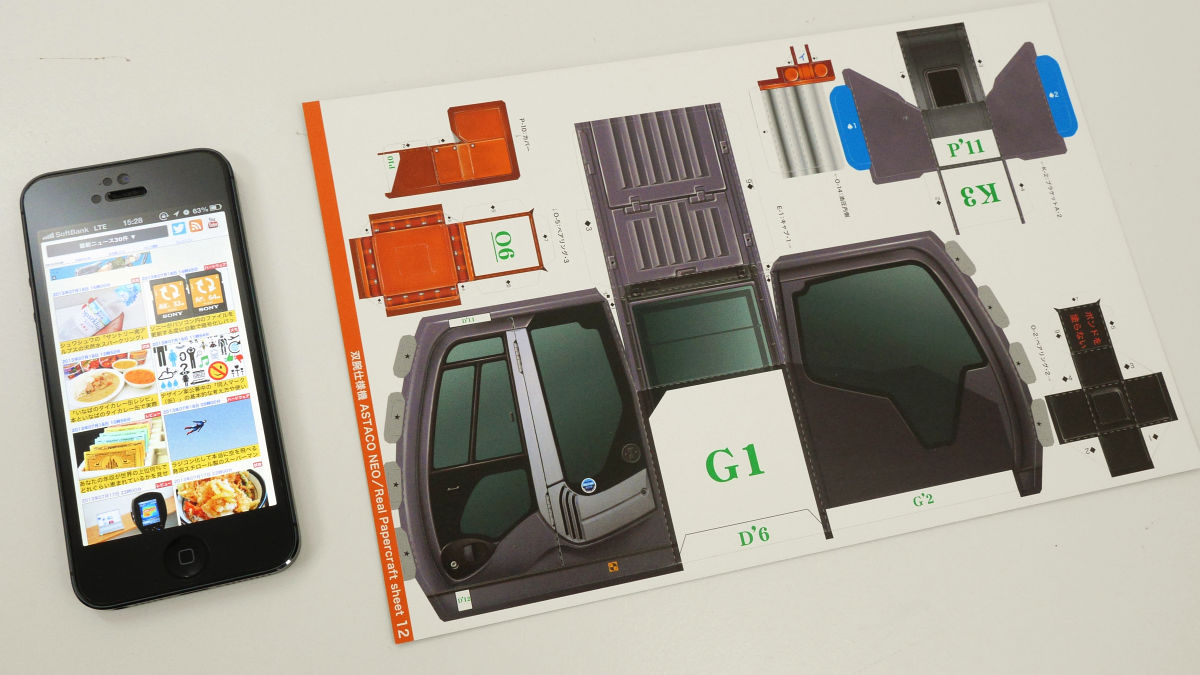
There are 12 sheets of parts in all, the size of the sheet is about the same as B5 paper in general.
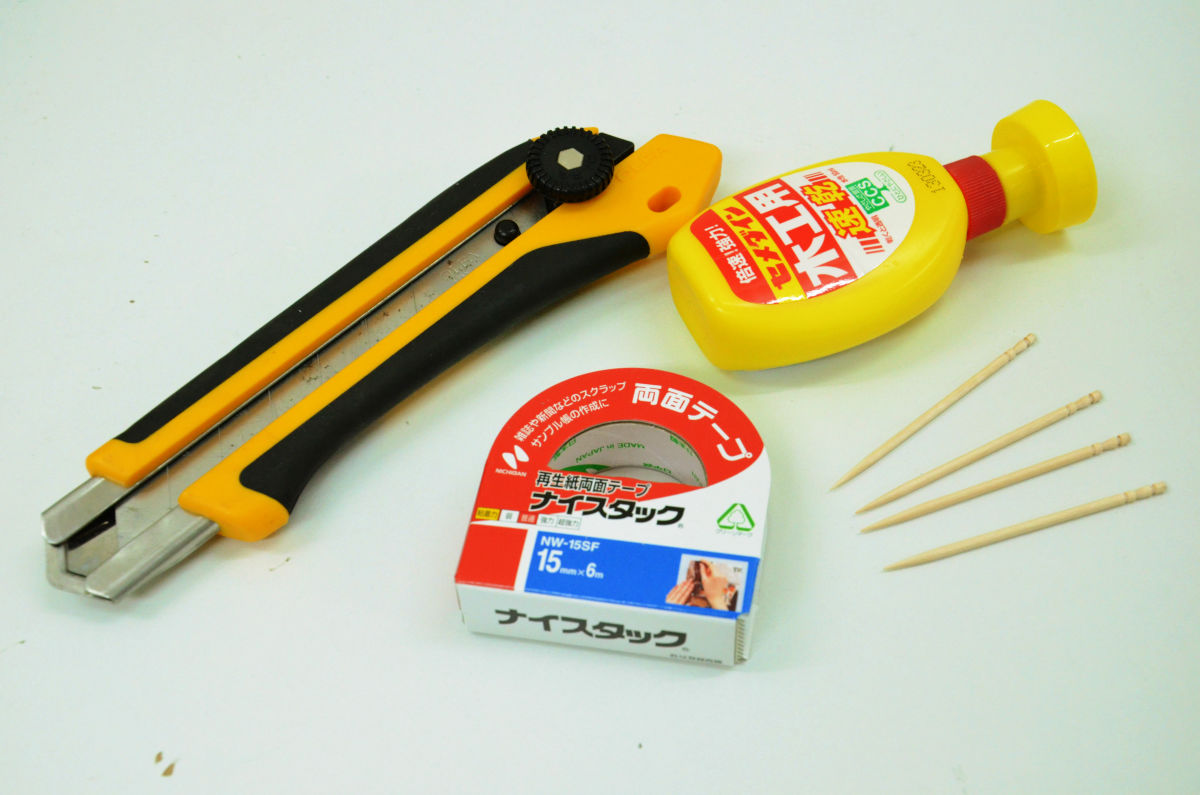
Those necessary for paper craft creation are woodworking bonds, toothpicks, cutters, double-sided tape.
Main body creation
Take out the parts from this sheet ... ...

Prepare the necessary parts.

Place each part in the corresponding place ......

Adhesion.

The part where the star mark is drawn does not need to be glued, and if it folds in, the mechanism that parts stick together with nature.
With such a feeling, we will assemble the parts as described in the instruction manual.
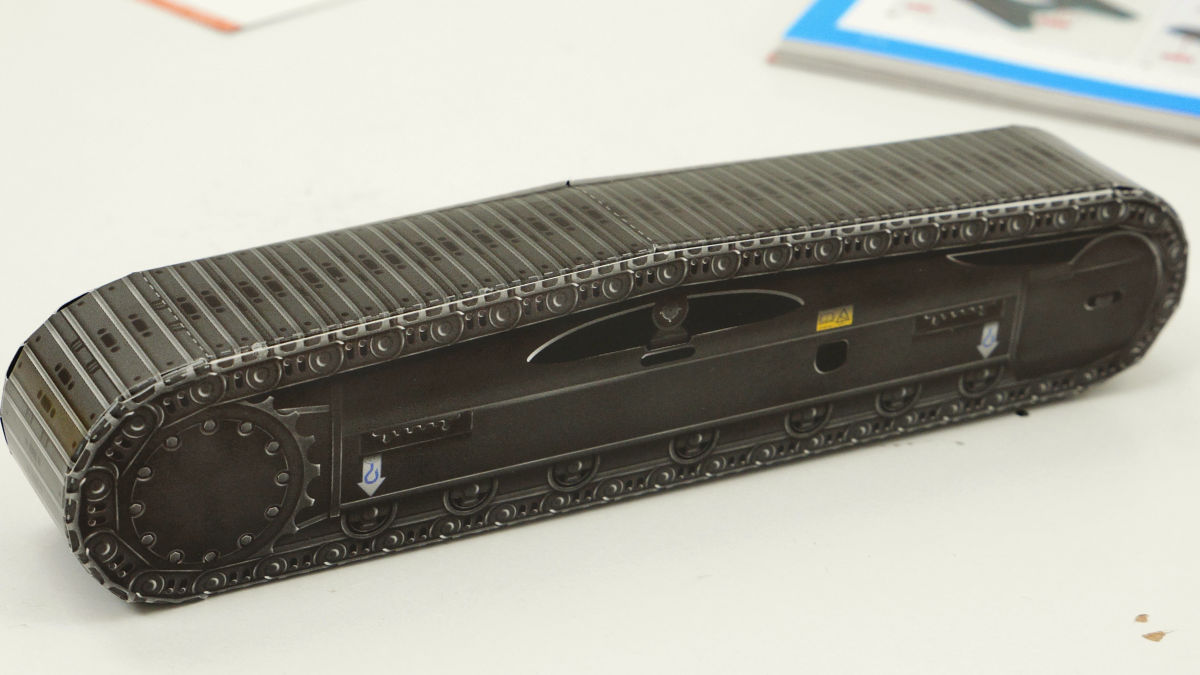
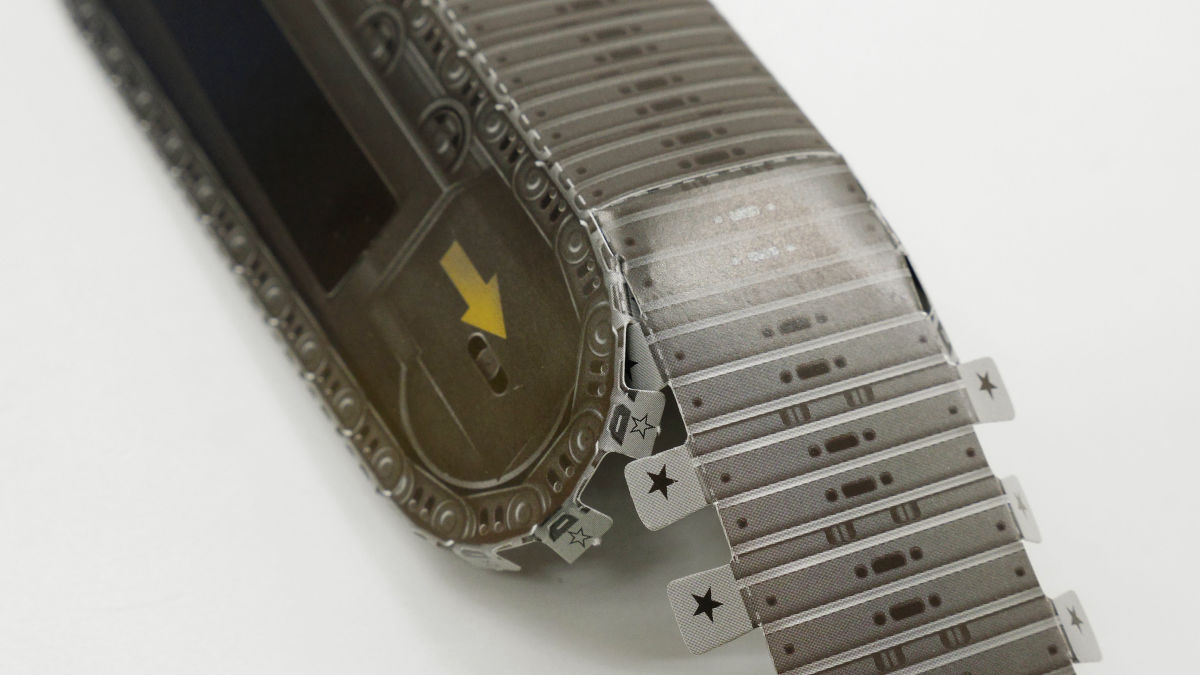
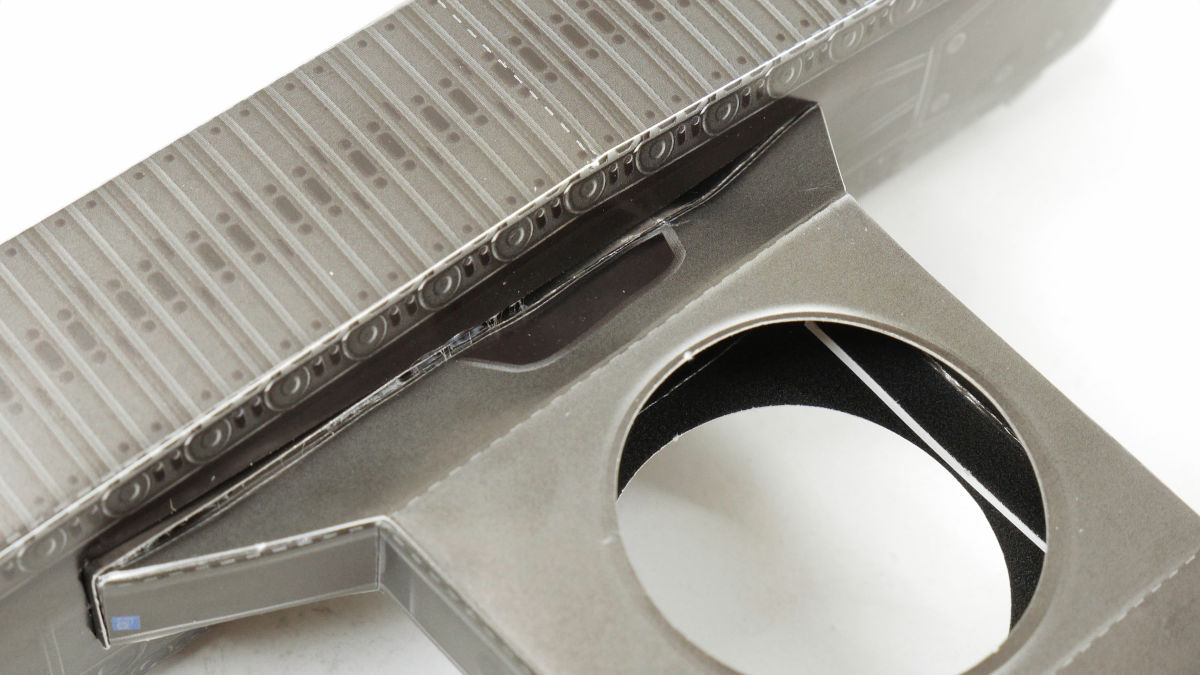
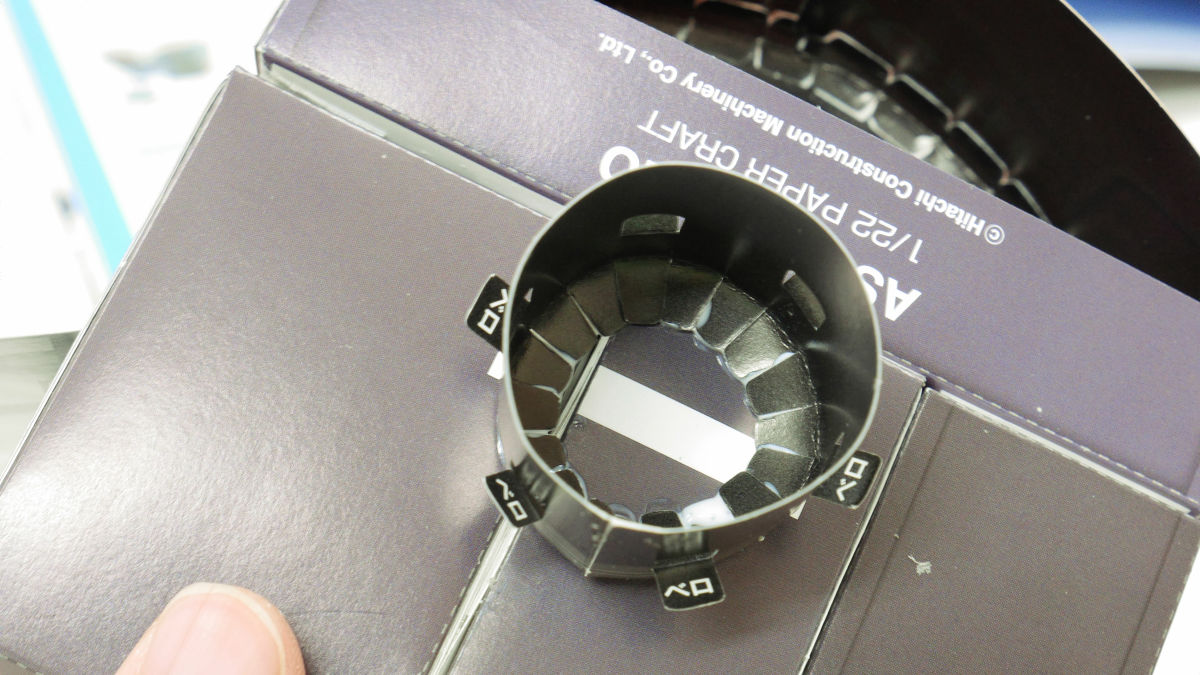
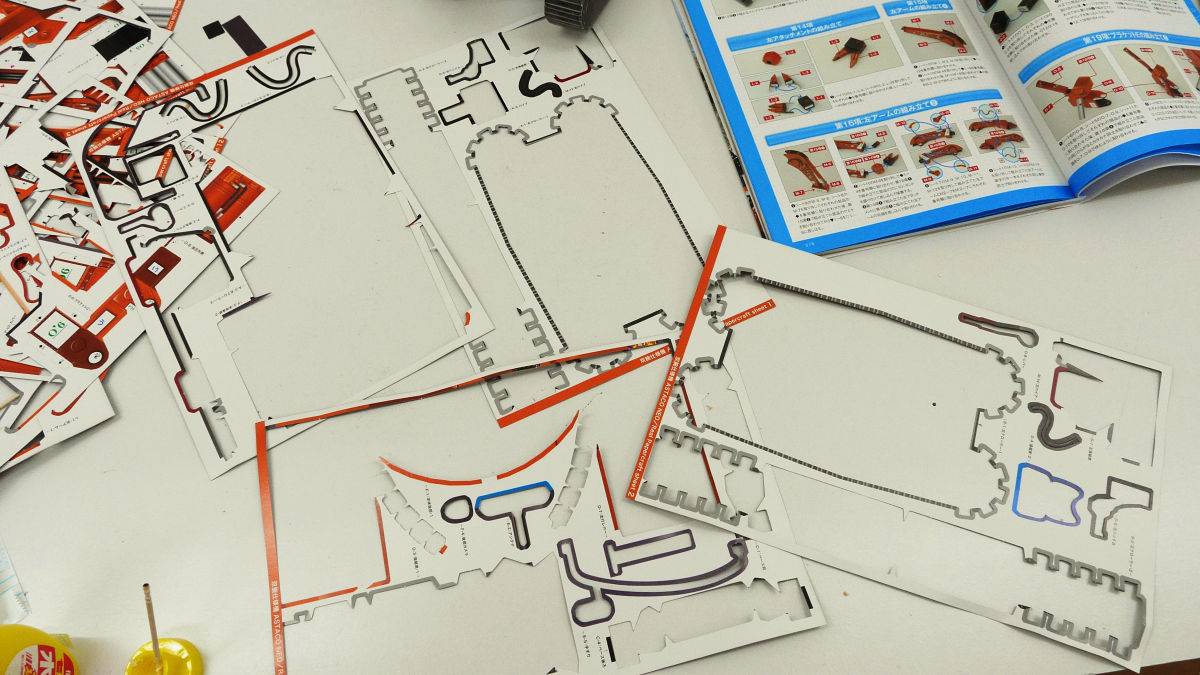
CrawlerCreate ...
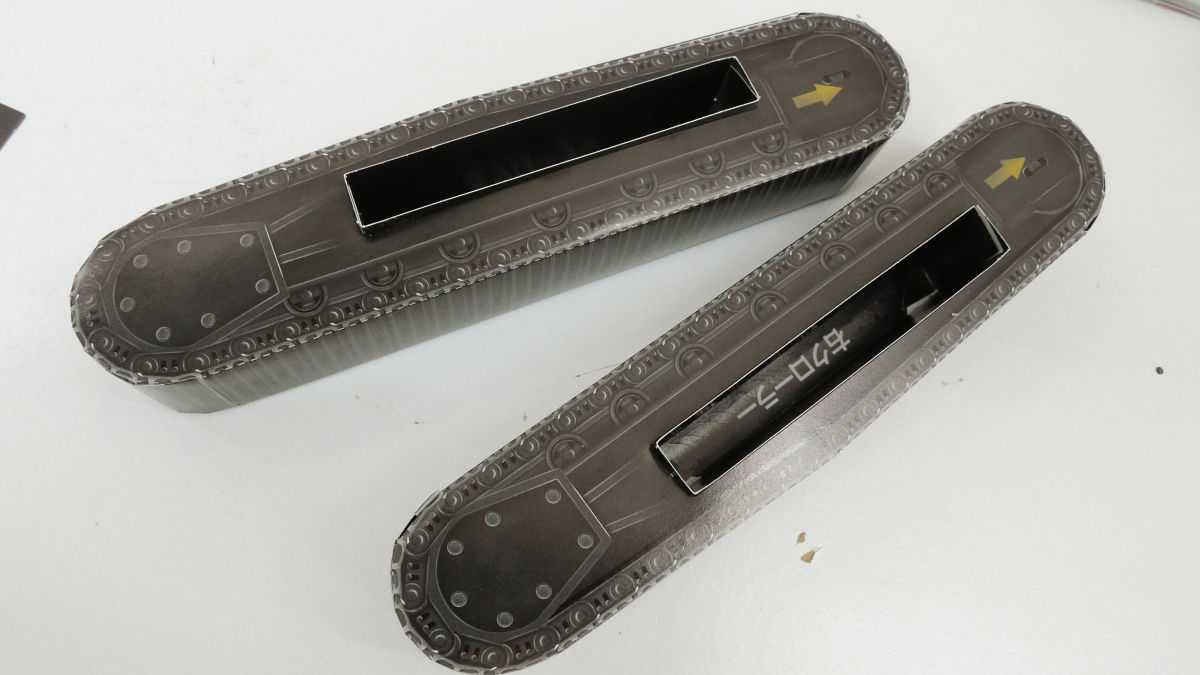
Create a connection to connect two crawlers.
If the parts are glued, the crawler is completed.
Paper parts have folds, but even if they are folded in that street they may distort the shape, such as when fitting parts together, but this seems nothing to do.
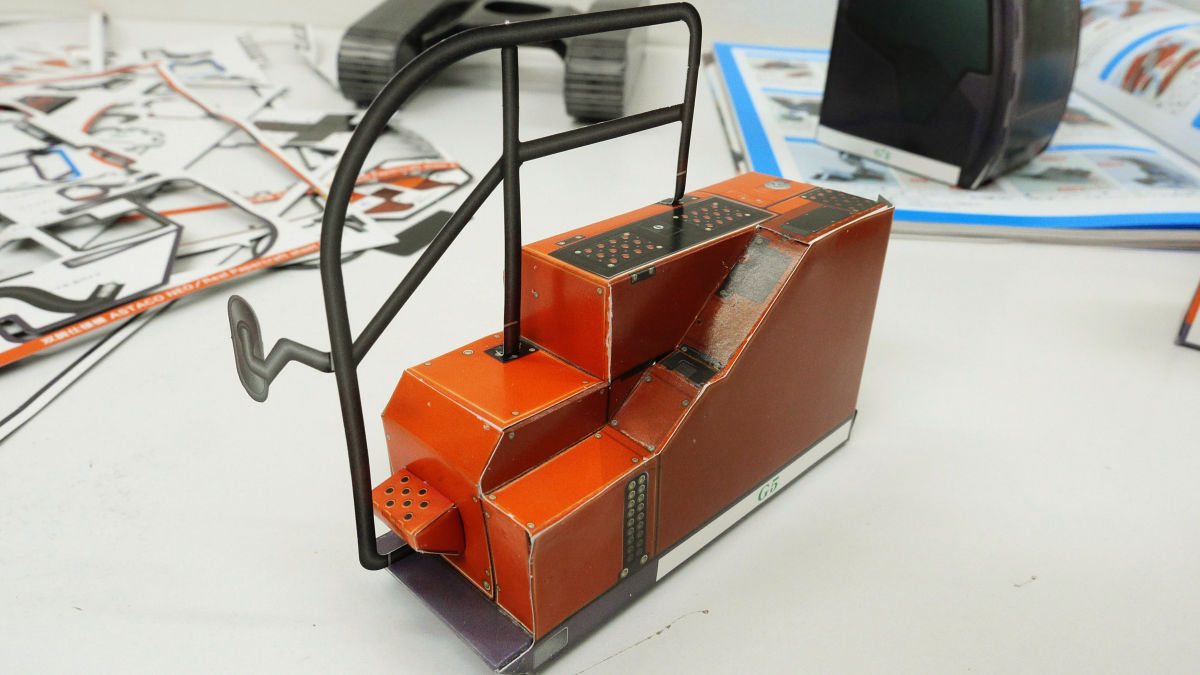
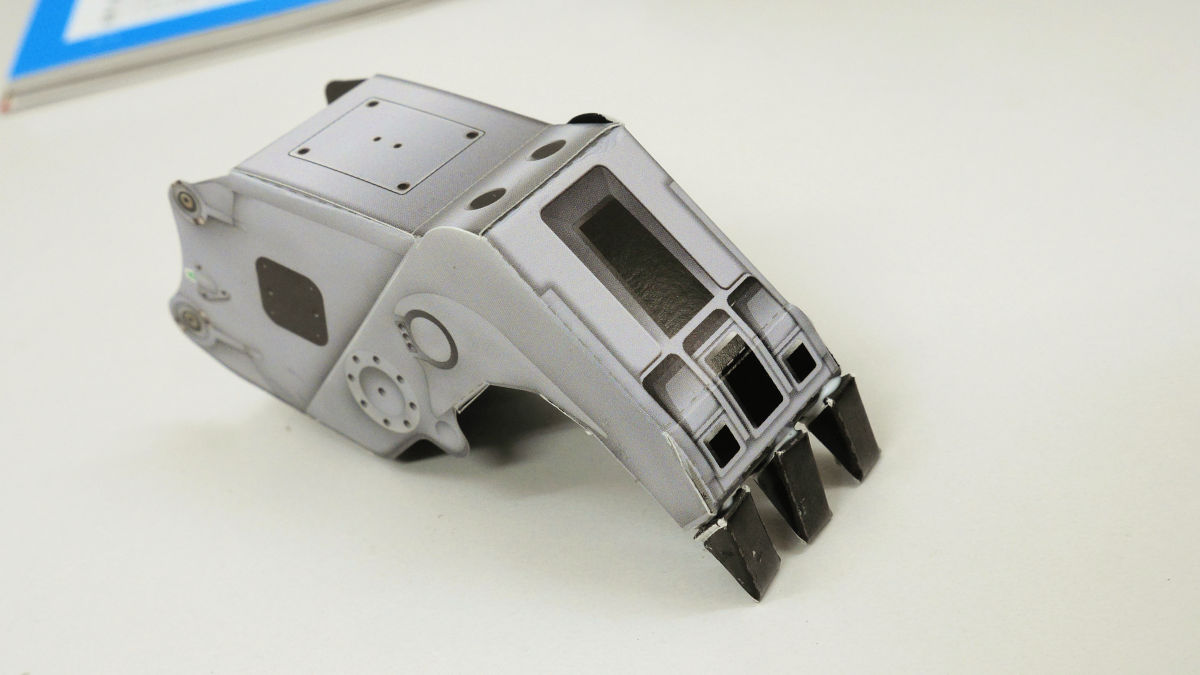
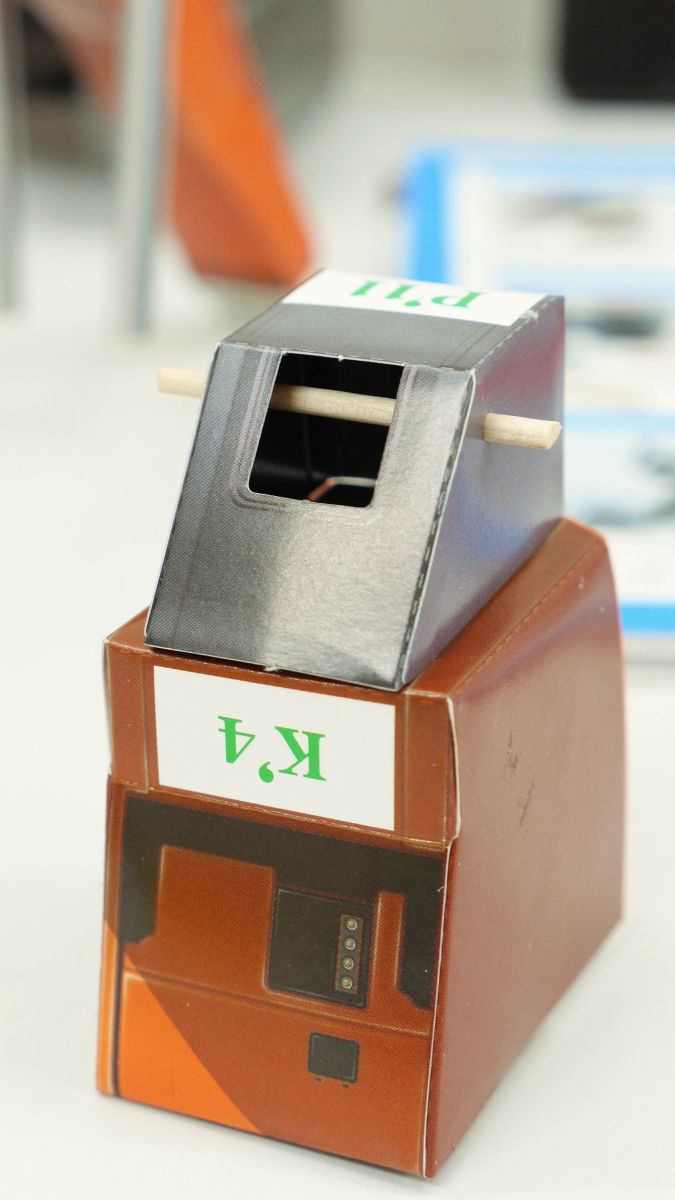
In the cockpit, the arm manipulation lever and the foot pedal are reproduced.
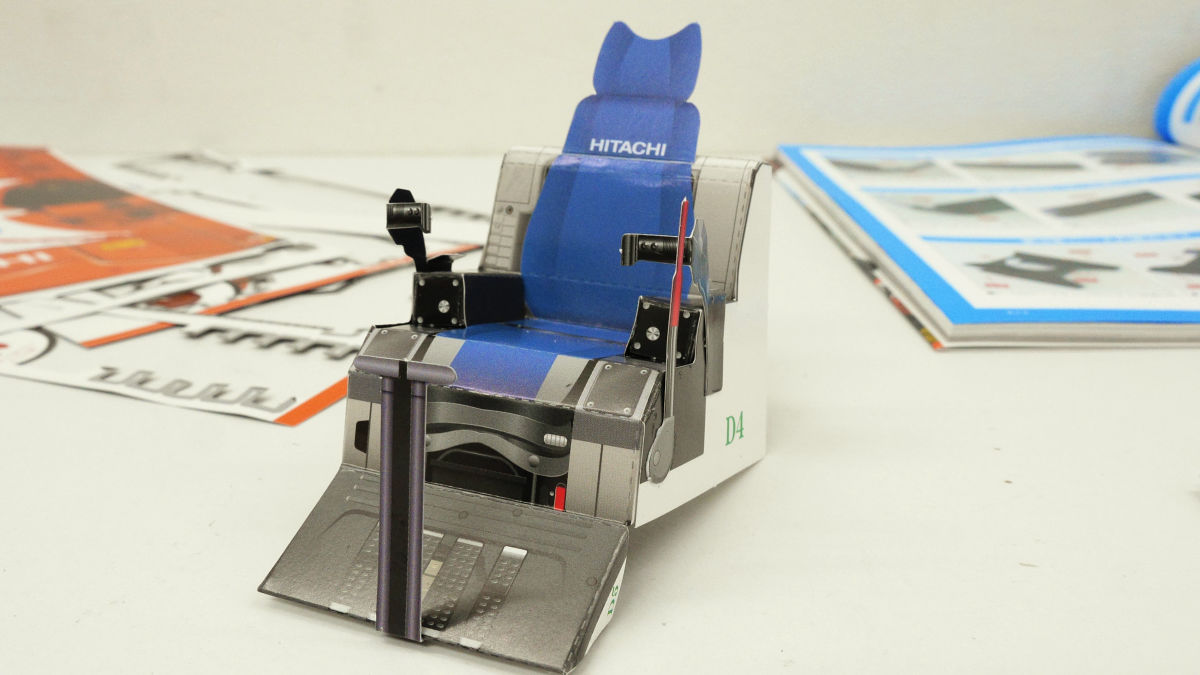
Attach the frame of the cockpit ... ...
The front part is also attached.

This completes the surroundings of the pilot seat.
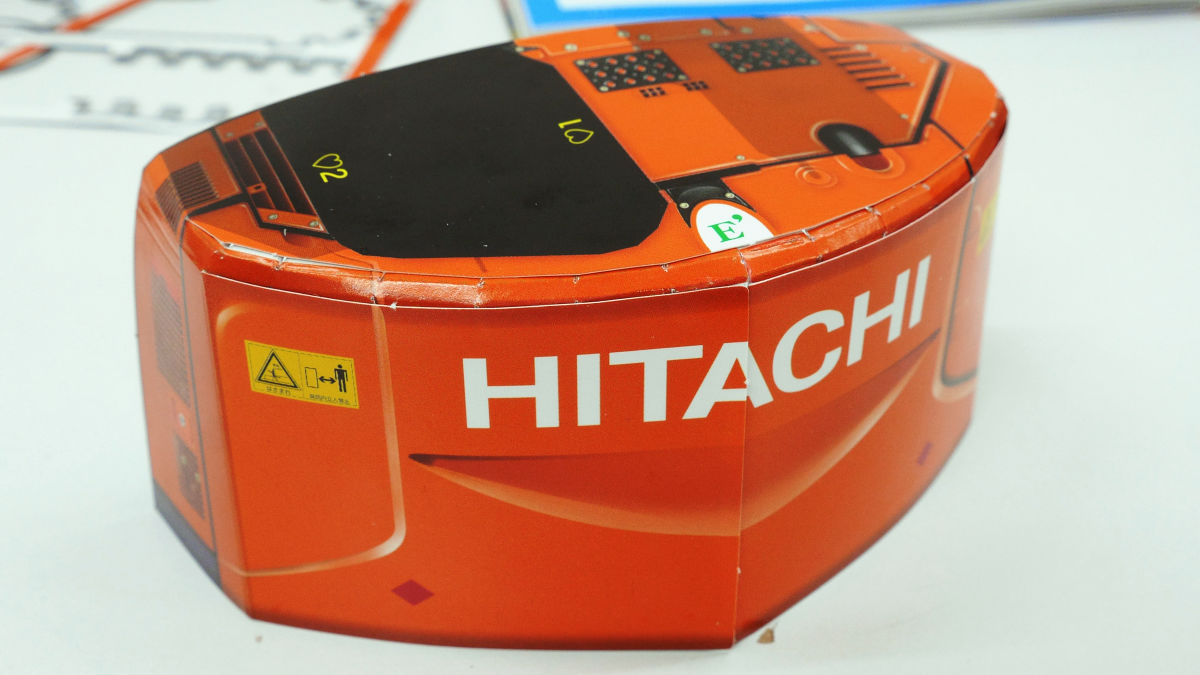
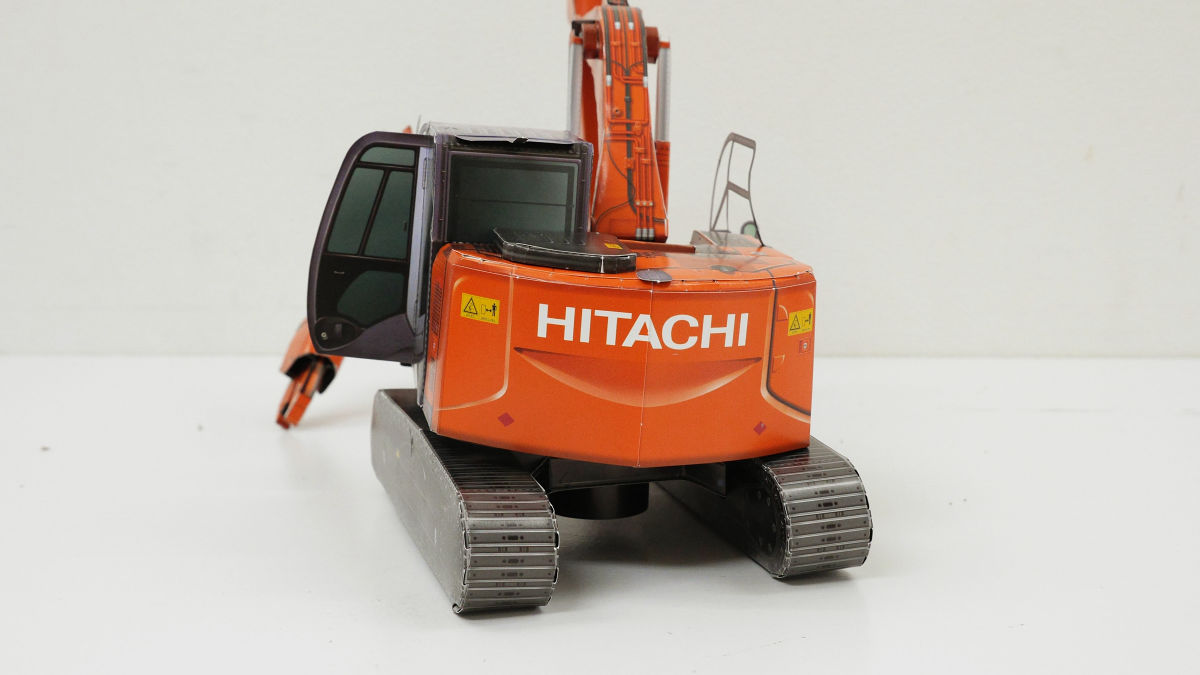
The rear part of the main body is rounded design, and there is also a character of big "HITACHI".
If you attach detailed parts, it will be completed in an instant.

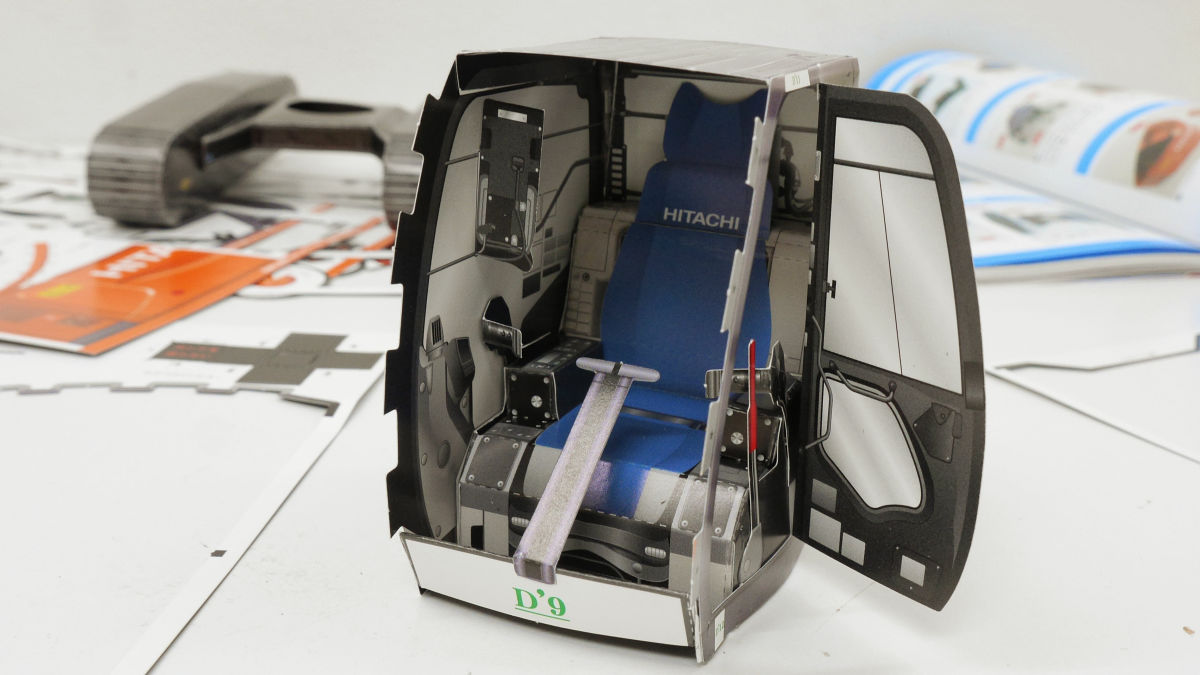
I also made the right part of the main body ......
Combined with the parts so far ... ...
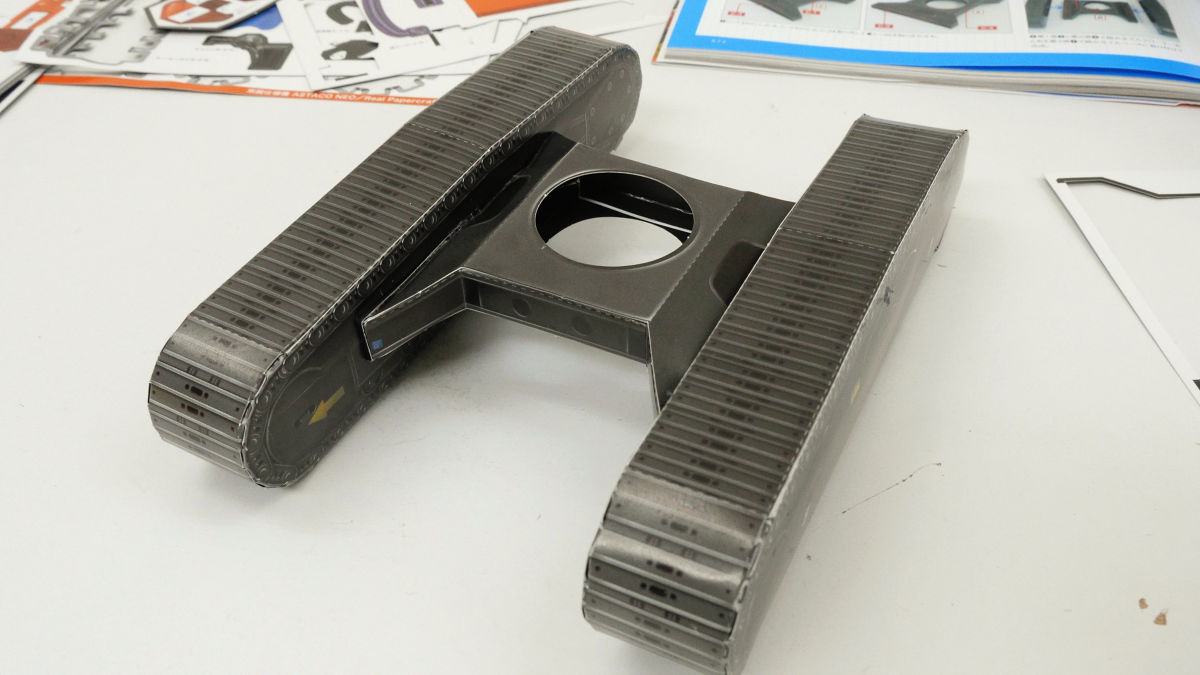
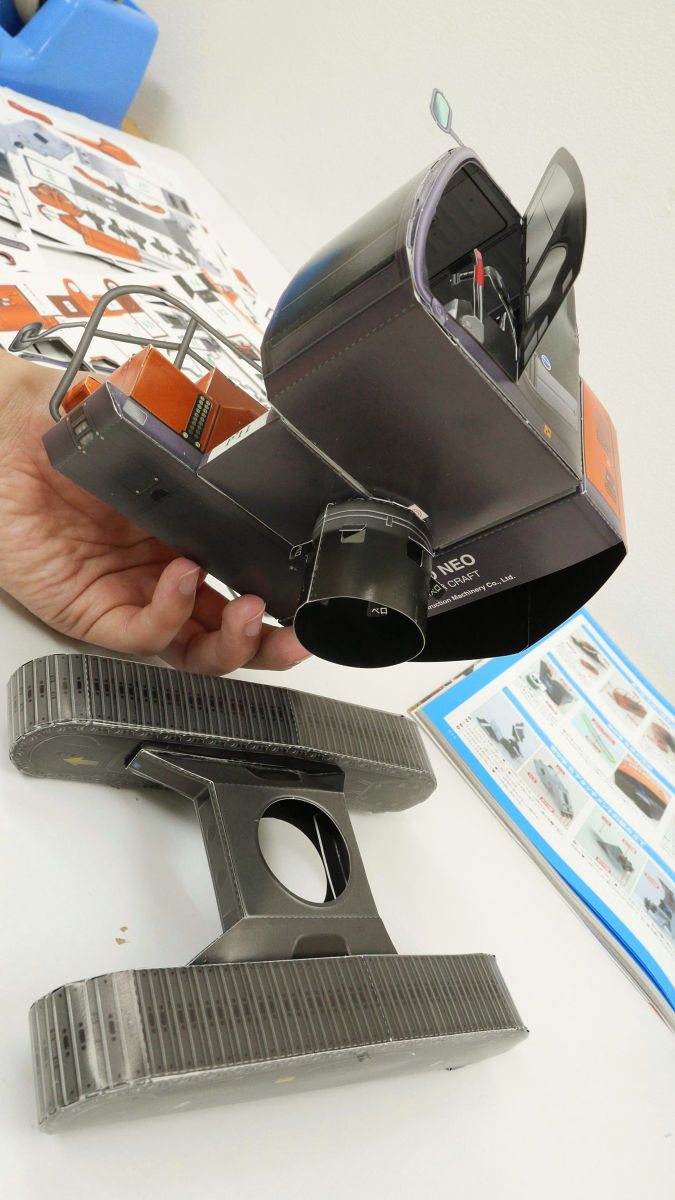
The upper part of the main body is completed like this.
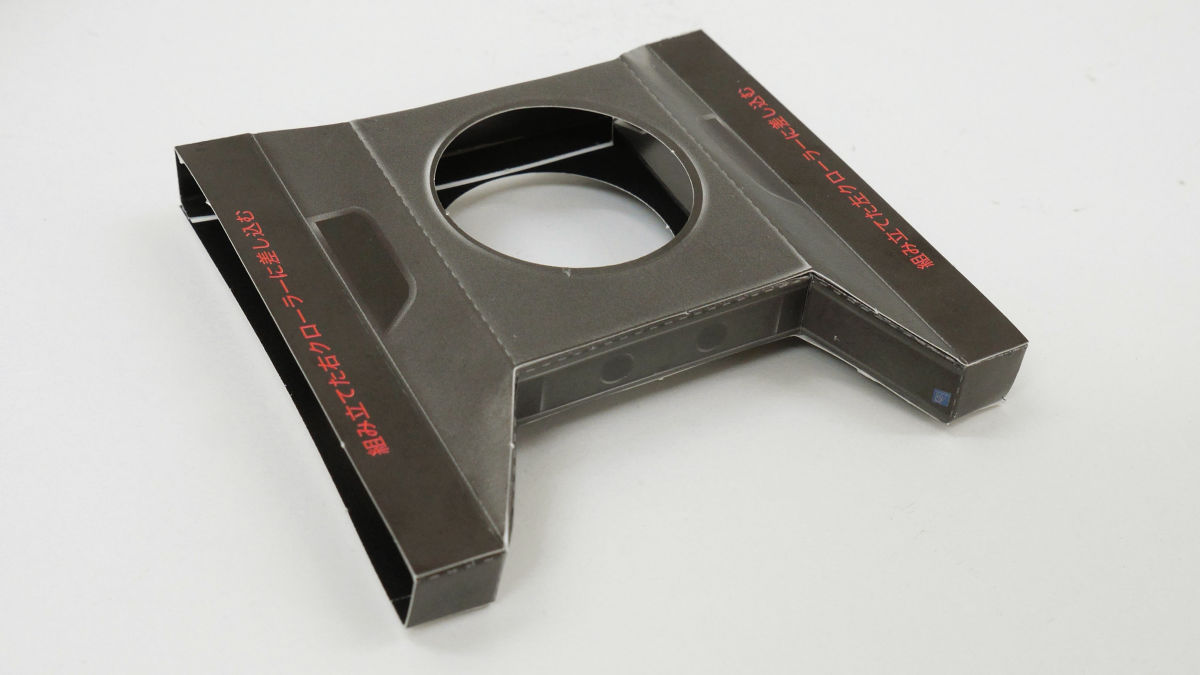
On this back side, attach the parts to connect the crawler part with the upper part of the main body.
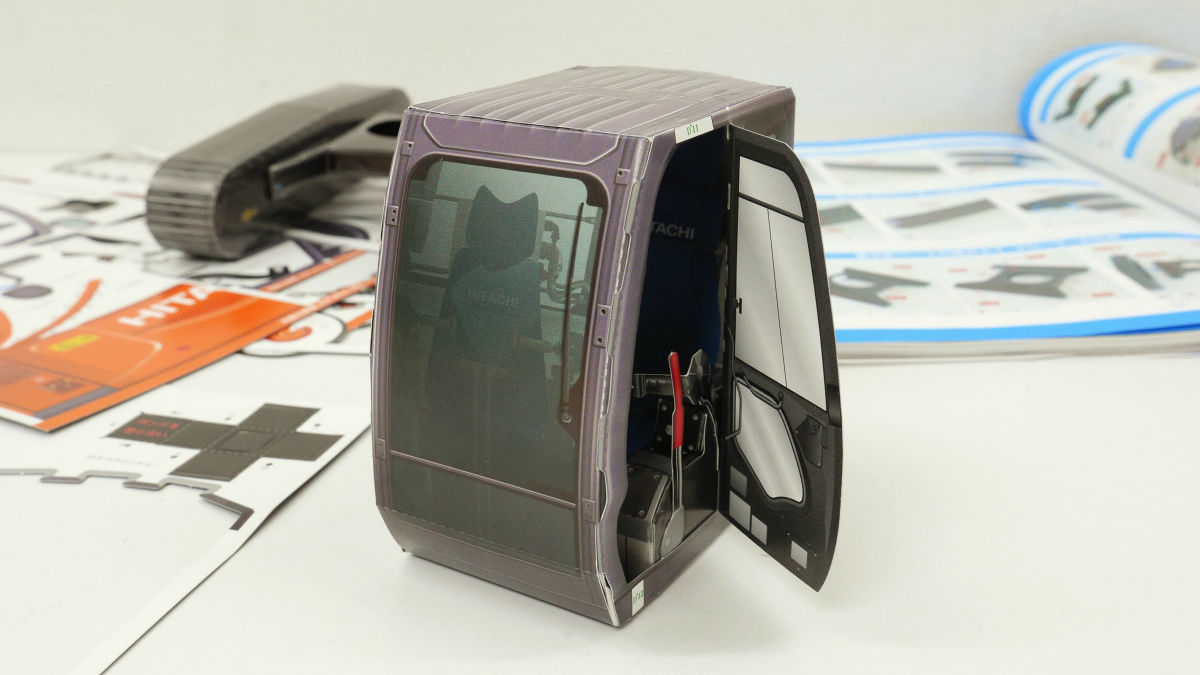
When attaching the arm part to the main body, the center of gravity becomes considerably before the eyes, so install two AA batteries in the body as part of the weight.
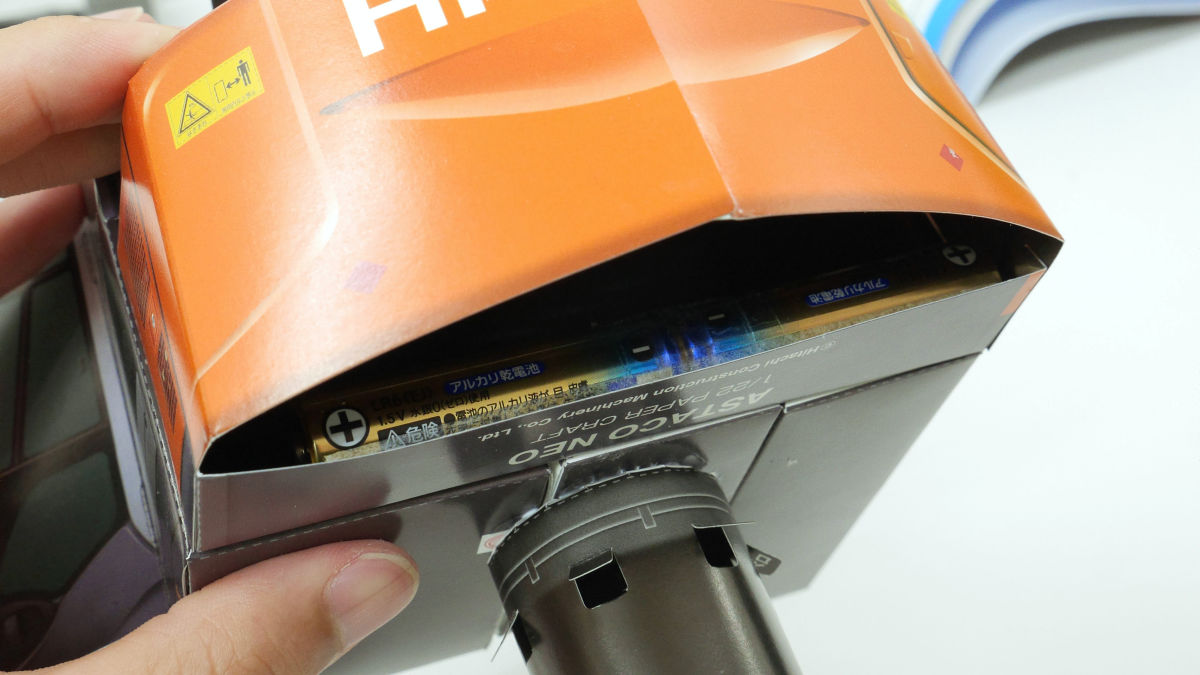
As soon as we put the weight, we dock the body and the crawler part.
The body was completed in a blink of an eye in the blink of an eye. Although it seems to be said here, "It may finish sooner but ..."
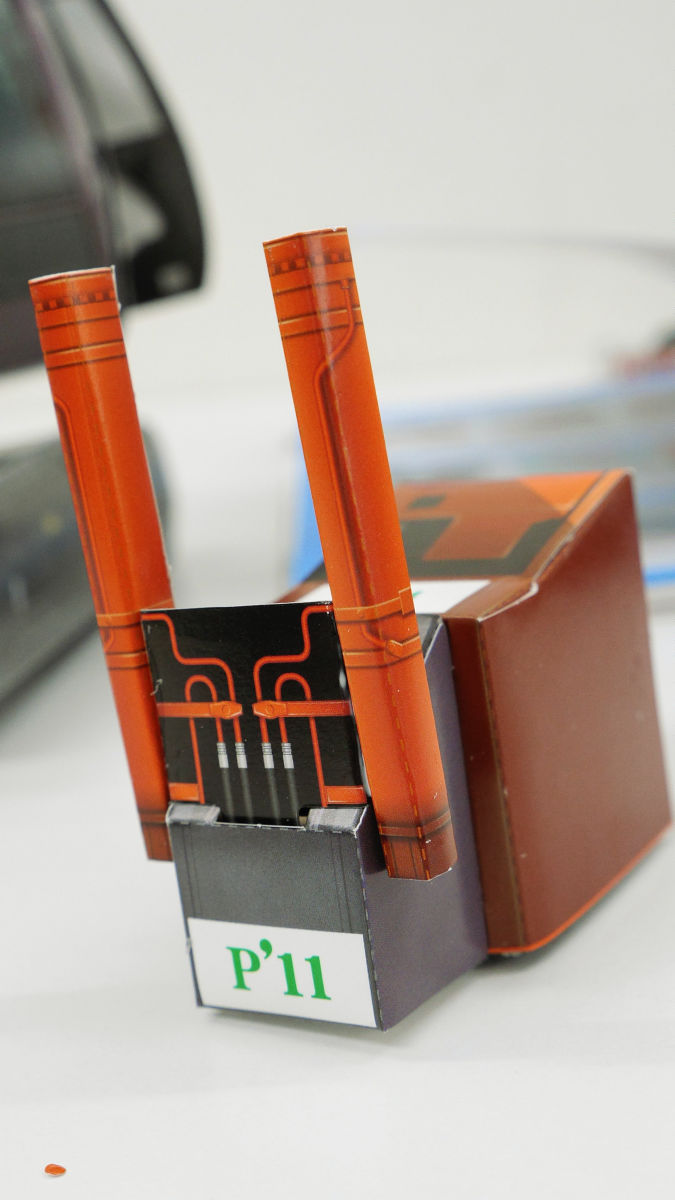
◆ Main arm creation
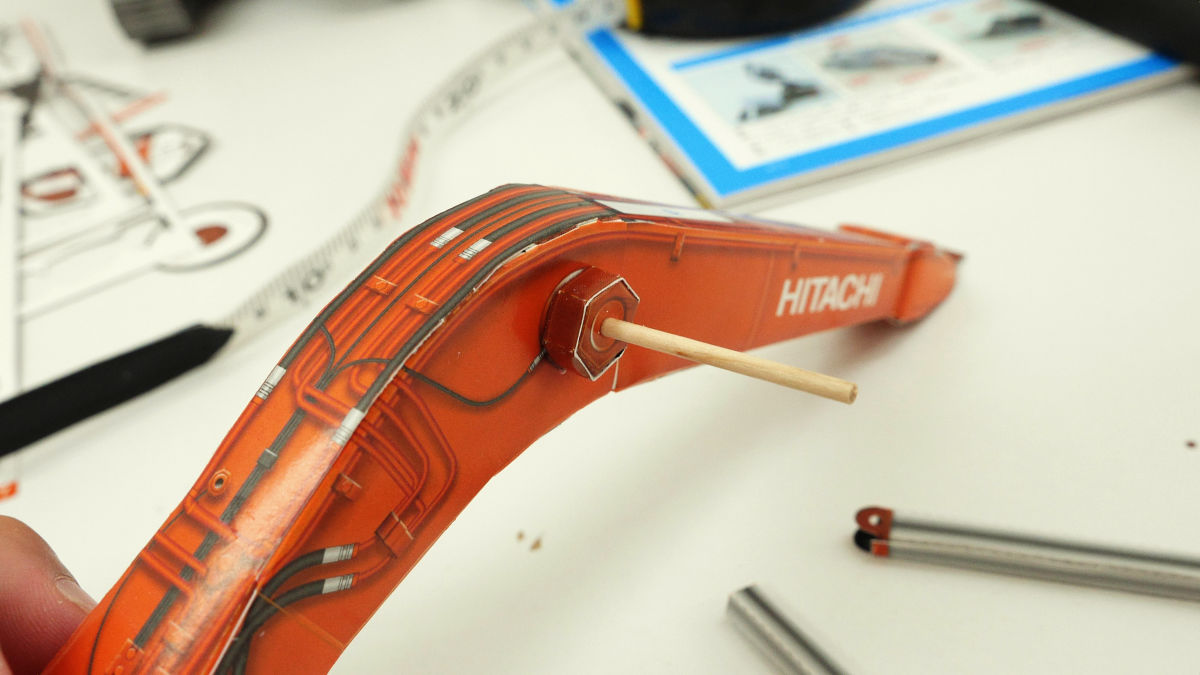
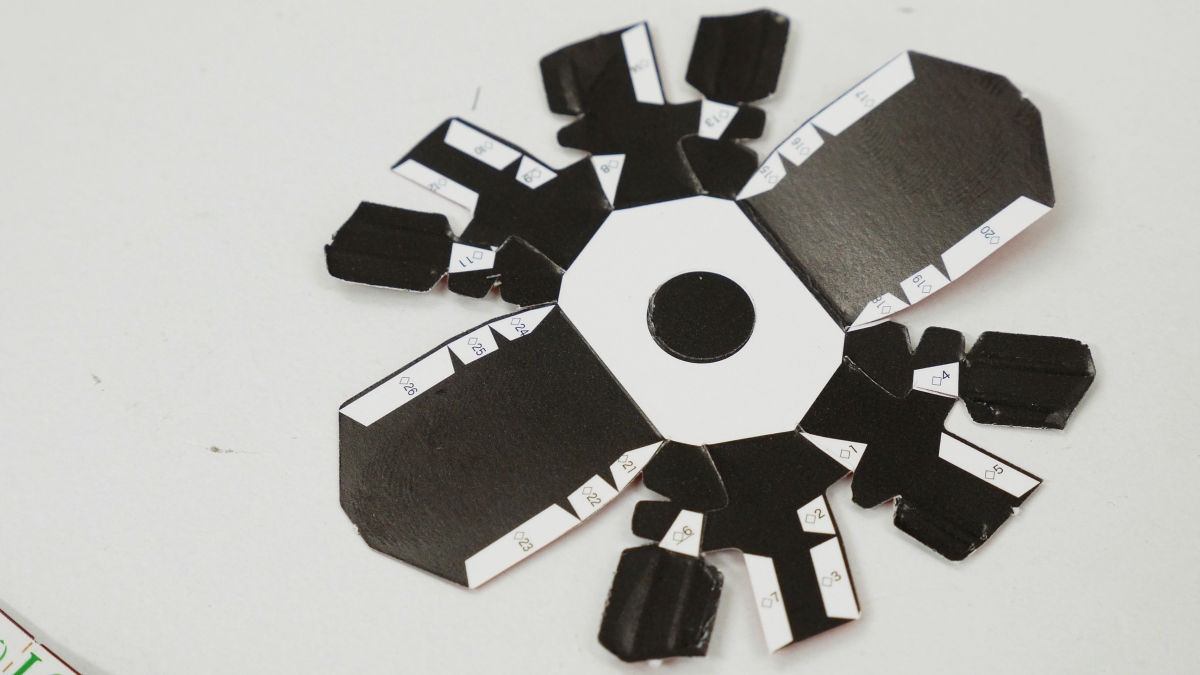
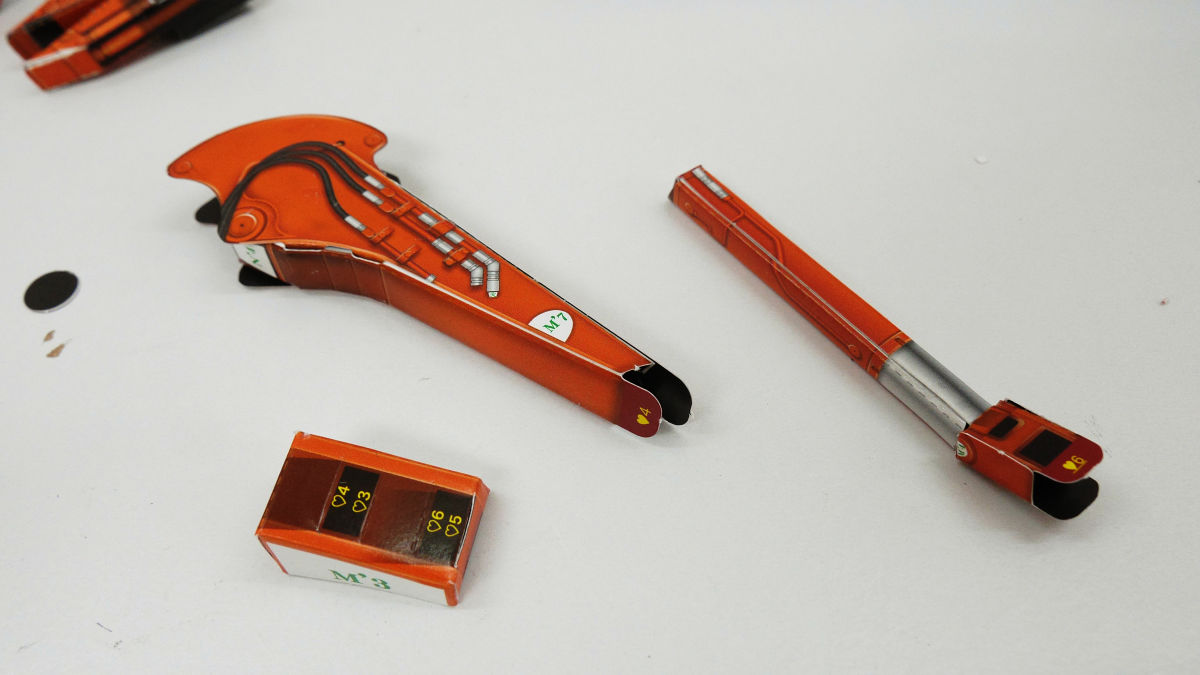
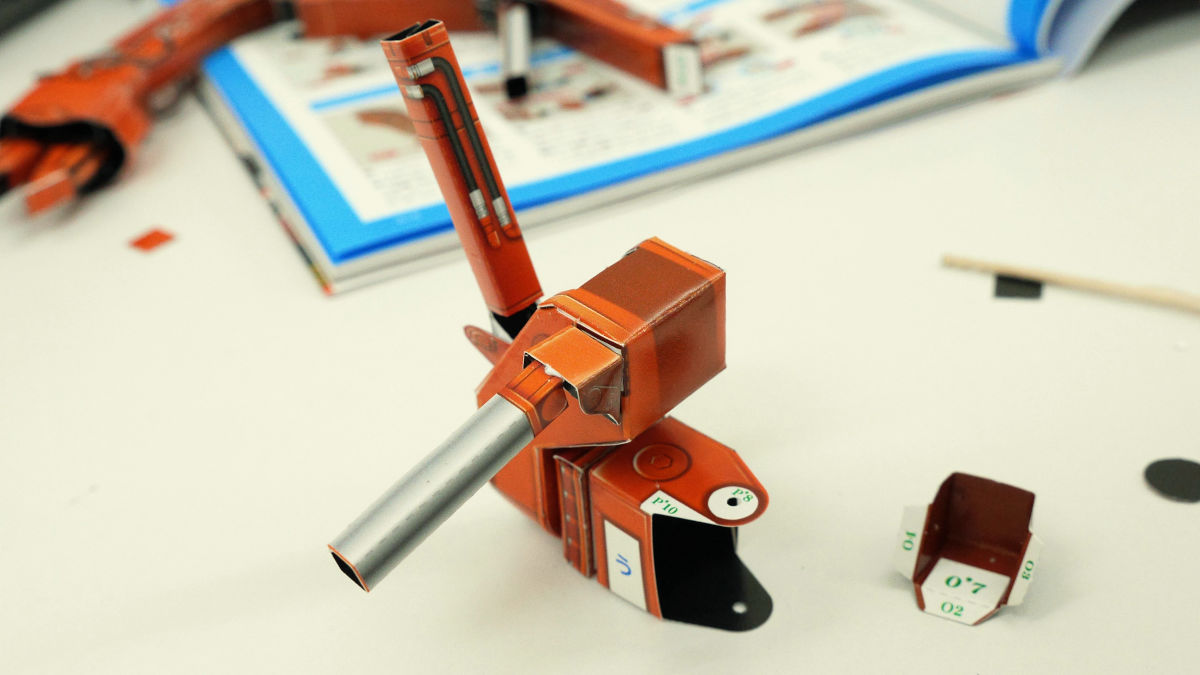
This is the attachment part of the main arm, as can be seen from this part there are also considerably small parts on the arm part, hands are sticky with bonds while creating them, so it is necessary to drop hand bonds frequently There is.
Create arm parts ......
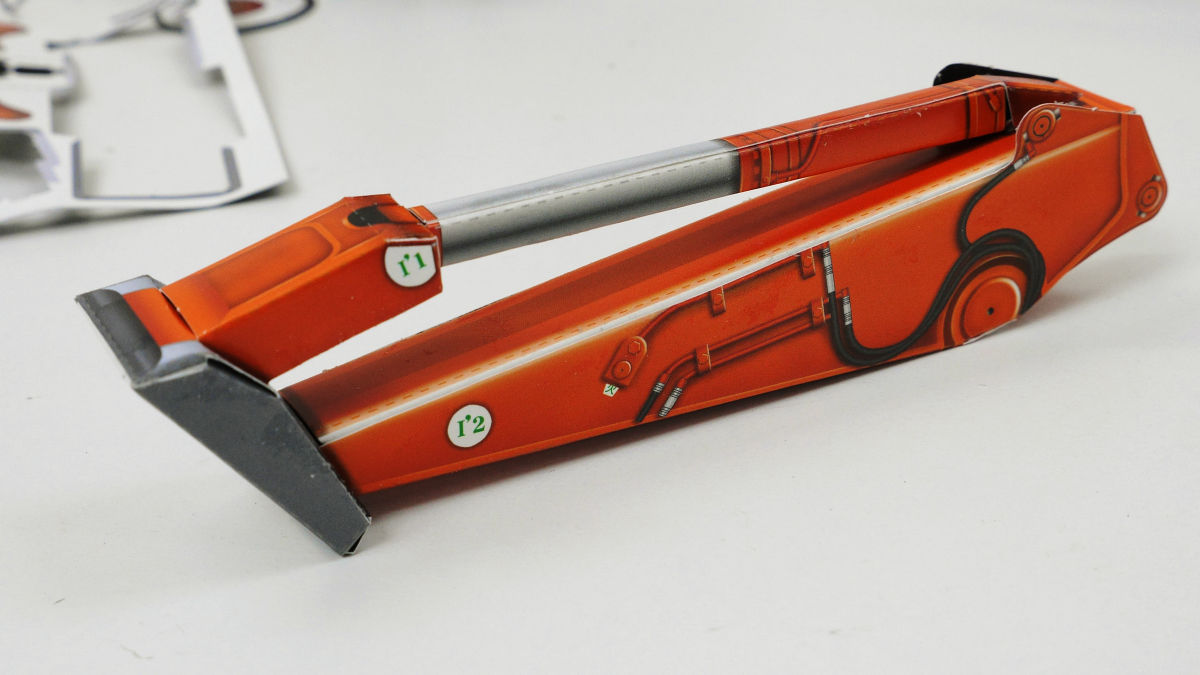
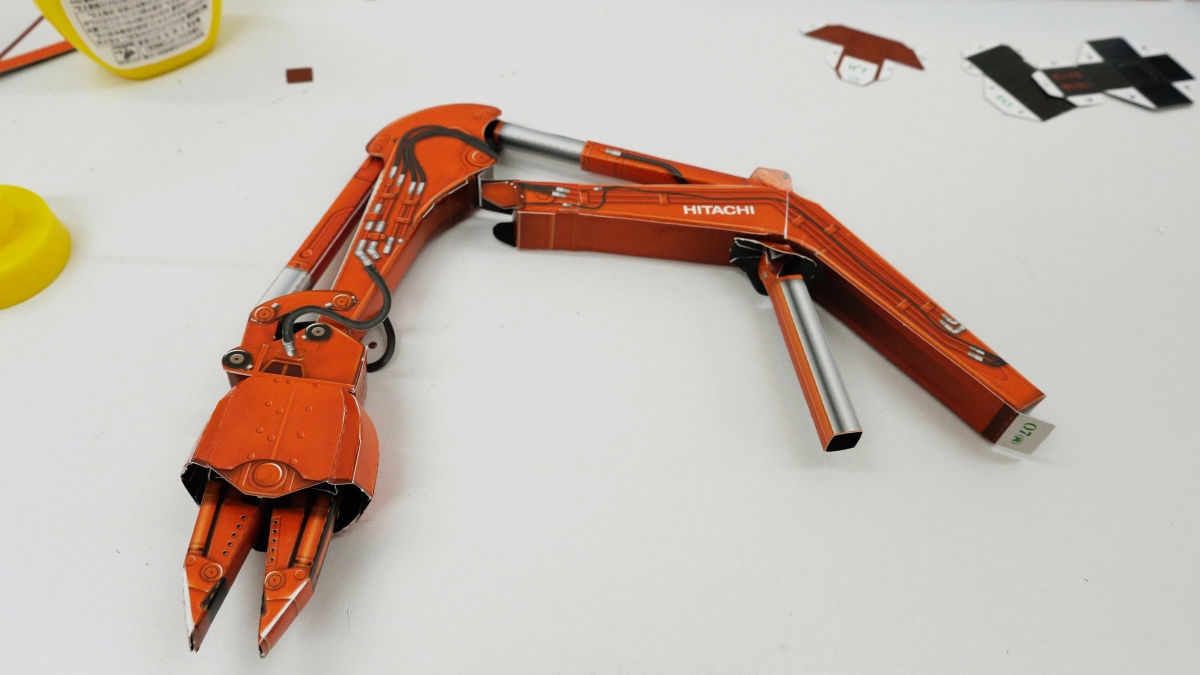
Adhesive attachment, it became like a hydraulic excavator at once.

Further creating other arm parts ......
When I look at the parts sheet, it seems that there are still a lot of parts still though the main body is supposed to be completed. Since the work to bond fine parts and bond them with bonds lasts from this point around, the speed at which the parts are finished quickly drops.
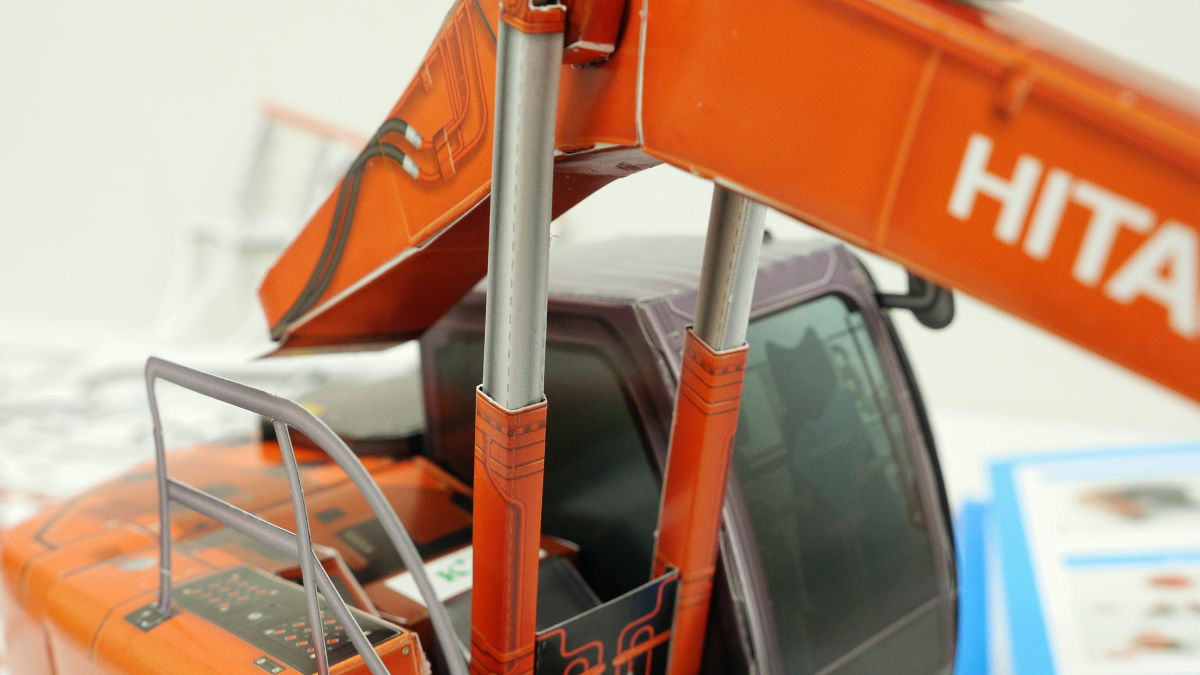
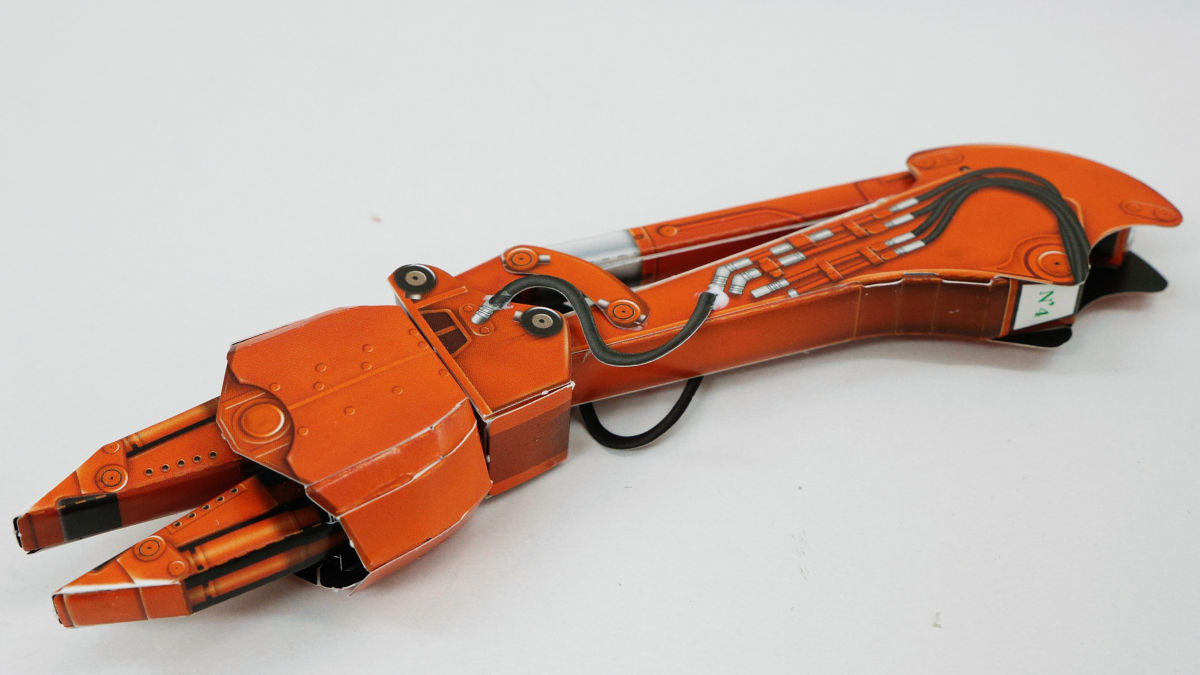
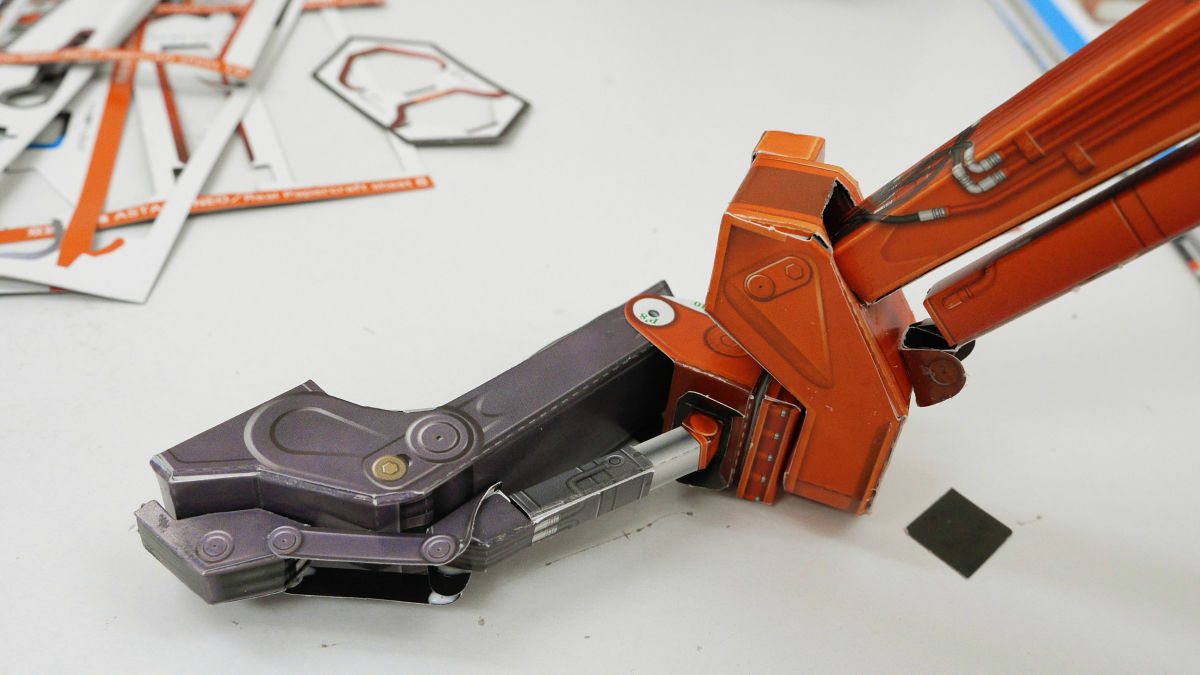
The arm part can be actually moved if completed.

Or cut the toothpick so that it can work well.
The steady work continuing adding detailed parts is continued.
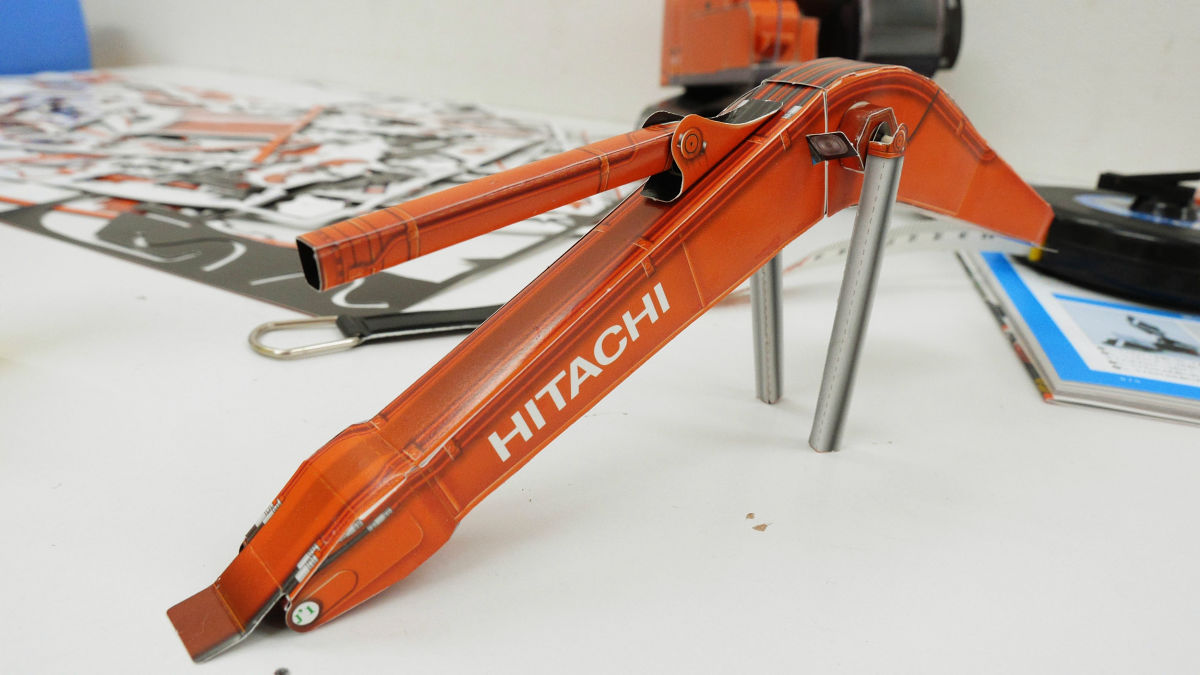
In this way we finally finished the parts ... ...
I can connect.

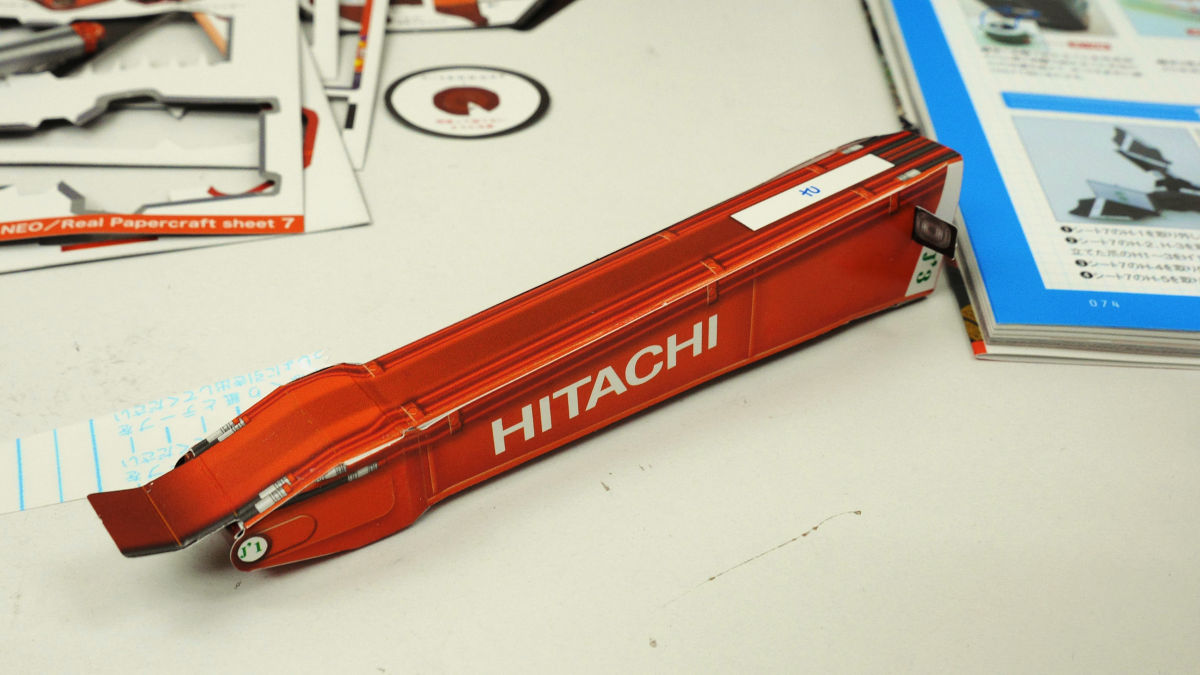
The main arm part is completed with this. The hydraulic cylinder part has also been reproduced brilliantly, and it seems that it becomes possible to move the arm by extending and contracting here.
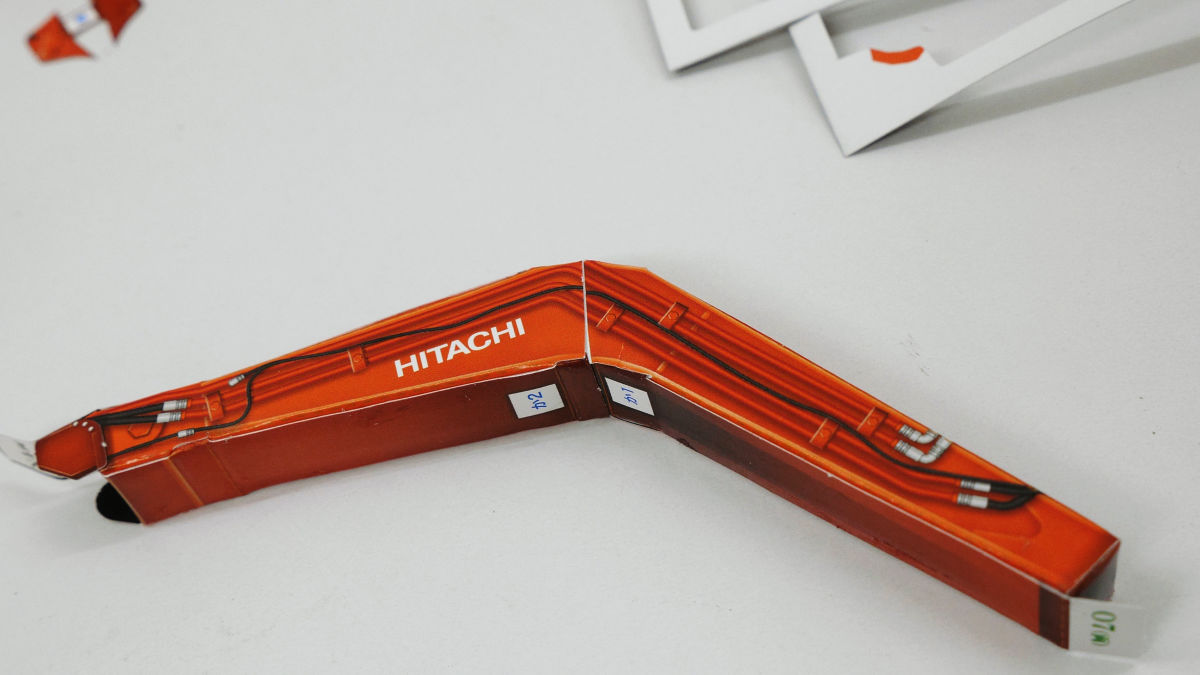
And this is a part for connecting the main body and the main arm.
Like this ... ....
Place it in the middle of the main unit.
Main arm to this ... ....

Installation!
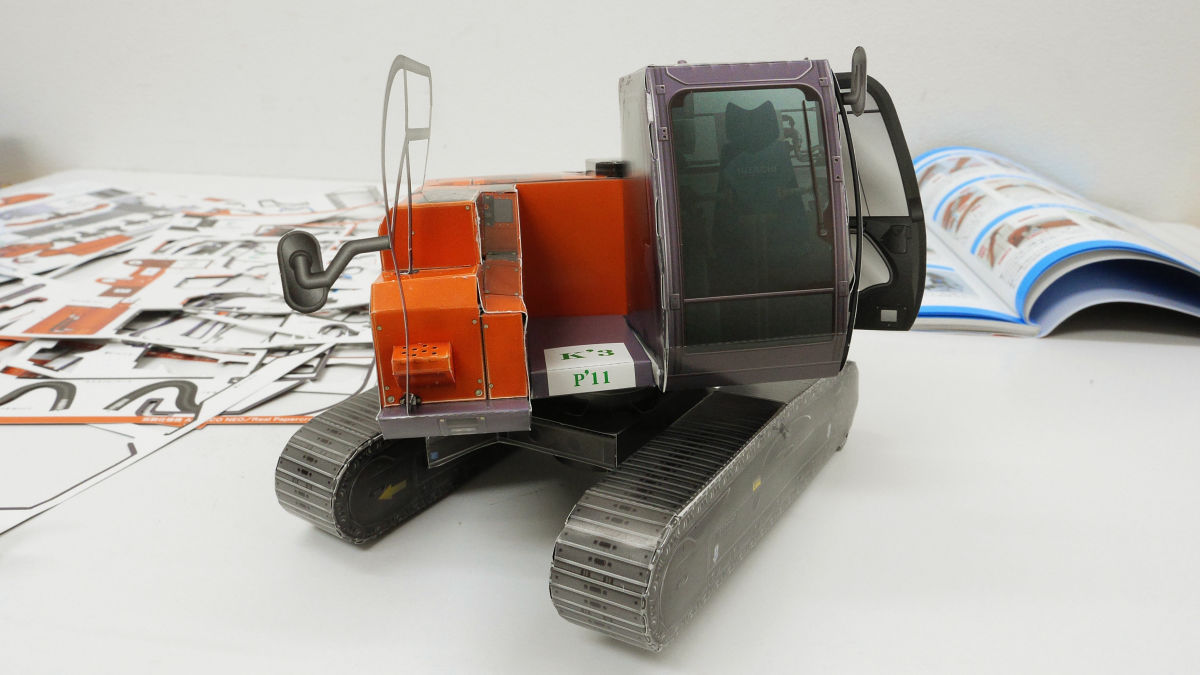
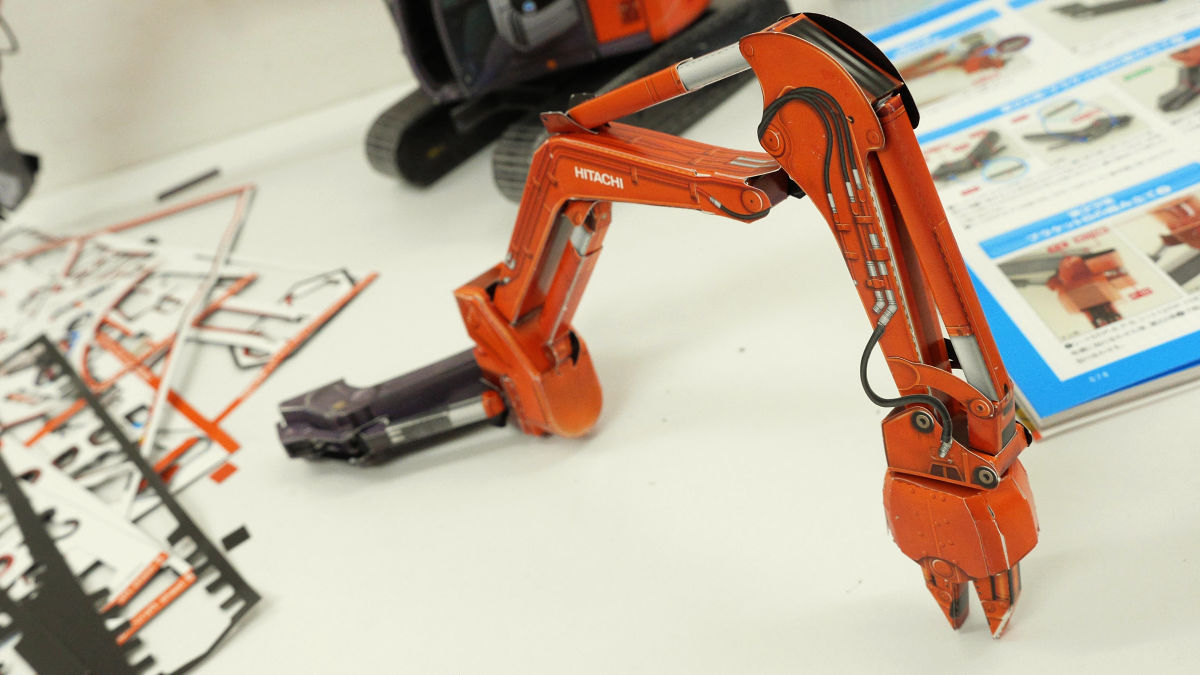
Then it became such a feeling, and ordinary hydraulic excavator was completed even with only the main arm. Because we need a considerable amount of time to complete so far, in the mind there is a voice saying "Alright ... ... Alright ... ...."

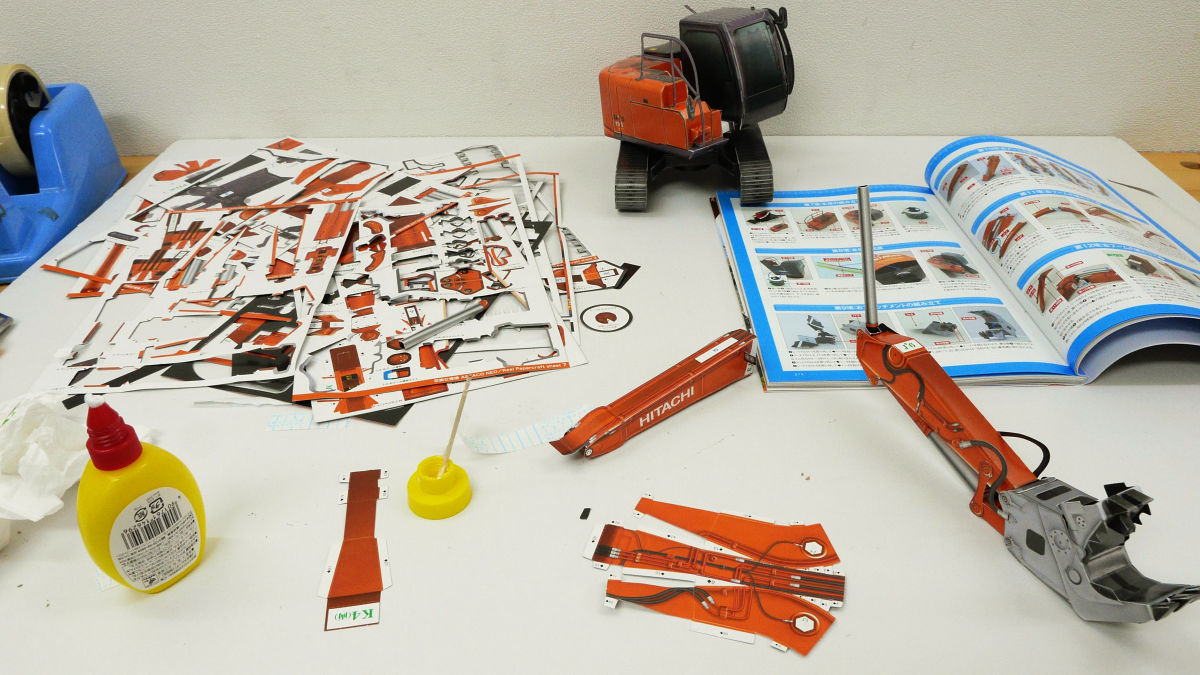
Well, there are still parts like this ...! Is it?
By looking at the used sheet somehow it calms the mind and starts to create a sub arm.
◆ Make armpits
The backside of each part is like this, and all parts that are white are necessary to bond with some parts.
Make fine parts ......
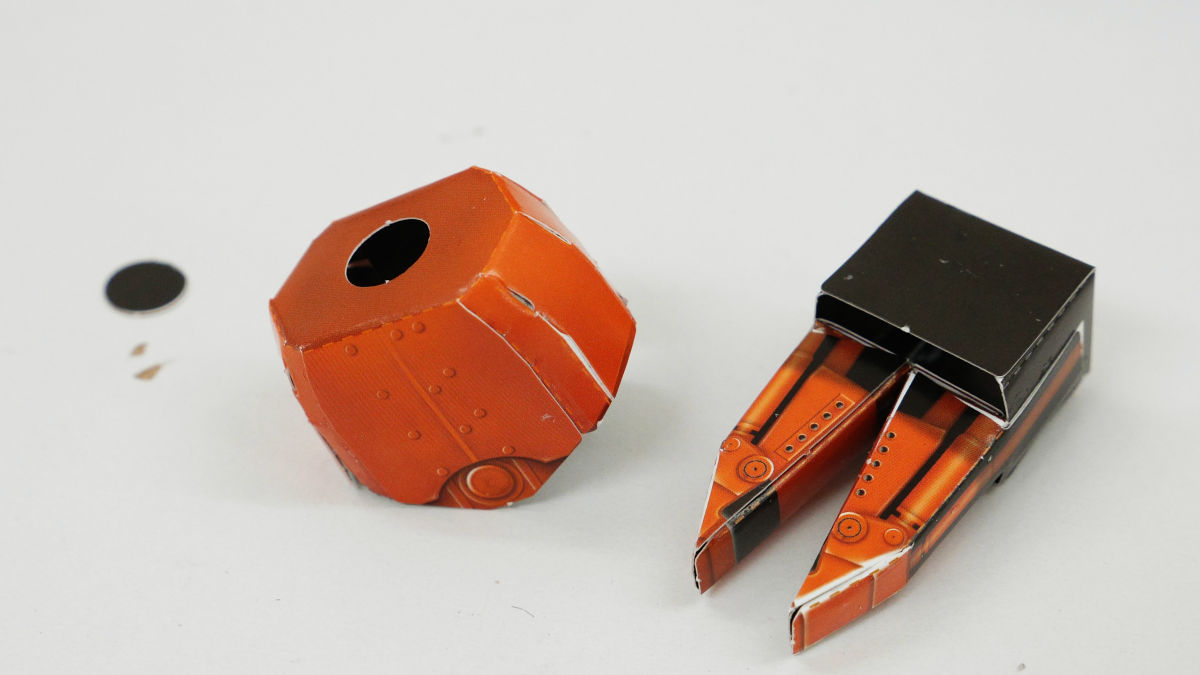
We will continue to connect.

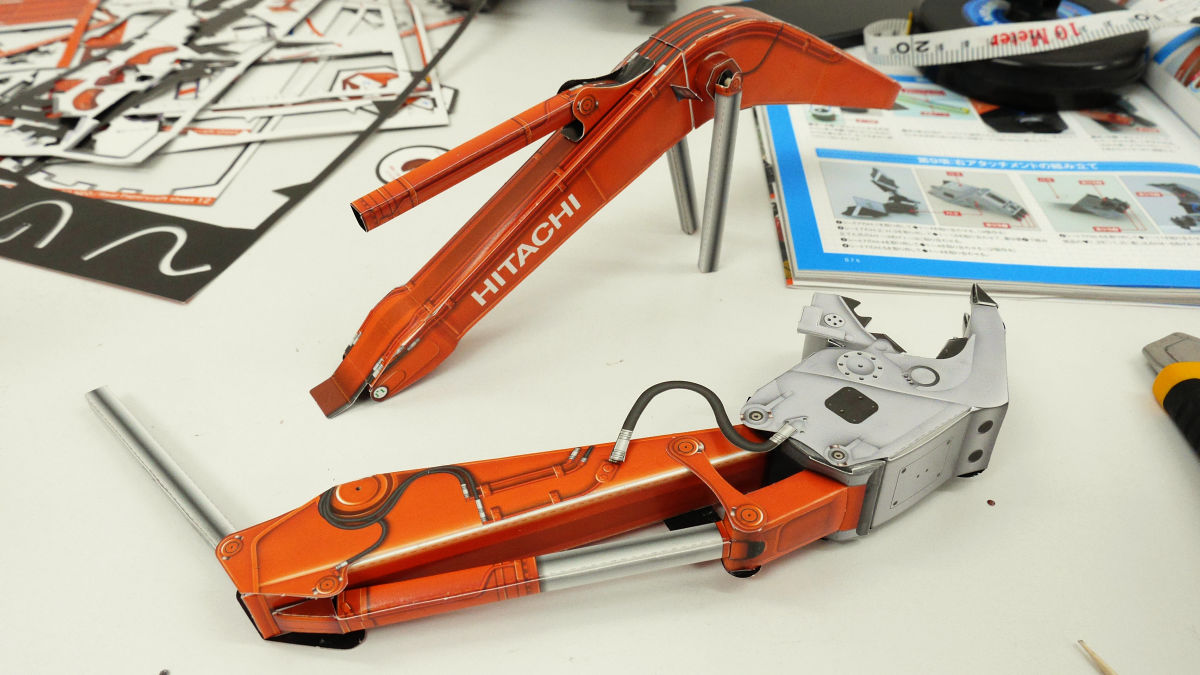
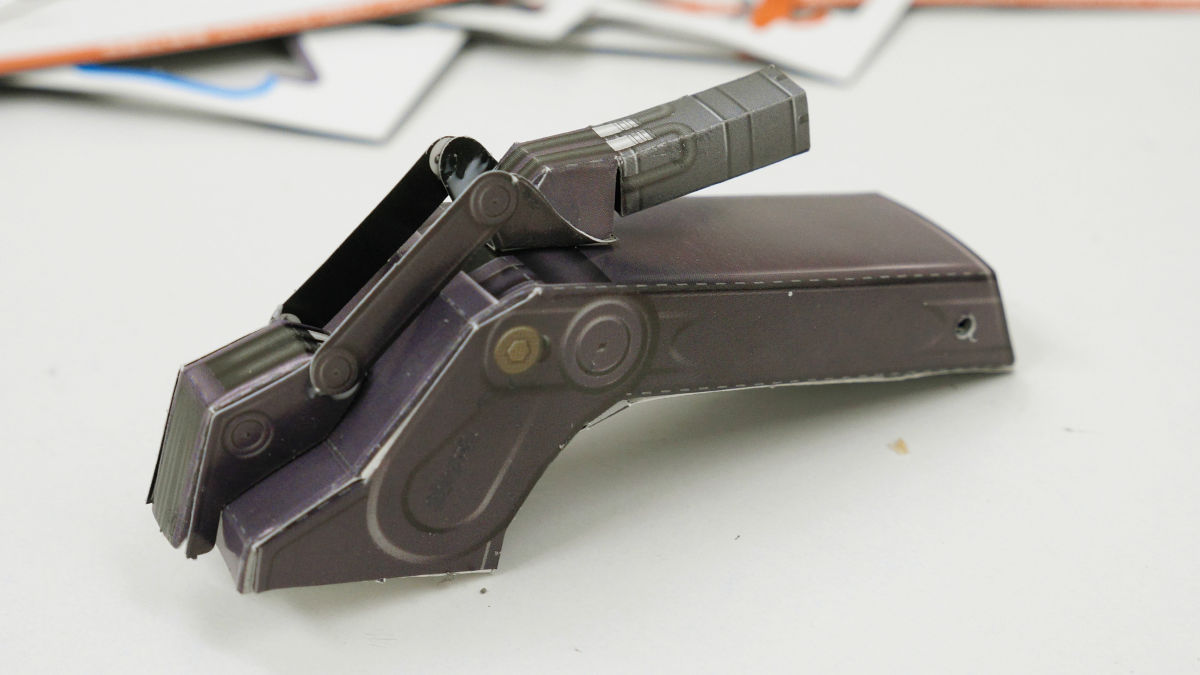
Secondary arm has come in shape.
Assemble arm parts ......
Added detailed parts.
Front and rear of the arm ......

I can connect.
The base part of the arm looks like this.
Connecting this with the arm parts will look something like this.

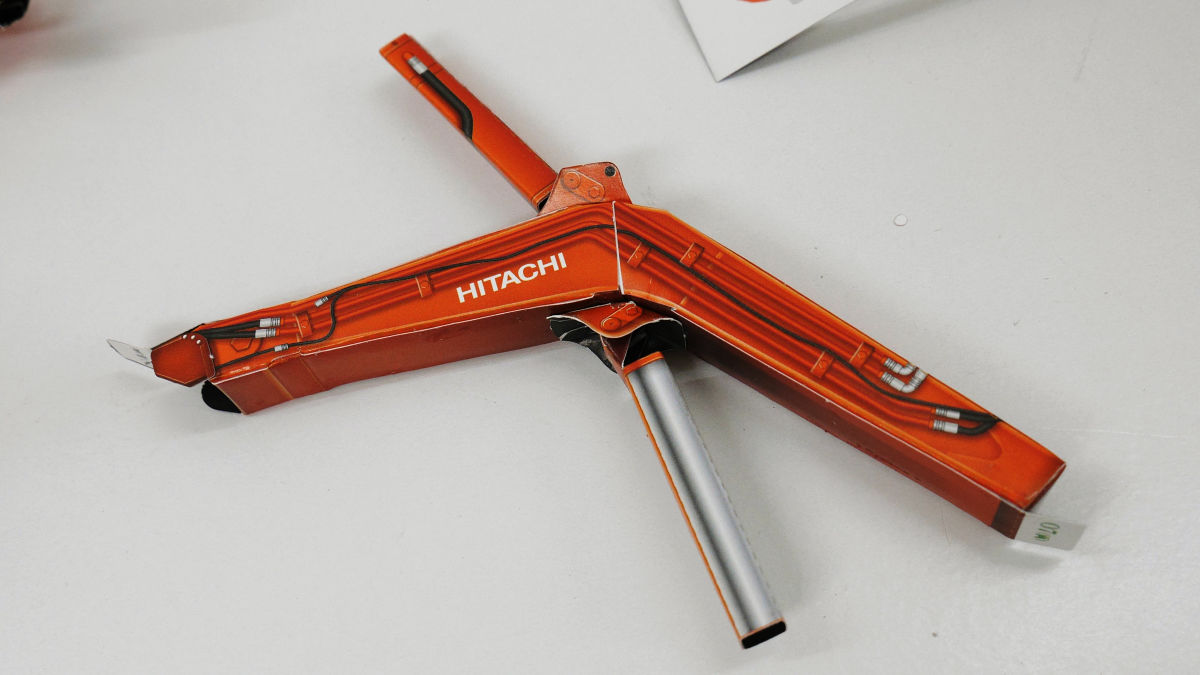
This is the part that connects the secondary arm and the main body ......
This is the base of the subarm ... ...
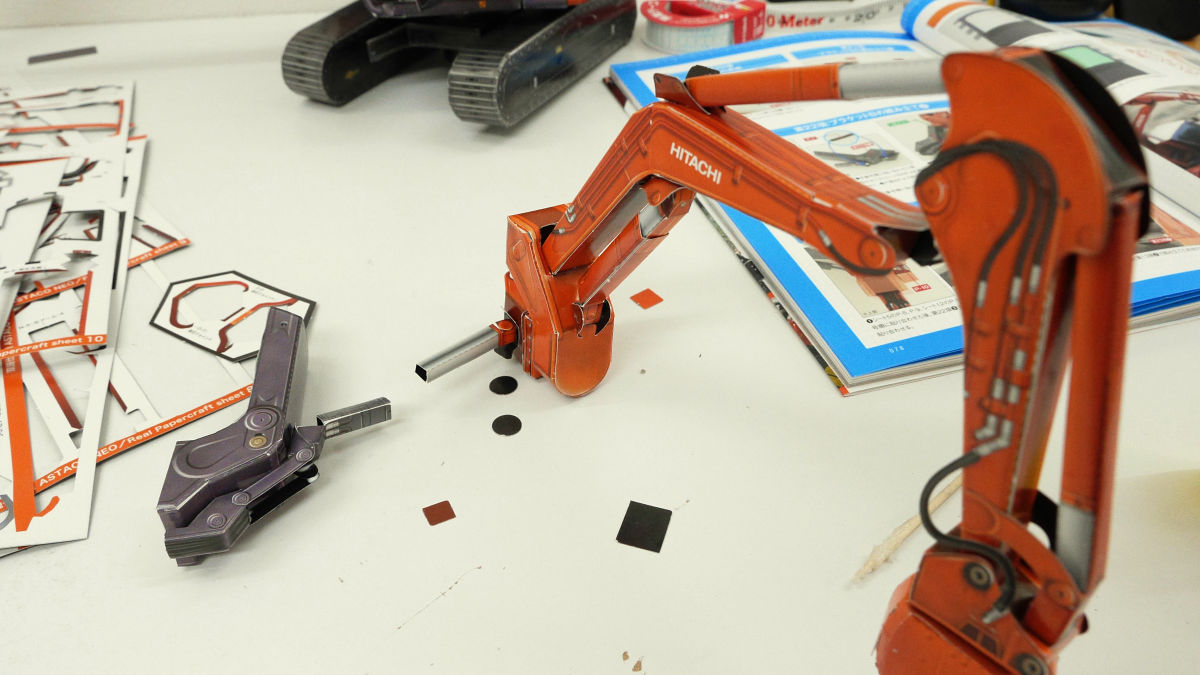
Connection.
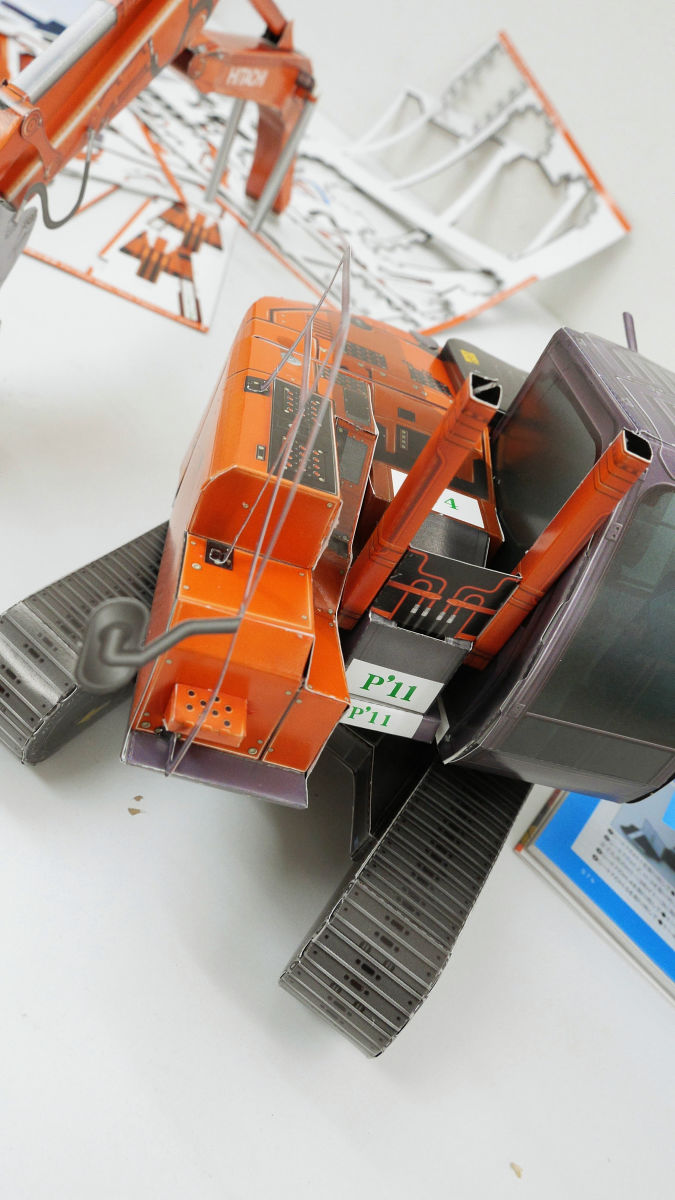
Again toothpick appeared, which makes it possible for secondary arms to operate in the left and right.
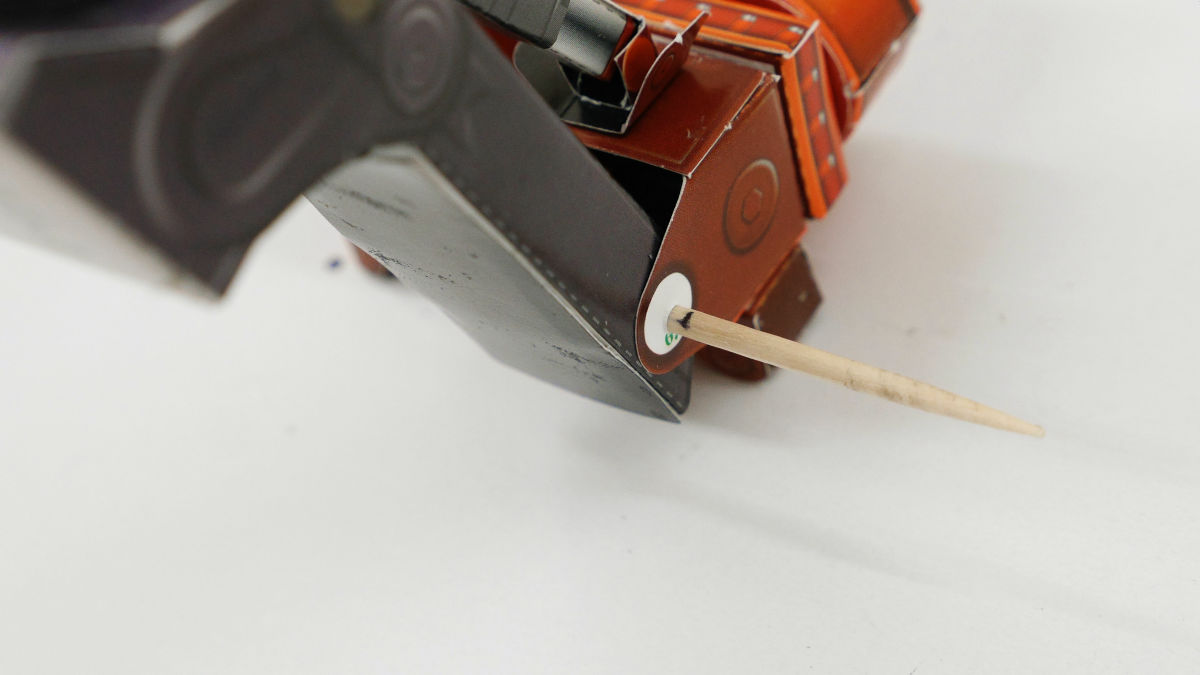
It is OK to cut the toothpick with the specified length and cover the part to become a cover.
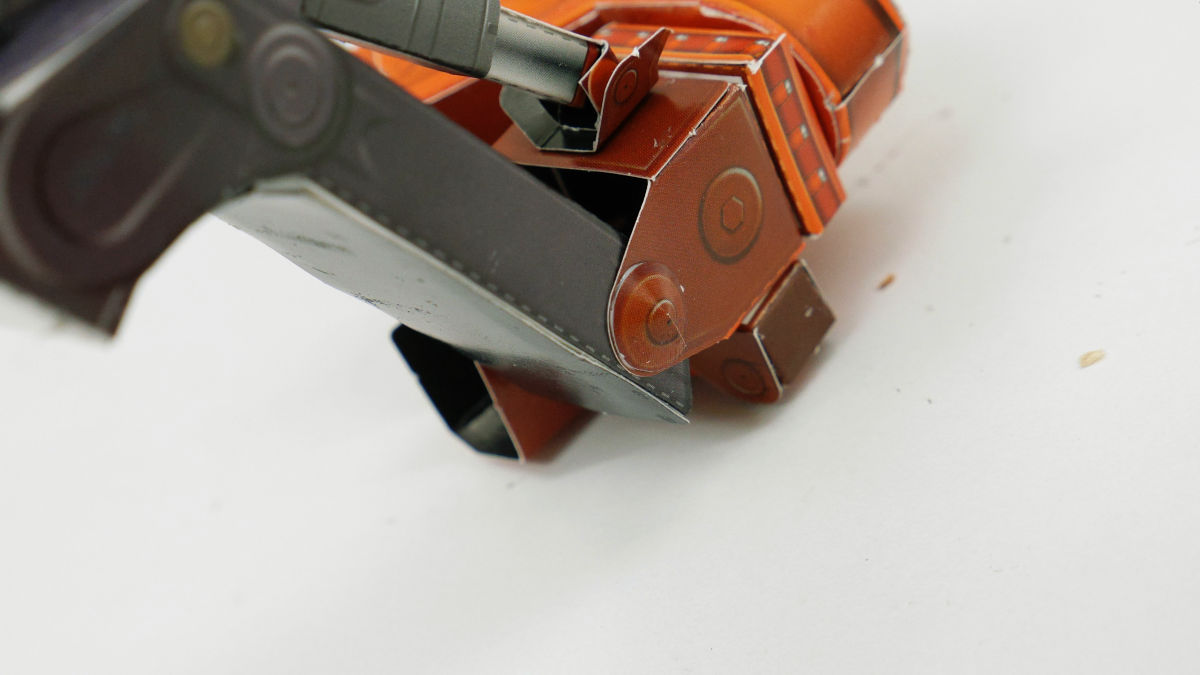
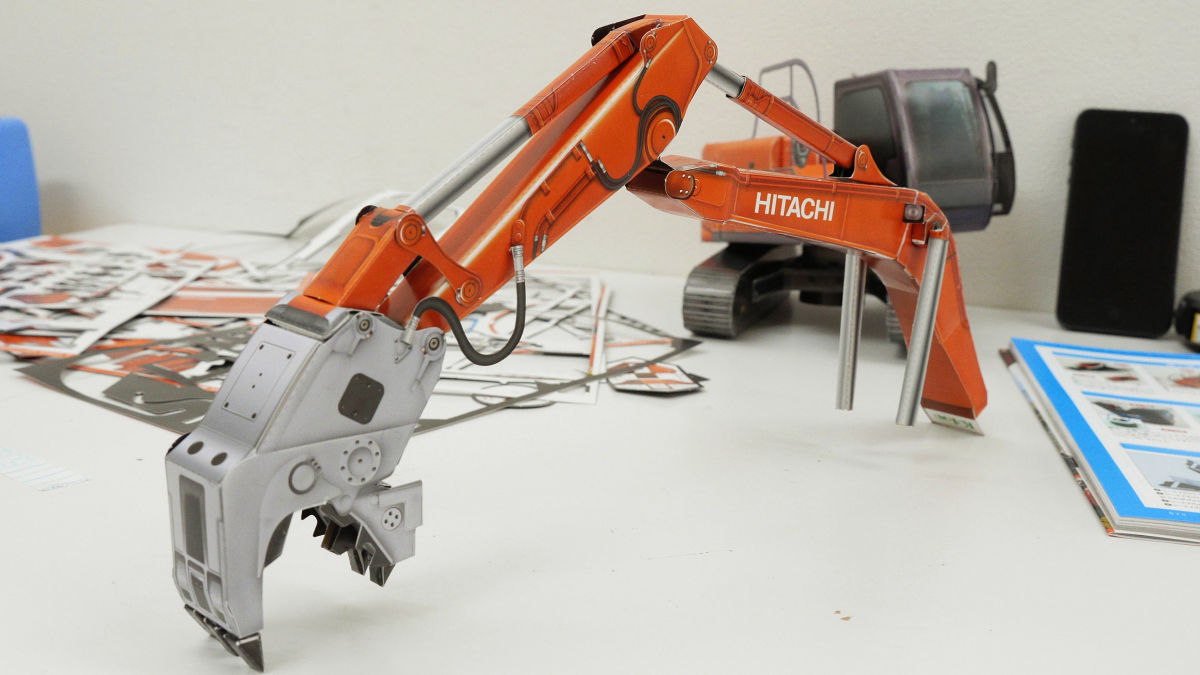
With this, the secondary arm is completed, if you attach this to the main body ... ...
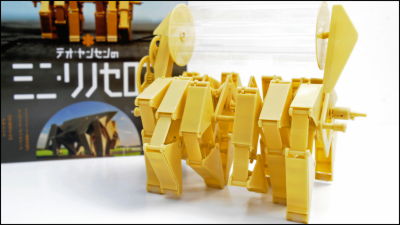
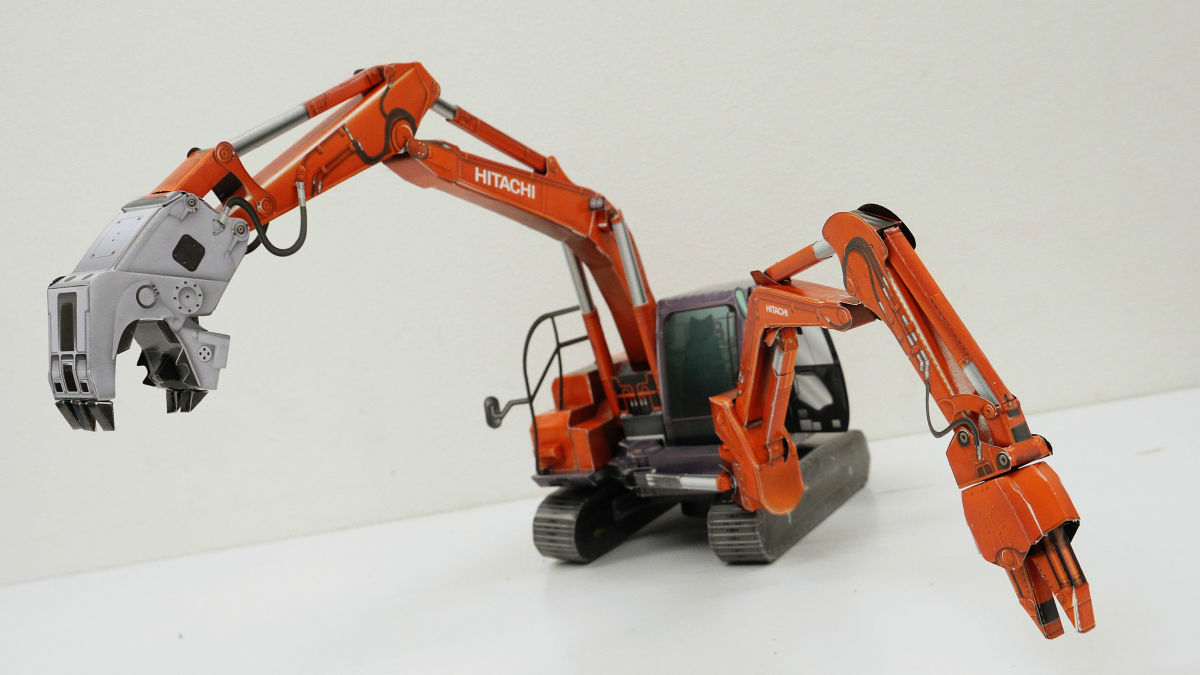
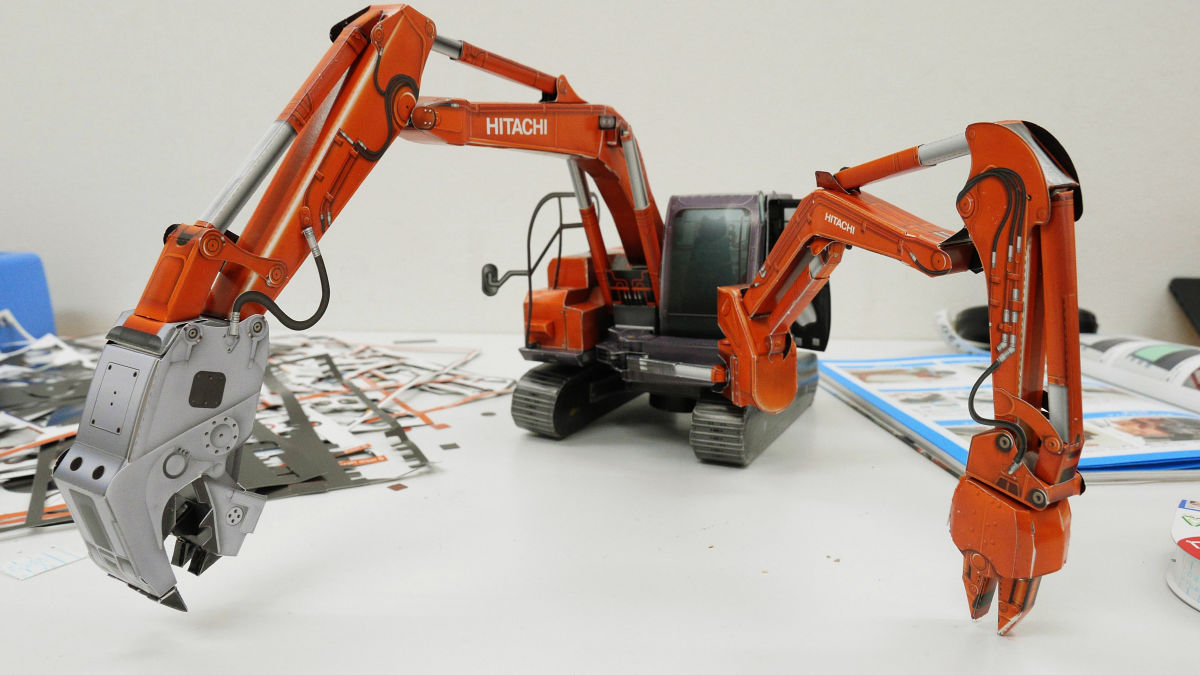
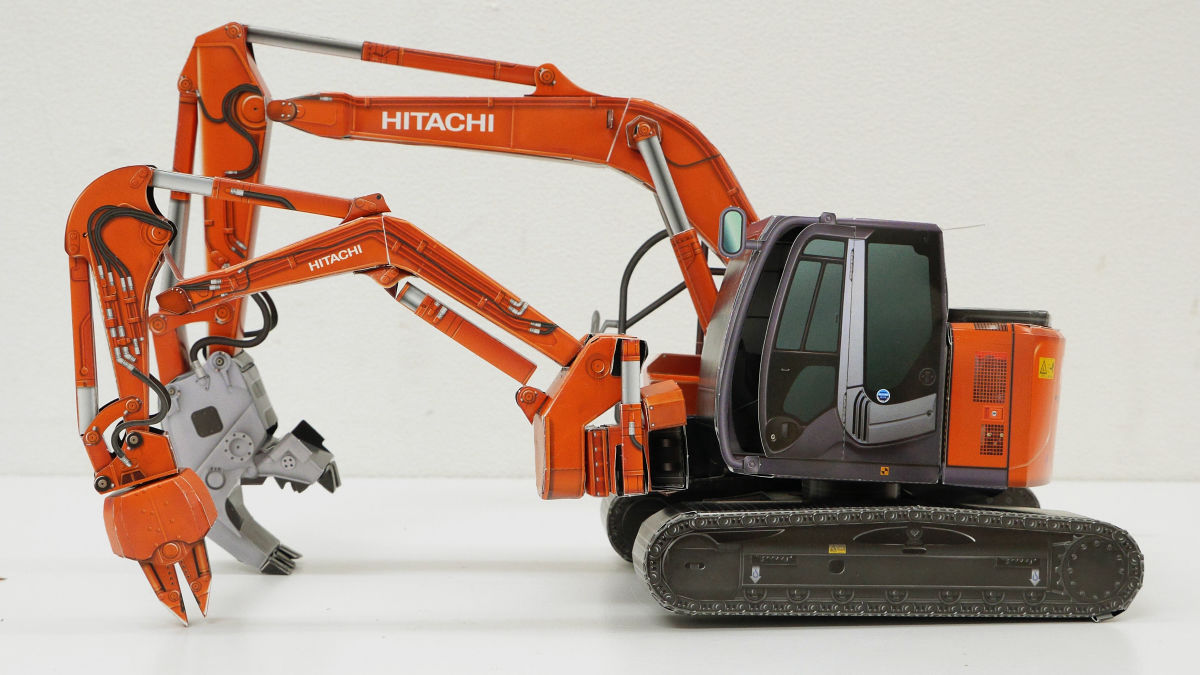
Astaco NEO completed, the two arms that spread to the left and right are quite impressive.
Partsheets also completely run out.

◆ Photo Review of Paper Craft "Astaco NEO"
Looking at the completed Astaco NEO from the front like this.
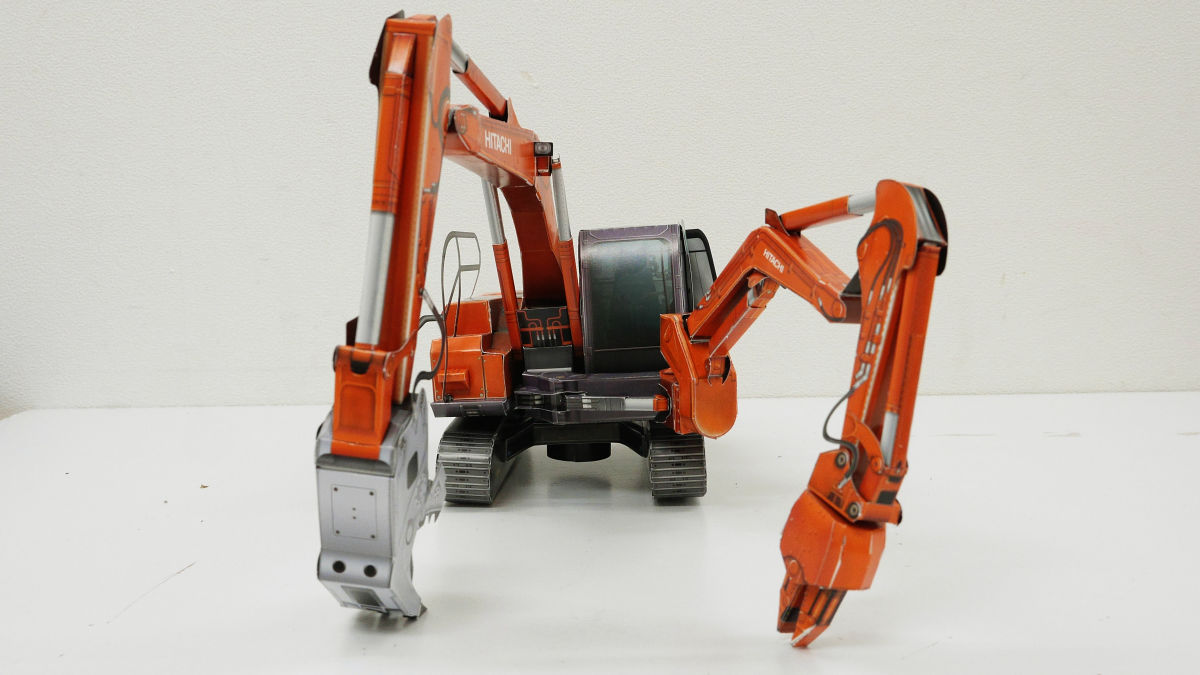
From the left side, you can see that the secondary arm is one turn smaller than the main arm.
The back of Astaco NEO is somewhat cute.
The right side looks like this.

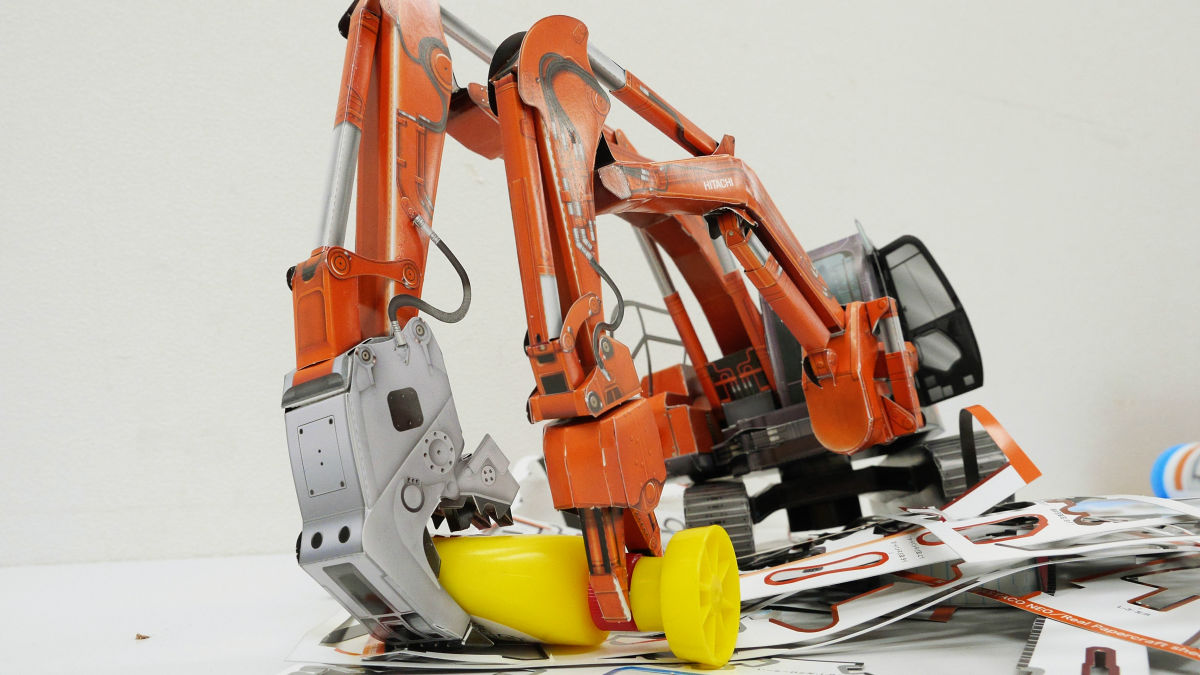
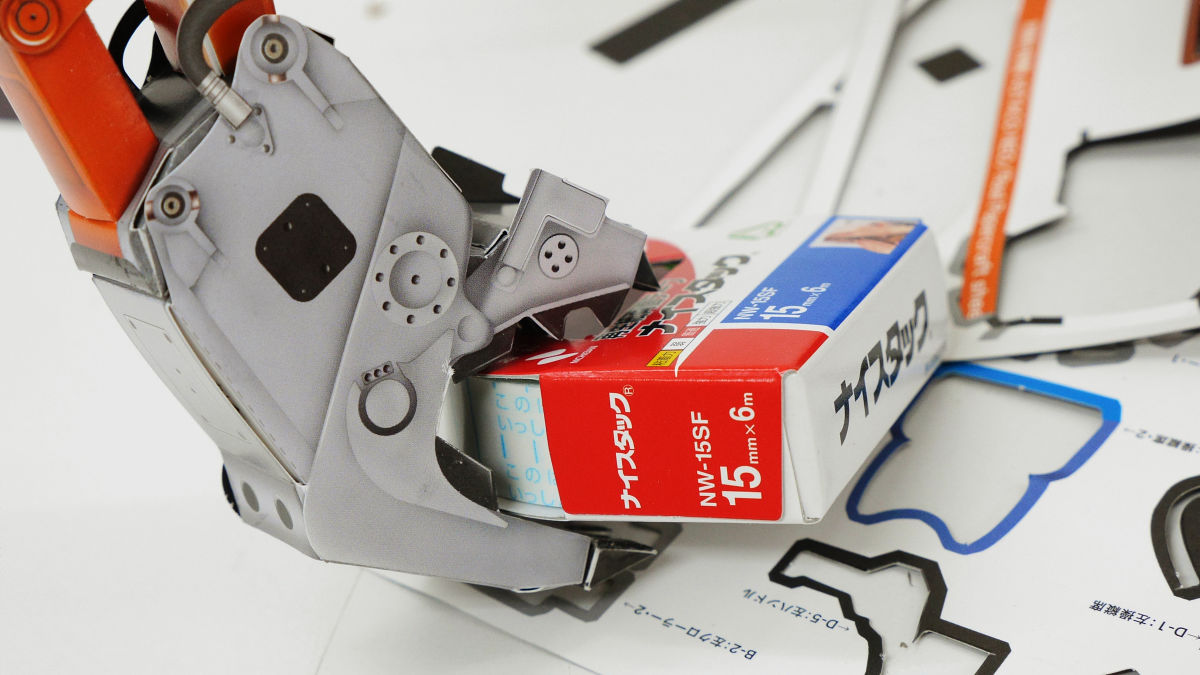
Arm part ......
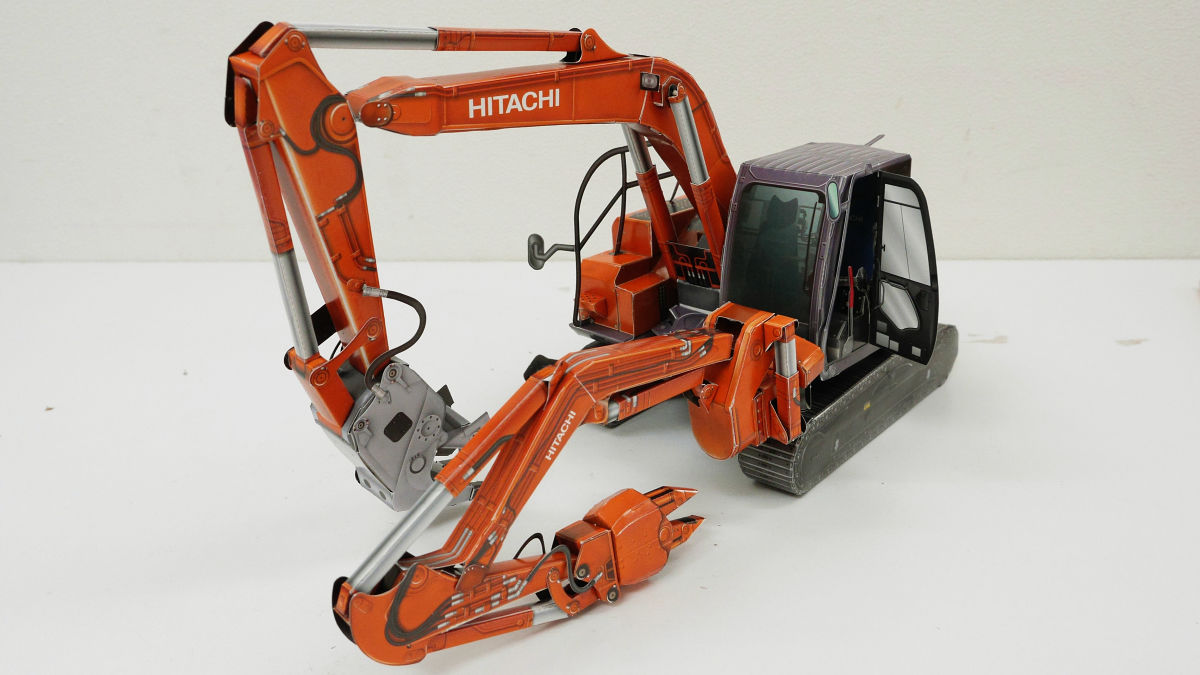
Thanks to the fancy of making fine parts, it is possible to move it so much. Even the real Astaco NEO seems to be able to perform the two-arm specific action such as "cutting while grasping", "bending long objects", "holding soft and fragile objects" by making use of these two arms.
Astaco NEO started to move suddenly when it was warmed by the high degree of completion of too much ......

Bond used for creation ......
Double-sided tape, trash and others cleaned up.
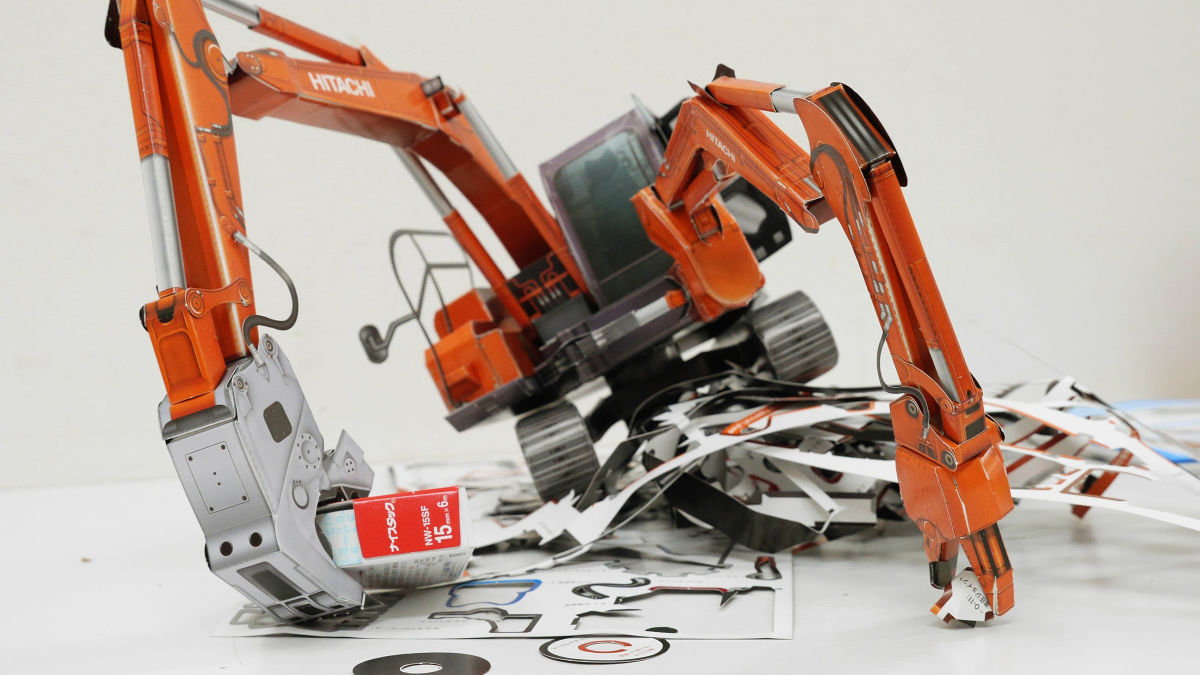
Although it is a joke, I can freely move the arm and the attachment part so that I can play like this, it is something I can not imagine as a paper craft. However, as it can only move this much, it takes quite a while to create, so if you want to "make it!" Please challenge with plenty of time and plenty not to throw in the middle. Incidentally, it took 13 hours and half as actual work time.
In addition, this super heavy equipment astaco NEO ~ 1/22 scale ultra precision paper craft "Astaco NEO" attached "can be purchased from Amazon at 1460 yen including tax.
Amazon.co.jp: super heavy machinery astaco NEO ~ 1/22 scale super precision paper craft with "astaco NEO" ~: Hitachi Construction Machinery: book
Related Posts: