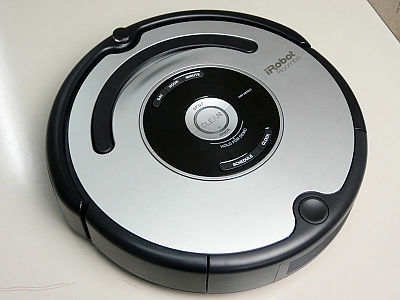
A hand-riding size 'Rumba' machine like self-manufacturable 'Adult Science' woven 'Desktop Robot Vacuum Cleaner' Review
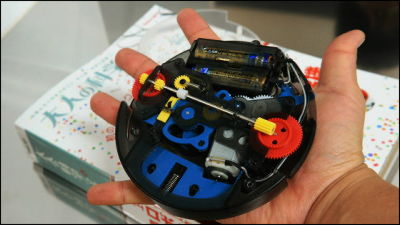
Appendix too luxurious "Theremin"Or"Spy set","Electricity"Magazine attached" adult science magazine "Of Vol.33 (2940 yen including tax)In the robot vacuum cleaner "rumba"I decided to purchase and actually assemble it because the kit which can make my own" desk robot vacuum cleaner "was an appendix.
◆ opening
The front cover looks something like this. It is no longer a magazine but as much as a plastic model.
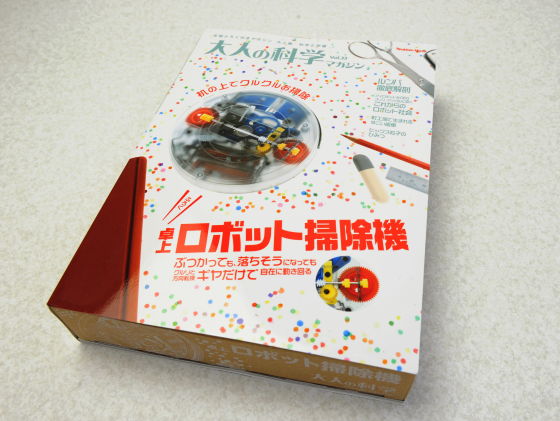
As for how thick it is, it is self-sustaining without support.
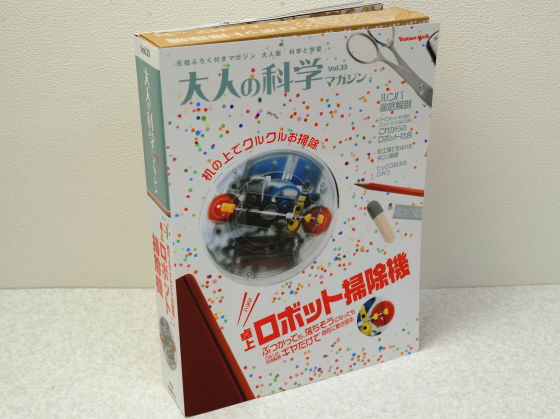
From the side, it looks something like this, most of the volume is cardboard with an appendix.

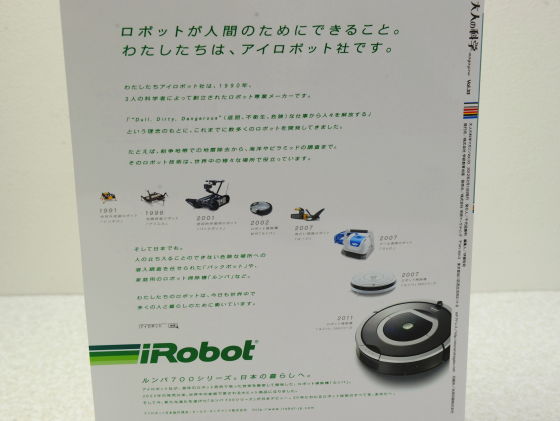
On the back is "Rumba" selling "IRobot"Advertisement of the company is included.
The magazine is stuck on the inside with an adhesive, so you can peel like this.
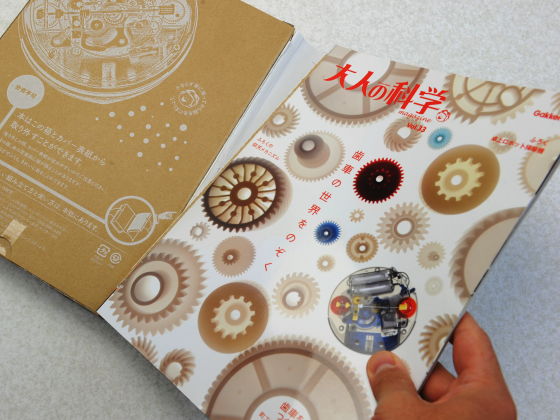
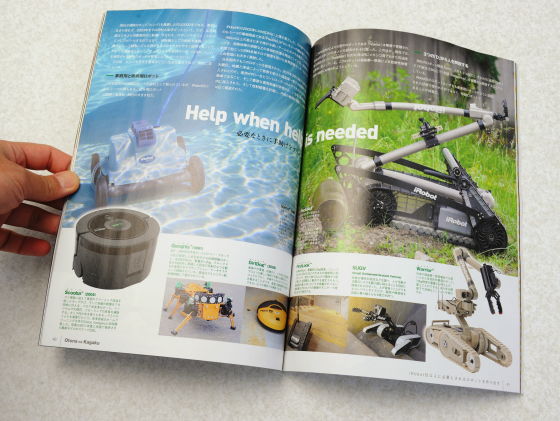
This kind of feature is pretty dangerous and robot features are posted, but details are pleasure from the time of purchase.
The following is an assembly manual drawn with a monochrome illustration. Since there are also parts that you tend to make mistakes when you make it momentum, we recommend that you read carefully and start with the flow before starting work. As long as it says "adult science", it is not a kit that can be said to be a victory level unless you are so familiar.
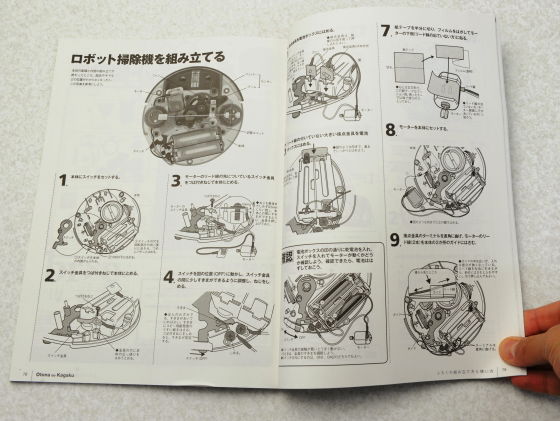
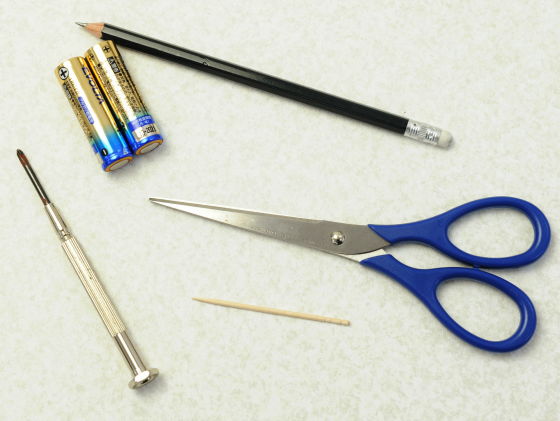
Tools necessary for assembly are a Phillips screwdriver, toothpicks, scissors, AA batteries. Another convenience is to have a pencil for memos.
I will put out the appendix from the box.
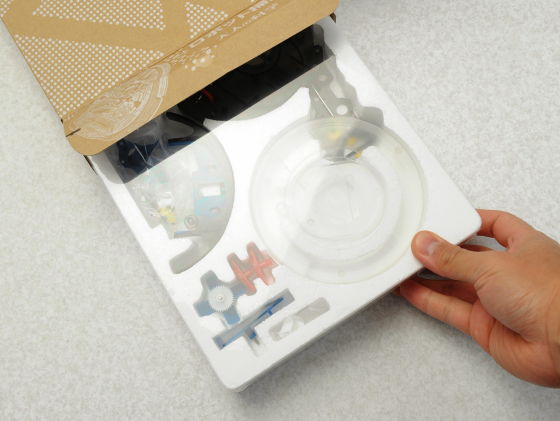
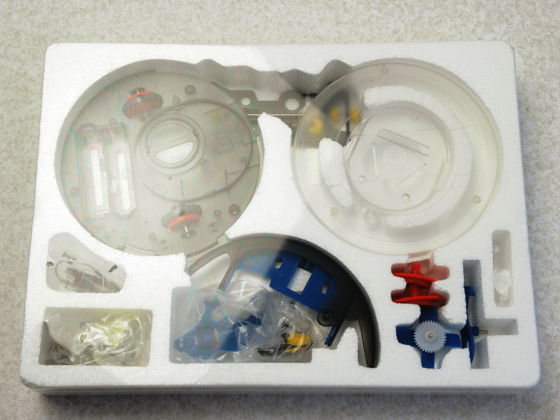
It is contained in a foam polystyrene in a semi-assembled state with such feeling.
◆ Assembly
First, attach the switch knob to the main unit
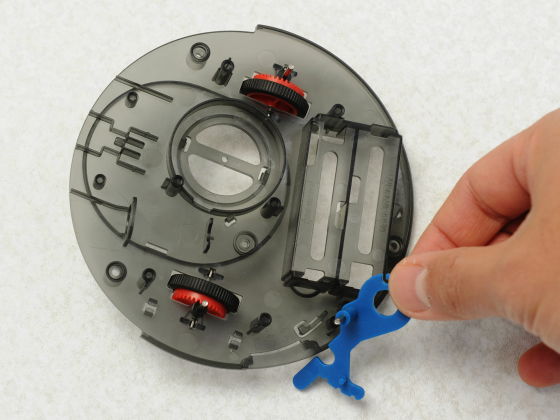
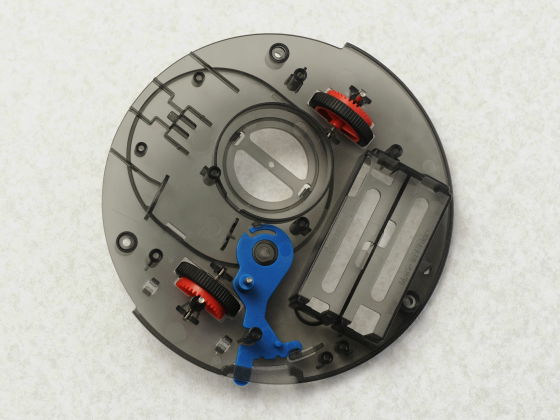
Attach switch contacts
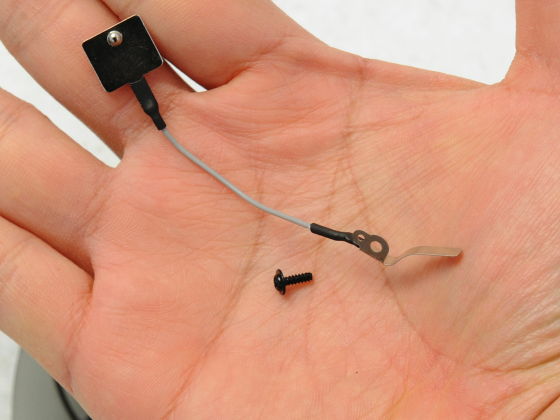
Screw fasten like this
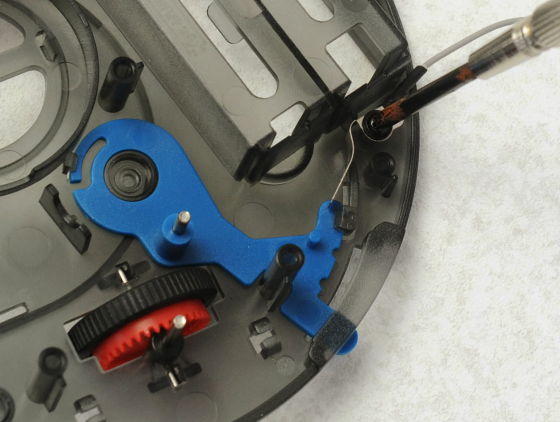
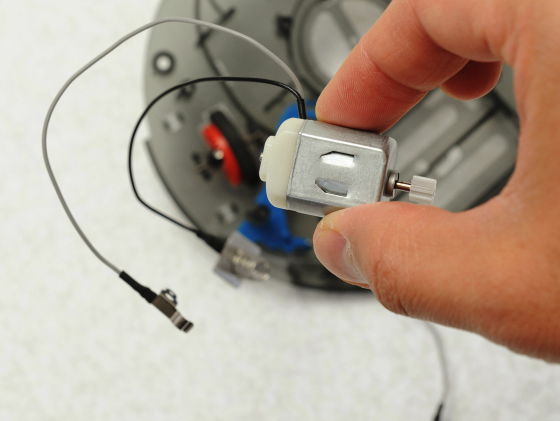
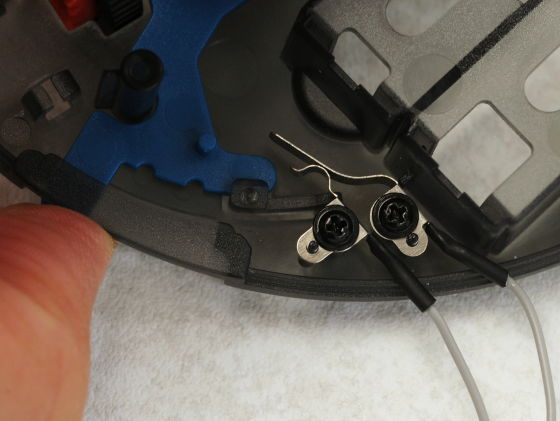
Also install contacts extending from the motor
The part where the two contact points are like this is like this. The state of OFF is as follows.
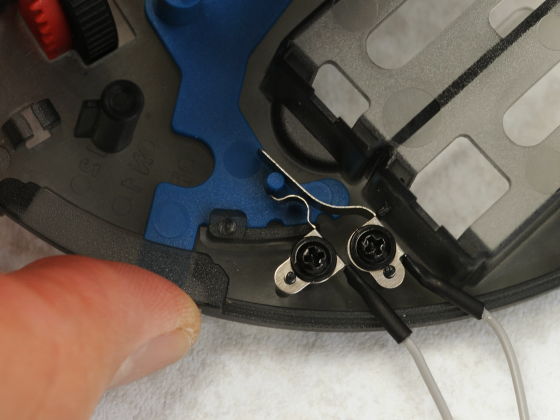
When metal parts touches such a feeling, it will energize.
Also fit the contacts for the battery box
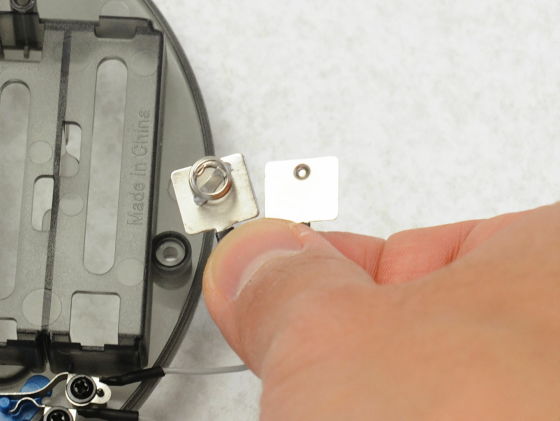
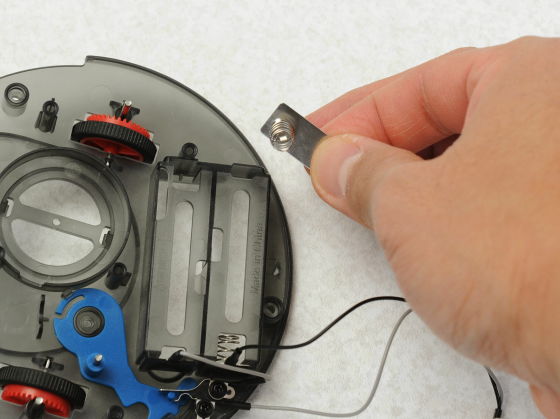
With this feeling I was able to install positive and negative contacts
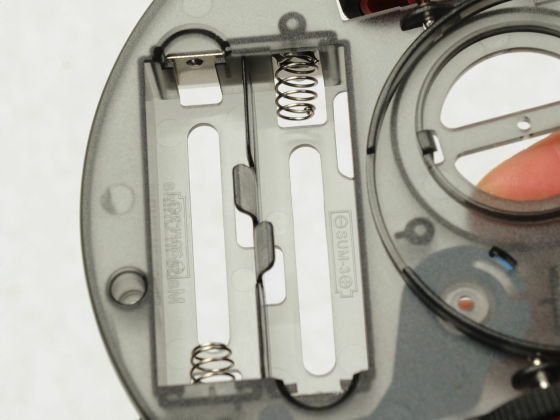
Mount the motor
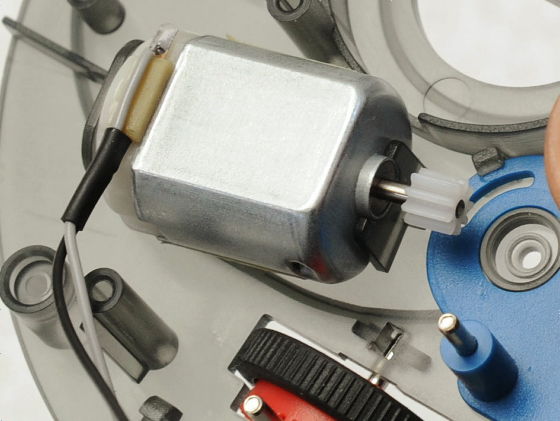
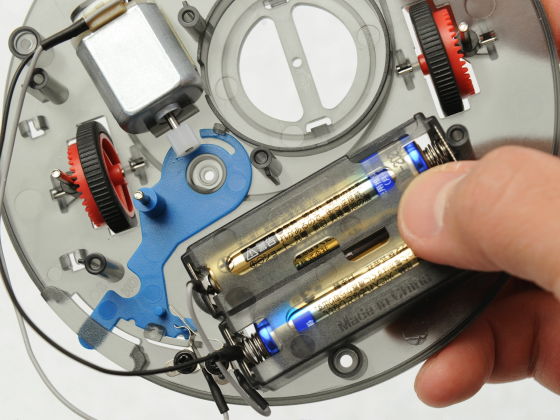
Fit the battery, switch on and check the energization. "Gy sin" Motor is rotating swiftly
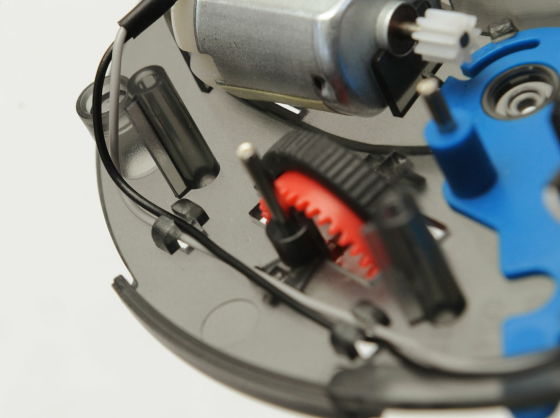
Fit into the guide part so that the cord does not become entangled
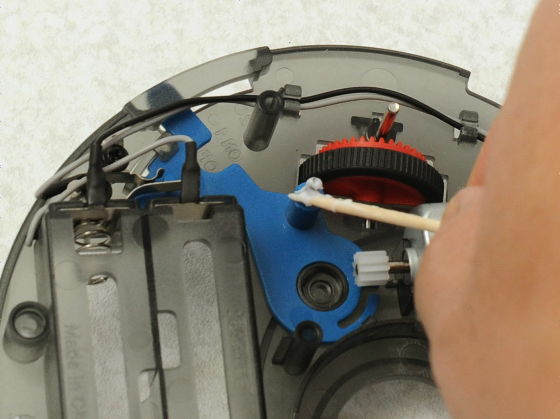
Mount grease on the end of the toothpick and apply it to the shaft and then mount the gear
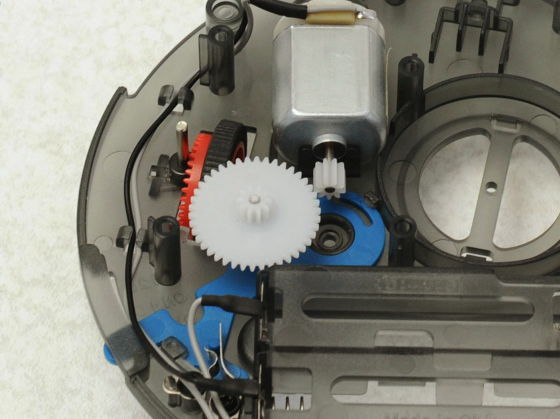
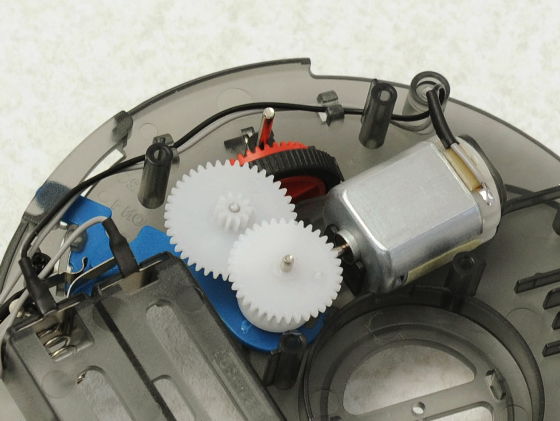
Fan for sucking up trash
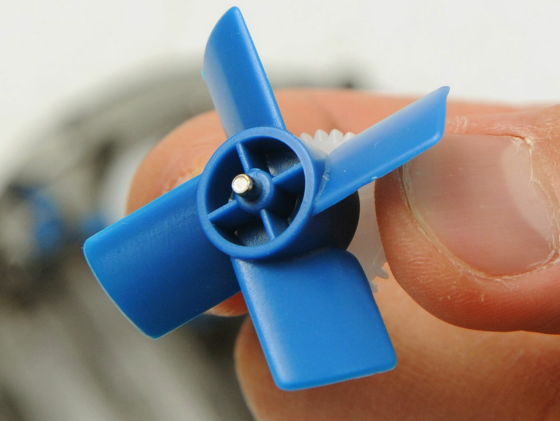
I put it like thisThis is a mistake.. I realized that up and down was upside down later and it was decided to start over
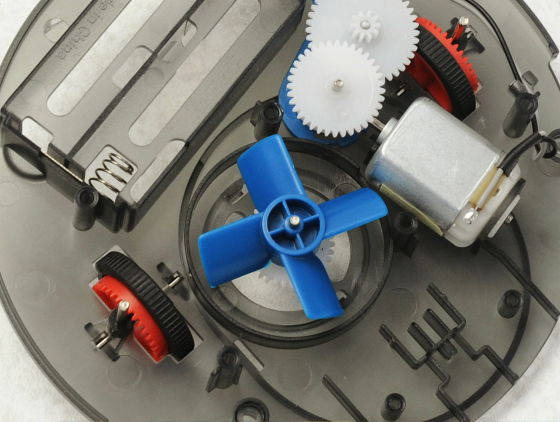
Parts to fix the gear
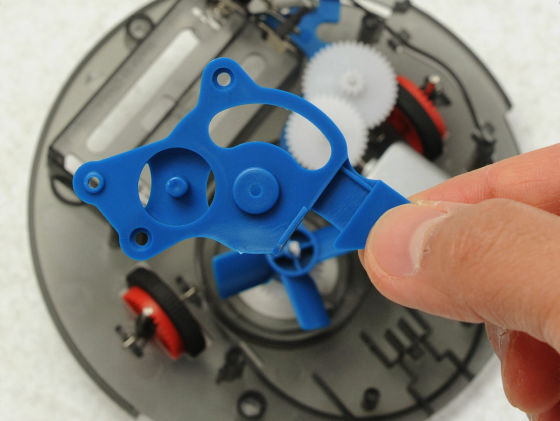
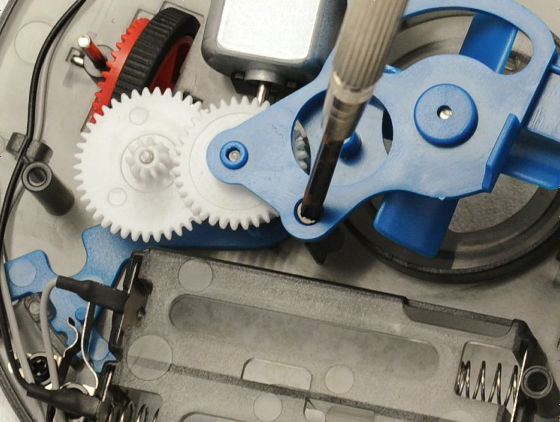
Tighten the screw securely so that the gear does not go crazy
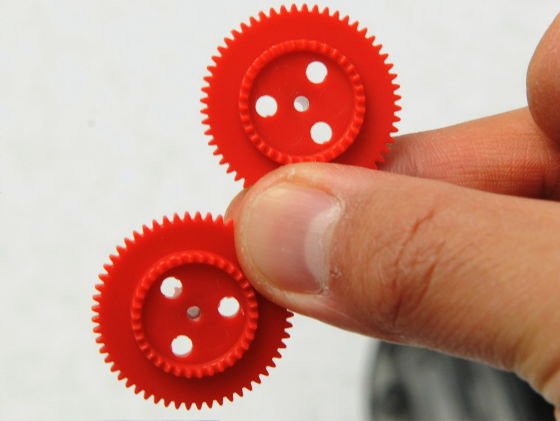
Attach two red gears that transmit the power of the motor to the wheels
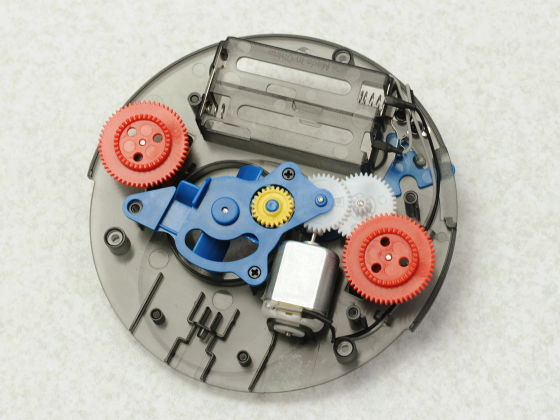
Parts in which a shaft and gears for direction change are set
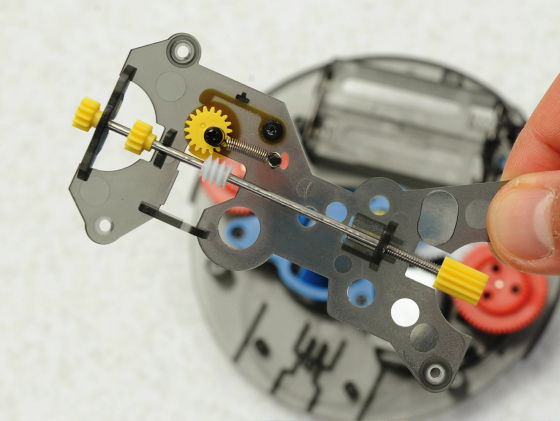
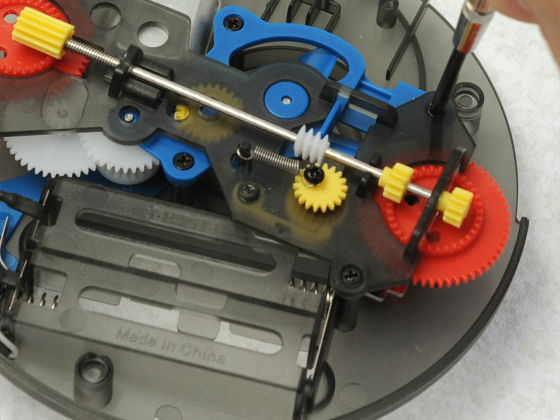
Also secure this with screws
Bumper mounted on the front
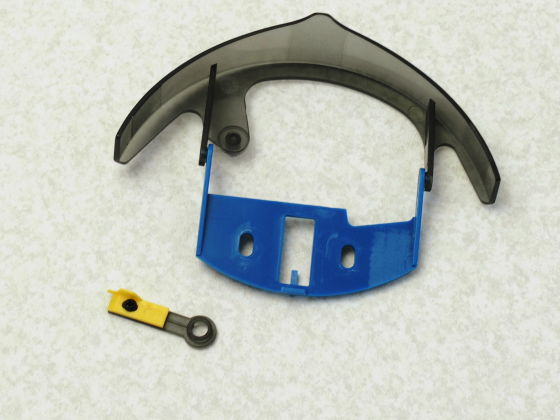
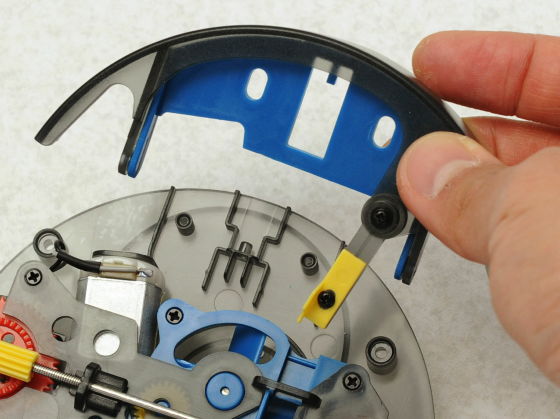
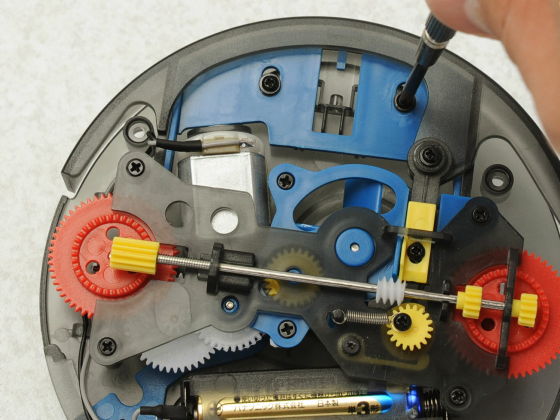
Attach the spring between the bumper and the main unit
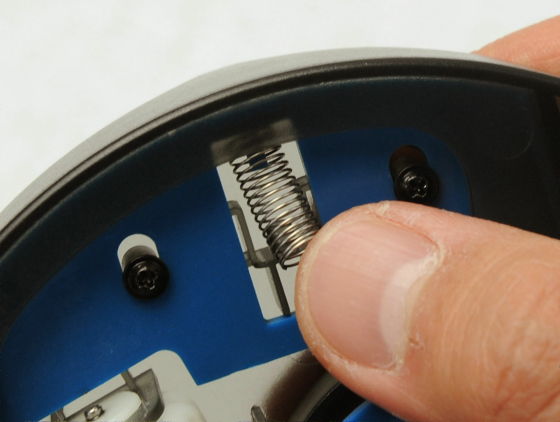
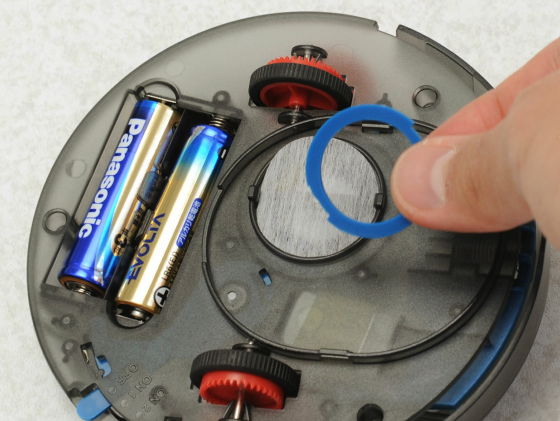
A filter to prevent entrapped garbage from reaching the fans and getting entangled is attached to the underside of the body
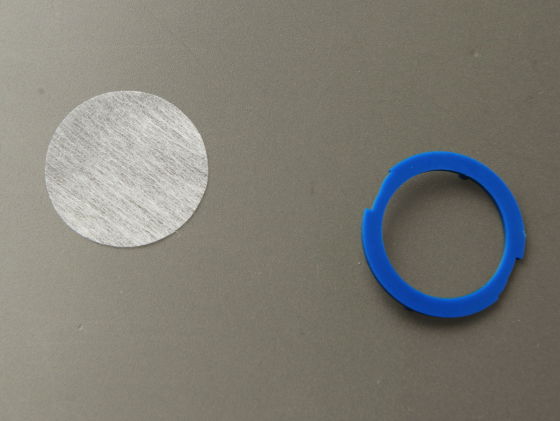
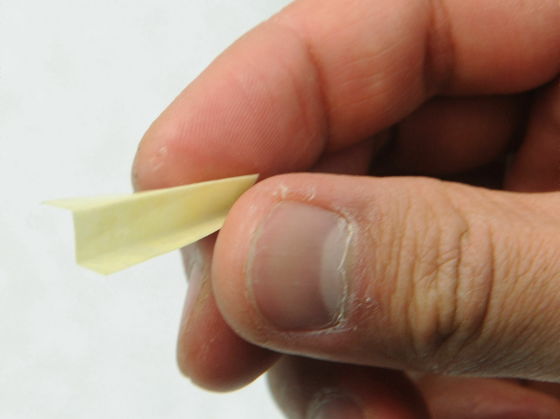
Fold the sticker attached to the tip of the spatula that scrapes the garbage falling on the floor
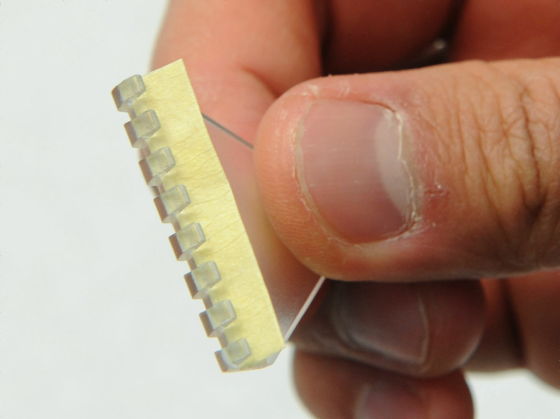
Combining the case of spilling garbage and spatula ......
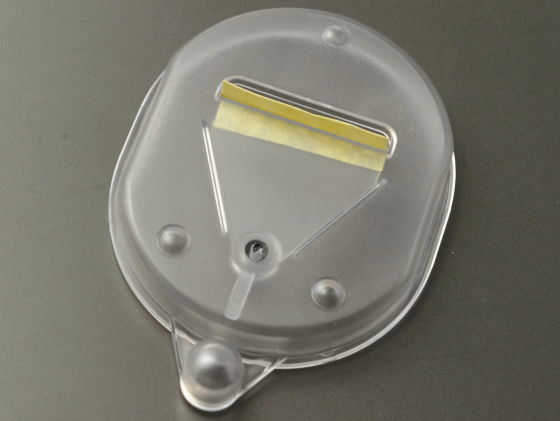
Snap into the main body
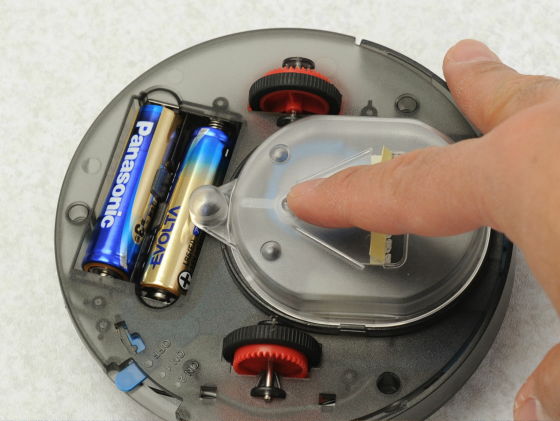
Afterwards turn over the main body and cover it and it will be completed.
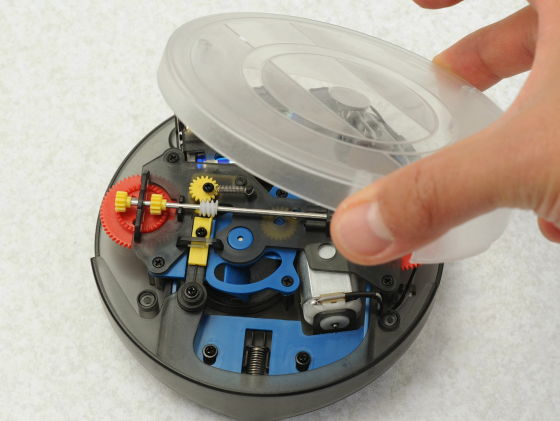
◆ Completed Photo Review
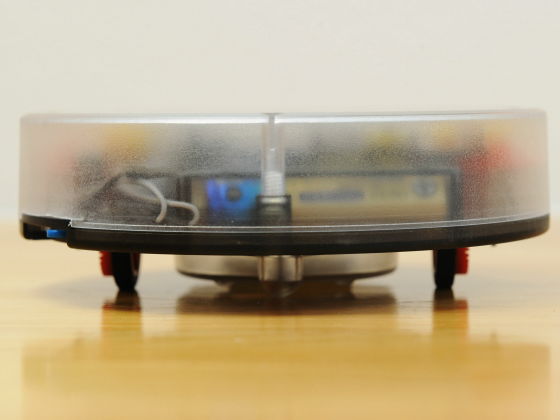
Appearance full of mechasiness that gears and batteries can be seen in a translucent case.
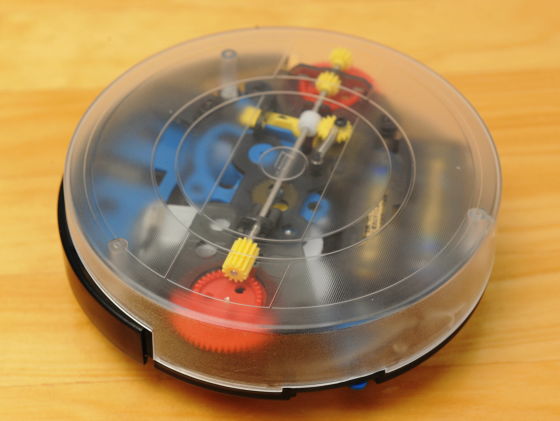
The pleasure of seeing the assembled kit is hardly transmitted to people other than the producer, but even a person not so interested in mechanics or work can enjoy a considerable satisfaction when reaching this state.
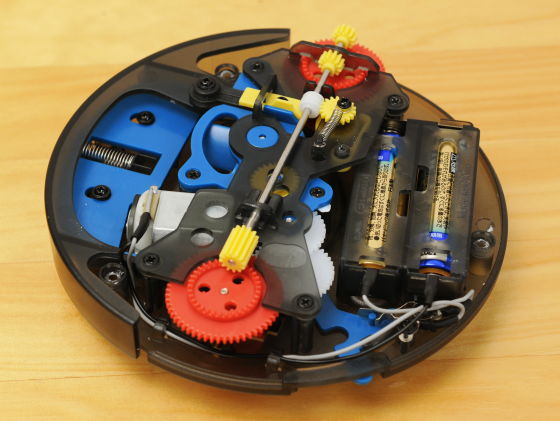
The back side looks like this.
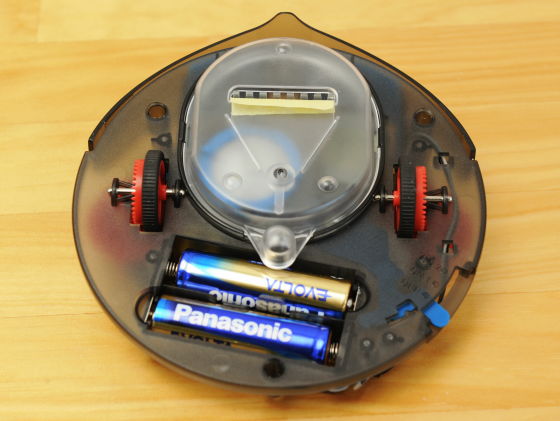
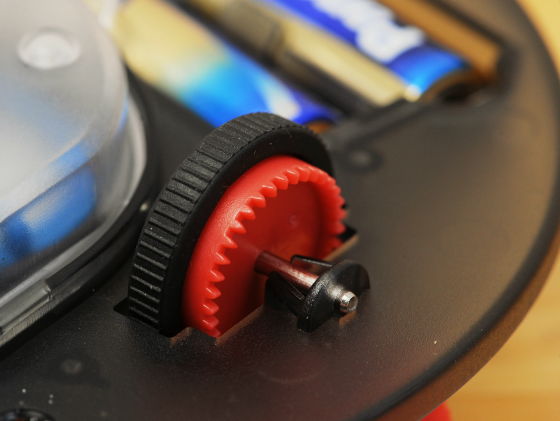
Since the wheel has rubber, it is possible to travel without slipping on a desk or the like which is made to slim.
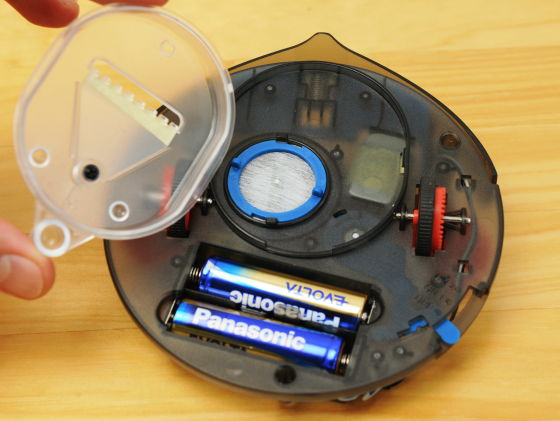
It is like this when opening the case for garbage. There is a filter on the inside.
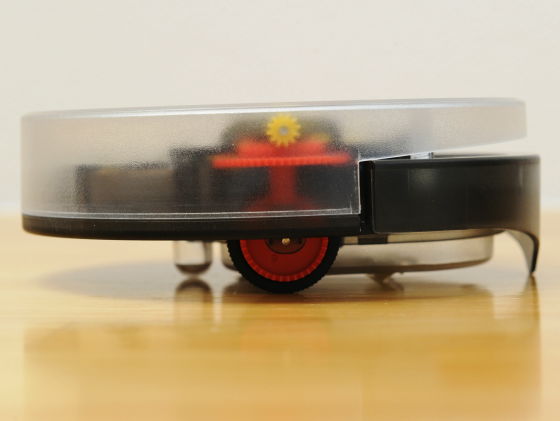
It seems that there is a slight gap from the side, but this is for moving the bumper.
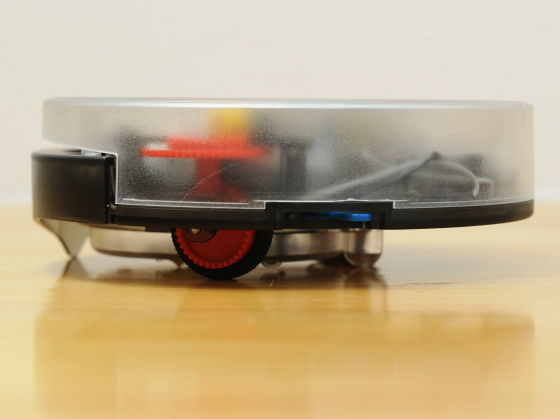
Looking from the front, the bumper is attached to the lower part, and when this part hits the obstacle, it is designed to start running again after turning 120 degrees clockwise.
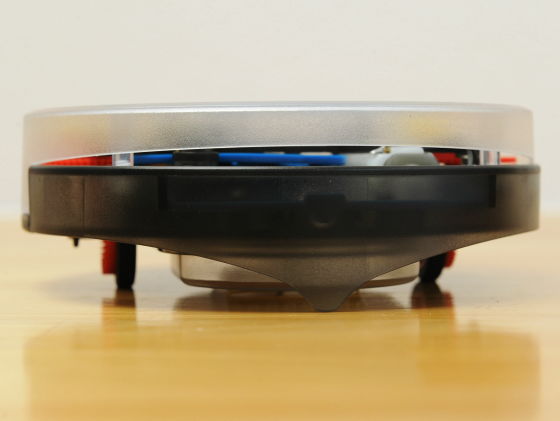
The back is like this.
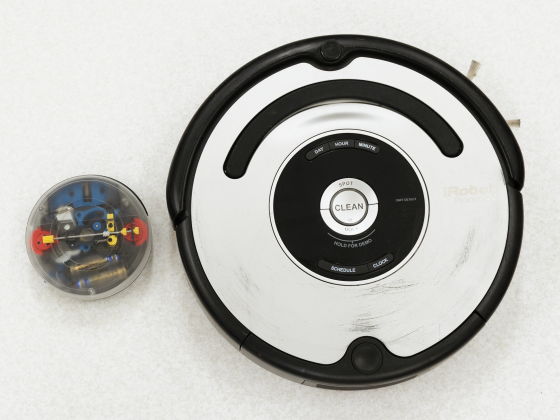
By the way, the difference in size compared with the real rumba is as follows.
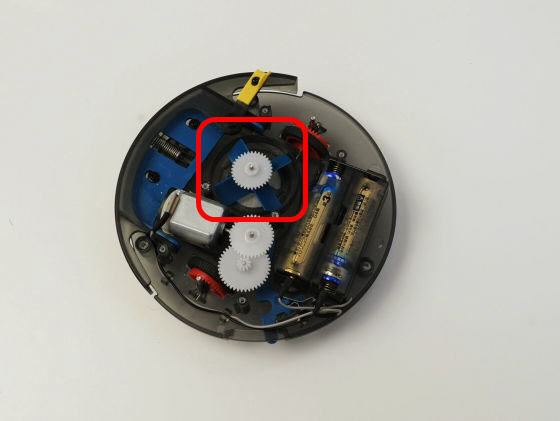
I came up to this point and tried to run a real run test I noticed that the fan was not spinning. It was caused by having installed the fan upside down, so reinsert it again in the correct direction.
It is the correct installation direction that the gear attached to the fan is on the upper side like this.
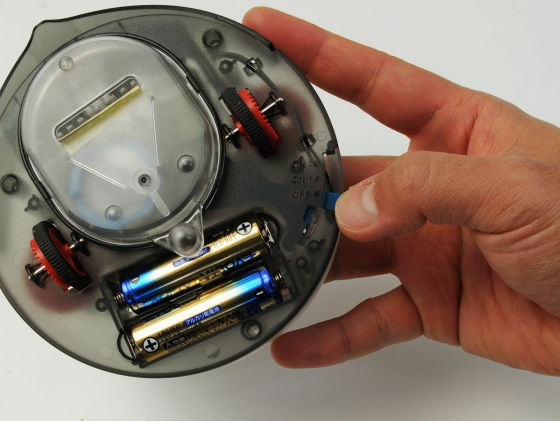
Switch to "ON 2" and start self-running mode.
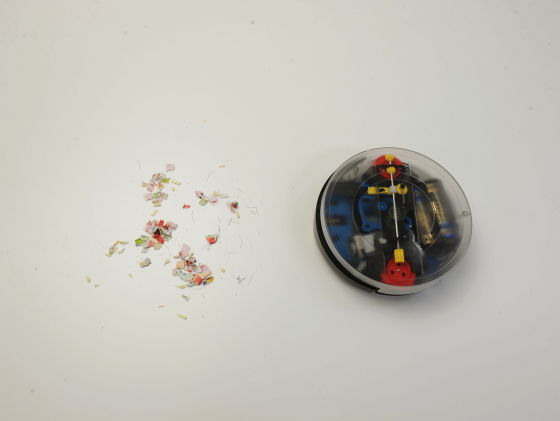
I tested the suction force by putting the trash mixed with hair, paper scraps, wood pieces forward.
While driving, it sounds like a very big noise like a mixer or something.
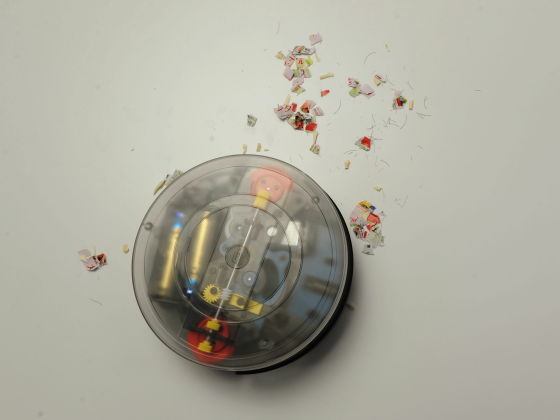
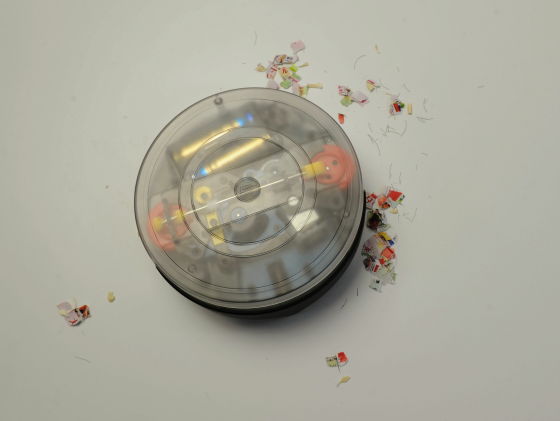
Although the garbage that was in the running route is once beautiful, it is not equipped with a sensor that finds dirt, so we may run with full power towards a place where there is no garbage at all.
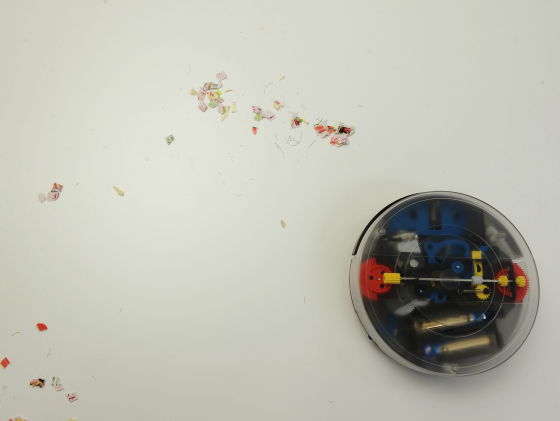
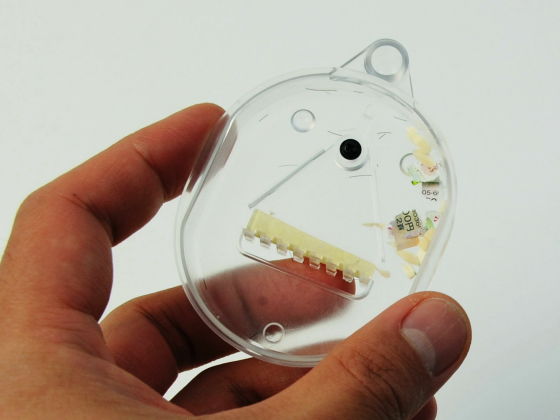
This is about 5 minutes and I got rid of it, the collection capacity is not very high.
So, you can watch videos that show exactly how motion and driving sound is feeling.
I made an appendix of "Adult Science" "Desktop Robot Vacuum Cleaner" and moved it - YouTube
If you set the switch to "ON 1", you will be in the vacuum cleaner mode that performs only suction, so you can move it by hand to clean the place where the garbage falls accurately.
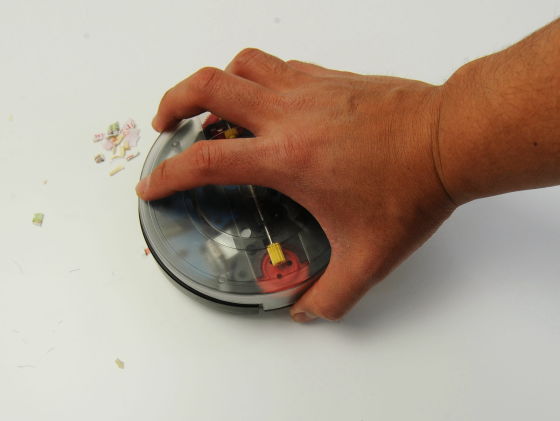
Although the suction power as a vacuum cleaner is weak, it is disappointing if it purchases it expecting the effect of the garbage removal, but the robot assembled by oneself actually sucks in the trash while running or changing the direction There is an impression. It is a product that seems to be suitable for those who like plastic mecha as well as plastic model and mini 4WD, so if you purchase it you should be able to enjoy returning to your childhood.
Related Posts:


