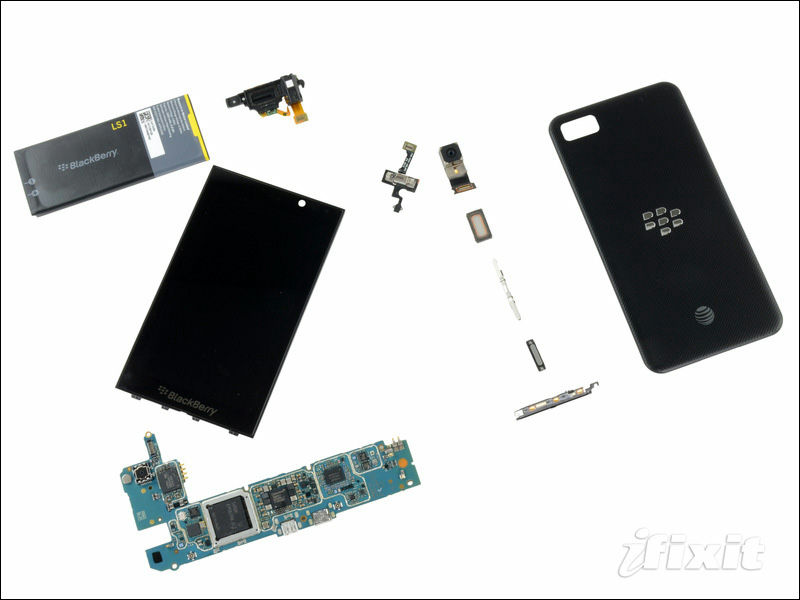
Completely disassembling the BlackBerry Z10, looking at it separately
It is equipped with touch screens of 4.2 inches, 1280 x 768, and 356 PPI which began selling on January 31, 2013BlackBerry Z10"IPhone 5YaGoPro Hero 3We have disassembled a number of equipment such asIFixitIt is decomposing, closer to the secret of Z10.
BlackBerry Z10 Teardown - iFixit
http://www.ifixit.com/Teardown/BlackBerry+Z10+Teardown/13445/
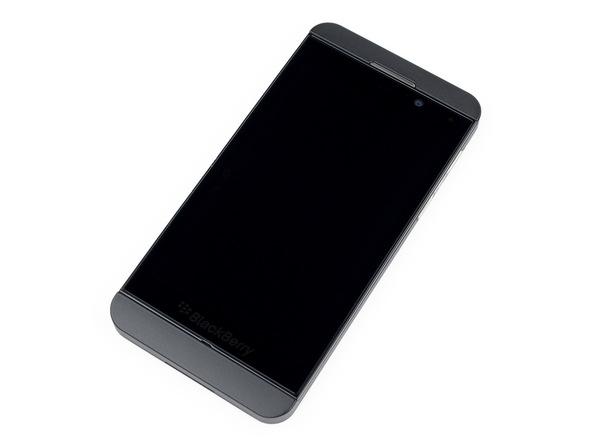
This is BlackBerry Z10.
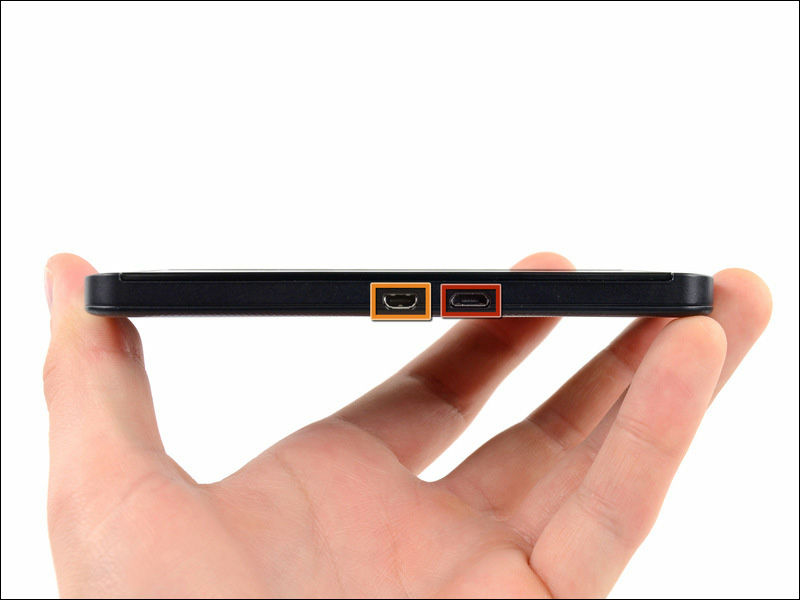
There are micro USB port and micro HDMI port on the side.
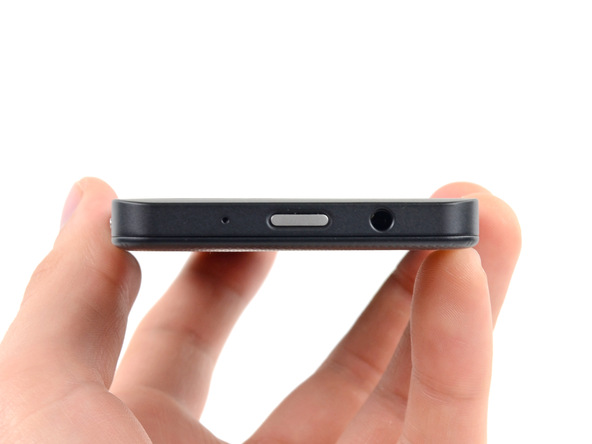
The earphone jack is located next to the power button on the top of the main unit, the same arrangement as the iPhone.
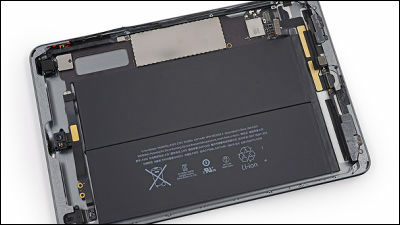
When you remove the cover on the back, it looks like this. The rear cover is fitted with an NFC antenna similar to that used for Samsung Nexus S.
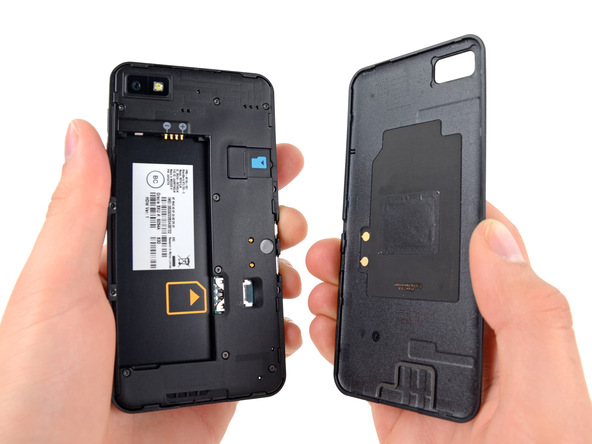
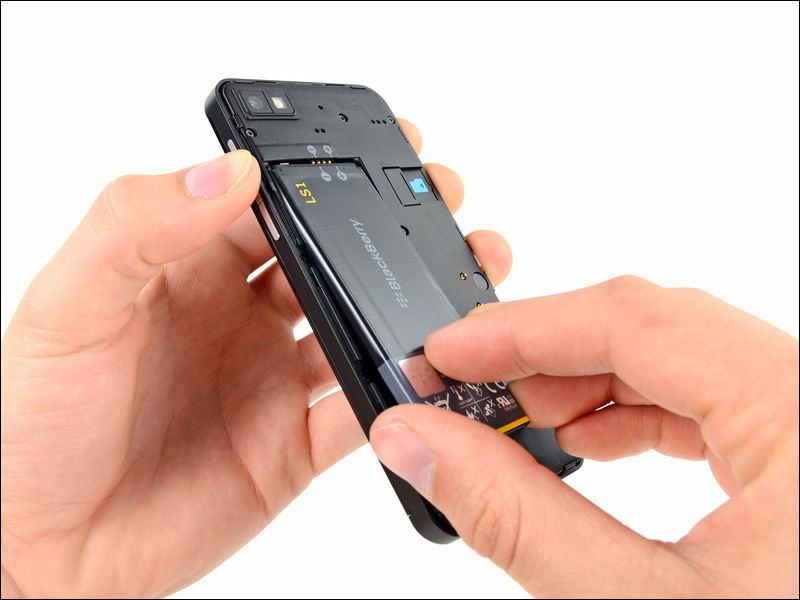
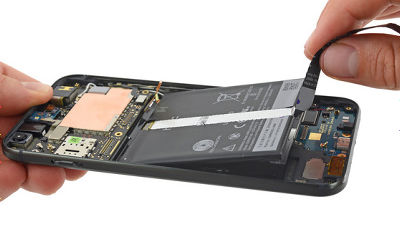
Remove the battery. The battery used is a 3.8 V, 1800 mAh lithium ion battery, and you can talk for 10 hours with one charge. The waiting time is 13 days. In addition, Nexus 4 uses 3.8 V, 2100 mAh batteries, which also allows ten hours of talking, iPhone 5 can talk for 8 hours with 3.8 V, 1440 mAh battery.
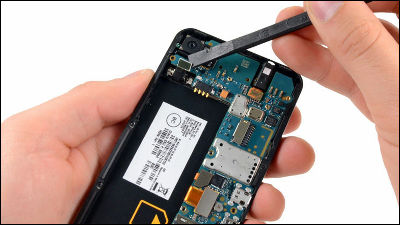
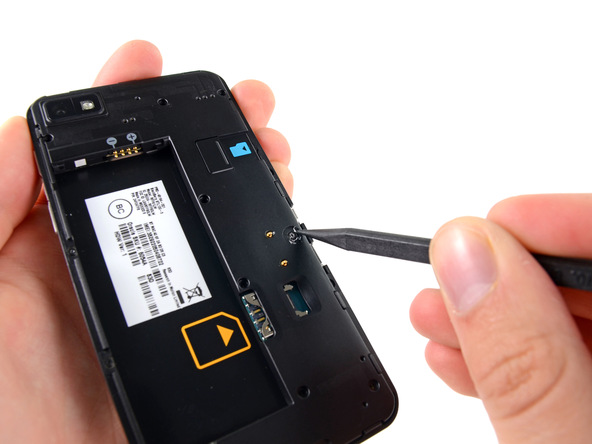
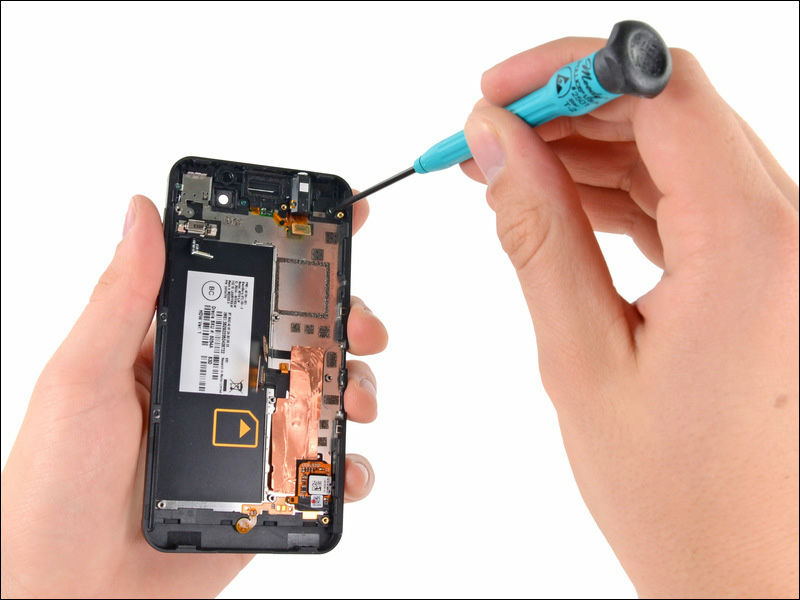
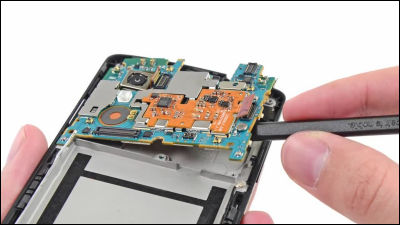
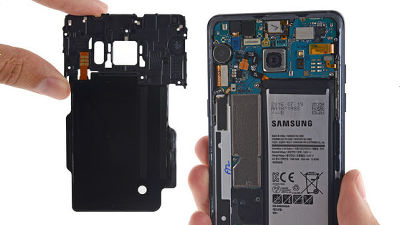
I will remove the midframe using a screwdriver.
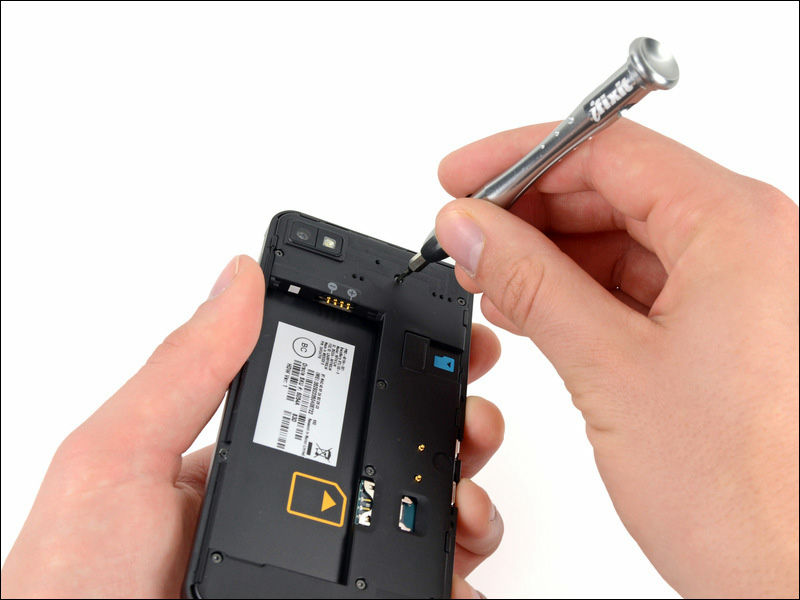
Even though all the screws attached to the eyes were removed, the frame did not come off although ... ... I thought that the screw was hidden under the small seal. It seems like BlackBerry's ingenuity to prevent disassembly by the user.
It was the motherboard that appeared after removing the midframe. Adhesive tape and glue were not used at all for fixing the motherboard.
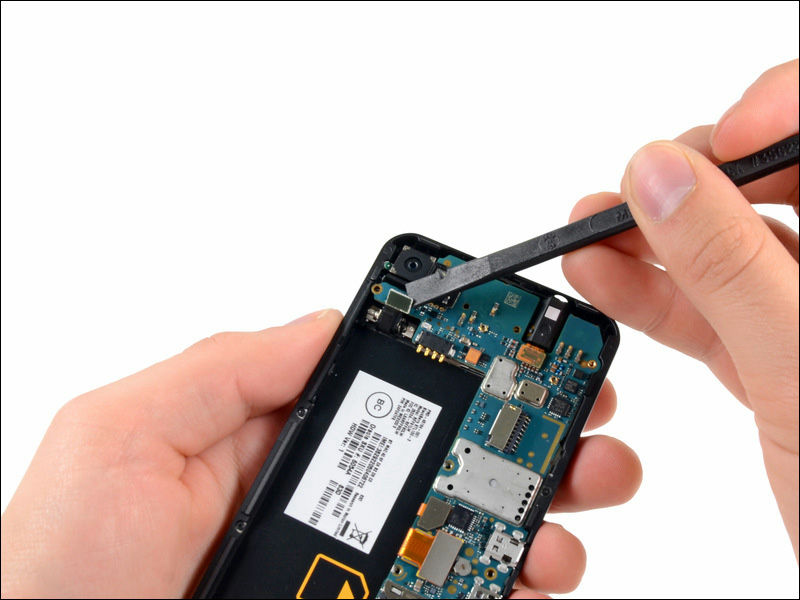
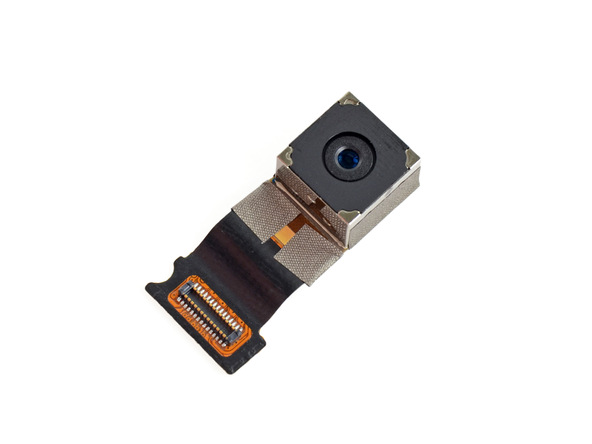
The rear camera sticks to the edge of the motherboard.

Here is the Z10 camera with 8 million pixels.
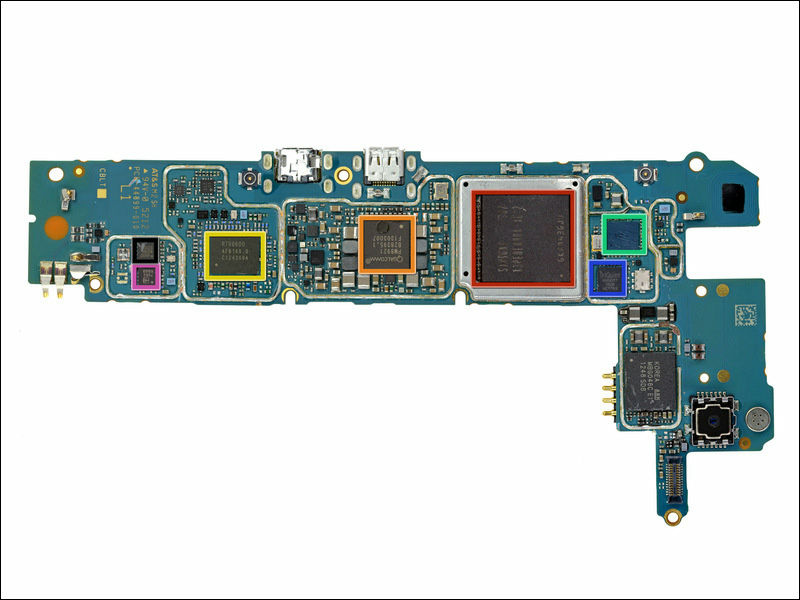
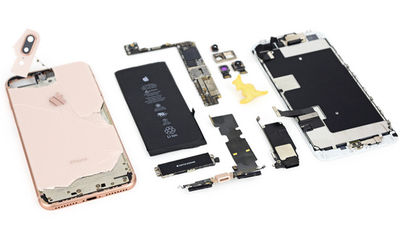
Take out the motherboard and this is like this. On the back is Samsung'sNAND flash memoryAnd Avago TechnologiesPower AmplifierYou can see the figure of.
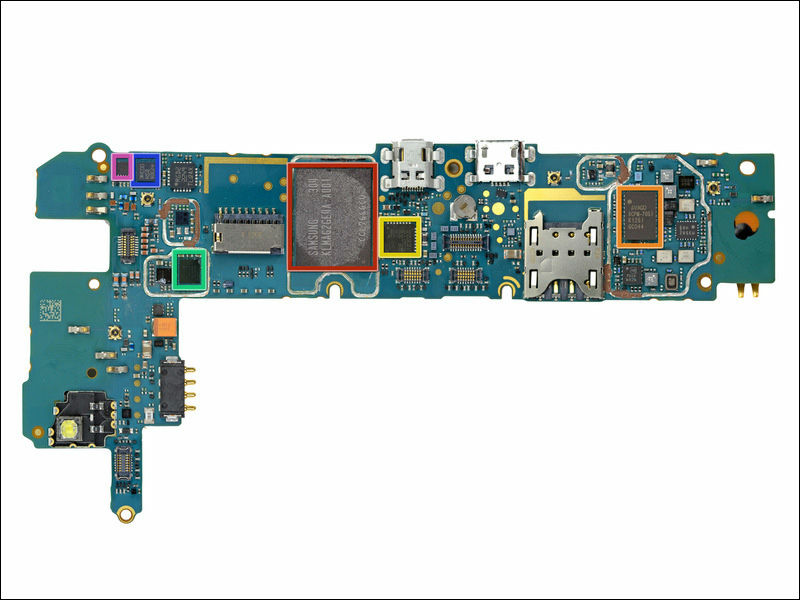
On the surface are Samsung's memory modules and Qualcomm's baseband / application processor, power management IC, TriQuint'sWireless LAN moduleSuch.
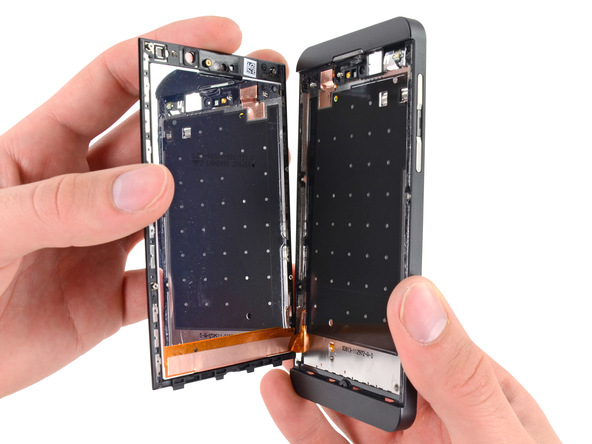
Next, we will separate the liquid crystal display and the motherboard using a screwdriver.
Immediately behind the display was a mirror surface.
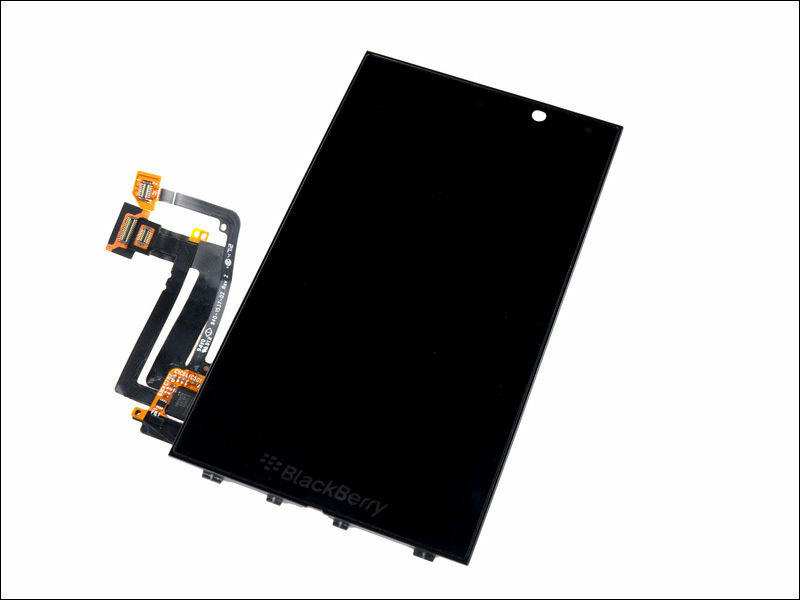
And this liquid crystal display removed. Very thin, adopting new hardened glass instead of gorilla glass. According to iFixit, the three cables extending from the left end are those of LCD, digitizer, backlight.
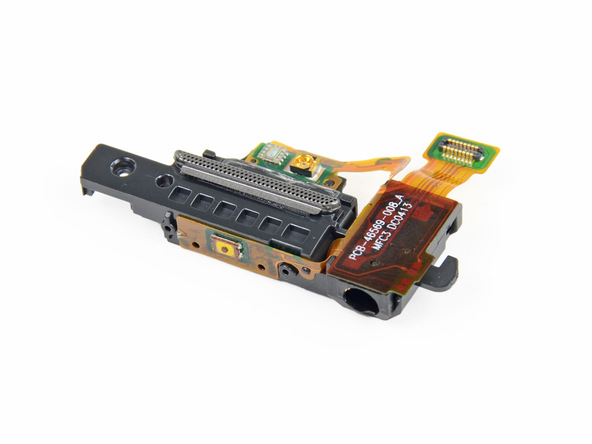
And finally remove the parts left on top of the cover.
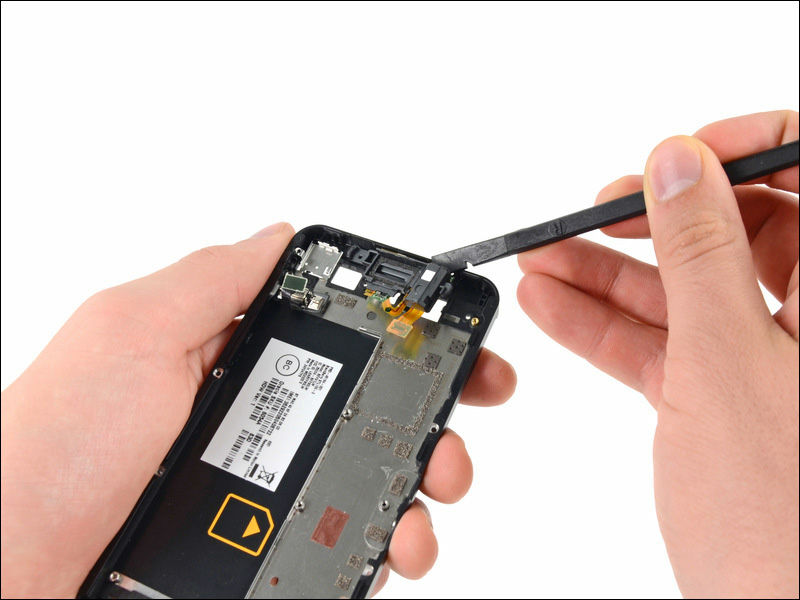
Parts such as earphone jack, power button, light sensor, speaker etc. are gathered.
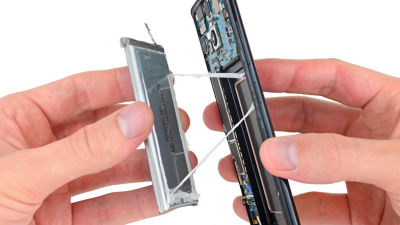
That is decomposition end. Batteries can be replaced without using tools, no special drivers etc used. Although it seems that it took a little time to remove the motherboard and display, such as screws were hidden, it was said that the work itself was easy to do because the adhesive tape was not used. The difficulty of decomposition is "8" out of the ten-stage evaluation that the larger the number is, the more the disassembly repair is easy.
Related Posts:

in Hardware, Posted by darkhorse_log