"SuperSlide" free image viewer with beautiful effect that fully utilizes GPU's performance

The slideshow viewer "SuperSlide" which operates in the Windows environment changes to "GPU"You can enjoy beautiful effects using full utilization of the performance of. Because hardware acceleration is used, enlargement / reduction and rotation of images can be performed very smoothly.
In addition, it is possible to quickly display the next image by prefetching the image in the background, copy and move to a prespecified folder while watching the image, can be activated with only the executable file, no other files are necessary, the keyboard Most simple operation is possible, but it is simple but firmly made.
Details are as below.
Click here for demonstration movies such as actual slideshow display and slimy moving scale enlargement / reduction rotation display.
YouTube - Slide show display on "SuperSlide"
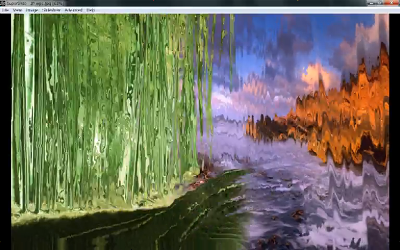
YouTube - Scale rotation of images with "SuperSlide"

SUPERSLIDE
Download Windows executable file here
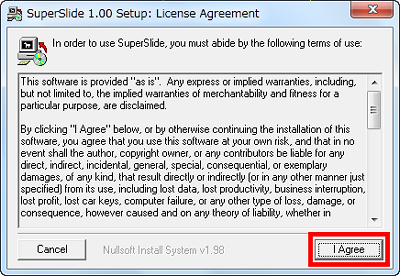
After downloading the file, when you run the setup file, the following window will be displayed. Click "I Agree".
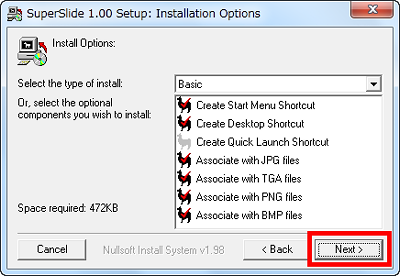
Click "Next".
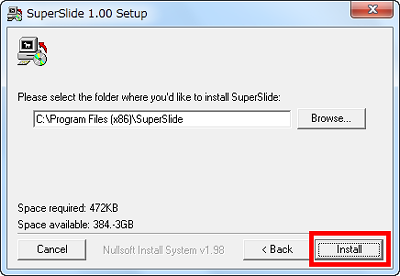
Click "Install".
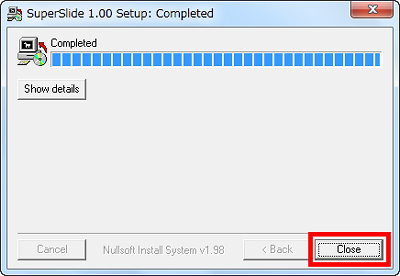
Installation will end in a moment so click "Close".
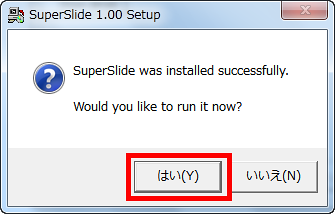
Then the following dialog will be displayed. Click "Yes".
"SuperSlide" starts up.
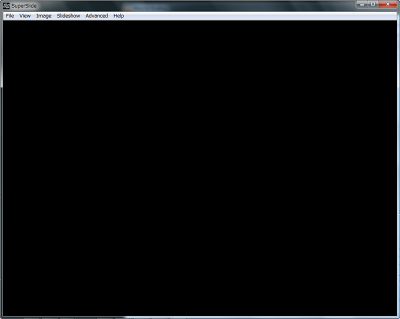
To see the slideshow, first drop the folder containing the image file you want to see in this window.
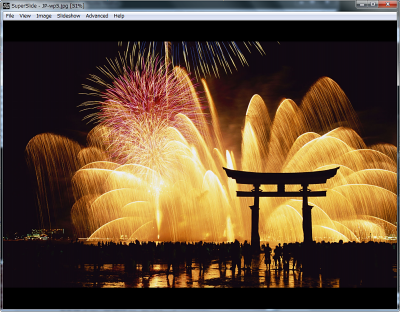
Next, select "Slideshow" from the menu bar and click "Start / Stop Slideshow" to start the slideshow.
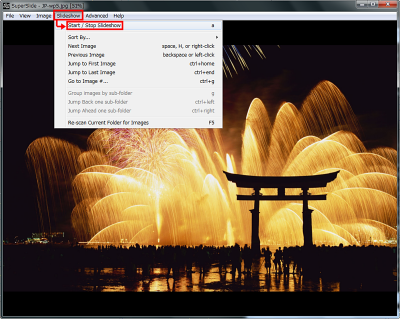
To display full screen, select "View" from the menu bar and click "Go Fullscreen".
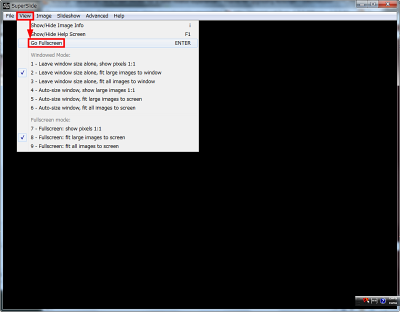
In the normal image browsing mode, the image is moved by left dragging and scaling by right dragging. Pressing the left button or the "Space" key or the "k" key on the keyboard advances to the next image and the "Back space" key Press to return to the previous image.
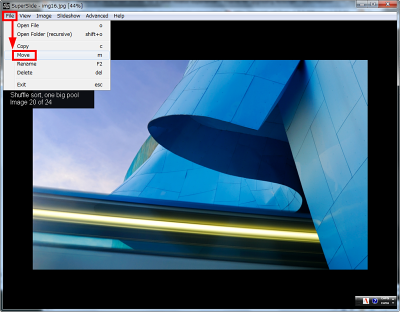
If you want to move the image file you are looking at to a different folder, follow the procedure below. First, select "File" from the menu bar and click "Move".
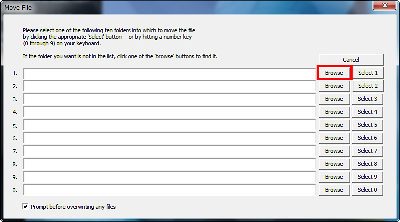
A dialog for specifying the next destination is displayed, so click "Browse".
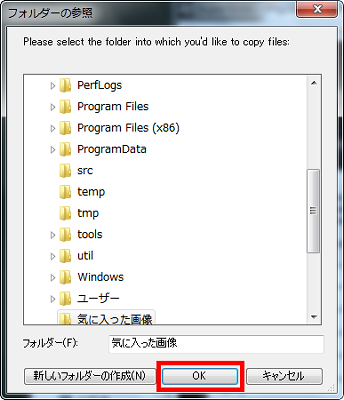
In the "Browse for Folder" dialog, specify the destination folder you want to move and click "OK".
Click "Select 1".
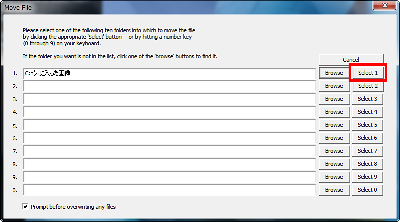
I moved with this. From this point on, you can move the file to the specified folder by pressing "m" on the keyboard and pressing "1" on the keyboard.
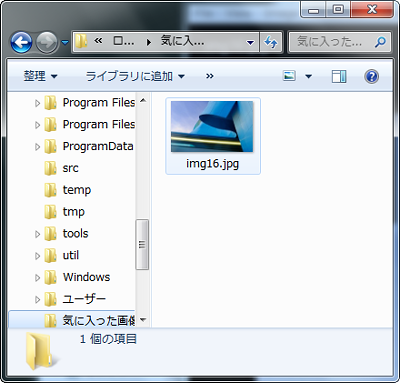
For copying an image file, first select "File" from the menu bar and click "Copy". After that, it is OK in the same procedure as for moving files.

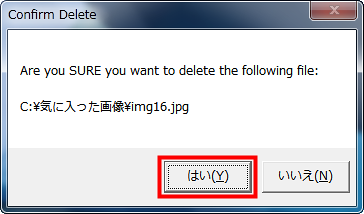
To delete, click the "Del" key on the keyboard, the following dialog will be displayed, so click "OK" to move the file to "Recycle Bin".
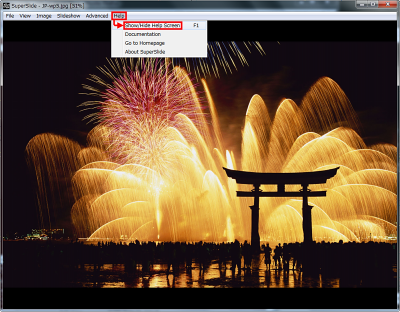
For the operation method, select "Help" from the menu bar and click "Show / Hide Help Screen" to display help.
Help is simple.
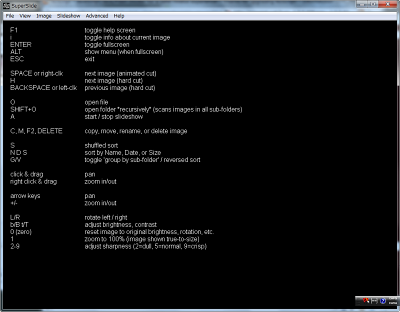
Keyboard operation list is here. Most operations can be done with the keyboard.
| Key | function |
|---|---|
| F1 | Show / Hide Help |
| I | Display / hide image information |
| Enter | Full screen switching |
| Alt | Display menu (full screen) |
| Esc | End |
| Space, right click | To the next image |
| H | To the next image (transition effect omitted) |
| BackSpace, left click | To the previous image (transition effect omitted) |
| O | Open the file |
| Shift + O | Open folder |
| A | Start / Stop Slide Show |
| C | File replication |
| M | File move |
| F2 | File name change |
| Delete | Delete file |
| S | Shuffle slide order |
| N | Slide by name |
| D | Slide by chronological order |
| S | Slide by size |
| V | Reverse slide order |
| Drag from left click | Moving image display |
| Drag from right click | Enlarging / reducing image display |
| Arrow keys | Moving image display |
| +, - | Enlarging / reducing image display |
| L, R | Image left / right rotation |
| B, Shift + b | Changing the brightness of the image |
| T, Shift + T | Contrast change of image |
| 0 | Reset image display setting |
| 1 | 100% display of image |
| 2 to 9 | Sharpness change (2 is blurred, 9 is sharp) |
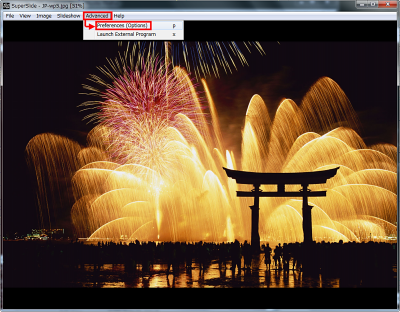
In addition, select "Advanced" from the menu bar and click "Preferences (Options)" to display the setting window.
The setting window looks something like this. The settings related to the slide show are the "Timing" group on the right, the speed of the image effect is changed from "Transition speed scale", and the switching speed of the slide show image is changed from "Automatic Viewing: Interval between images (in seconds)". Also, by clicking "Select All" from the "File Associations" group and setting "Start with slideshow running" and "Start Fullscreen" checked from the "Startup Options" group, double-click on the image and the slideshow will be displayed It will start with full screen.
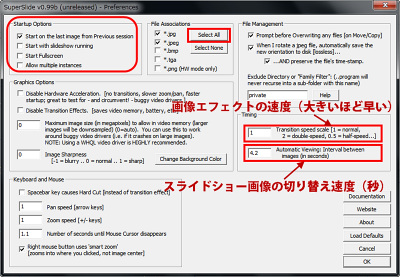
By the way, if you check "Allow multiple injstances" from the "Startup Options" group, you can activate more than one and it is also possible to run the slideshow at the same time as follows.
YouTube - Try multiple activation of "SuperSlide"

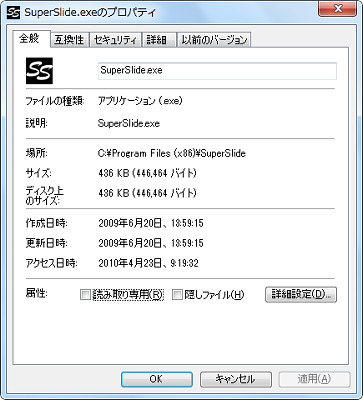
In addition, the corresponding extension is JPG, PNG, TGA, BMP and only the necessary things are minimized. Also, since the executable file size is compact, 436 KB, and other files are unnecessary for execution, if you move the executable file to USB, you can also use it for startup and confirm the image.
The author of this tool, Ryan Geiss,WinampIt is a famous visual plug-in ofMilkDrop 2He is also the author of the device currently controlling motion and voice on Xbox 360 "Project NatalIt is said that he is engaged in the development of "codename".
Related Posts:
