How to carry hundreds of paperbacks with "NetWalker" to satisfy reading desire ~ XJP 2 edition ~
Sharp's new generation Internet terminal "NetWalker"Is only slightly larger than the paperback size in terms of size, we installed the e-book reader "XJP 2" that runs on Linux to check whether it can be used as a casually usable e-book terminal, Electronic libraries that collect, edit and publish free on the Internet like a mountain "Aozora BunkoI will explain how to read.
table of contents:
· Construction of a compilation environment
· Obtain and install XJP 2
·Initial setting
Starting XJP 2
Details are below.
■ Building a compilation environment
Install necessary packages using Synaptic package manager.
In the case of Windows, software can be installed and started by double clicking "binaryIt is distributed in the form.
However, in the case of Linux, personal production is based on binary "SourceMostly it is distributed in the form. So, you can convert "source" to "binary" that can be executed on Netwalker "compileIt is necessary to be able to do the work called "work.
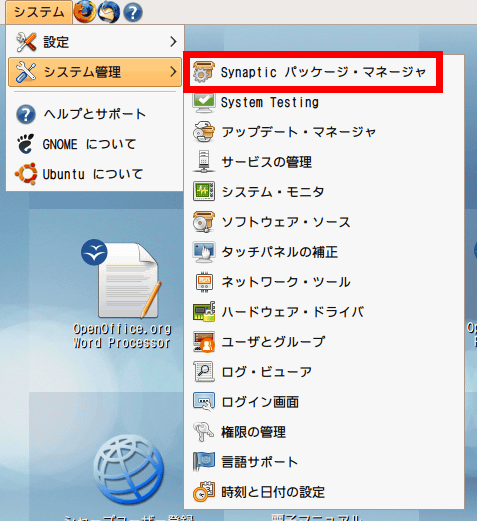
Select "Synaptic Package Manager" from "System". Synaptic package manager is a software management application installed as standard on Ubuntu Linux.
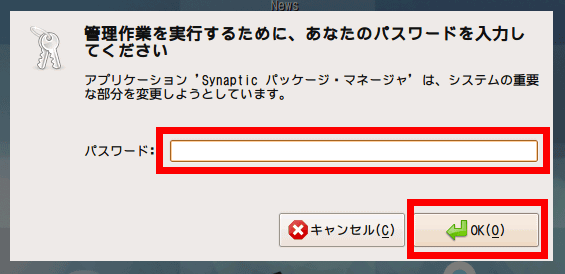
Enter the password you entered when logging in and click "OK"
I will install four packages below.
Build-essential
Zlib1g-dev
LibXaw7-dev
LibXft-dev
Let's search by entering the above package name in "Quick search".
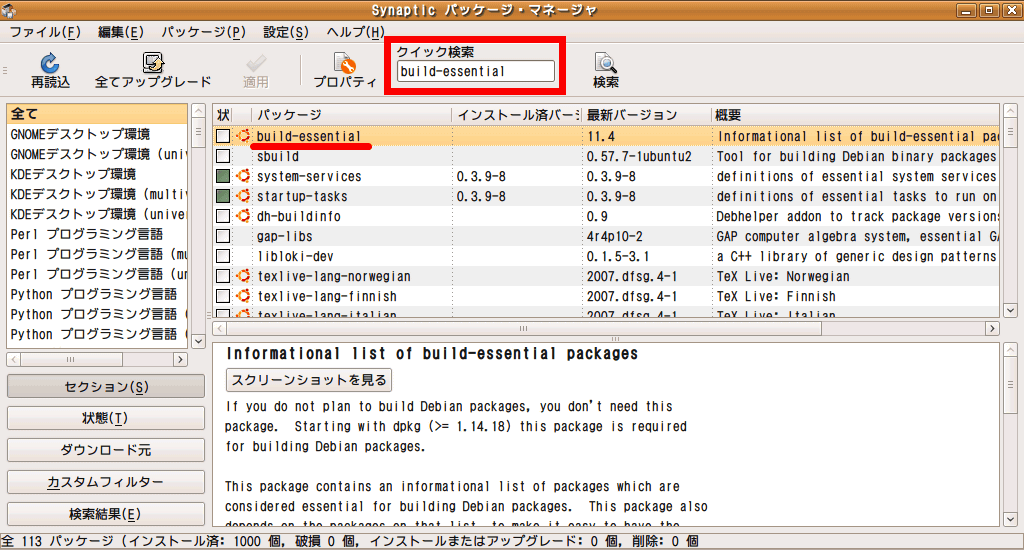
Right click on the displayed package name and click "Install Specification".
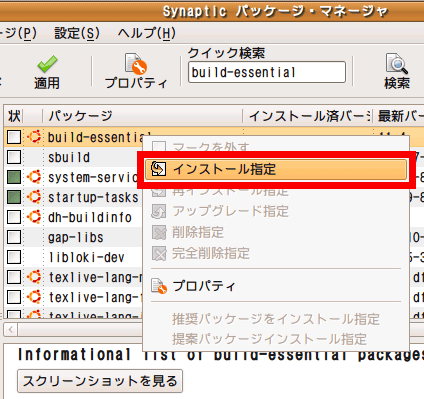
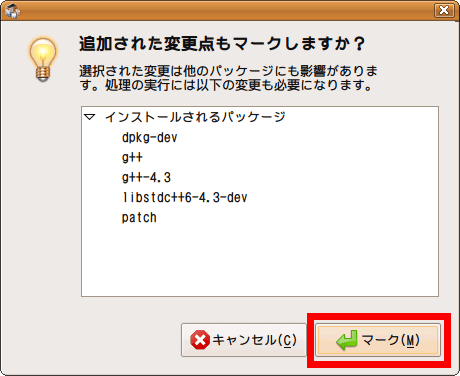
We also install related packages at the same time. In the case of build-essential, it is like this. Click "Mark" to proceed.
The packages to be installed are displayed in this way in green. Mark the remaining three packages in the same way and click "Apply".
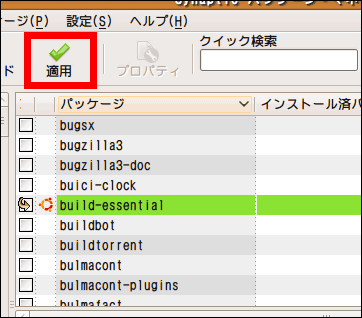
Let's check that checking "Only package downloading" is unchecked. Look closely at the list,Make sure that four packages are specifiedClick "Apply".
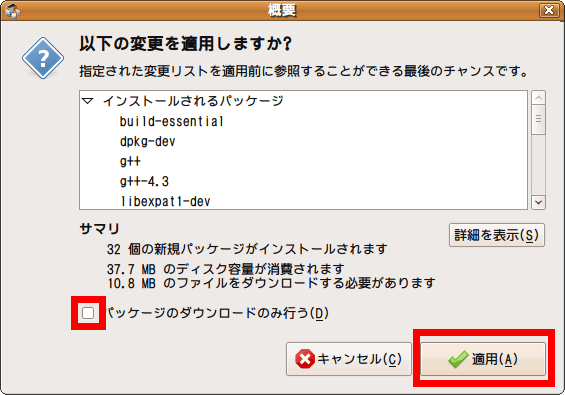
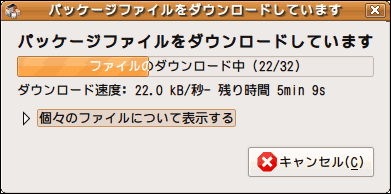
Installation of the package begins.
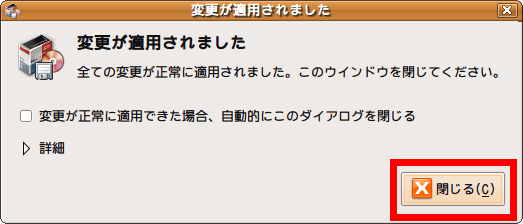
Click "Close". The compilation environment is completed.
■ Obtaining and installing XJP2
Let's download the source of XJP 2 and let's actually install it.
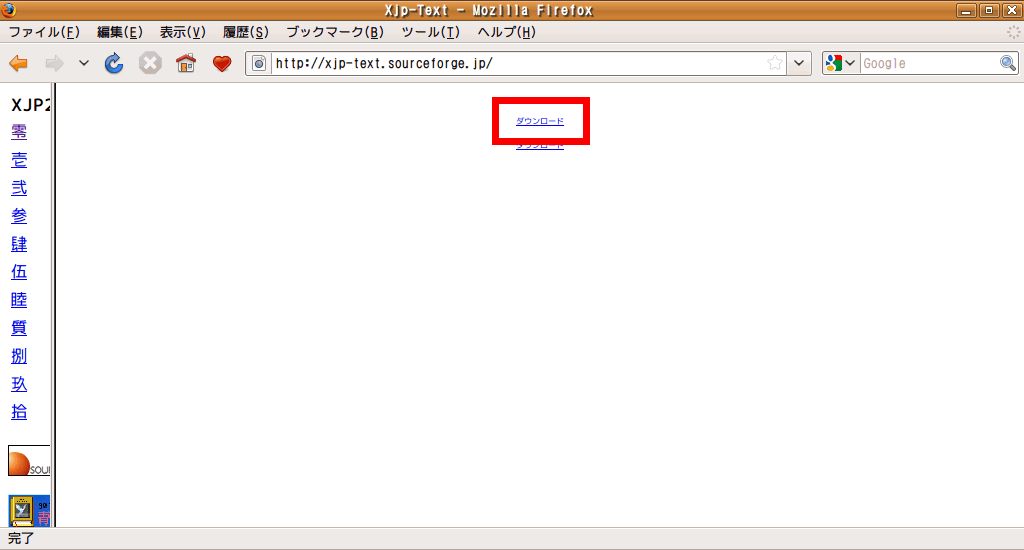
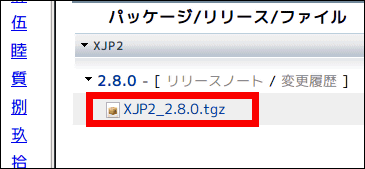
以下のサイトからXJP2を入手します。「ダウンロード」というリンクが2つありますが、上の方にある「ダウンロード」をクリックします。リンク先がhttp://sourceforge.jp/projects/xjp-text/files/になっている方です。
XJP2 Ver.2.8.0
http://xjp-text.sourceforge.jp/
Click "XJP2_2.8.0.tgz".
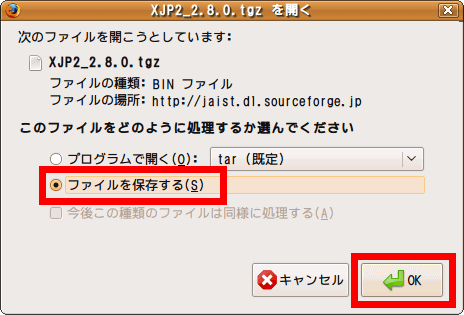
Select "Save file" and click "OK".
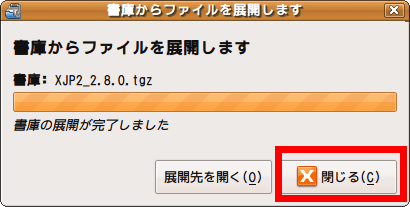
Double click on XJP2_2.8.0.tgz to download it and extract it.
Please select XJP2_2.8.0 and click "Expand".
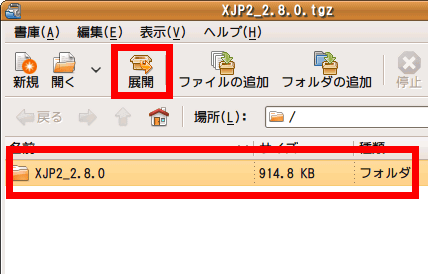
Choose a folder that is not a Japanese name folder. In this case, expand to the home directory (the folder with the same name as the login name). Confirm that "Re-create folder" and "Overwrite existing file" are checked and click "Expand".

Click "Close".
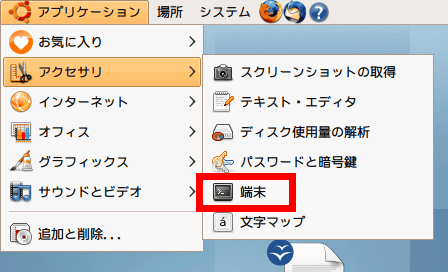
Click "Application" → "Accessories" → "Terminal".
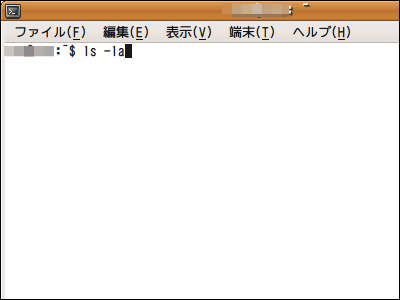
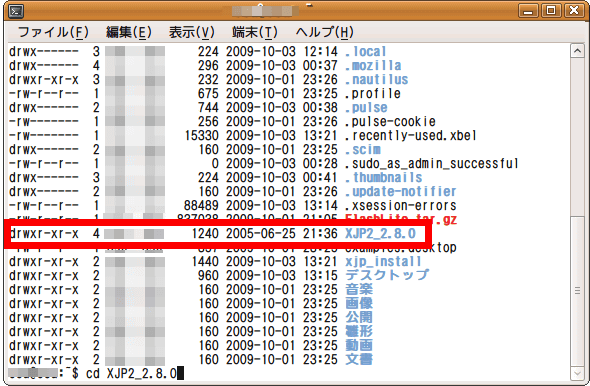
Let's look at the contents of the home directory by typing "ls - la (line feed)". Upper case letters and lower case letters are distinguished, so please be careful not to make a mistake.
After confirming that there is an expanded "XJP2_2.8.0" folder, enter "cd XJP2_2.8.0" and press the Enter key to execute the command and move to the folder.
Then, I will continue typing commands more and more. At the end of the command, press the Enter key to complete the entry.
To gain root authority to install the software, enter the following command:
Sudo -s
After entering, input the password at the time of login and input, and press the enter key.
Next, to gather the necessary information for installation, enter the following command.
./configure
Finally, enter the following command to run the installation.
Make install
It is okay to close the window after the above.
Initial setting
· Create setting folder
· Creation of configuration file
· Create folders used by XJP 2
I will do the above.
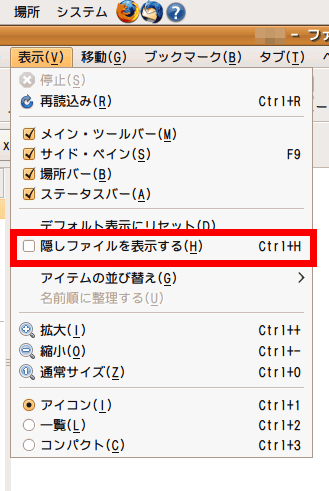
Click "View" → "Show hidden files" in the home directory.
Let's create a folder called ". Xtext".

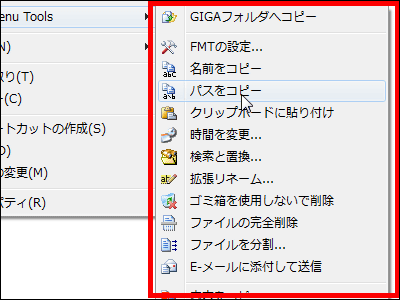
Copy the file called "xtext.conf.sample" in the "conf" folder inside the "XJP2_2.8.0" folder that was developed and expanded as above.
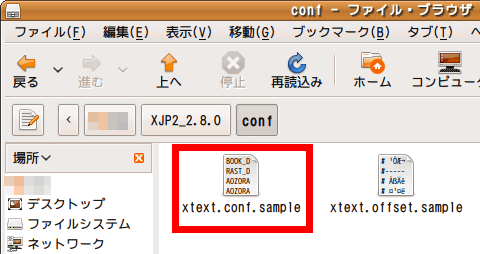
After copying "xtext.conf.sample", copy it to the ".xtext" folder created earlier. Next, change the file name "xtext.conf.sample" to the file name "xtext.conf".
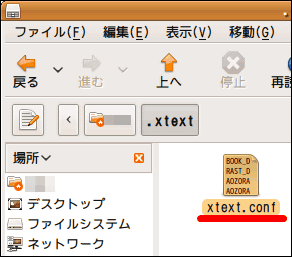
Since this "xtext.conf" is a setting file, open it with a text editor and modify the necessary part as follows. For the variables of the configuration file,Author's web pageThere is an explanation.
First, from the top of the configuration file. For example, if the login name is netwalker, the top line is "BOOK_DIR: / home / netwalker / book /".
BOOK_DIR: / home / [account name when logging in] / book /
RAST_DB_DIR: / home / [account name when logging in] / xjp - rast /
AOZORA_URL: http://www.aozora.gr.jp/
AOZORA_LIST: / home / [account name when logging in] /book/list_person_all.zip
#AOZORA_URL: http://mirror.aozora.gr.jp/
# AOZORA_LIST: /index_pages/ list_person_all.zip
Next the middle of the configuration file. Specify the window size and color. The color name isColor name of X11Please enter. In this setting, the background color is white and the character color is black.
MAIN_WINDOW_IMAGE: /home/bg.jpg
MAIN_WINDOW_WIDTH: 1024
MAIN_WINDOW_HEIGHT: 528
MAIN_WINDOW_COLOR: white
MAIN_FONT_COLOR: black
RUBI_FONT_COLOR: black
MENU_WINDOW_COLOR: white
MENU_FONT_COLOR: black
MAIN_SHADOW_COLOR: yellow
SELECT_WINDOW_COLOR: DodgerBlue 4
SELECT_FONT_COLOR: SkyBlue
SELECT_FONT_BACKGROUND_COLOR: snow
FIND_FONT_COLOR: brown 4
It is the setting around the font at the end. I changed the font to "LC font" and enlarged the font size than the initial setting. LINE_SPACE between lines, ROW_SPACE between characters seems to be able to specify a negative value. Because NetWalker becomes unstable, I am attaching # to MAIN_FONT_E and do not read it.
MAIN_FONT_J: - LC Mincho - medium - r - normal - 20 - * - * - * - c - 0 - jisx 0208.1983 - 0
MAIN_FONT_S: - LC Gothic - medium - r - normal - 20 - * - * - * - c - 0 - jisx 0208.1983 - 0
#MAIN_FONT_E: - LC Mincho - medium - r - normal - 12 - * - * - * - c - 0 - iso 8859 - 1
RUBI_FONT: - LC Gothic - medium - r - normal - 12 - * - * - * - c - 0 - jisx 0208.1983 - 0
XFT_FONT: 1
LINE_SPACE: -5
ROW_SPACE: 0
TITLE_DISP: 0
RUBY_DISP: 1
PAGE_DISP: 1
KINSC_DISP: 1
CHUKI_DISP: 0
CURS_DISP: 0
Let's create two folders named "book" and "xjp-rast" in the home directory. And in "book"Aozora Bunko HomepagePlease be sure to put one or more library files downloaded from.It will not start if the book folder is empty.

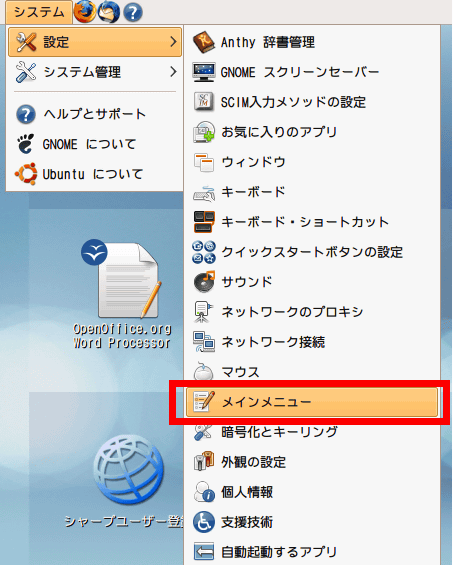
Finally, register the application in the upper left launcher menu. Select "System" -> "Settings" -> "Main Menu"
Click "New Item"
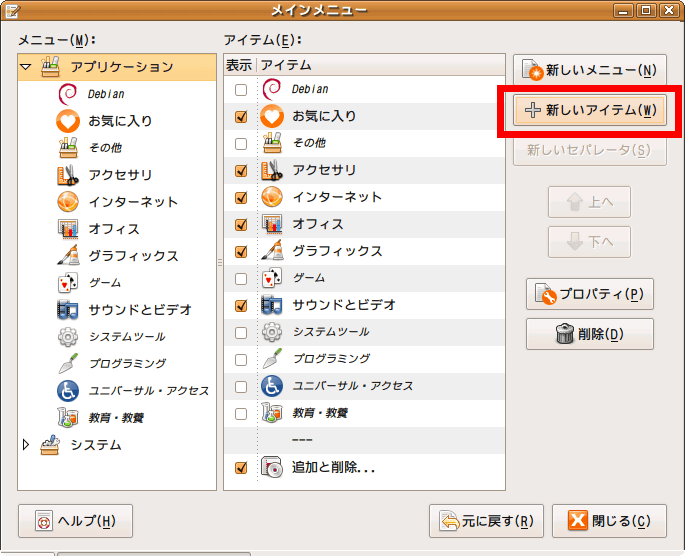
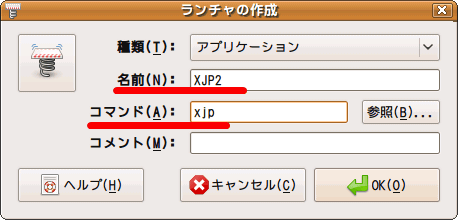
"Name" suitably. Be sure to enter "xjp" as "lower case" in "Command". Finally click "OK".
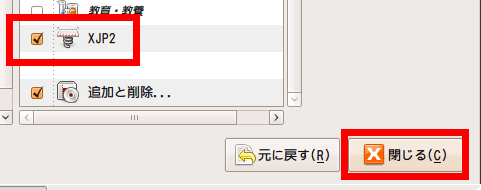
Confirm that the XJP 2 icon is added and click "Close"
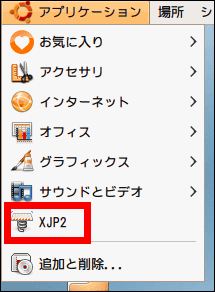
In this way the application has been added to the menu on the top left.
■ Start XJP2
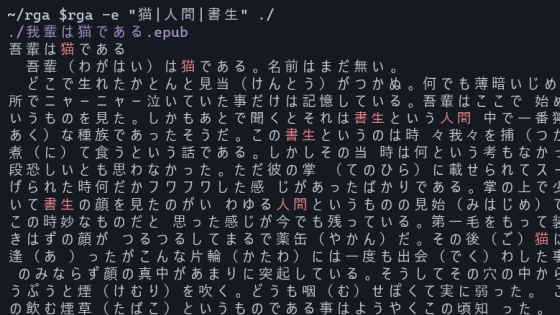
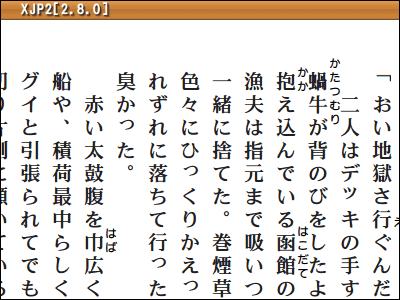
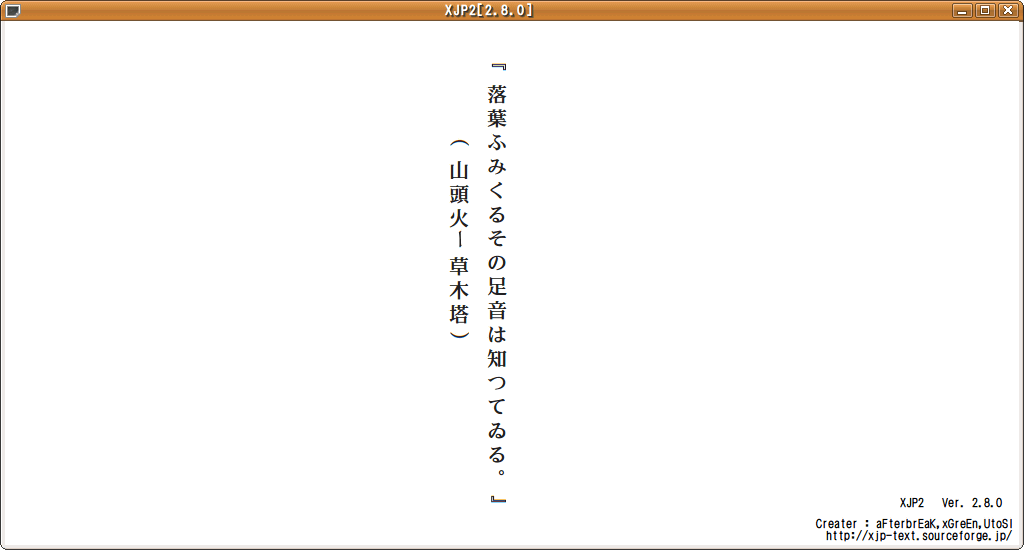
Activate it and wait for about 5 seconds and the letters are displayed like this.
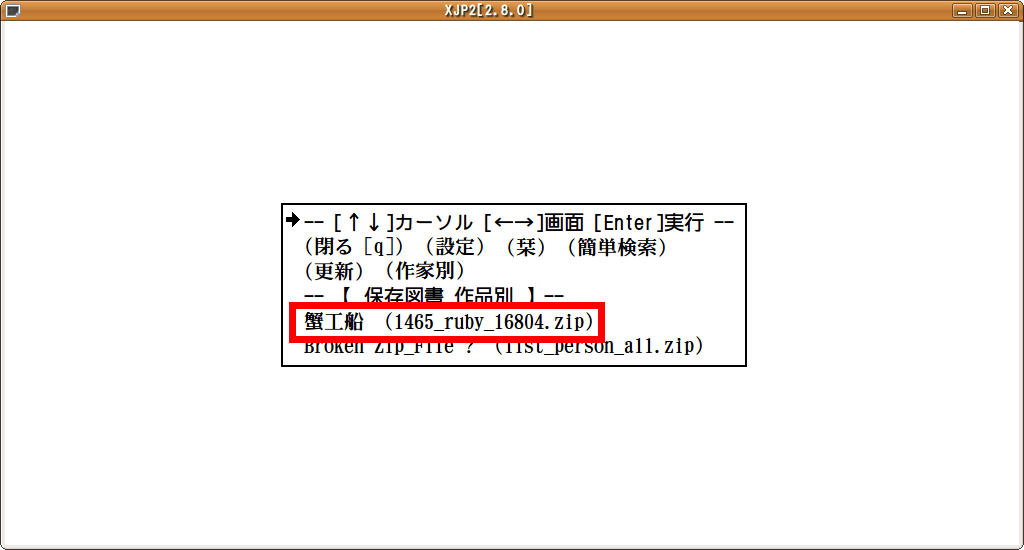
Press the "F" key and a menu will appear. The blue sky library of the book folder is displayed like this.
Screen display. Somewhat vertically short, the feeling is different from ordinary books.

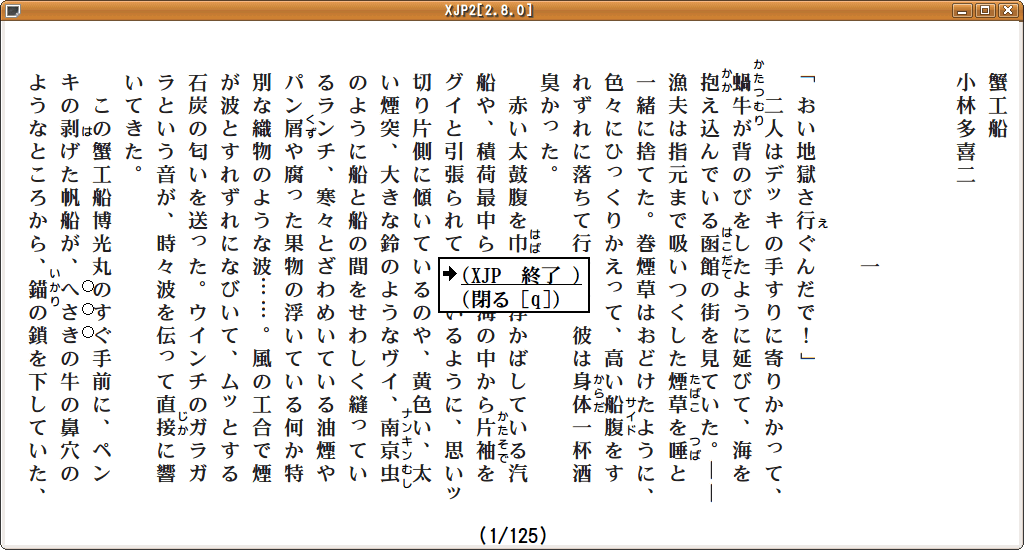
Press the Q key and the pause menu like this. Pressing the Enter key in this state ends XJP 2.
There are various other ways to read Aozora Bunko, for example if you use it in an environment where you can connect to the InternetAozora Bunko GatewayThere is also a way to use a browser like JavaScript and JavaScript.
Anyway, if it is a file in Aozora Bunko format, you can carry as many copies of paperbacks as you want, and you can satisfy your reading desire anytime anywhere you like. Every method has advantages and disadvantages, so it may be best to adopt one that suits your usage style.
Related Posts: