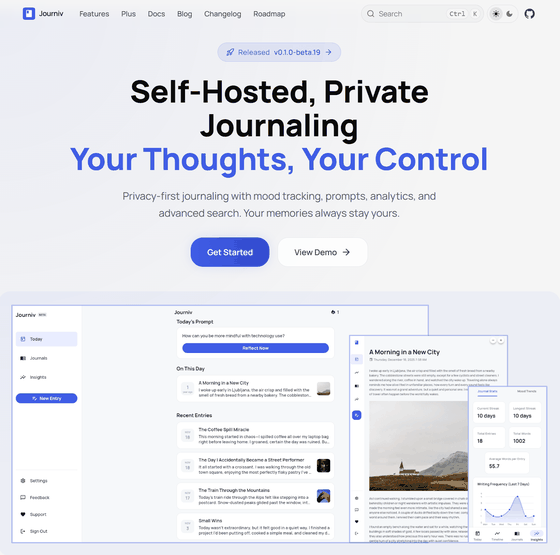
Journiv is a free, ad-free, and privacy-first diary app with mood tracking, prompts, analytics, and advanced search features. It's open-source and self-hosted.
There are many diary apps available, but cloud services run the risk of losing memories due to service termination or changes in privacy policies. Journiv was born out of concerns about the data permanence and privacy of existing services when a developer wanted to keep a record of their children's growth. It is a self-hosted, comprehensive diary application that gives users full control over their data and includes mood tracking, writing prompts, and analytics.
journiv/journiv-app: Journiv - Self hosted private journaling app
Journiv - Self-Hosted Private Journaling - Journiv
https://www.journiv.com/
◆Main features of Journiv
Privacy and security
All data is stored in a locally built SQLite or PostgreSQL database, and does not rely on external services for tracking or analysis. Security is ensured through secure authentication with automatic refresh tokens using JWT authentication .
Self-hosted
It can be easily started as a Docker container from a local server.
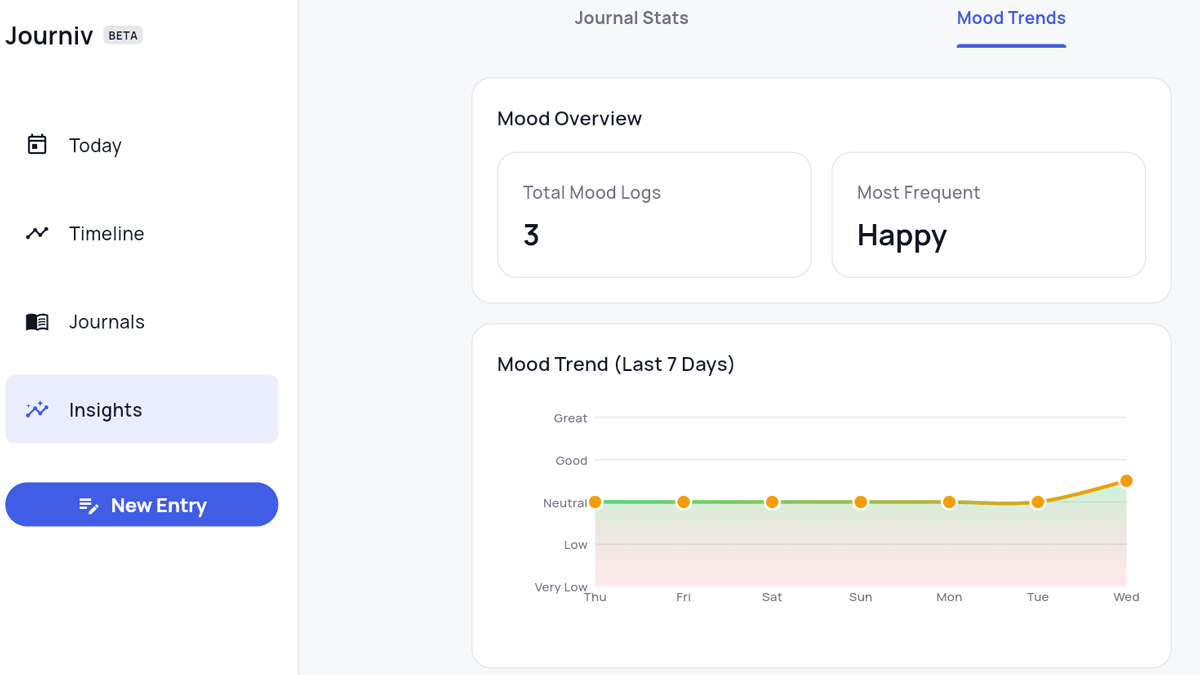
Mood tracking
You can set a mood for your diary entries.
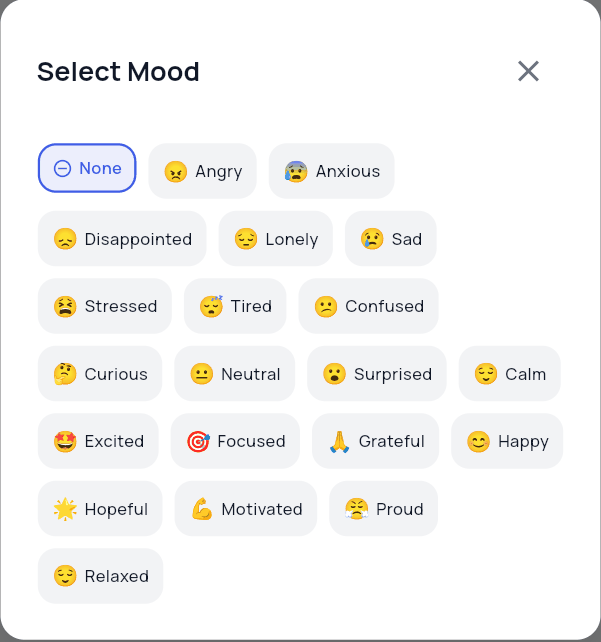
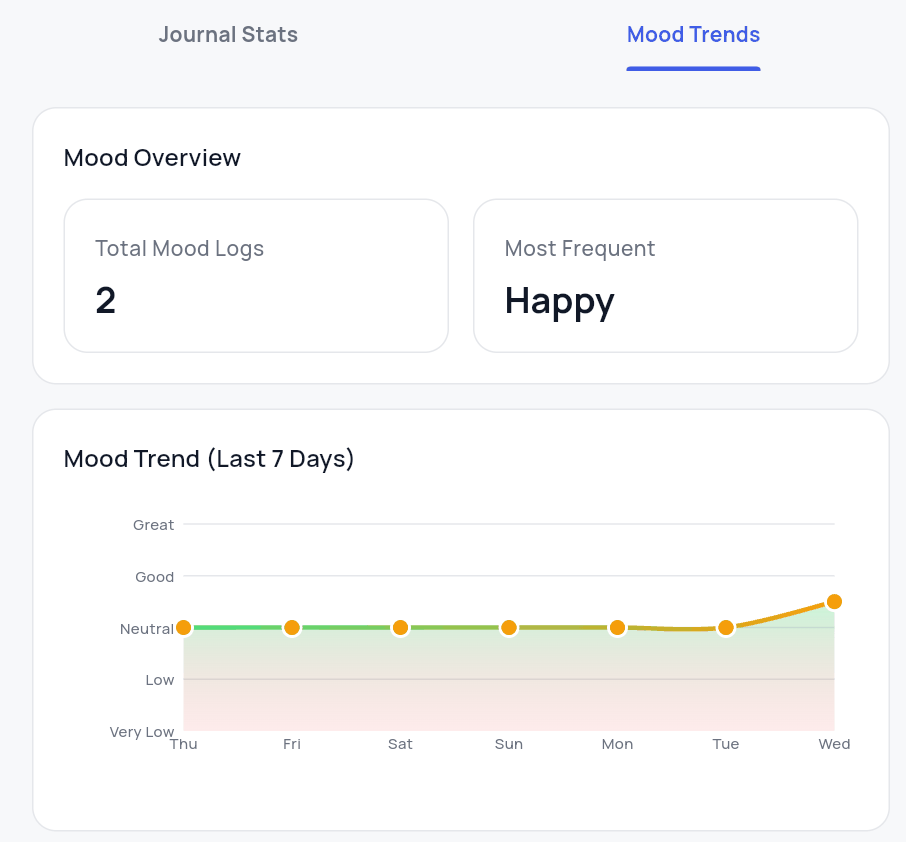
By aggregating emotional patterns and visualizing them over time, you can understand emotional trends.
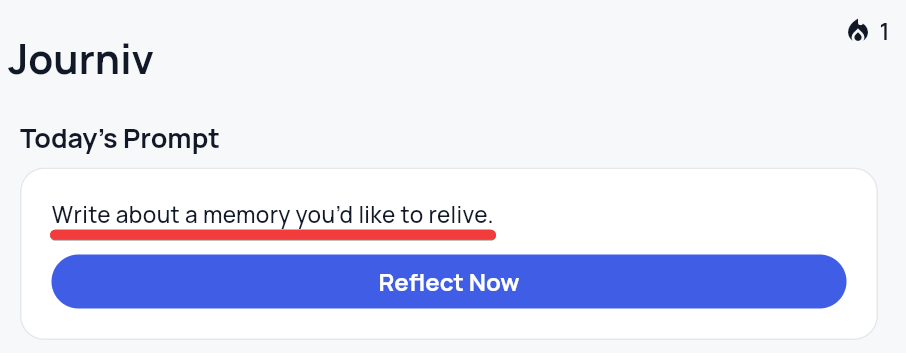
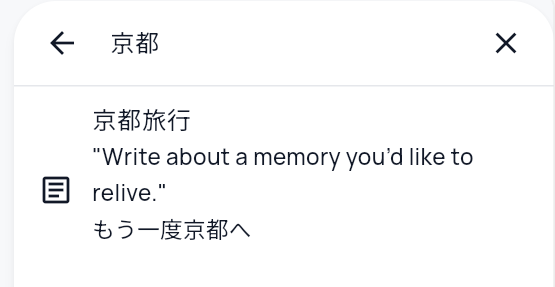
Question-based journaling
A different question will be presented each day as a prompt for writing your diary.
Search and discovery
Full-text searches and date range searches are possible.
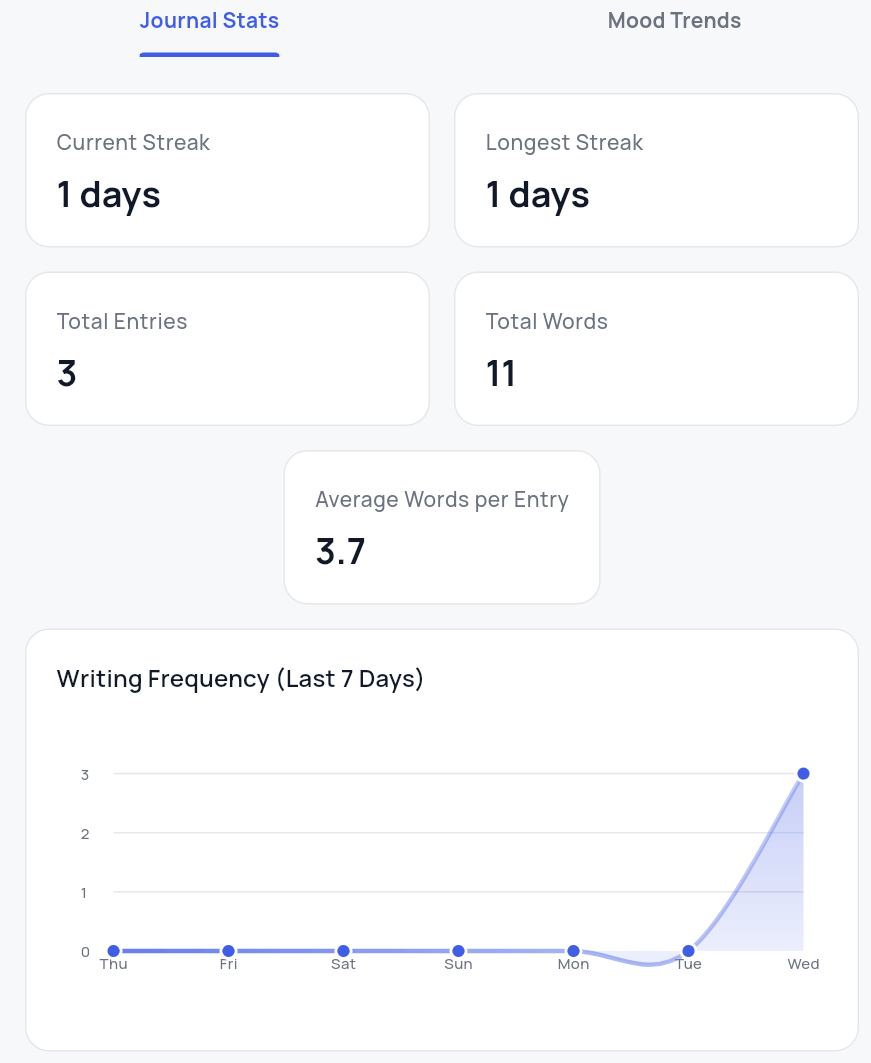
・Analysis and insights
Analyze and visualize writing frequency, number of words used, etc.
Import and export
Recorded data can be exported as a ZIP file and imported from a ZIP file.
・This day
Displays past entries from the same date.
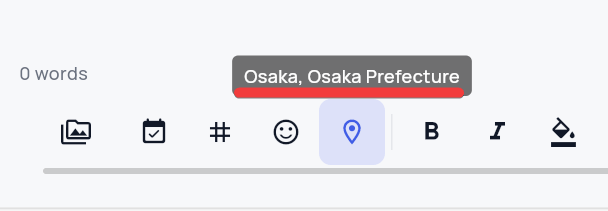
・Location and weather information
It is possible to record location data and weather information. To use the weather information, you need to register to use the
Rich text and Markdown
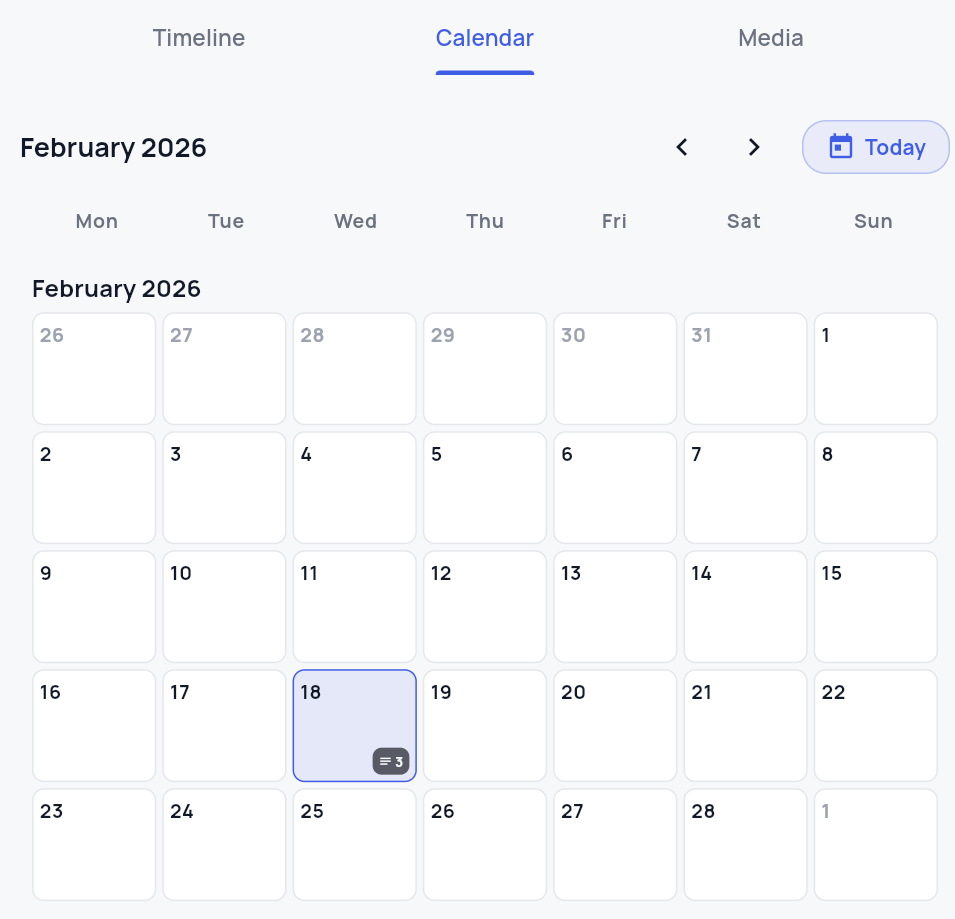
・Timeline and calendar
Displays entries in chronological order in a timeline format.
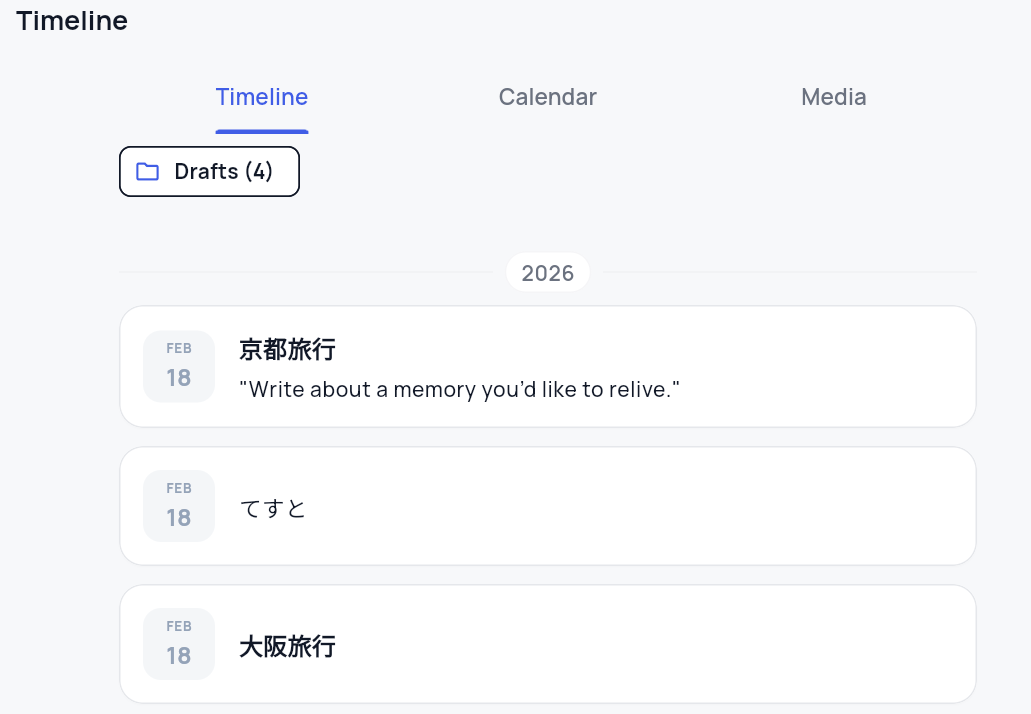
You can also view it on the calendar.
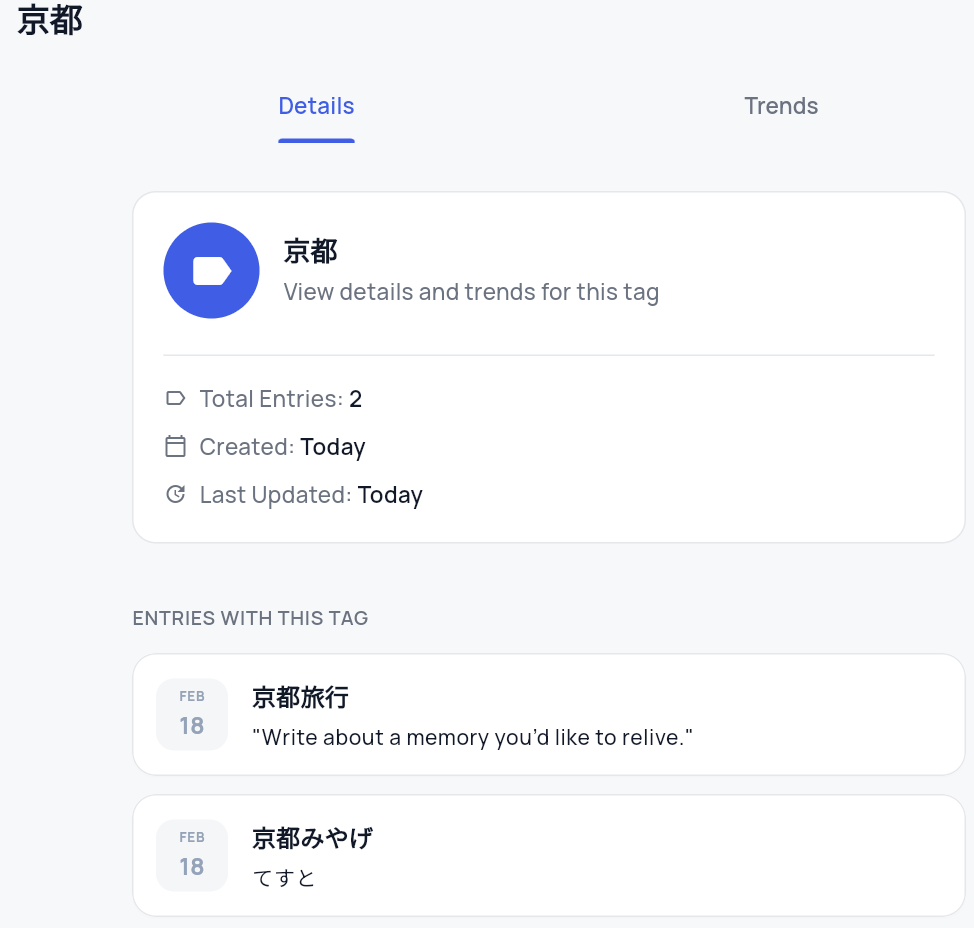
Tags and analytics
Classification by tags is possible, and frequency of appearance and trends can be analyzed.
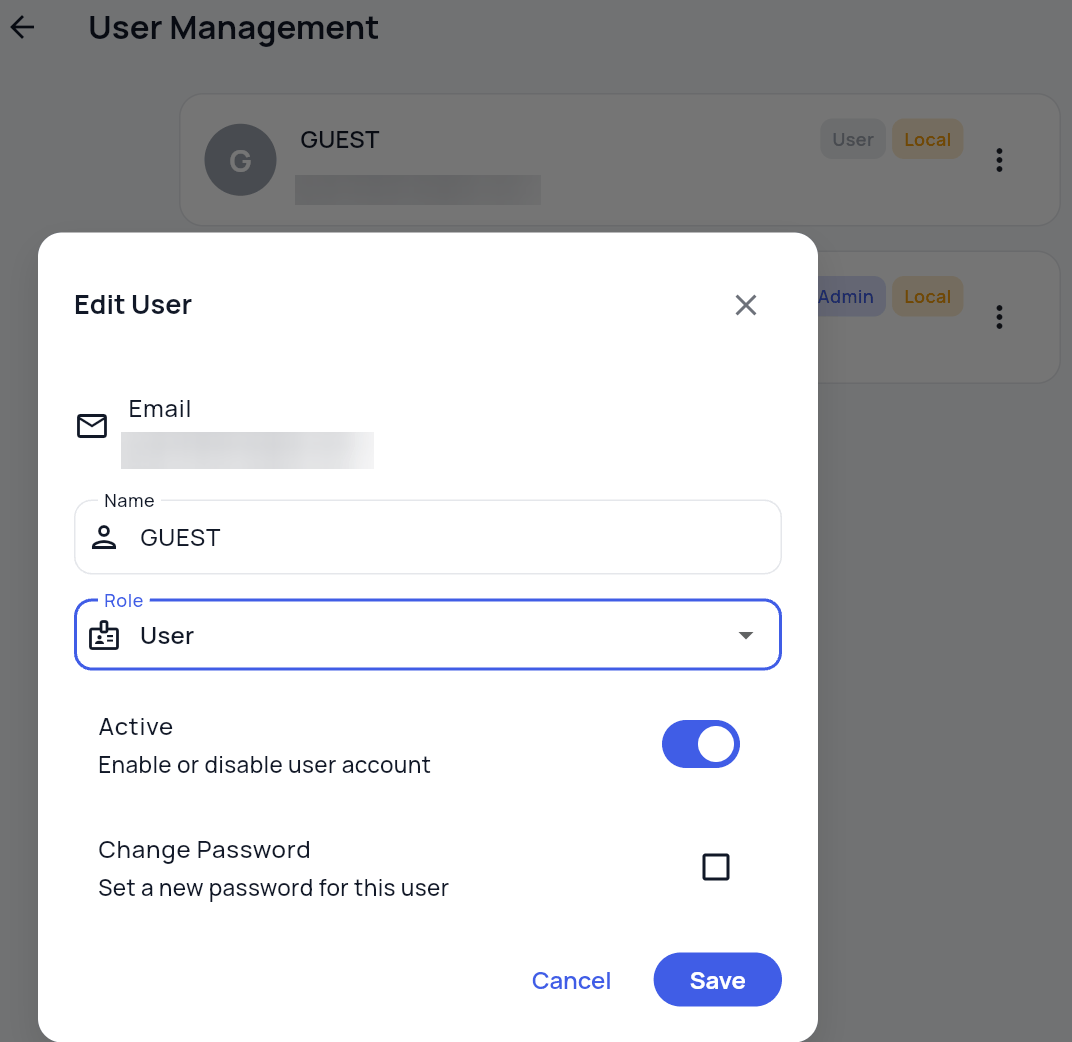
・User management
Users can be created and deleted, and two types of permission roles can be set: 'Administrator' and 'User.'
・Collaboration with Immich
By linking with Immich , a self-hosted photo and video management app, you can quote and display photos and videos from Immich in your diary.
◆Installation method
This time, we will install Docker on WSL2 with Ubuntu set up on Windows 11, referring to the official Docker Installation . Create a journiv directory and move into it.
 mkdir journiv
 cd journiv
Download the docker-compose.yml and environment configuration file templates.
 curl -o docker-compose.yml https://raw.githubusercontent.com/journiv/journiv-app/refs/tags/latest/docker-compose.yml
 curl -O https://raw.githubusercontent.com/journiv/journiv-app/refs/tags/latest/env.template
Create a configuration file.
cp env.template .env
Create a 'SECRET_KEY' using the following command and copy the random value that is displayed.
openssl rand -base64 32
Edit the .env file, paste the value you created earlier into 'SECRET_KEY', enter your domain name or IP address into 'DOMAIN_NAME', and set a password of your choice into 'POSTGRES_PASSWORD'.
 SECRET_KEY=【The value you just created】
 DOMAIN_NAME=【Domain name or IP address】
 POSTGRES_PASSWORD=【Optional password】
Creates the data directory and changes its permissions to the specified values.
 mkdir -p data/app data/postgres data/valkey

sudo chown -R 1000:1000 data
 sudo chmod -R 755 data
Start the container.
docker compose up -d
Once the container is running, access port 8000 in your browser.
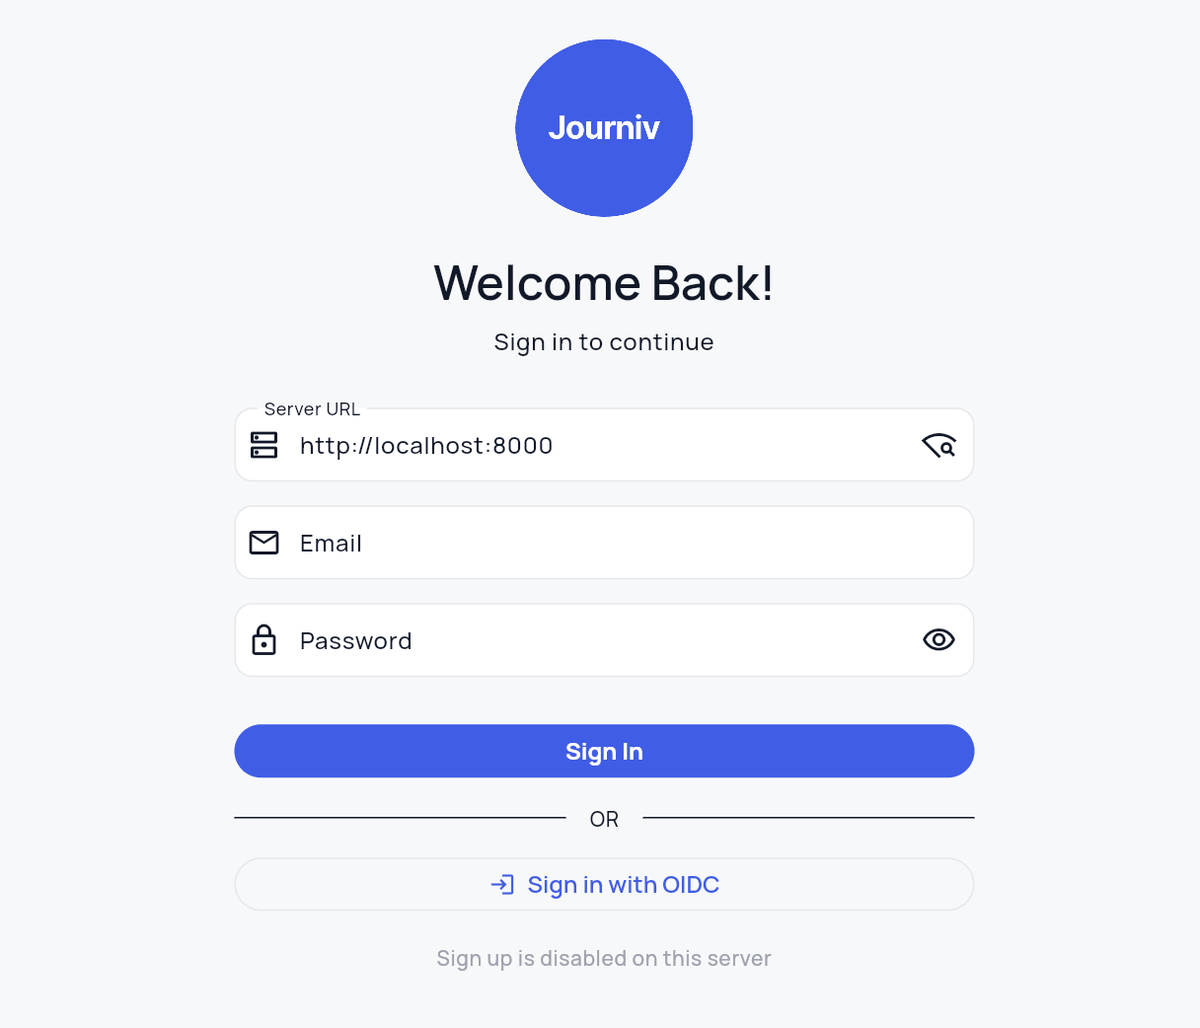
If the sign-up link at the bottom of the screen is disabled, enter the value you set in DOMAIN_NAME in 'Server URL' and click the 'Search' button. Once you have connected to the server, the display will change to 'Don't have an account? Sign Up.'
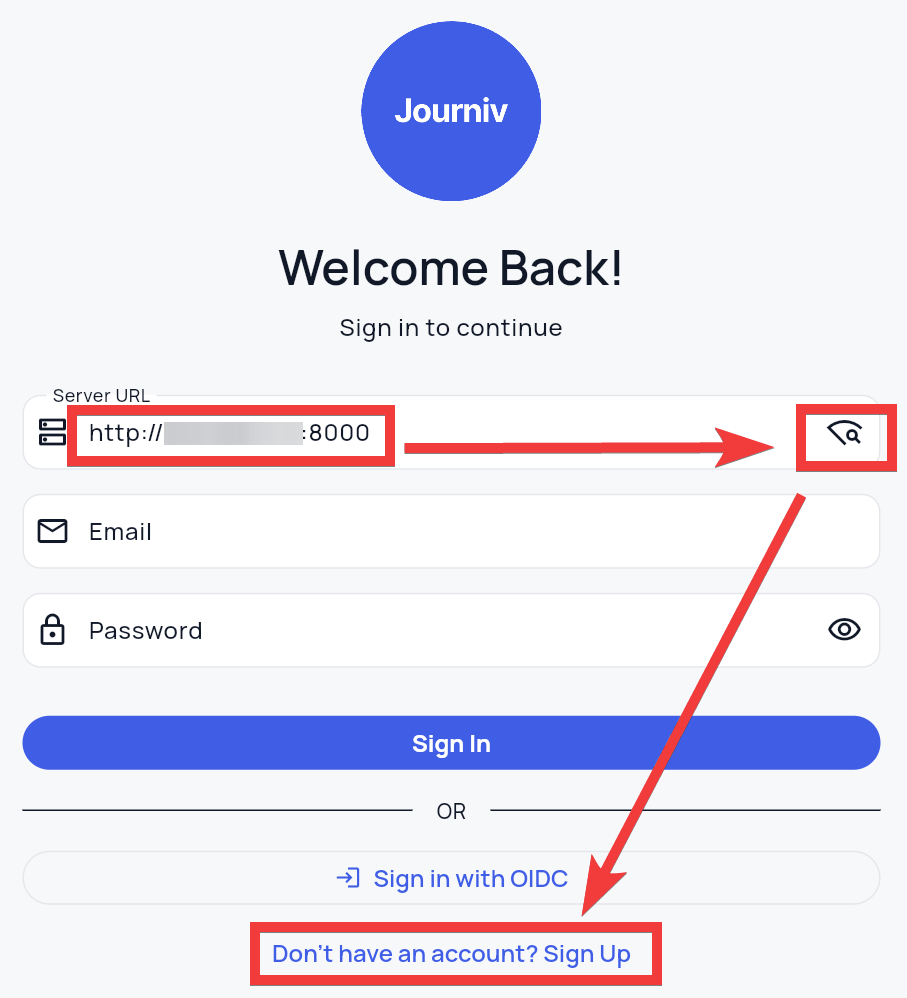
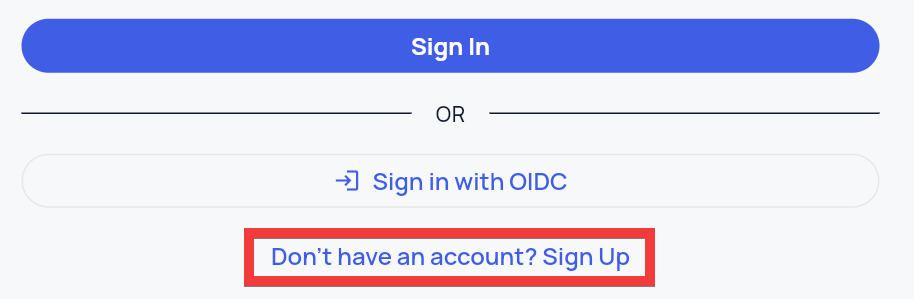
Click 'Don't have an account? Sign Up' to create a user.
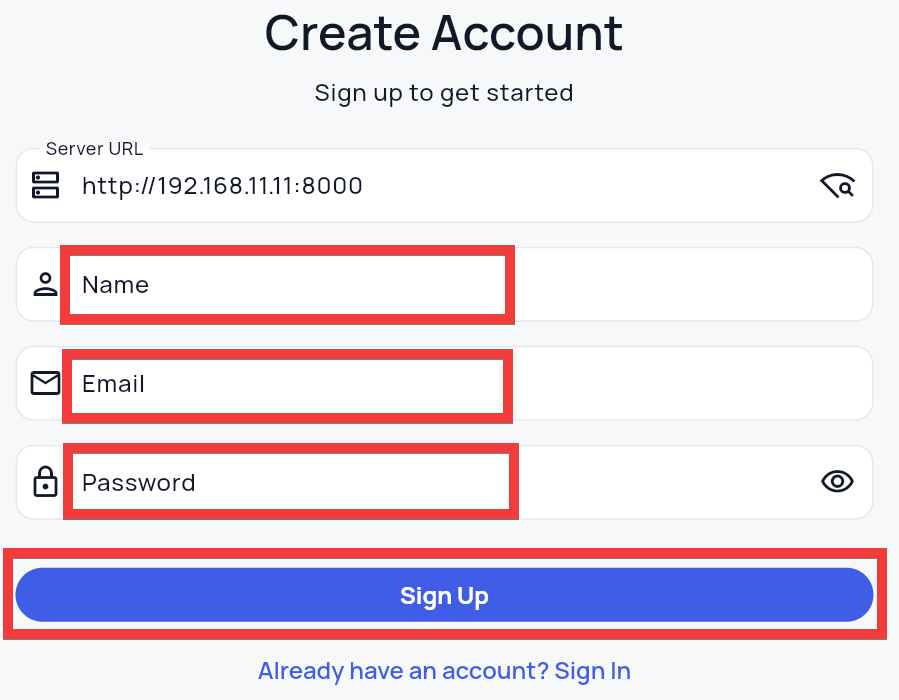
A registration form will appear. Enter your name in 'Name,' your email address in 'Email,' and your password in 'Password,' then click the 'Sign Up' button.
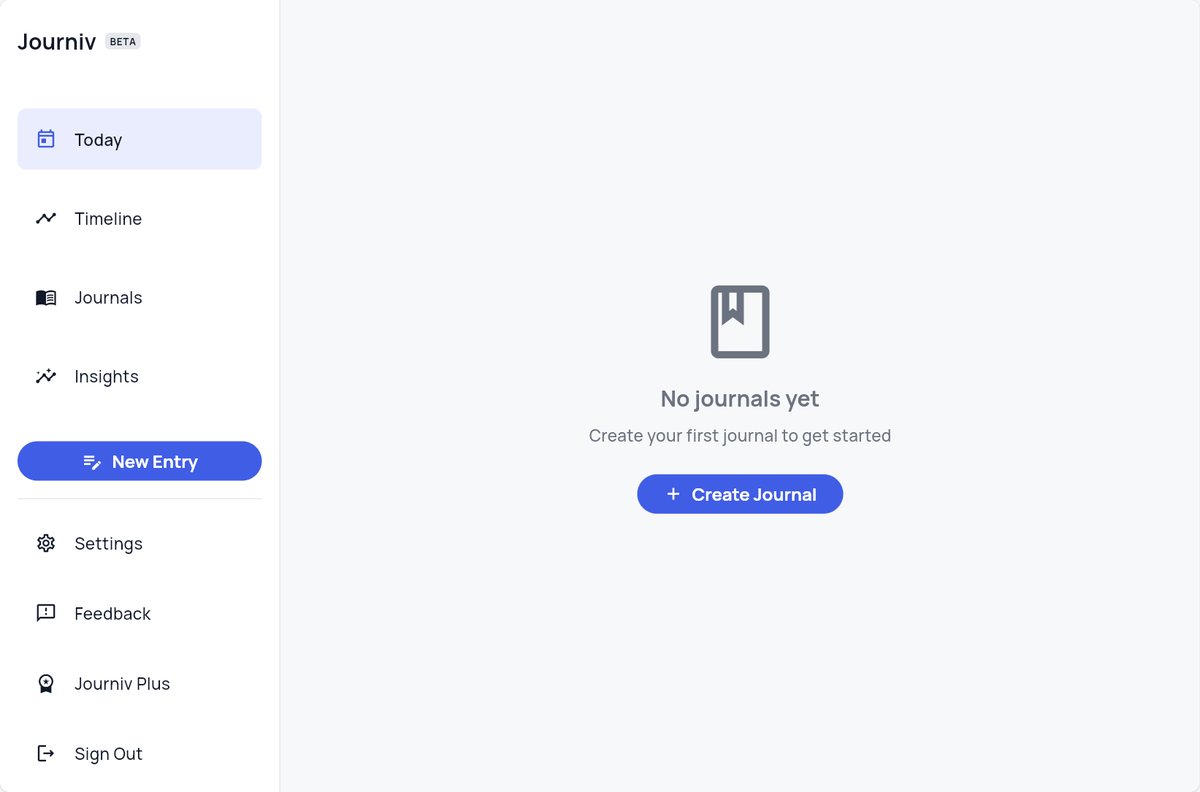
Once you have registered, you will be automatically logged in and directed to your dashboard.
Native apps for iOS and Android are also currently in development and are expected to be released on the App Store and Google Play soon.
Related Posts: