A guide to building your own drone with ESP32, which can be controlled with a smartphone

A method has been revealed for building your own drone using the microcontroller '
We built a Drone using ESP32 | Now on Kickstarter - YouTube
How to Build a Low-Cost Drone with ESP32
https://www.digikey.com/en/maker/projects/a-step-by-step-guide-to-build-a-low-cost-drone-using-esp32/8afccd0690574bcebfa0d2ad6fd0a391
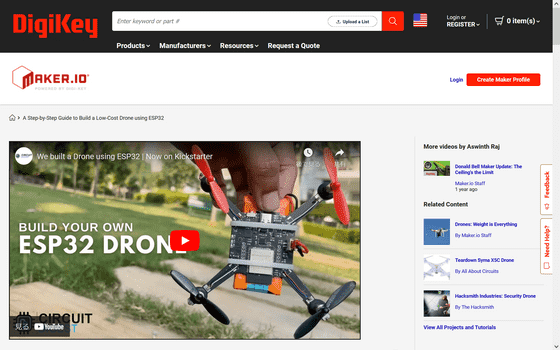
Engineer Jovit Joseph shared how to make the drone. According to Joseph, the drone is small and can be made using readily available parts such as an ESP32 module, a gyroscope and acceleration sensor module '

Other features are as follows:
・Can be operated via Wi-Fi and smartphone
- Android and iOS app compatible
・No need for 3D printed parts, main material is PCB
Easily upgradeable
・Small and lightweight
- Built-in charger
-Built-in USB interface for programming and debugging
Open source
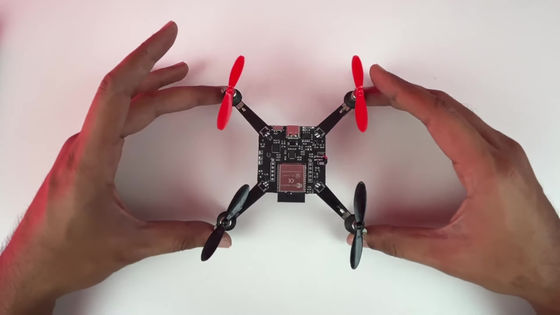
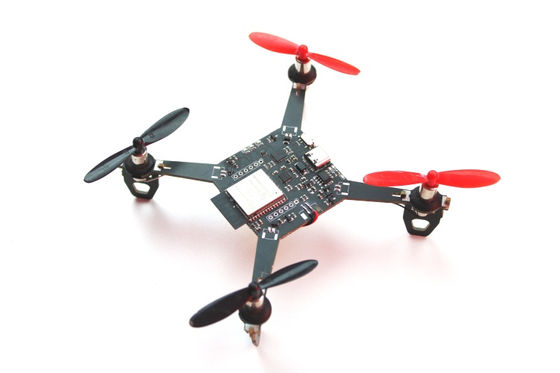
The aircraft is made of PCBs as follows. The PCB was customized by Joseph and can be used not only to carry the circuit but also as legs to carry the propellers.

When combined with commercially available propellers and control modules, it looks like this. As you can see, the circuit board is exposed.
The circuit diagram is as follows. It features a USB Type-C port, through which both charging and programming functions are available. The power path controller using P-channel MOSFET U2 and diode D1 allows seamless switching between USB power and battery power, and the Microchip MIC5219 3.3V LDO ensures voltage regulation. The slide switch can be used to start the thermal camera, and the charging module 'TP4056' can be used to manage the remaining battery charge.

The drone firmware is based on Espressif's
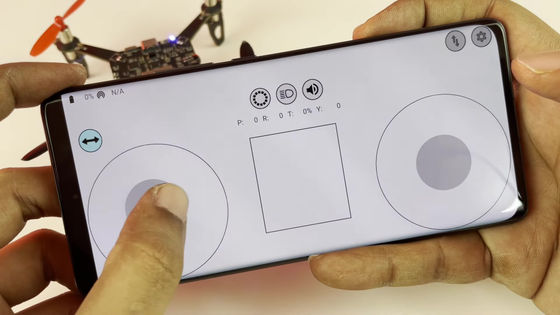
Joseph also published the procedure for checking the operation of the drone. First, place the drone on a flat surface and turn it on. As soon as you turn it on, the flight controller will create a Wi-Fi hotspot, so connect to it using the password 12345678 and open the app. For iOS, you can use the app ' ESP-Drone ', and for Android, you can use the app of the same name released by a third party. You can control rotation with the left side of the screen and movement with the right side.
Other necessary equipment is listed on the website. The total cost of making it, including capacitors, resistors, diodes,
DIY WiFi-Controlled Drone with ESP32 and Arduino
https://circuitdigest.com/microcontroller-projects/DIY-wifi-controlled-drone
Related Posts:
