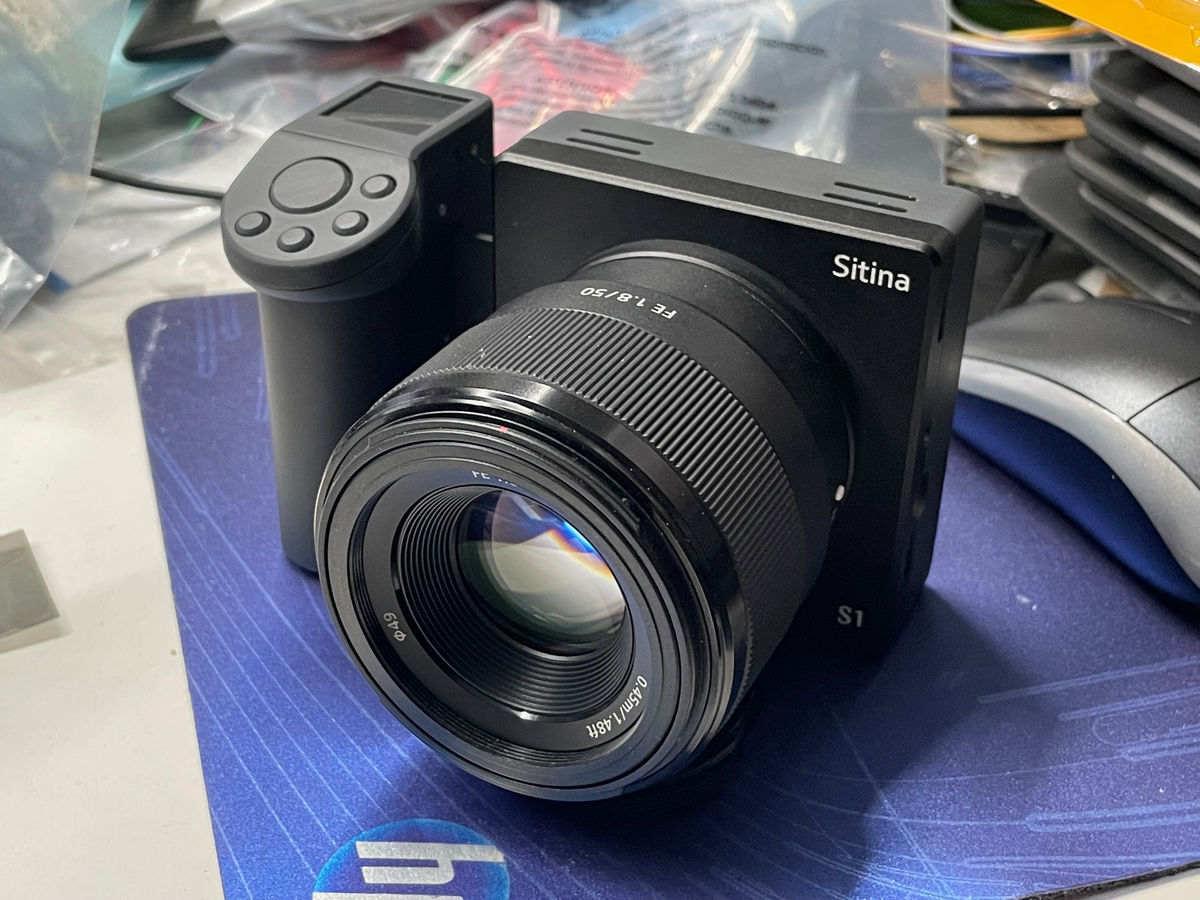
Open source mirrorless camera 'Sitina 1'

Engineer Wenting Zhang has published the hardware design and software source code for the 35mm full-frame mirrorless single-lens camera 'Sitina 1' on GitLab.
Wenting Zhang / Sitina1 · GitLab
The Sitina 1 was originally a project to create a rear part to convert an analog SLR camera into a digital camera, but it eventually became a fully-fledged mirrorless interchangeable lens camera.
Here's what the Sitina 1 looks like with the lens attached:
The provisional hardware specifications are as follows:
| parts | specification |
|---|---|
| SoC | Xilinx Zynq 7010 (2x667MHz Cortex-A9, 28K logic cell FPGA) |
| RAM | 512MB 16-bit DDR3 SDRAM |
| AFE | Analog Devices AD9990 |
| sensor | Kodak/ONsemi KAI-11000/KAI-11002M/CM |
| screen | 3.4 inch 480x480 high brightness DPI IPS LCD |
| External Ports | SD slot/USB Type-C/Flash sync terminal |
The phone also comes with the following camera functions, although these are only hardware-enabled features and may not necessarily be supported by the software.
| item | specification |
|---|---|
| Sensor Type | 35mm Interline CCD sensor |
| Sensor size | 36.0×24.0 mm |
| Effective pixels | 10.7MP |
| Lens mount | Active E-mount |
| Still Resolution | 4008×2672 10.7MP 3:2 |
| Still Image Format | DNG (10/12/14 bit lossless compressed RAW) |
| Read speed | Up to 5 FPS at 4008x2672 |
| Video Recording | Not supported |
| ISO | 100 to 6400 (color) |
Zhang also provides an assembly video.
Building an open-source full-frame CCD camera PART II - YouTube
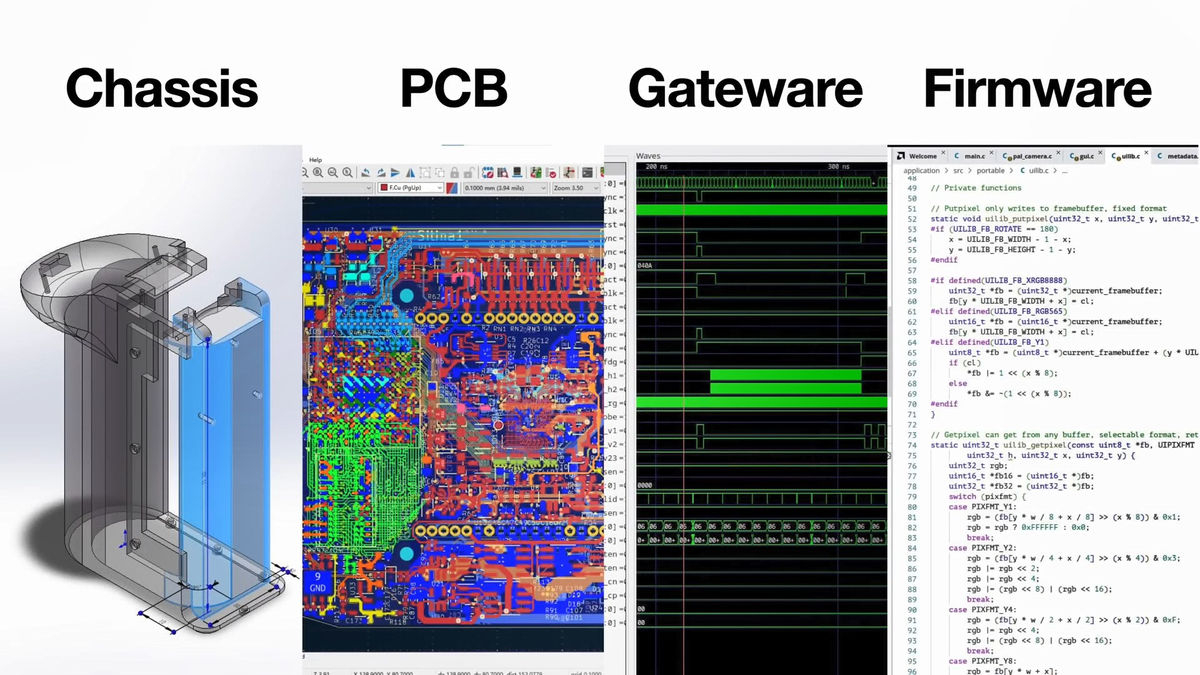
The sensor, chip, and screen are commercially available parts and not homemade, but everything else is custom made and designed by him.
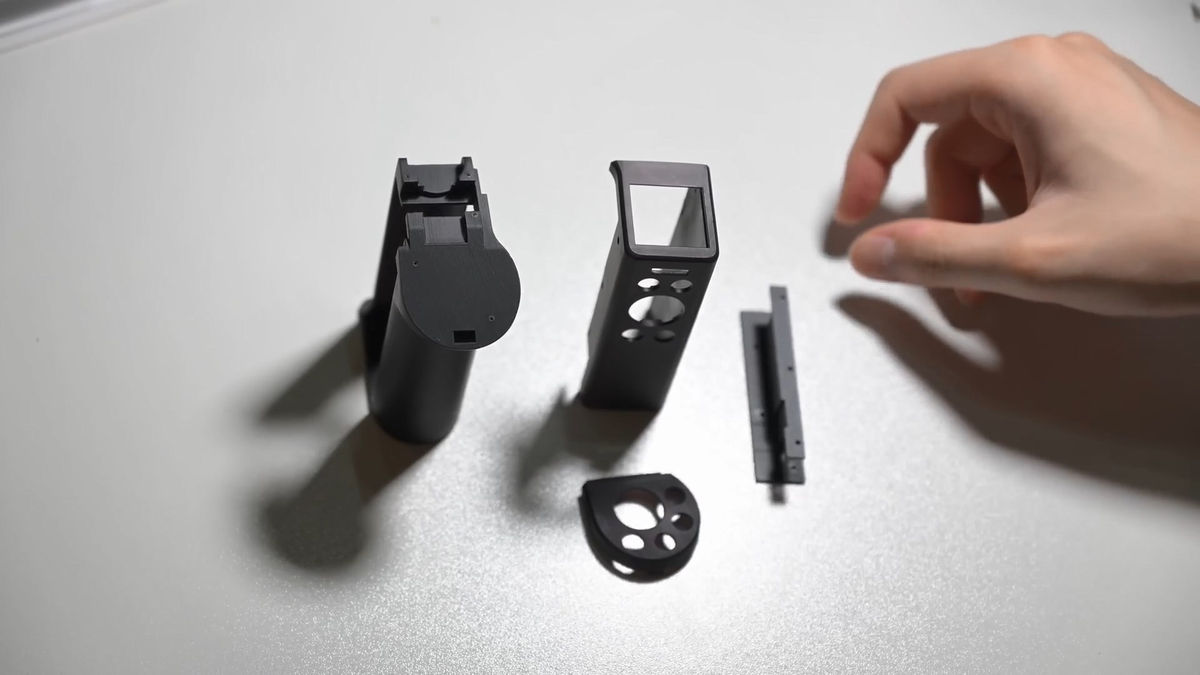
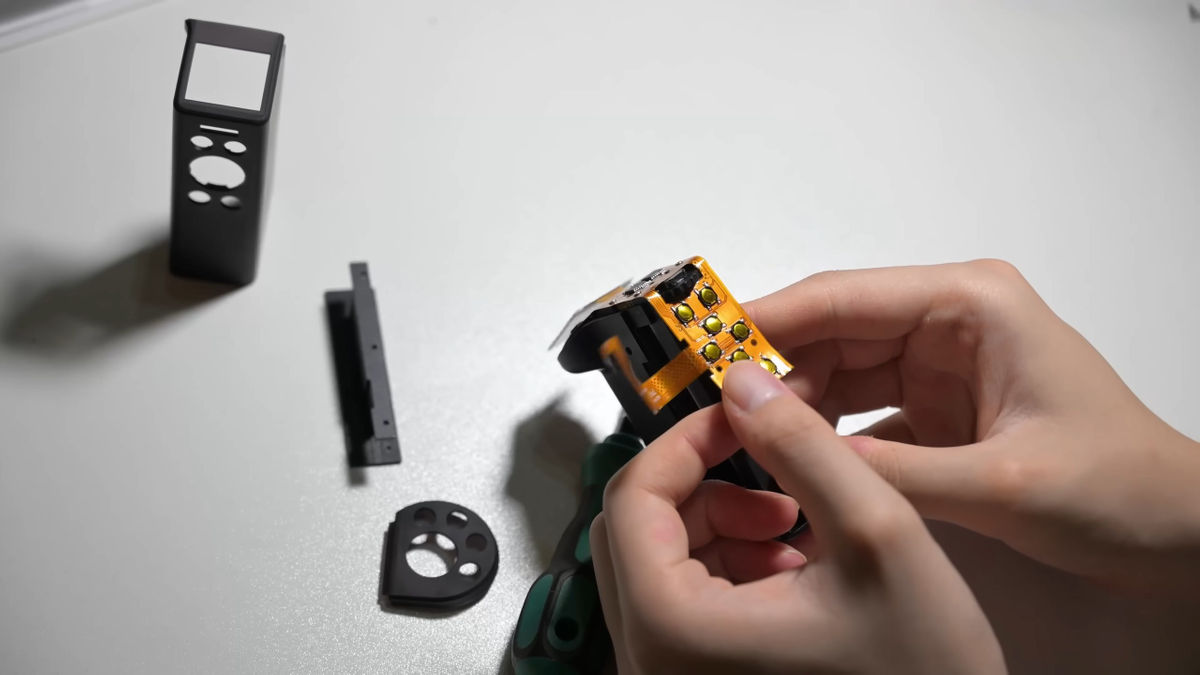
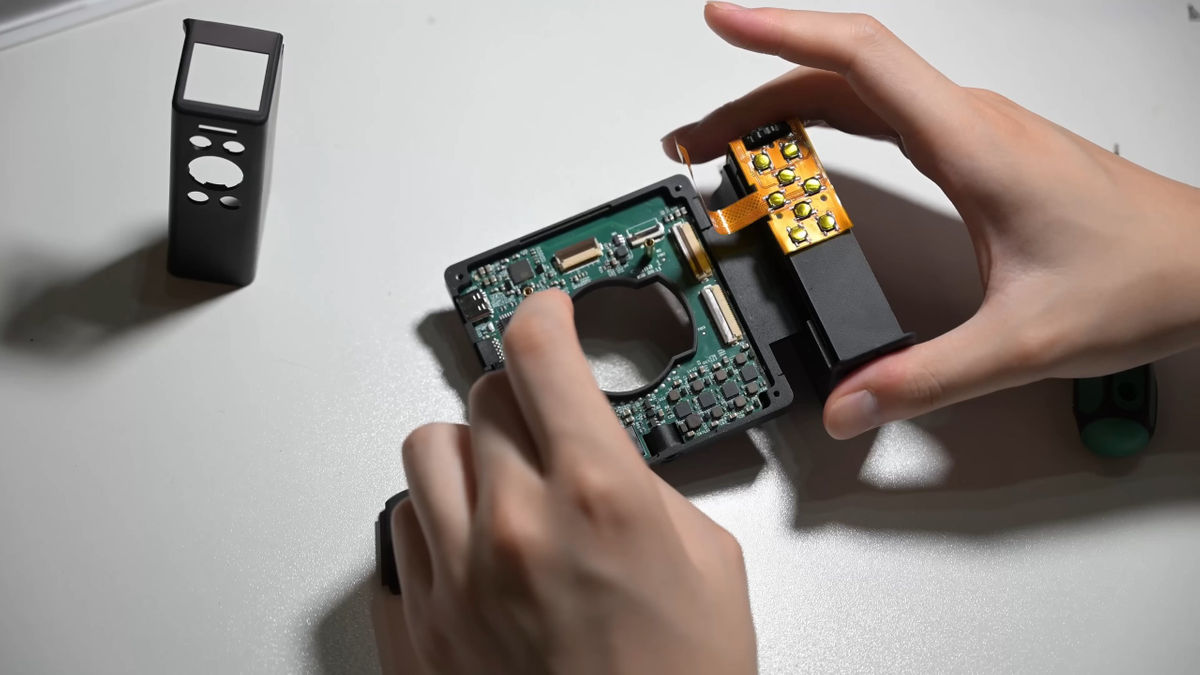
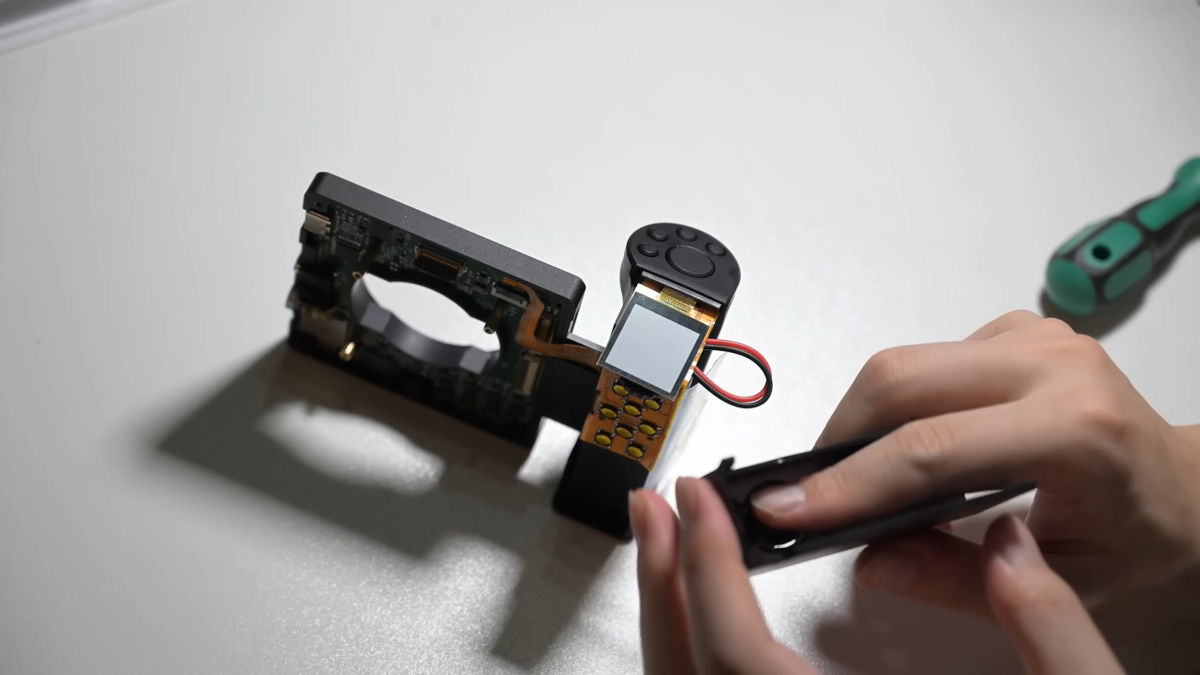
The grip parts look like this.
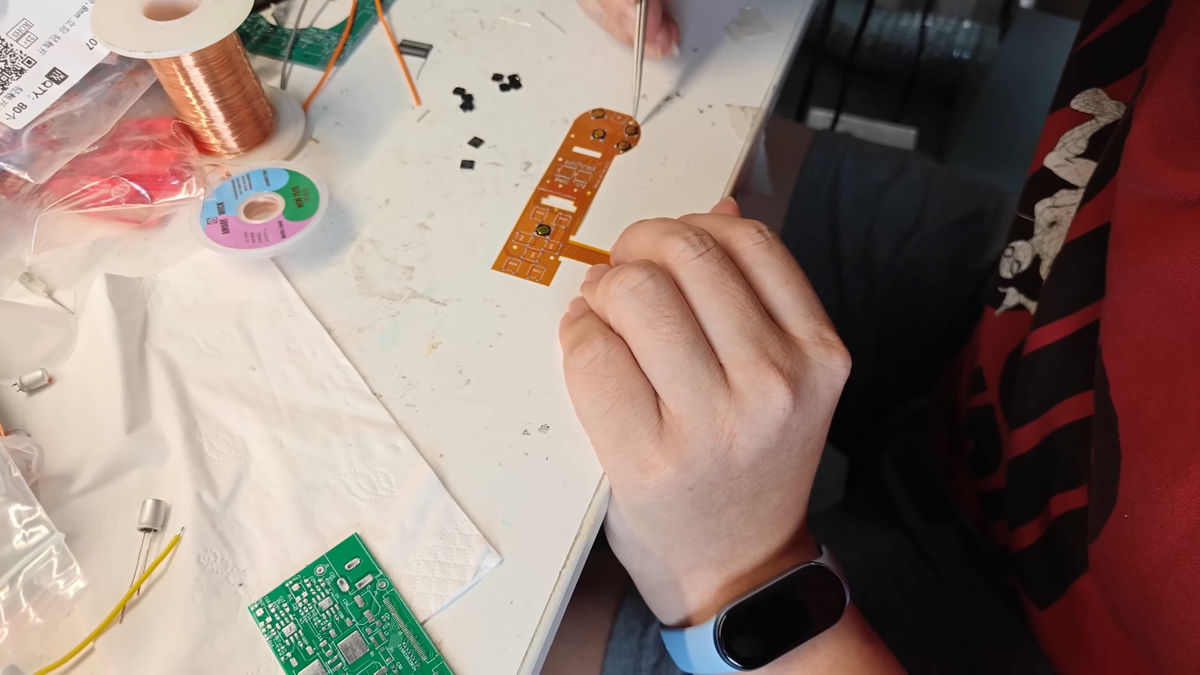
We are assembling flexible boards to connect buttons and other devices.
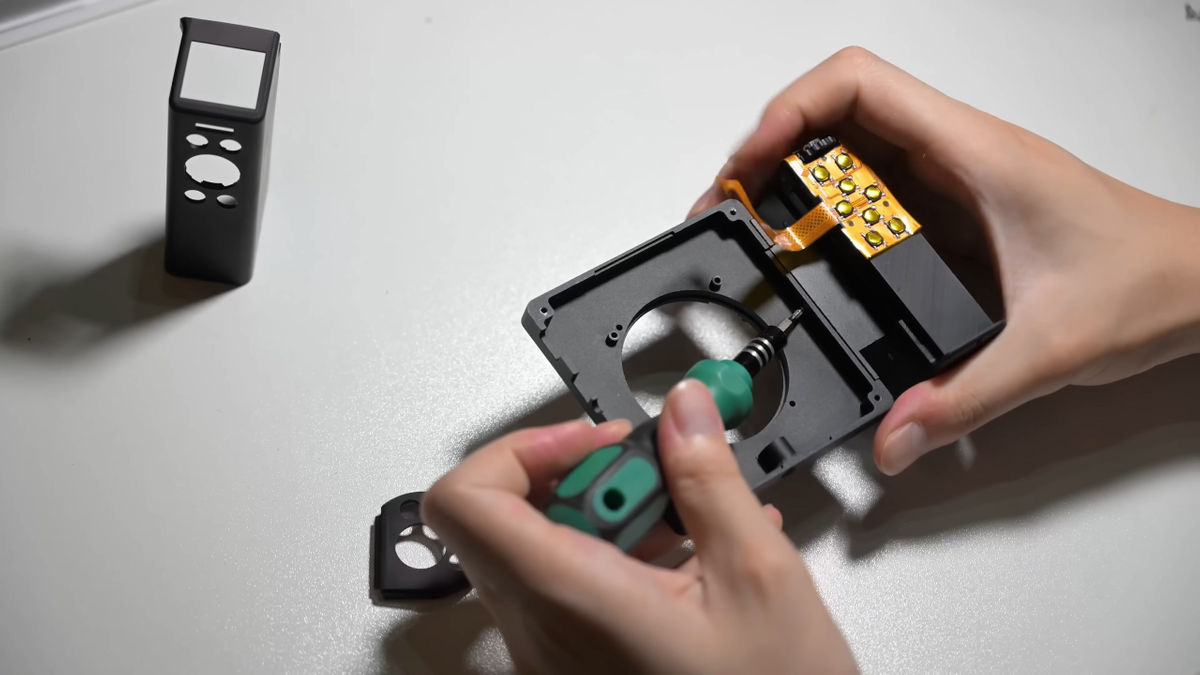
Once that's done, assemble the grip.
Attach the front case to the main unit.
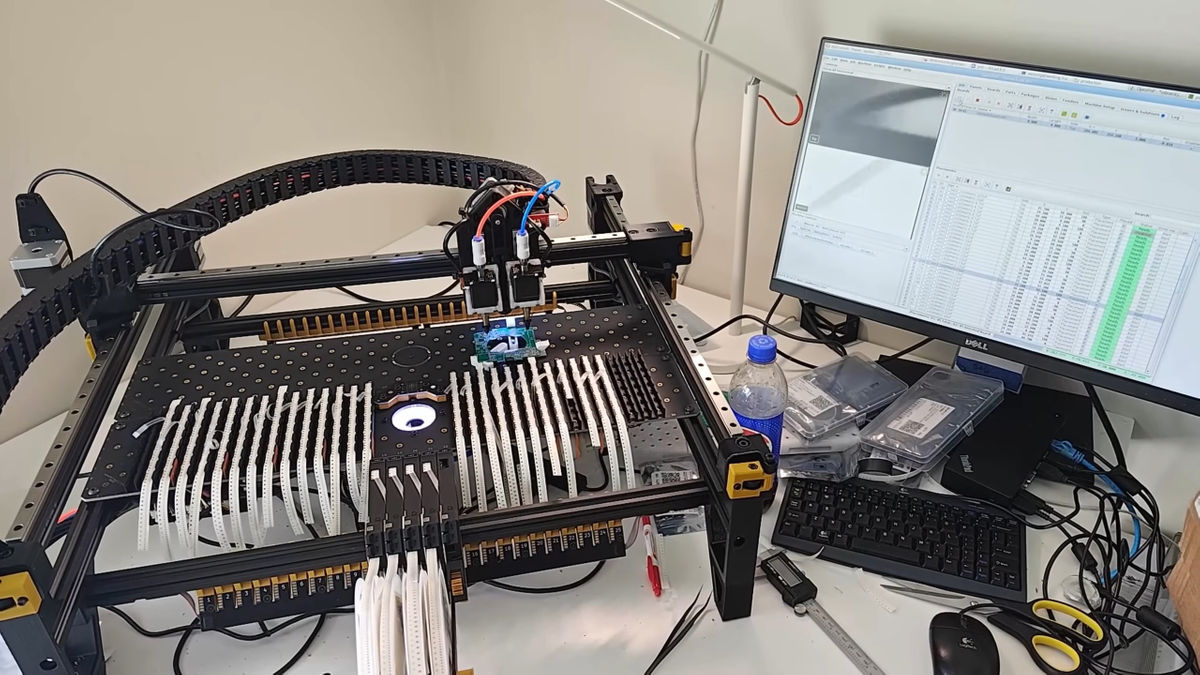
This is an I/O board.
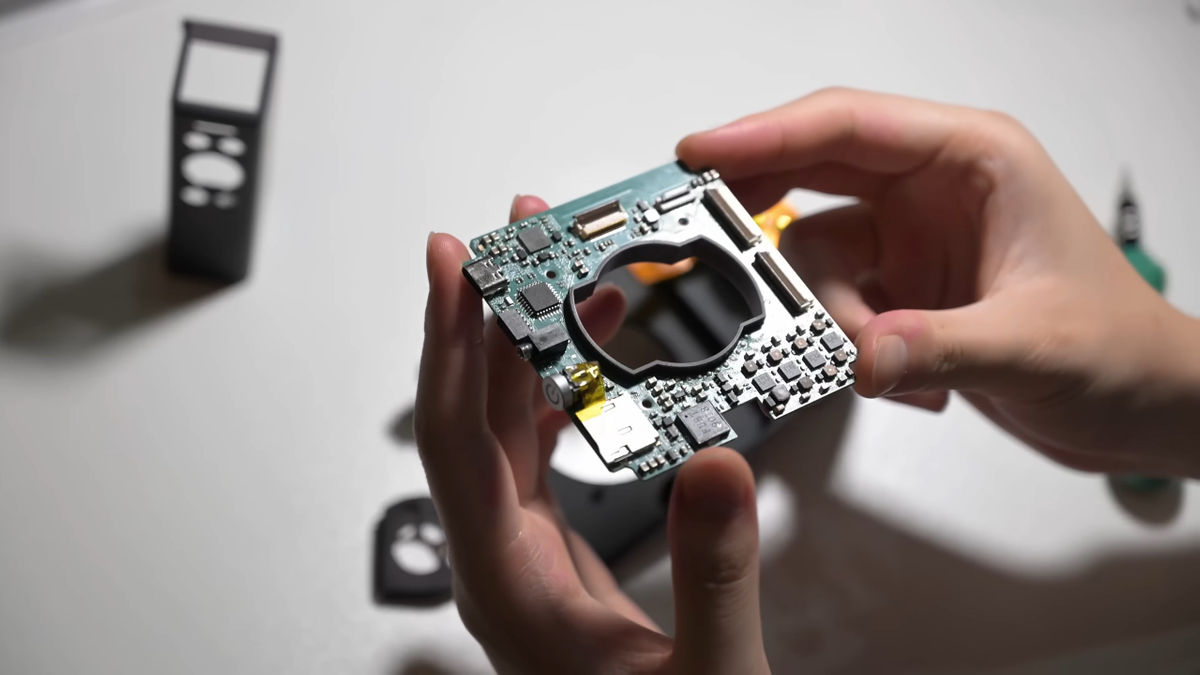
Because there are so many parts, they used the open source printed circuit board assembly machine
Install the board.
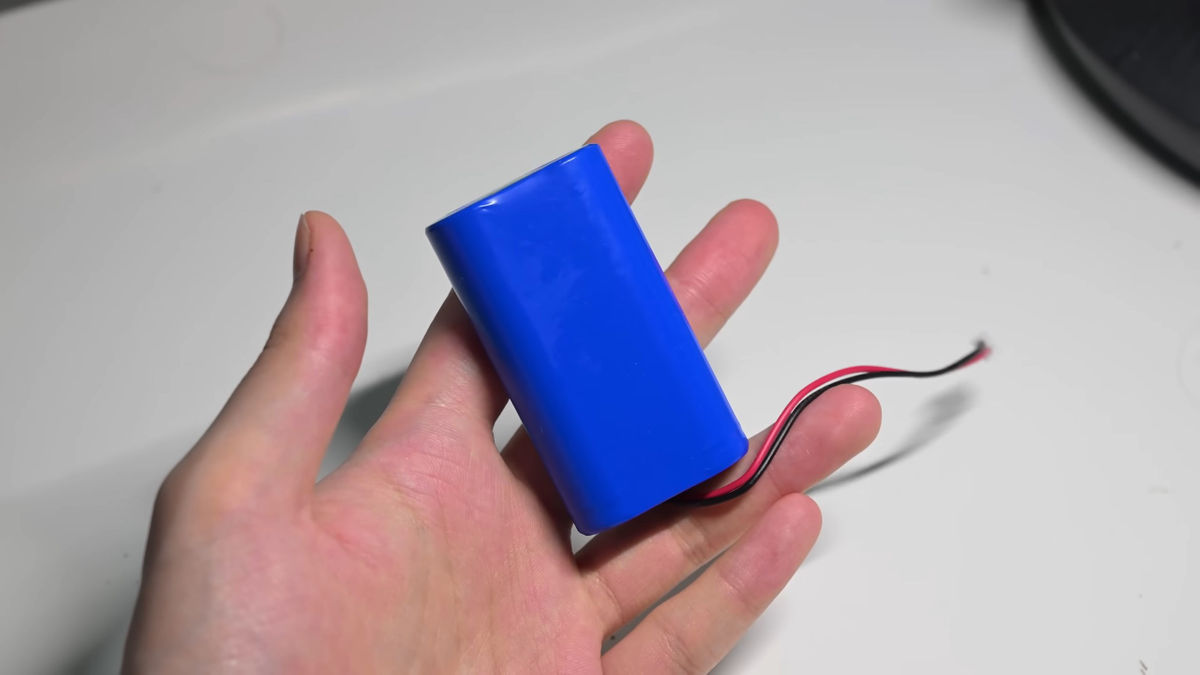
The batteries are custom-made, but in the future they plan to use off-the-shelf camera batteries.
Insert the battery into the grip.
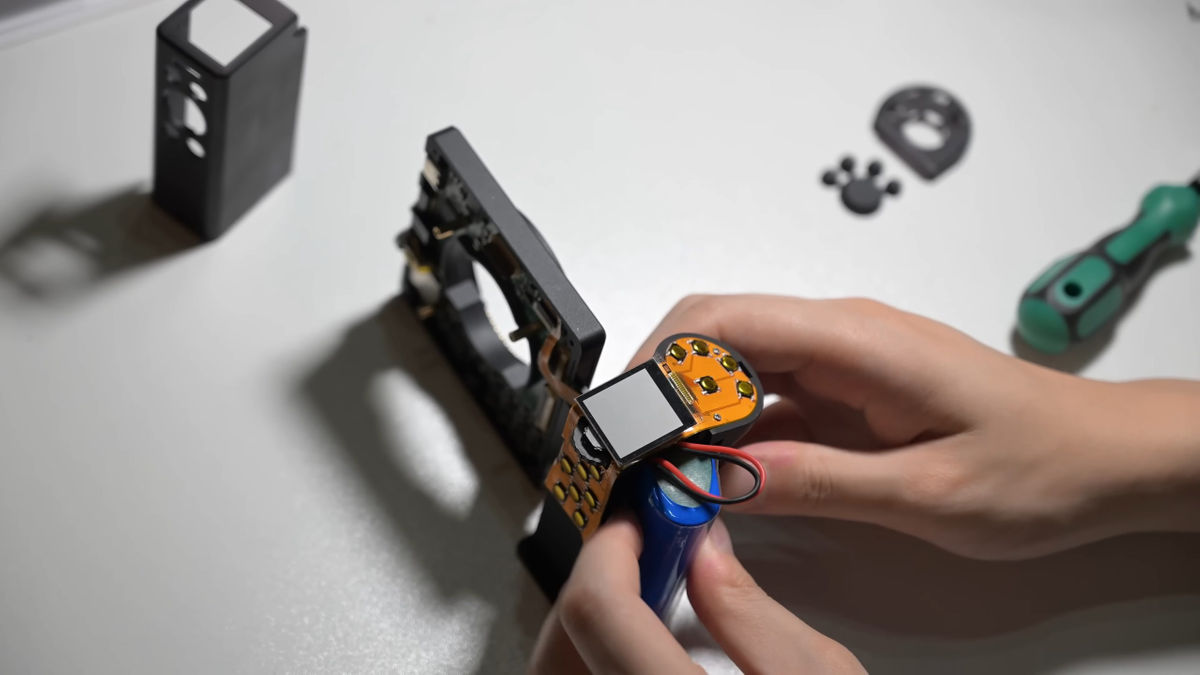
The remaining parts are assembled to complete the grip. A nice touch is that the shutter button and function button are designed to look like cat paws.
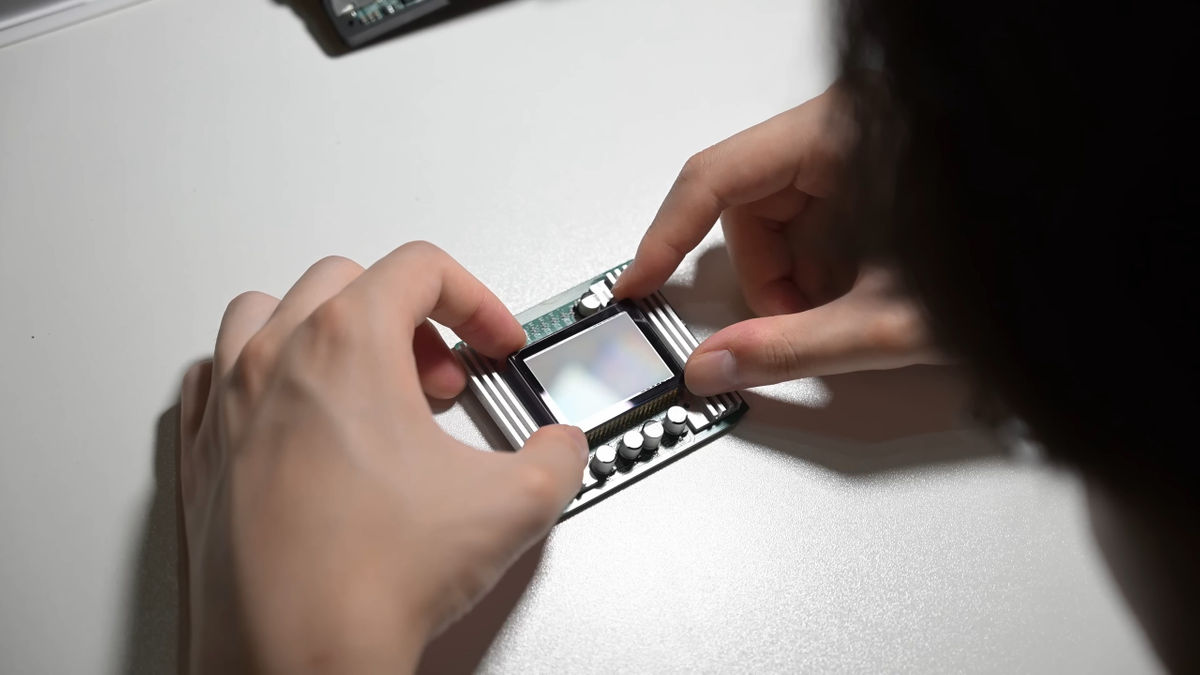
Next, attach the heat sink to the main board.
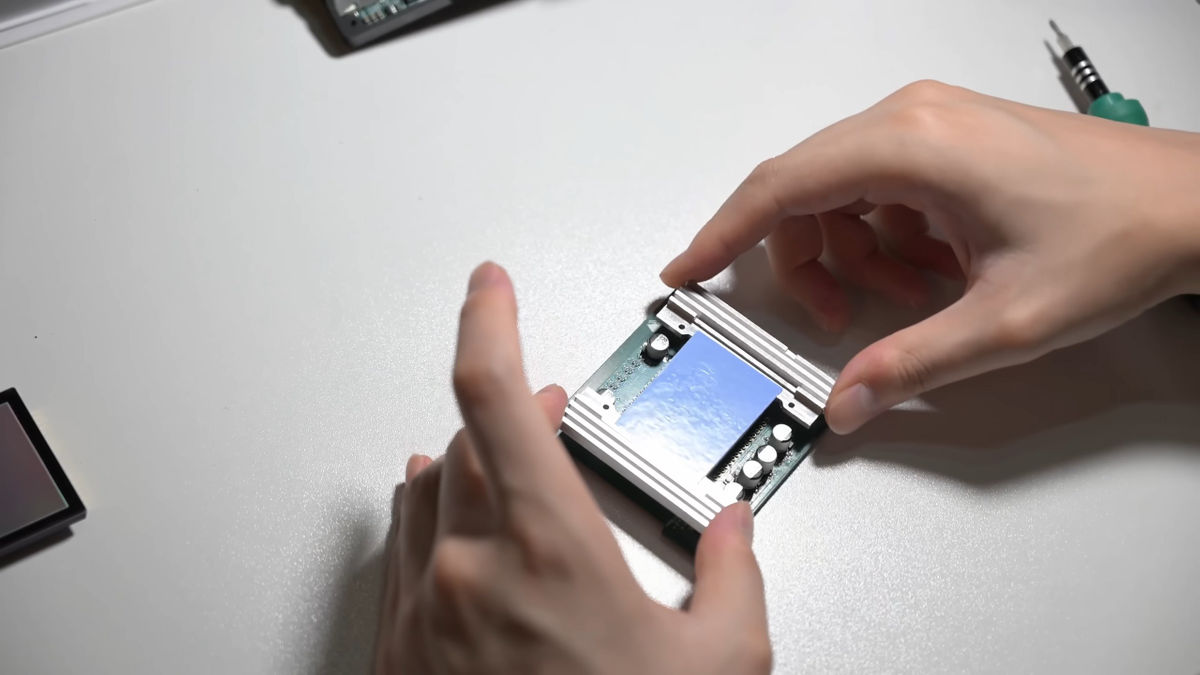
The image sensor is placed there.
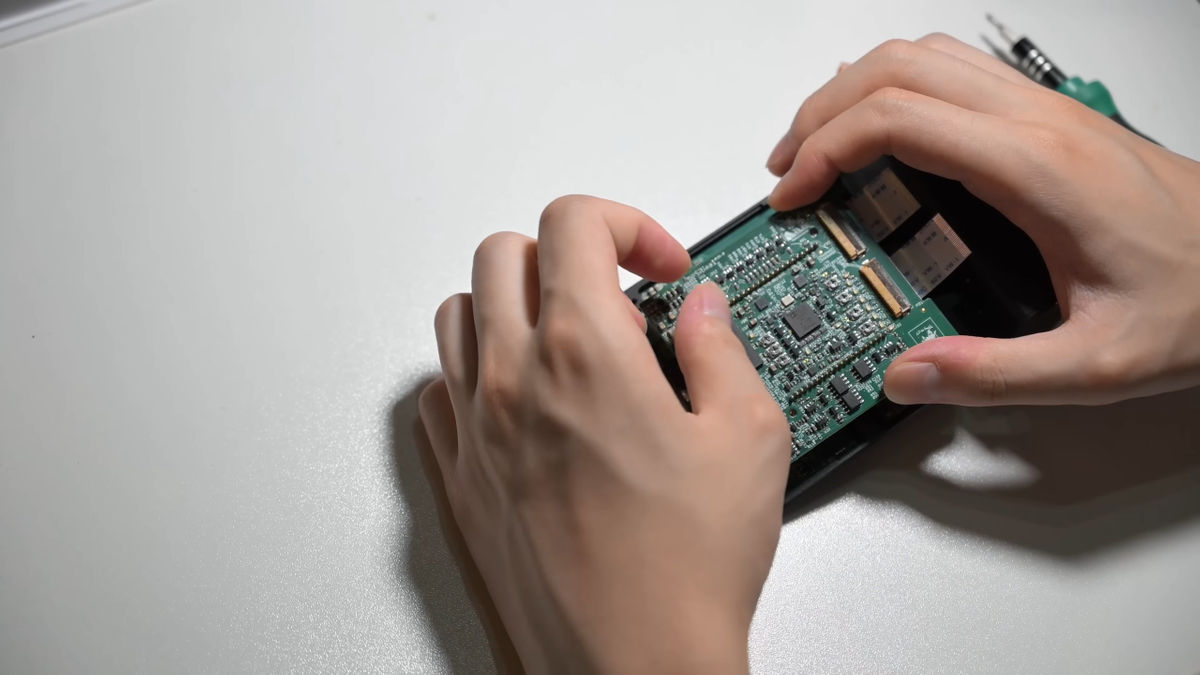
The main board was attached to the camera.
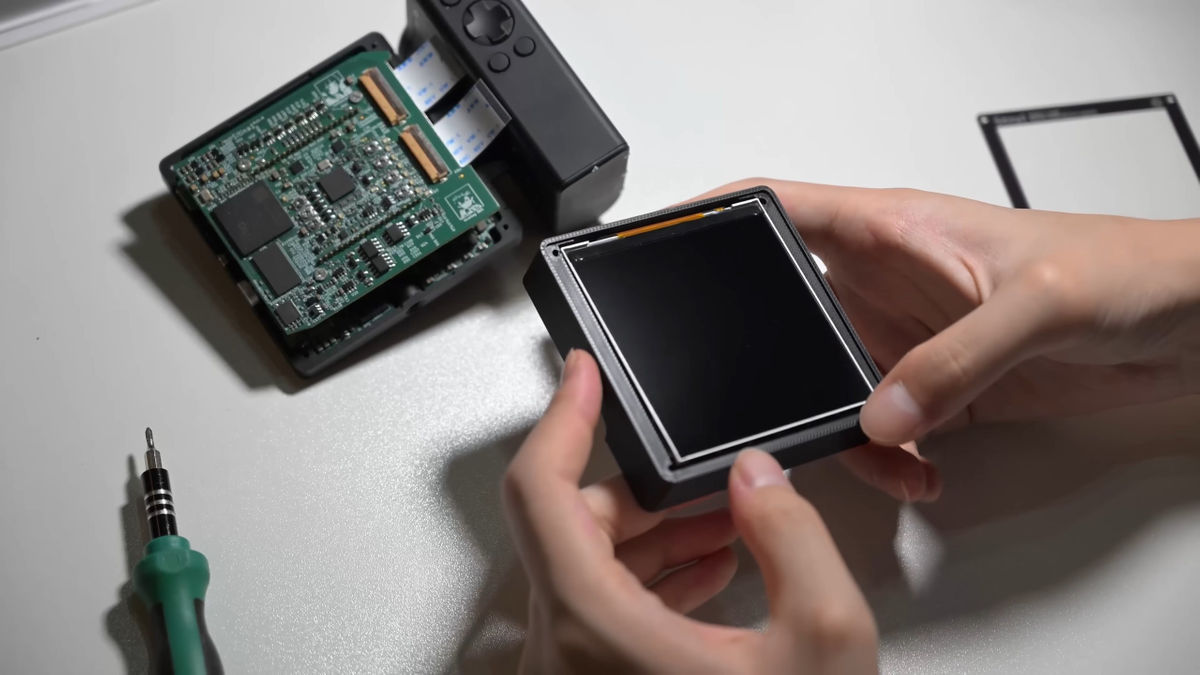
Fit the screen into the back shell of the main unit and then set the acrylic panel.
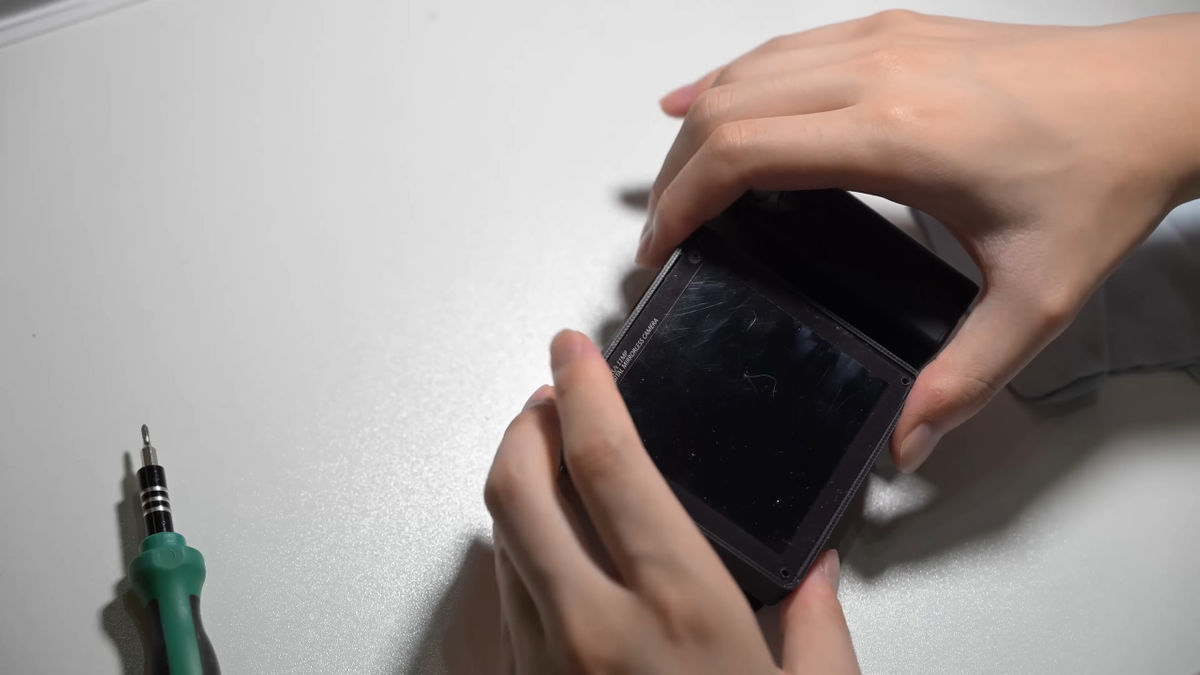
I have finished installing the rear shell.
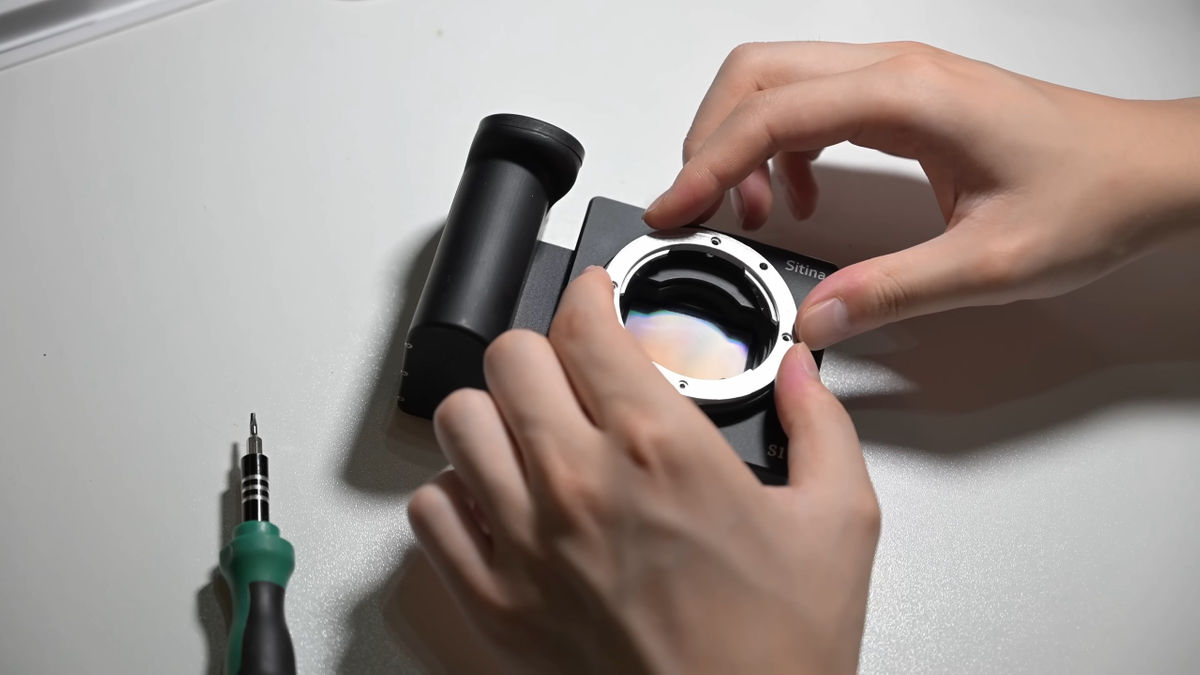
Next, assemble the front lens mount.
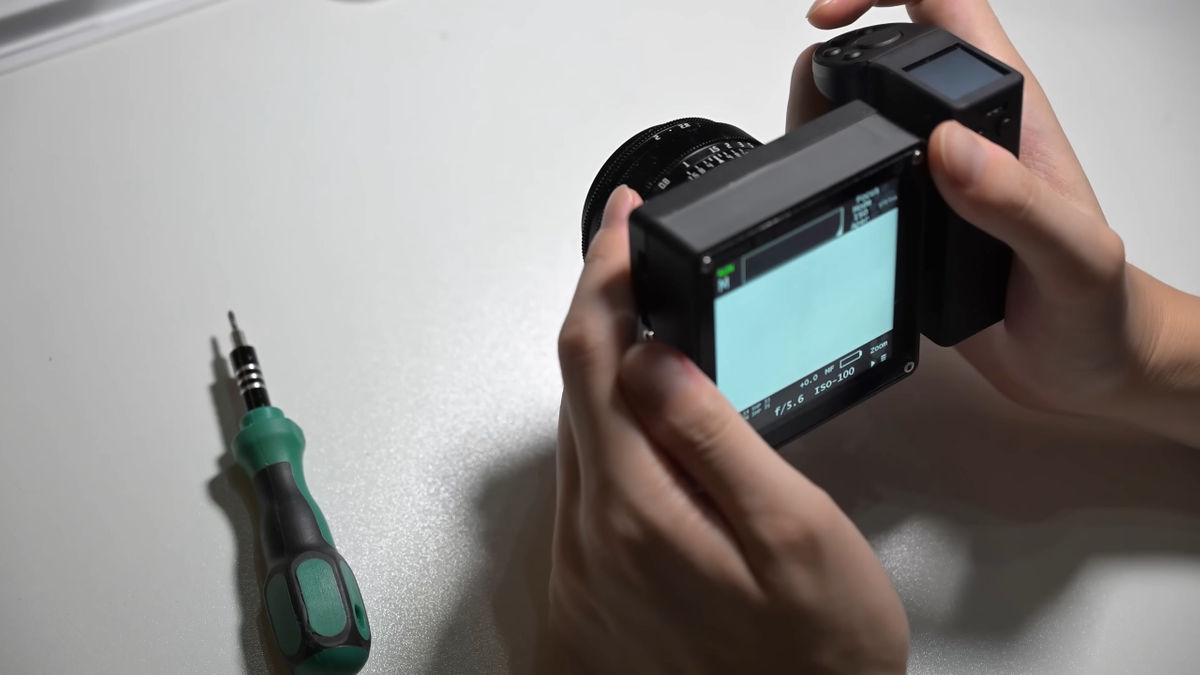
It's finished.
Examples are below. Click to see the original photo.


When asked why he developed the sitina1, Zhang said, 'This project is the most time-consuming one I've ever done, and it's also the hardest to mass-produce and monetize. Frankly, it doesn't seem like a very smart choice. But I did it for fun. I'm into DIY photography and electronics, so I thought it would be fun to make my own camera. It's not that I'm dissatisfied with the camera I'm using now, or that I had to make one myself, so I just did it for fun.'
Related Posts: