How to modify an optical mouse to turn it into a webcam

When you flip the optical mouse over, the red and blue lights should turn on. This light has the role of a sensor that recognizes the movement of the mouse, but by applying that sensor and modifying the mouse, a movie has been released that transforms it into a web camera that can take photos and videos with the mouse. .
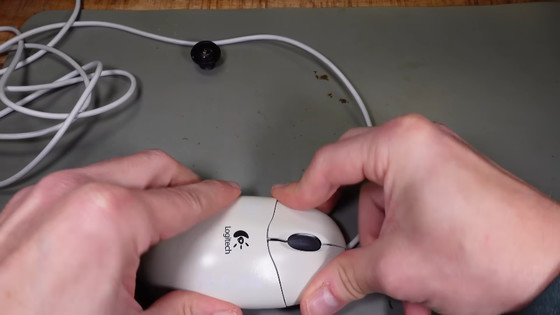
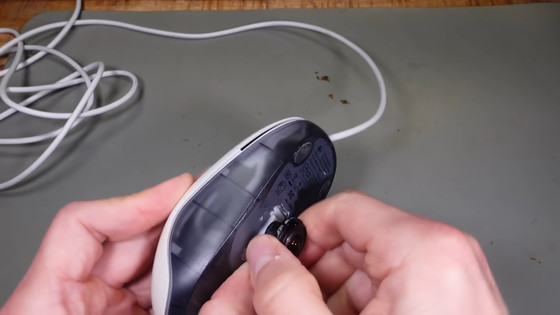
In the movie, we first disassemble the Logitech mouse. It was necessary to remove the screws to remove the upper and lower covers, but the circuit board inside was only held in place with a simple clip, and it was surprisingly easy to access the sensor.
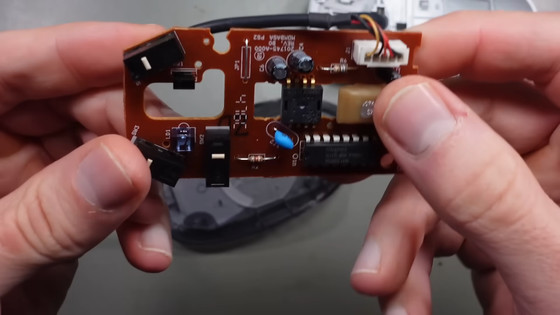
There is a small cover over the sensor, and you can remove it to see what's inside.

Below is a magnified view of the exposed sensor part with the cover removed using a microscope. The whitish rectangular area on the left is the control circuit, which is connected by
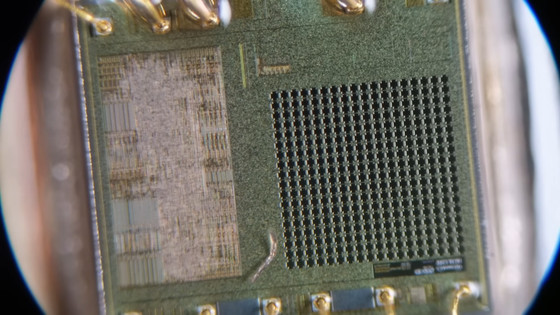
The sensor was mounted on top of a

In order to directly access the mouse circuit, the movie uses an oscilloscope to check the voltage changes. Based on the measurement results of the oscilloscope, we were able to learn what kind of signals can be applied to the mouse sensor to ``capture mouse movements and transmit them internally''.
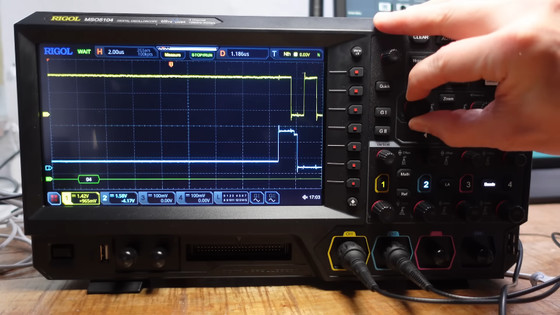
Based on the measurement results of the oscilloscope, we soldered to access the pins that control the clock signal to align the signals between the circuits and the pins that send and receive data.
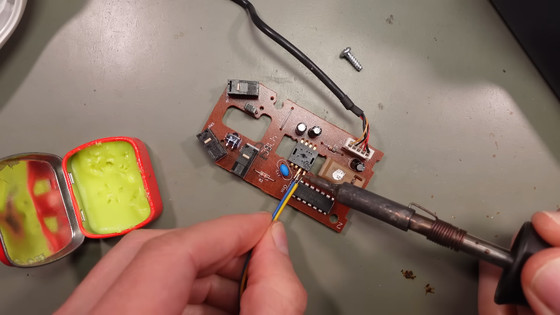
Then, connect the circuit to the microcomputer board.
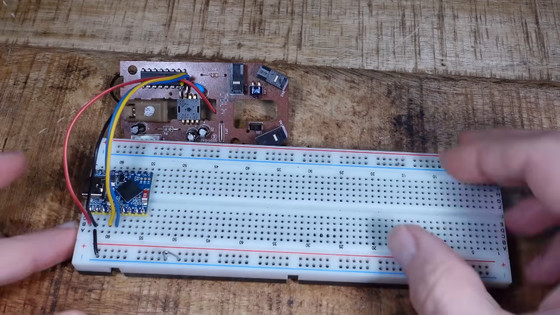
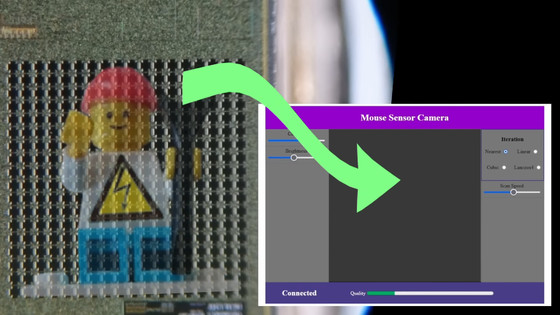
This makes it possible to visualize what kind of images the mouse sensor is receiving and transmitting. The ultimate goal is to project the signals received by the mouse sensor's photodiode array onto a canvas prepared on the web, similar to a webcam. In theory, by writing an arbitrary value to the sensor's control circuit, the sensor will capture an image and transmit the data.
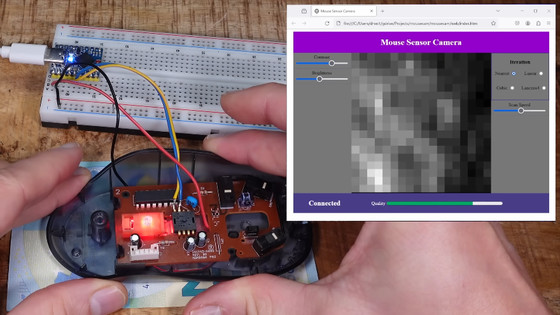
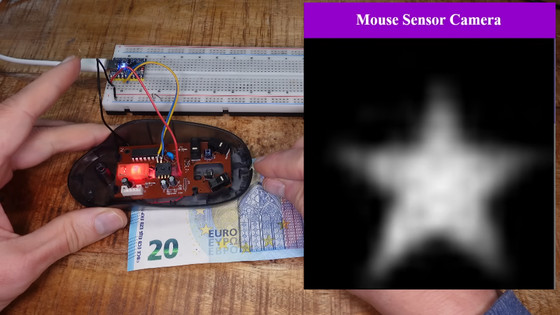
As a test, I placed the mouse on a 20 euro bill and moved it a little. Then, although it is a mosaic-like image because the distance is too close, you can see that the pixels are moving even on the canvas on the web. According to the movie, the resolution at this time is 18 pixels x 18 pixels.
When we applied
Therefore, a new module was added to the circuit board.
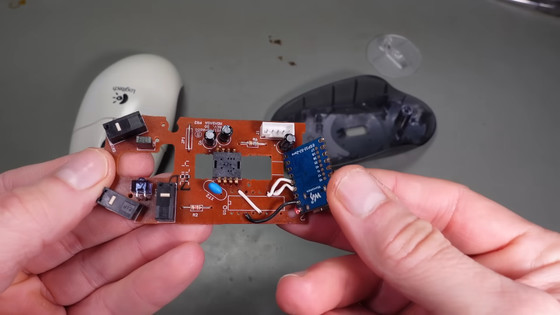
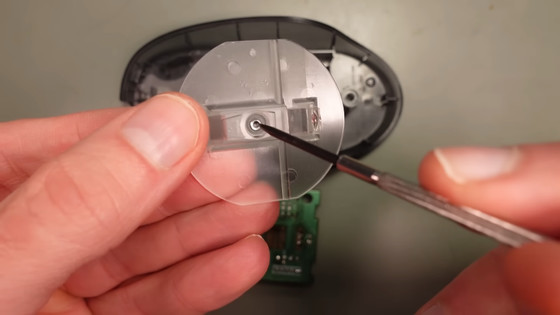
Then change the plexiglass disc. Regular mice are designed to focus fairly closely, like focusing on a table or mouse pad. Therefore, it needs to be modified to capture objects that are far away, like a camera.
After considering various lenses, we decided on a wide-angle lens for the
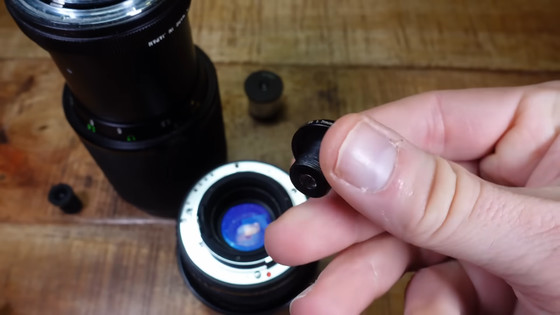
Below is how the lens is attached to the mouse sensor board.
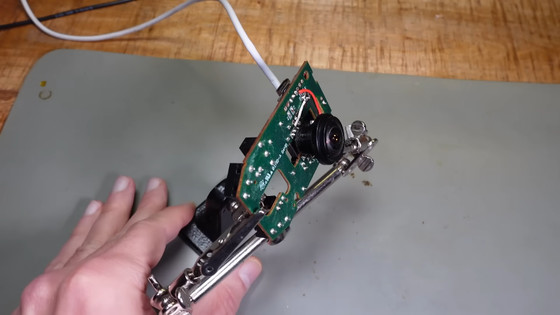
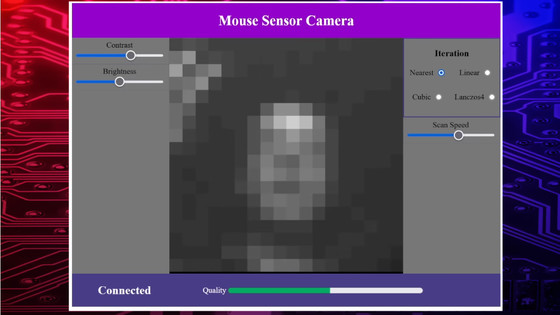
When I first tried to take a picture with the completed mouse camera, I could see the silhouette of a person waving, but the resolution was quite low and it ended up looking like a mosaic. It can be difficult to focus properly, so in order to make the image more recognizable, it is necessary to complement the captured footage.
Therefore, using a 3D printer, we designed a focusing lens assembly to stabilize the focus of the lens.
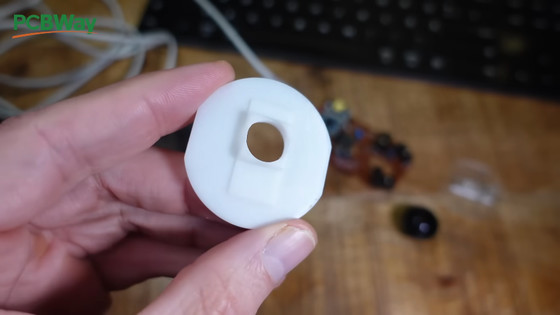
The resulting assembly can be replaced with a plexiglass disk for increased stability.
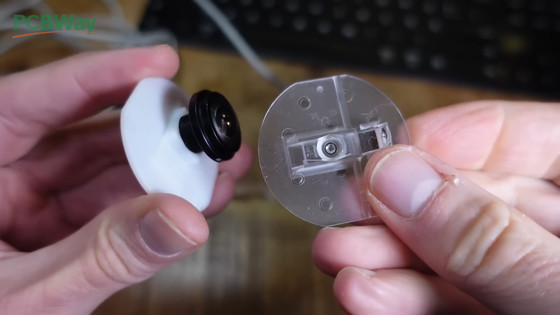
Now that all the parts are complete, we will put all the modified boards and assemblies back into the mouse.
Finally, attach the lens to the optical sensor part of the mouse and complete it.
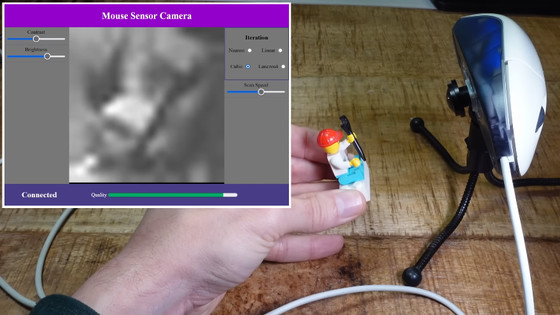
Below is a picture of a Lego doll with the mouse camera fixed. Although the image is monochrome and quite blurry, it is now clearer than the original. The reading speed of the sensor is about 3 frames per second, and if it is higher than this, bit errors will occur, so it cannot be used for shooting movies for posting sites.
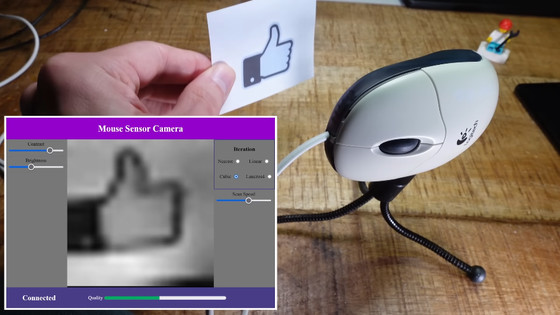
When I tried projecting a simpler 'like mark', I was able to clearly see its shape even without image completion.
Related Posts:


