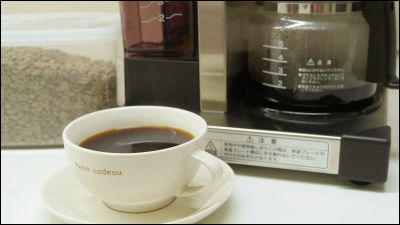
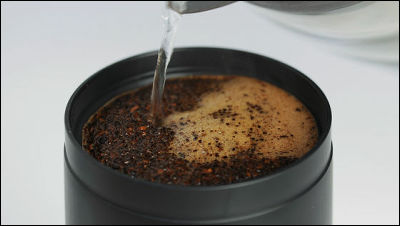
Siroca's fully automatic cone-type coffee maker 'Cafebako PRO' allows you to drink your favorite authentic coffee at any time by simply setting the beans and water with one button.

' Cafe Bako PRO ' provided by home appliance manufacturer Siroca is a fully automatic coffee maker that allows you to make as much coffee as you want with just one button if you set coffee beans and water. I was able to borrow a real Cafe Bako PRO, so I actually made coffee and tried it to see how easy it is to make coffee.
Cone-type fully automatic coffee maker Cafebako PRO | Siroca
The appearance and size of Cafebako PRO have been checked in the following article.
A review of the appearance of the fully automatic coffee maker 'Cafebako PRO' by Siroca, which makes coffee from beans with the push of a button - GIGAZINE

When I plugged the Cafebako PRO's power cable into an outlet, the LCD panel on the front lit up.

Use the up and down buttons on the left to set the clock. By setting the clock time, you can use the timer function.

Before using, first remove the top part of the mill and clean it with the included brush.
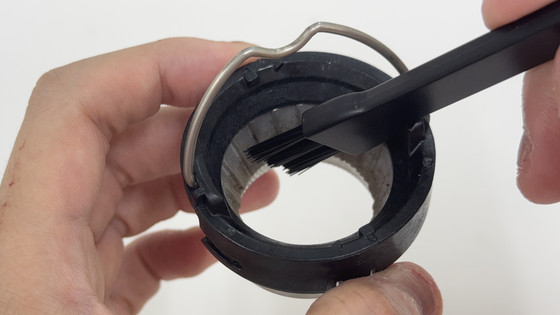
Clean the bottom of the mill with a brush as well.
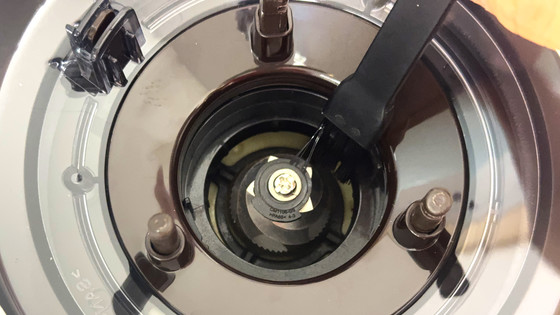
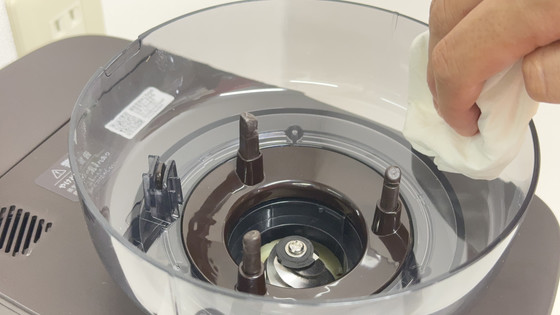
Wipe the cup part with a damp cloth.
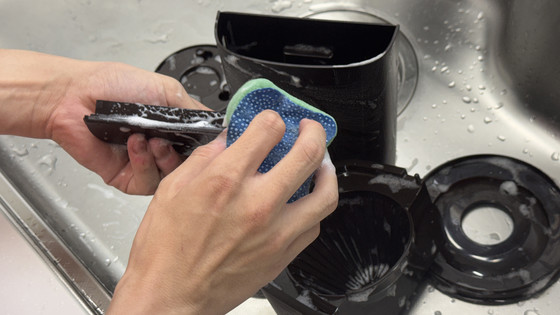
The basket, water tank, and mill lid can be washed as is using a mild detergent.
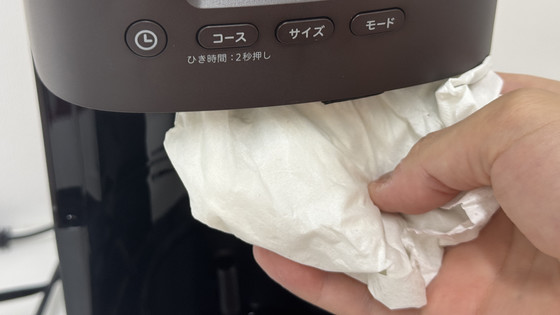
Wipe the area around the water inlet with a wet cloth. This process is the same for cleaning after use.
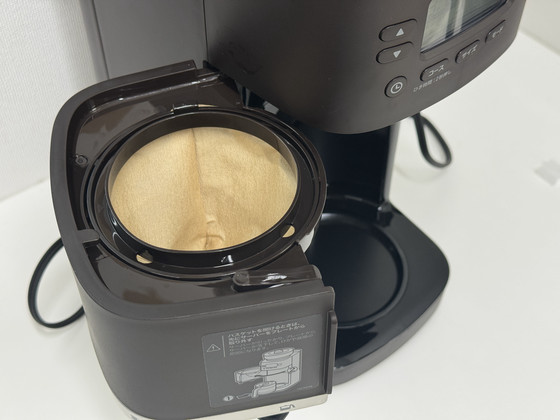
Attach the basket to the main unit and set the filter in. This time we used a trapezoidal paper filter to match the shape of the tray.
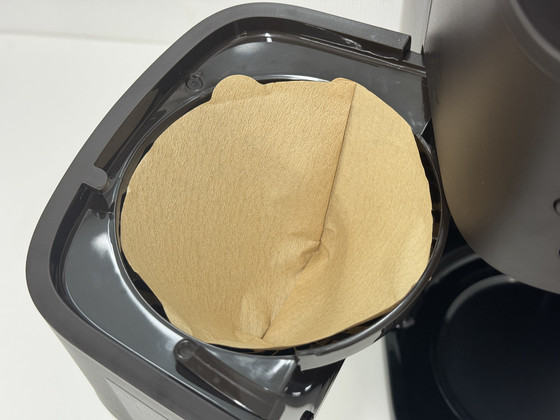
Then attach the basket ring to secure the filter in place.
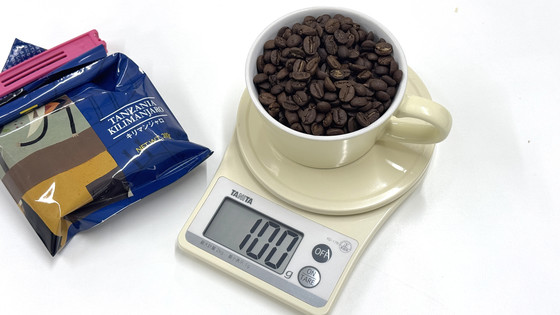
I prepared some coffee beans. The mill can hold up to 200g, so I measured out 100g and put it in.
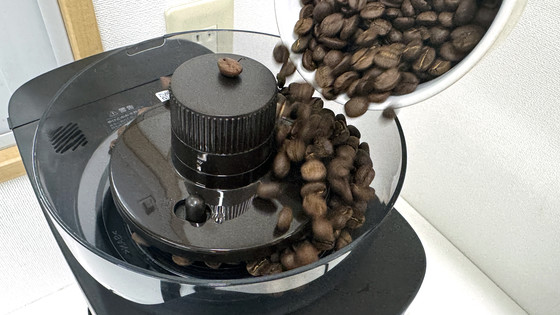
Throw the beans into the mill.
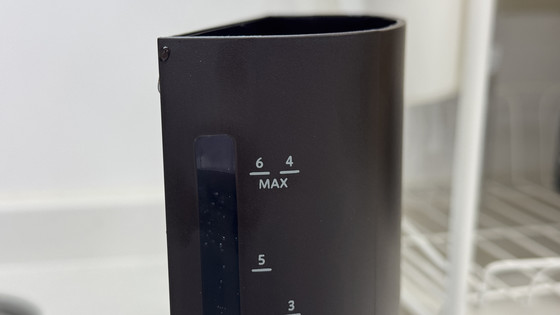
Fill the water tank with water. Adjust the amount of water by looking at the water level through the viewing window. The maximum amount is 6 coffee cups (1 cup is 120ml) or 4 mugs (1 cup is 180ml).
Set the included server at the bottom of the main unit.
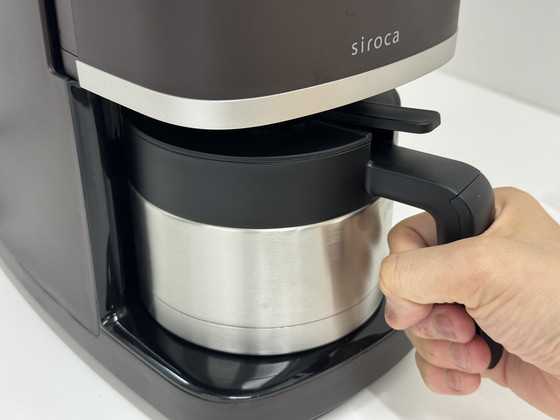
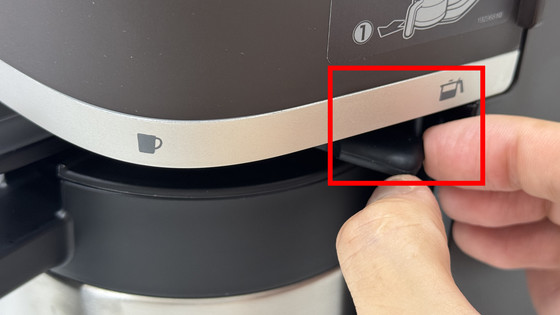
Move the lever on the machine to match the server icon on the right side. You can also pour coffee directly into your own mug by matching it to the mug icon on the left side.
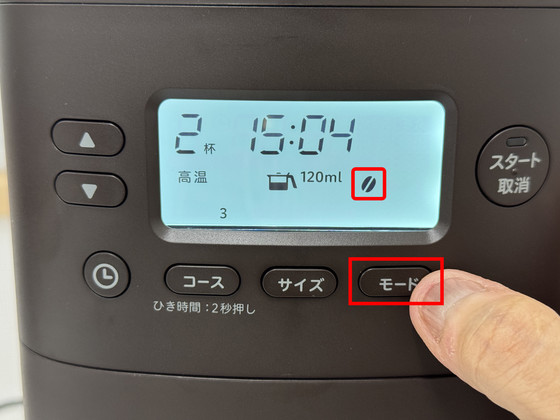
Press the 'Mode' button to switch to bean grinding mode to brew coffee from beans.
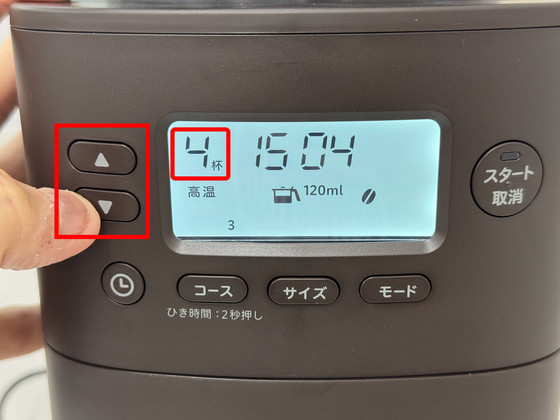
Next, use the up and down buttons to decide how much coffee you want to brew. If you use a server, you can brew up to four cups or two mugs at a time.
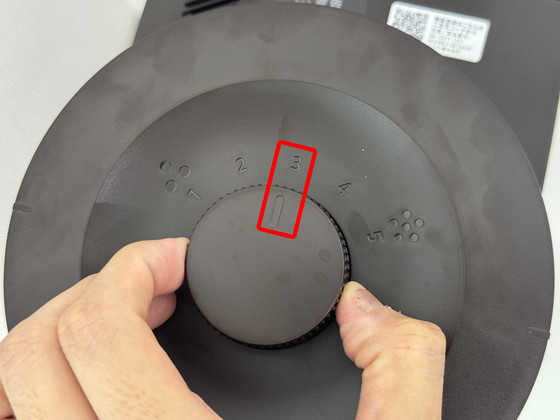
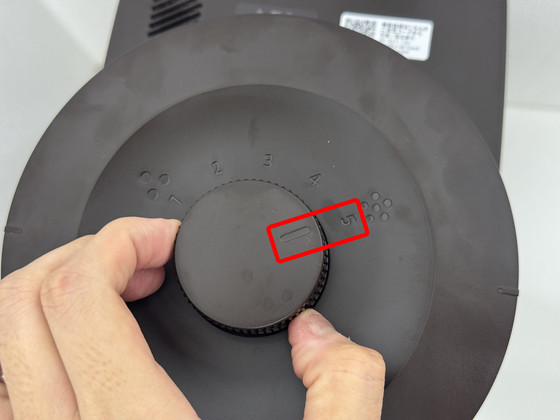
Next, turn the grind adjustment dial on the lid of the mill to adjust the grind of the beans. The lid has five scales indicating the grind, with the higher the number indicating the finer the grind. Although there are five scales, the dial itself can be adjusted in about 20 steps, so in reality it is possible to make finer adjustments.
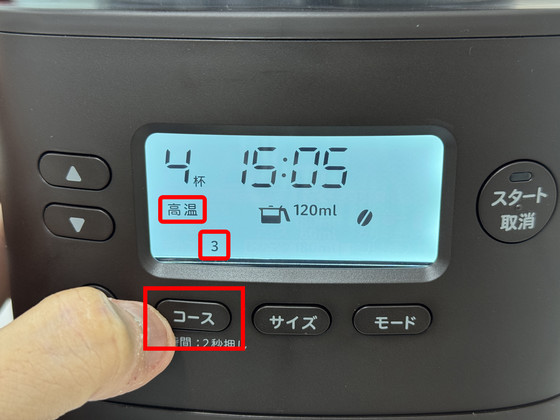
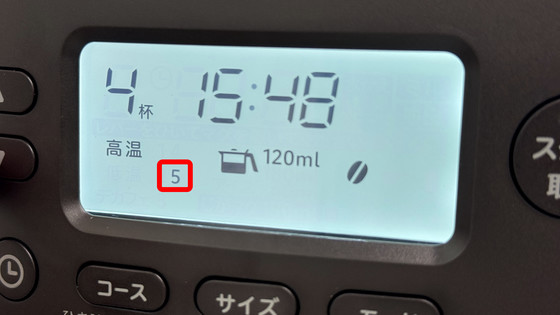
Next, press the 'Course' button to select the coffee extraction course from 'High Temperature,' 'Low Temperature,' or 'Decafe.' You can also adjust the grinding time in five stages by pressing and holding the 'Course' button. The longer you grind the beans, the more powder you will get.
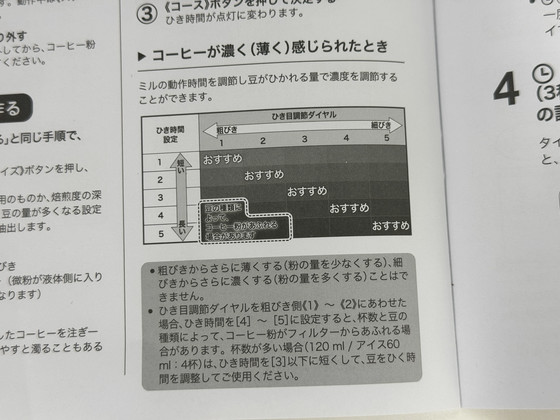
The strength of the coffee changes depending on how the beans are ground and how long it is ground, and the instruction manual includes a guideline, so first-time users are recommended to use this table as a reference when setting the coffee.
All you have to do is press the start button.
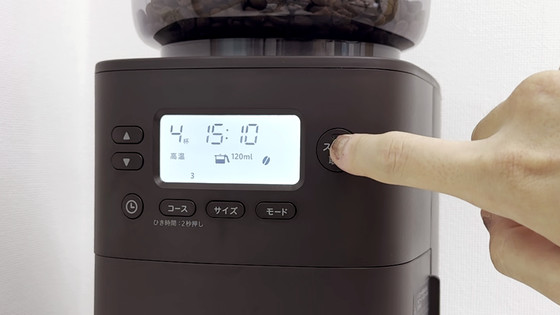
When you press the start button, the mill starts to move and automatically starts grinding the beans. As you can see in the movie below, the mill makes quite a lot of noise when grinding the beans. When I set the grinding time to 3, the mill took about 15 seconds to operate. The ground coffee falls directly into the basket and you can make coffee from there.
It took about 10 minutes to make four cups of coffee. Below is the process of pouring freshly brewed coffee from the server into a coffee cup.
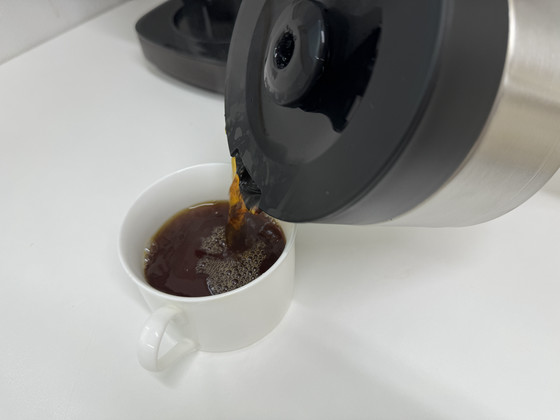
The first time you make it, you need to set the course, but after that, you just need to set the beans and water and press one button to make coffee. The server has a double-walled vacuum structure that provides excellent heat retention, so the coffee was still hot even when I drank it five hours after brewing.
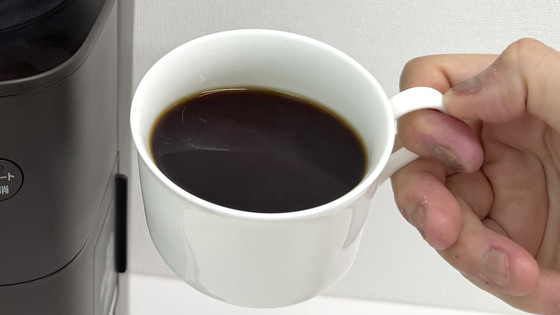
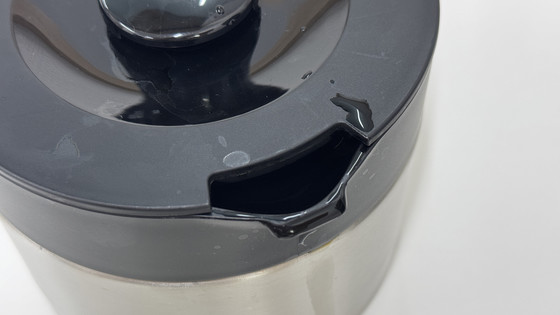
However, the spout of the server is a little wide and prone to spilling, so you need to be careful when pouring into a cup.
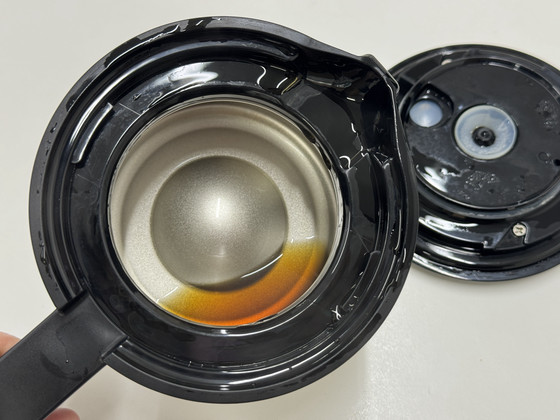
Also, because the double-walled vacuum structure prioritizes heat retention, I found that even when I poured everything into the server, there was still a little bit left when I opened the lid.
After brewing the coffee, just remove the basket from the main unit, remove the basket ring, and throw the filter and grounds directly into the trash. The removable basket makes it easy to dispose of and clean the filter, which is a nice feature.
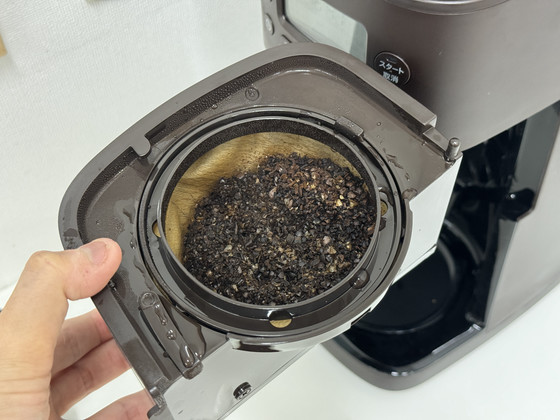
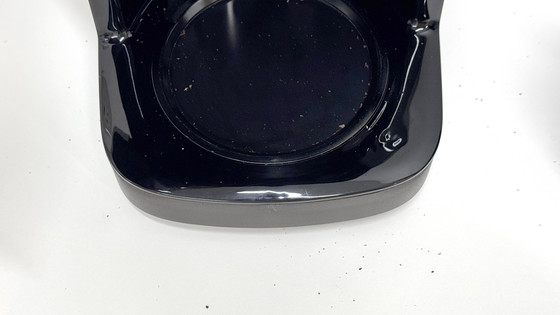
However, since there is a mill directly above the basket, when you remove the basket, the coffee powder falls and scatters around. Therefore, if you install it, you will need to clean it frequently.
Now set the grind adjustment dial to 5 to grind the beans at the finest level.
I also set the grinding time to '5', the longest. This should make the coffee quite strong.
When I tried brewing some new coffee with this setting, it was clearly stronger and the taste changed dramatically. The first one tasted a stronger sourness, but perhaps because the coffee was stronger due to the fine grind and longer grinding time, the coffee's inherent bitterness increased and I could feel a fruity, refreshing aroma after drinking it. I was surprised that the taste could change so much just by changing the grinding method, even though it was the same beans.

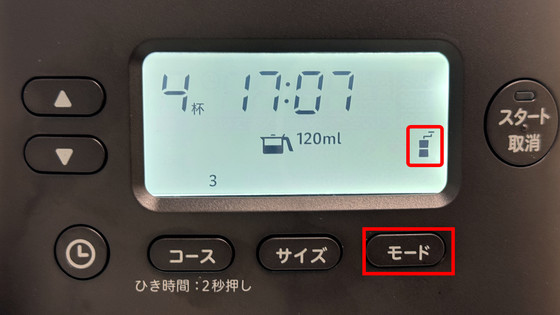
To see the grind of the powder, press the 'Mode' button to switch to 'Mill' mode. A coffee mill icon will appear on the LCD panel.
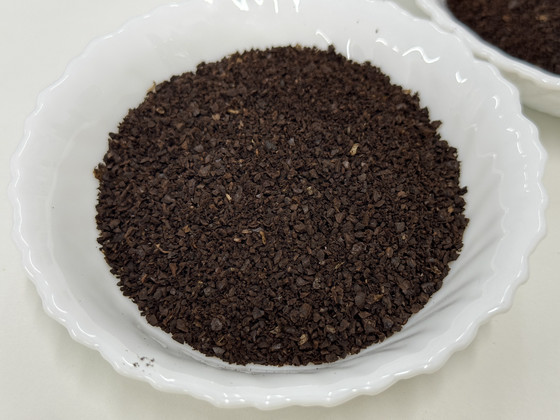
This is the powder when the grind adjustment dial is set to '1'.
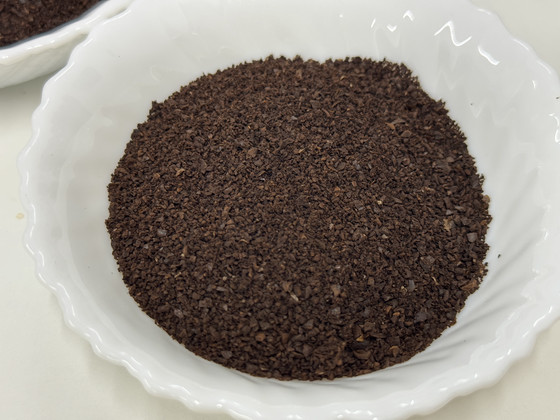
When you set the grind adjustment dial to '5', it looks like this. You can see that the fineness of the powder is quite different.
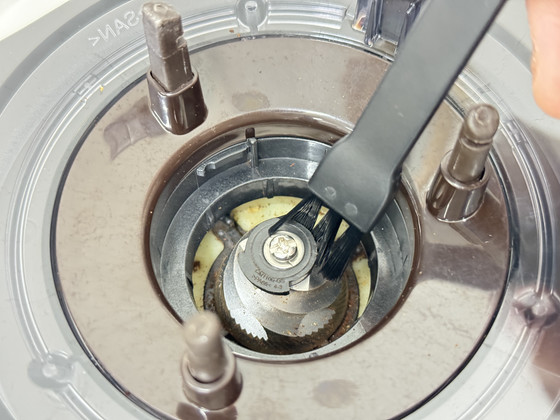
If you want to change the beans in the mill, you should basically use up all the beans first. After using up all the beans, clean the mill with a brush once.
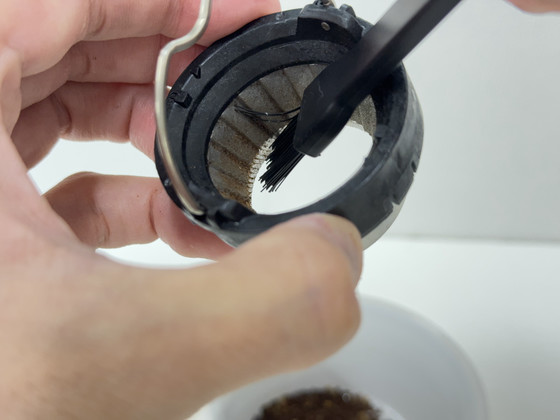
Clean the bottom of the mill with a brush to remove any powder adhering to the mill blades and into the interior.
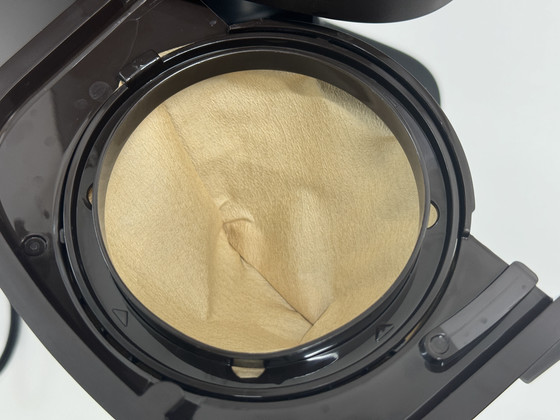
This time, I had already thrown away the used filter in the basket, so I put in a new filter.
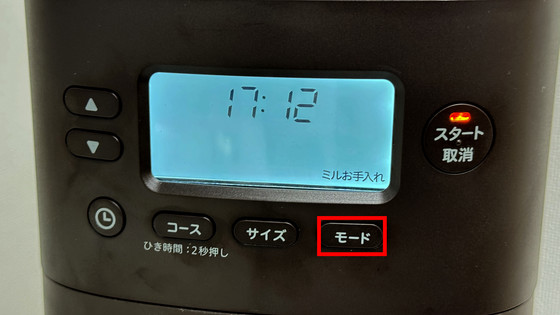
Press the 'Mode' button to switch to 'Mill Care' mode and press the start button.
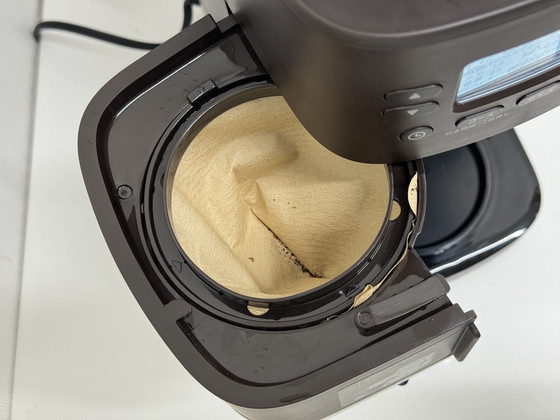
Then, the powder remaining in the mill fell into the basket as shown below. You can just throw away the whole filter.
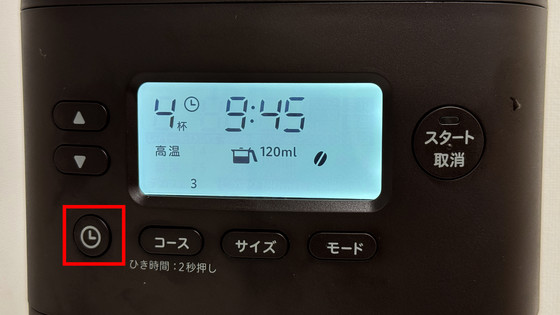
In addition, by pressing the clock button, it is possible to operate the Cafe Box PRO at a fixed time. As long as you set the beans and water in advance, it will automatically make fresh coffee in the morning, so it is a useful function for people who say, 'I can't start my day without drinking fresh coffee every morning.'
When drinking coffee, I usually make coffee by placing the ground coffee in the coffee maker after having it ground at a store, or by putting it in the filter myself and pouring hot water over it, but even with the same beans, the taste can change greatly depending on how the grounds are ground. Cafebako PRO not only grinds the beans automatically by simply setting the beans, but also allows you to finely adjust the grinding method and amount, so not only can you make coffee easily, but you can also pursue your own favorite coffee.
However, to be honest, it takes a lot of effort to maintain when actually using it. Although the basket and part of the mill can be washed with water, fine powder may scatter or coffee may drip from the server, so it is necessary to wipe it down frequently. Also, since it is 16.6 cm wide x 27.2 cm deep x 42.1 cm high, it is necessary to have a certain amount of space.
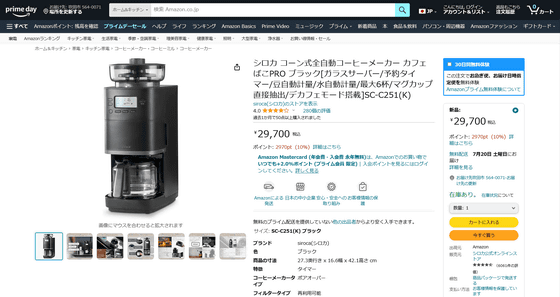
Siroca's Cafe Box PRO is available on Amazon.co.jp and can be purchased for 29,700 yen including tax.
Amazon | siroca cone-type fully automatic coffee maker Cafebako PRO Black [glass server/reservation timer/automatic bean measurement/automatic water measurement/up to 6 cups/direct mug extraction/decaf mode] SC-C251(K) | siroca | Coffee maker
Related Posts:
