I set up the satellite-based internet service ``Starlink'' that I bought at Costco and tried connecting to the internet.Review
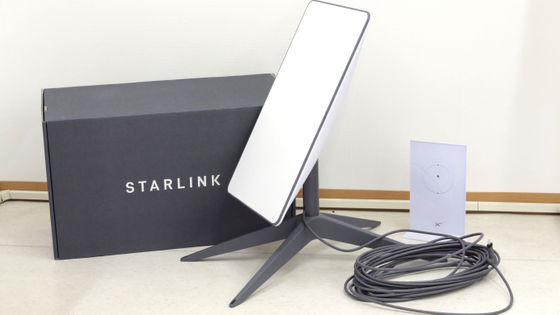
I purchased a kit to connect to SpaceX's satellite internet access service ``Starlink'' at Costco, so I set it up so that I could actually connect to the internet. We will explain the contract procedure, connection method summary, and measurement of communication speed.
Starlink
The following article summarizes everything from taking pictures of the exterior of the kit to assembling the antenna.
I bought that satellite-based Internet 'Starlink' starter kit at Costco. Review opening version - GIGAZINE
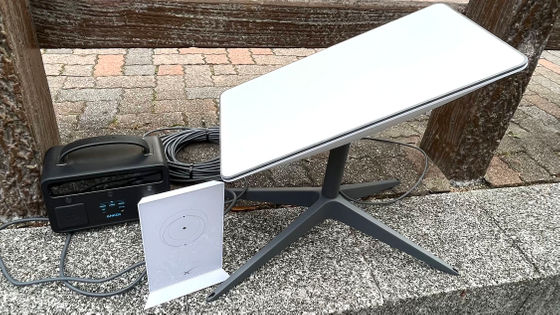
To set up, first connect the antenna itself to the router, and then connect the router to the power source. The router and antenna are now powered.
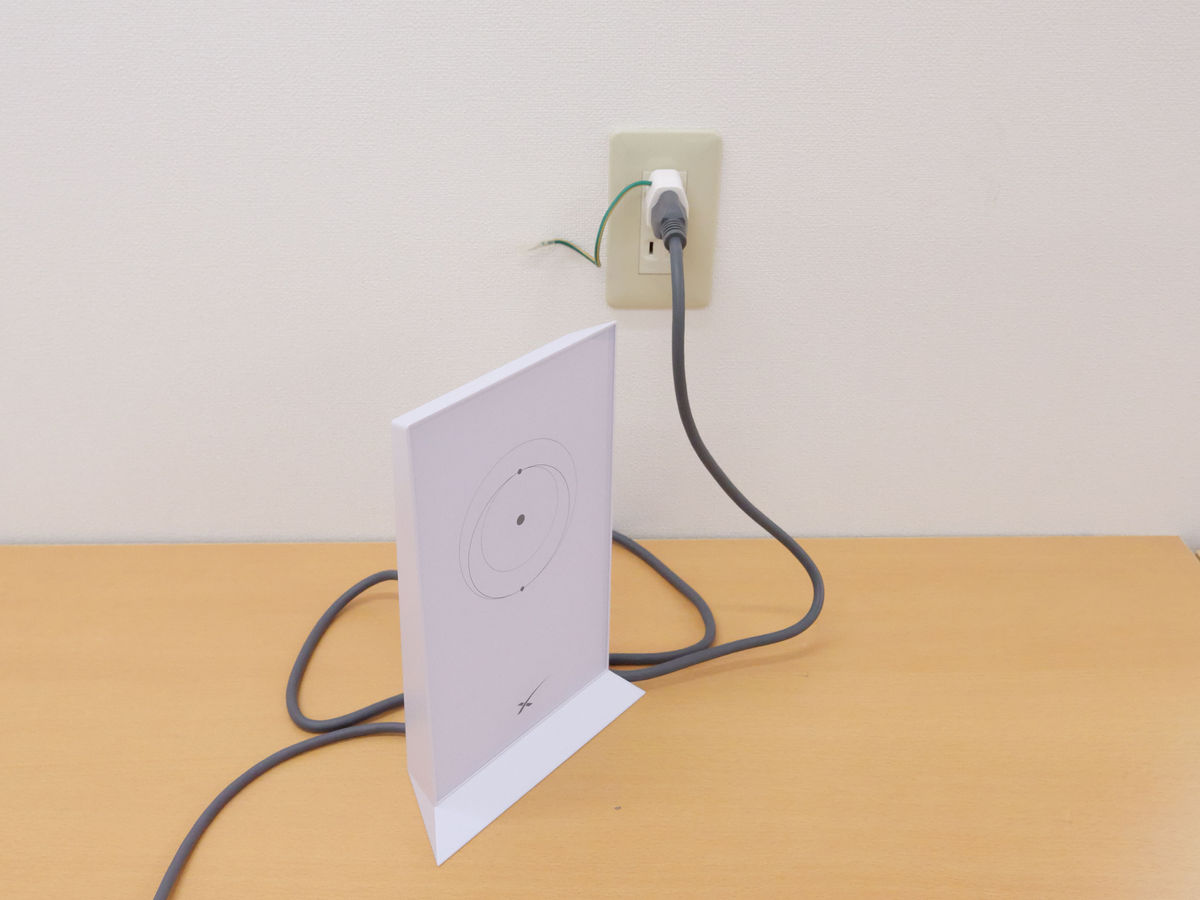
When the power is turned on, the antenna automatically moves to face the ceiling.
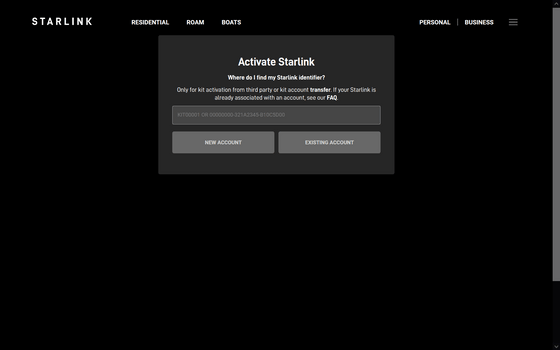
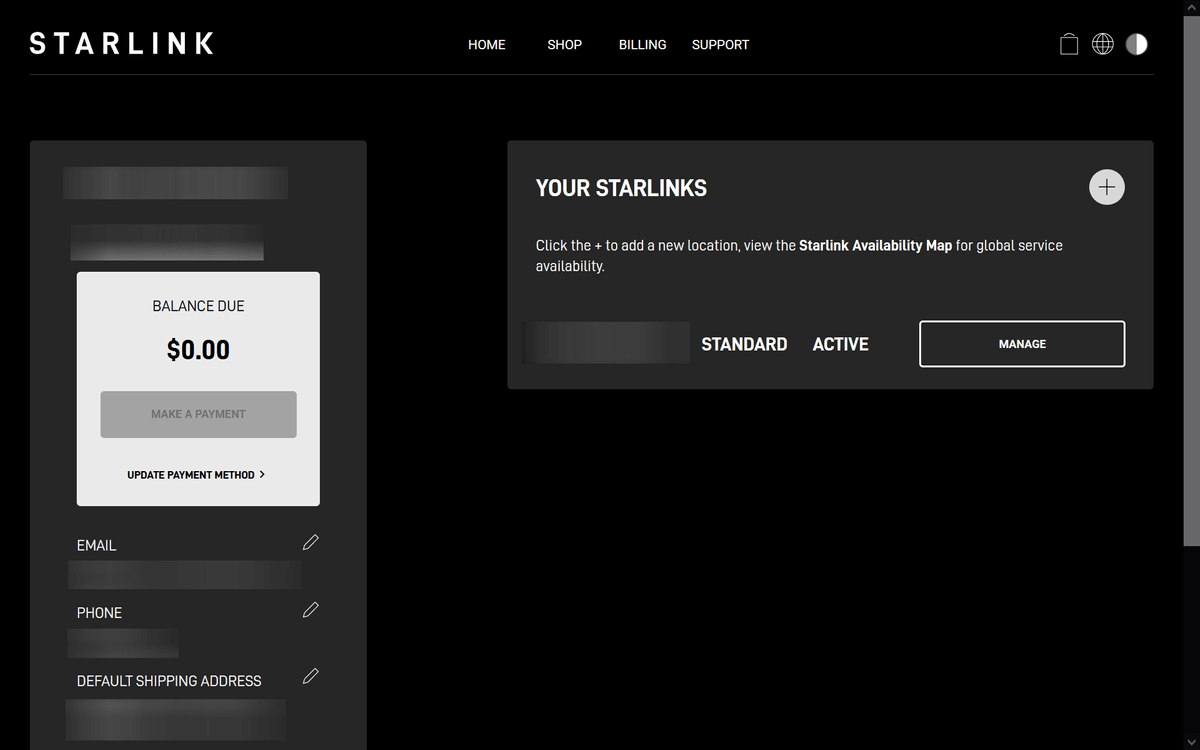
Next, activate Starlink by referring to the page ' How to activate Starlink ' on the official website.
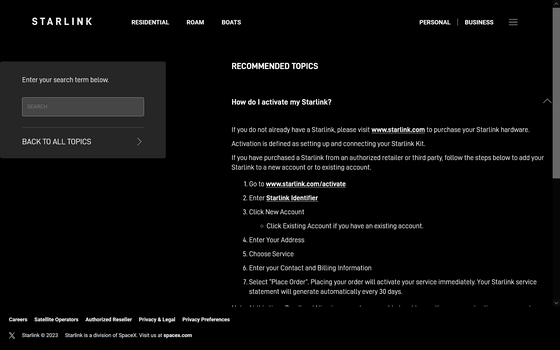
First, access the page called '
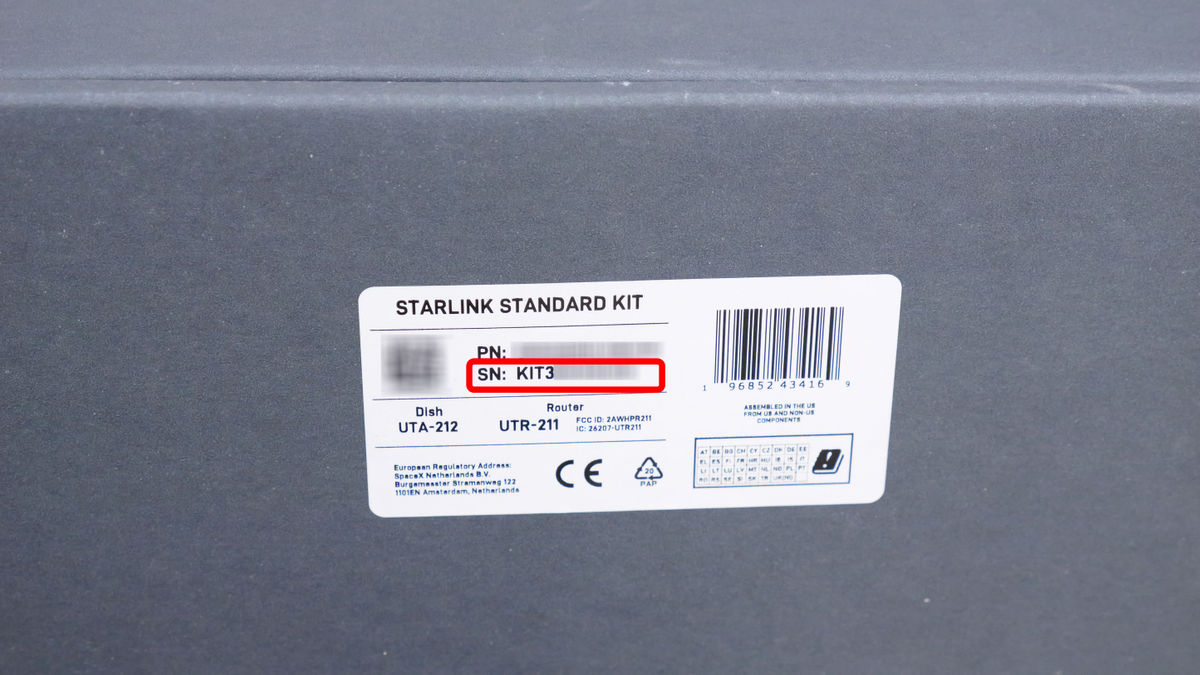
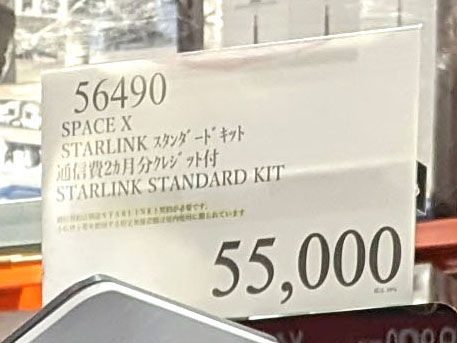
Look for the Starlink identifier on the side of the package the kit came in. The string starting with 'KIT' is the Starlink identifier.
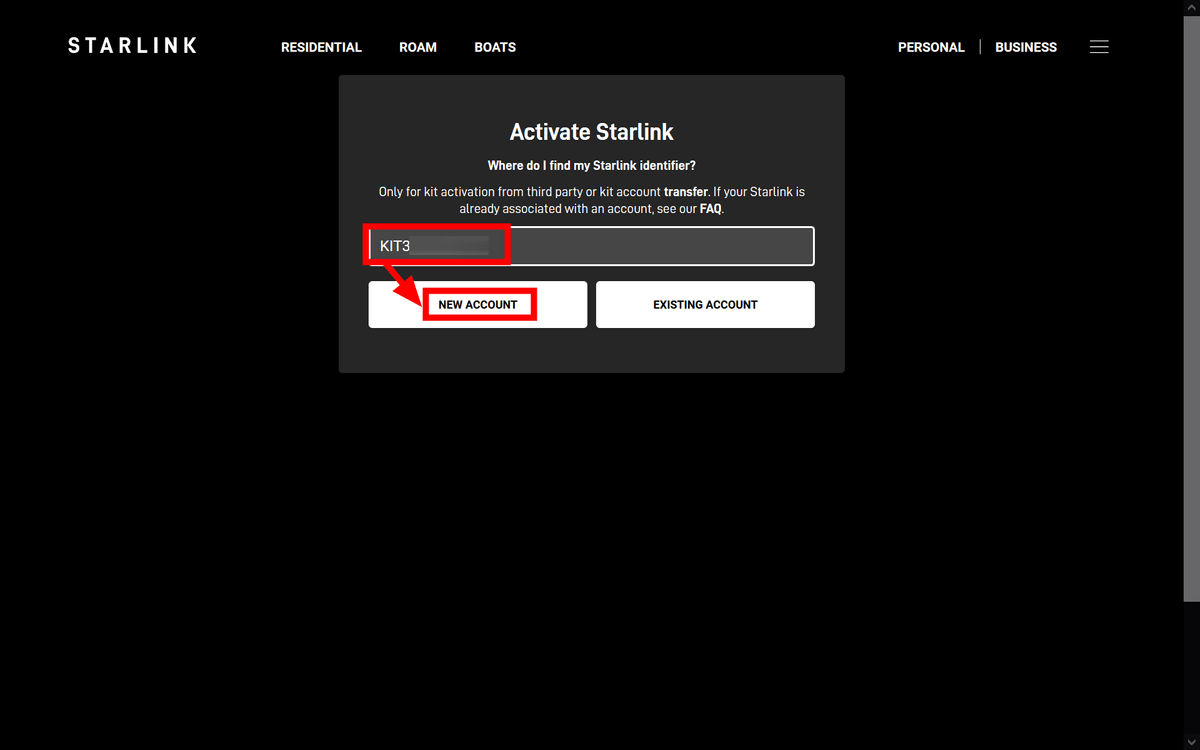
Return to the previous page and enter your Starlink identifier. Click 'NEW ACCOUNT' to begin creating a new account.
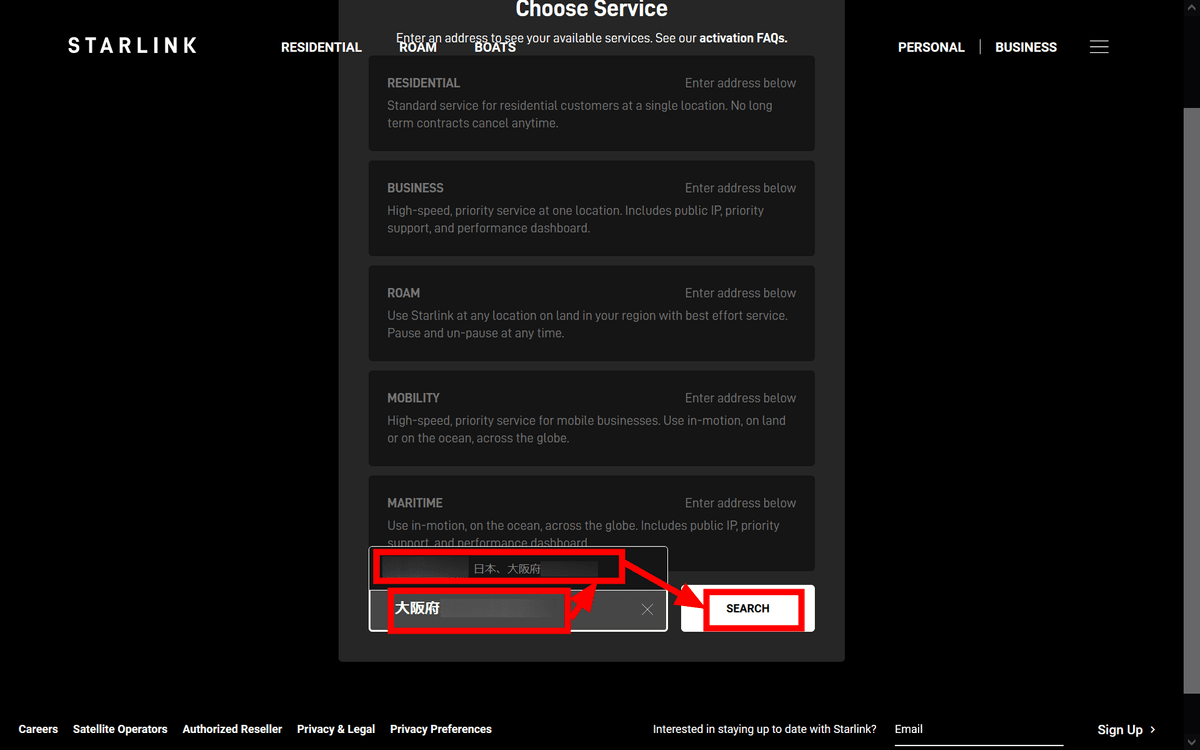
The first step is to register your address using Starlink. Enter the address in the box at the bottom, click on the address candidate that appears after inputting it, and then click 'SEARCH'.
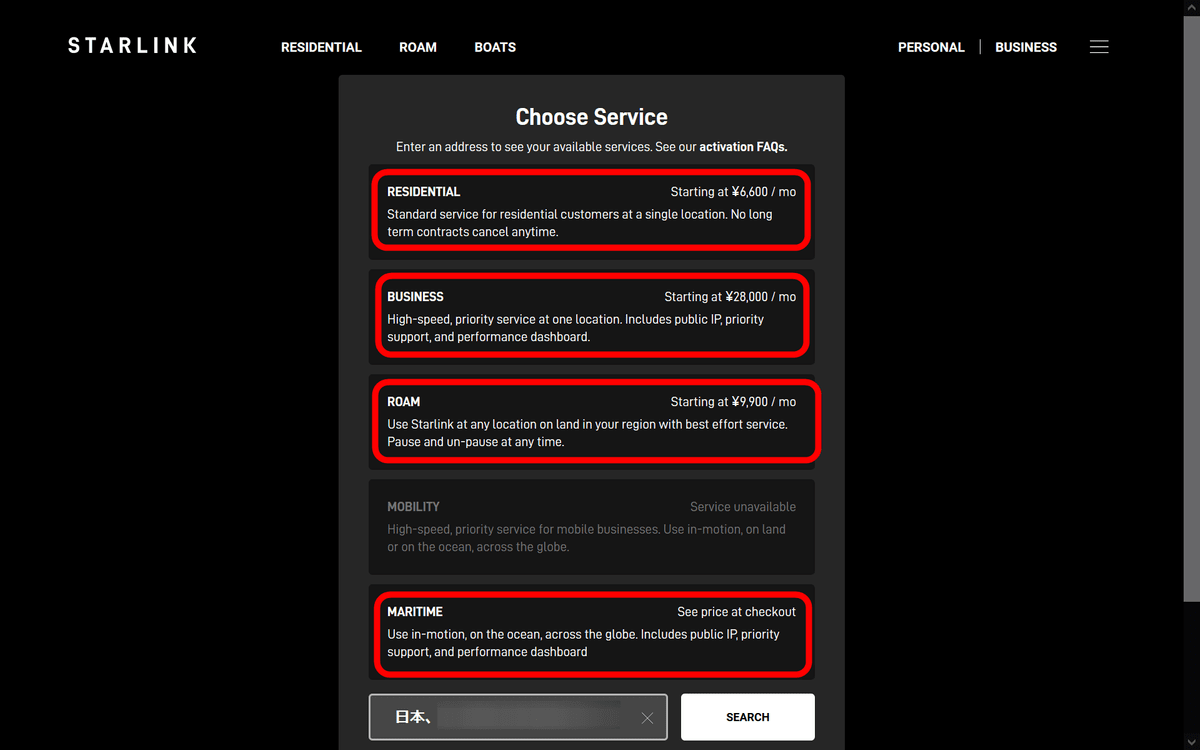
Normally, you can just choose the service you like, but the kit I purchased from Costco this time came with a ``credit for 2 months of communication expenses,'' so I would like to use the credit. When I asked Costco for details about which services the credit would be applied to, they said, ``You can choose from RESIDENTIAL or ROAM,'' and ``The first month is paid by the customer, the second and third months are credited, and the fourth month is We will go back to paying customers.'
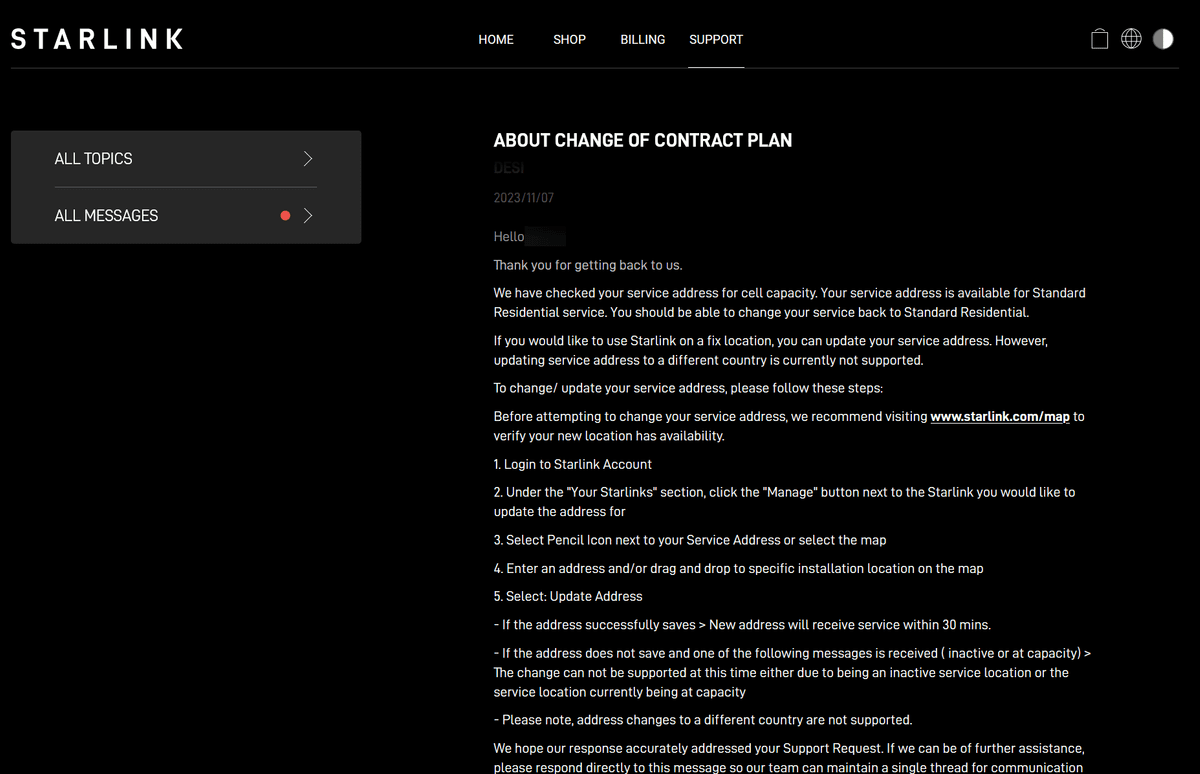
I was also curious about whether it was possible to change the contract from RESIDENTIAL to ROAM, so I asked Starlink for details. 'It is possible to change your address while you have a RESIDENTIAL contract. The service will be available in 30 minutes after application.'
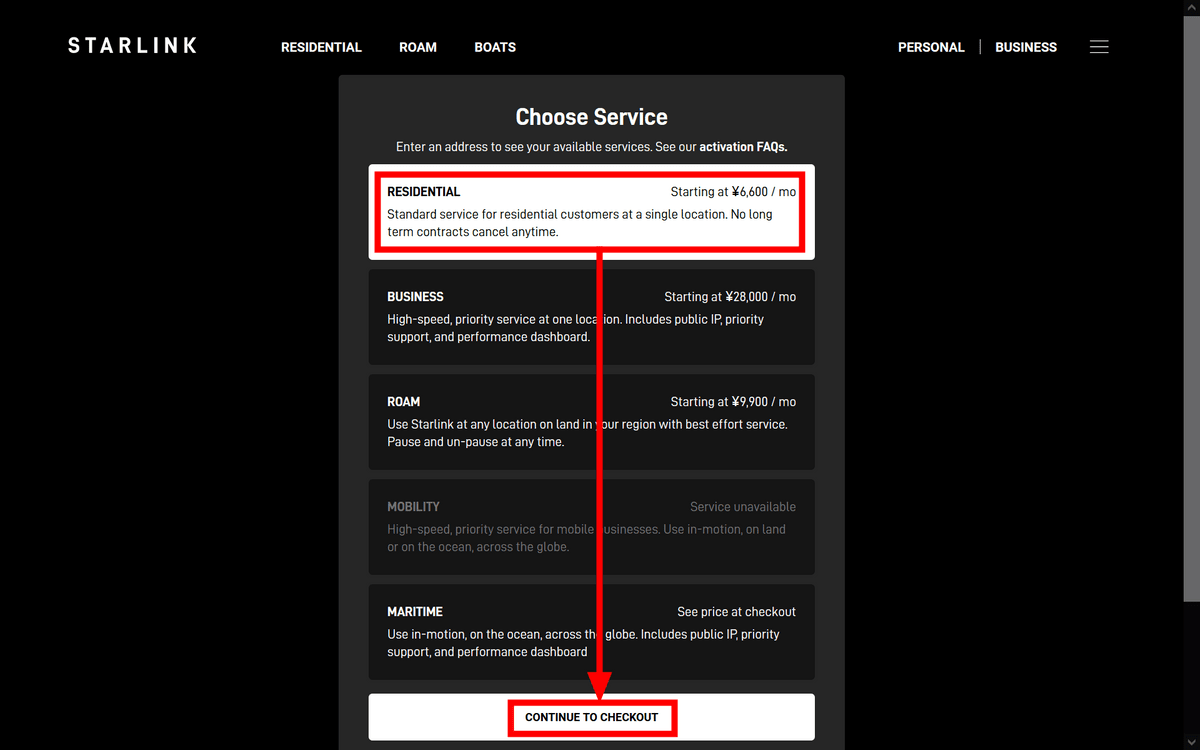
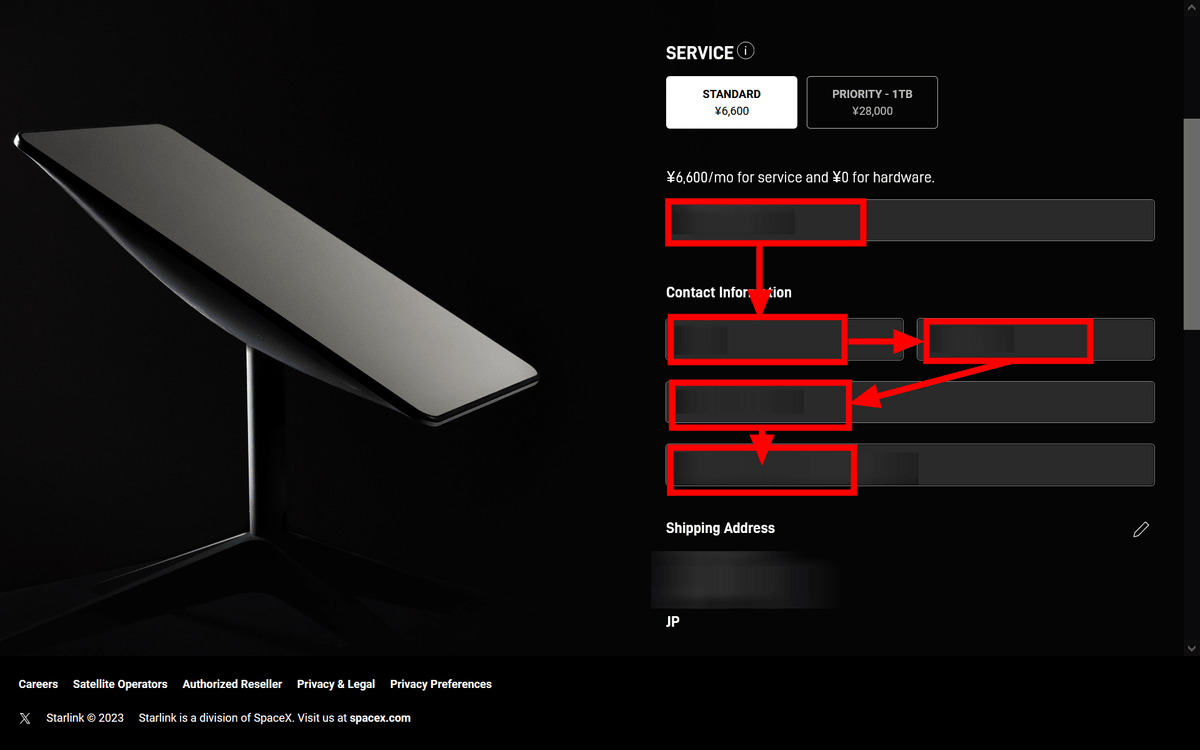
This time, I will sign up for ``RESIDENTIAL''. Select 'RESIDENTIAL' and click 'CONTINUE TO CHECKOUT'.
Enter 'name', 'phone number', and 'email address for account registration' in 'Contact Information'.
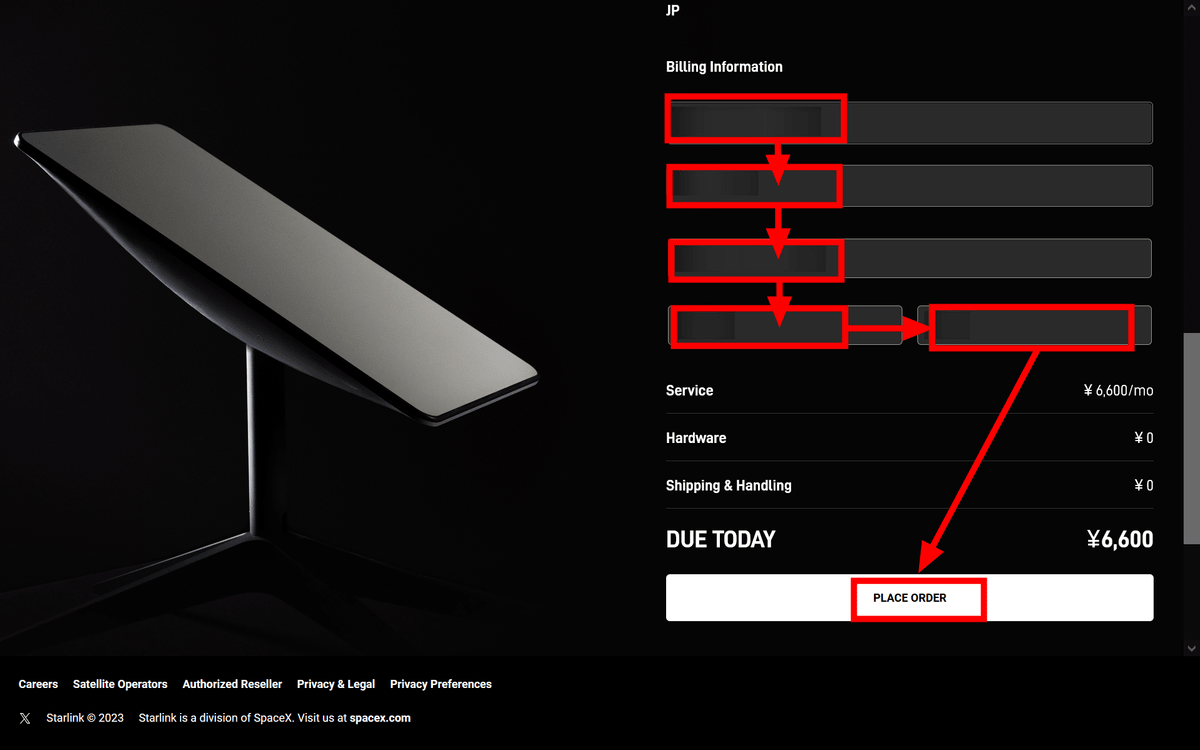
Enter the 'name listed on the credit card', 'billing postal code', 'credit card number', 'credit card expiration date', and 'security code' in 'Billing Information' and click 'PLACE ORDER'.
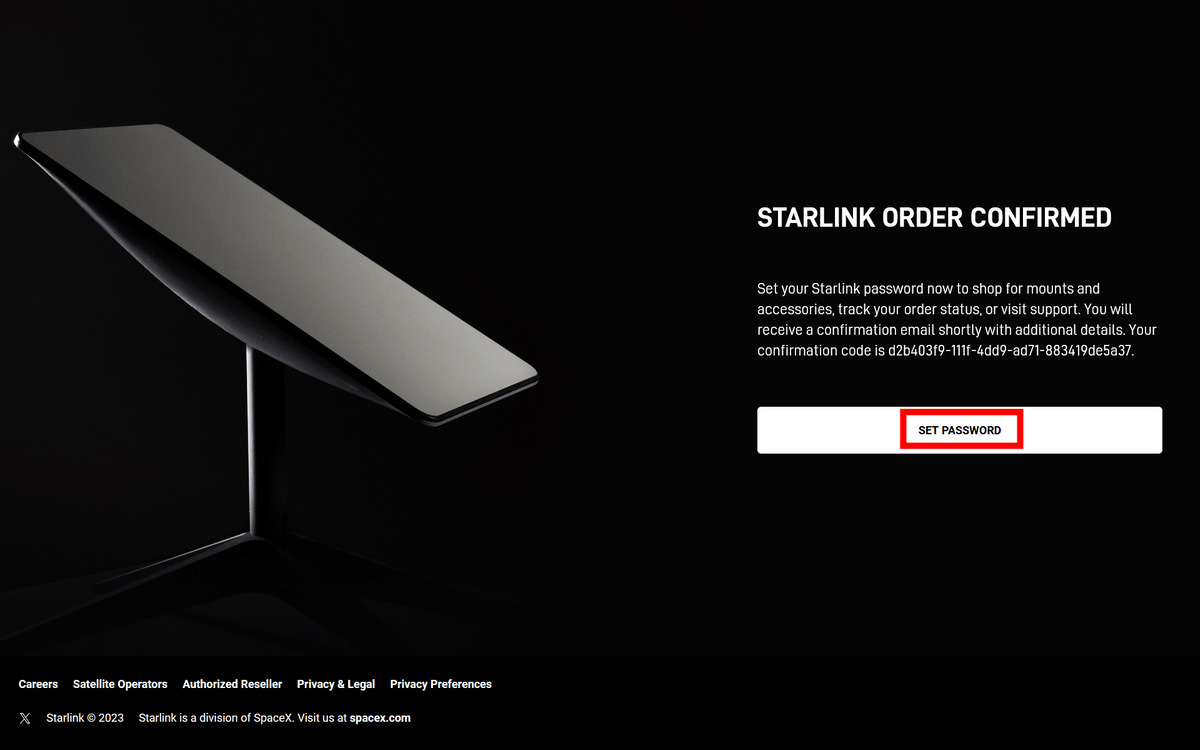
Click 'SET PASSWORD'.
Enter your account registration password and click 'SET PASSWORD'.
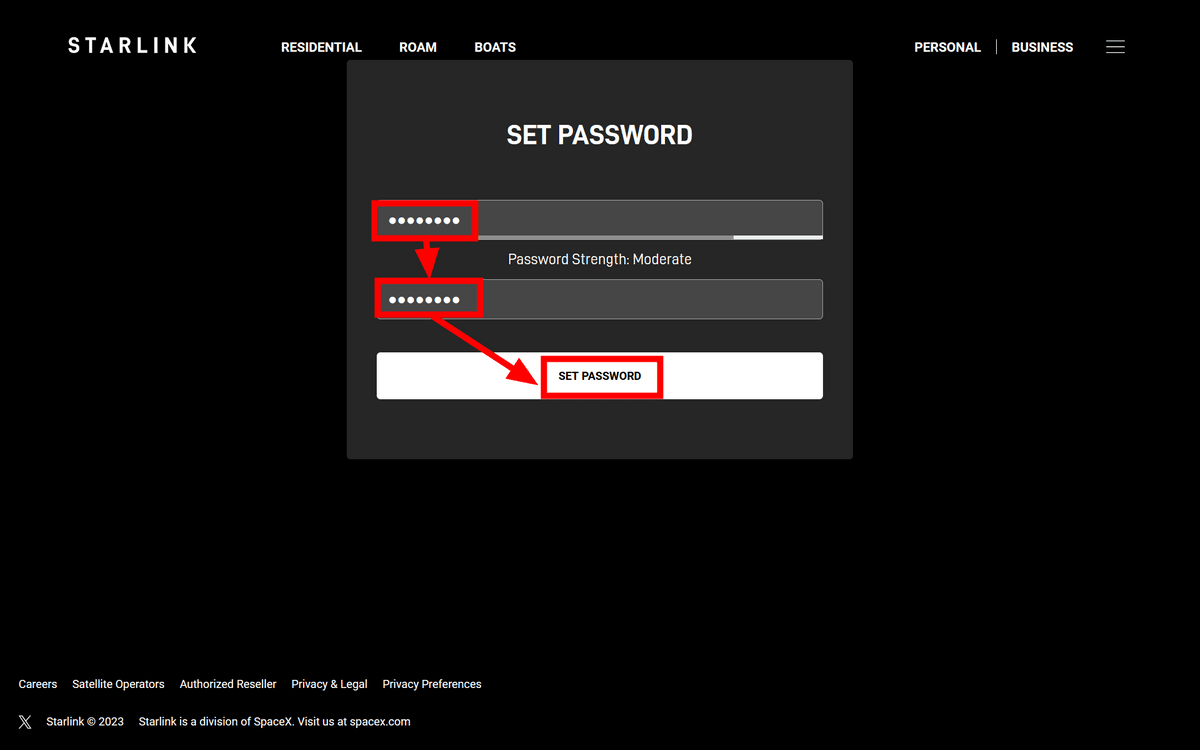
Your account registration is now complete.
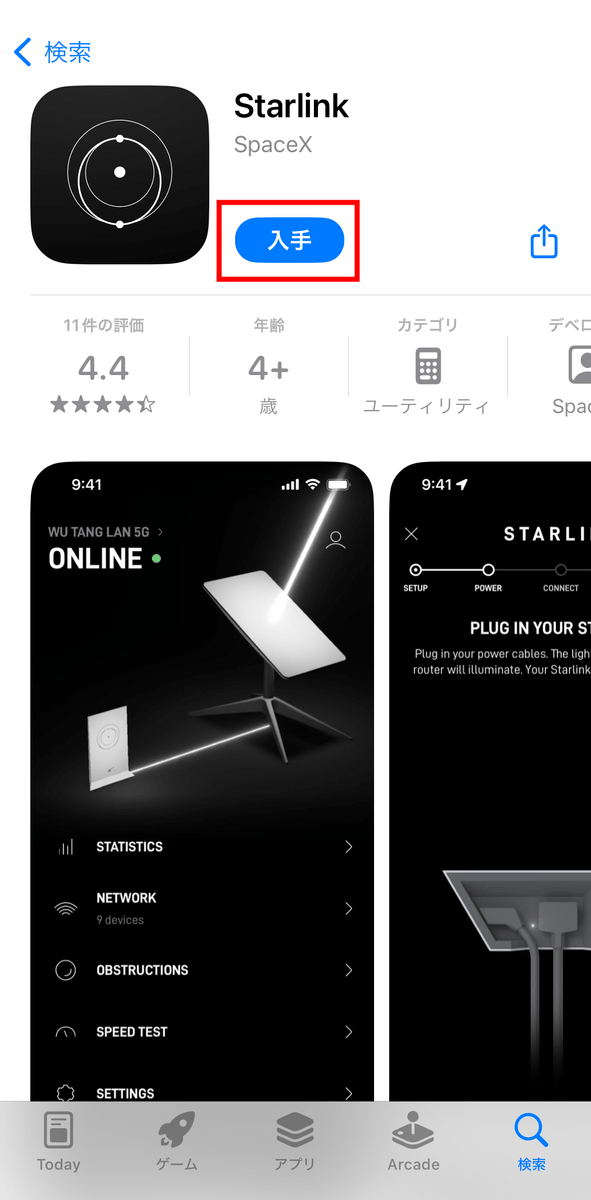
Next, use the app to connect Starlink to the internet. The app is available in
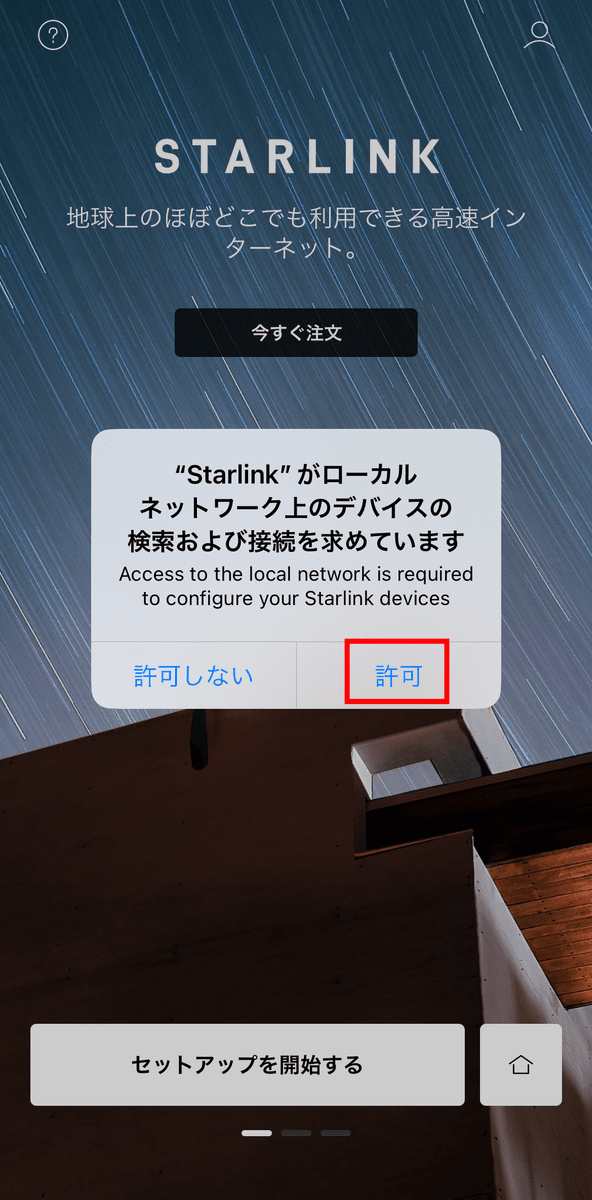
When you open the app, the following screen will be displayed, so tap 'Allow'.
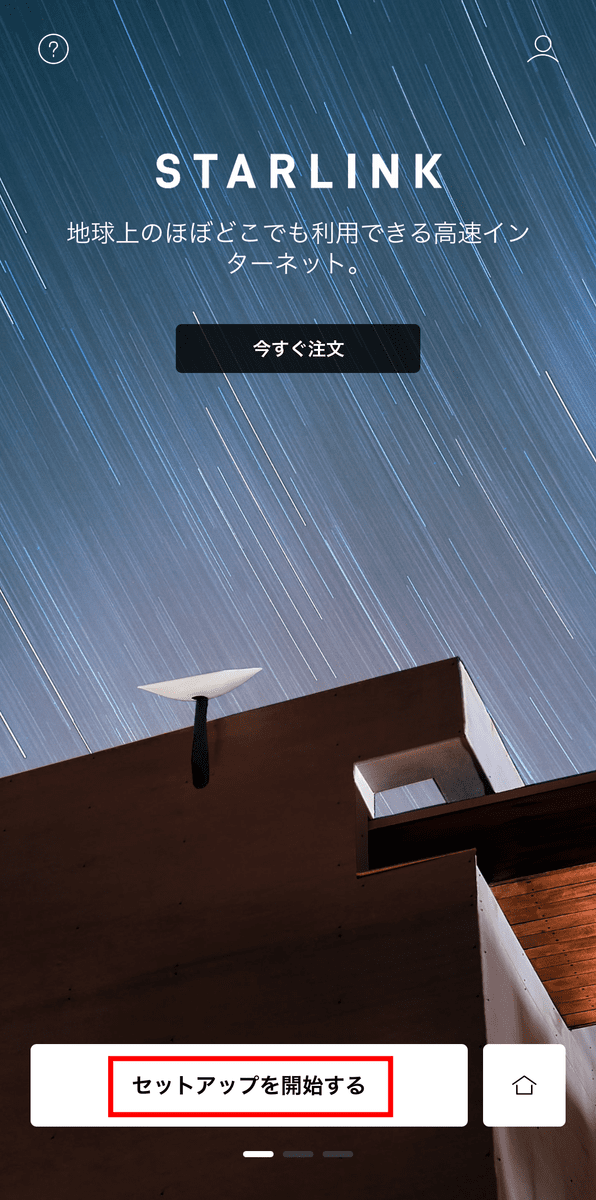
Then tap 'Start setup'.
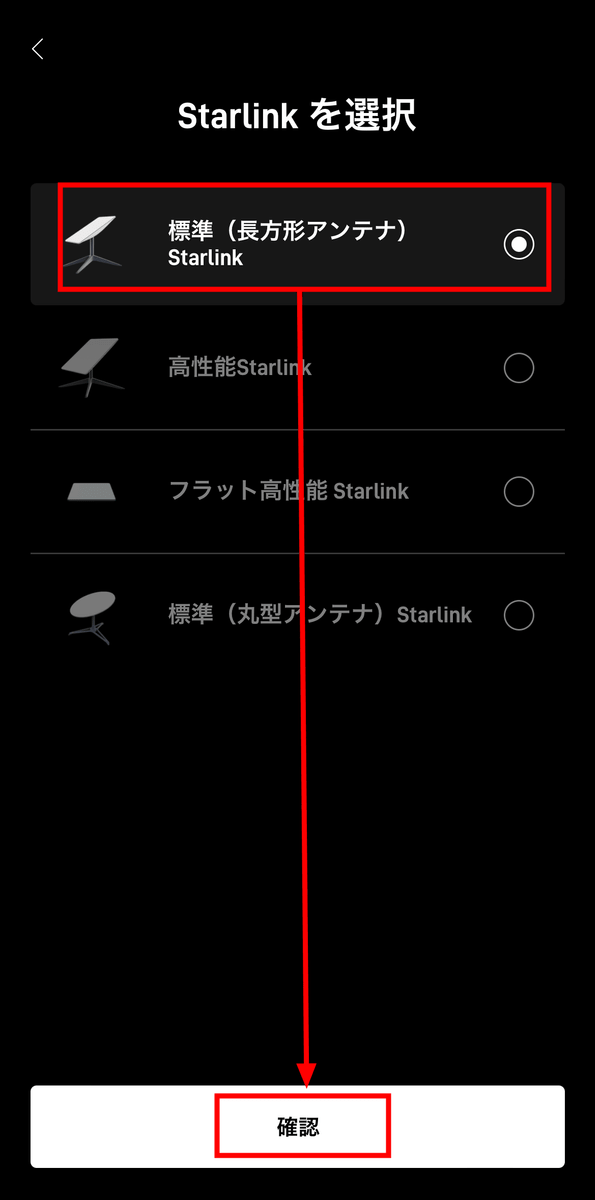
Select 'Standard (rectangular antenna) Starlink' that you purchased this time and tap 'Confirm'.
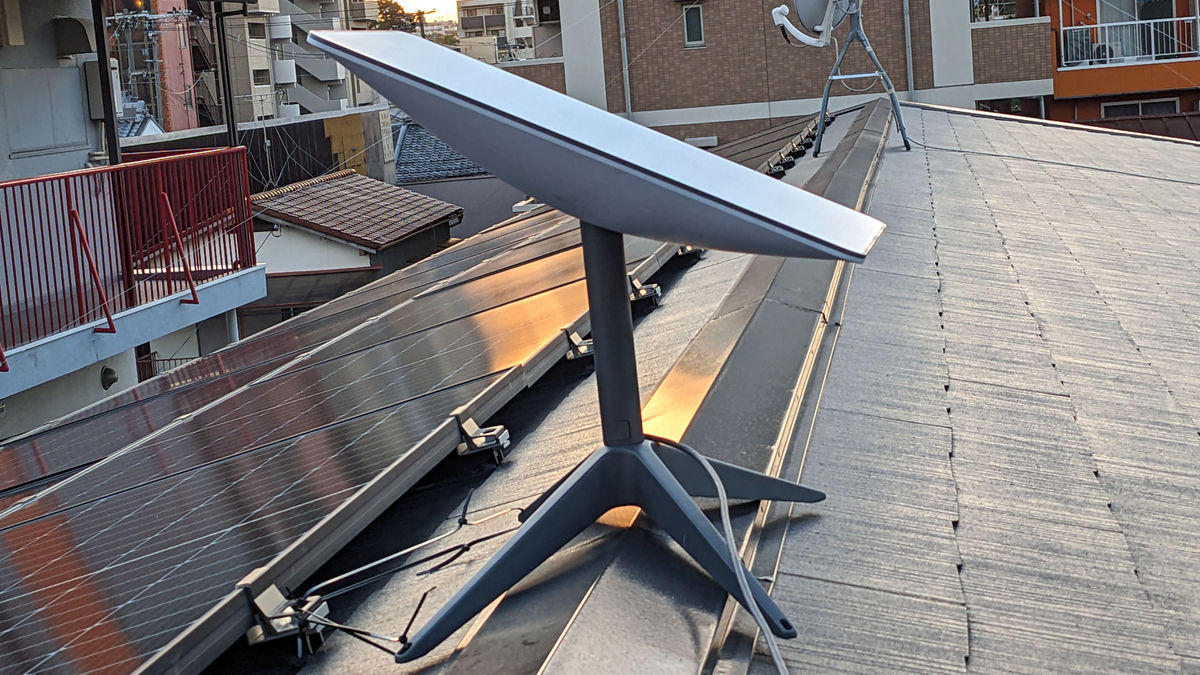
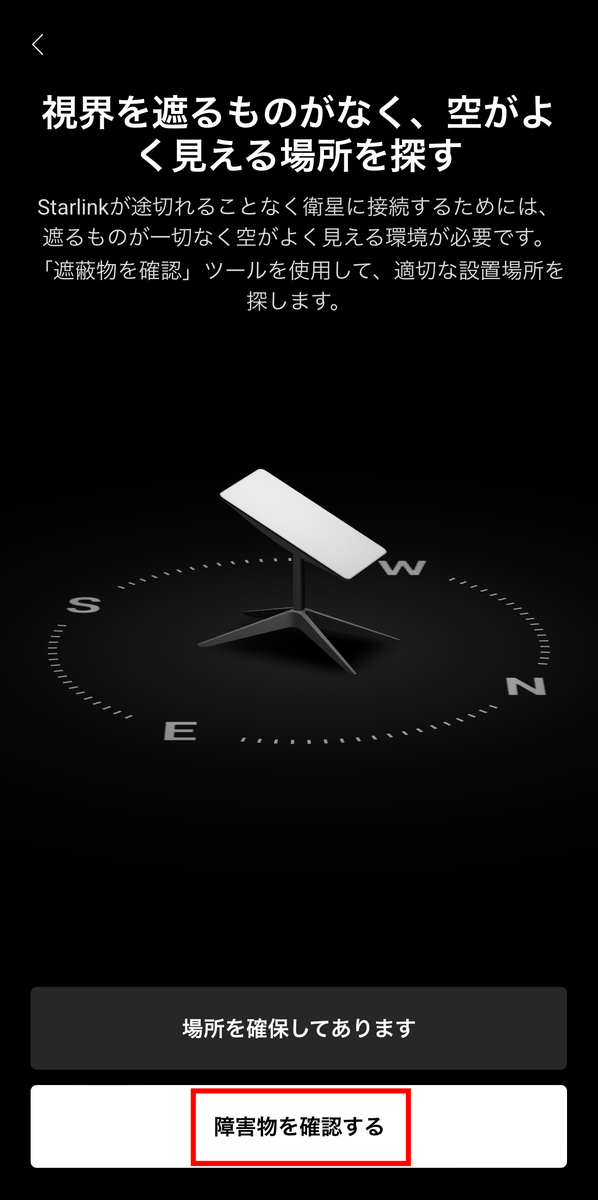
Next, check the antenna installation location. This time we will temporarily place it on the roof of the building. In addition,

Tap 'Check obstacles' in the app.
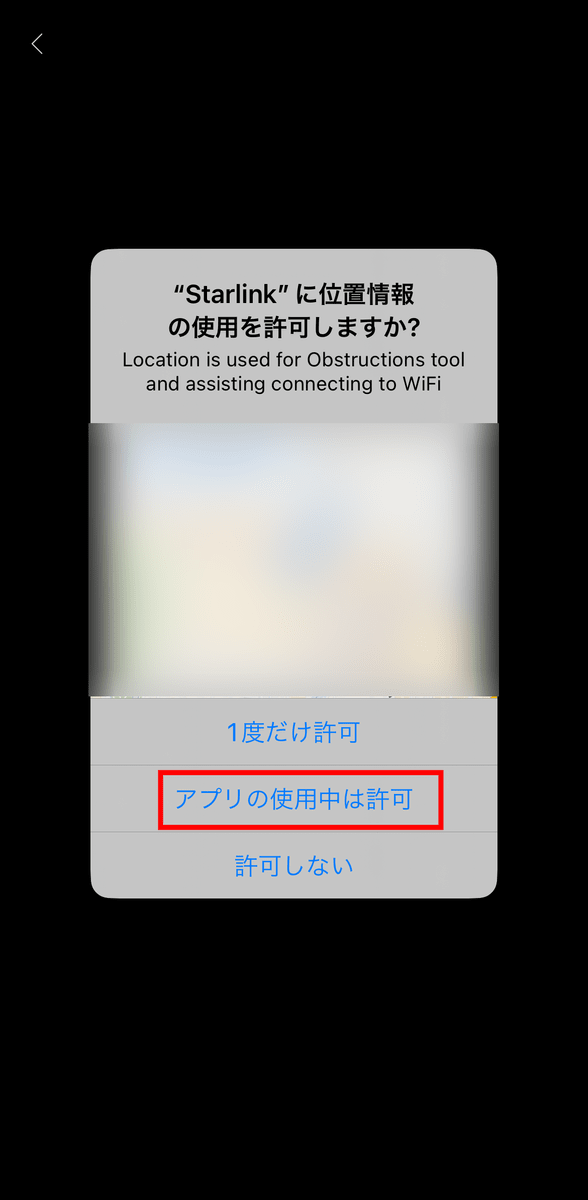
You will be asked for permission to use location information, so tap 'Allow while using the app'.
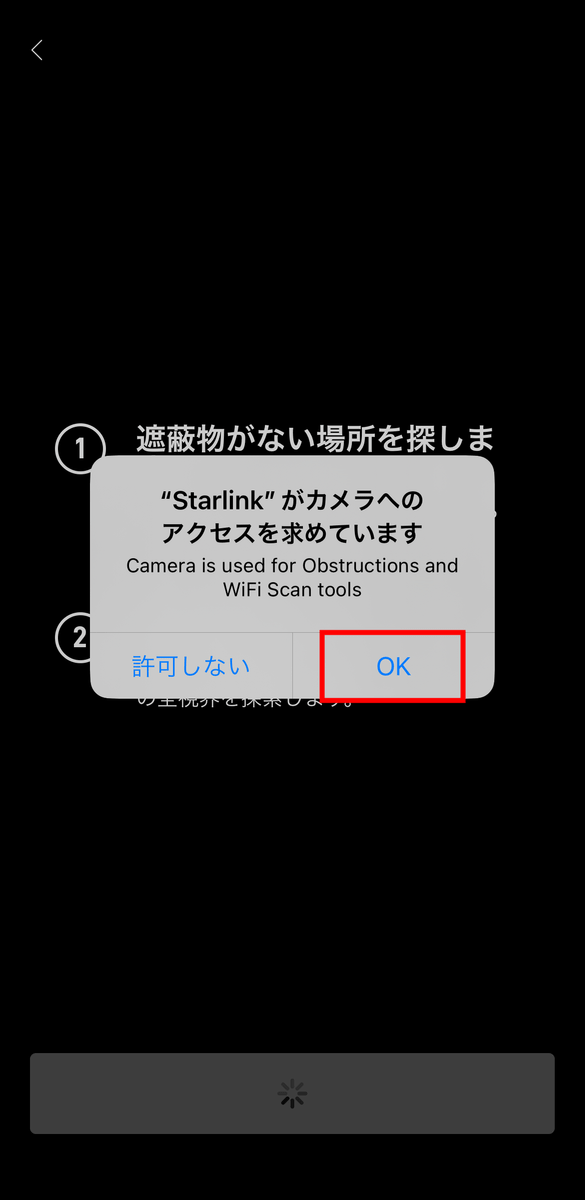
You will also be asked to access the camera, so tap 'OK'.
Tap 'Ready!'
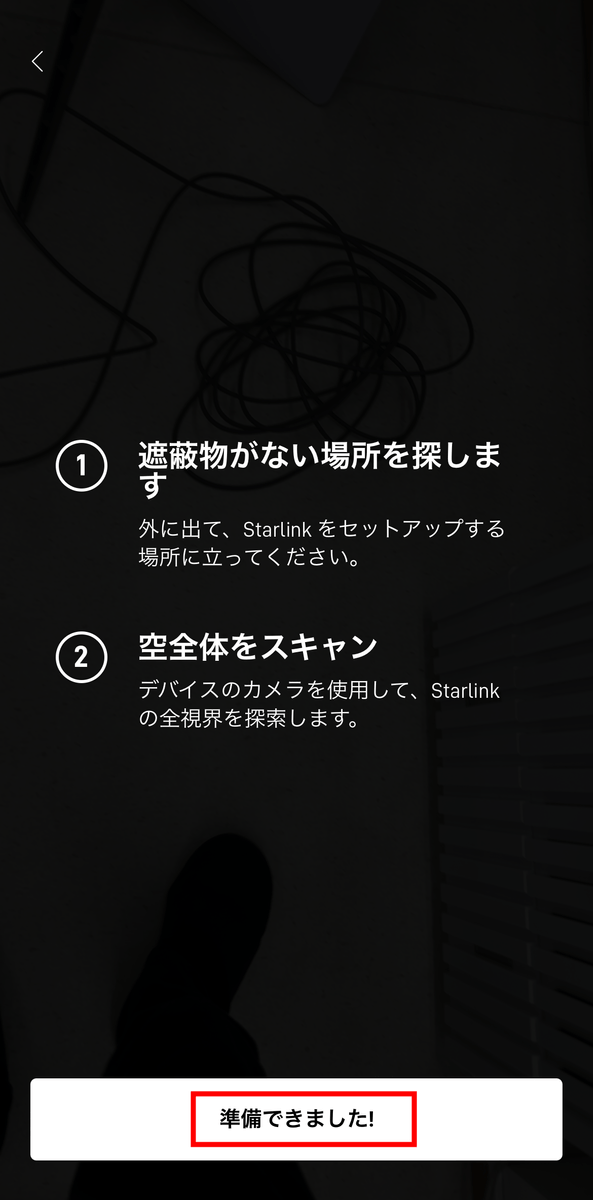
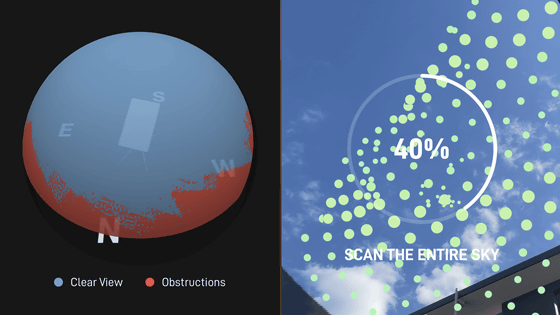
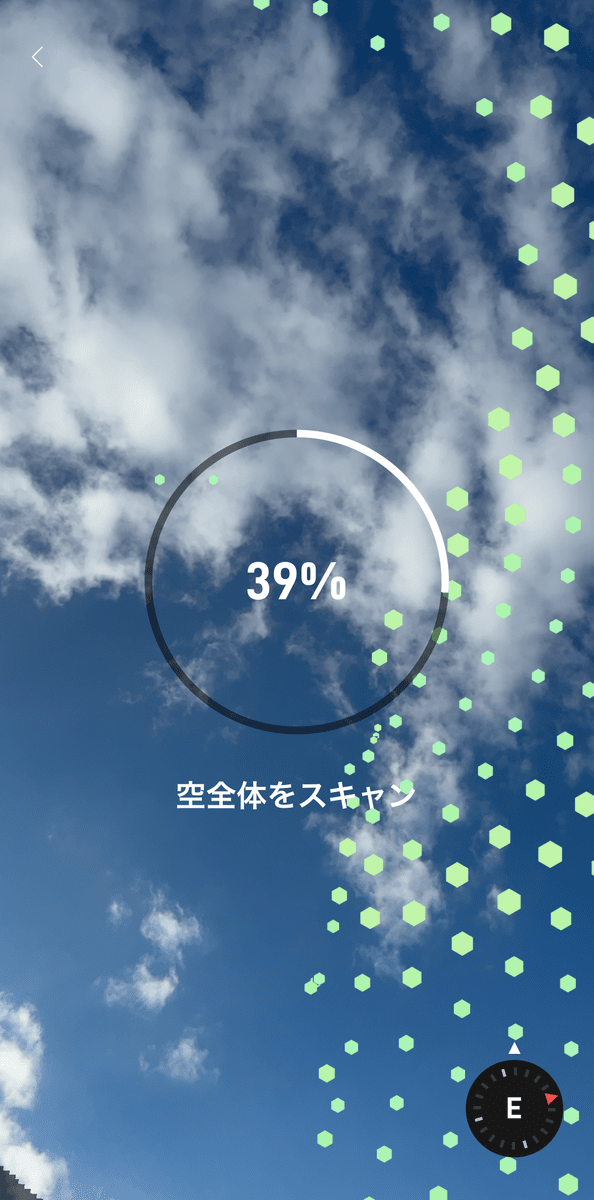
The camera will start, so scan the sky with your smartphone. The scanning method is explained in detail in
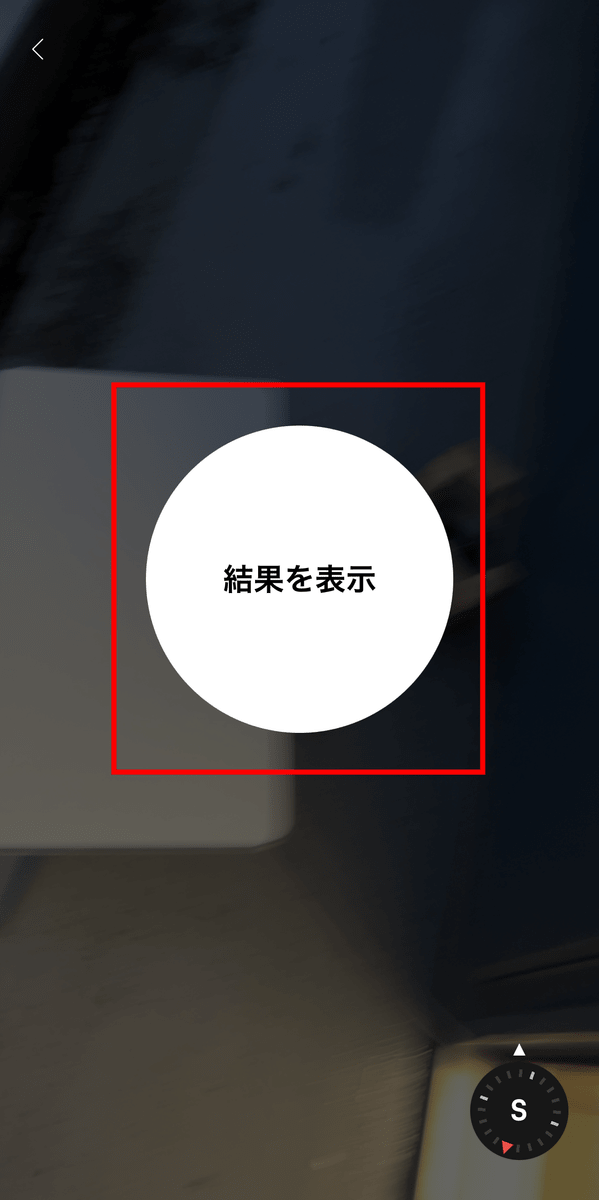
When the entire sky has been scanned, tap 'Show results'.
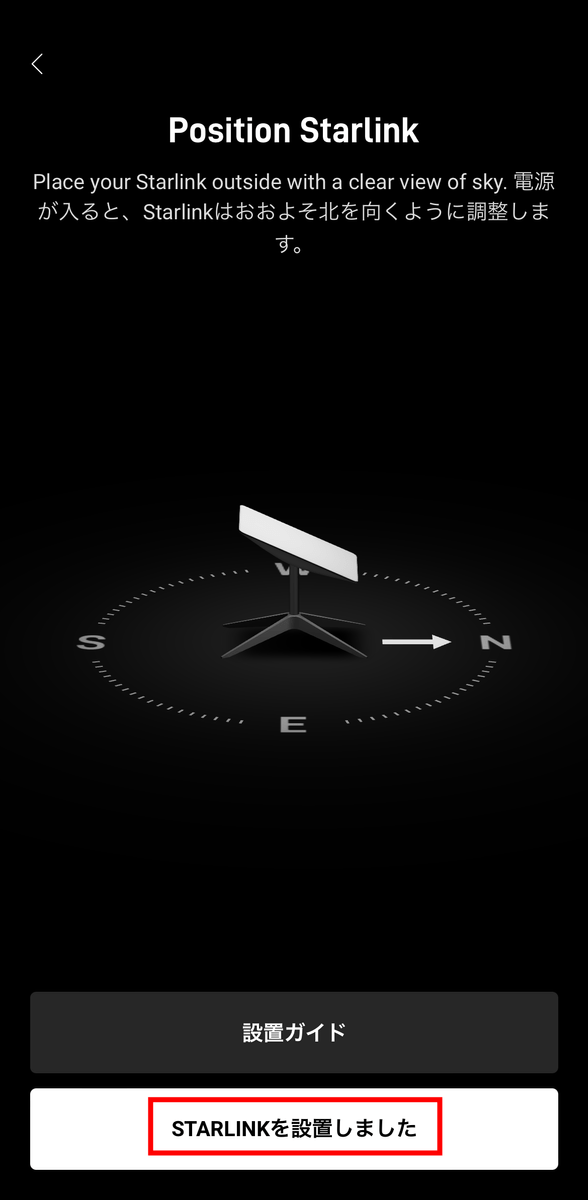
The scan results will be displayed. This time, tap 'Place here' as is.

Tap 'STARLINK has been installed'.
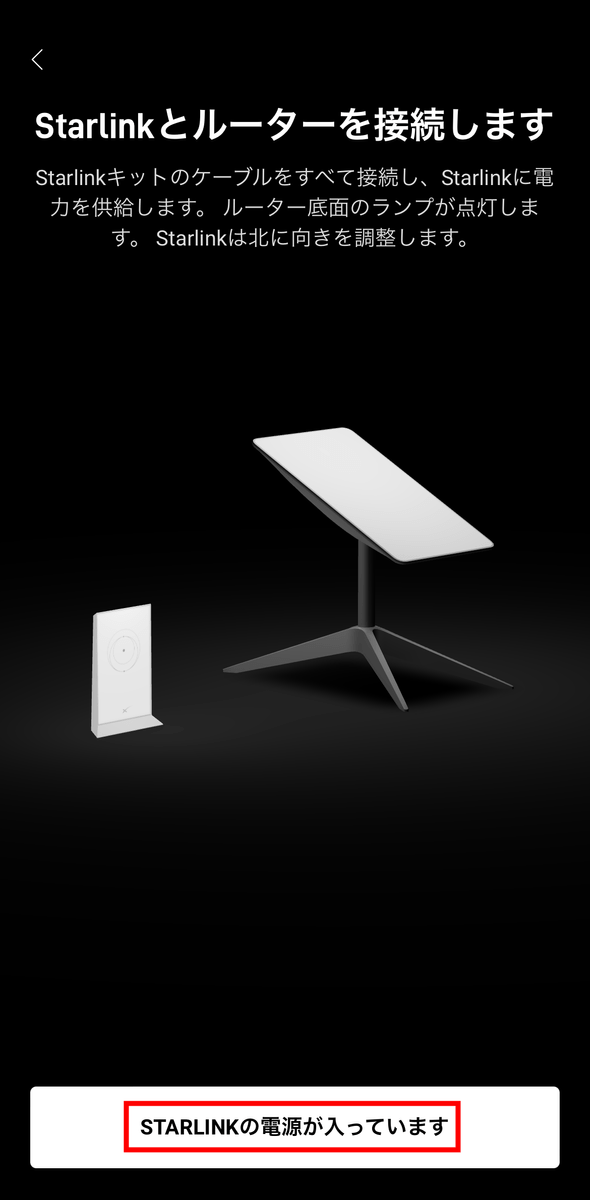
Tap 'STARLINK is powered on'.
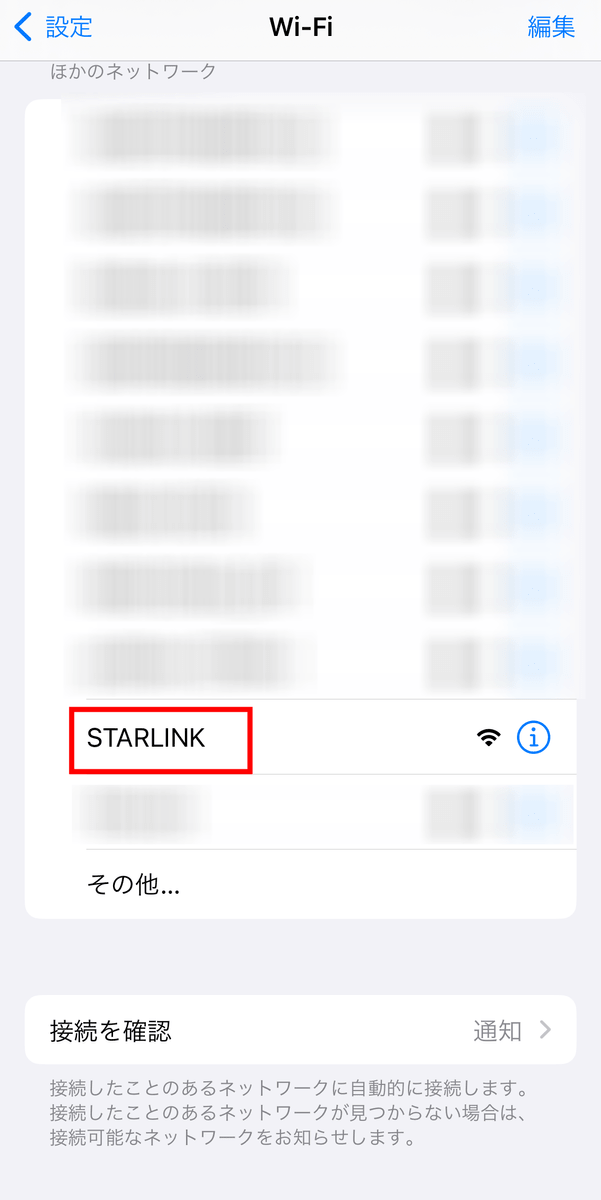
You will then be asked to connect to the Starlink Wi-Fi network. Tap 'Open settings' at the bottom of the screen.

The iPhone's network settings will open, so search for 'STARLINK' and tap it.
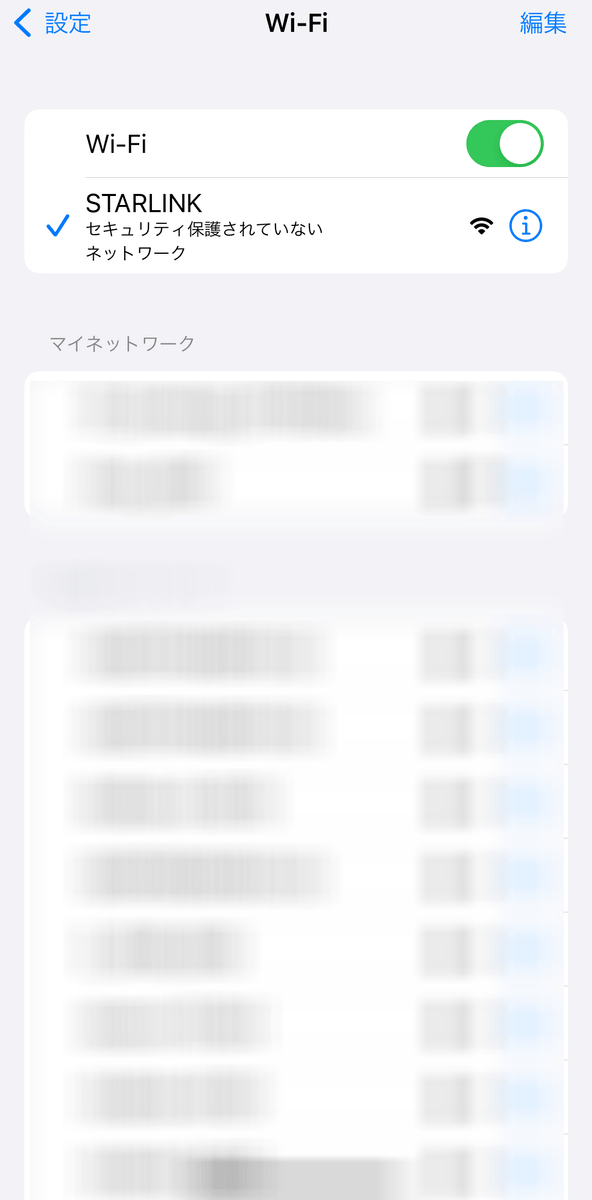
Connection to 'STARLINK' completed.
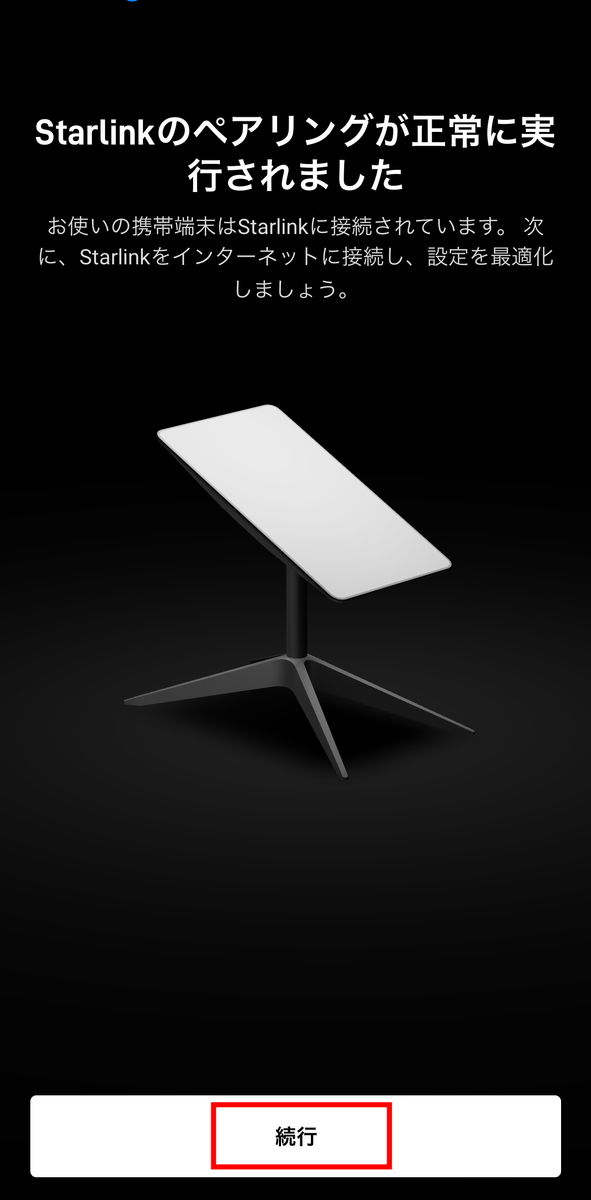
Return to the app and tap Continue.
Wait for about 10 minutes as Starlink tries to connect.
At this time, the antenna moves automatically to search for satellites.
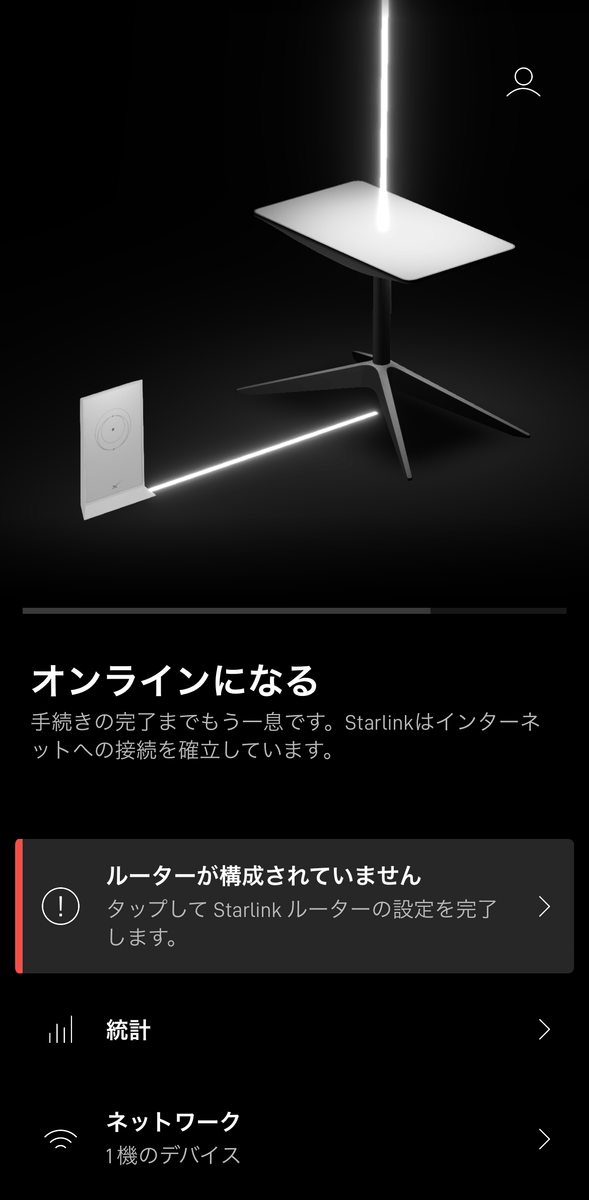
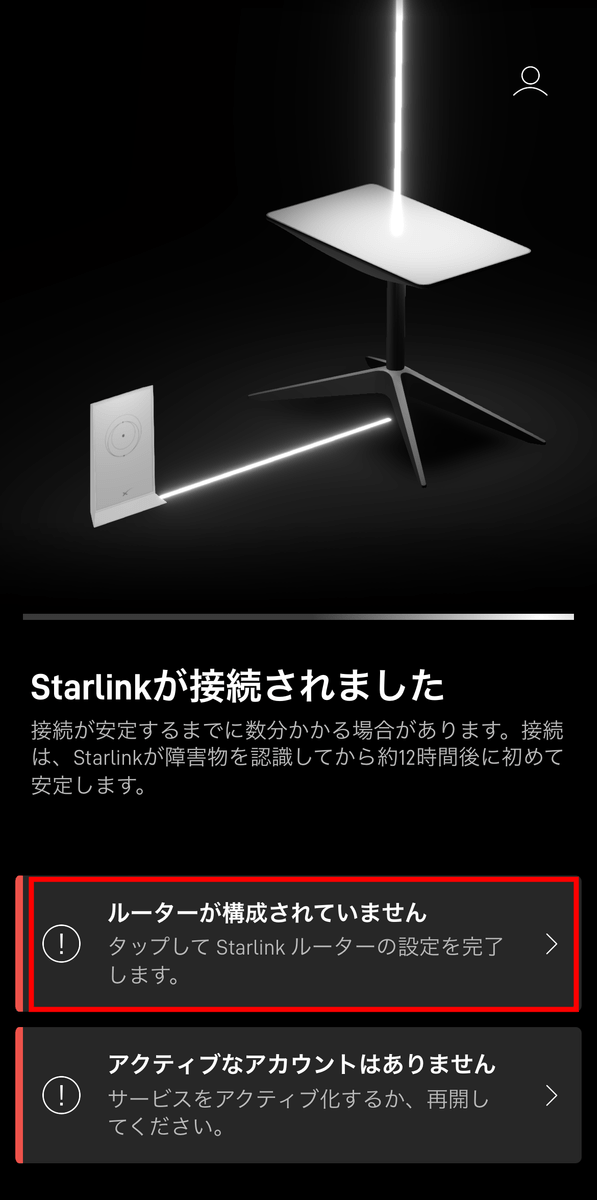
'Starlink is connected' will be displayed. Tap 'Router is not configured'.
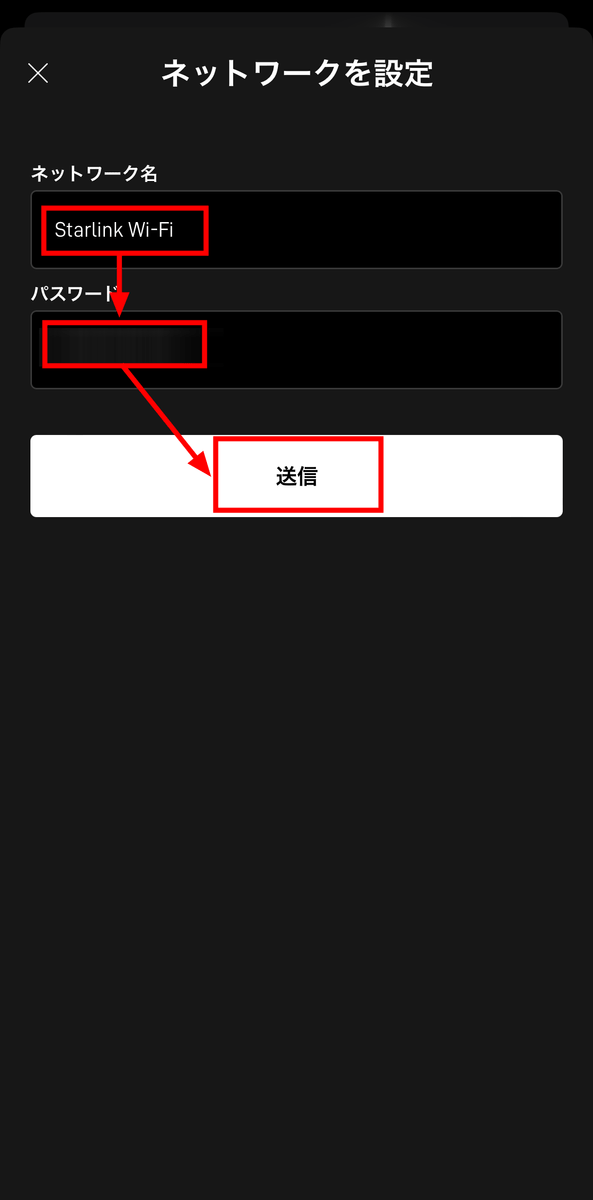
Decide on the network name and password and tap 'Send'.
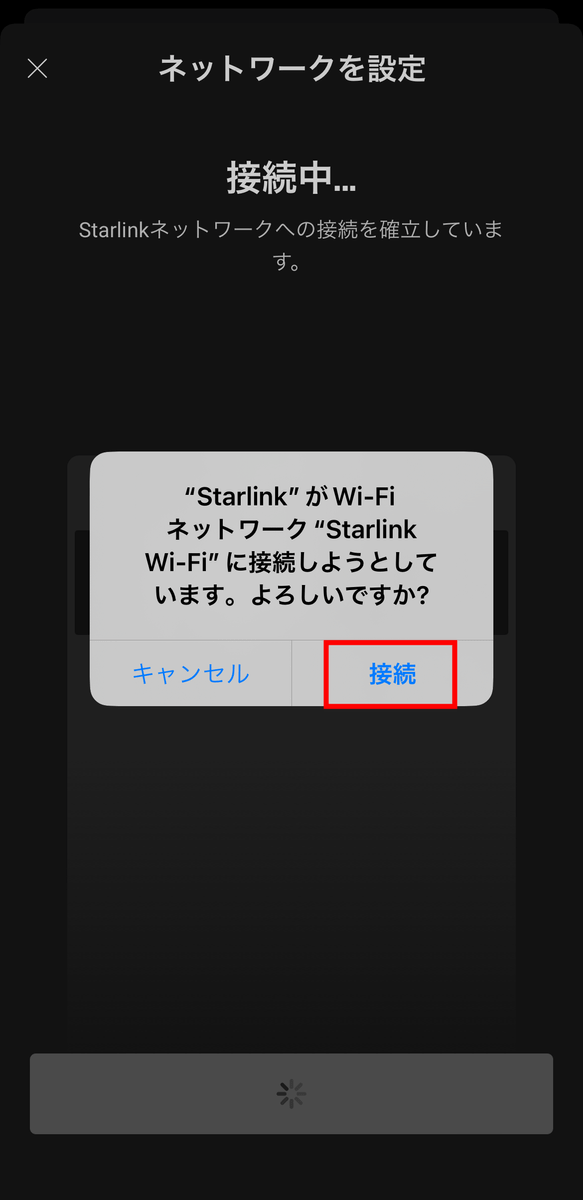
Tap 'Connect'.
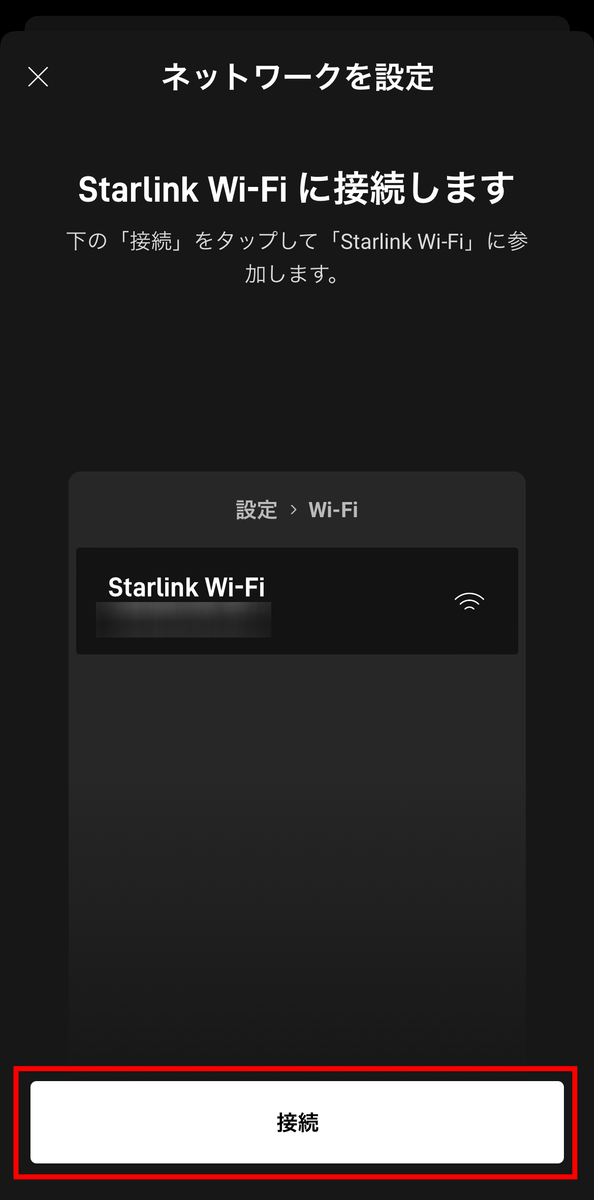
Tap 'Connect'.
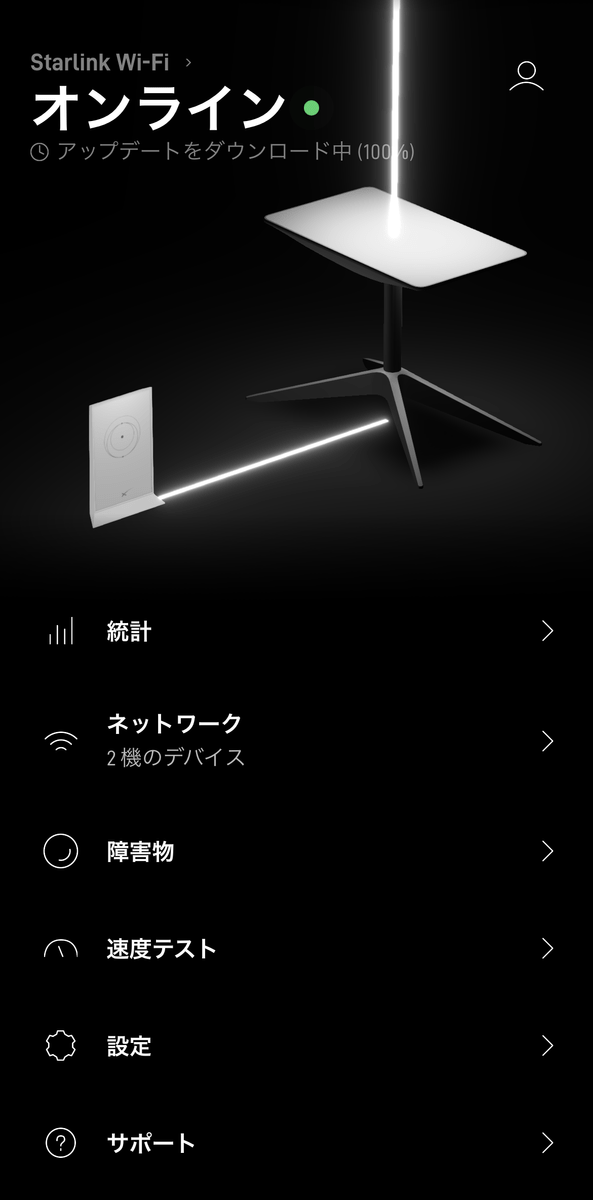
Starlink will be online and you will be able to connect to the internet. At this time, the update started automatically and the message 'Downloading update' was displayed.
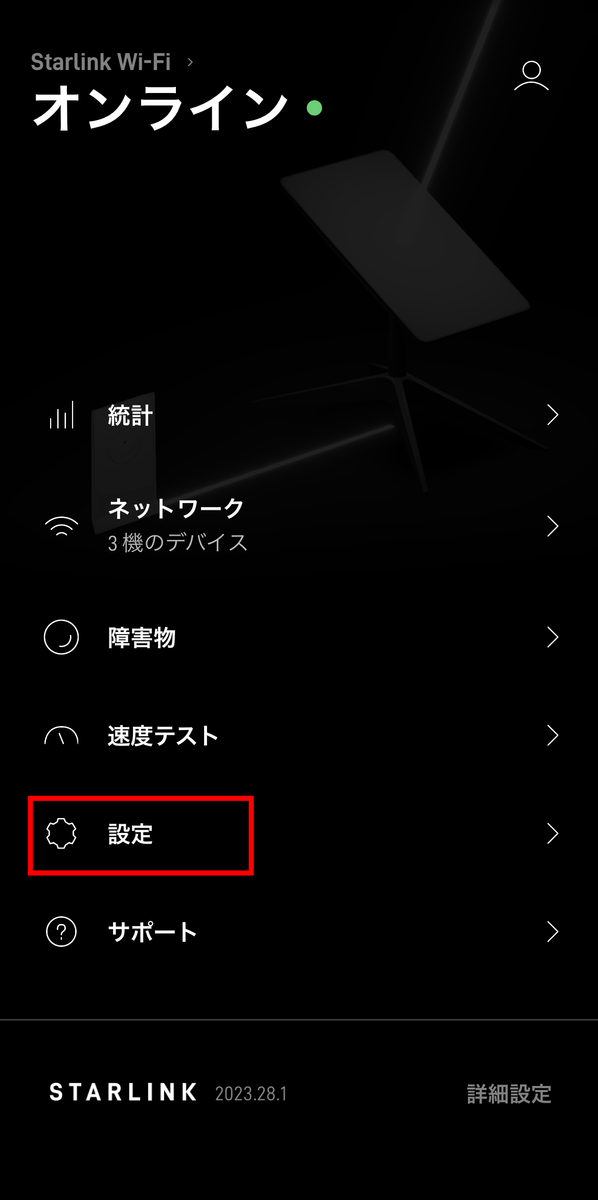
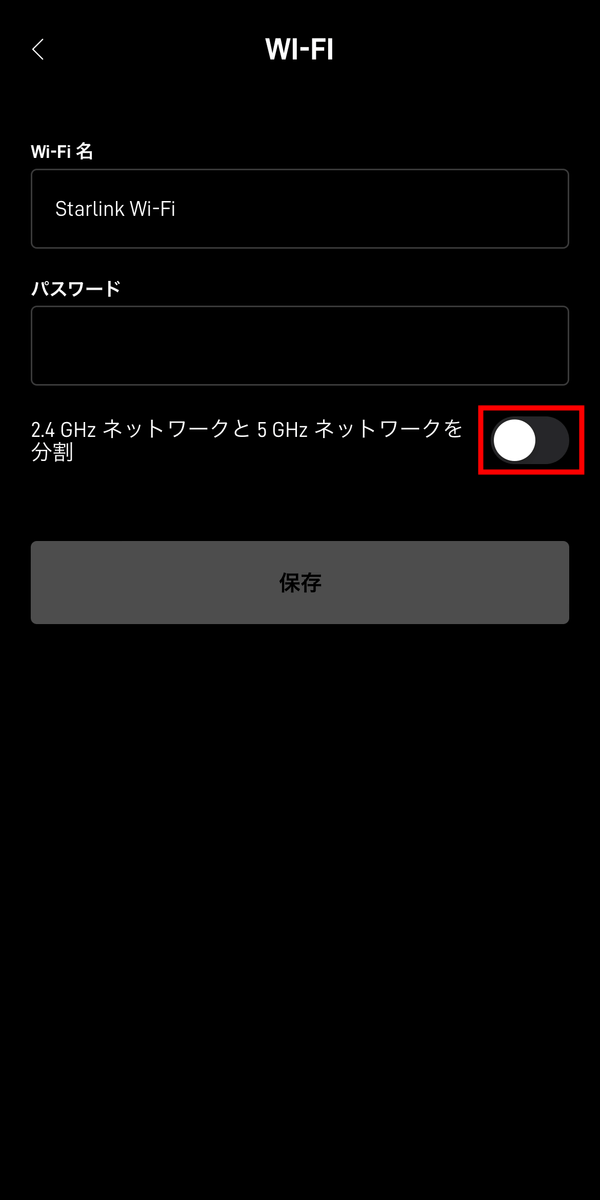
By default, it will automatically connect to either 2.4GHz or 5GHz, but you can also divide the network and manually select which one to connect to. Tap 'Settings' from the app for settings.
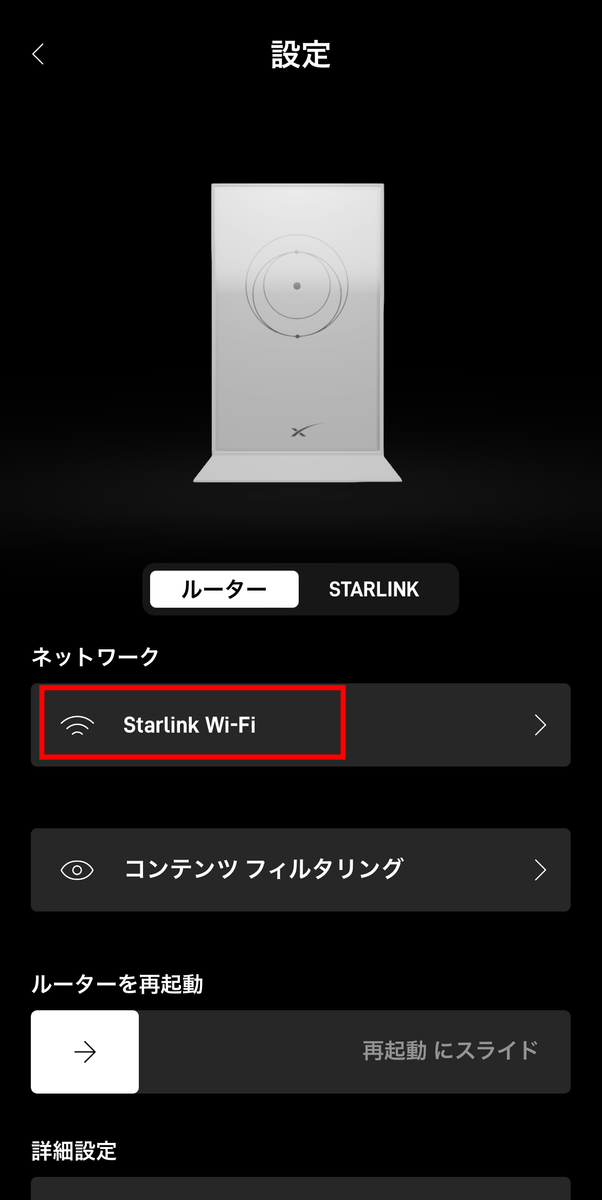
Then tap Network.
Tap 'Split 2.4GHz network and 5GHz network'.
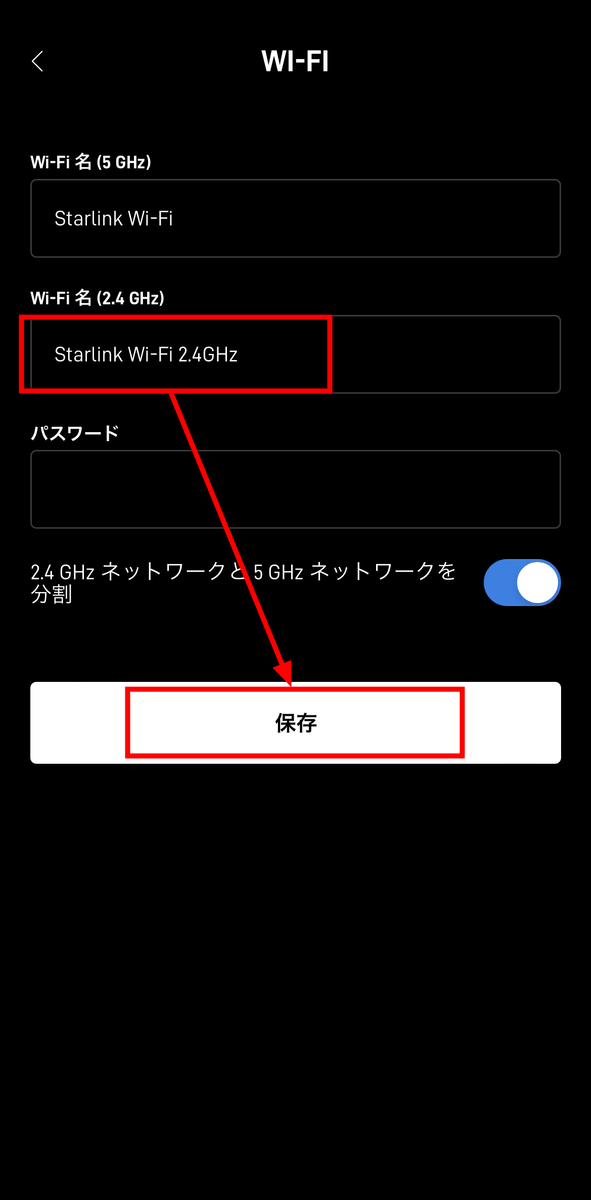
The network name 'Starlink Wi-Fi' that you set earlier was assigned to the 5GHz band, so enter a new network name for the 2.4GHz band and tap 'Save'.
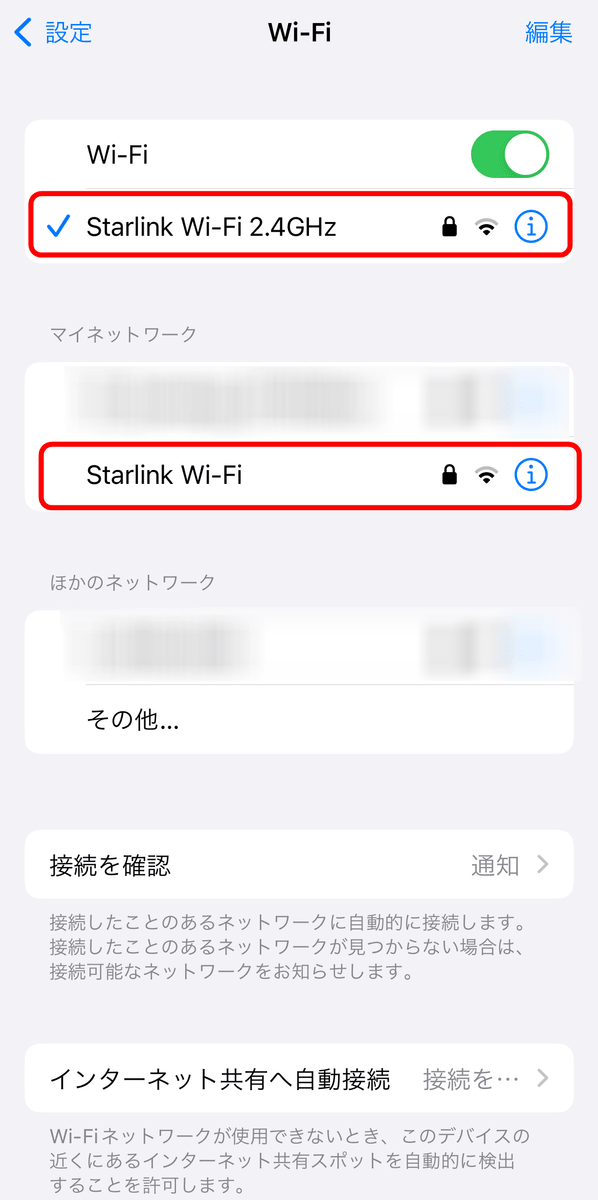
Now you can select the 2.4GHz band and 5GHz band to connect.
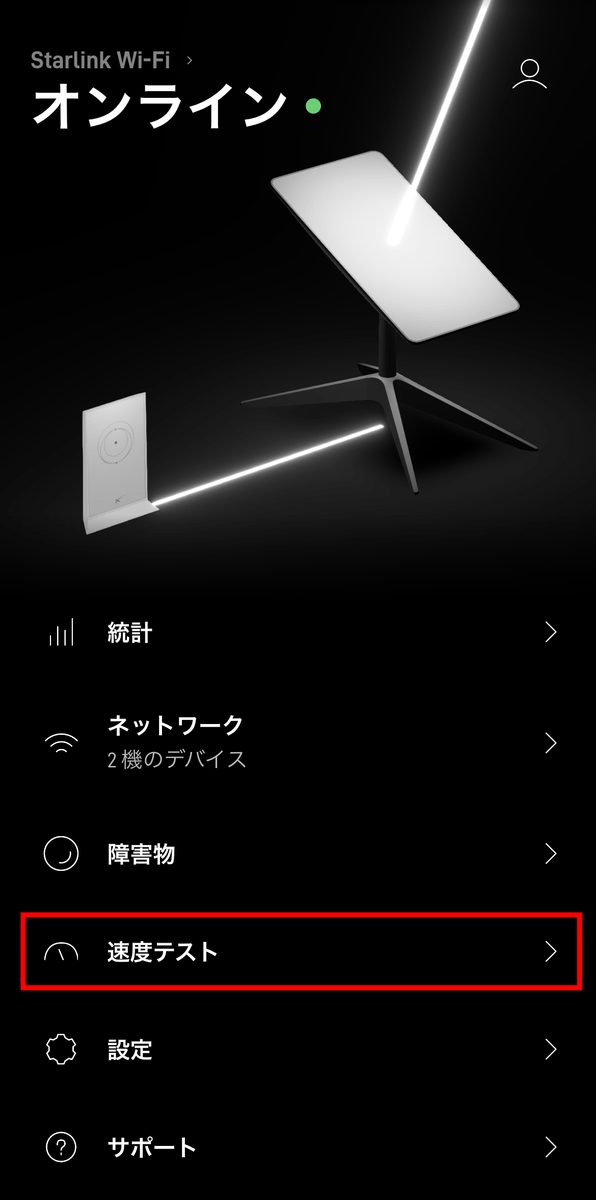
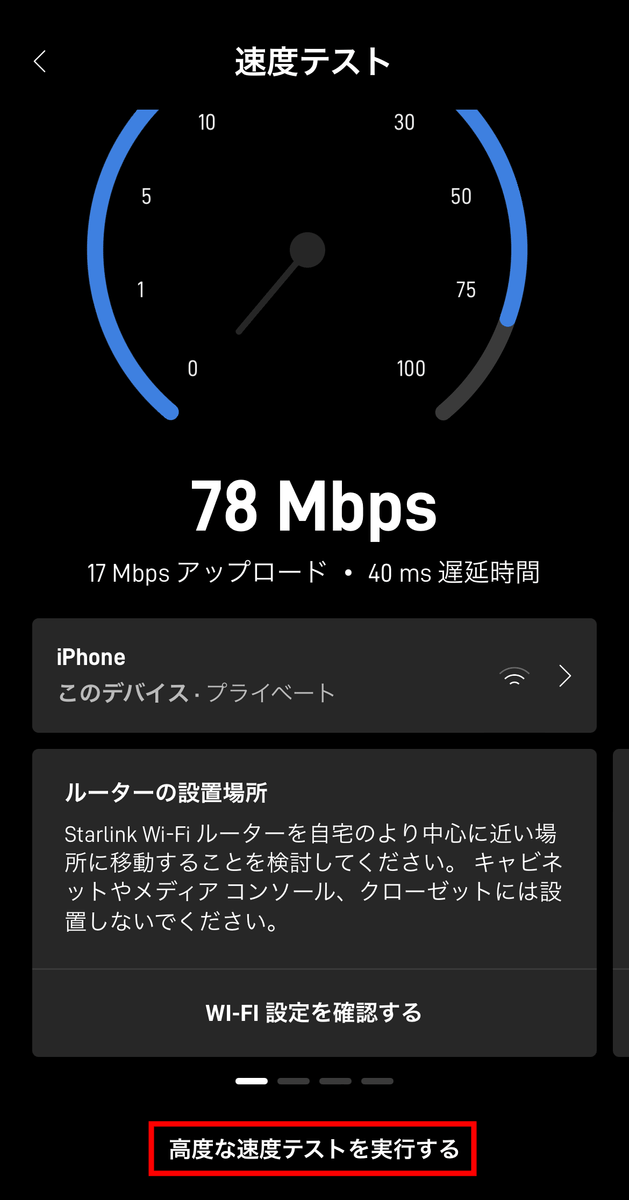
Next, tap 'Speed test' from the app to measure the communication speed. The measurement point is right next to the router. Measured at 2.4GHz around 22:00.
This is the measurement result. The displayed download speed was 78Mbps, and the upload speed was 17Mbps. Then tap 'Run advanced speed test'.
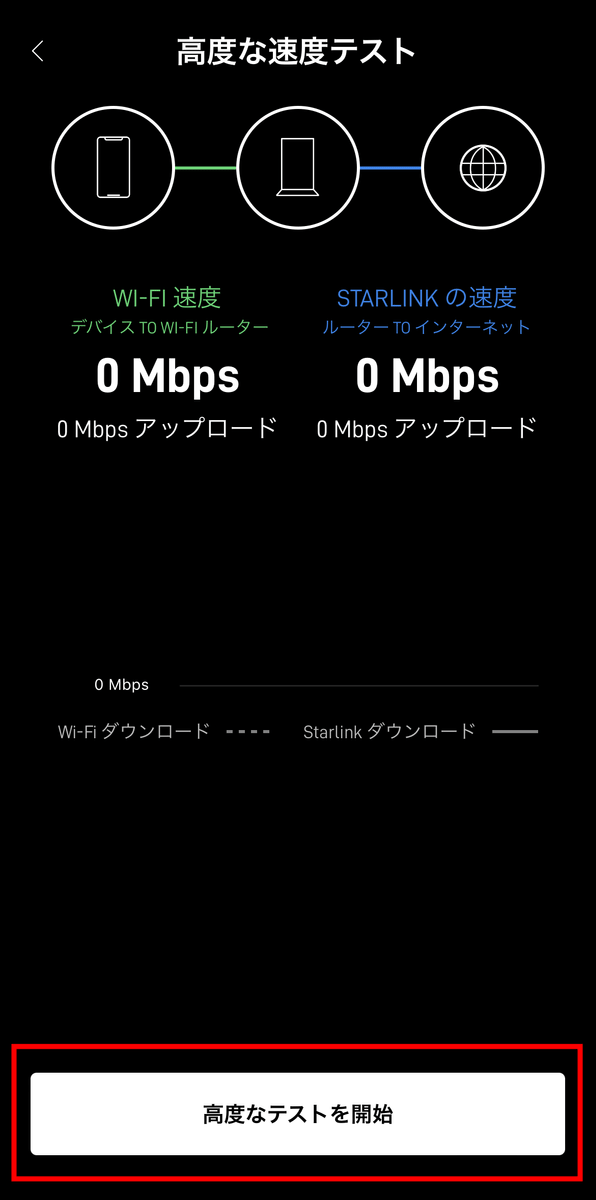
Here you can measure the speed of 'device and Wi-Fi router' and 'Wi-Fi router and Internet'. Tap 'Start advanced test' to start measurement.
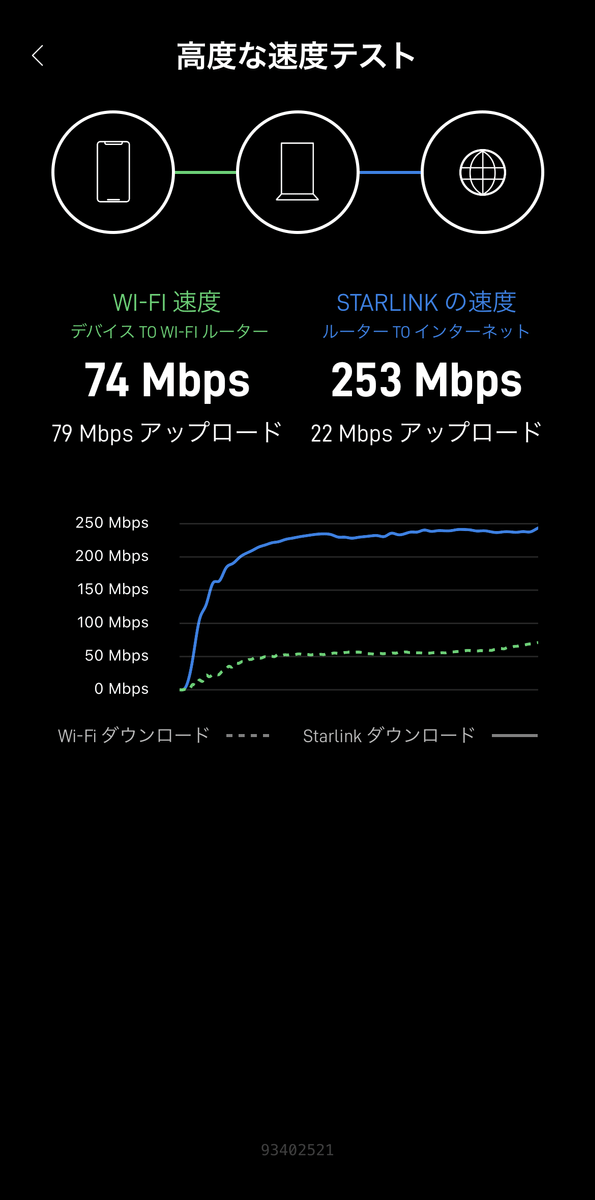
This is the result. That's 74Mbps between the device and the Wi-Fi router.
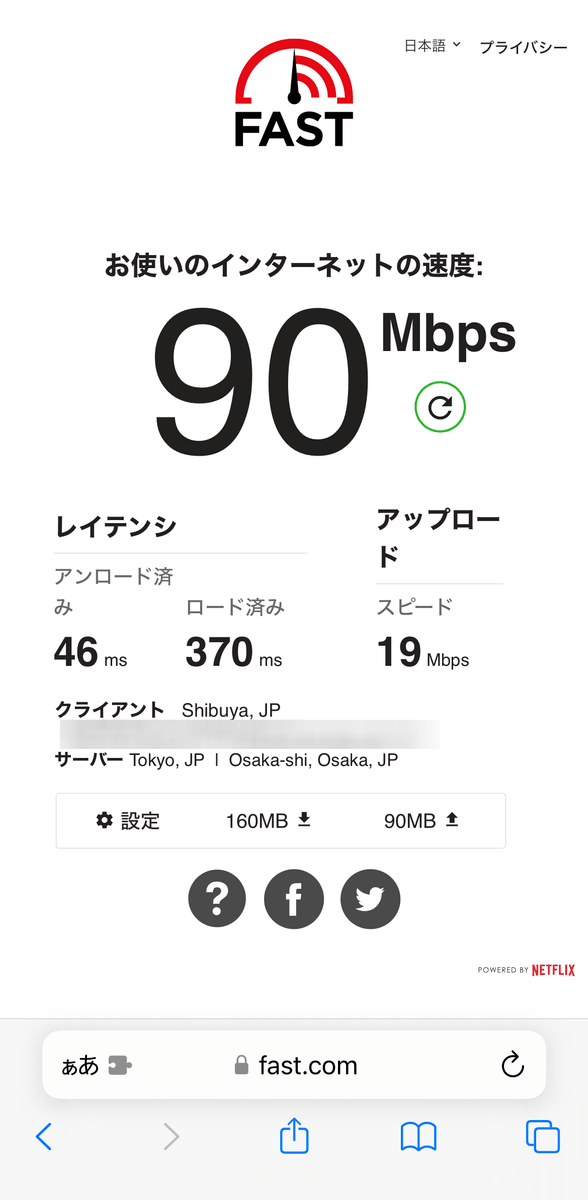
Next, here are the measurement results at Fast.com. The numbers are slightly different from those in the app.
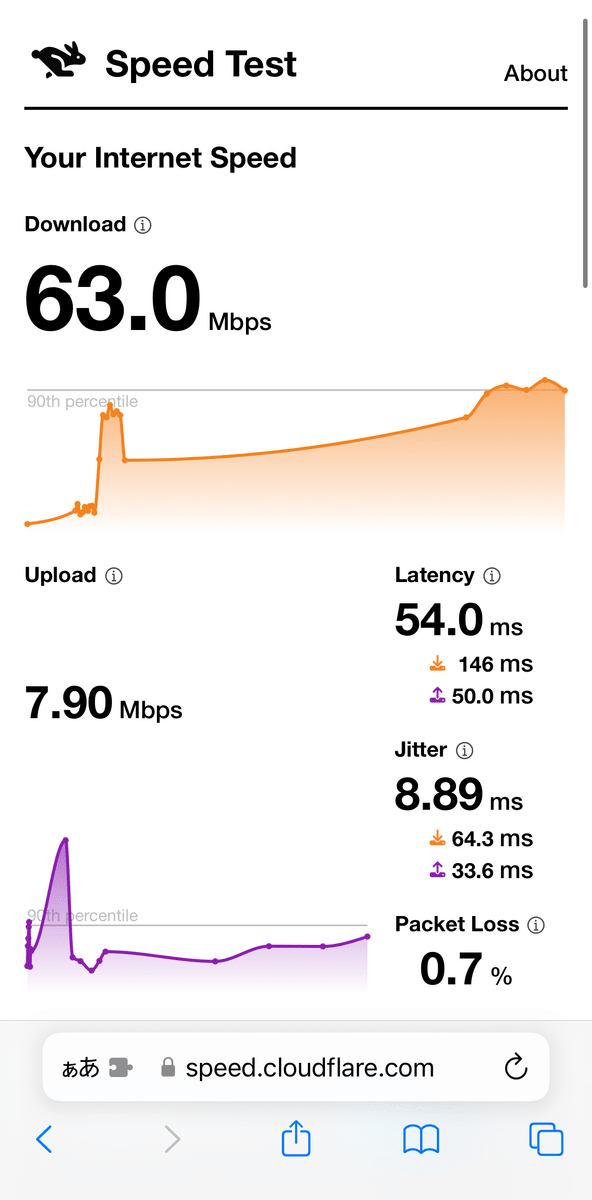
Cloudflare speed test results.
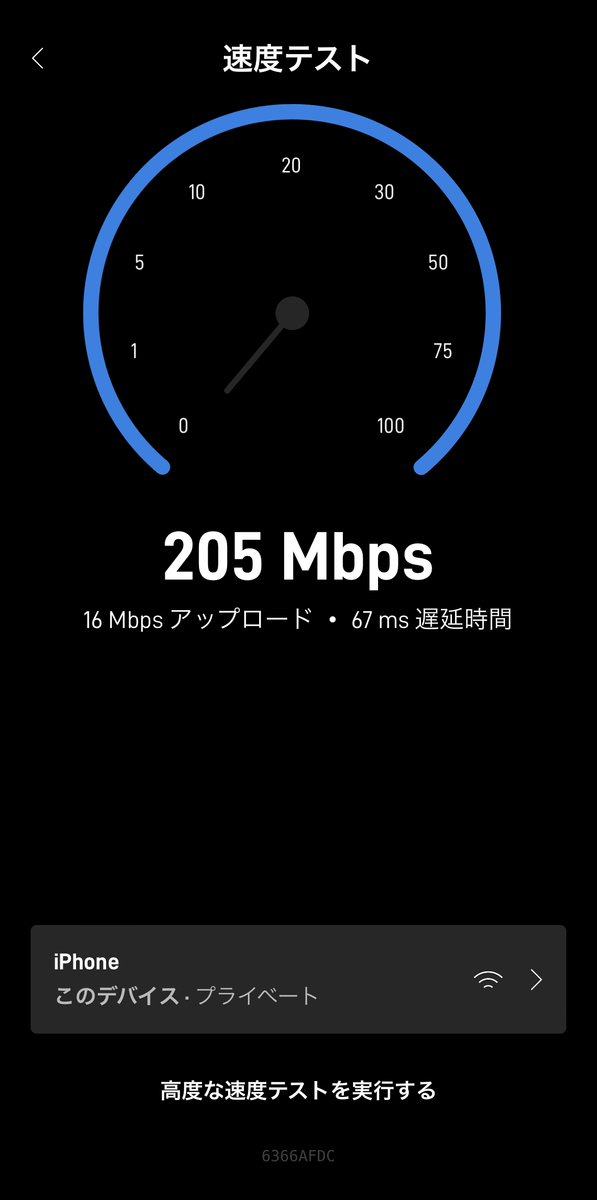
Next, measurement at 5GHz. In the app, the result was 205Mbps.
This is the result of the 'advanced test'. On display, the download speed between the device and the Wi-Fi router is 262 Mbps, and the upload speed is 405 Mbps, which is an outrageous speed.

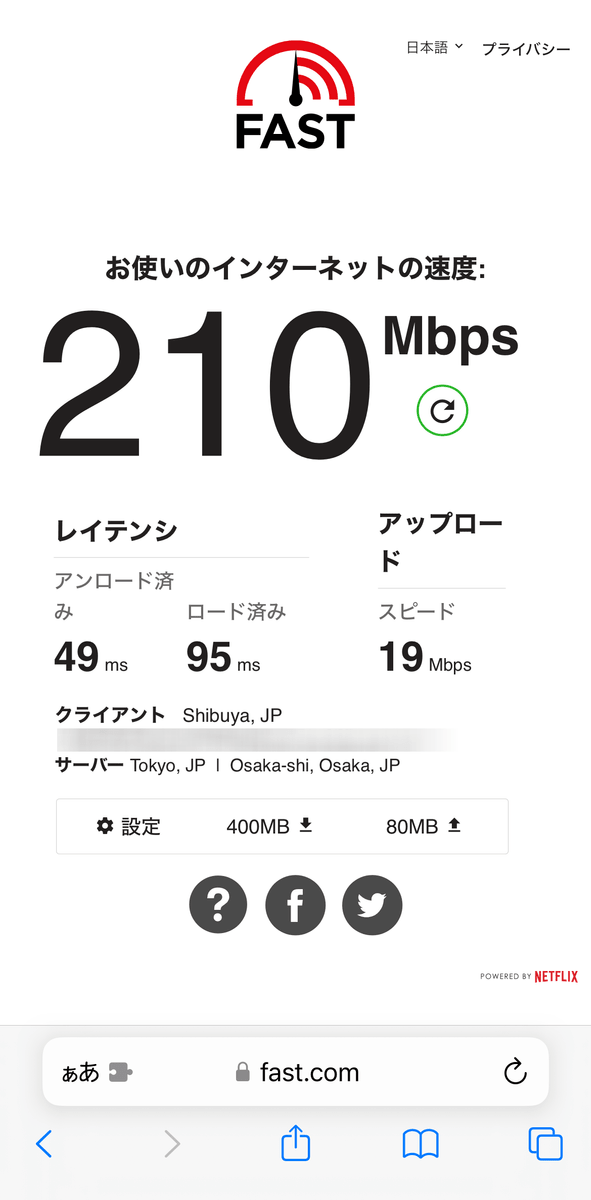
Measurement results from Fast.com at the same time. There was a big difference between the results measured with the Starlink official app and the results measured externally. It is unclear whether the app actually displays the speed between the router and the device.
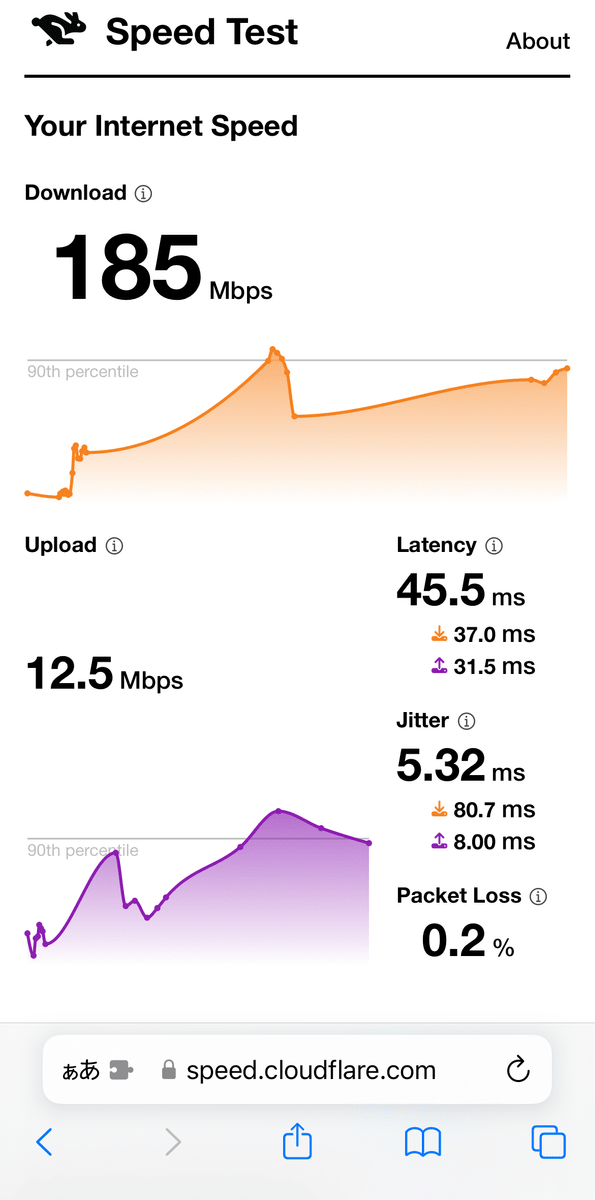
Also Cloudflare. The result was that the upload was a little slow.
Introducing other app functions, what happens when you change from the RESIDENTIAL plan to the ROAM plan, what settings to set when taking the antenna to another location, how hot the antenna itself gets when you activate the 'snow melting function' We plan to post a more detailed review at a later date, including how well it works, and how fast the response is when playing online games.
◆Continued
Will I be able to communicate if I take the satellite internet 'Starlink' kit I purchased at Costco to another location? Review after actually trying it - GIGAZINE

◆Forum now open
A Starlink related forum has been opened on the GIGAZINE official Discord server. Anyone can participate, so please write down what you want to know about Starlink, such as 'I want to know about ○○'!
• Discord | 'The starter kit for the satellite internet 'Starlink' has arrived at the GIGAZINE editorial department, so tell us what you want to know! ' | GIGAZINE
https://discord.com/channels/1037961069903216680/1170875696697049108

Related Posts: