A video that disassembled the 'iPhone 14 Pro Max' immediately appeared, and the high-performance camera module and large-capacity battery were naked
The YouTube channel PBKreviews disassembled the “
Apple iPhone 14 Pro Max Disassembly Teardown Repair Video Review-YouTube
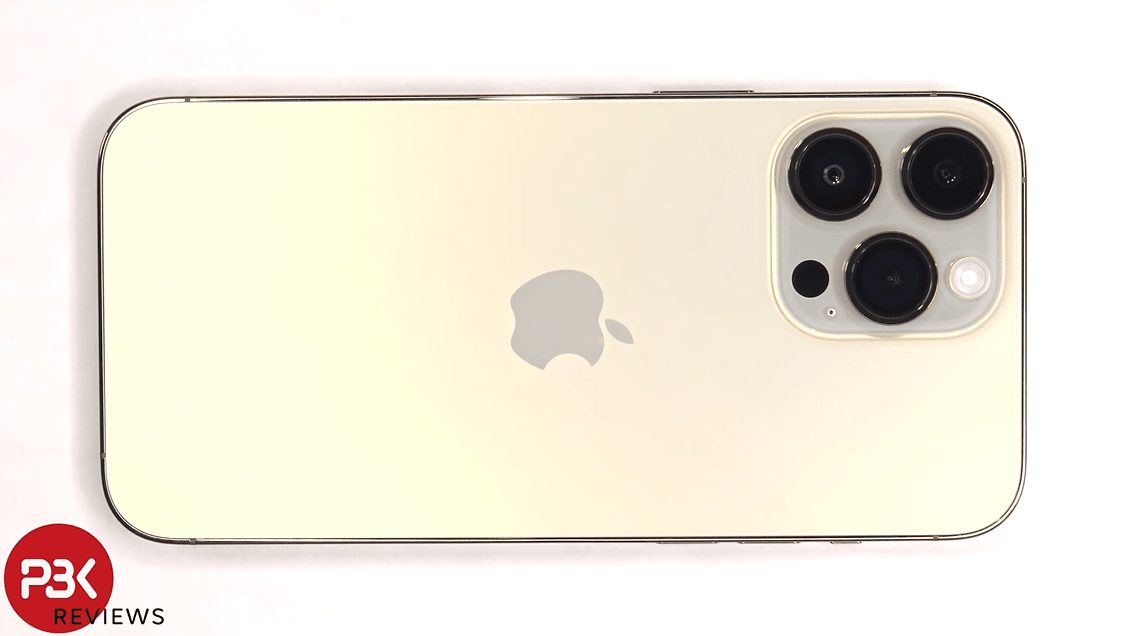
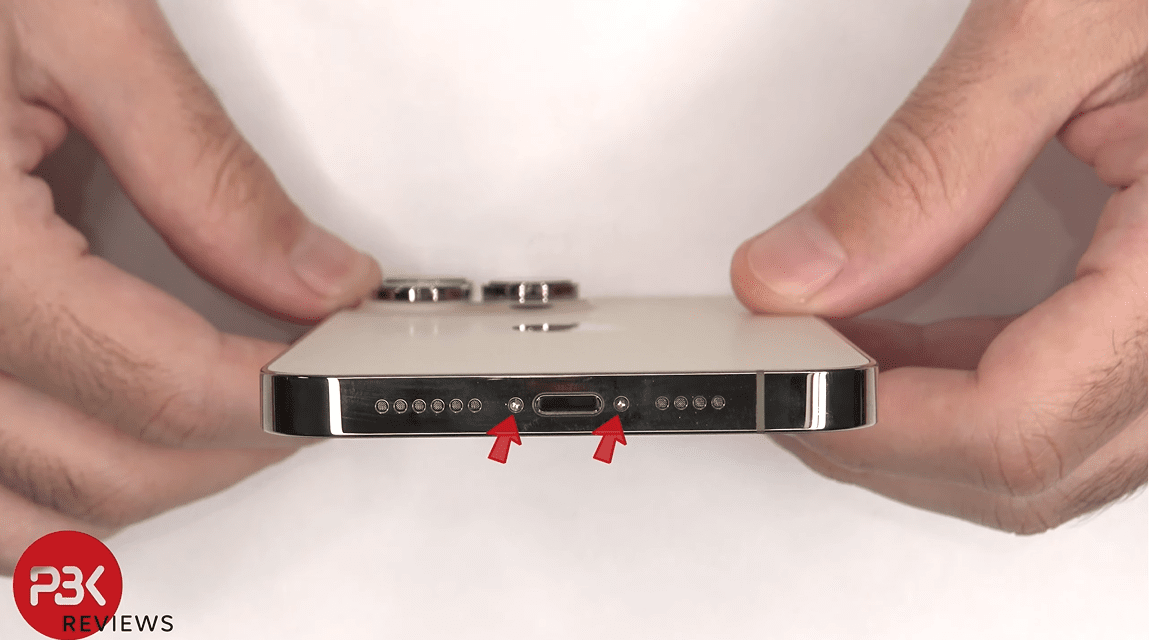
Here is the iPhone 14 Pro Max prepared by PBKreviews.
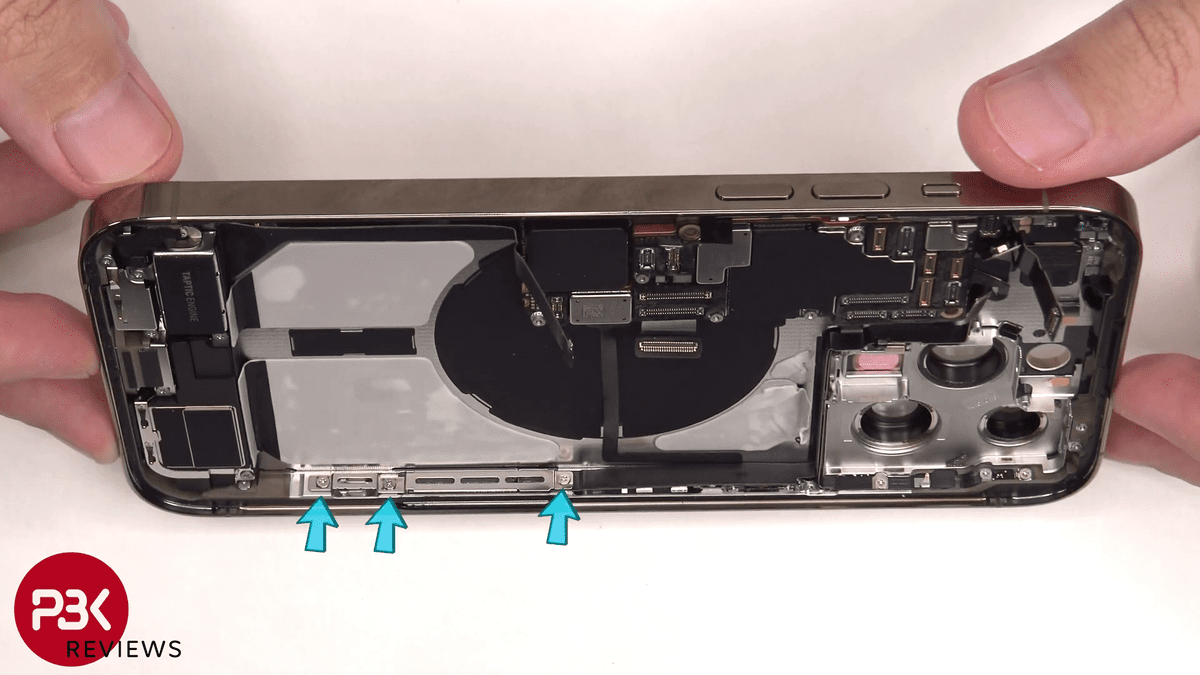
First, remove the two screws on the bottom of the main unit.
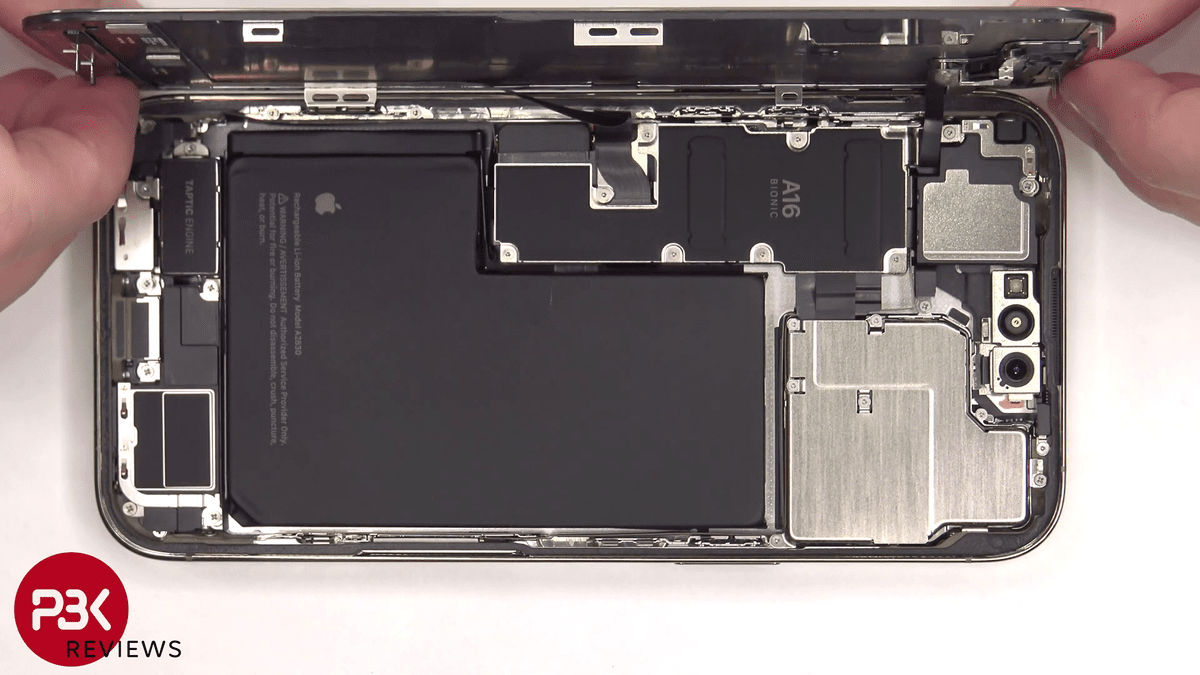
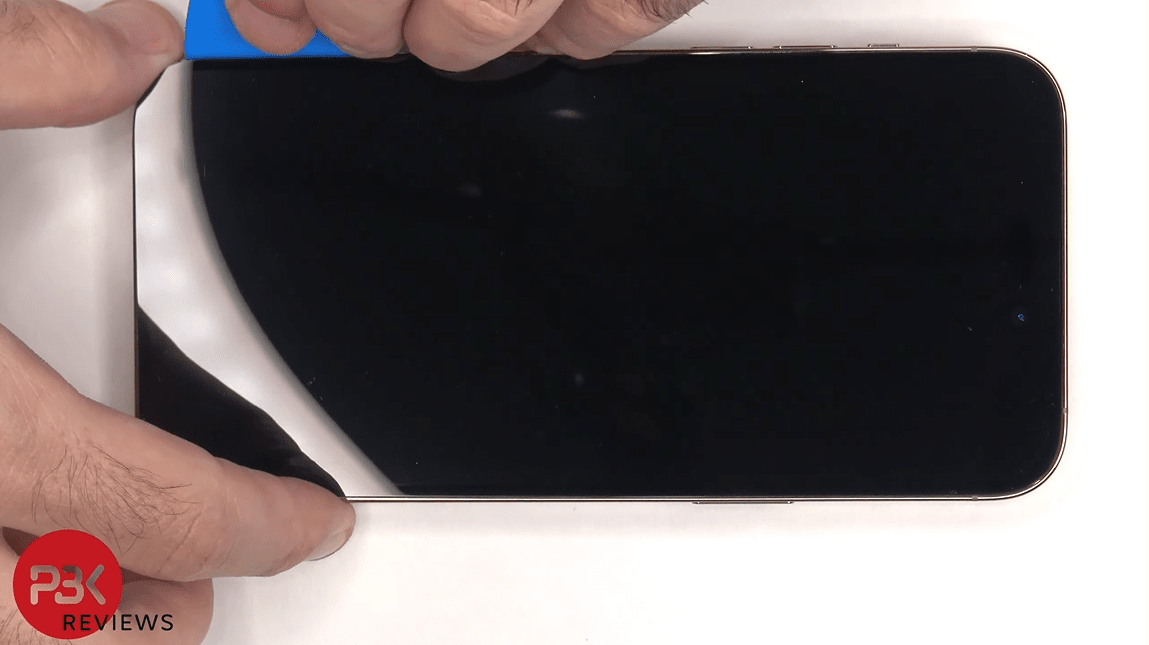
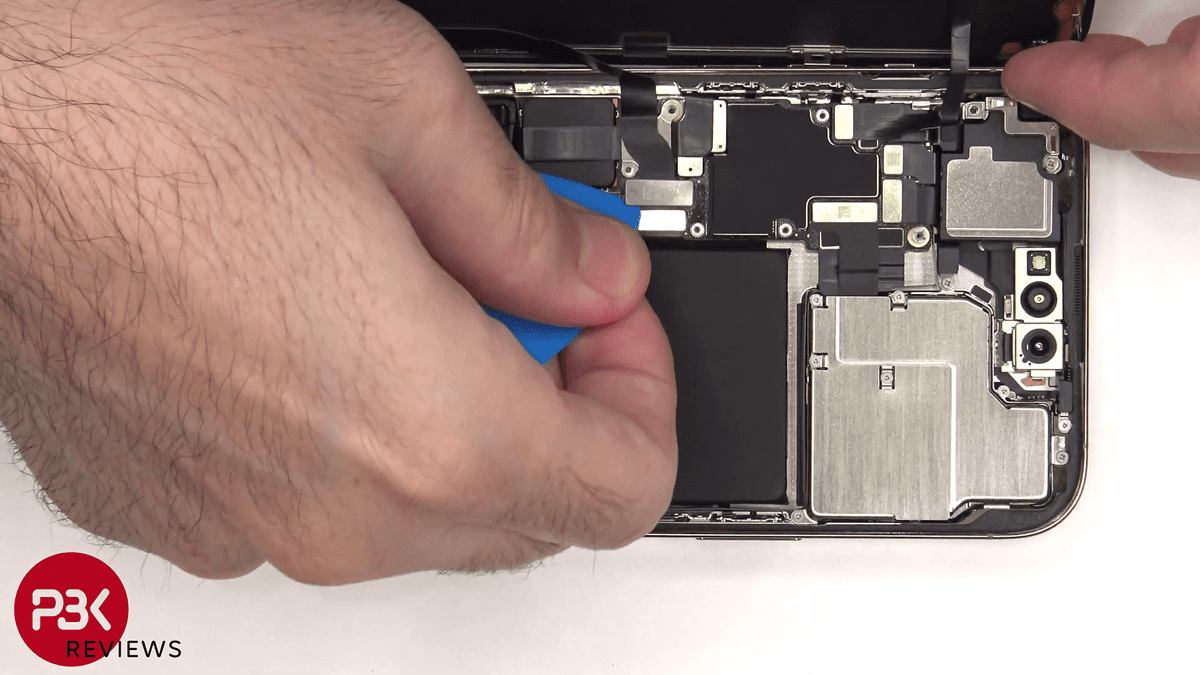
Then use a spatula to lift the display.
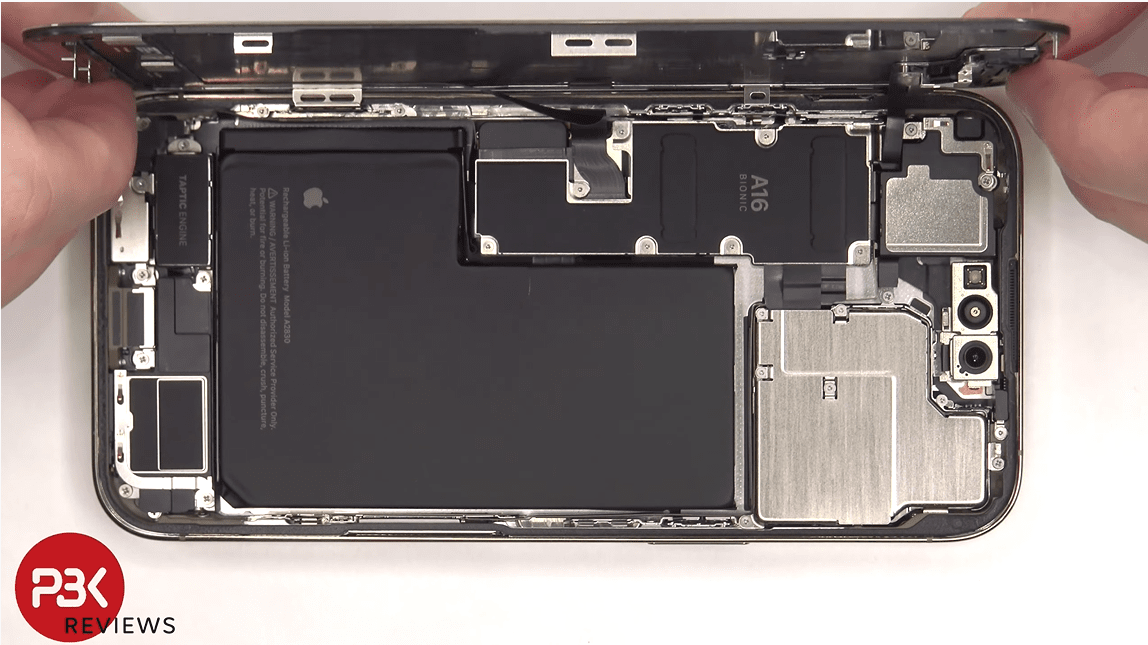
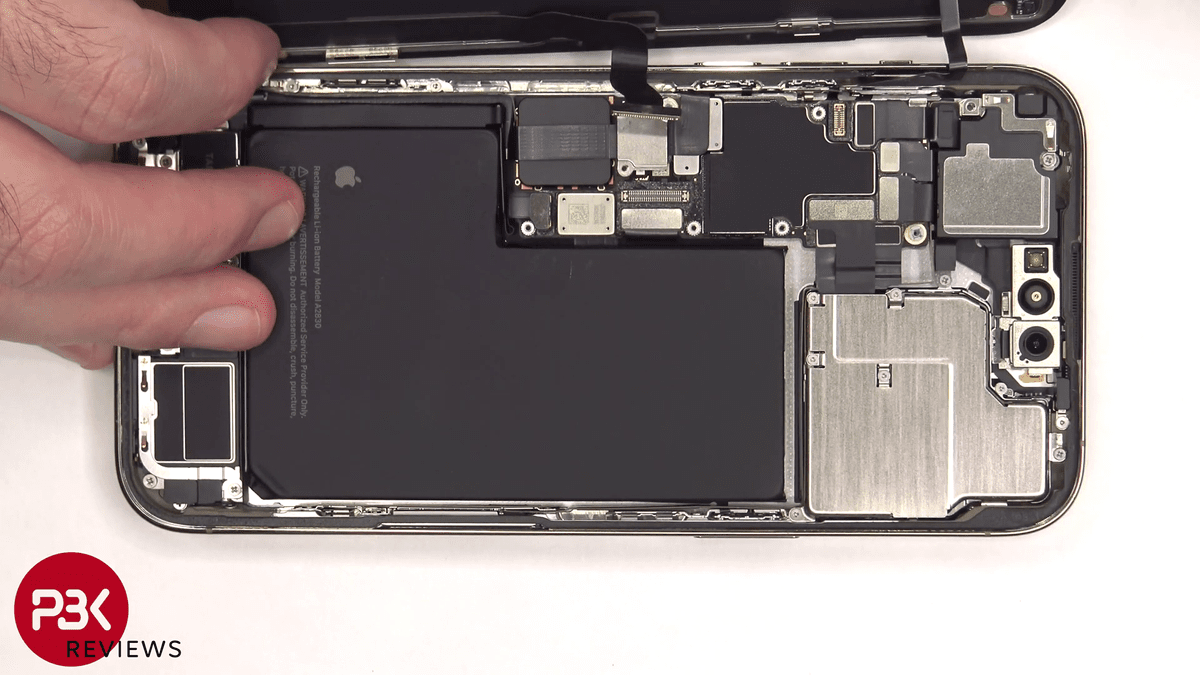
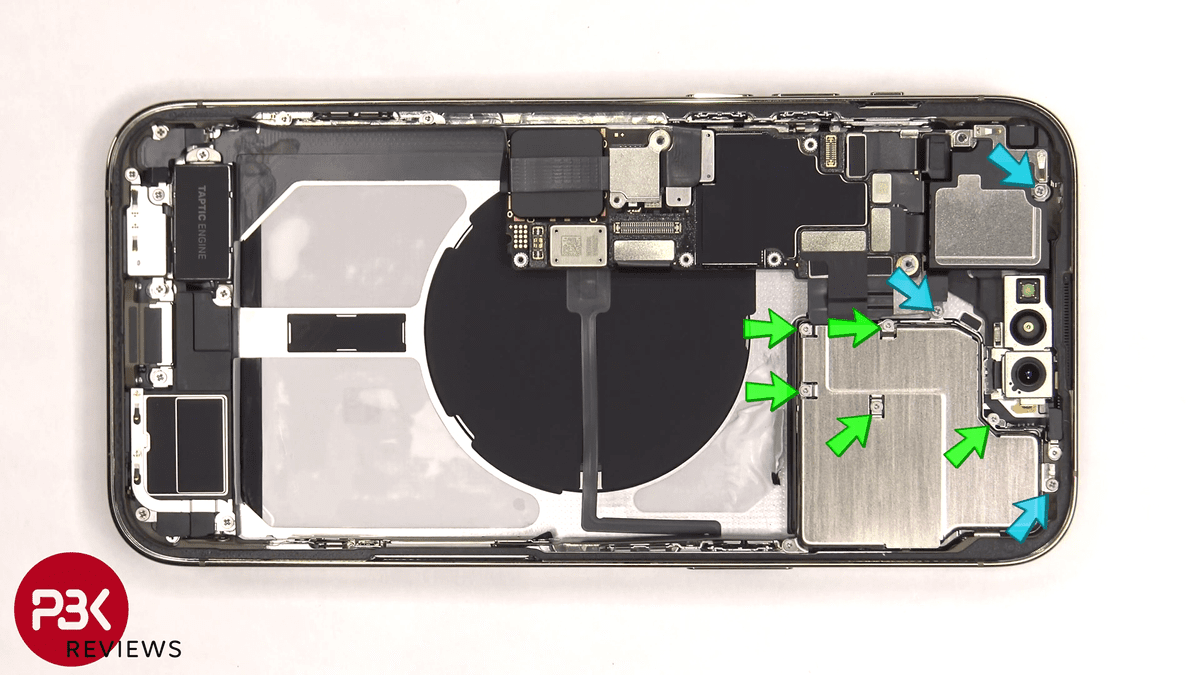
Contents is like this. You can see the battery, which occupies most of the visible range, the chip written as '
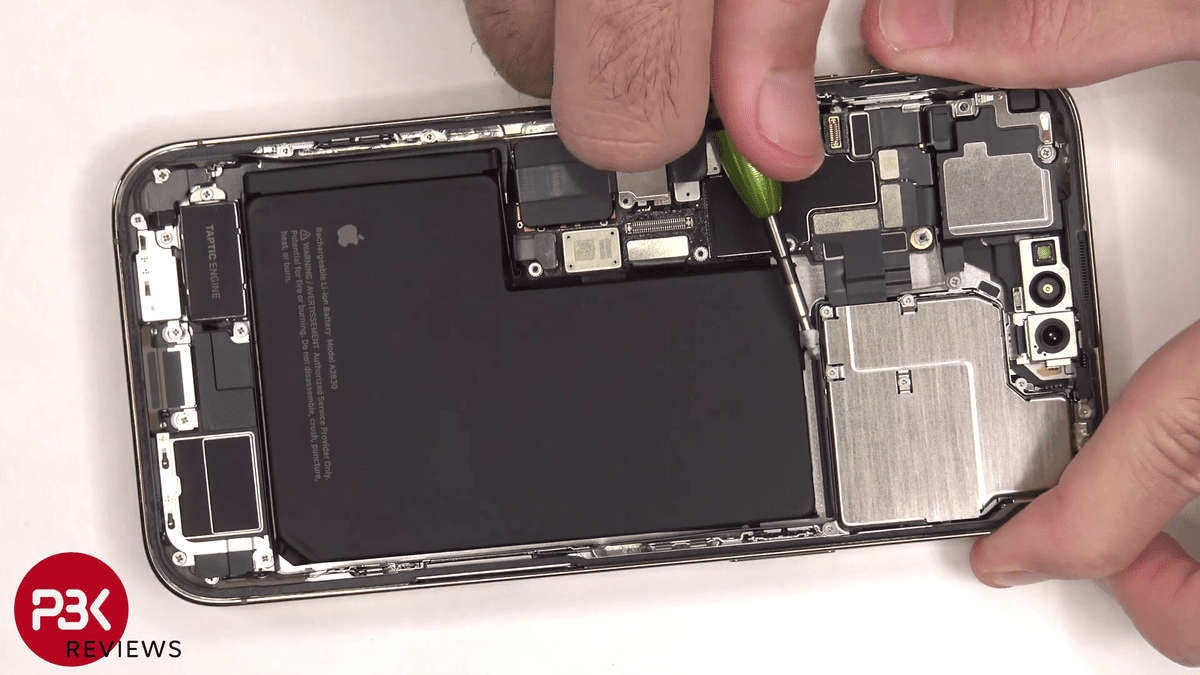
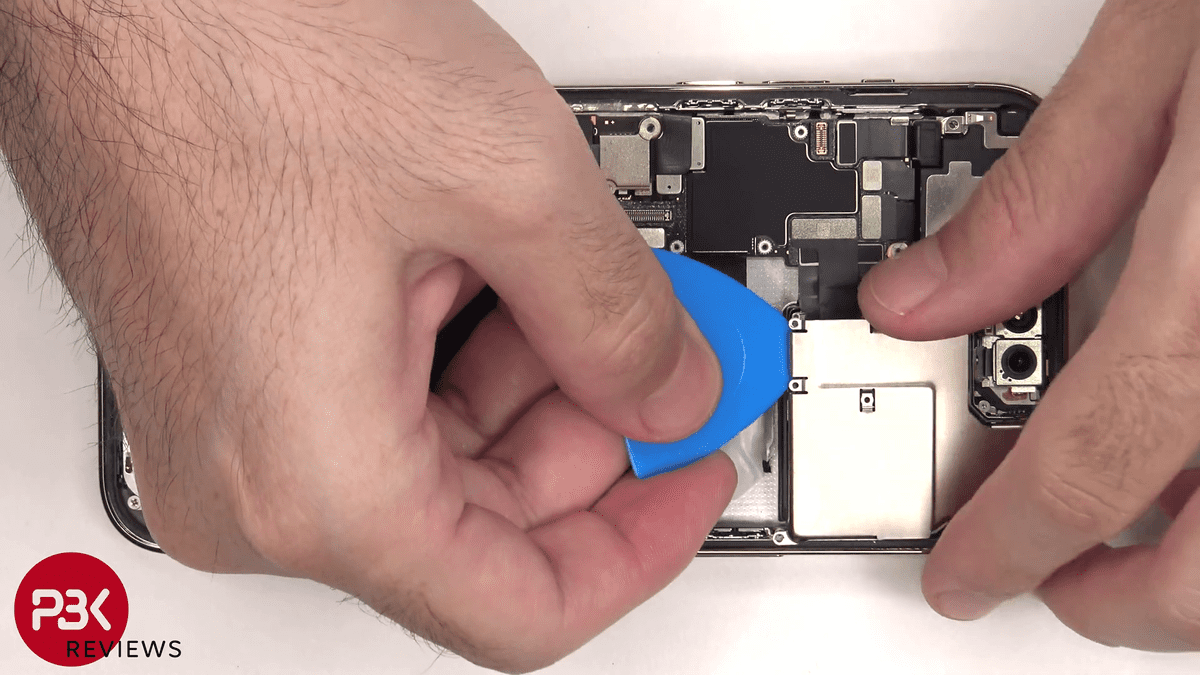
PBKreviews takes the teardown further. If you remove all the screws surrounding the chip ......
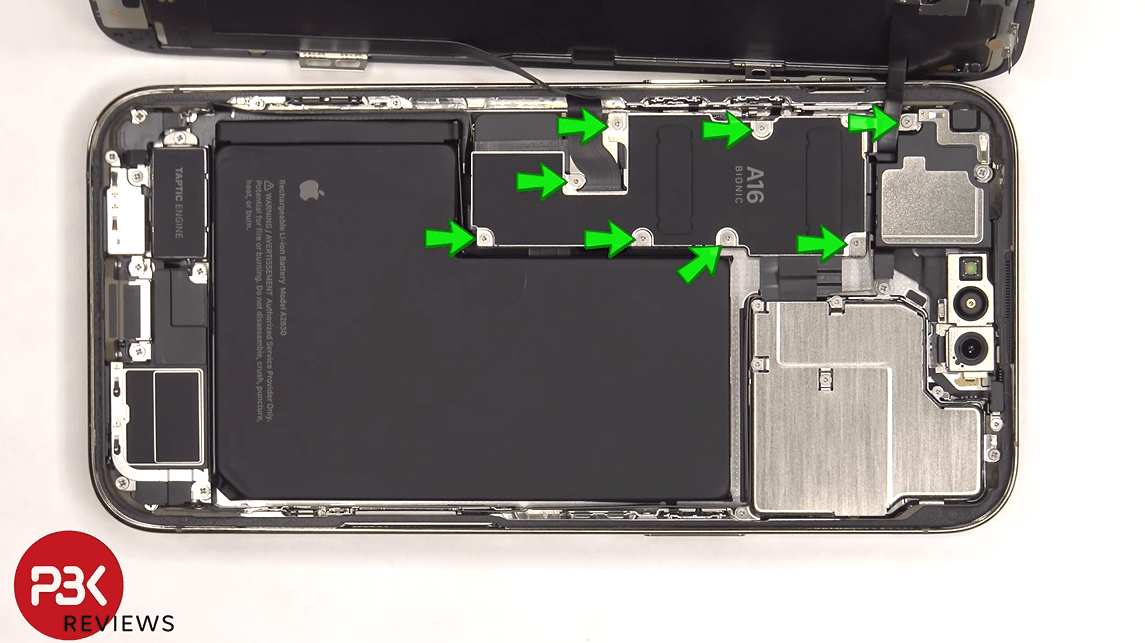
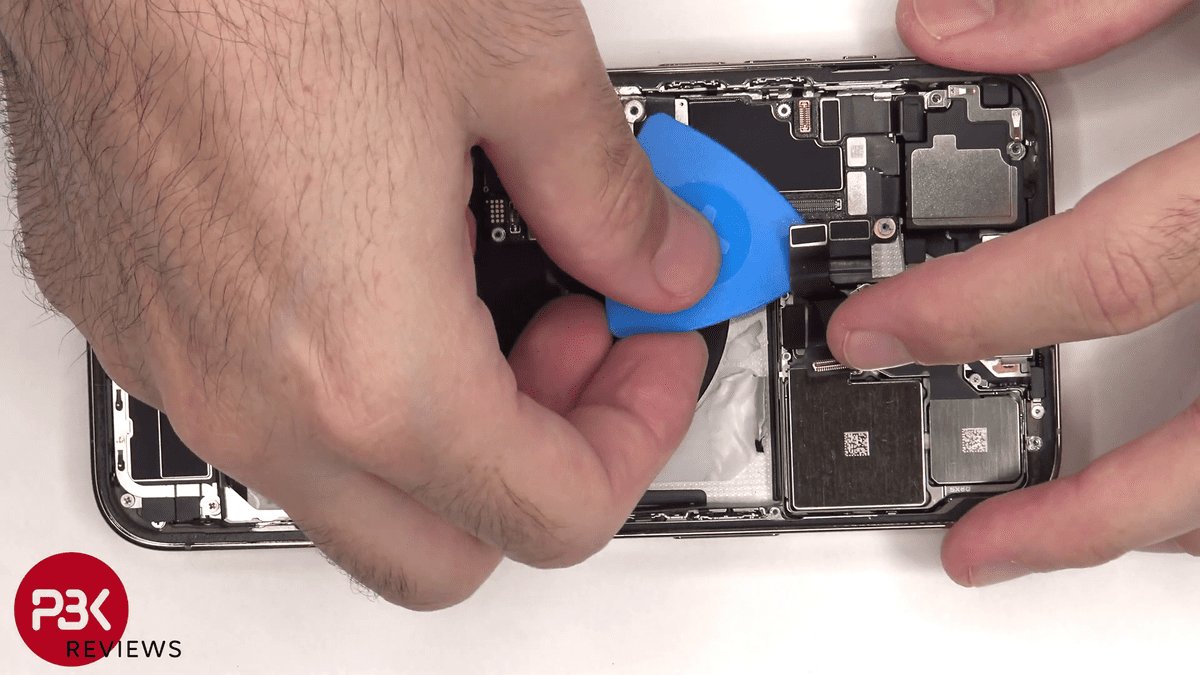
I can take out the chip. The black part is a
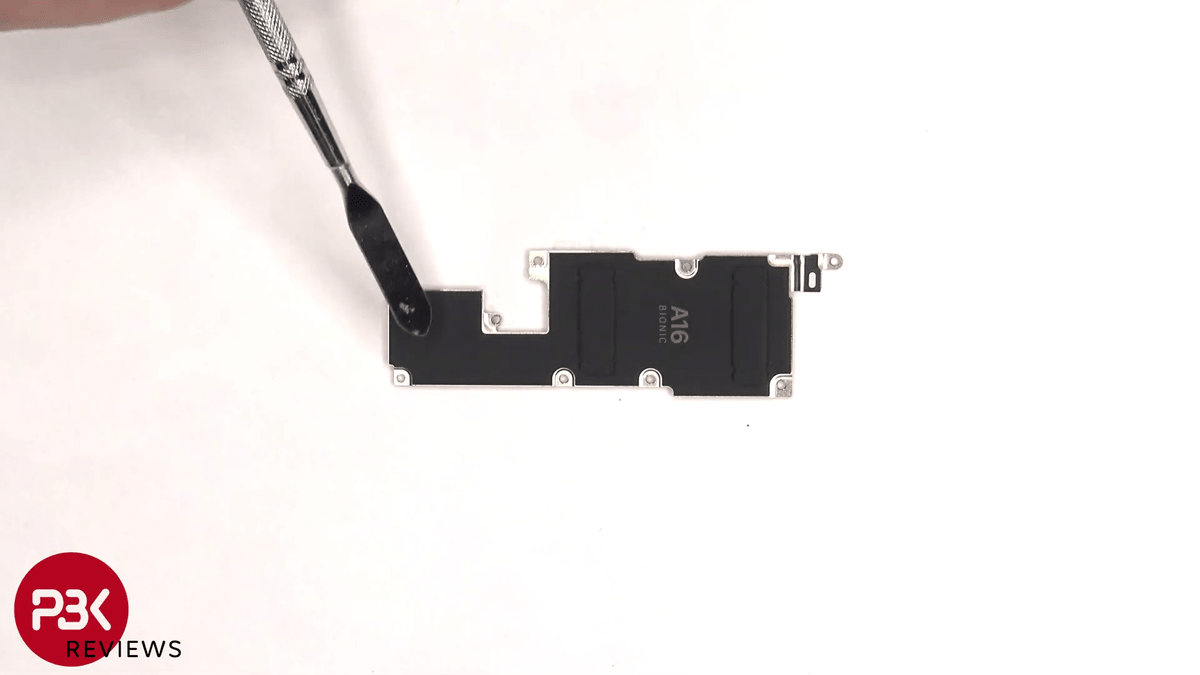
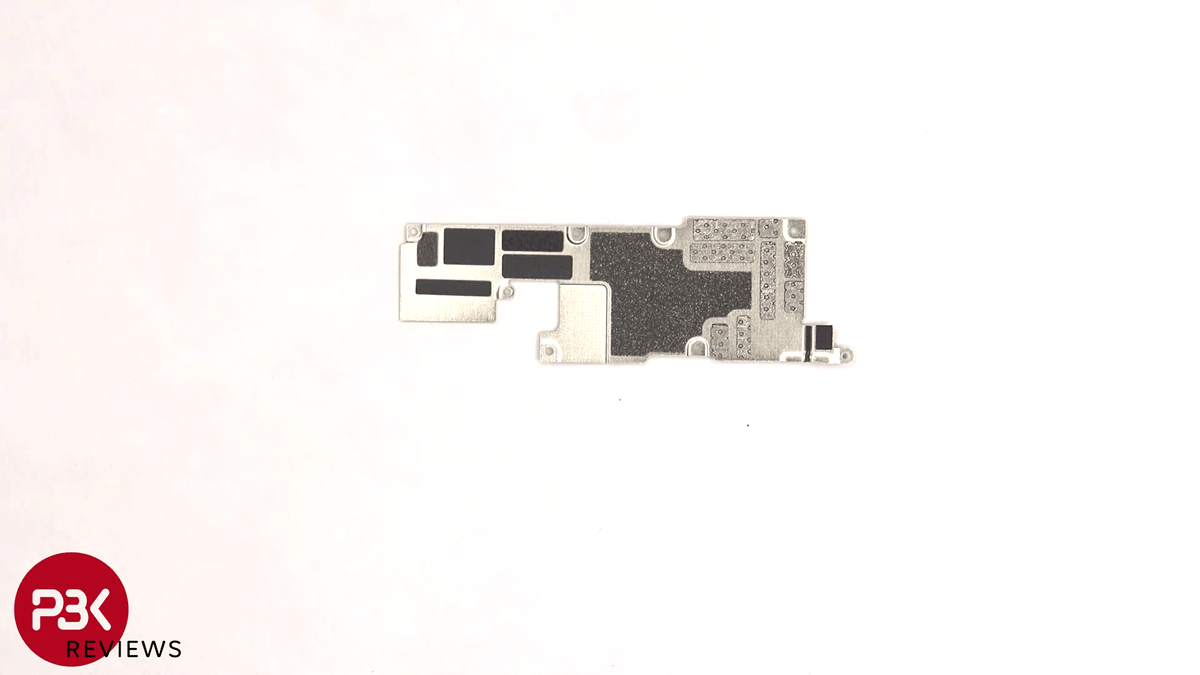
The back side looks like this.
Next, remove the cable fixing the display ......
Remove the display completely.
The back side of the display looks like this. It also has a graphite pad.
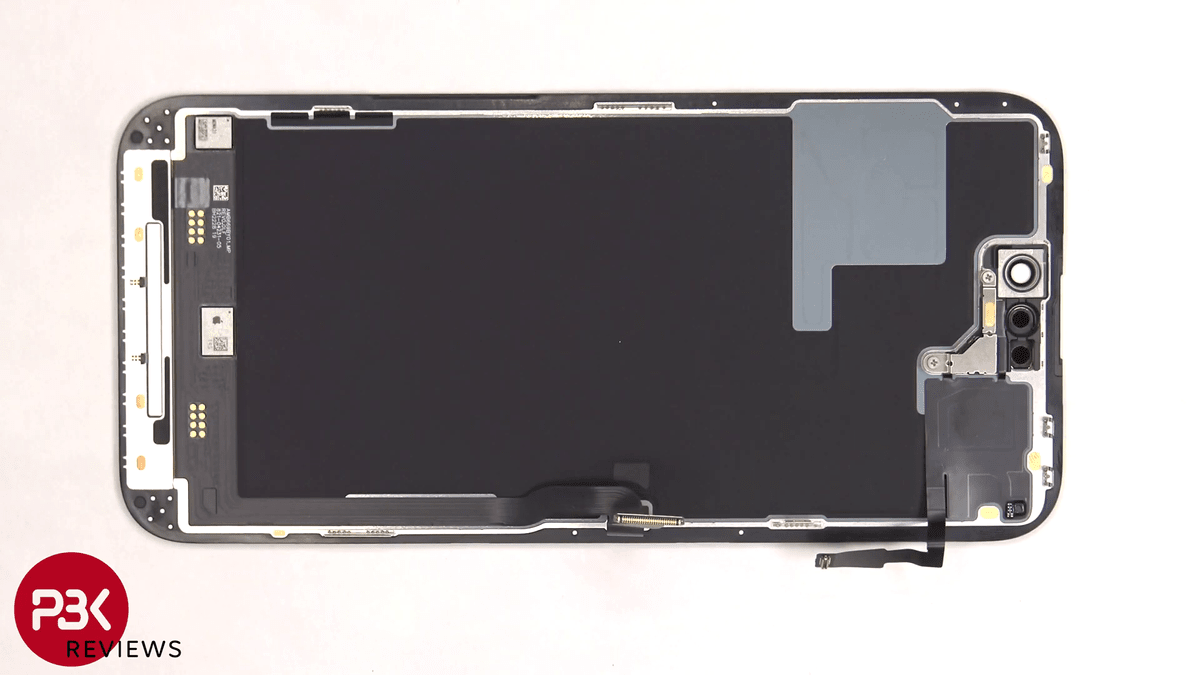
There are light and proximity sensors in the corners.
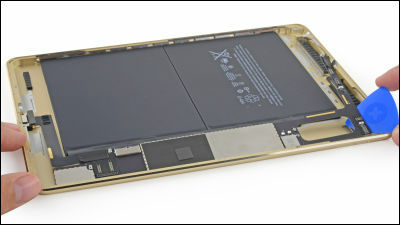
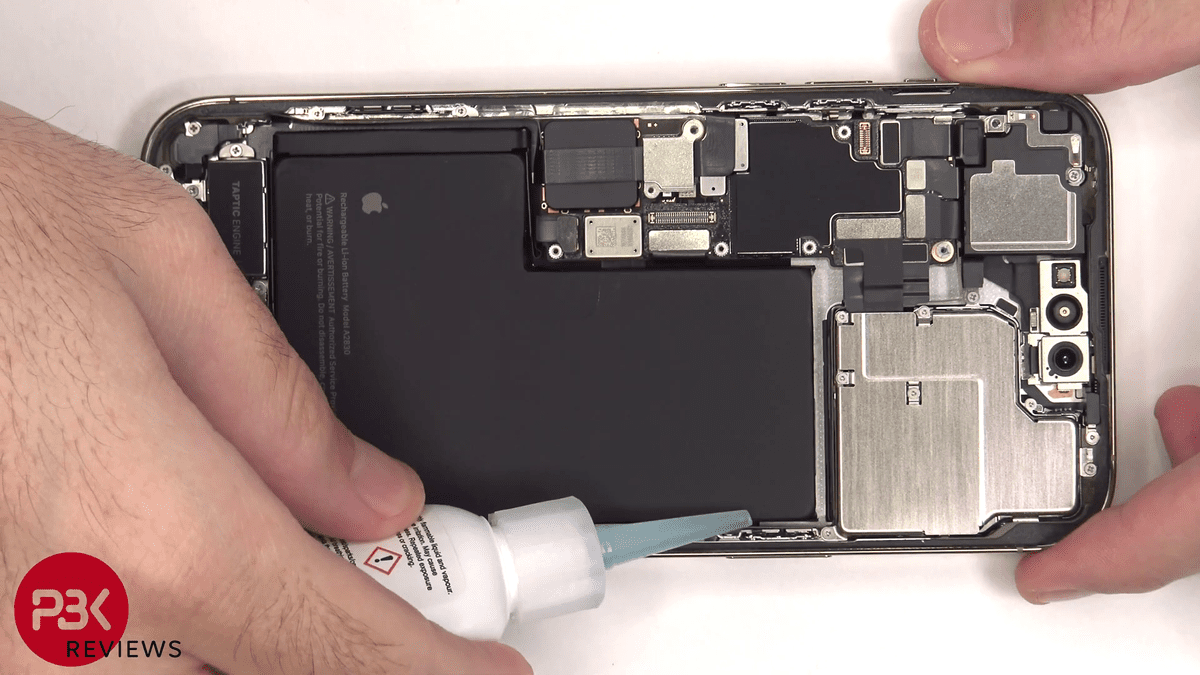
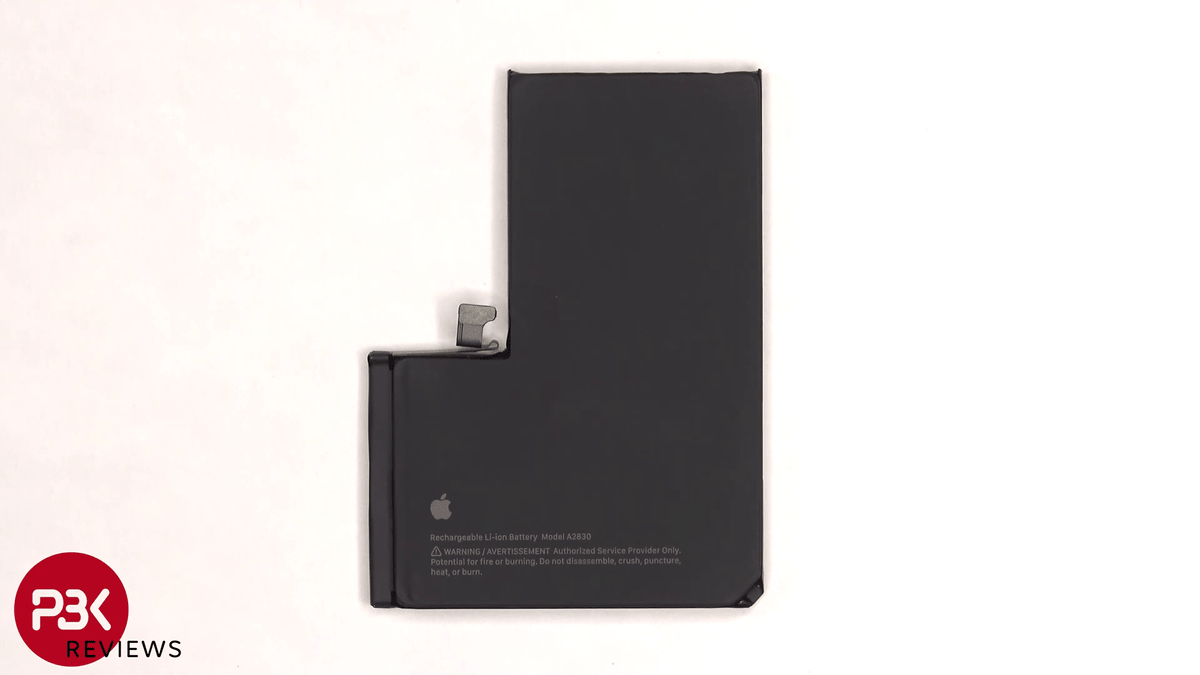
Then remove the battery. Adhesive substance is attached around the battery, and it is difficult to remove it as it is ......
It seems that it is necessary to drop isopropyl alcohol and leave it for 30 to 60 seconds.
The removed battery looks like this. A capacity of 4323mAh is realized in this size.
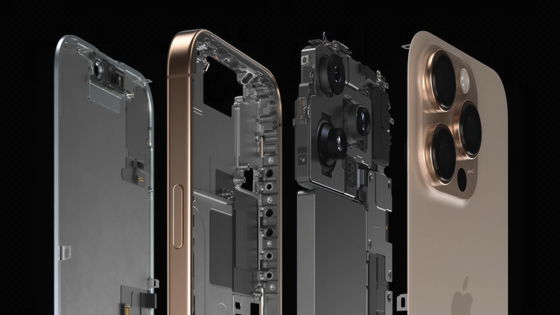
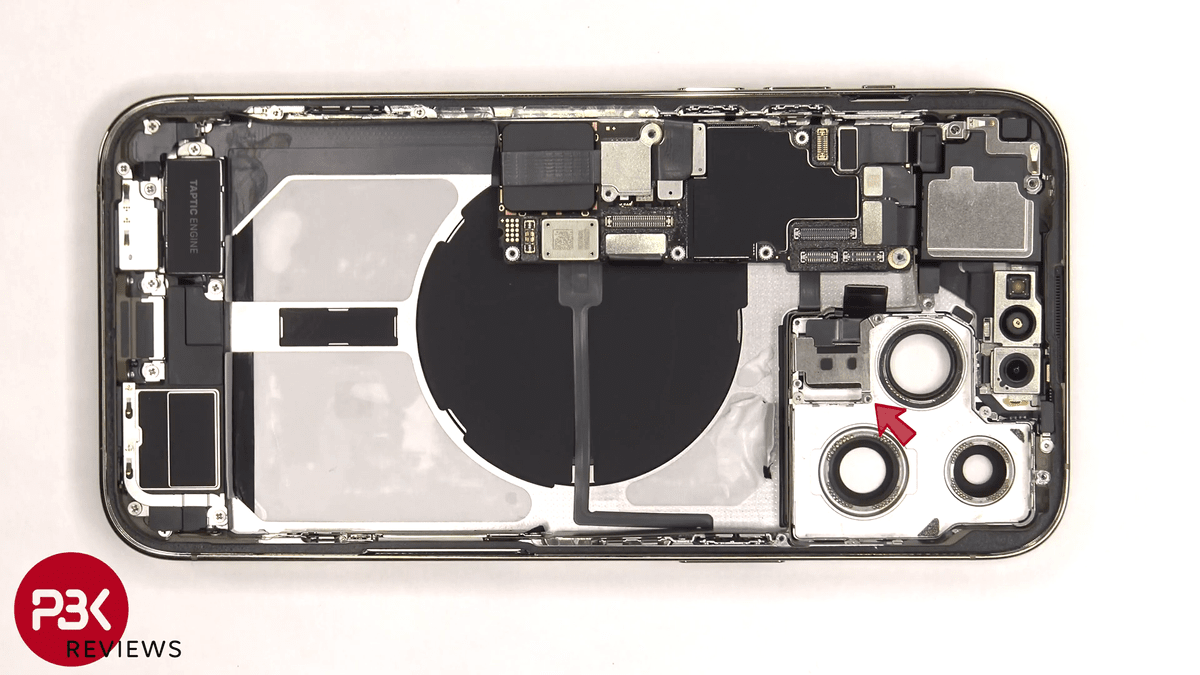
Now remove the camera. First, remove the total eight screws at the top of the main unit.
Next remove the metal plate ......
Remove the connector.
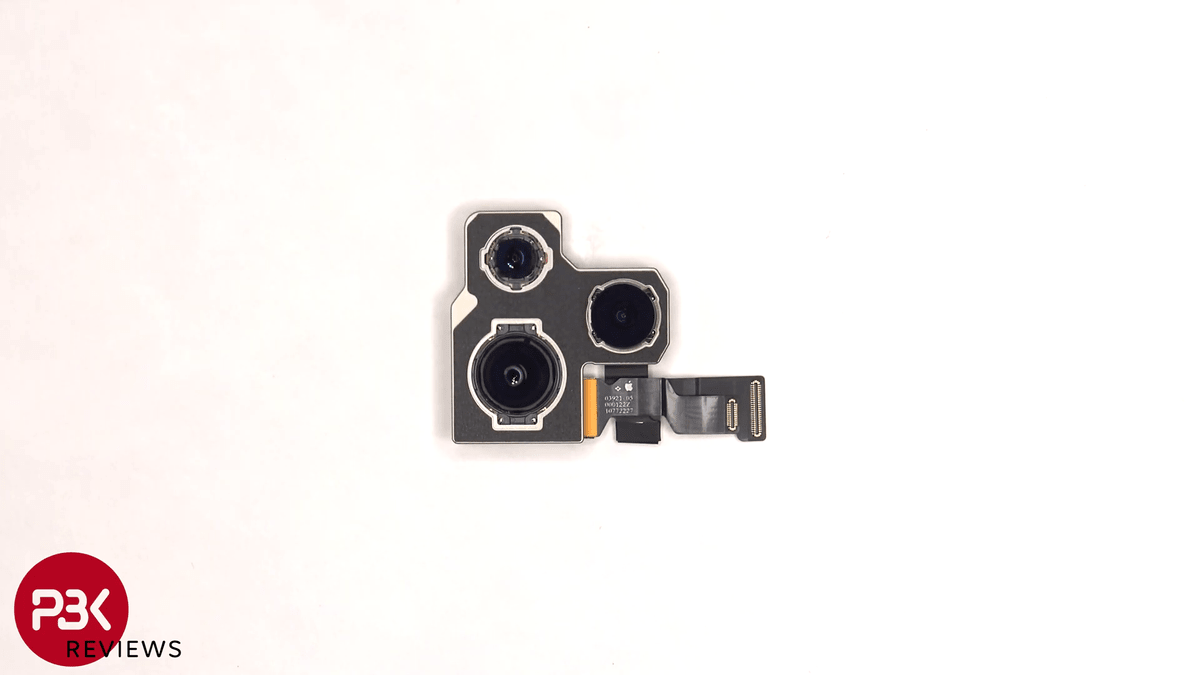
Now you can remove the camera.

The camera and sensor assembly looks like this. The largest camera is the 48MP main camera, the top is a 12MP telephoto camera, and the right side is a 12MP ultra wide-angle camera.
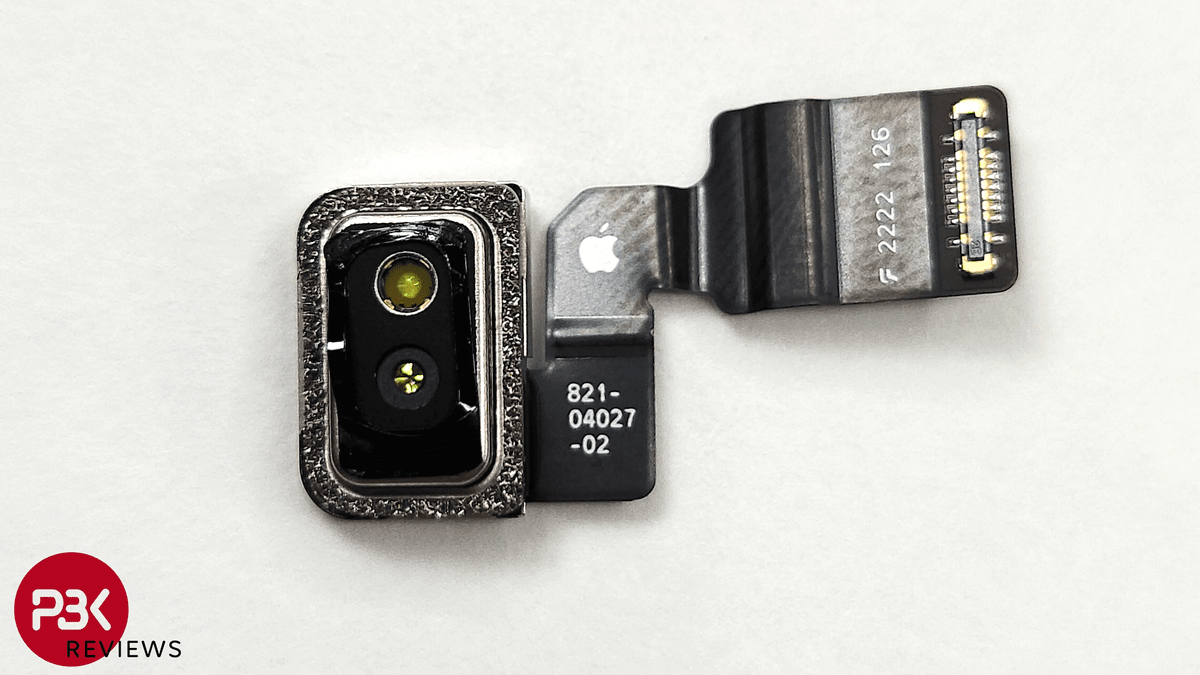
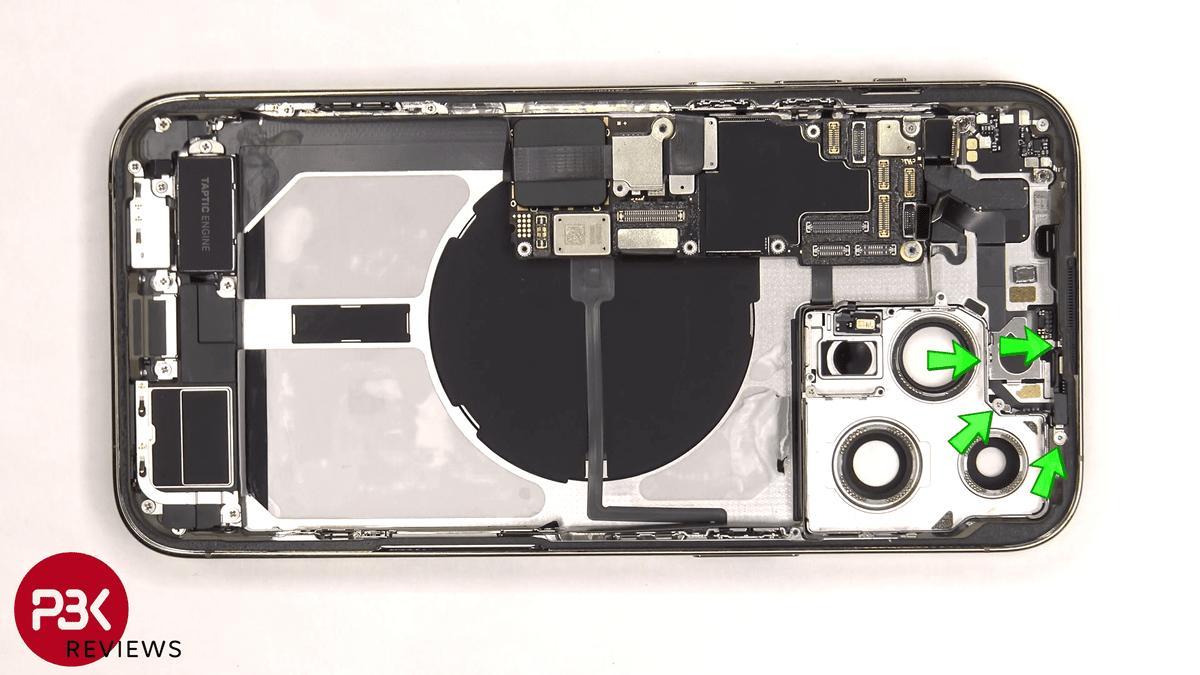
Next, when you remove the screw near the camera ......
You can remove the
The metal plate that PBKreviews touches is the speaker.
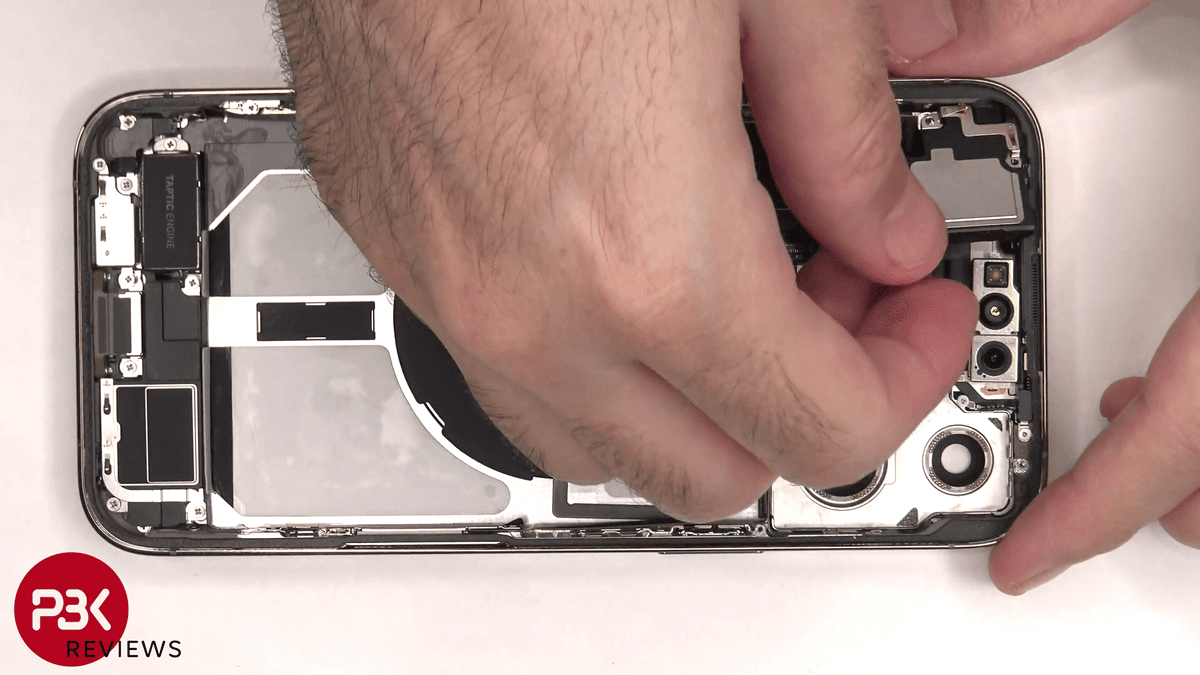
It looks like this.
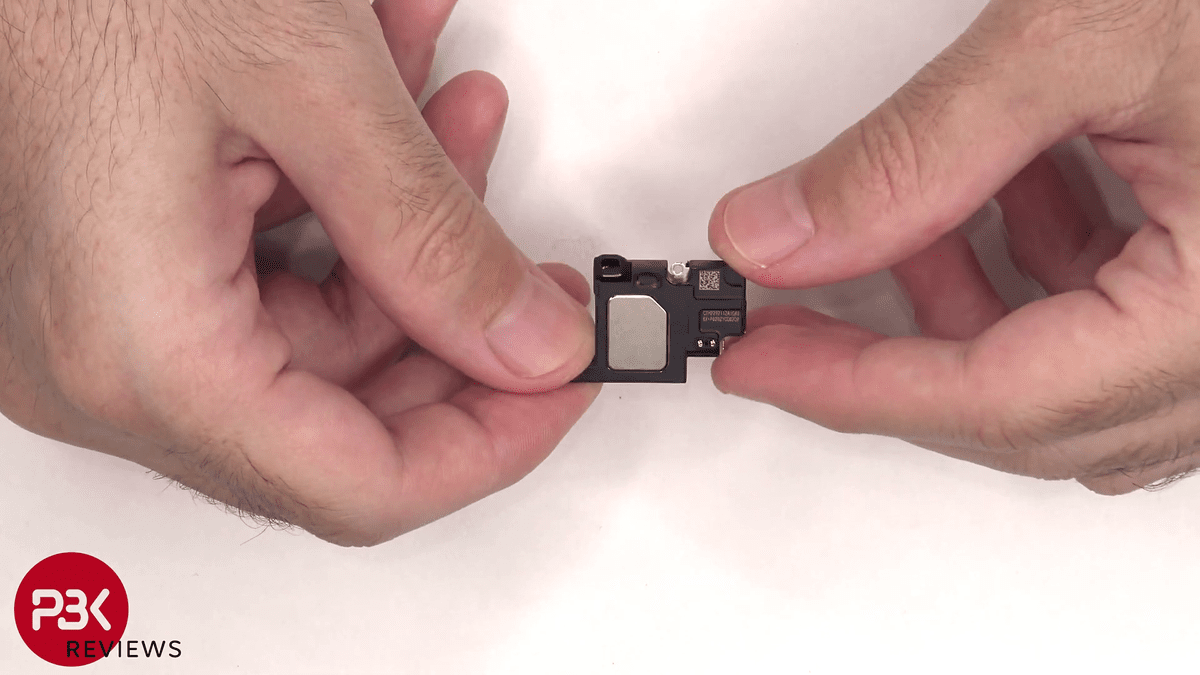
LED lights are also placed near the LiDAR scanner and camera.
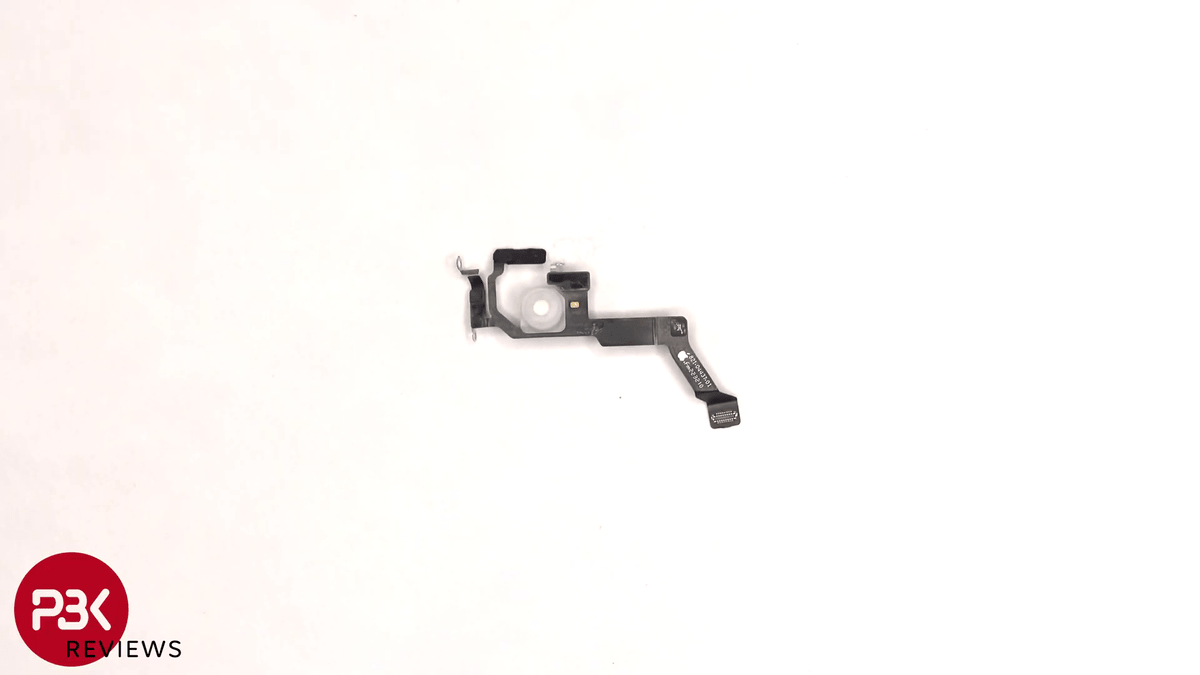
This is how I removed it. A microphone is also installed at one end of the cable.
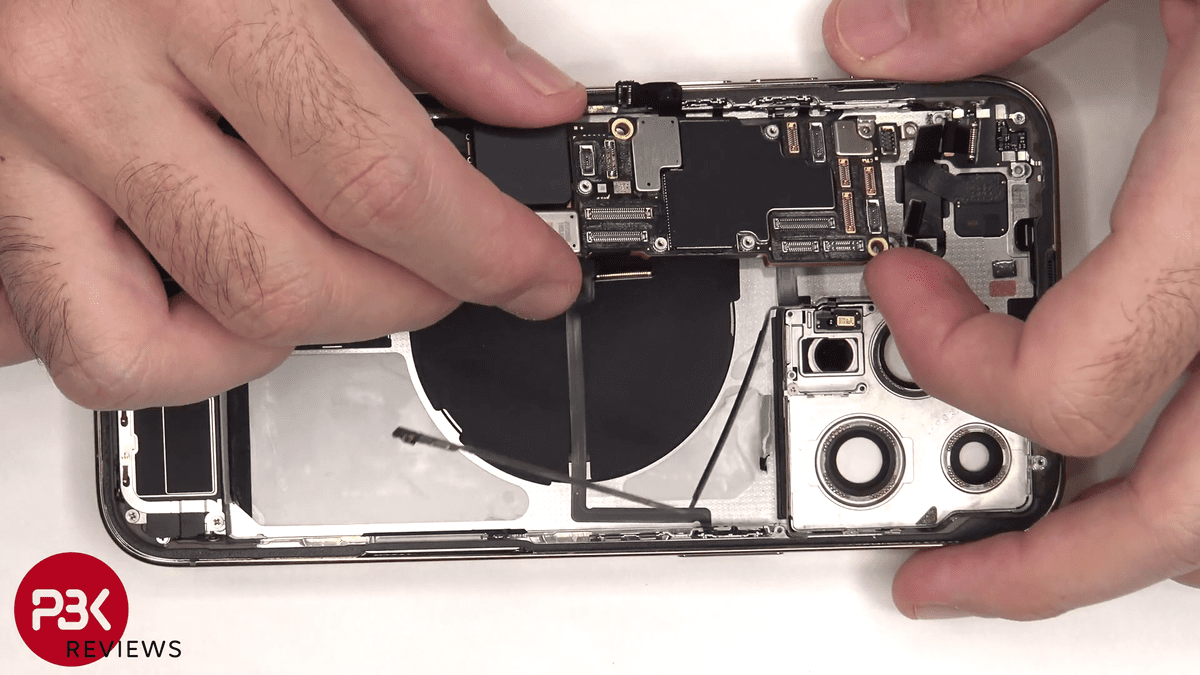
The rest is the motherboard. Remove some cables and screws ......
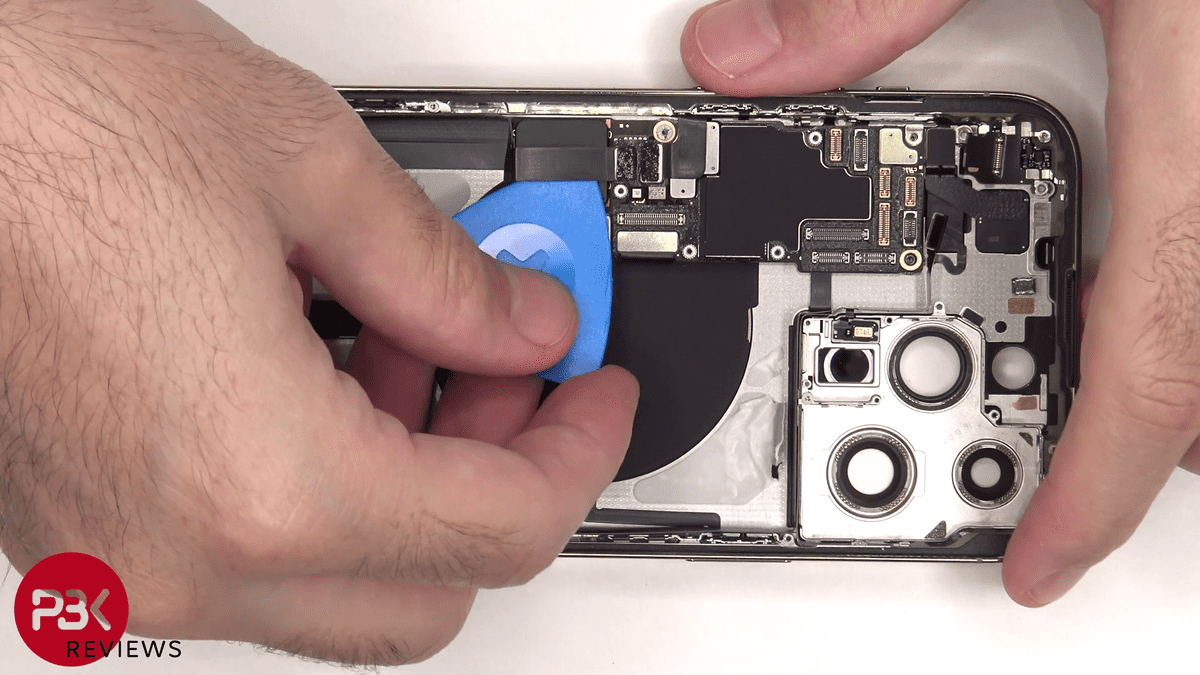
Furthermore, remove the screws attached to the side of the main unit. It has a 5G antenna here.
Now you can finally remove the motherboard.
It looks like this.
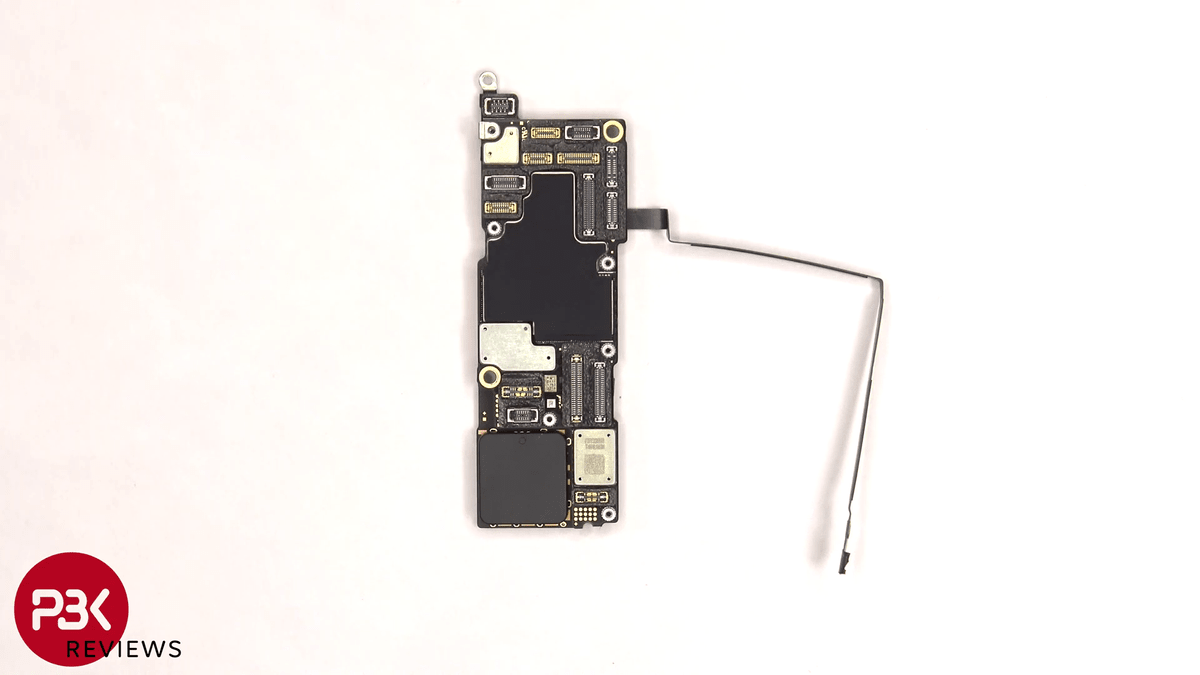
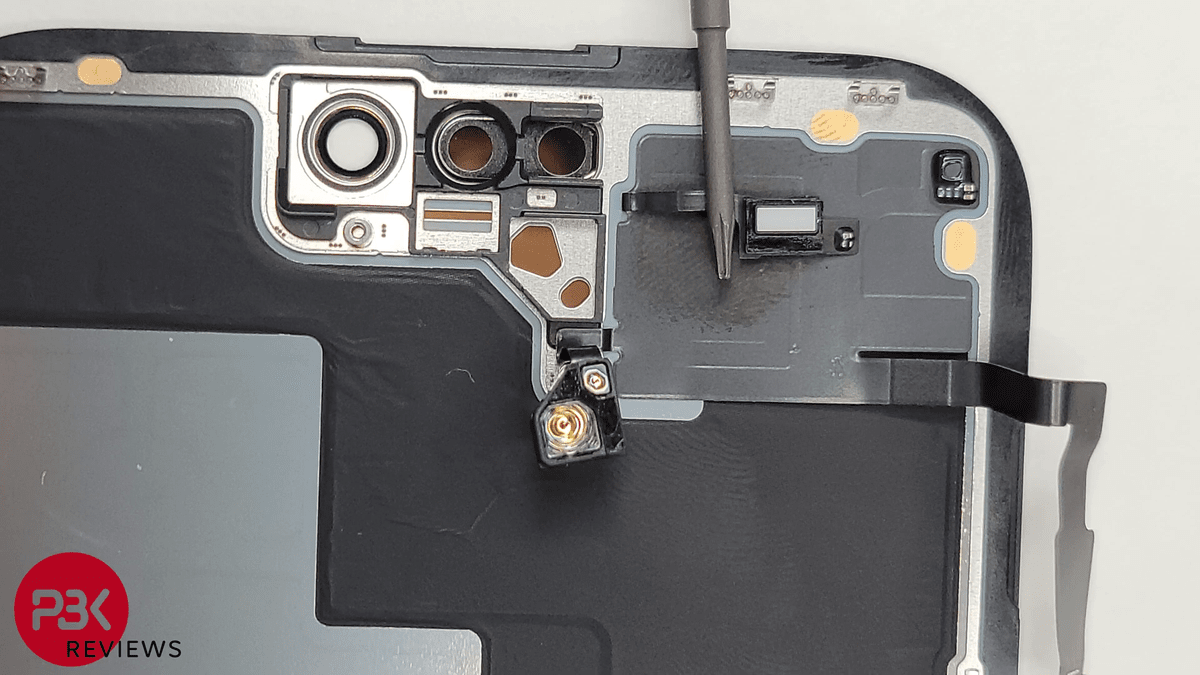
There is also another antenna near the camera.
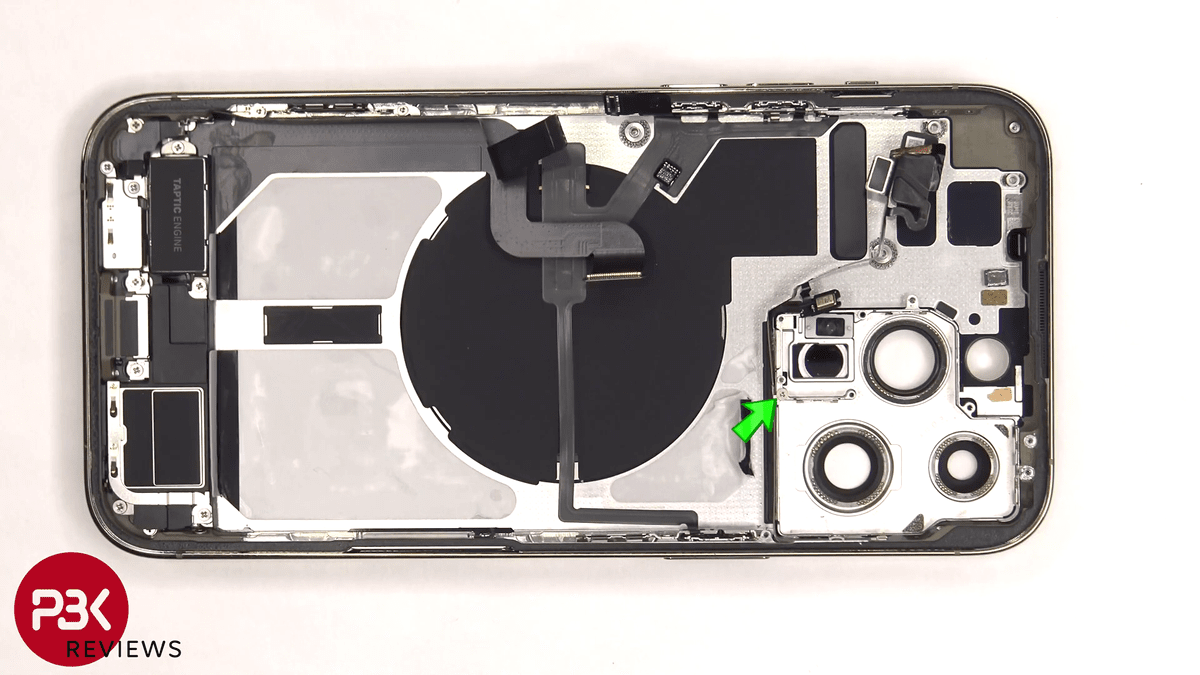
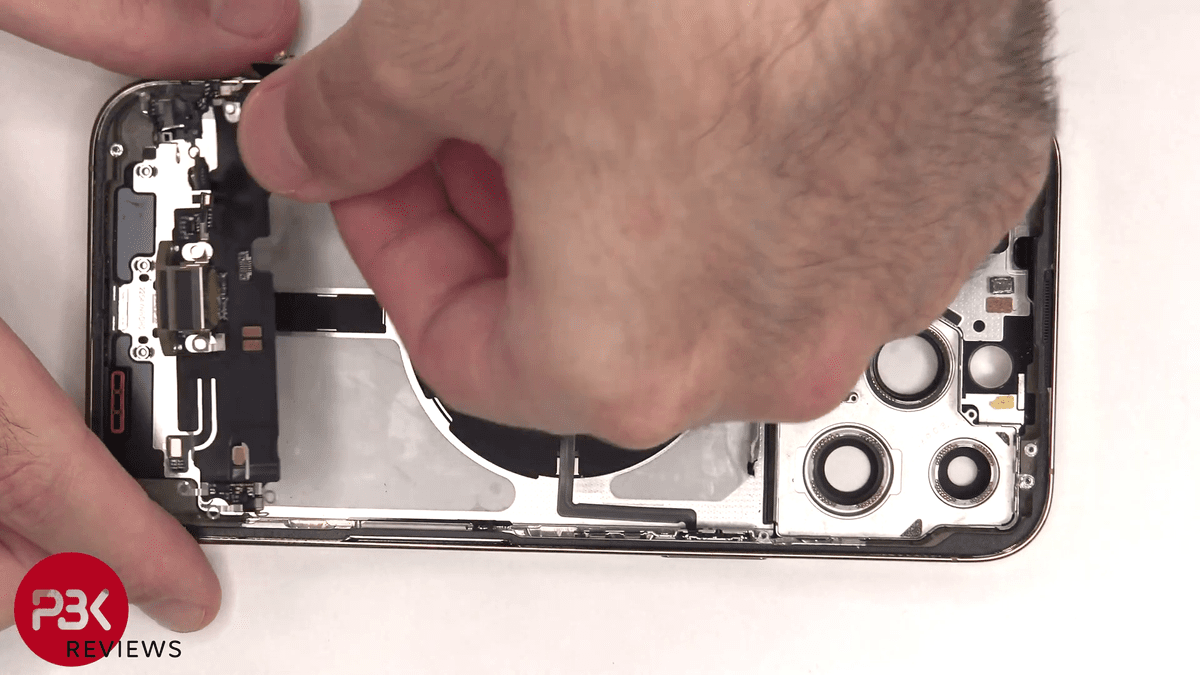
At the bottom of the body is the main speaker assembly.
There is also a taptic engine that generates vibrations near the speaker.
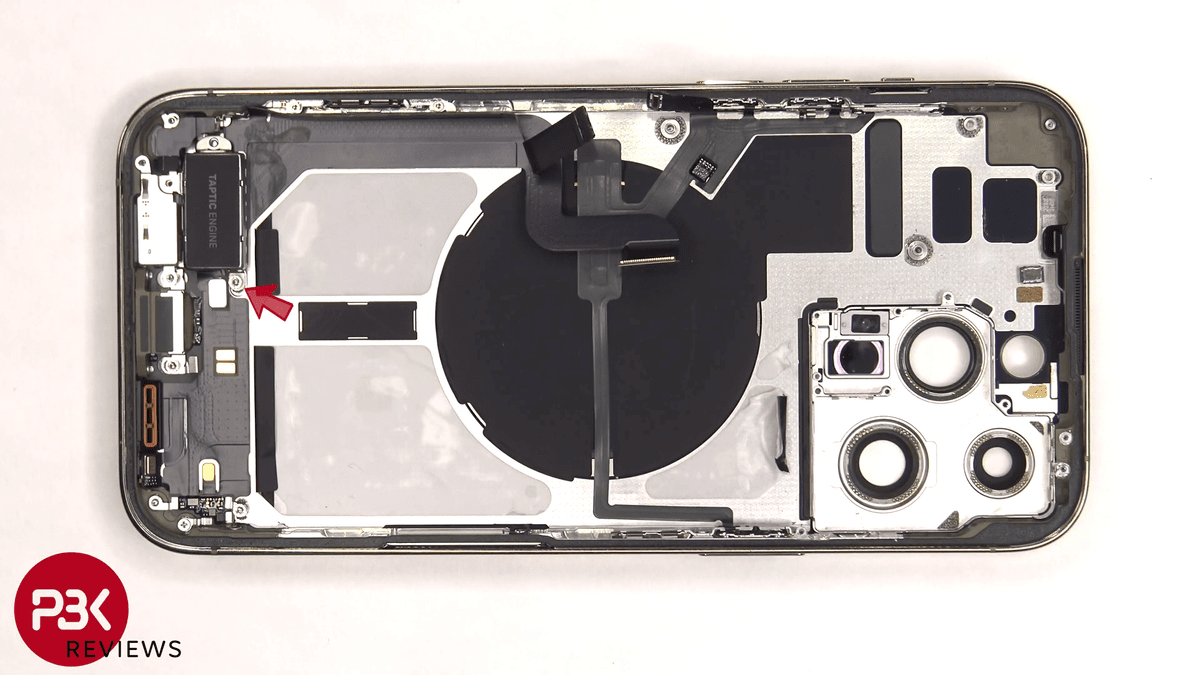
In addition, parts with an antenna assembly and a microphone are also provided at the bottom of the main unit.
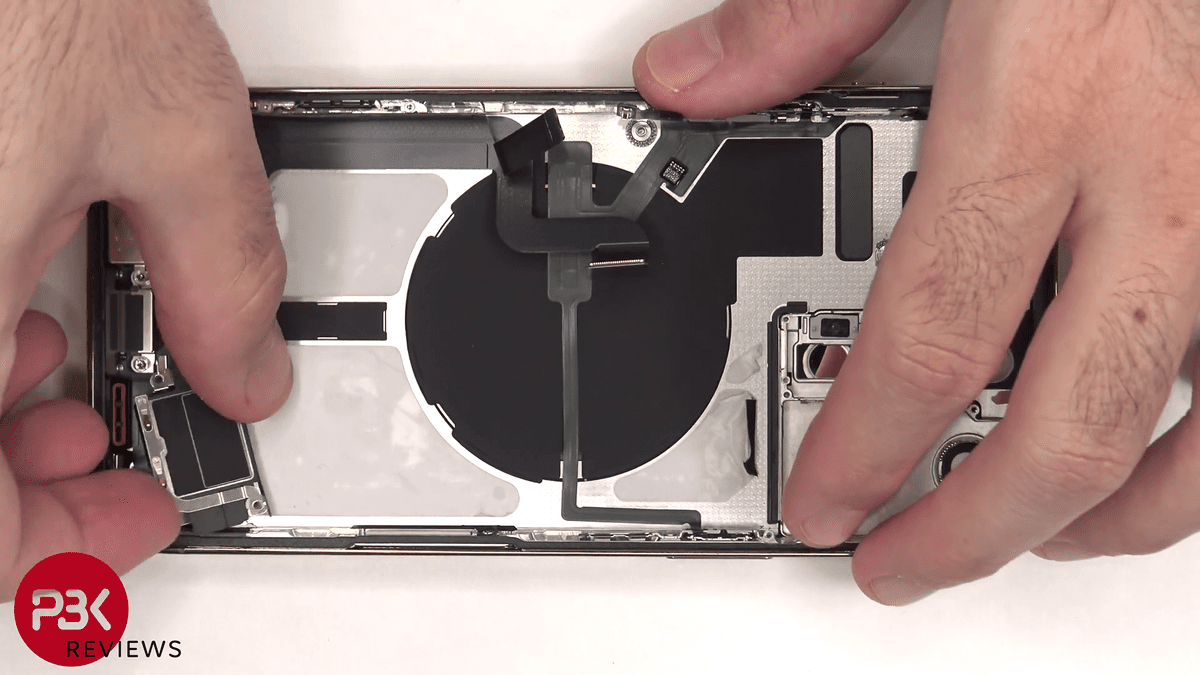
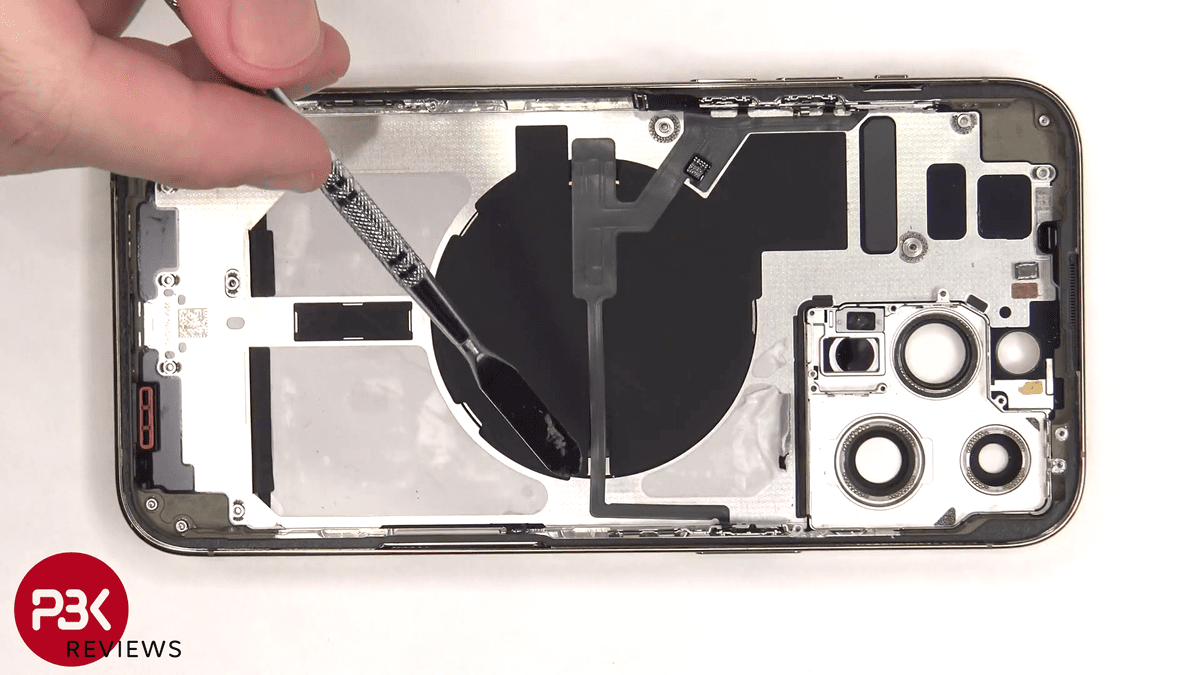
It seems that the cable left on the bottom layer is used for wireless charging.
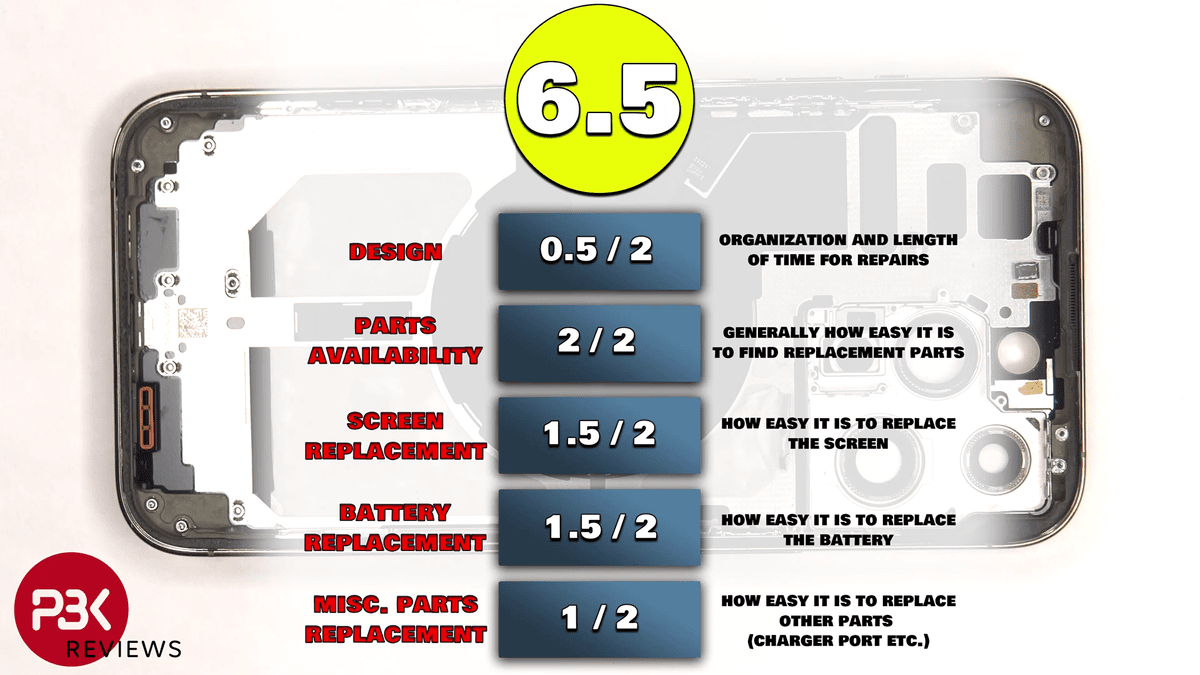
Having access to all the parts, PBKreviews gave it a repairability score of 6.5 out of 10. Perhaps because Apple has
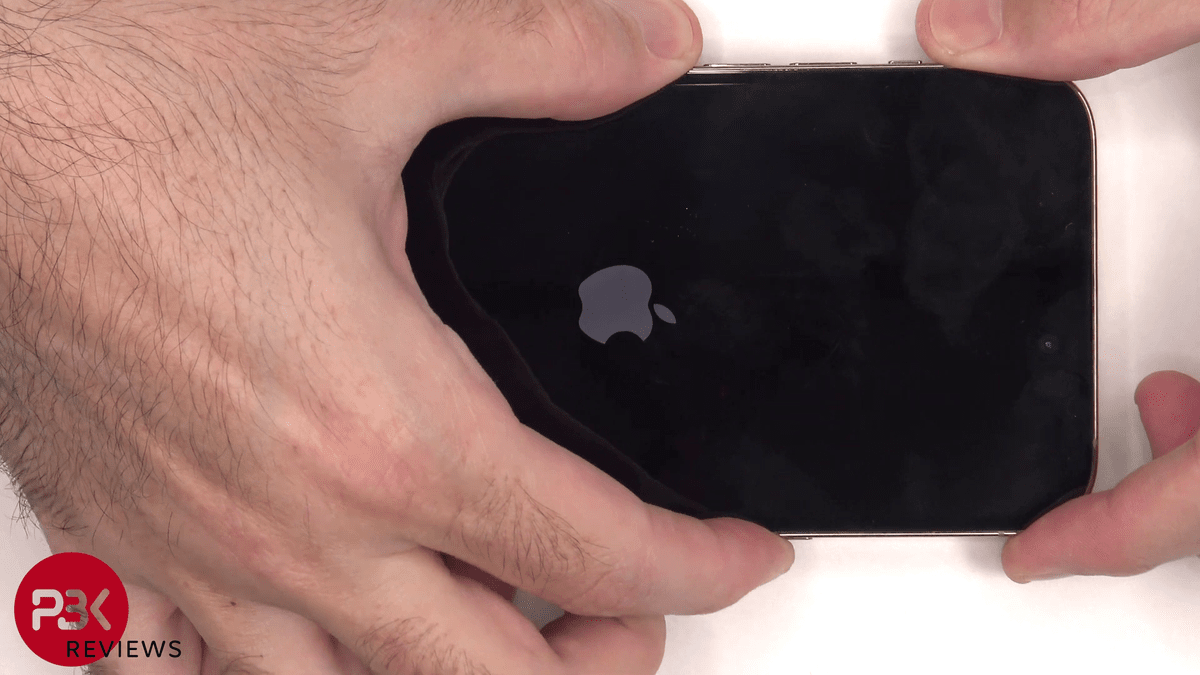
Finally PBKreviews restores all the parts ......

I finished by powering on the main unit.
Related Posts: