Summary of how to use image generation AI 'Stable Diffusion' for free and without waiting time even on low-spec PC
The image generation AI ``
Stable Diffusion with ???? Diffusers
https://huggingface.co/blog/stable_diffusion
Start with Google Colab Stable Diffusion v1.4|npaka|note
https://note.com/npaka/n/ndd549d2ce556
An example of generating an image with Stable Diffusion can be found in the following article. In the following article, images are generated using the official demo of Stable Diffusion, but in the official demo, a waiting time of several minutes may occur when generating images. Therefore, this time, we will install Stable Diffusion in Colaboratory, which is Google's Python execution environment, and try to realize image generation without waiting time.
AI ``Stable Diffusion'' that creates pictures and photos that look like they were drawn by humans according to keywords has been released to the public, so I tried using it-GIGAZINE
◆ Contents
・ 1: Issue Hugging Face token
・ 2: Preparation for using Stable Diffusion in Colaboratory
・ 3: How to generate an image with Stable Diffusion
◆ 1: Issue Hugging Face tokens
The code and documentation of Stable Diffusion are published on the AI-related community site `` Hugging Face '', and in order to use Stable Diffusion in your own environment, you need to create a Hugging Face account and issue a token.
First, click the link below to access the Stable Diffusion page published on Hugging Face.
CompVis/stable-diffusion-v1-4 Hugging Face
https://huggingface.co/CompVis/stable-diffusion-v1-4
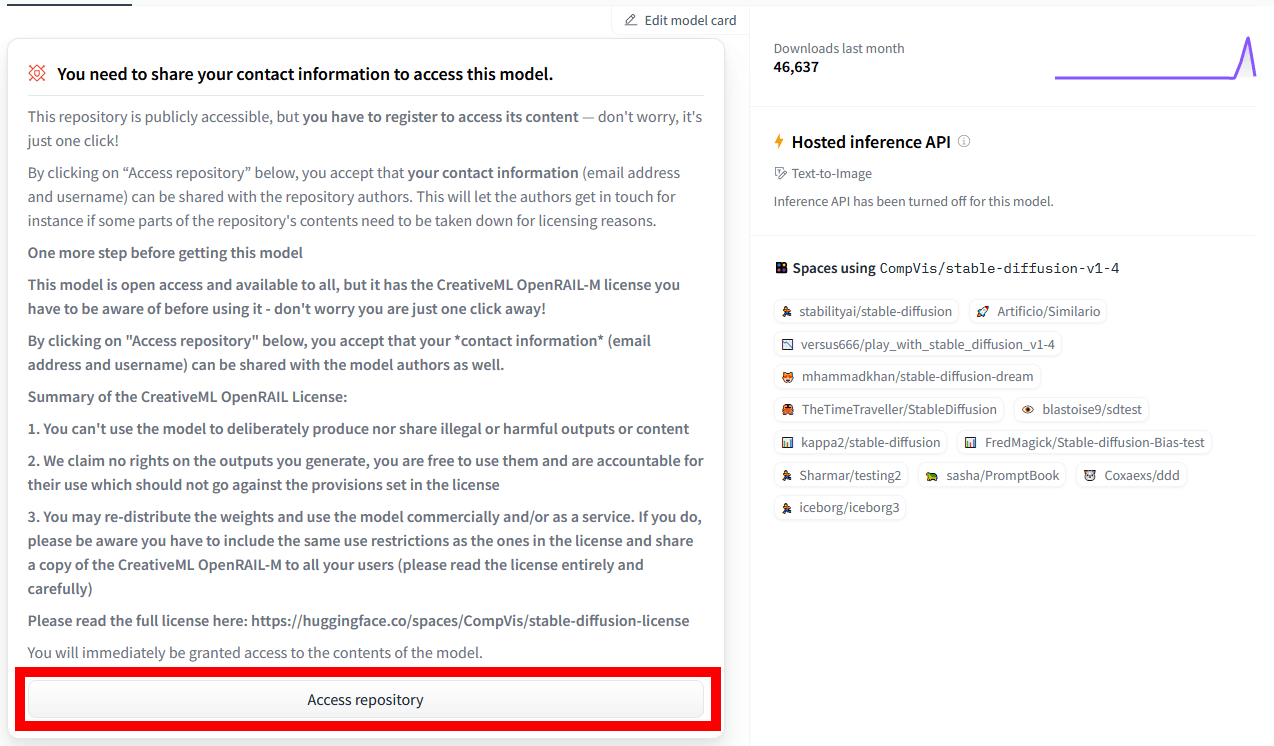
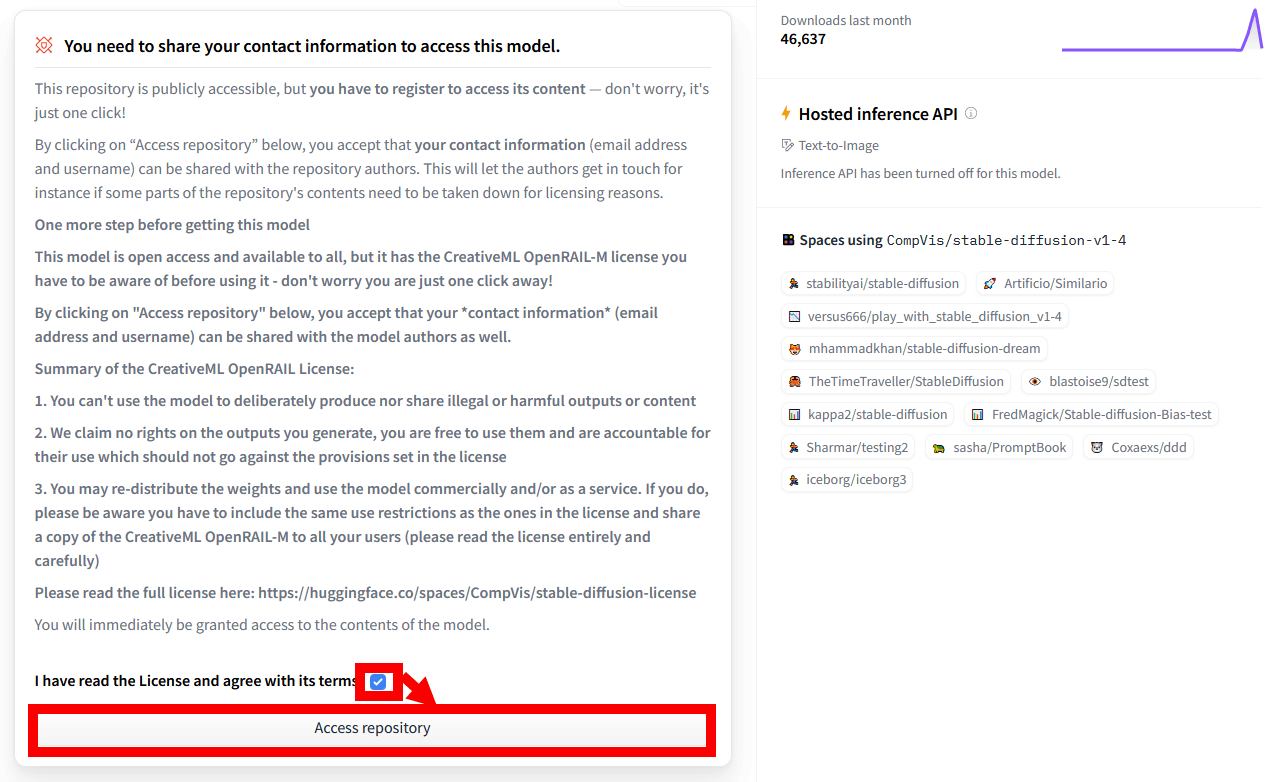
If you see a Stable Diffusion license acknowledgment, read it carefully and click Access repository.
Then, the login screen of Hugging Face is displayed. Since I want to create a new account this time, I clicked 'Sign UP'.

When the account creation screen is displayed, enter the email address and password you want to register and click 'Next'.

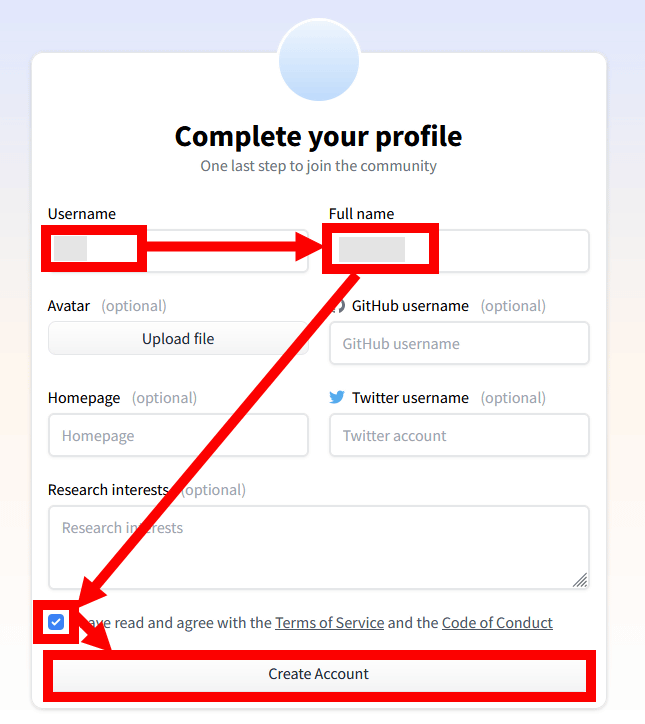
Then enter your user name and full name, check the terms of use and code of conduct , check them, and click 'Create Account'.
Then, a confirmation e-mail will be sent to the registered e-mail address, so click the URL in the text.
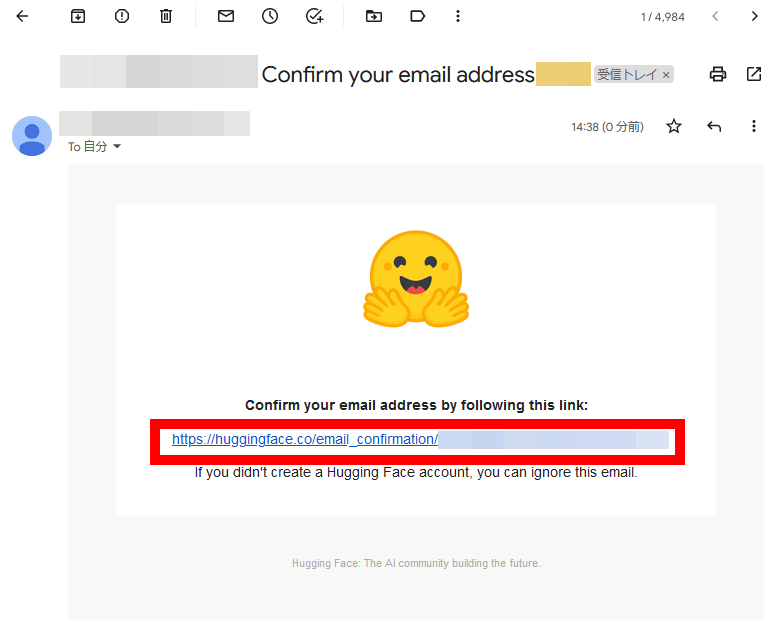
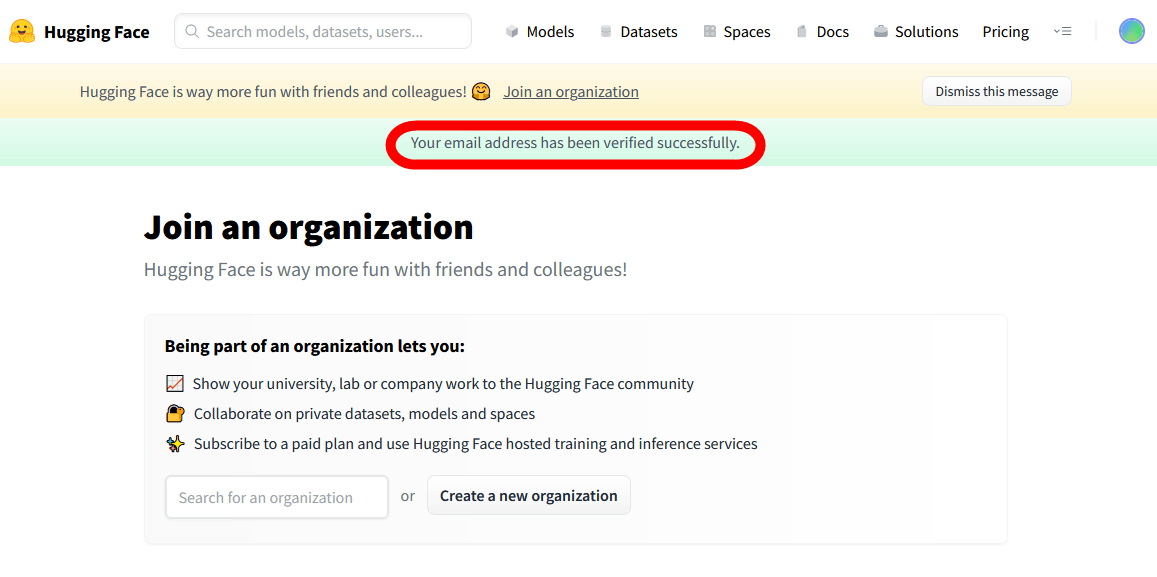
If 'Your email address has been verified successfully' is displayed as shown below, Hugging Face account creation is complete.
After creating an account, access
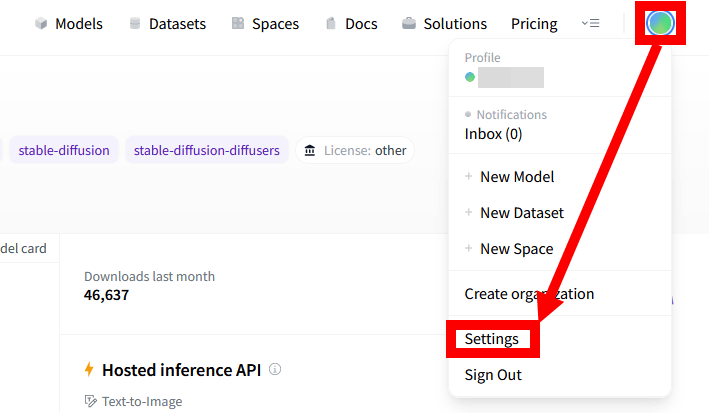
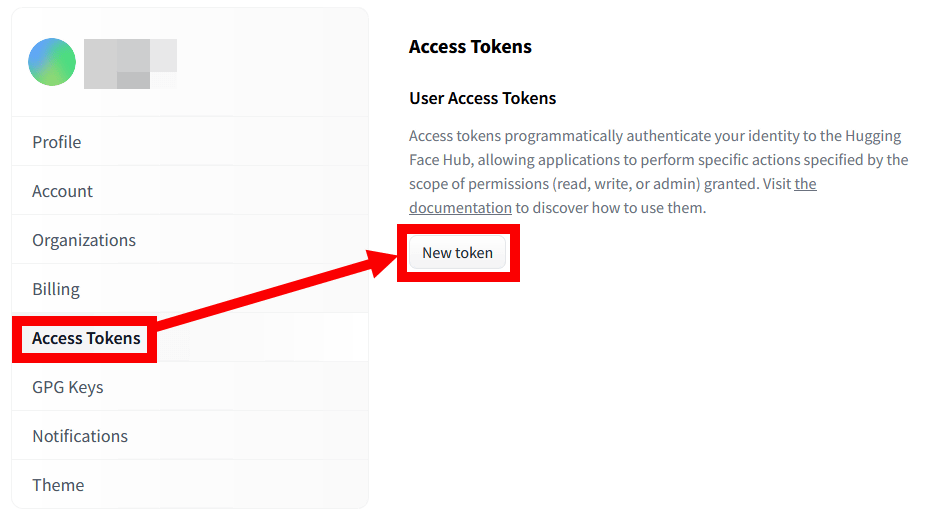
Next, click the circular icon at the top right of the screen and click 'Settings'.
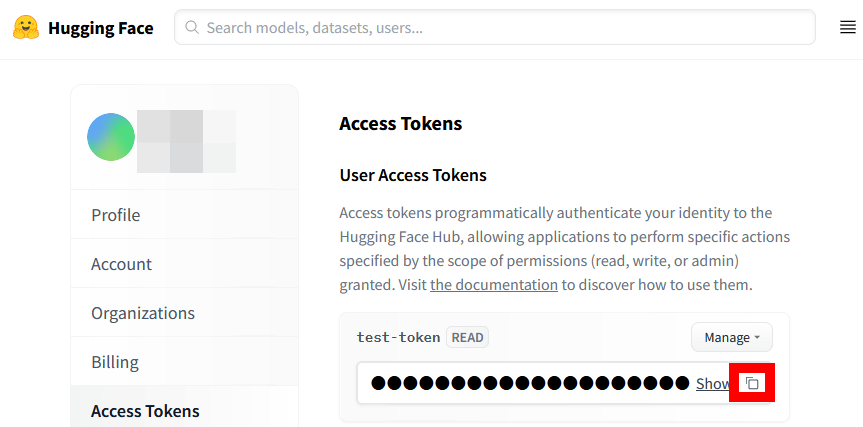
When the account setting screen opens, select 'Access Tokens' and click 'New token'.
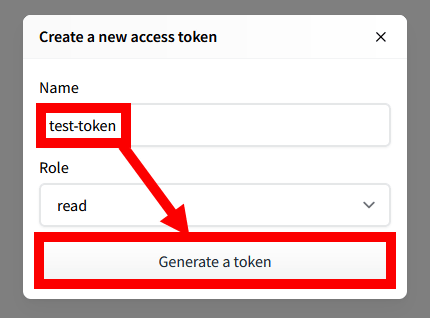
When the token issuance screen is displayed, enter an easy-to-remember name and click 'Generate a token'.
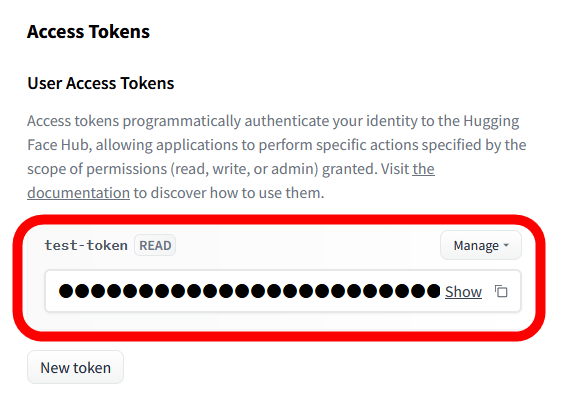
When the access token is issued as shown below, the work with Hugging Face is complete.
◆ 2: Preparation for using Stable Diffusion in Colaboratory
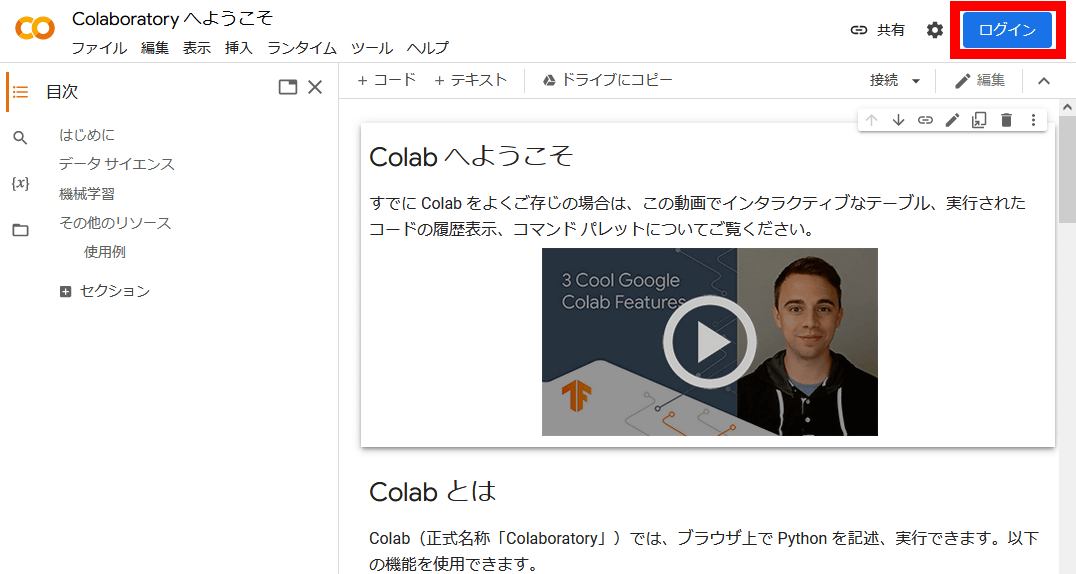
Next, prepare to use Stable Diffusion in Colaboratory, Google's Python execution environment. First, click the link below to access Colaboratory.
Welcome to Colaboratory - Colaboratory
After accessing Colaboratory, click 'Login' at the top right of the screen.
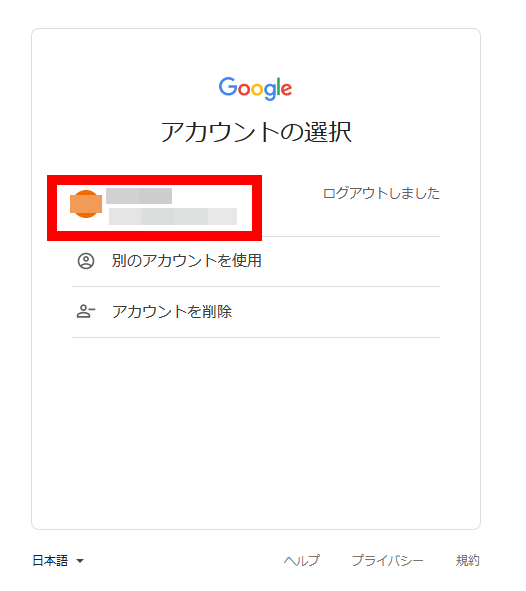
Select the Google account to use for login ......
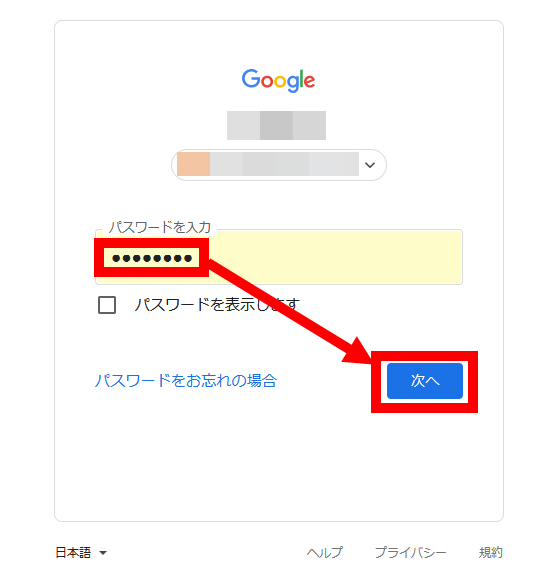
Enter your password and click Next.
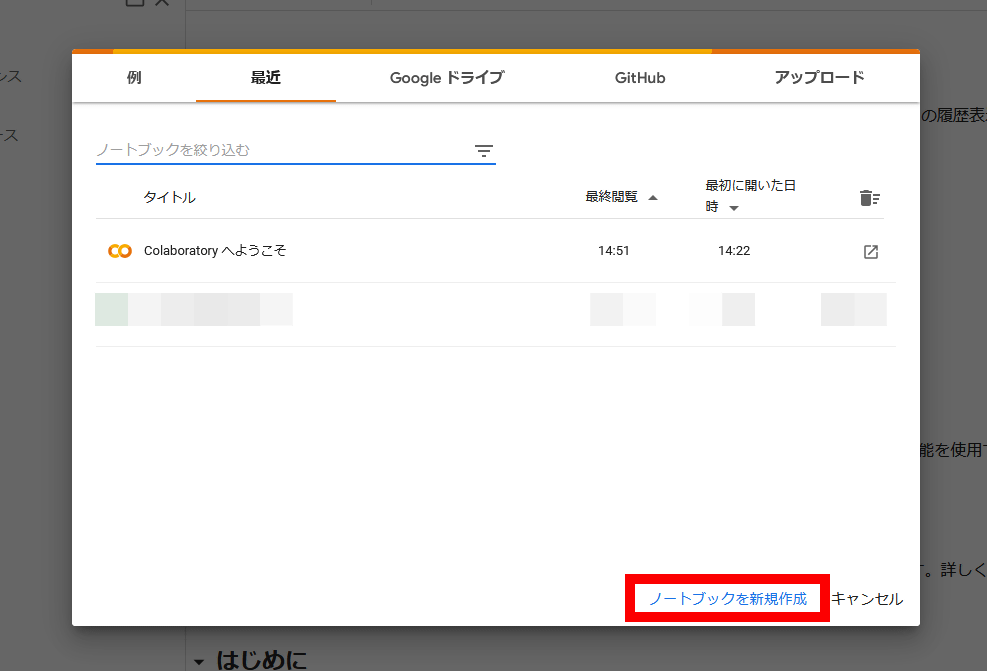
The screen immediately after logging in to Colaboratory is below. In Colaboratory, you can freely create a Python execution environment called 'notebook' and execute various tasks. Since I want to create a new notebook for Stable Diffusion this time, click 'Create a new notebook'.
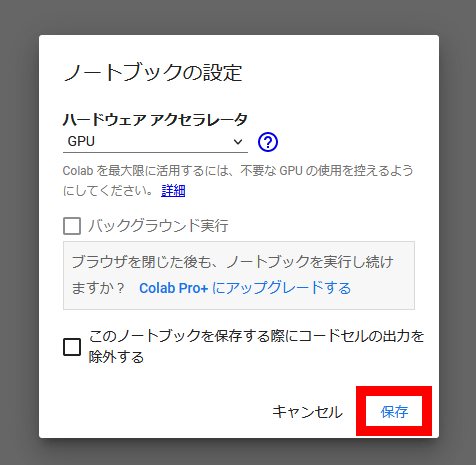
When an empty notebook is created, click 'Edit' at the top of the screen and then click 'Notebook settings'.

When the setting screen is displayed, select 'GPU' in the hardware accelerator column ... ...
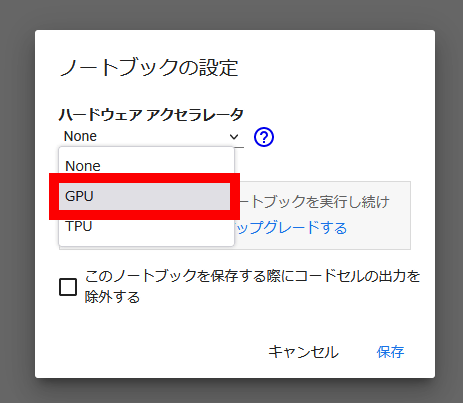
Click Save. Colaboratory is now ready for computation using GPU.
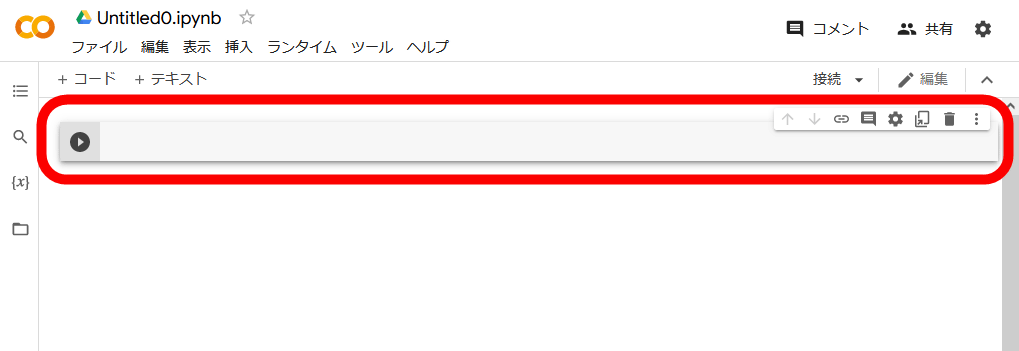
In Colaboratory, it is possible to proceed with work by entering commands in the command input area where the play icon is placed at the left end.
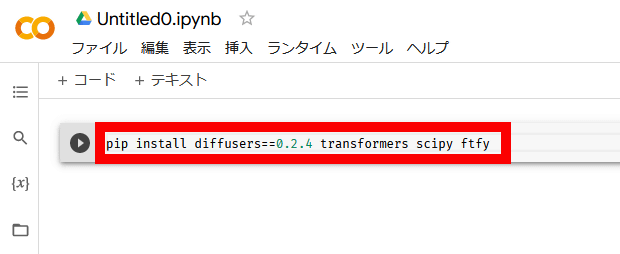
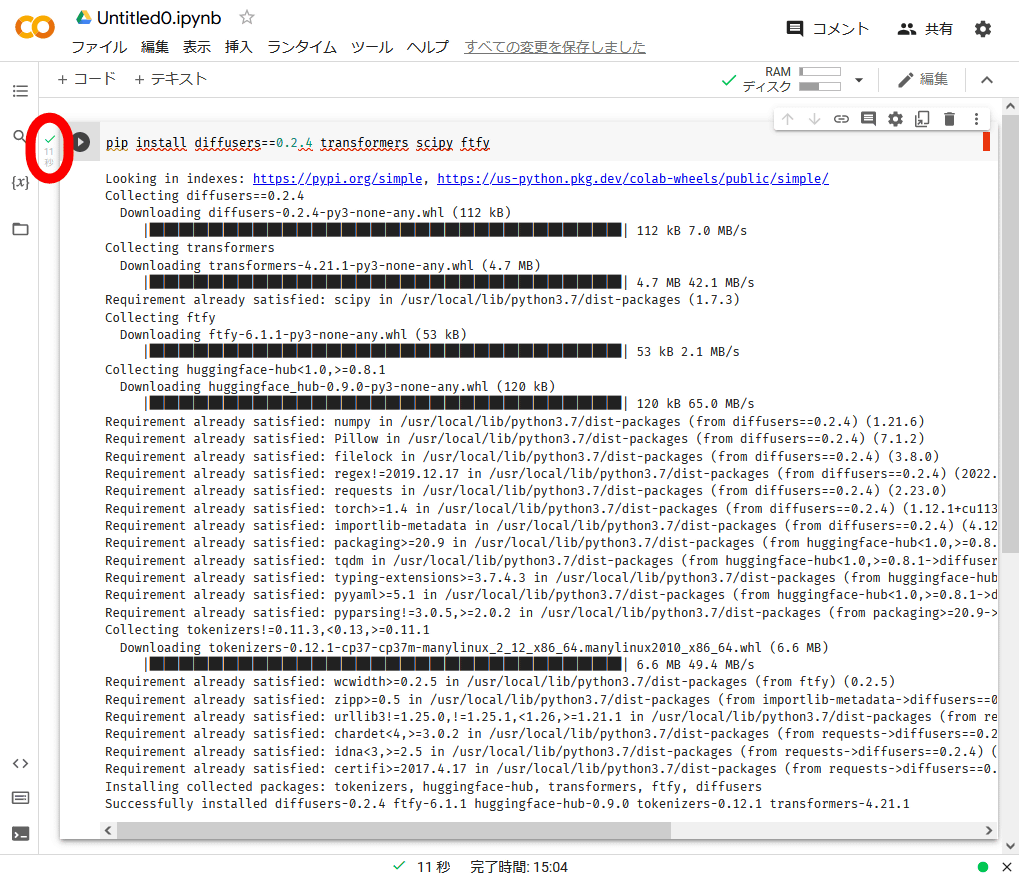
First, run the following command to install Stable Diffusion in your notebook.
[code]pip install diffusers==0.2.4 transformers scipy ftfy[/code]
Copy and paste the above command into the input area ...
Click the play icon.
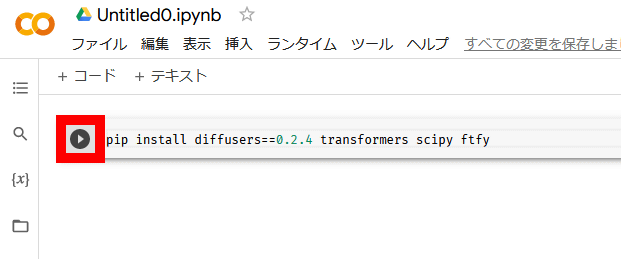
Then the characters will flow and Stable Diffusion will be installed. Installation is complete when a green checkmark appears to the left of the play icon.
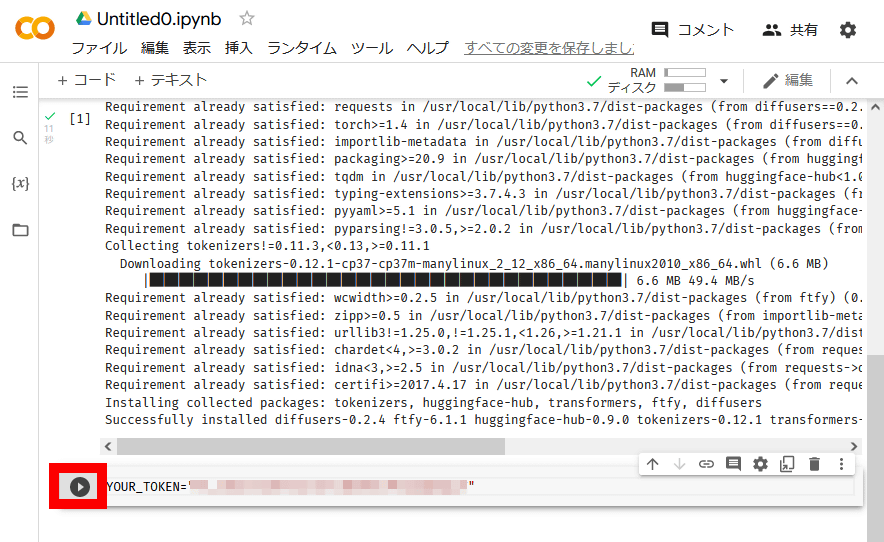
Then run the following command:
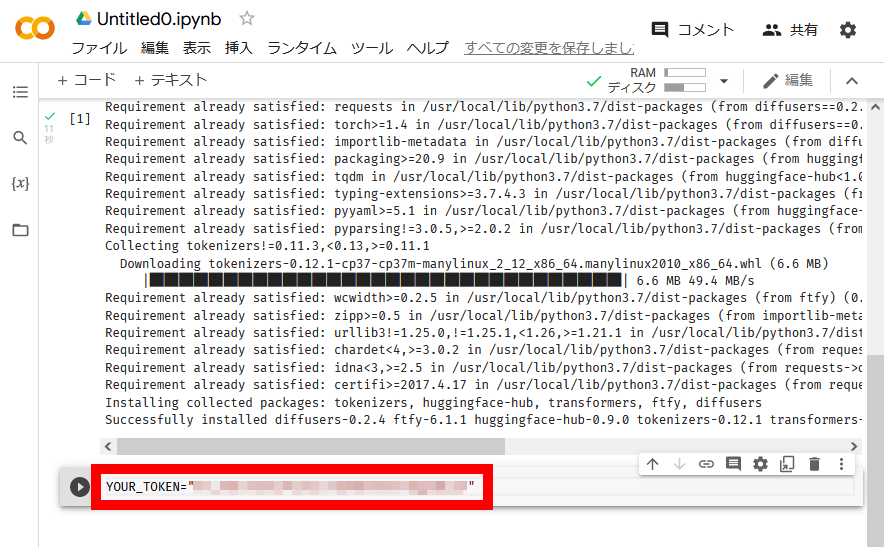
[code]YOUR_TOKEN='Token issued by Hugging Face'[/code]
Tokens issued by Hugging Face can be copied by clicking the red frame icon on the screen where the token is displayed. It is OK if you replace the copied icon with the 'token issued by Hugging Face' part of the above command and execute it.
For example, if the token is 'abcdefgh12345678', the command to run would be:
[code]YOUR_TOKEN='abcdefgh12345678'[/code]
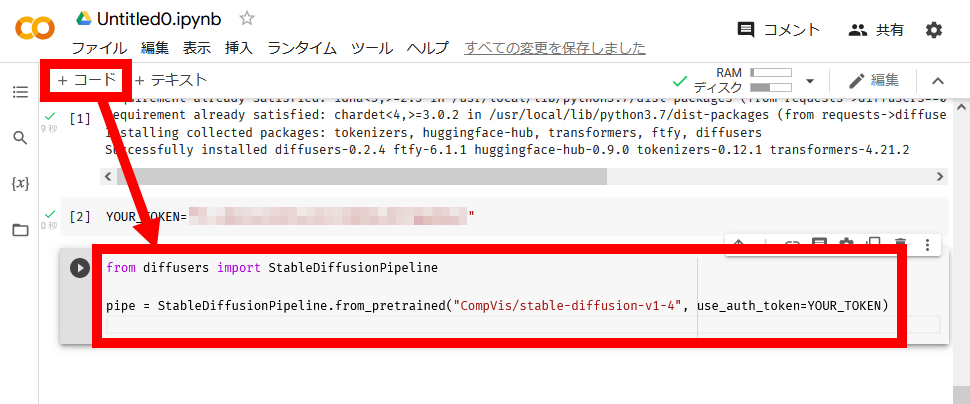
To execute the command, click '+ code' at the top left of Colaboratory's screen ... ...
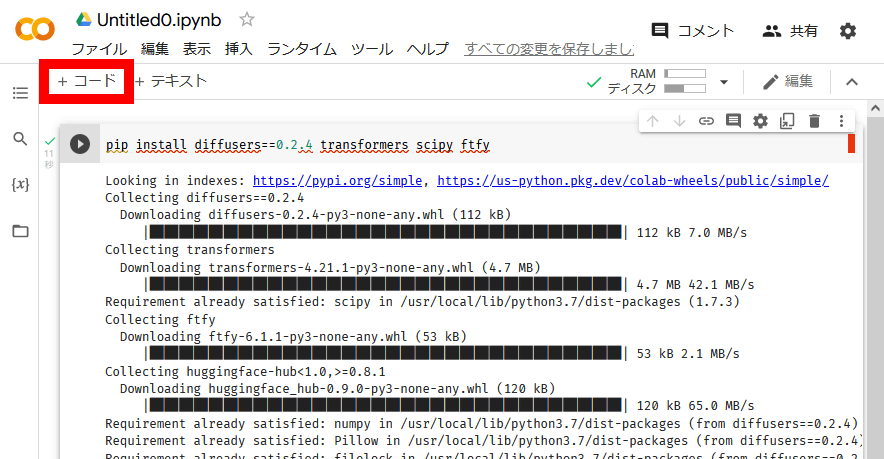
Copy and paste the above command into the newly displayed input area.
Then click the play icon and OK.
Then run the following command:
[code]from diffusers import StableDiffusionPipeline
pipe = StableDiffusionPipeline.from_pretrained('CompVis/stable-diffusion-v1-4', use_auth_token=YOUR_TOKEN)[/code]
Copy and paste the above command in the input area displayed by clicking '+ code' ... ...
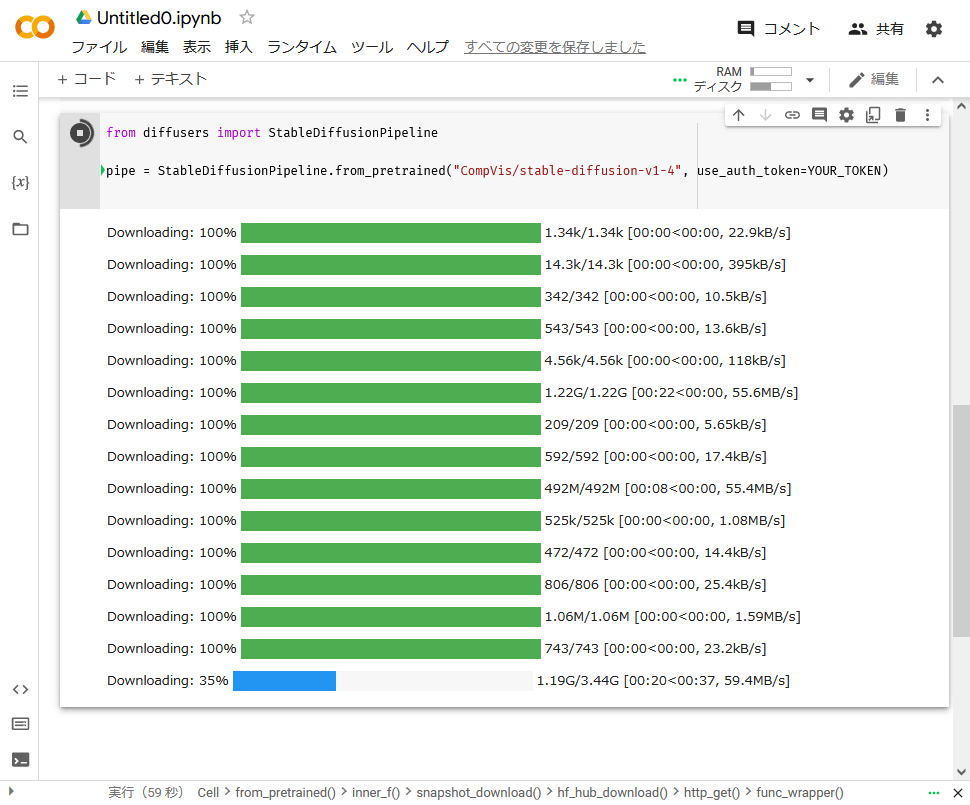
Click the play icon.
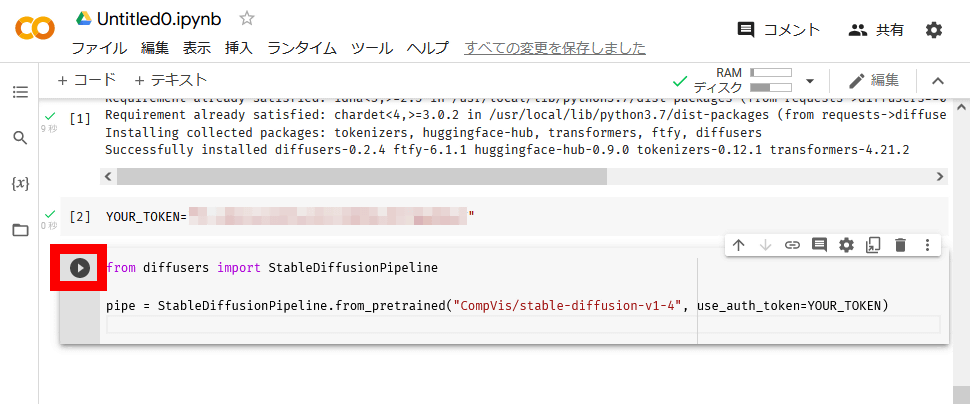
Then, the download of various files will start. This process takes a few minutes, so wait for a while.
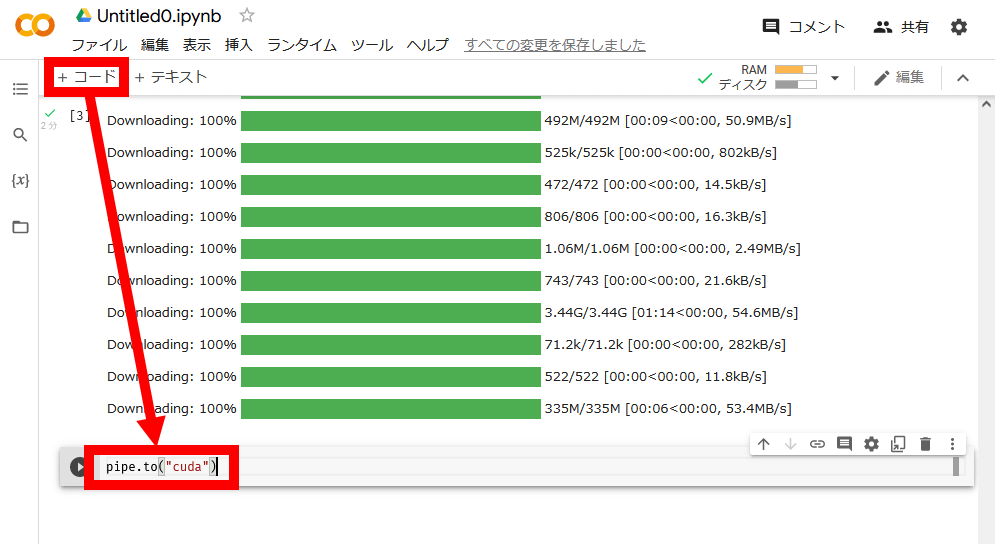
After downloading the various files, execute the following command.
[code]pipe.to('cuda')[/code]
The command execution procedure is the same as before. Click '+ code' and then copy and paste the command in the input area ...
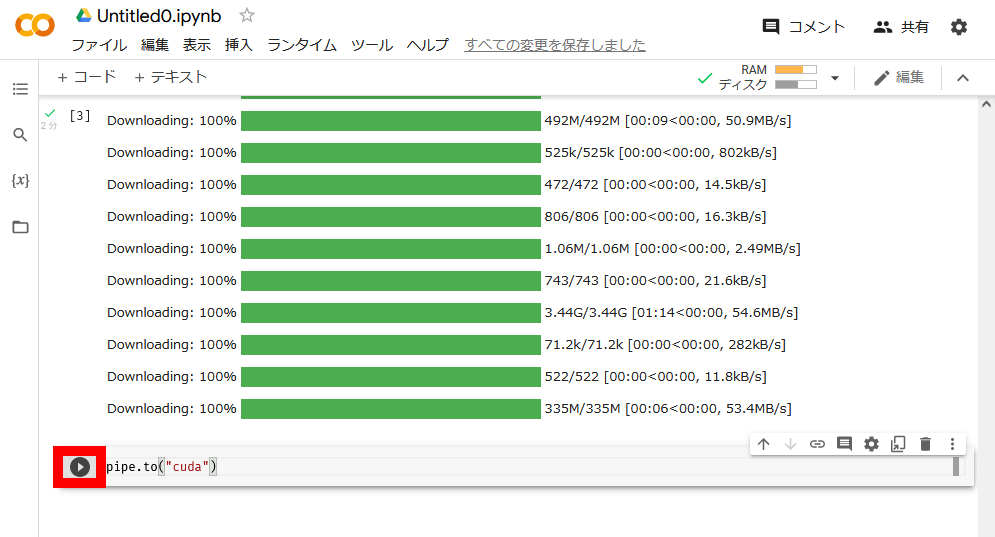
Click the play icon.
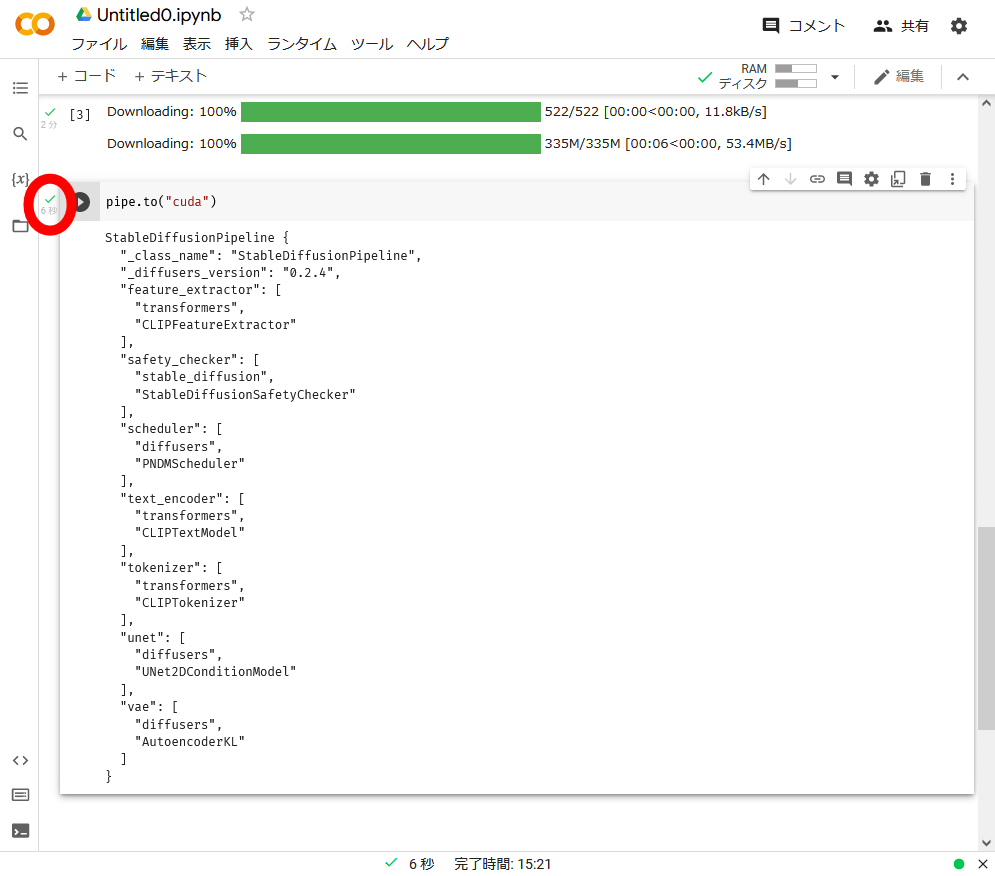
Wait a few seconds until you see a green checkmark, and you're ready to use Stable Diffusion.
◆ 3: How to generate an image with Stable Diffusion
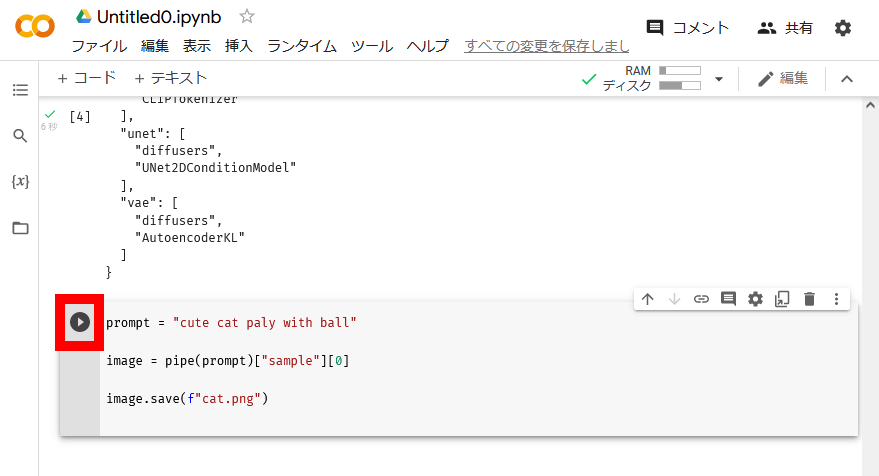
To generate an image with Stable Diffusion, execute the following command. In the 'Instructions' part, enter the description of the image you want to generate in English, and in the 'File name' part, enter the name for saving the image to be generated.
[code]prompt = 'Prompt'
image = pipe(prompt)['sample'][0]
image.save(f'filename.png')[/code]
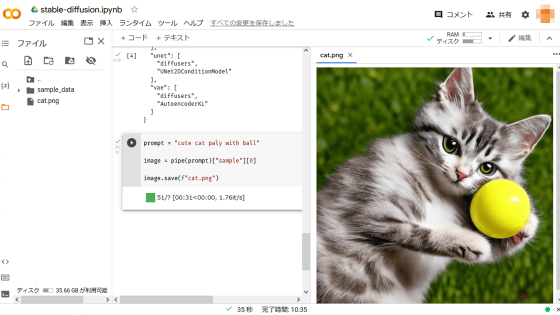
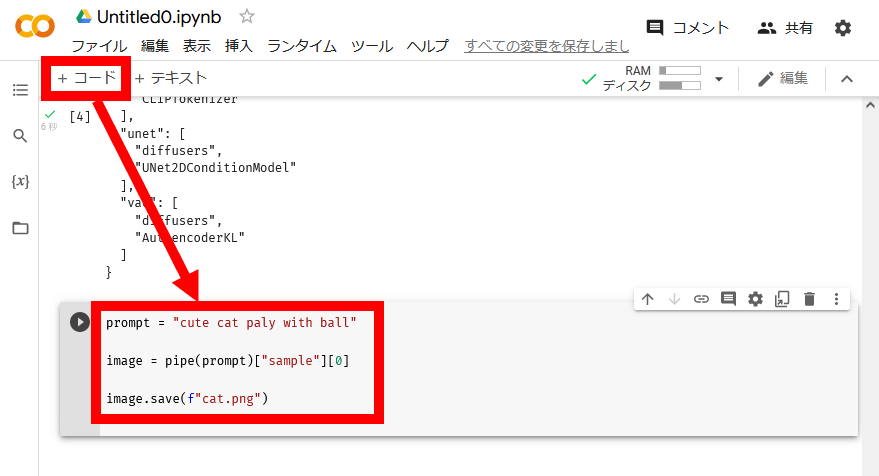
For example, if you want to generate an 'image of a cute cat playing with a ball' and save it with the file name 'cat.png', enter 'cute cat paly with ball' in the 'instructions' part, It is OK if you enter 'cat' in the 'file name' part.
[code] prompt = 'cute cat paly with ball'
image = pipe(prompt)['sample'][0]
image.save(f'cat.png')[/code]
Command execution is exactly the same as before. Click '+ code' and enter the command in the input area ...
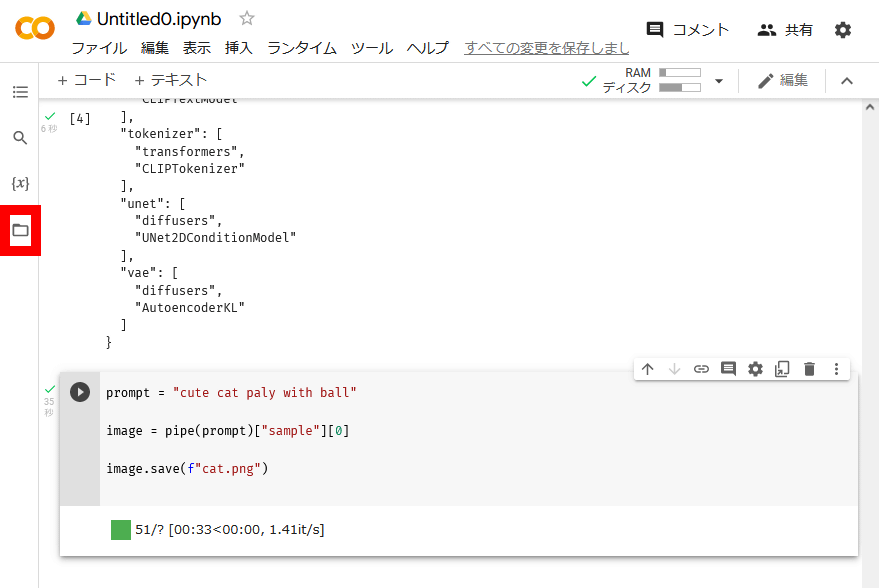
Click the play icon.
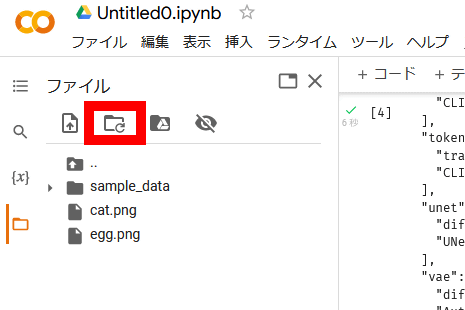
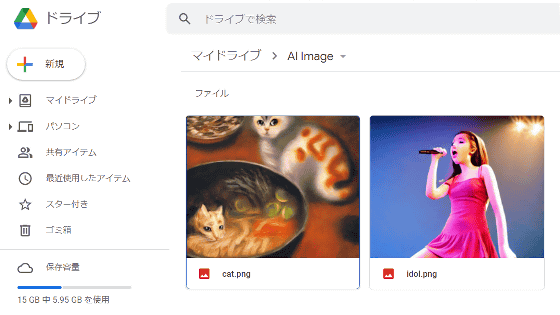
When the image generation is completed, click the folder icon on the left side of the screen.
The image with the specified file name is output to the folder. Double-clicking the file ......

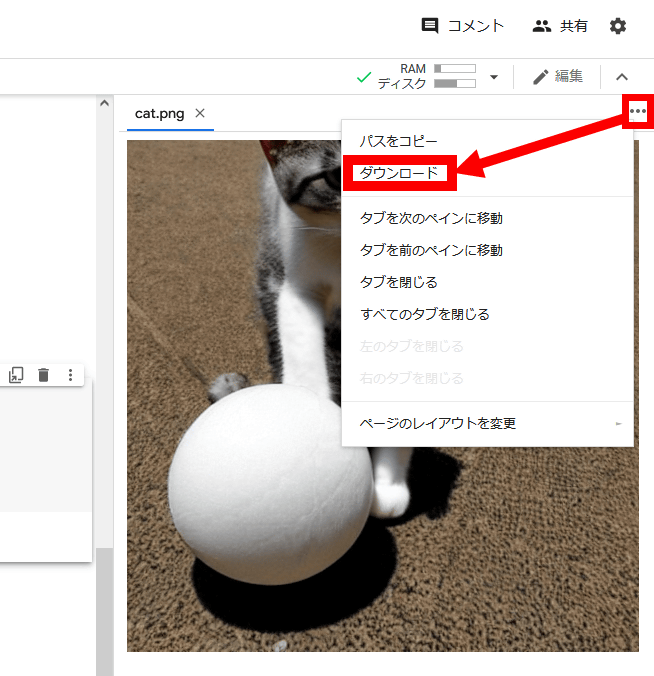
The generated image is displayed on the right side of the screen. This time, an 'image of a cute cat playing with a ball' was generated as specified.

The generated image can be downloaded by clicking '...' at the top right of the image and selecting 'Download'. You can also download from the right-click menu of the image.
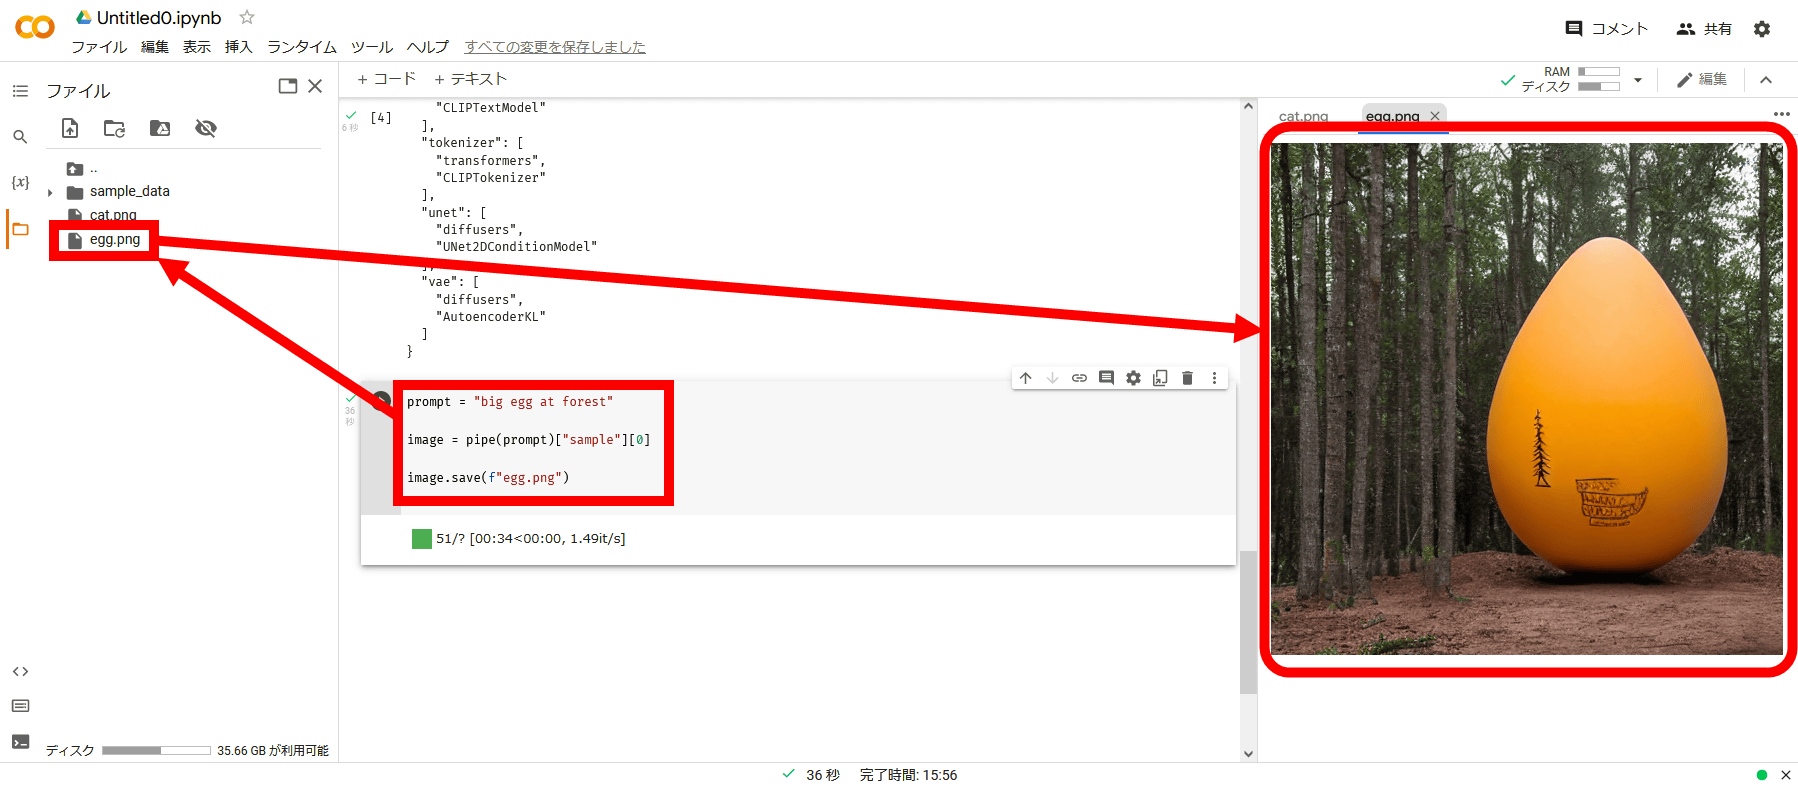
If you want to generate a new image, you can rewrite the 'instruction' and 'file name' parts of the command you just entered.
If the generated image is not displayed in the file list, click the update mark in the red frame to display it.
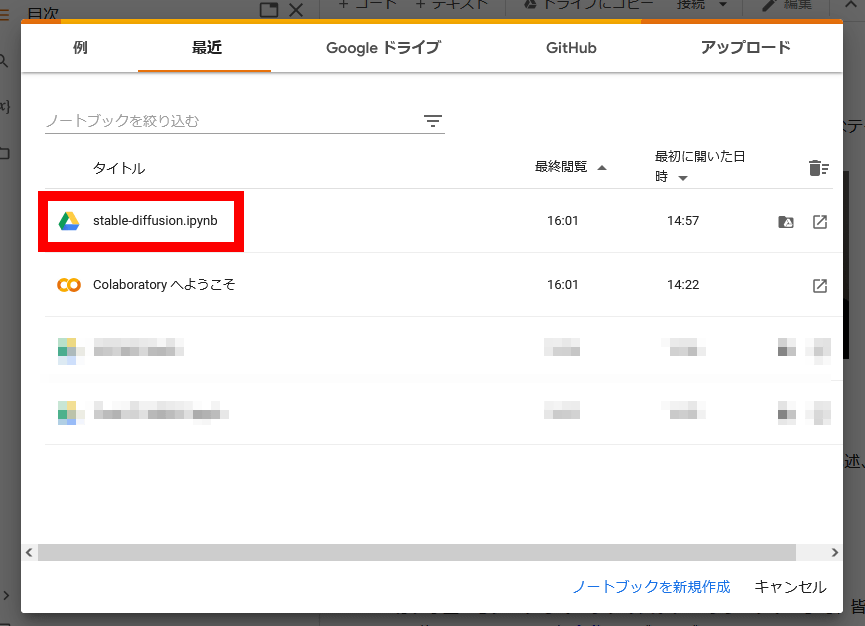
Colaboratory notebooks can be freely renamed. If you change it to an easy-to-understand name such as 'stable-diffusion' ......

This will make it easier to find your notebook when you
Also, in Colaboratory, all the functions in the range used this time can be used for free. Furthermore, by subscribing to a paid plan , high-speed processing using a high-performance GPU becomes possible.
Related Posts:

in Software, Review, Web Application, Posted by log1o_hf