I disassembled Microsoft's next-generation game machine 'Xbox Series X' into pieces and looked inside
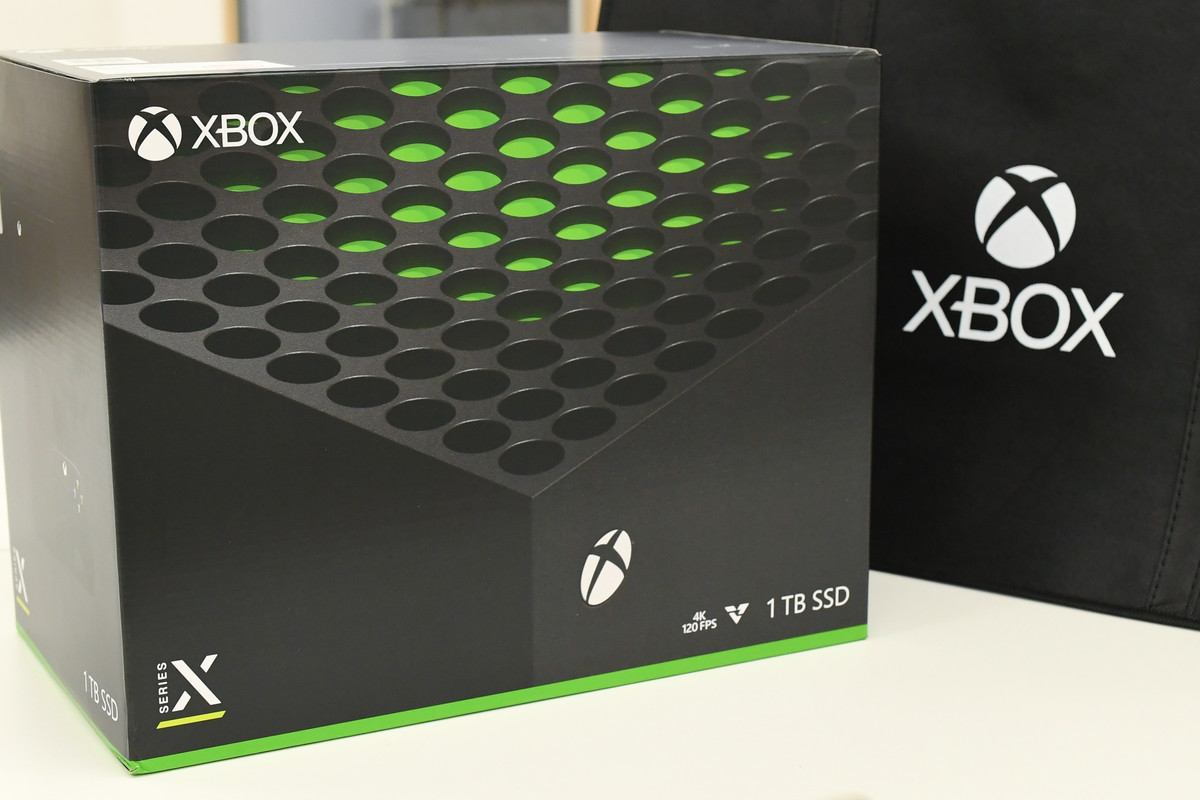
Microsoft's next-generation game console ' Xbox Series X ' capable of 4K and maximum 120Hz output was released on November 10, 2020.
All-new Xbox Series X | Xbox
https://www.xbox.com/ja-JP/consoles/xbox-series-x
The Xbox Series X I received at the store I had reserved.
The main body and contents of Xbox Series X are summarized in the following articles.
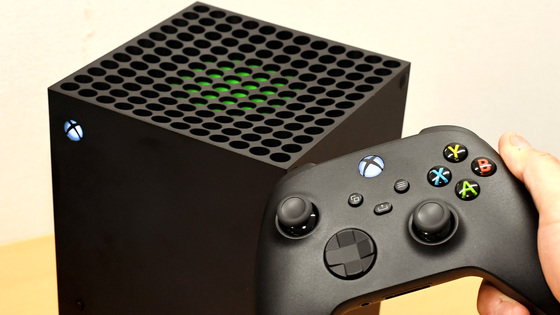
This is the main body of Xbox Series X.
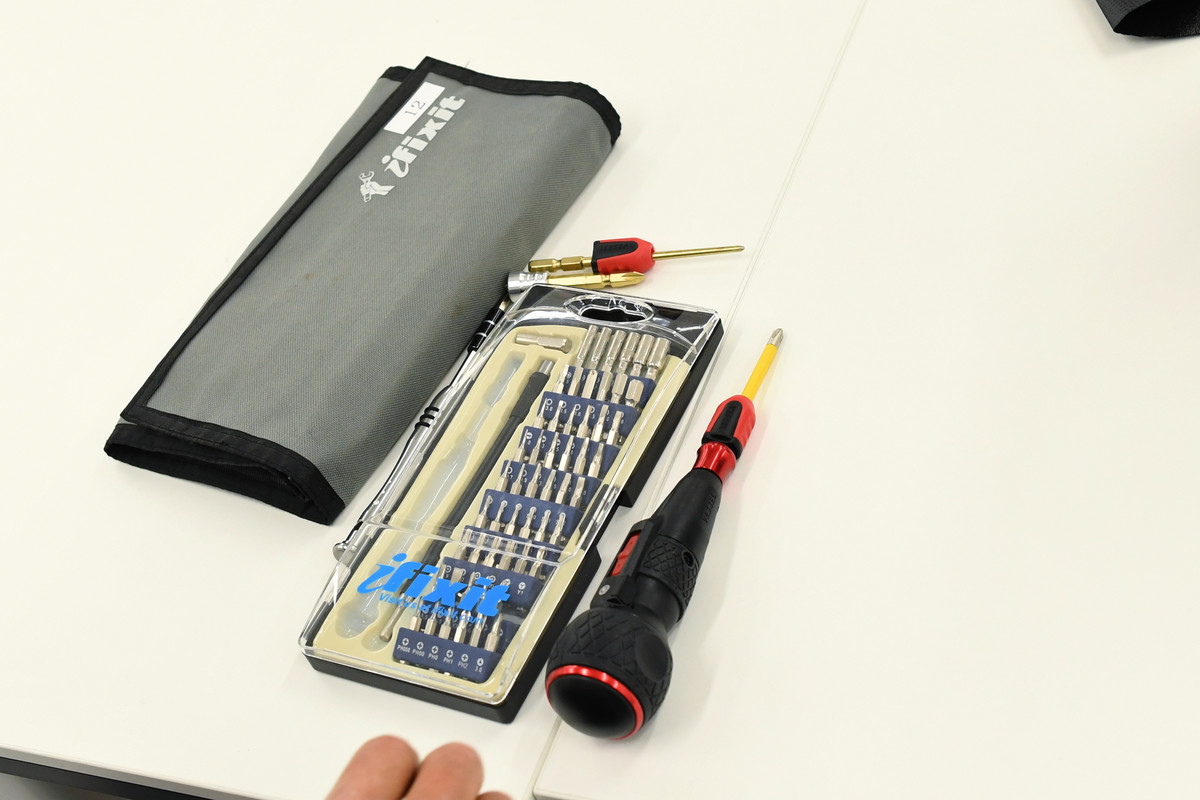
To disassemble the Xbox Series X, we
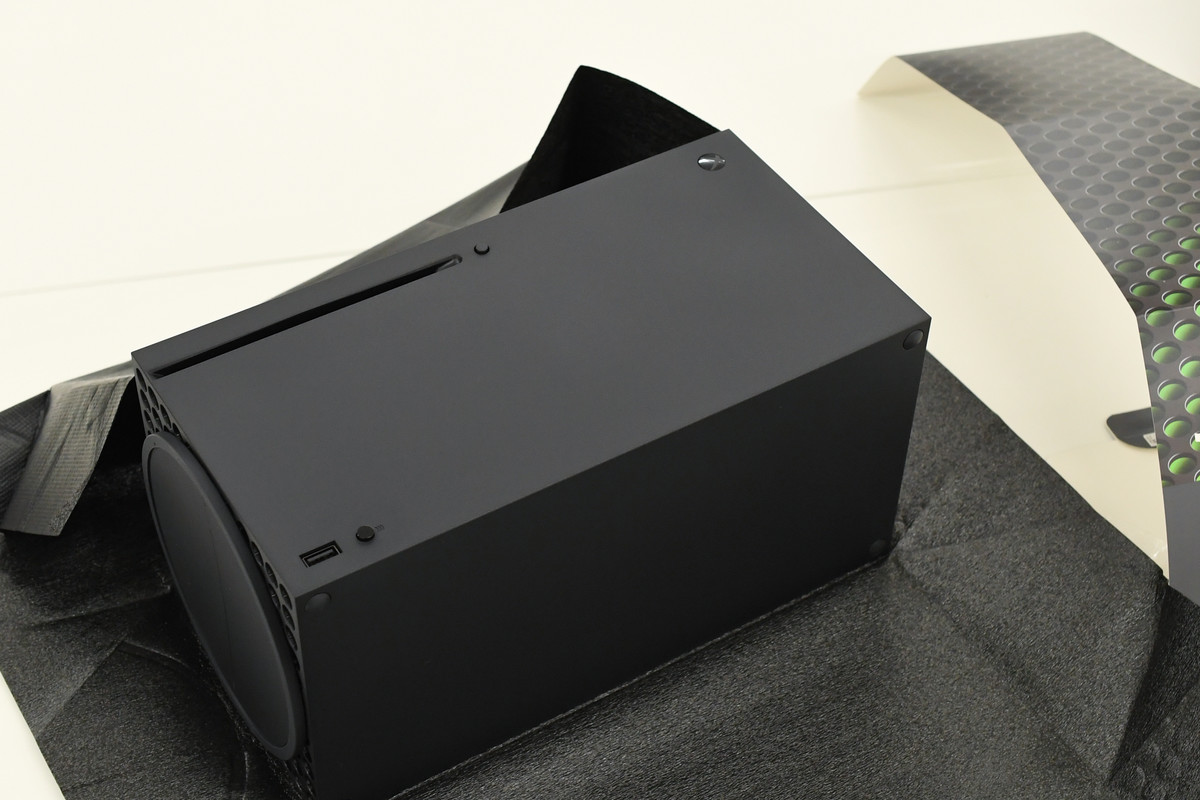
First, remove the sticker on the back.
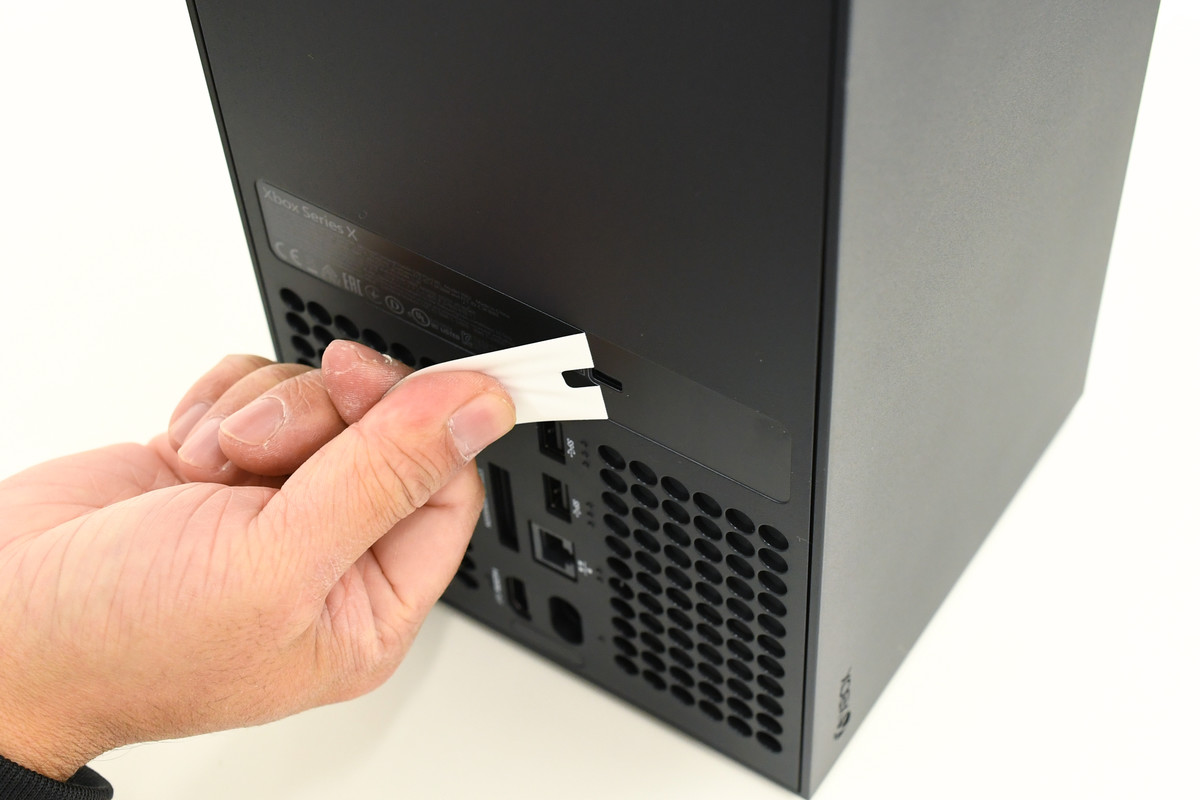
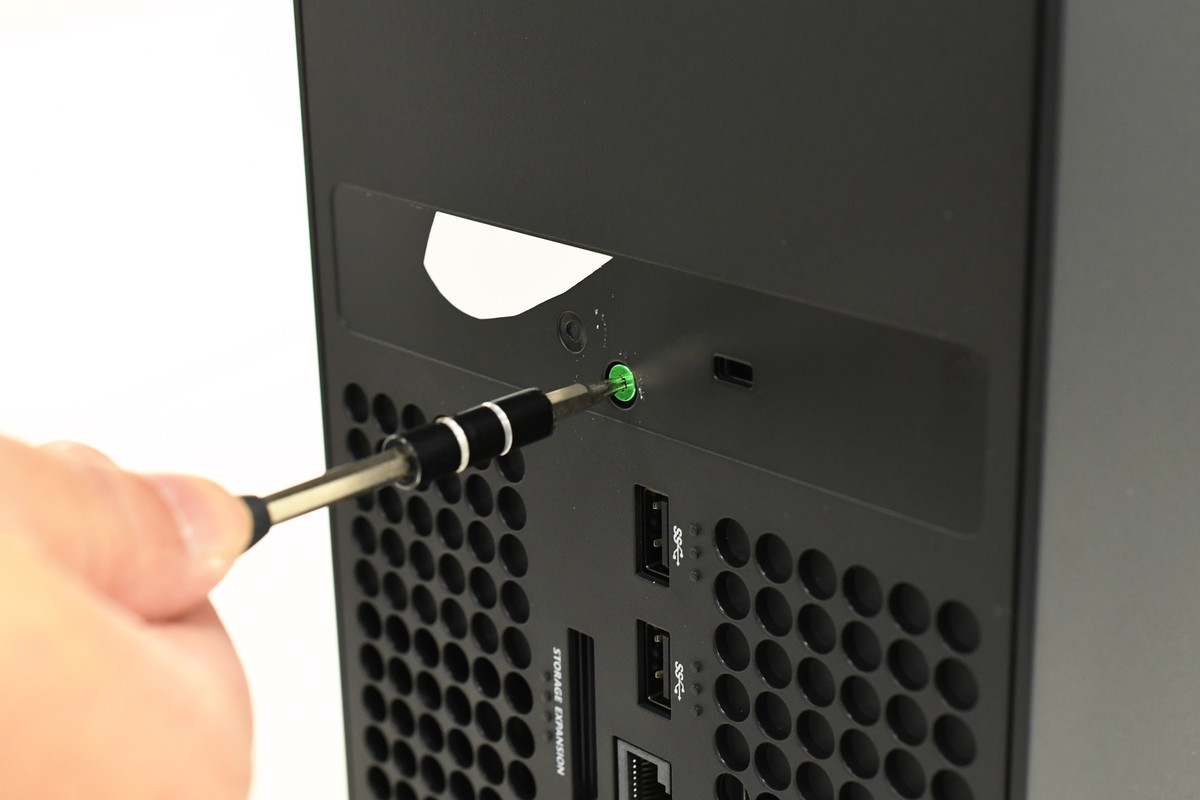
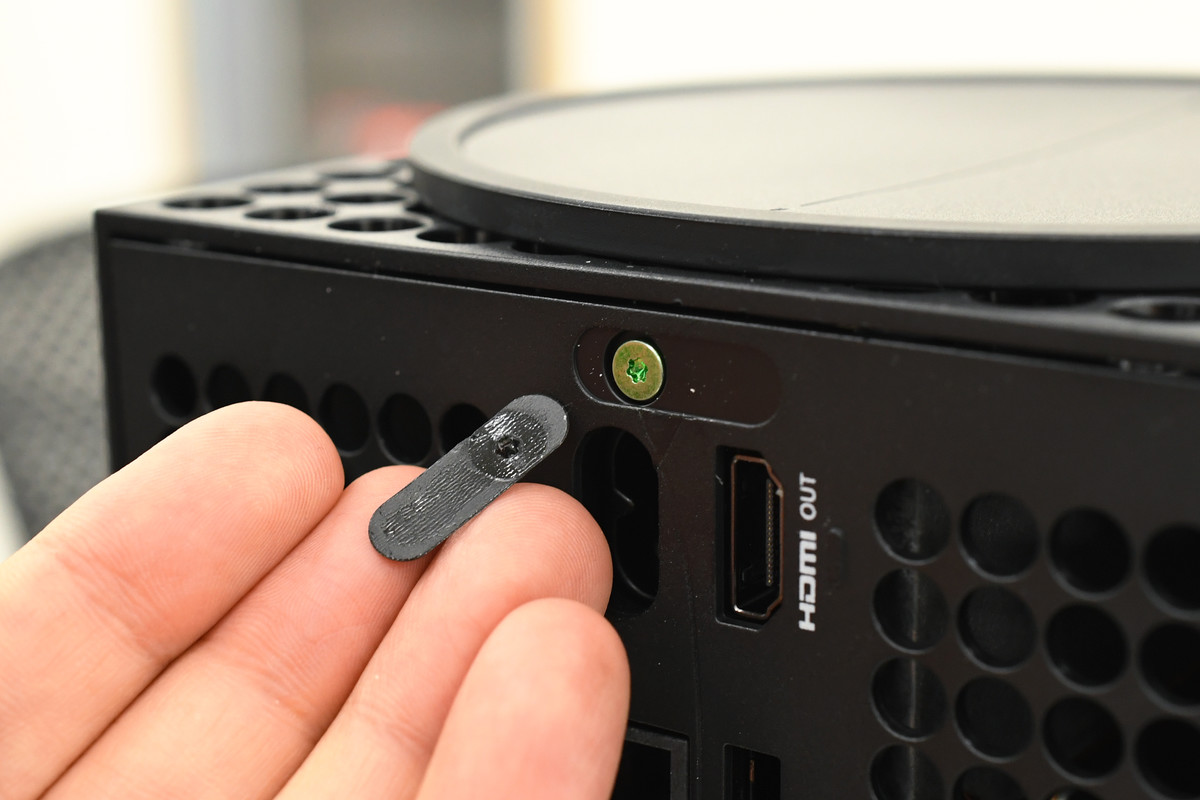
Then peel off the plastic plate on the bottom of the back and remove the hidden Torx screw.
Remove the back panel while pushing the claws caught on the mesh part of the top surface.
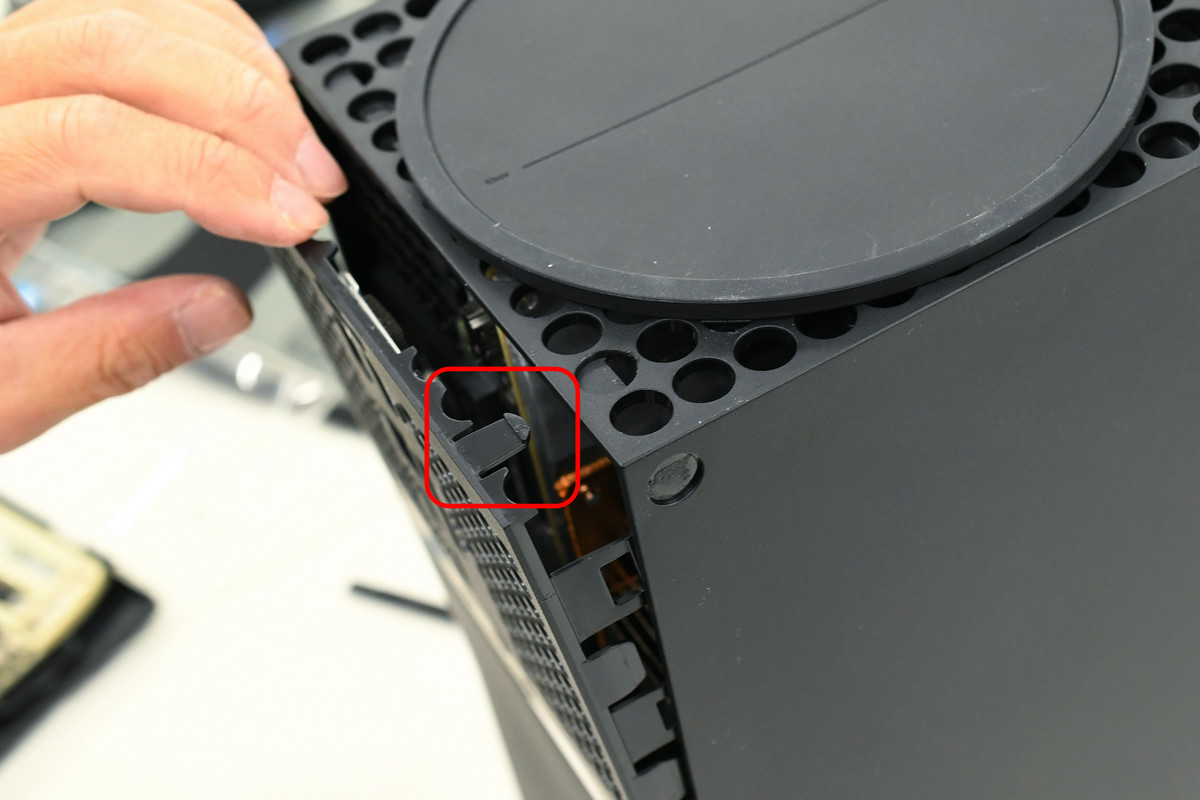
Pakari
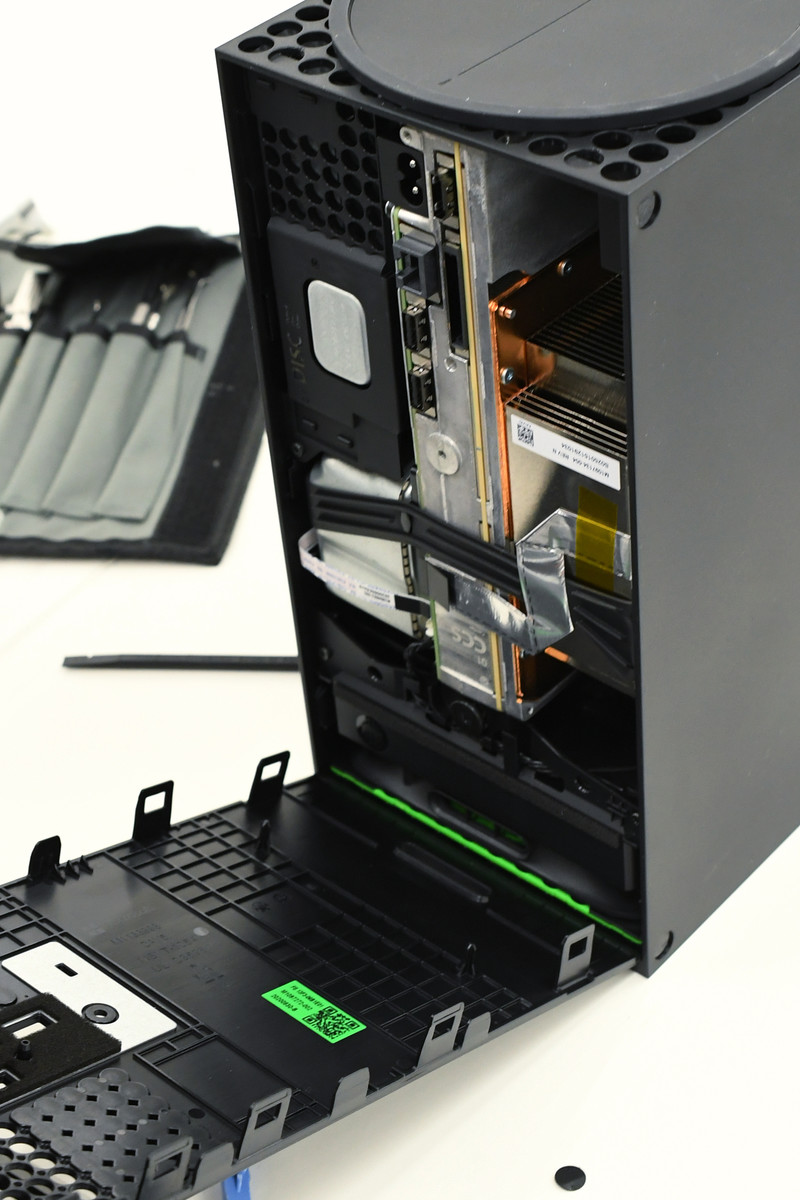
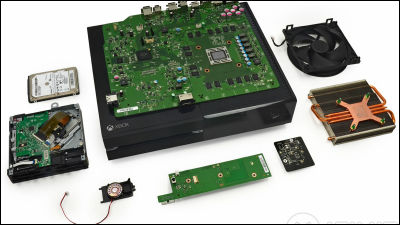
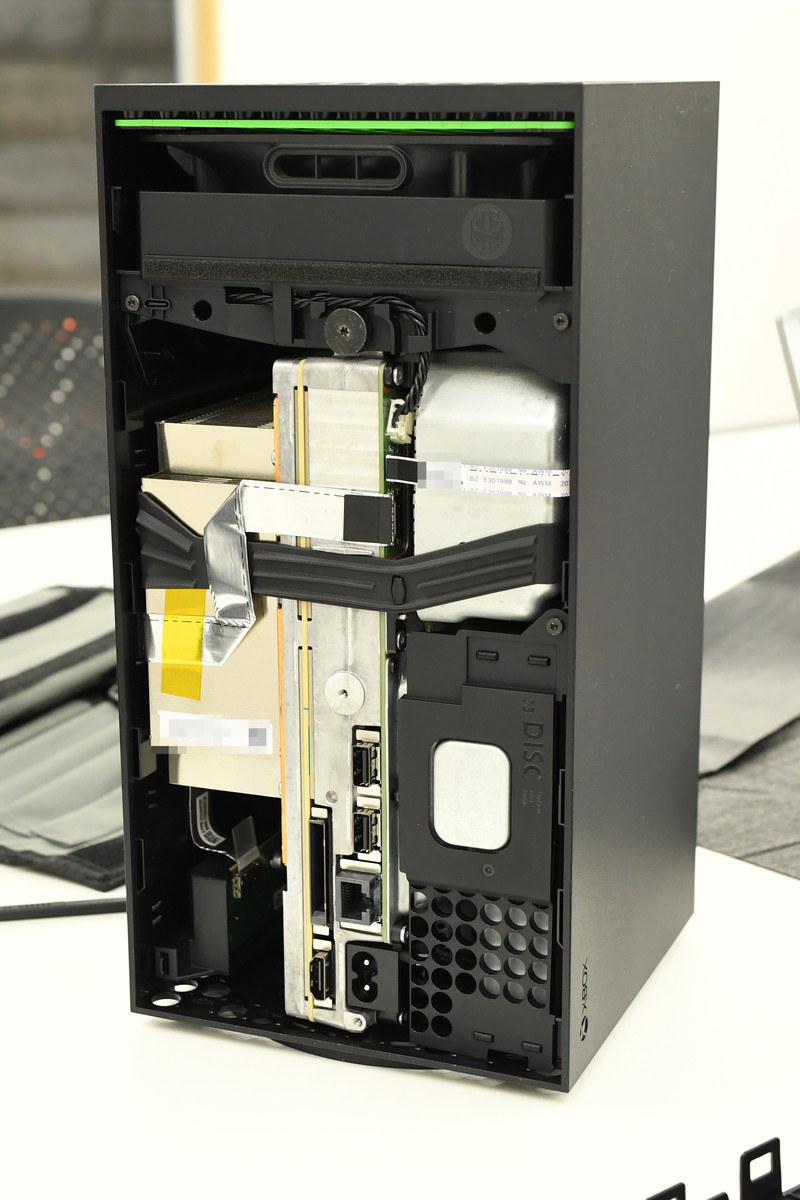
The contents are like this, the parts are packed tightly and the density is quite high.
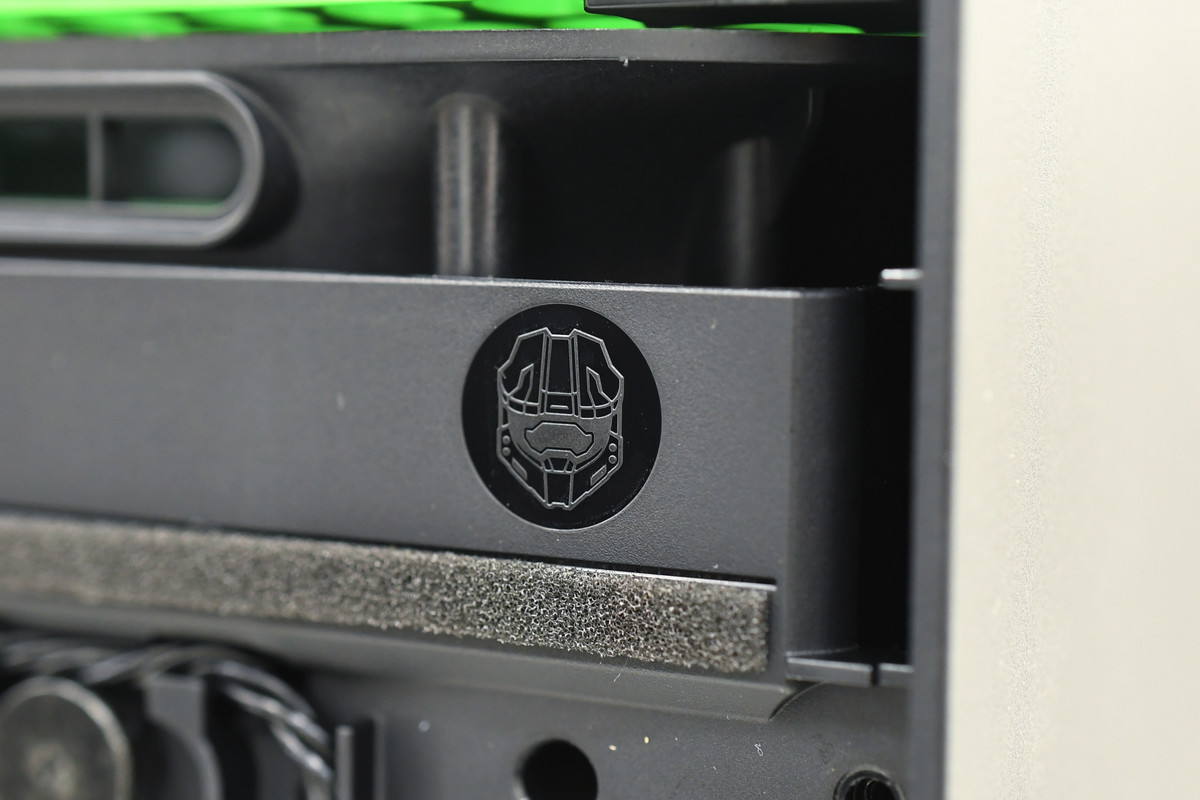
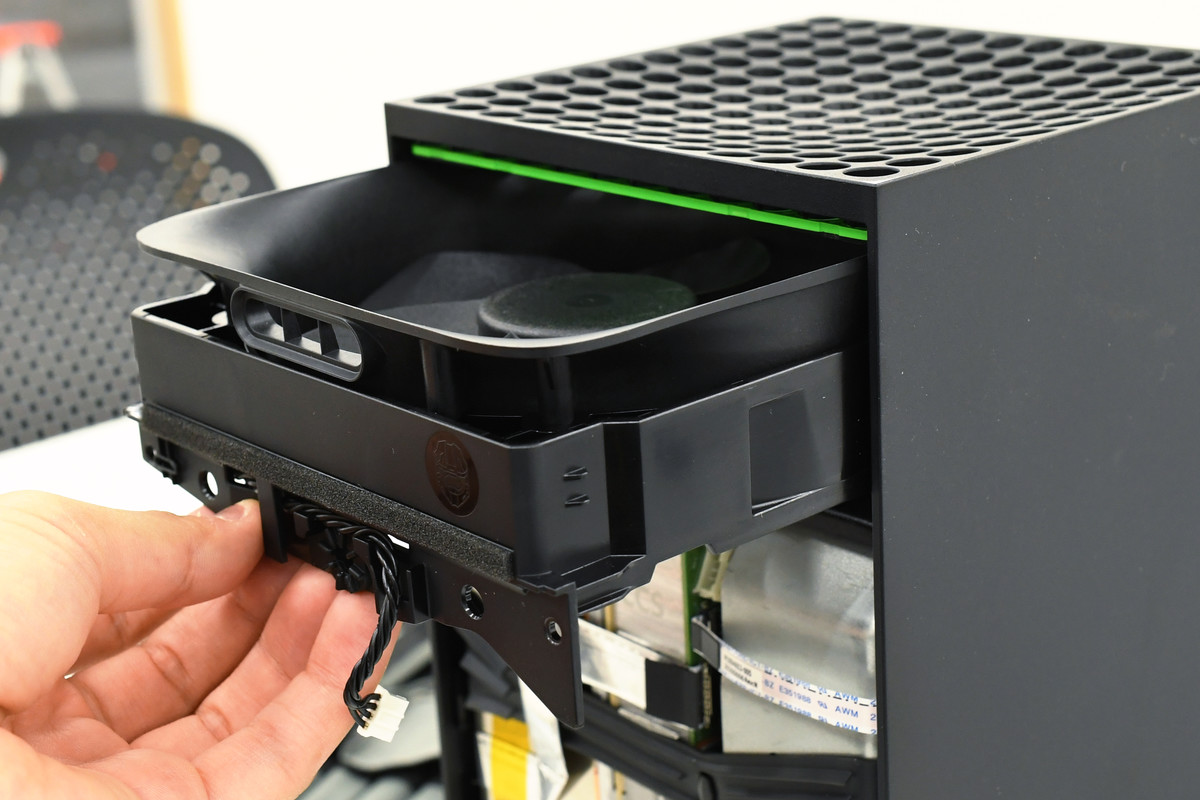
At the top, in the corner of the silent fan for air cooling, the face of the master chief, the main character of
Remove the screw that secures the fan ...
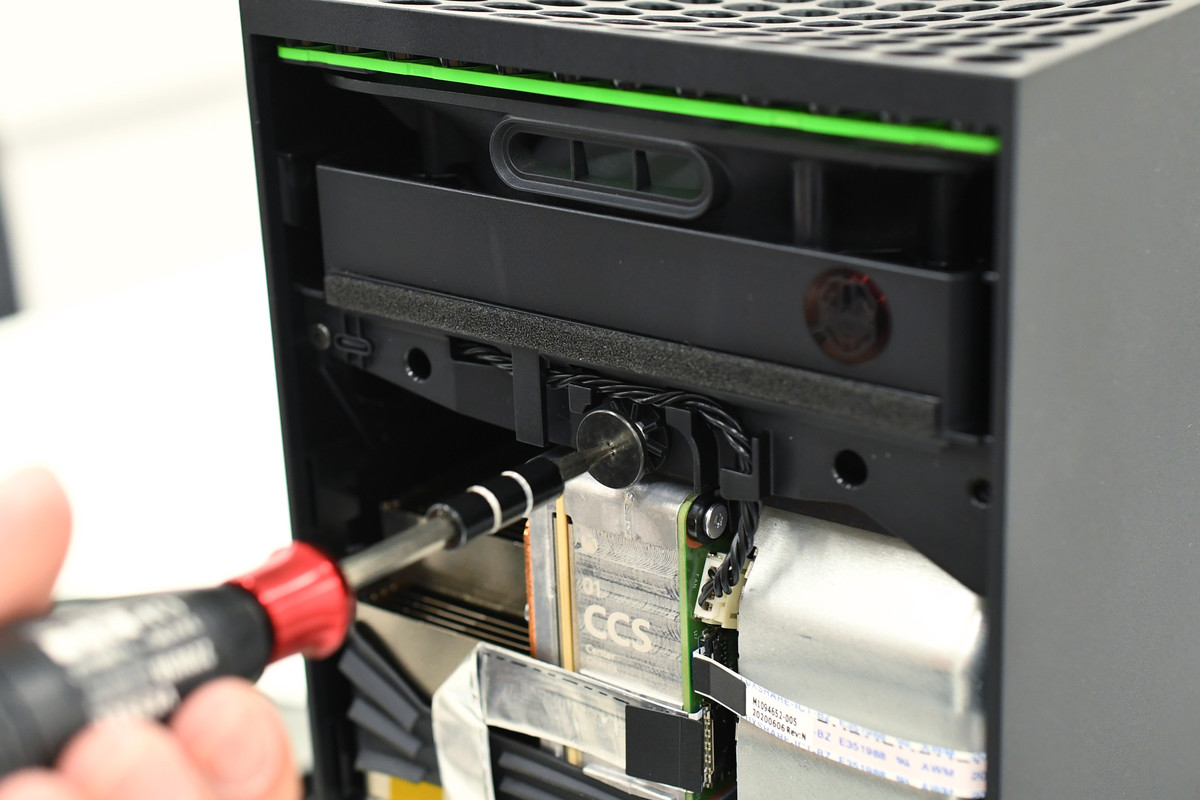
Unplug the power cable.
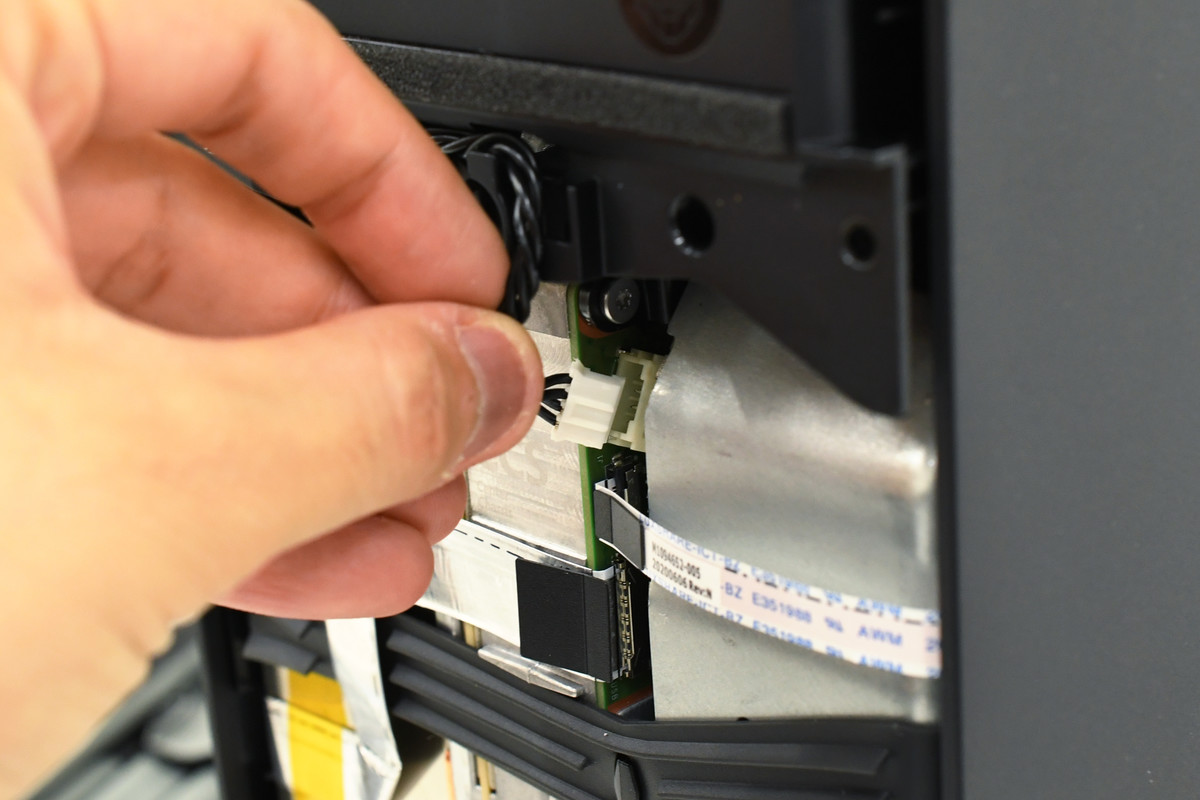
I was able to pull out the silent fan.
Next, remove the rubber disk on the bottom ... but it doesn't seem to move at all even if you turn it.
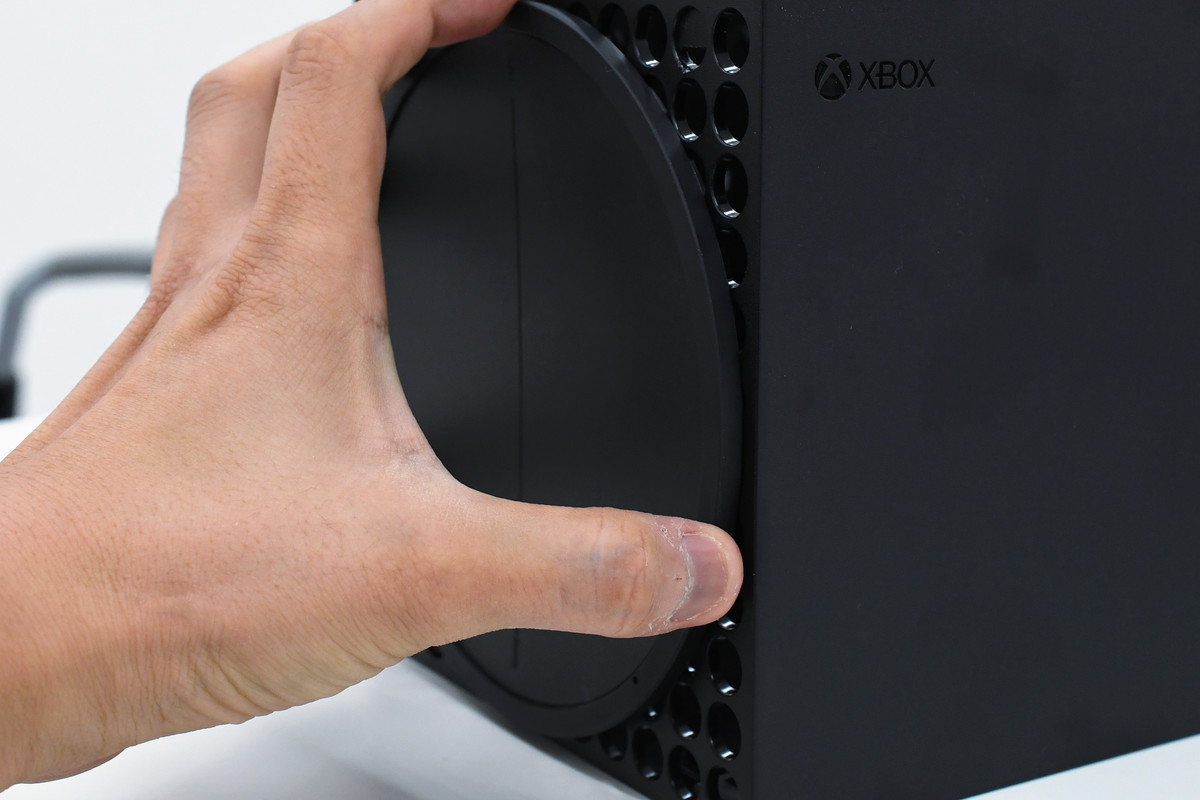
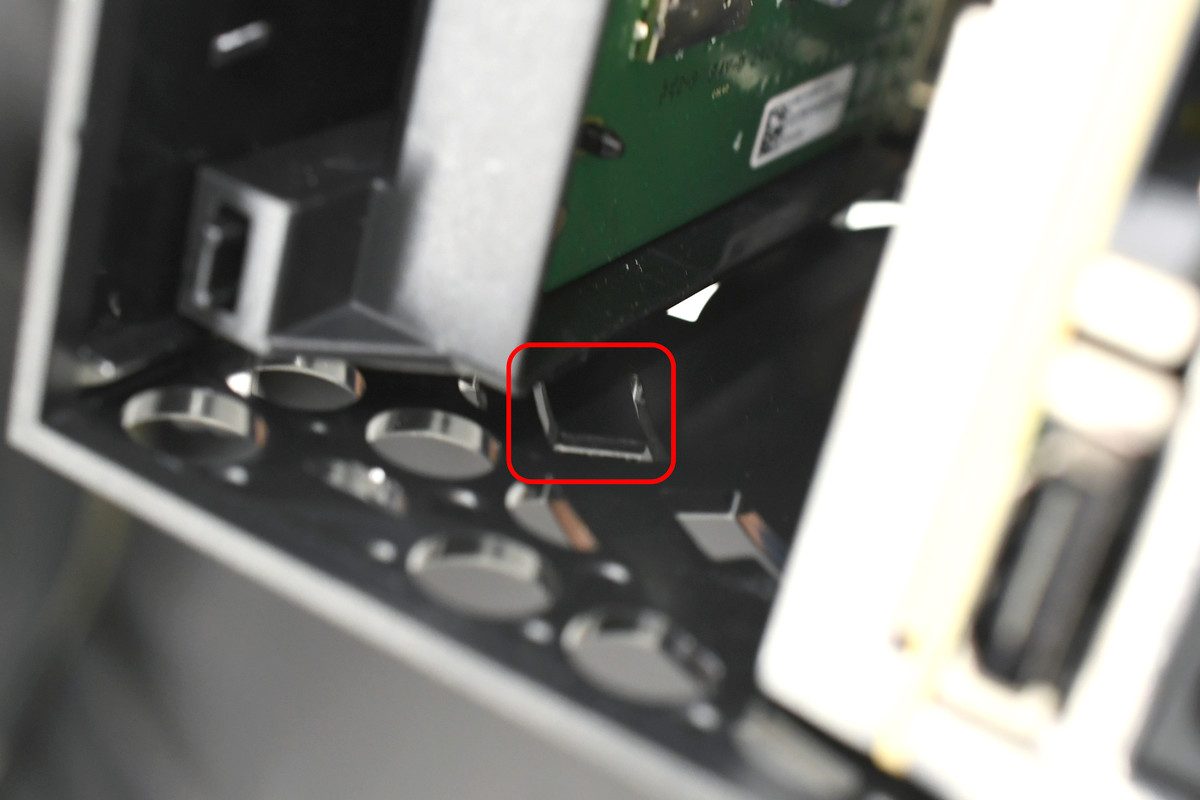
I found a claw to fix from the inside of the box. The rubber disk can be removed by turning it while lifting it with a flat-blade screwdriver.
It looks like this when removed.
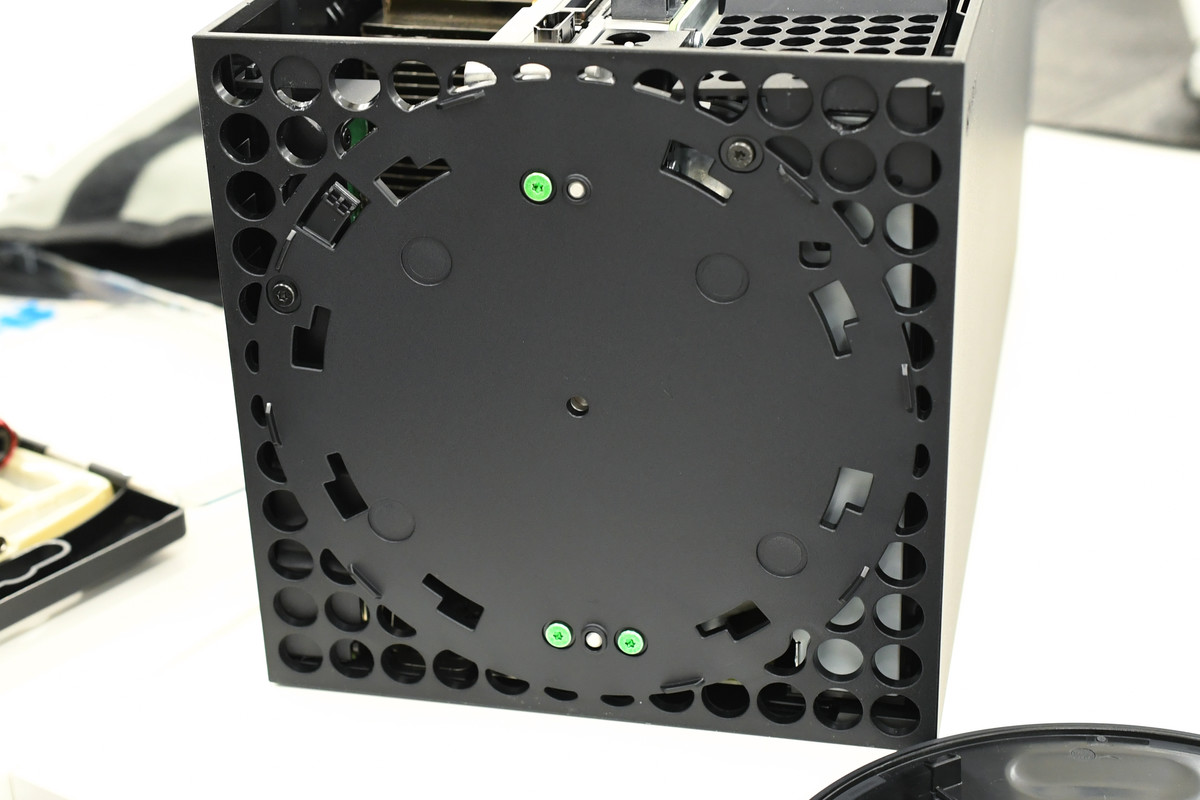
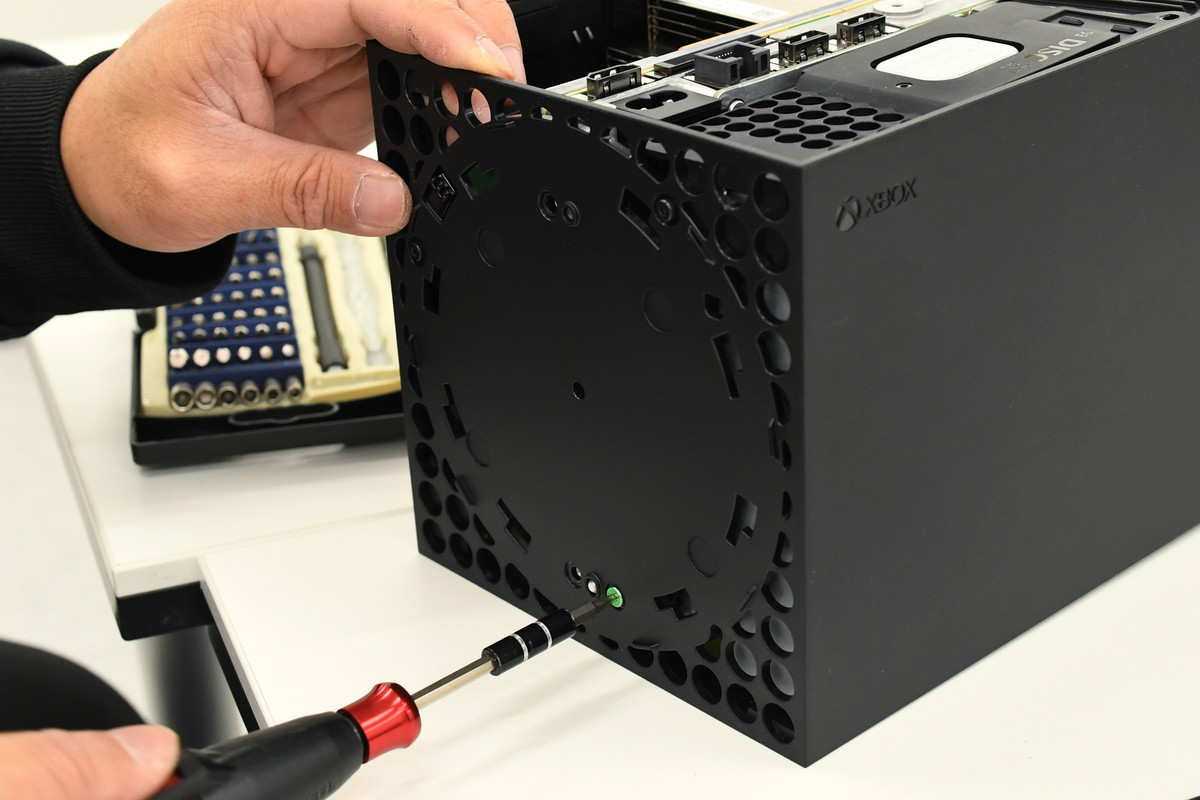
Remove all visible screws.
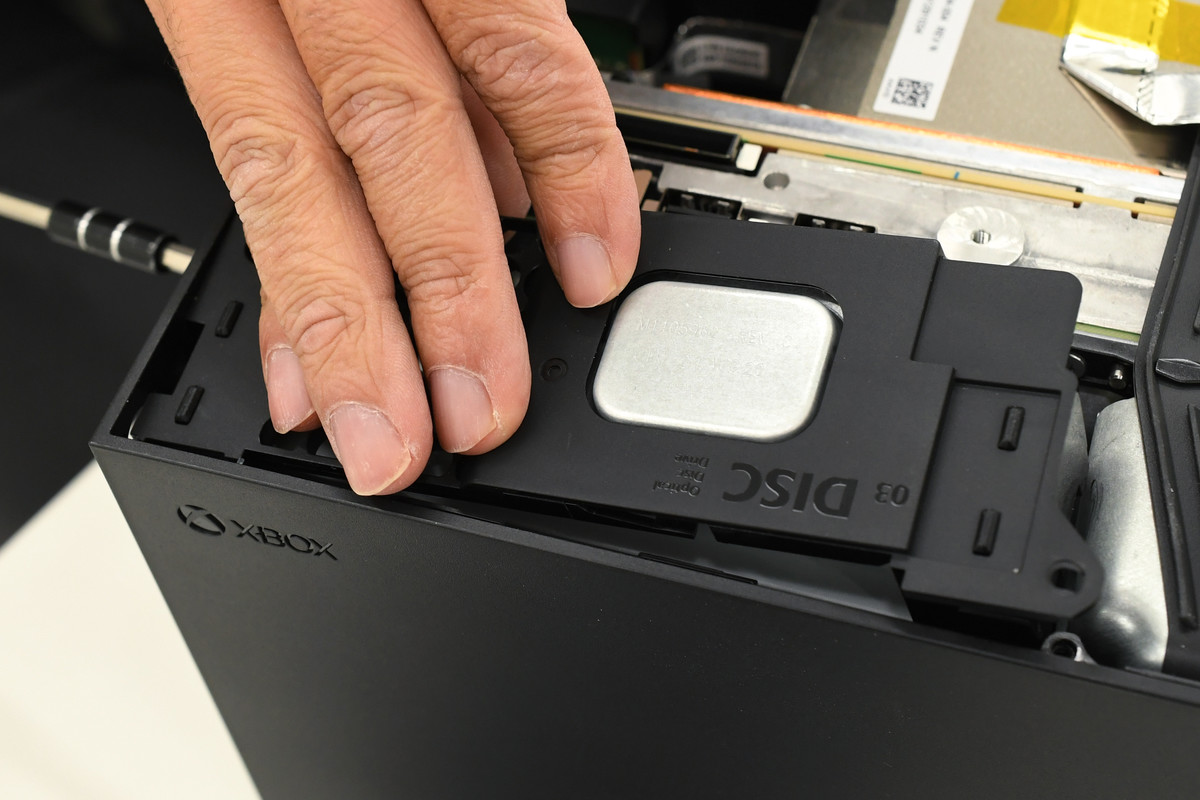
Then remove the plastic cover labeled 'DISC'. There seems to be an Xbox Series X optical disk drive behind this.
Then unplug the drive.
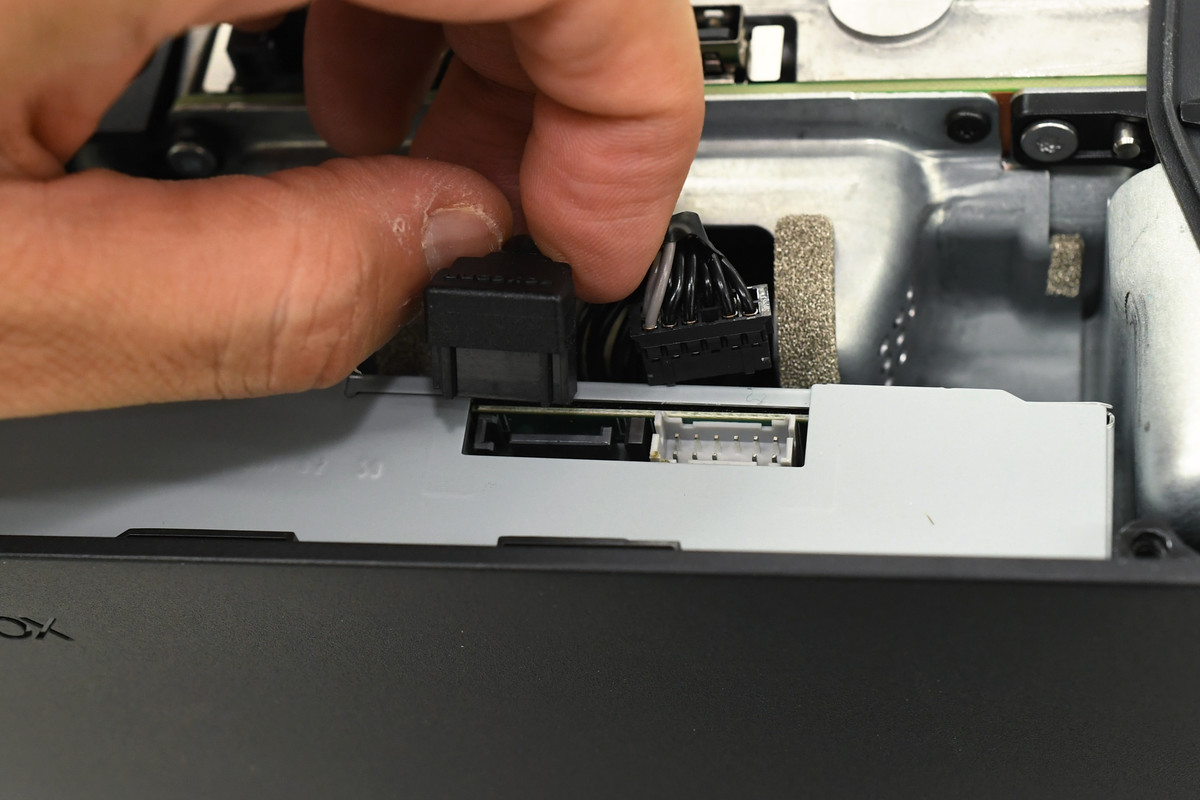
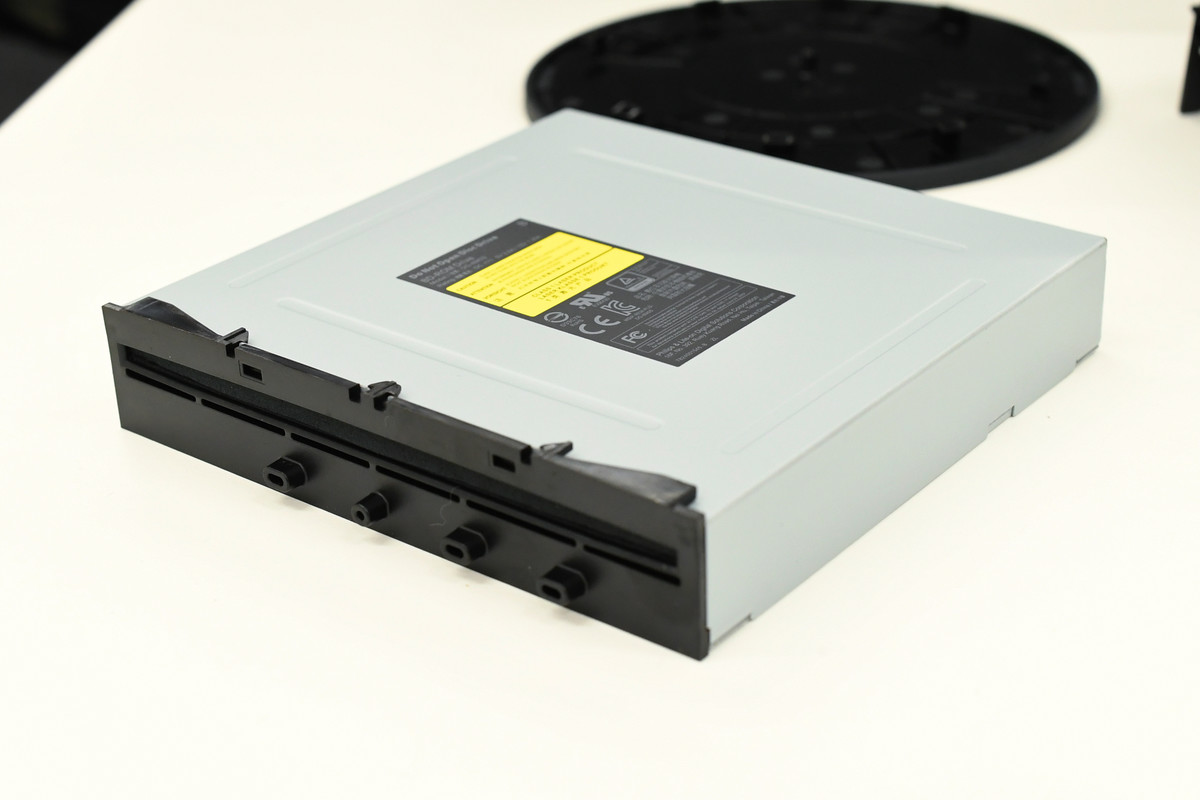
I was able to remove the optical disc drive.
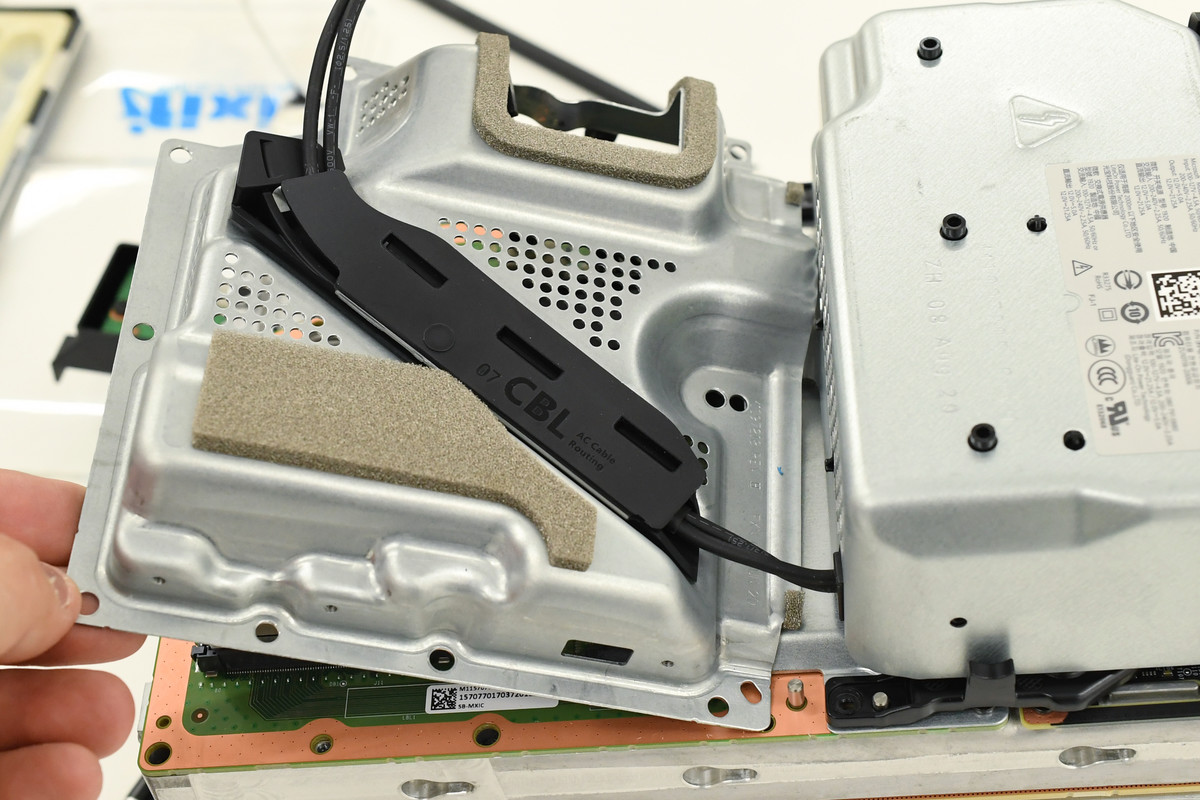
The silver cable is fixed to the case with double-sided tape, so peel it off.

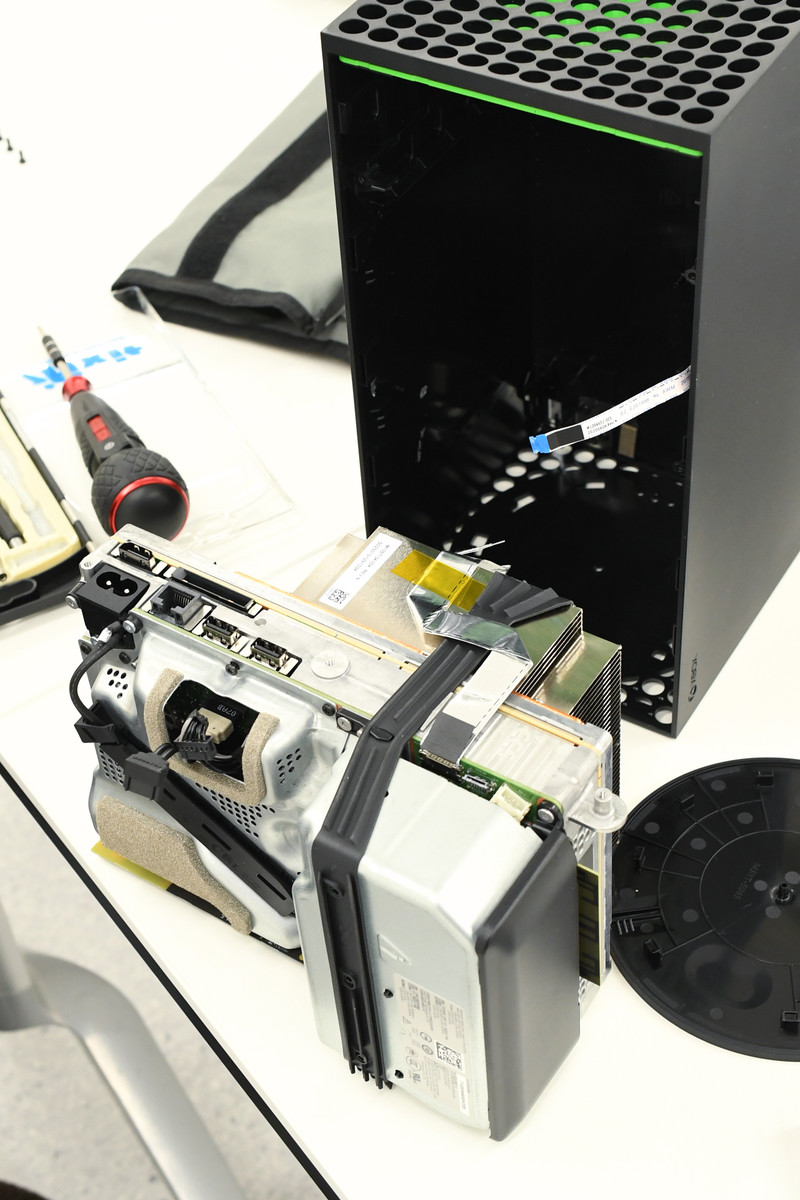
Succeeded in pulling out the contents smoothly.
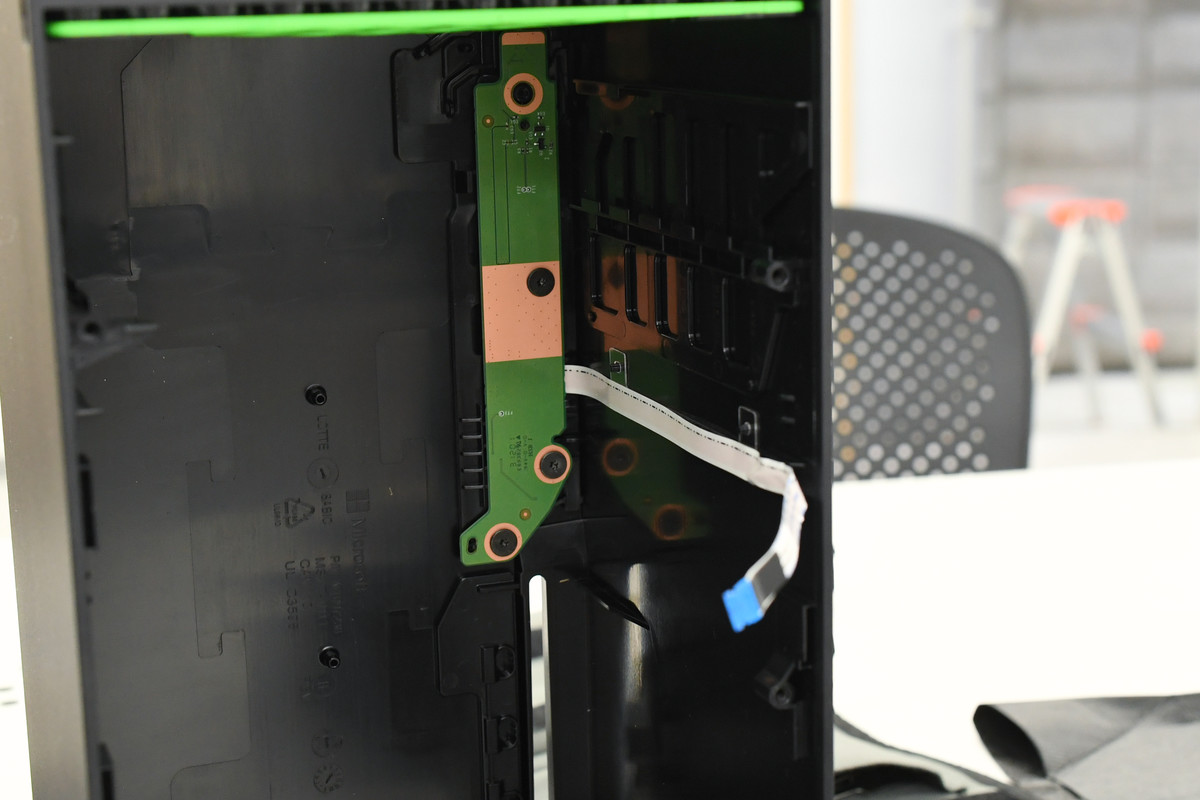
The power switch board that I unplugged when pulling it out.
The belt that ties the contents around is made of rubber and can be easily removed.
For the time being, remove all the visible screws.

Remove the board that seems to be a Wi-Fi module fixed to the side ……
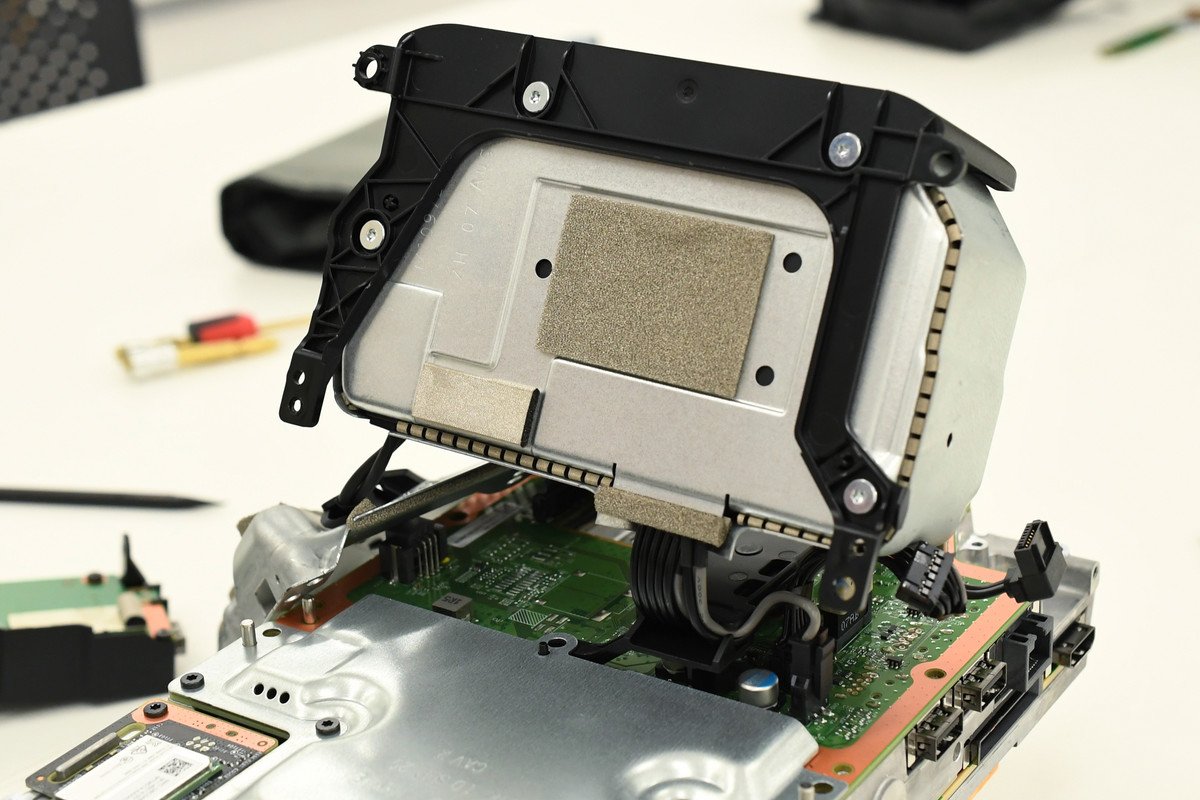
Remove the metal frame.
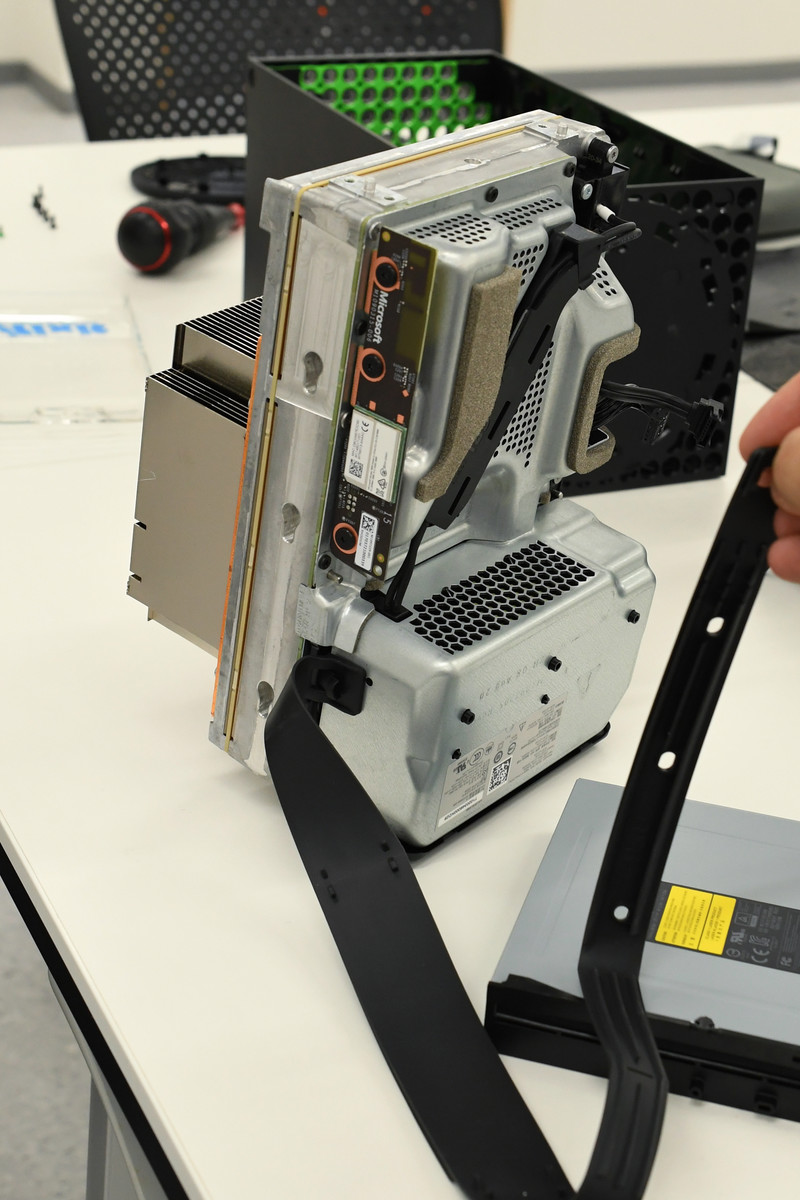
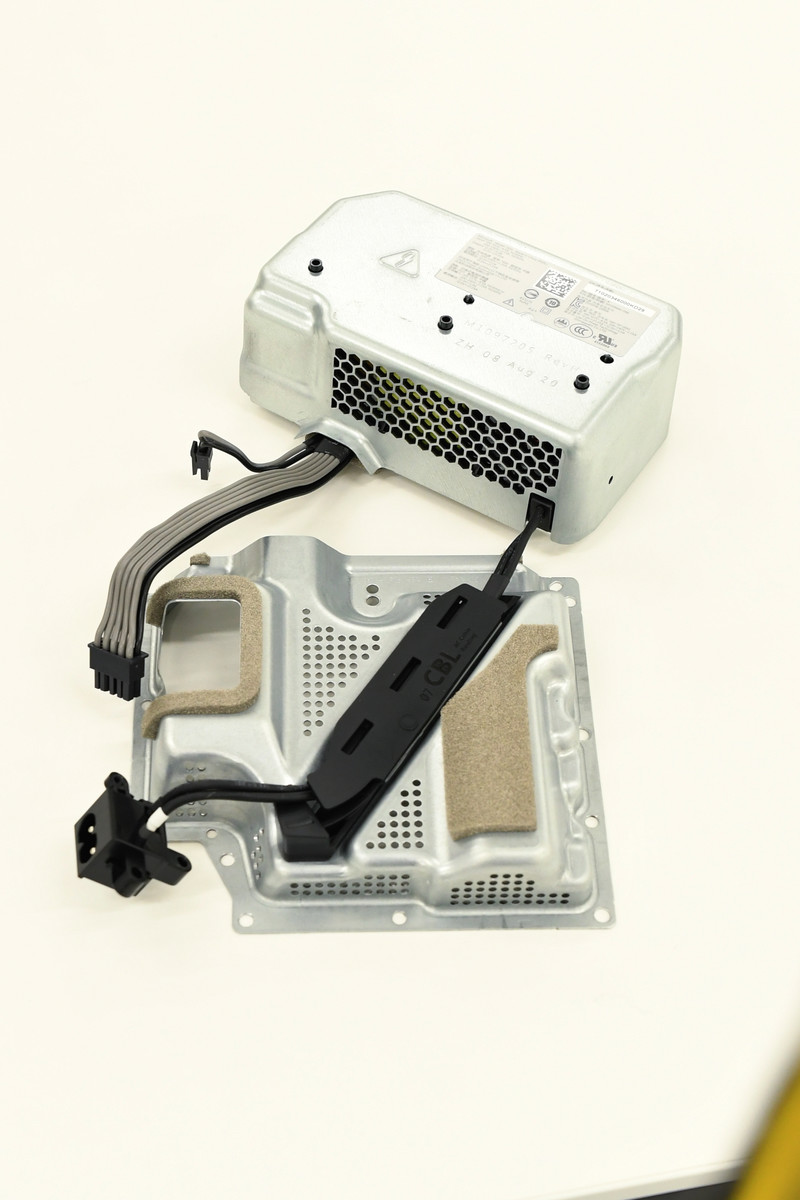
It is the power supply unit that lifts up.
The cable extending from the power supply unit is fixed with plastic parts, so remove it.
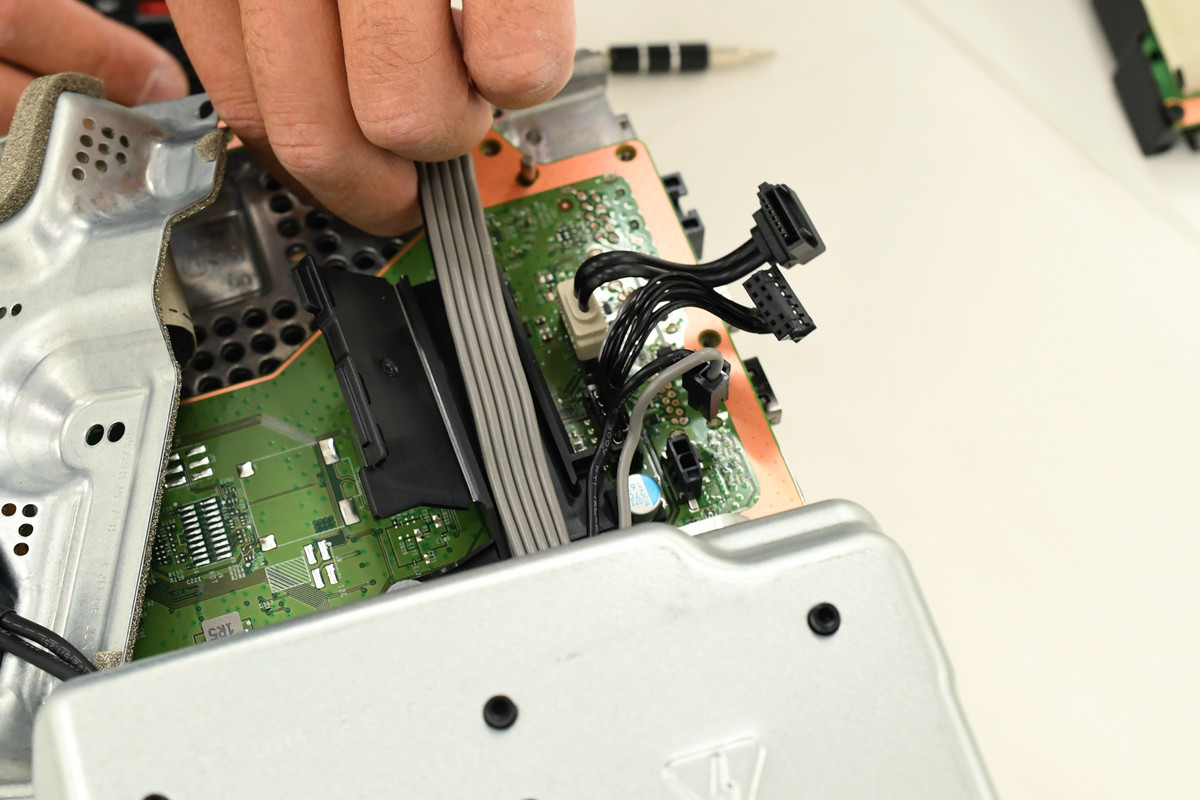
Succeeded in removing the power supply unit.
Since the motherboard and heat sink are fixed with the die-cast frame in between, remove the screws.
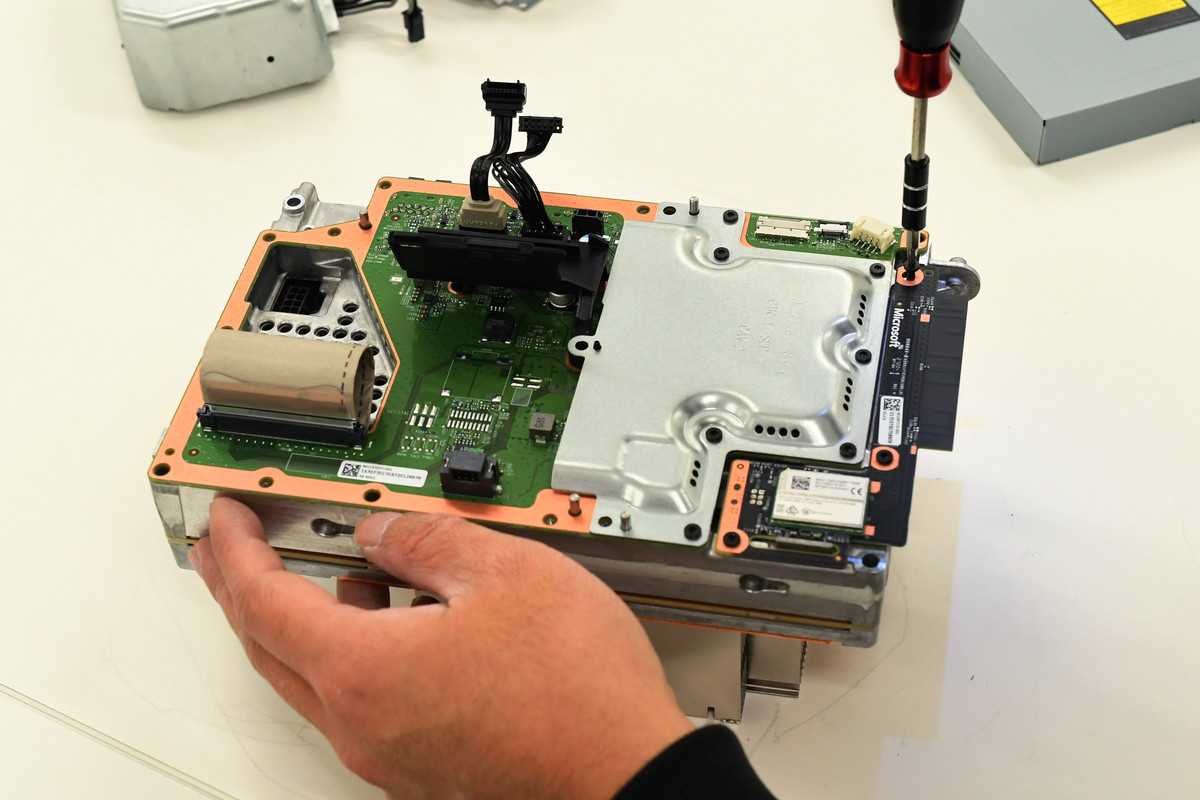
Gently lift and remove the board that was stuck from the side ...
Remove the metal cover.
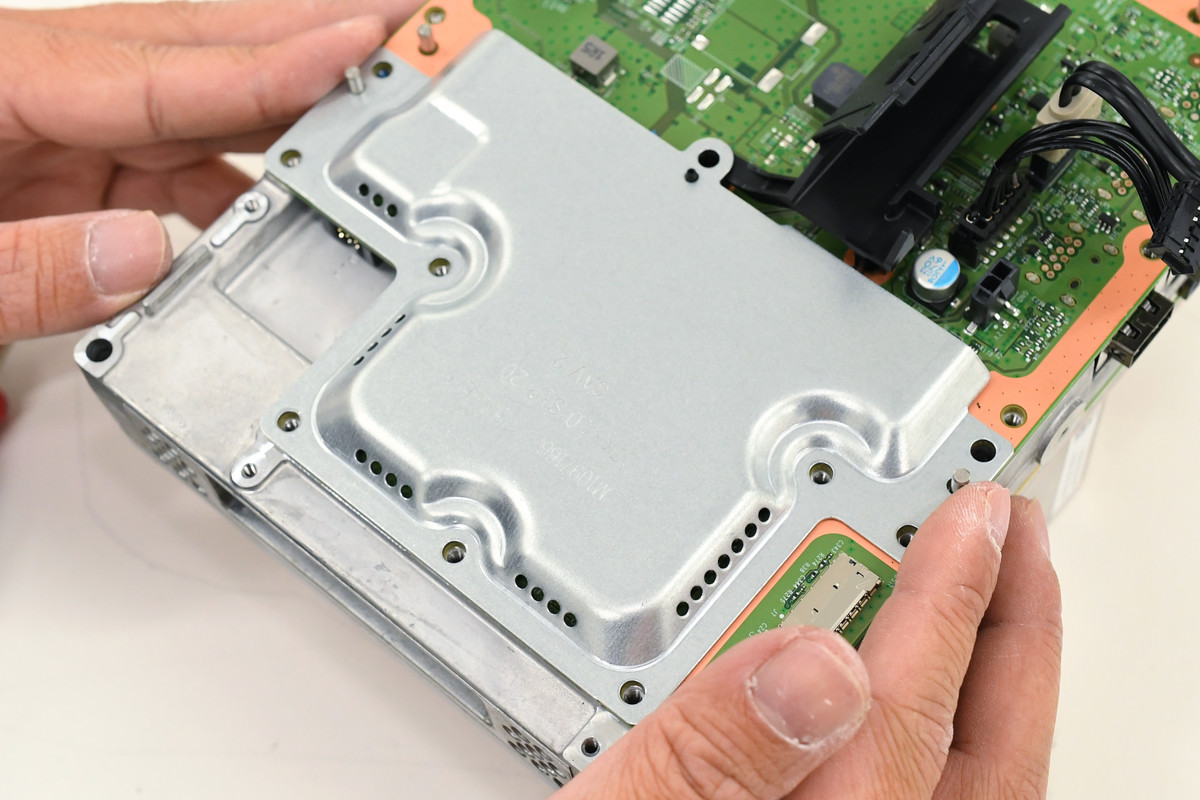
Remove the brown cable ...
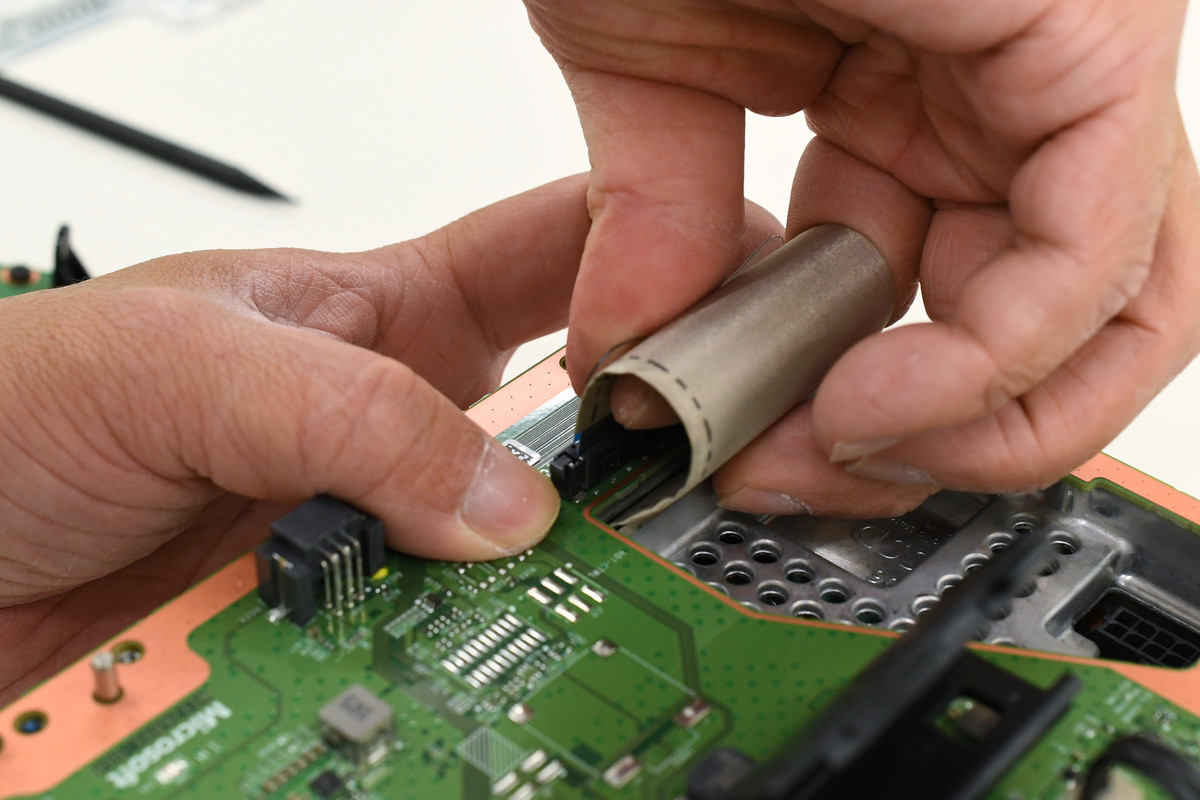
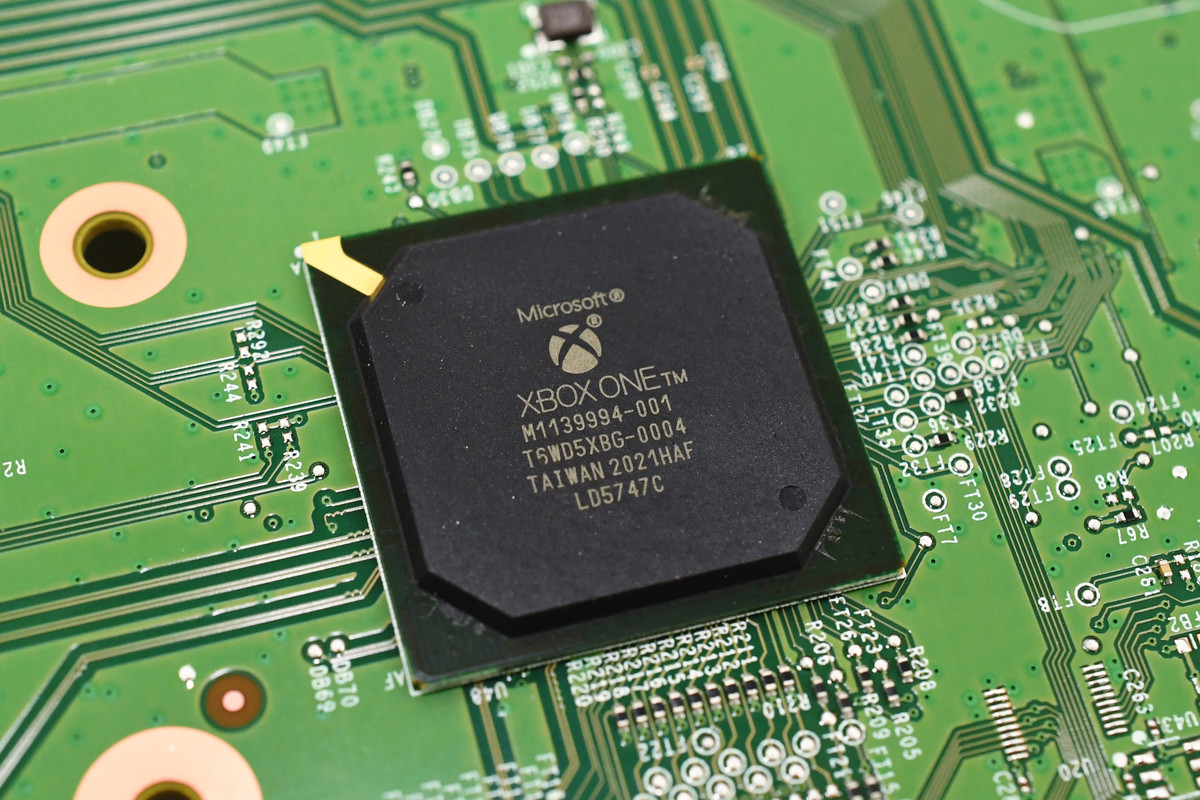
This is the removed board.
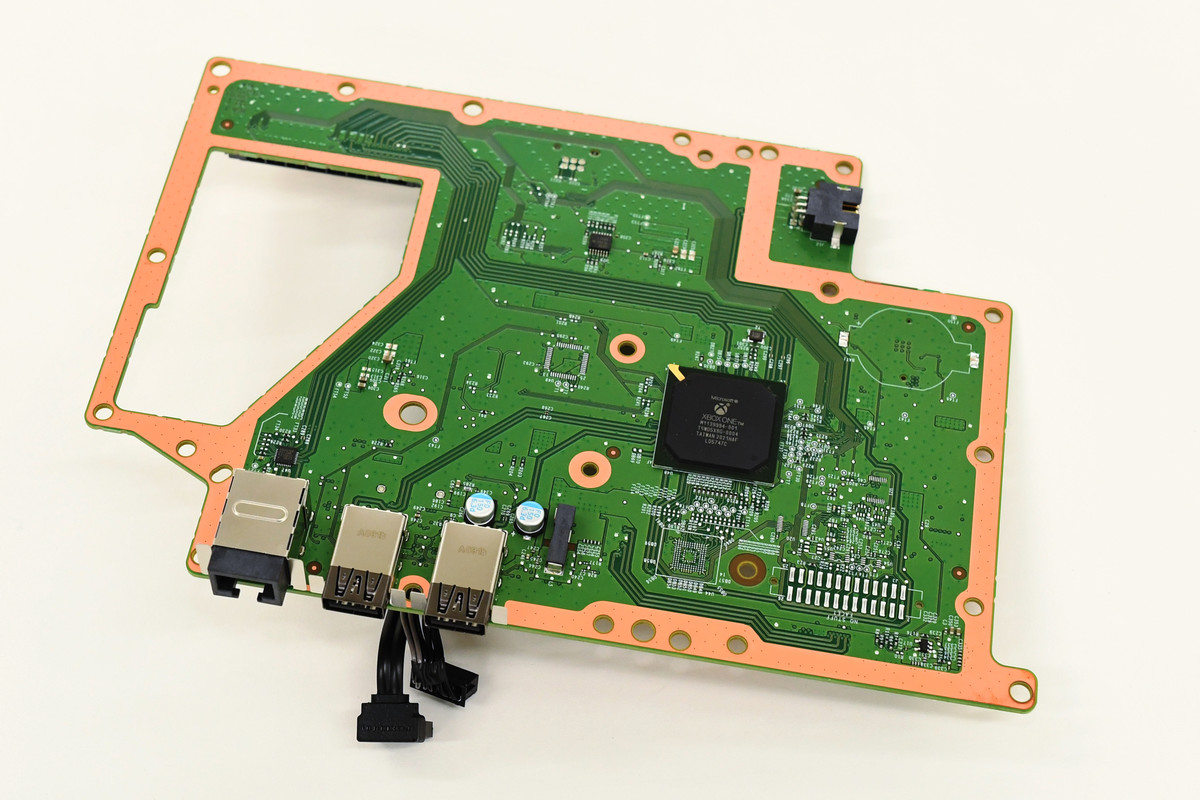
There was a chip with the Xbox One logo on it.
Also remove the screws around the heat sink.
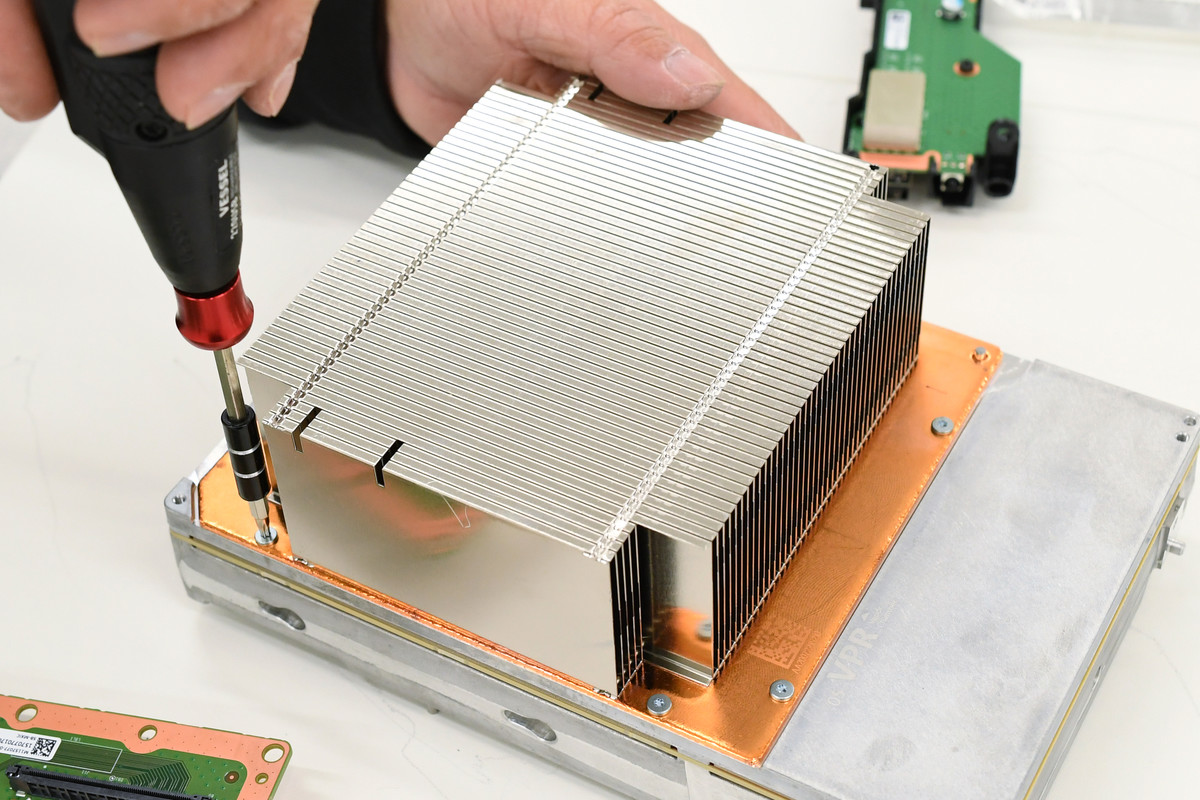
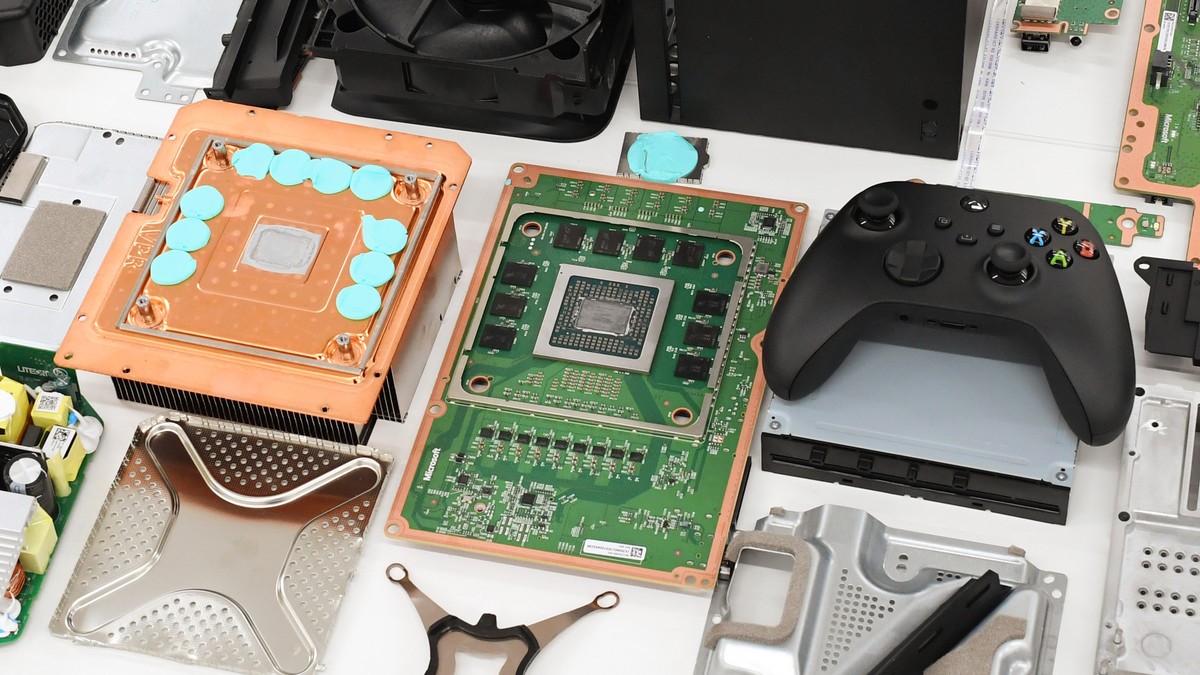
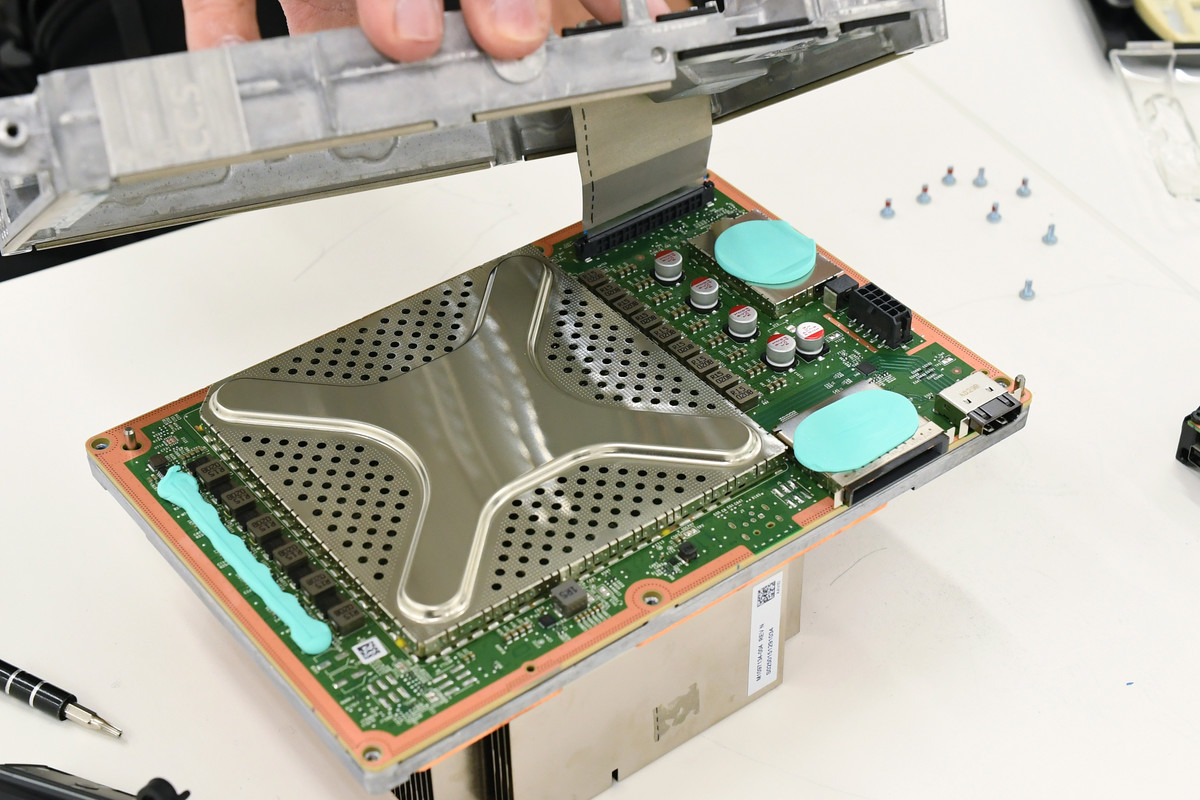
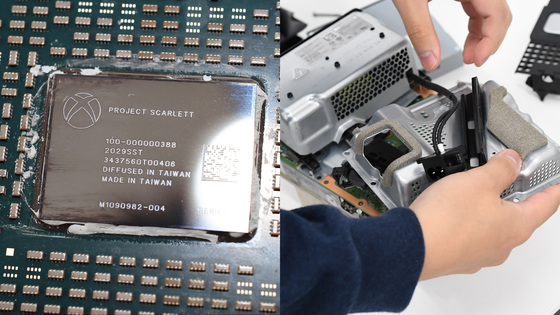
Succeeded in removing the die-cast frame. A perforated metal shield covers most of the board. The green clay is cold to the touch and seems to be a material with high thermal conductivity like CPU grease.
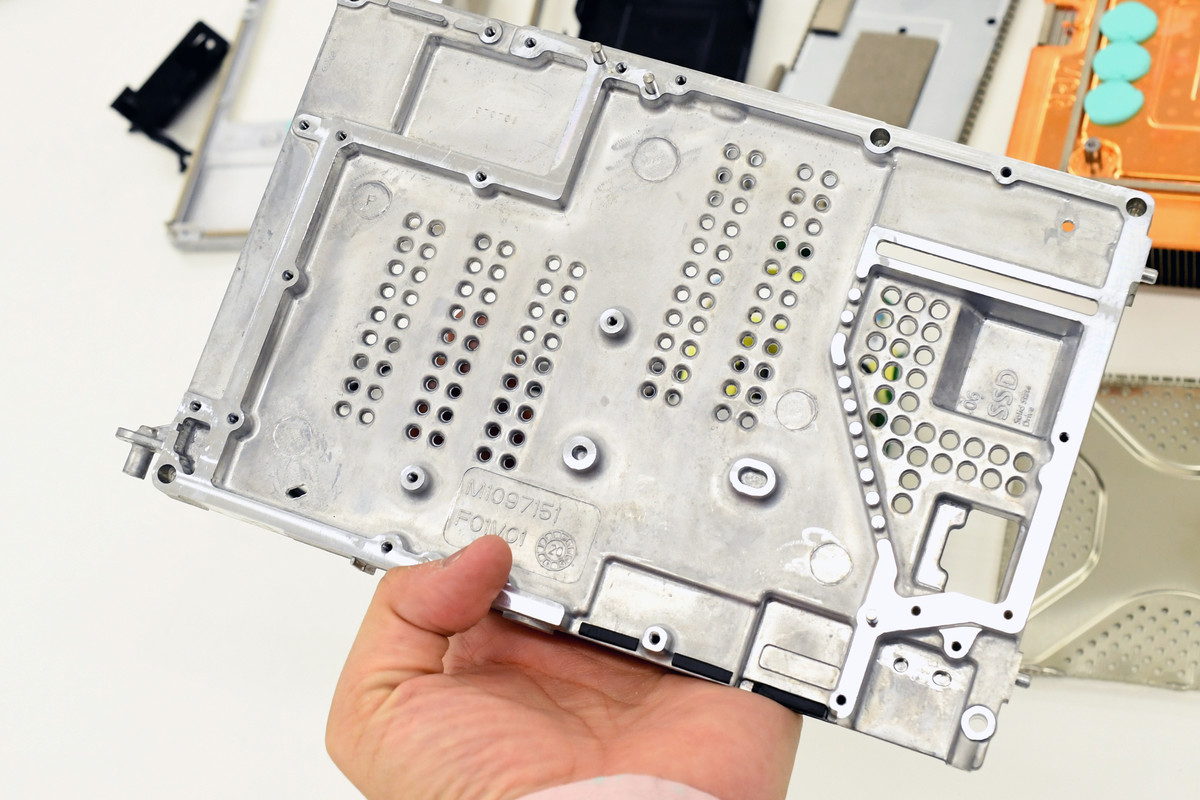
The die-cast frame looks like this.
Use a flat-blade screwdriver to lift all the claws of the shield that bite the board.
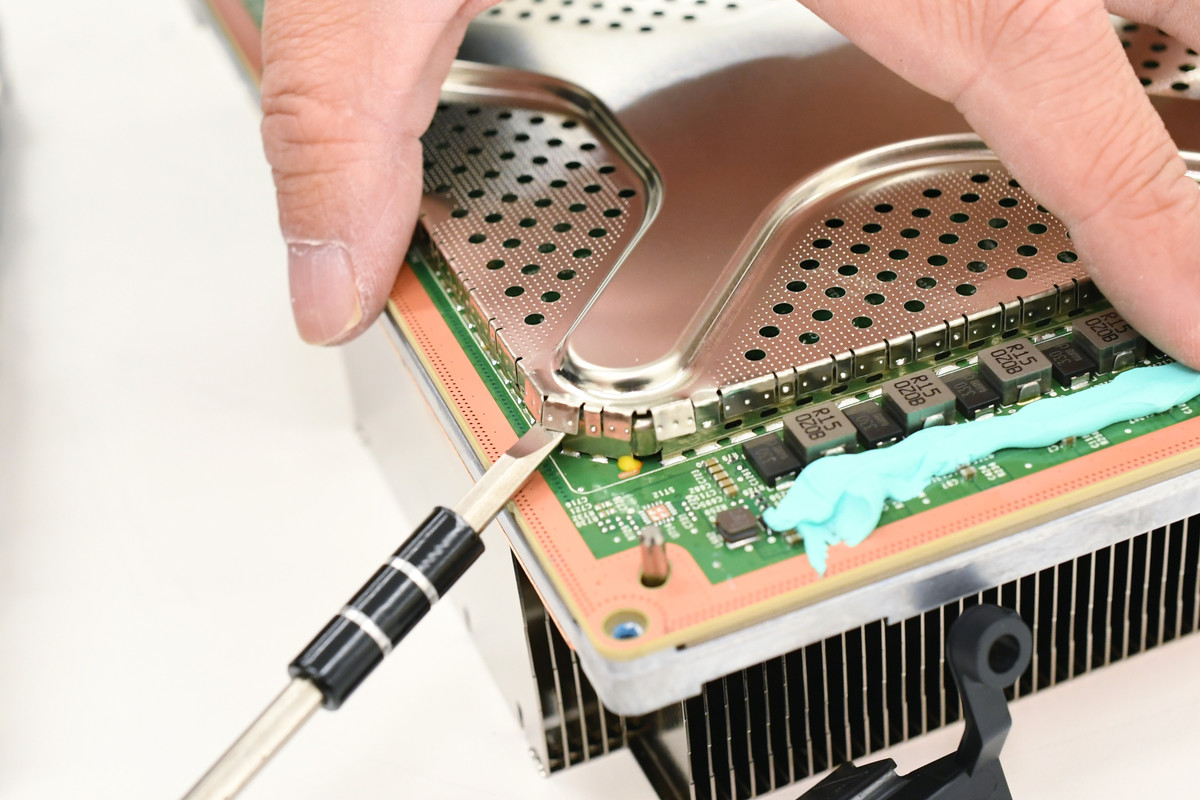
Pakari
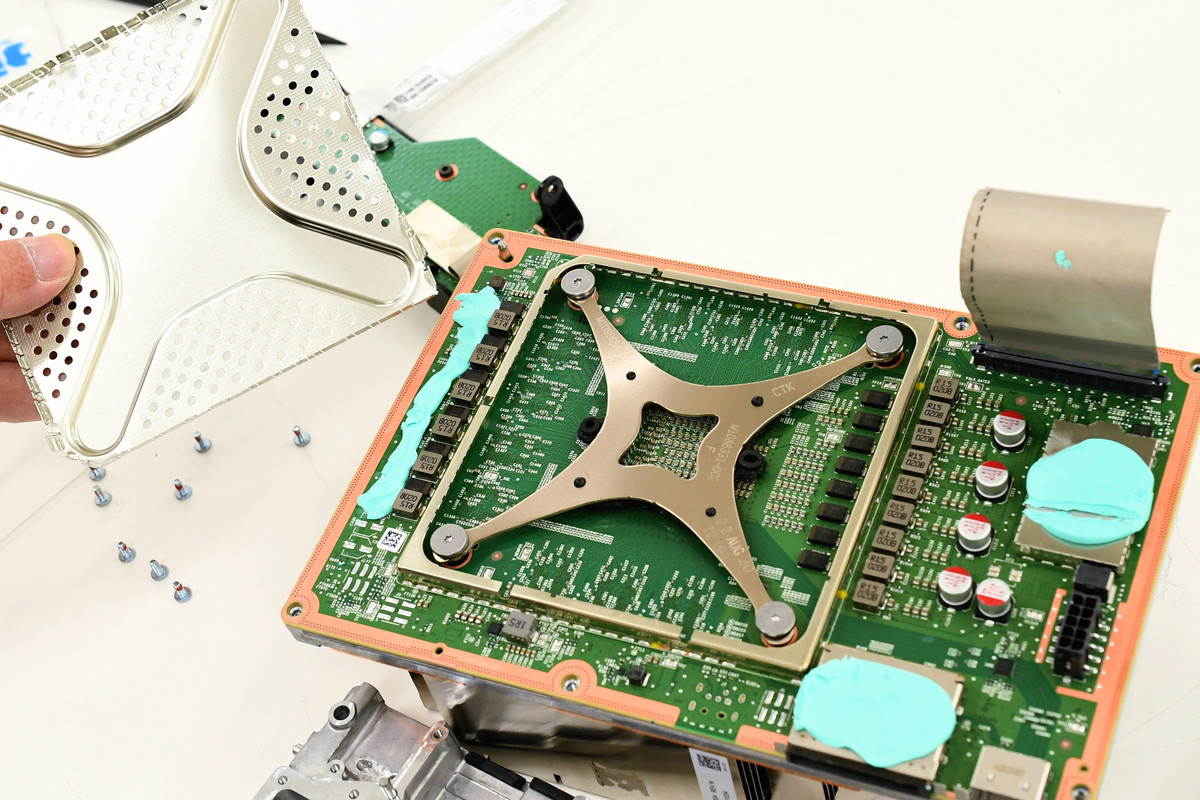
If you remove the arm that supports the X-shaped shield ...

I was able to remove the heat sink.

Below the heatsink is the main board, in the center is the Xbox Series X SoC, and around it is the memory.
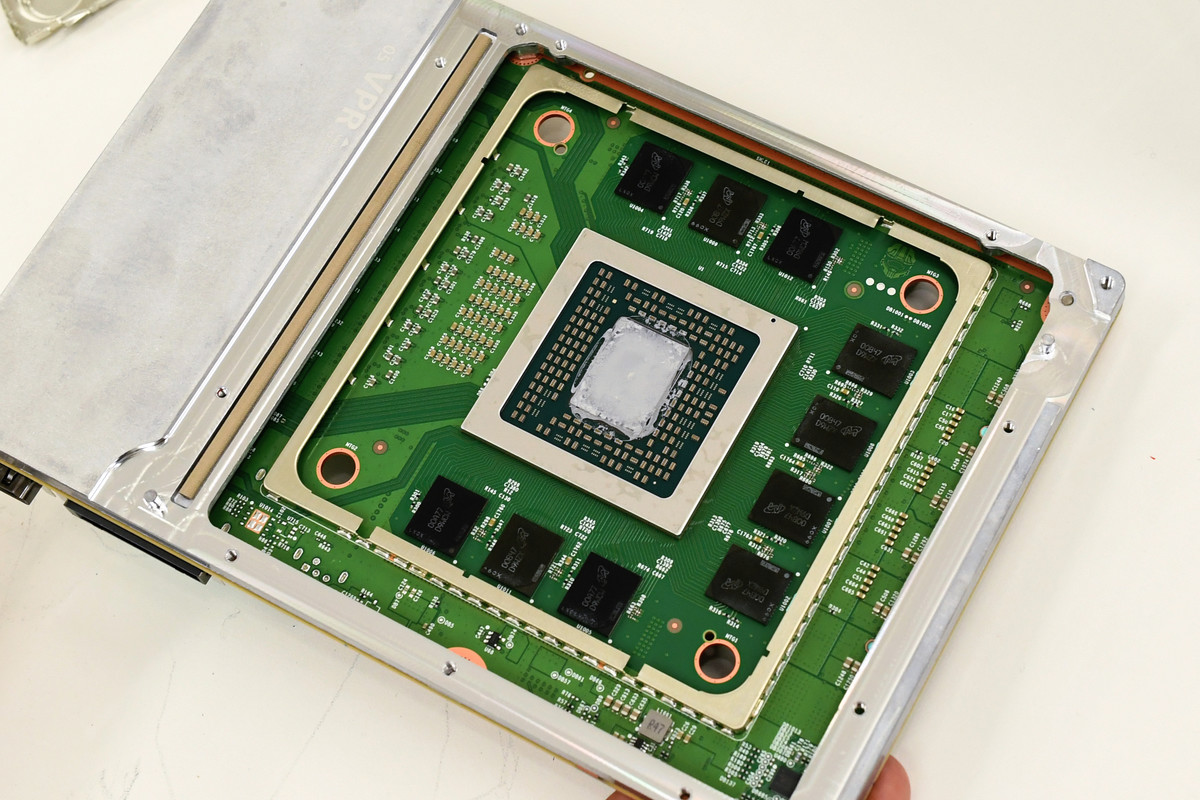
The face of the Master Chief was printed in the corner of the main board.

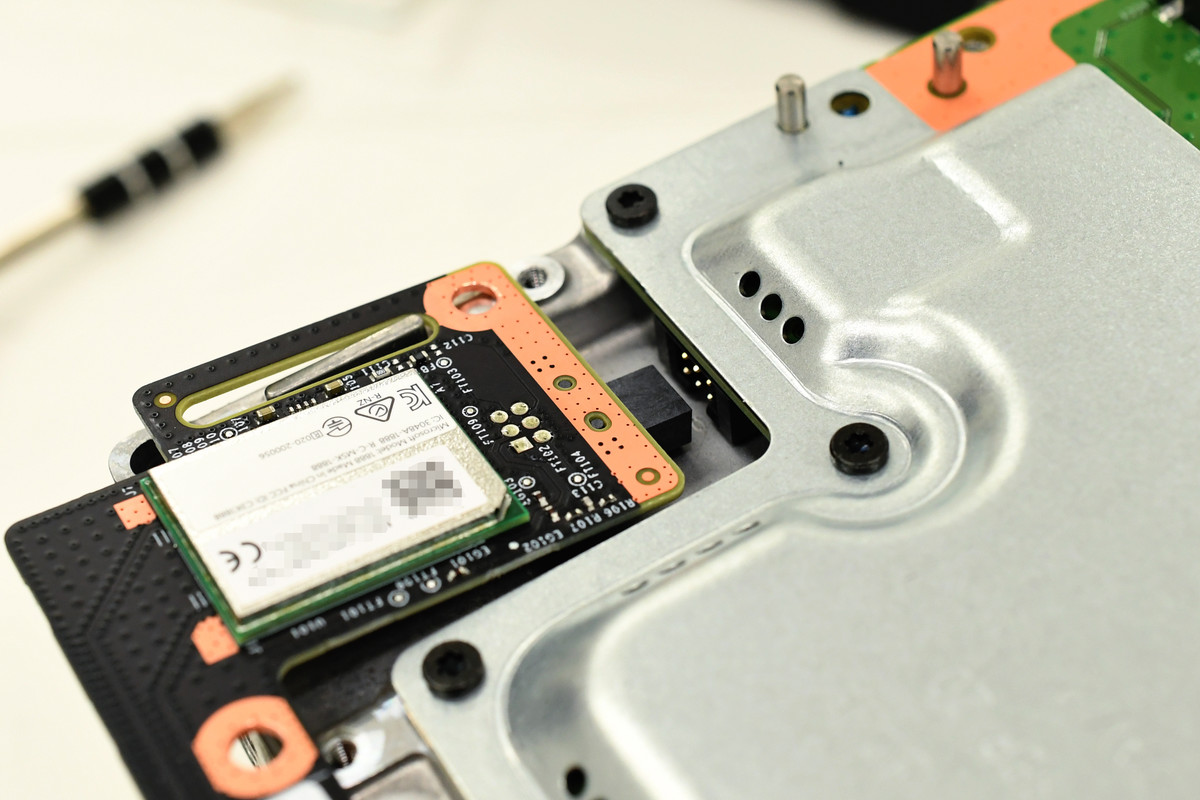
There was a part covered with a shield on the back of the main board, so when I lifted the claw with a flat-blade screwdriver and removed it ...
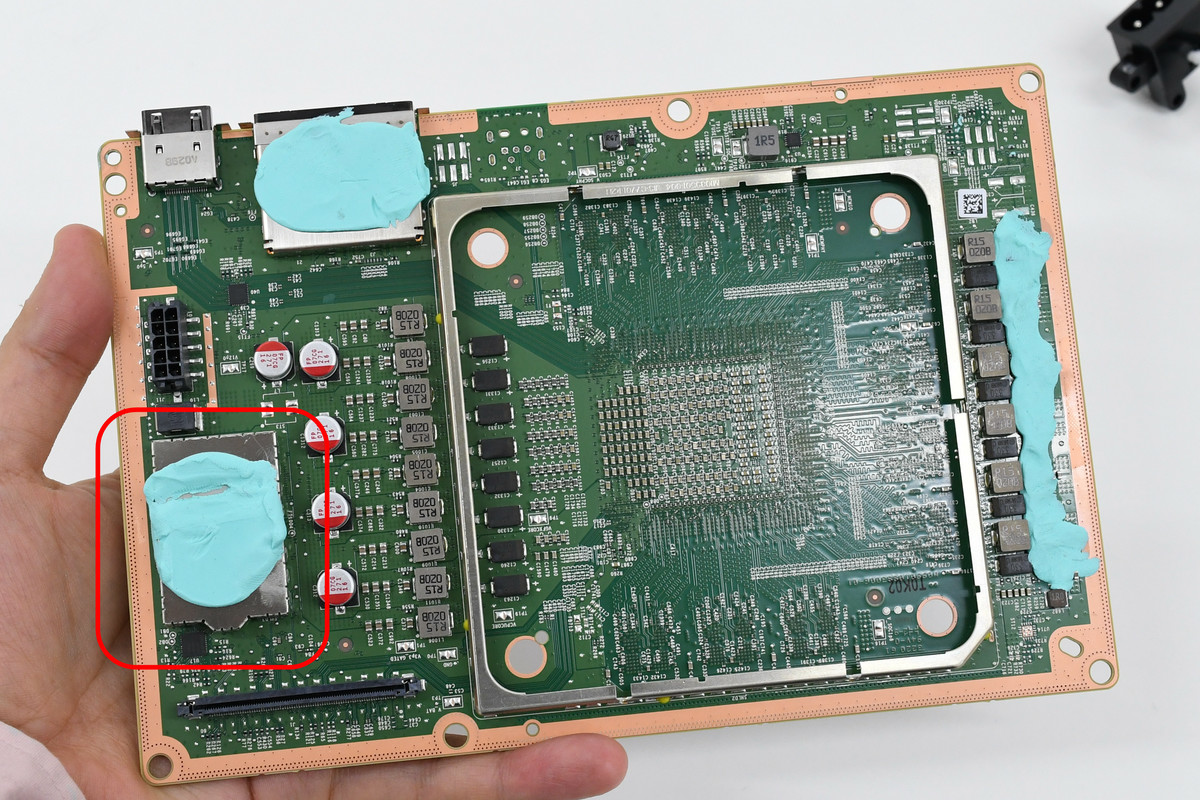
The SSD fits in.
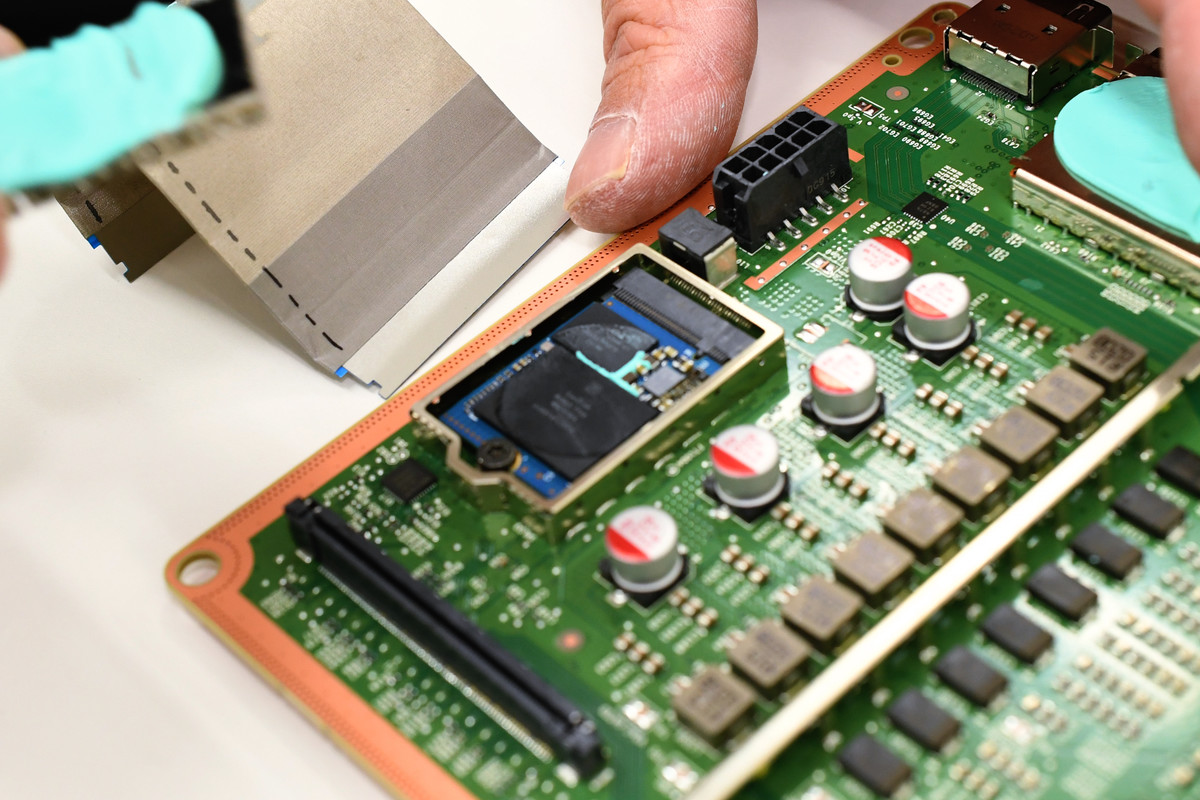
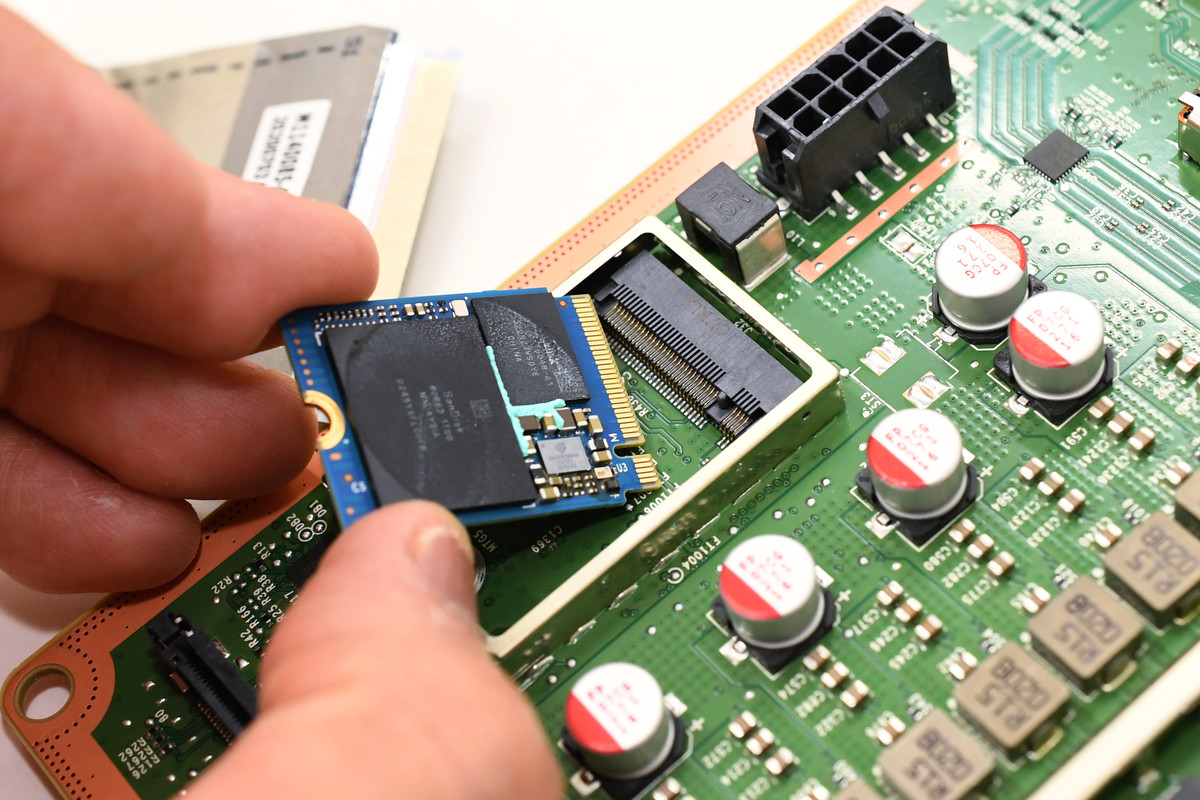
Apparently it is an M.2 connection.
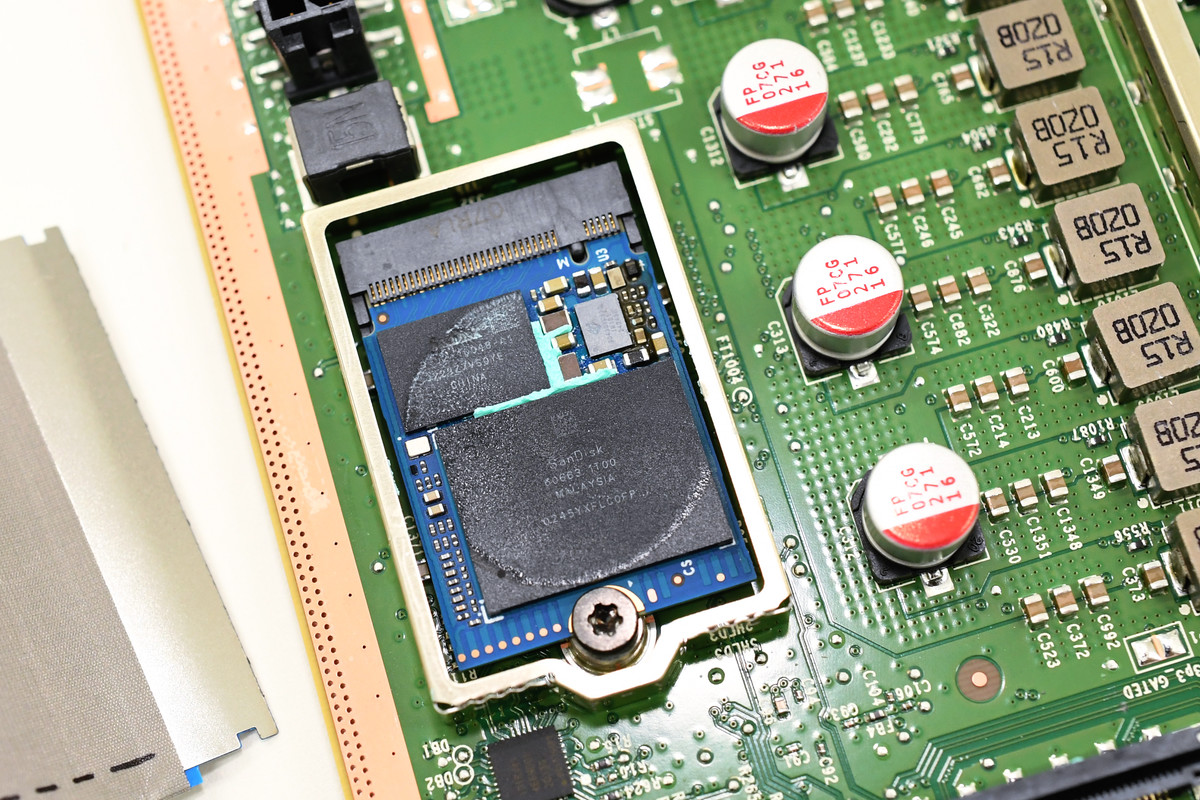
After removing the screws and gently pulling it out, I was able to safely remove the SSD.
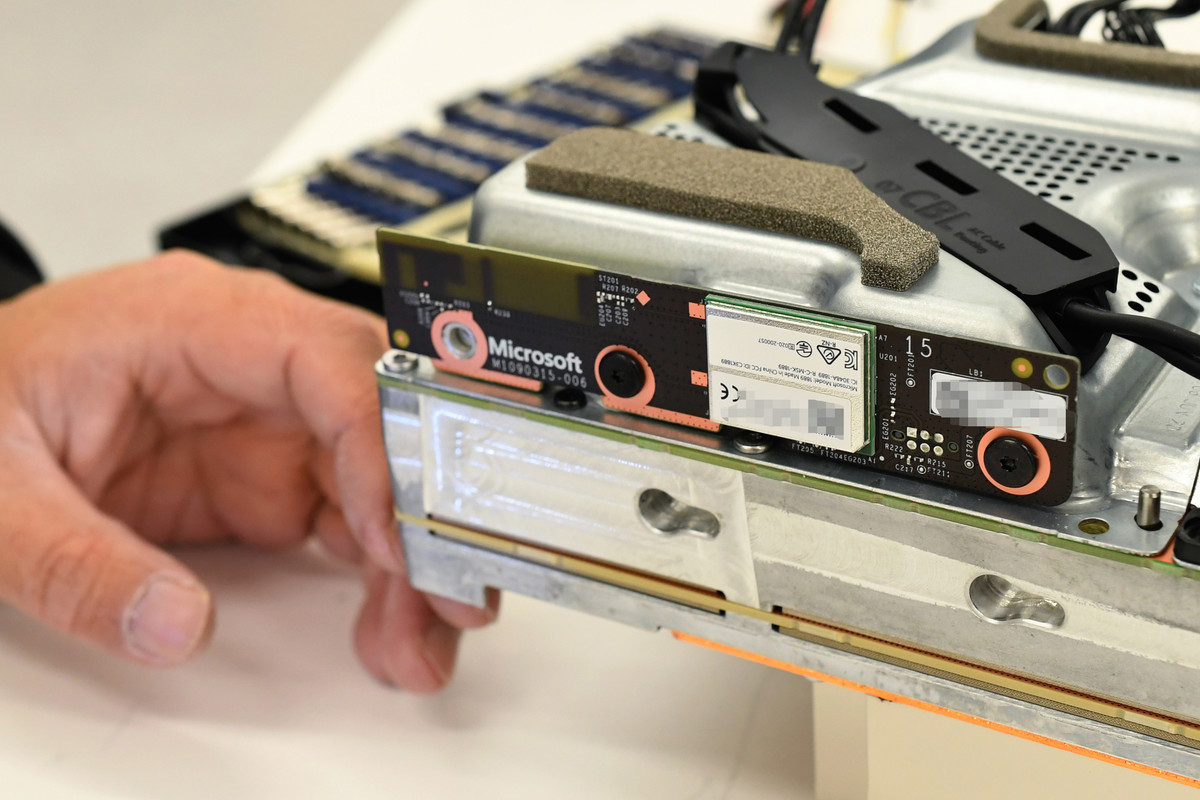
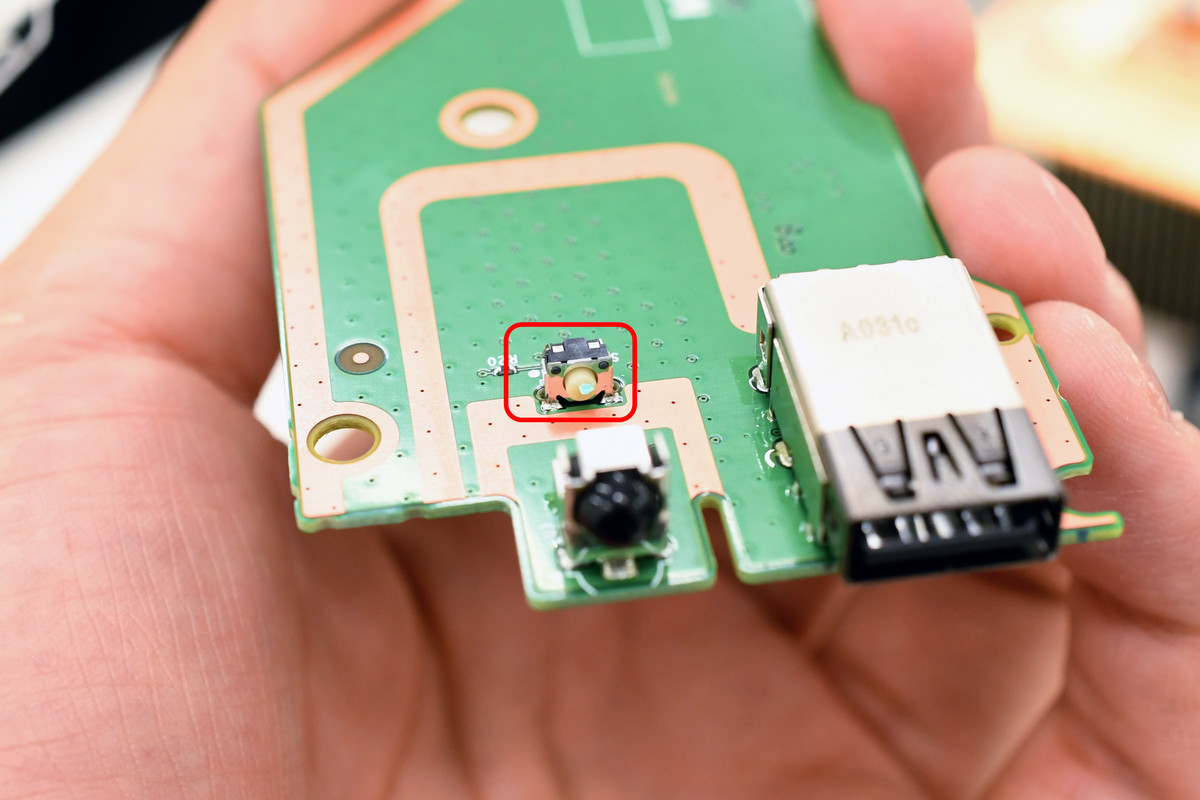
This is the USB board for connecting the controller, which was attached to the side of the main board. There is a small switch next to the USB connector and a sensor in front.
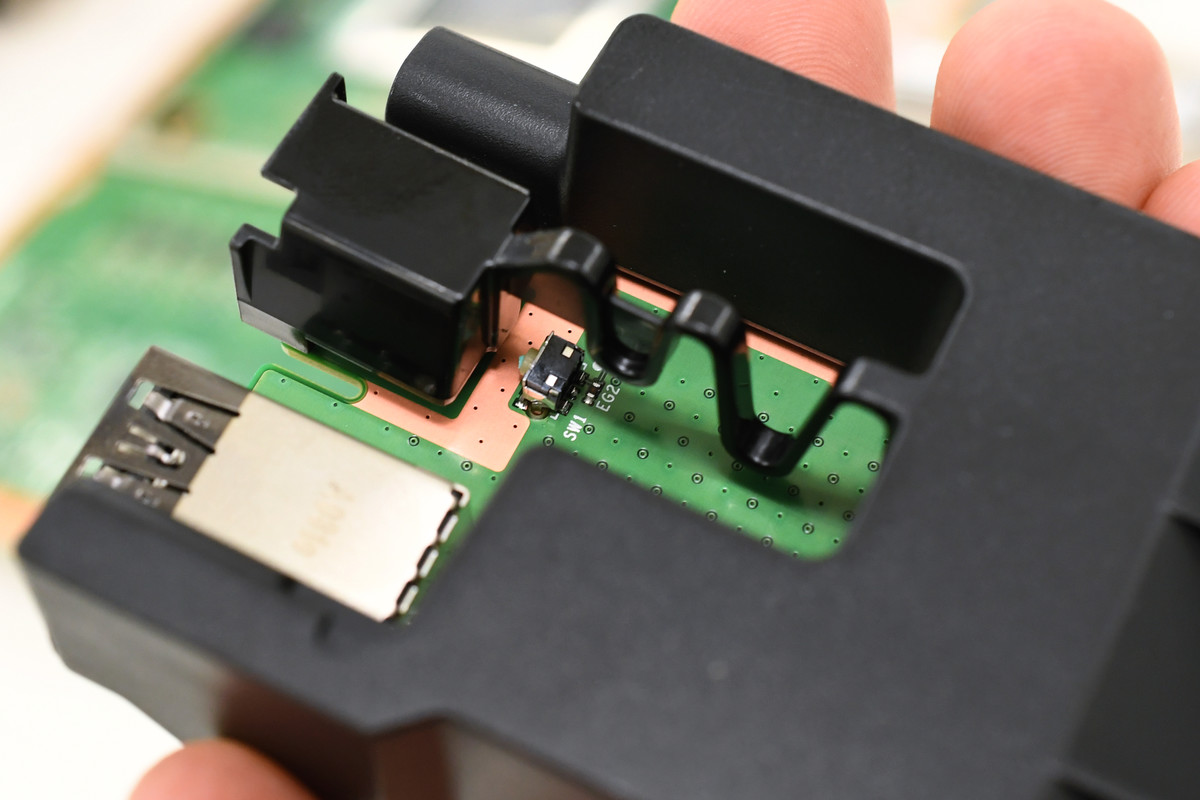
Plastic parts are attached to this board, and while the case protects the sensor as shown below, a part of the case pushes the switch with a plastic spring.
I was able to break it all apart like that. Disassembly work takes about 3 hours. There were parts that were firmly fixed with claws, and because they were combined in a complicated manner, there were many situations where it was difficult to remove them even with tools.
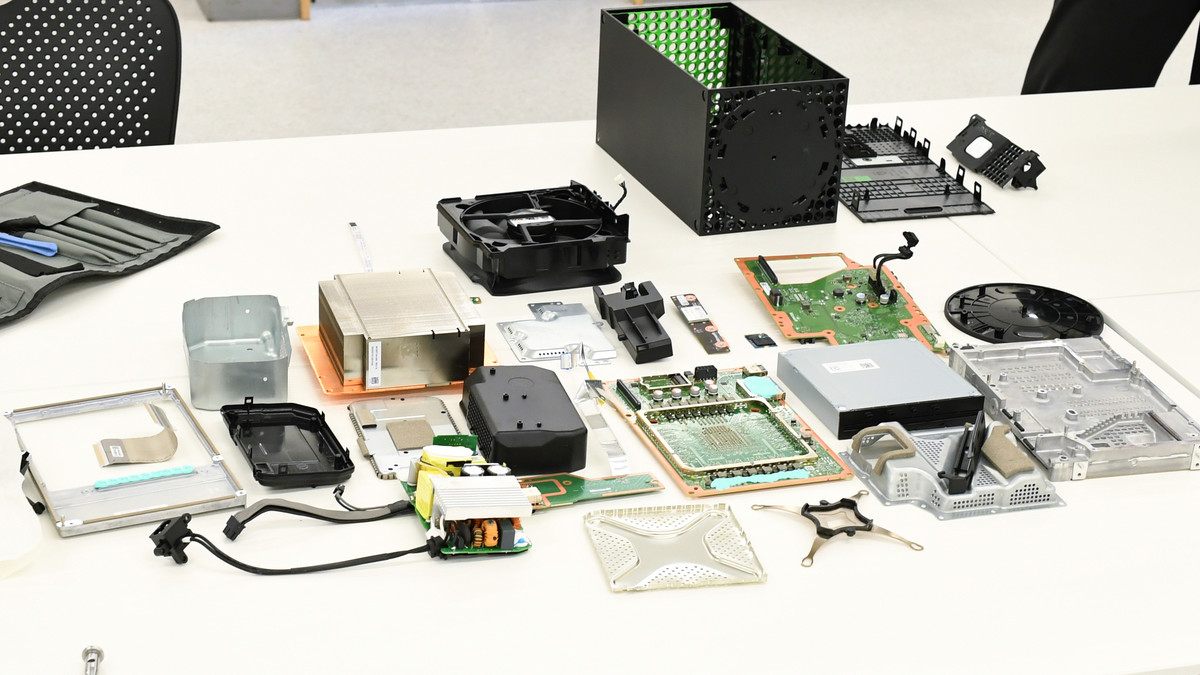
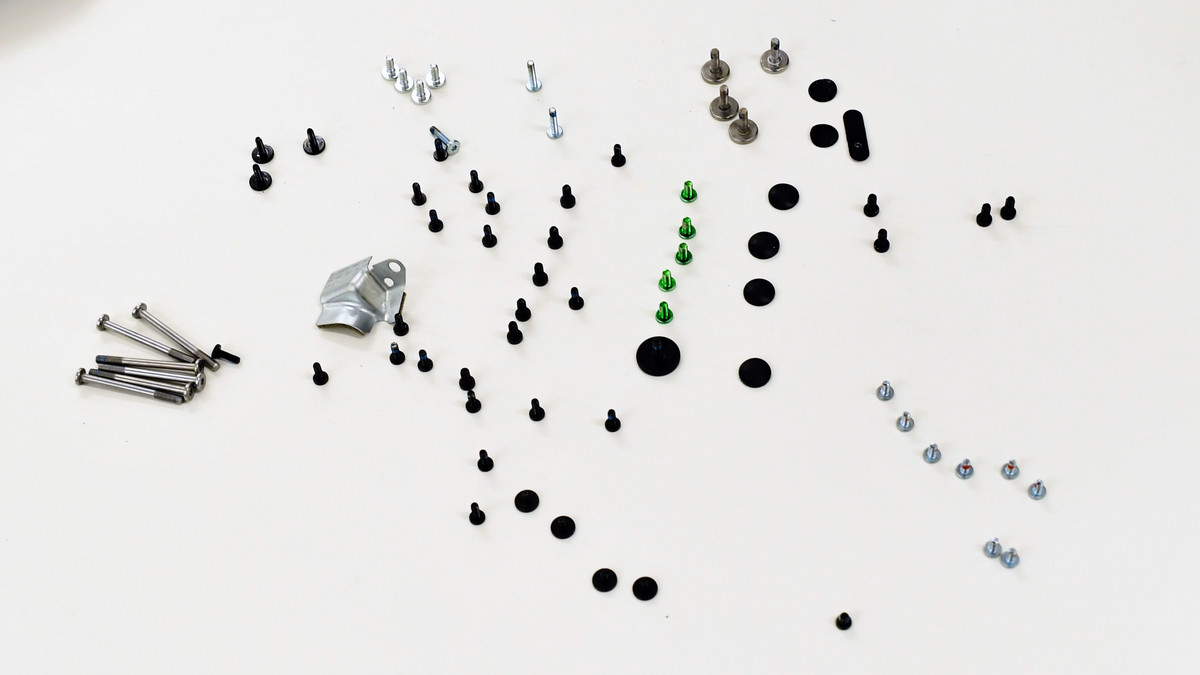
This is the only screw used.
Next, we will take a closer look at each part, so stay tuned.
・ Continued
Related Posts: