I tried using the 1500 lumen light 'BMO' which is compact and easy to carry & the tripod 'Gorillapod Rig' which is highly expandable with an arm regardless of the installation location.
When shooting with a camera or smartphone, the ceiling lighting is not always in the desired position, and shadows may cast in unintended locations. There is also a way to shoot with a strobe, but if you are looking for something easy and if you have a light that is easy to handle, you can get a brightness of 1500 lumens with a palm size of about 5 cm square, which is included. I found a light 'BMO' that can be attached to a tripod with a mount, so I tried using it with the tripod 'Gorillapod Rig'.
BMO-JB01579-BWW | Joby JP
Gorillapod Rig-Professional Gorillapod | JOBY
https://joby.com/jp-ja/gorillapod-rig-jb01522-bww/
◆ BMO
The ordered 'BMO' and 'Gorilla Pod Rig' have arrived at the editorial department.

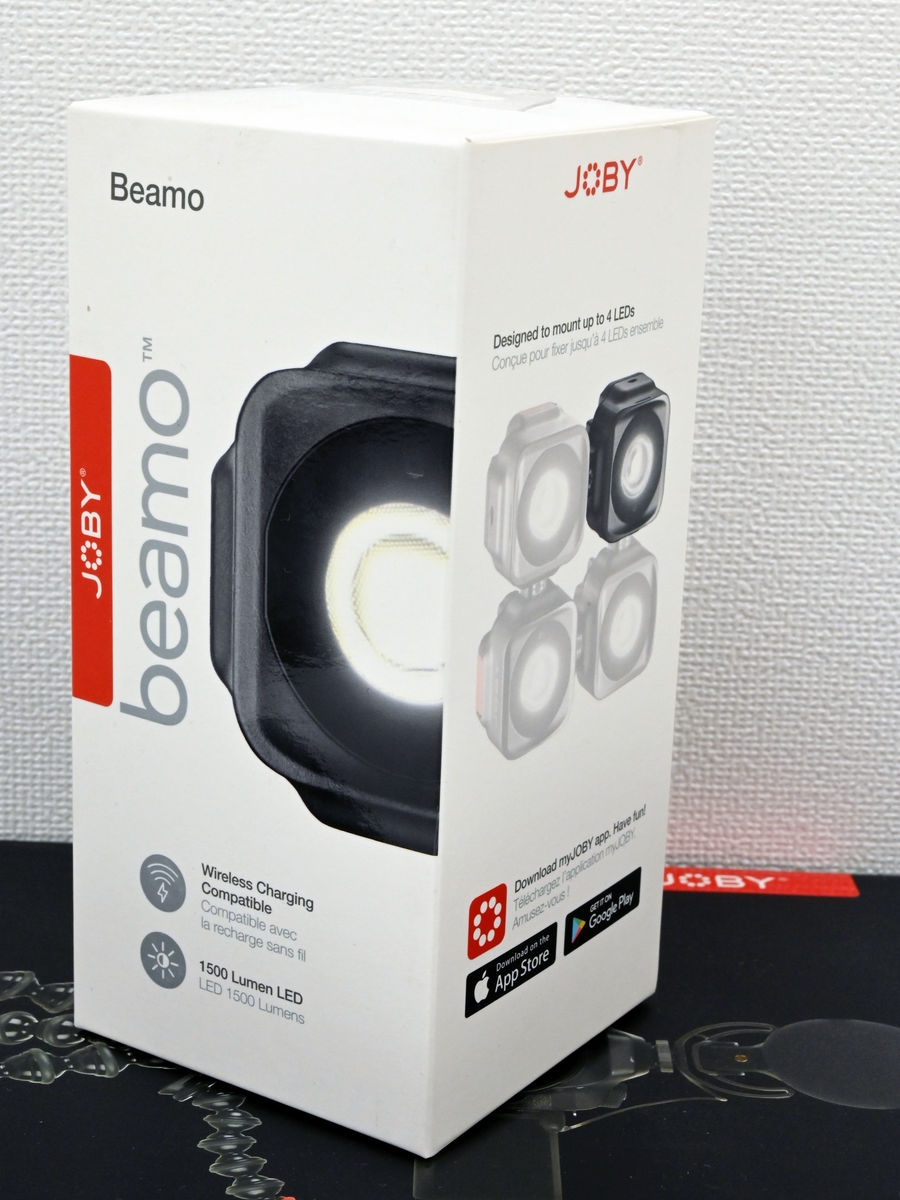
This white box is 'BMO'.
The contents are a diffuser to be attached to the main body, a main body, a universal tripod mount, a USB cable for charging, and a simple instruction manual.

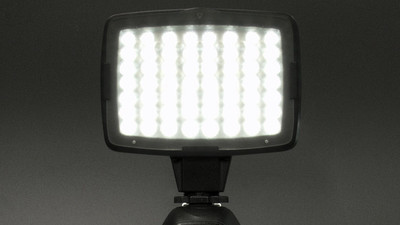
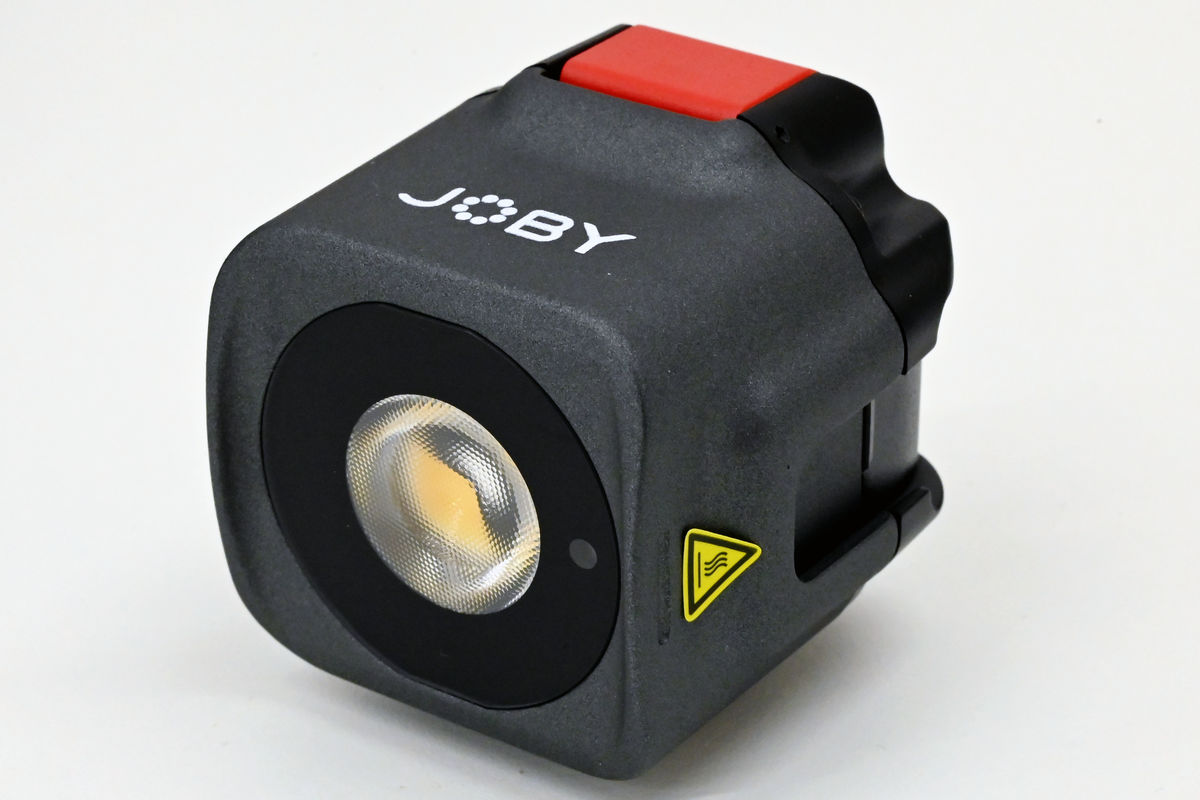
Looking at the main body from the front side, it looks like this. There is a cold shoe for attaching accessories on the left side of the main body.
The back side and the right side of the main body look like this.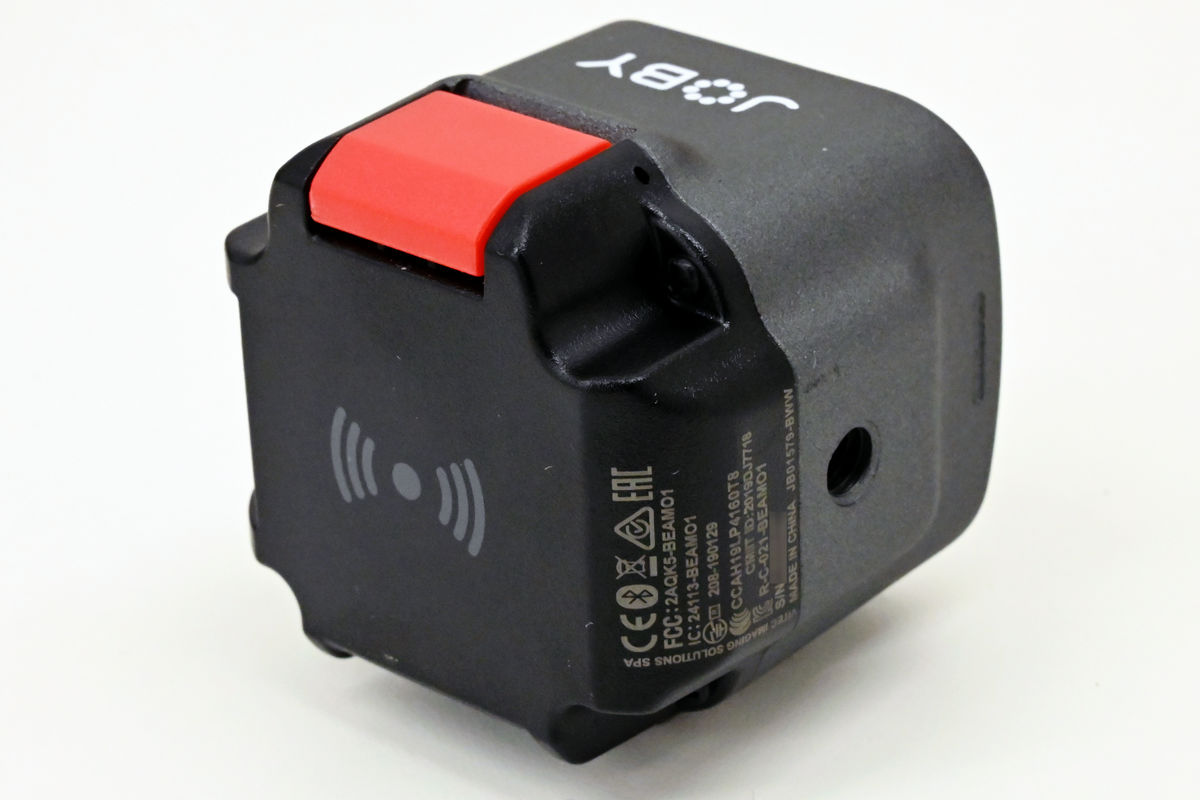
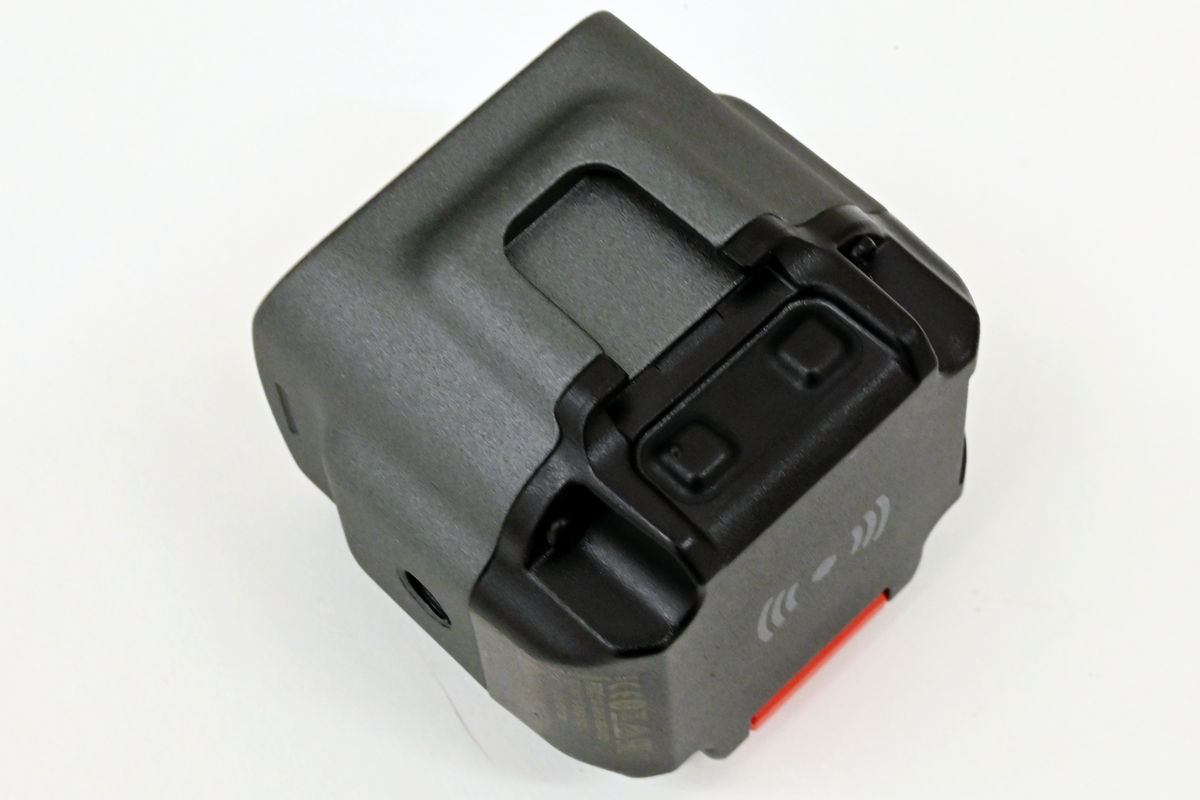
There is a second cold shoe on the bottom apart from the sides. The two black buttons are used to turn the power on and off and adjust the brightness.
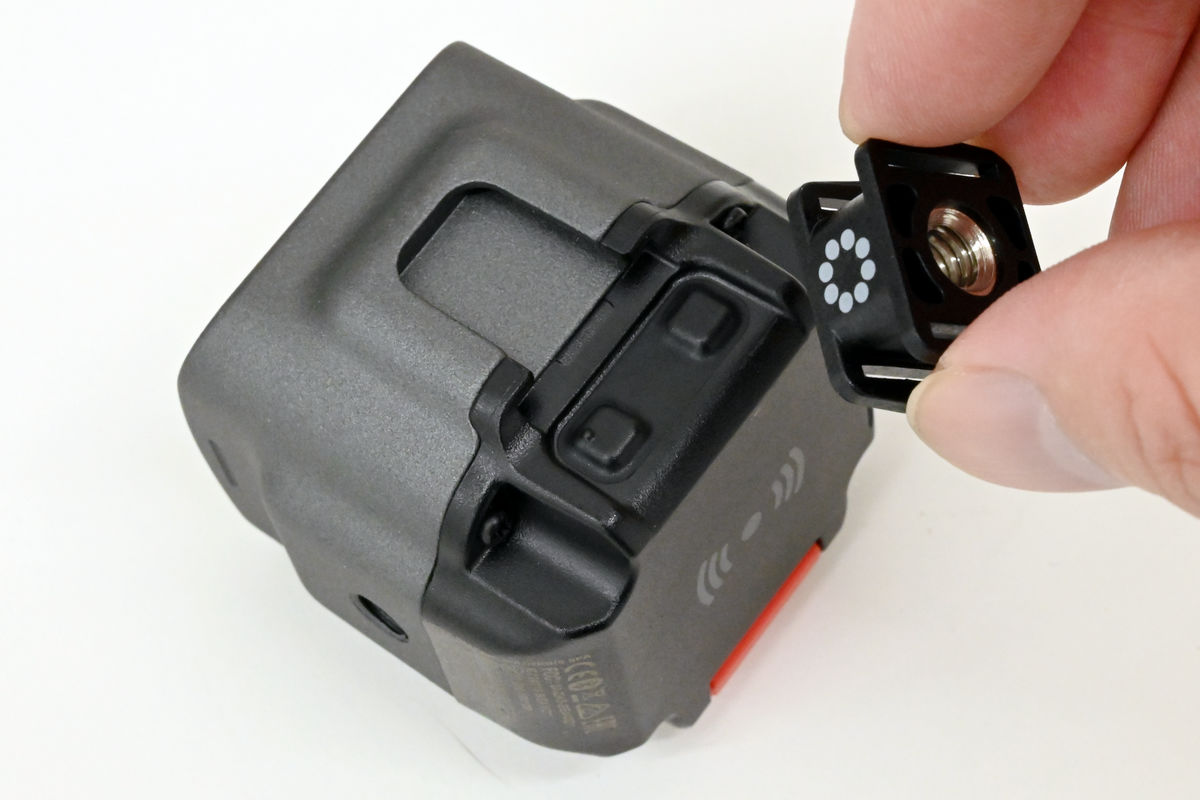
It comes with a separate universal tripod mount for connecting to the camera's accessory shoe or to a tripod hole.
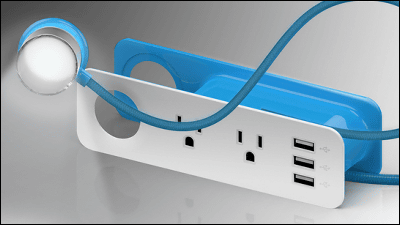
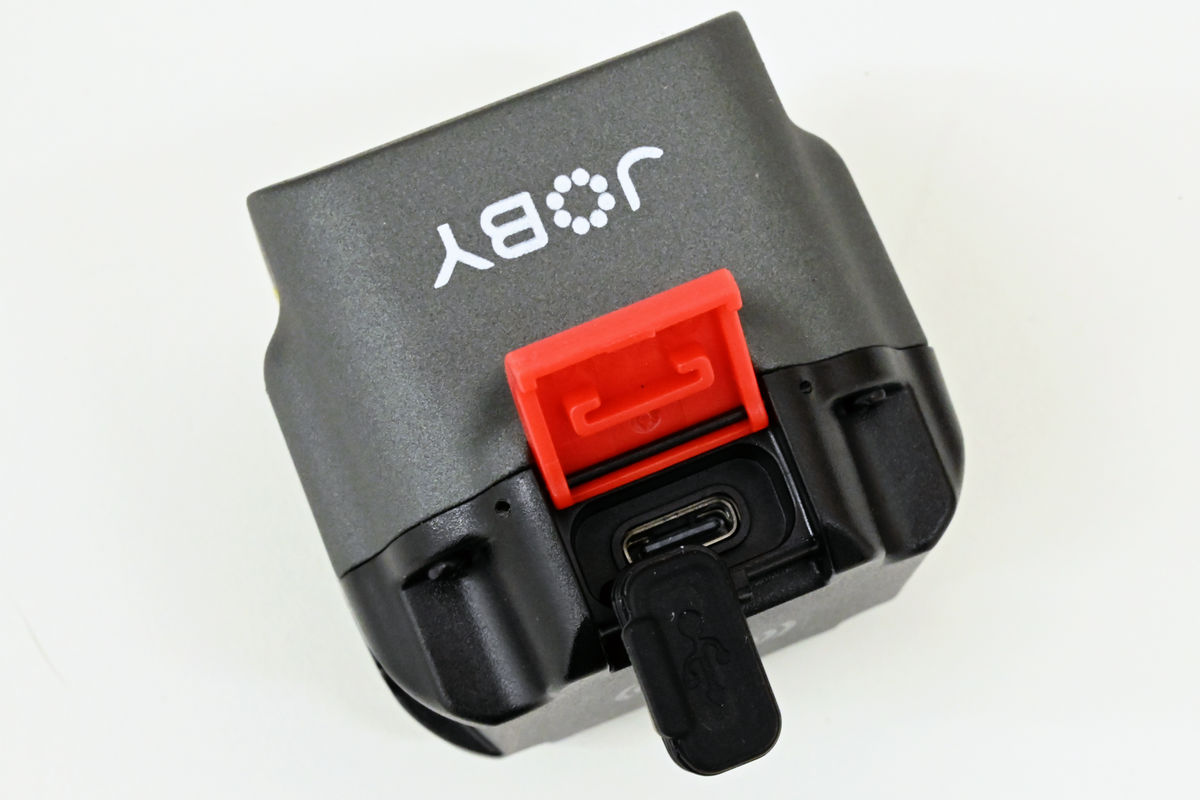
Open the red cover on the top and remove the black lid to find the USB Type-C port. Connect the cable here to charge.
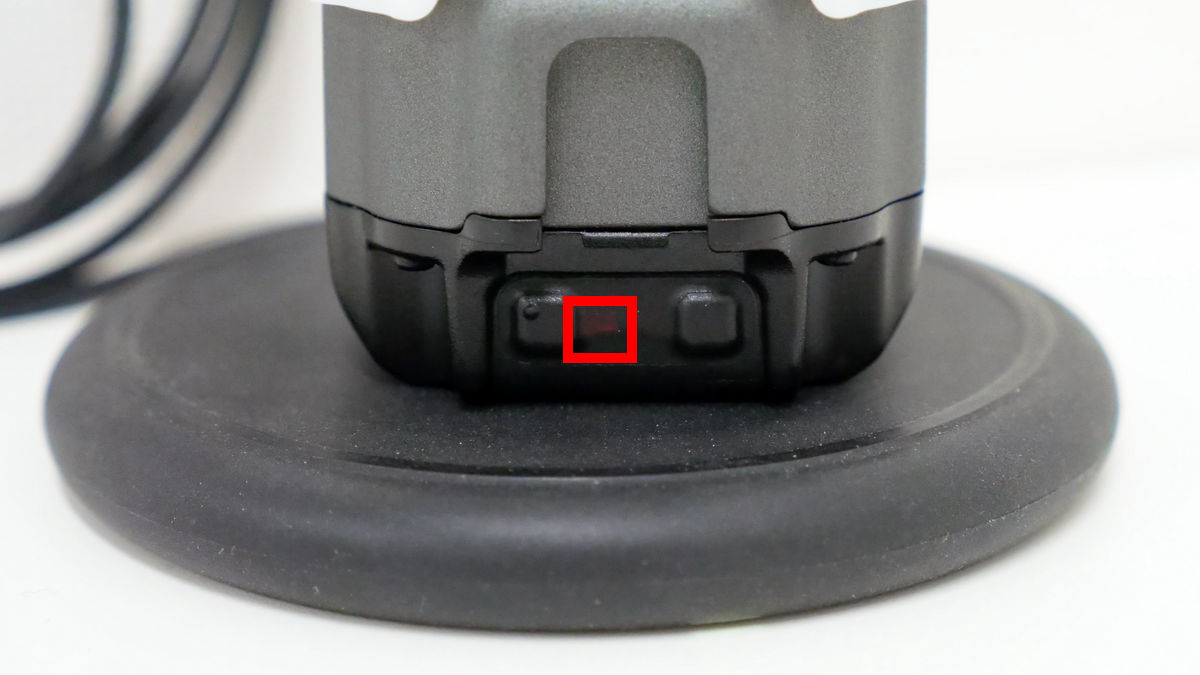
It also supports the wireless charging standard Qi. The indicator glows red while charging, but it may be a little hard to see in bright places.
When actually attached to the camera, it looks like this.

Pika

Brightness can be adjusted in 5 steps. The following movie I tried in a darkened room to see how much difference there is.
The light can also be blinked. Apart from the brightness, you can adjust the blinking speed in 5 steps. The following movie tried to see how fast the blinking interval is. In addition, please be careful when browsing because it will blink at a considerable speed at the fastest speed.
JOBY 'BMO' strobe lighting interval is adjusted in 5 steps and it looks like this --YouTube
BMO is small in size and easy to carry, but with a brightness of 1500 lumens, it is convenient as an auxiliary light for outdoor shooting, and it is also useful for indoor shooting because it is easy to use. The following is an example of trying how much difference there is when shooting on a desktop.
The subject was the ' Demon Slayer: Kimetsu no Yaiba Tart ' that I had at hand.
The following is the case where the light is off on the left and the light is on (minimum brightness) on the right.
Comparing light off and light on (maximum brightness), it looks like this.
In addition, BMO can also be remotely controlled by connecting to a smartphone via Bluetooth using the my JOBY app ( iOS / Android version ). This time, it was basically a prerequisite for hand-held shooting, so I manually turned the power on / off and adjusted the brightness, but you can also save a specific brightness. In addition, you can control multiple BMOs at the same time, so even people who say 'one BMO is not enough' can easily handle it.
◆ Gorilla Pod Rig
BMO can be attached to an accessory shoe, so it can be attached to many cameras as a substitute for a strobe. However, when shooting well, you may want to illuminate from multiple directions to eliminate shadows. The 'Gorillapod Rig' from the same JOBY is useful for such shooting.
The contents look like this. The lower left is the tripod body, and the one on the right is a series of parts similar to the tripod.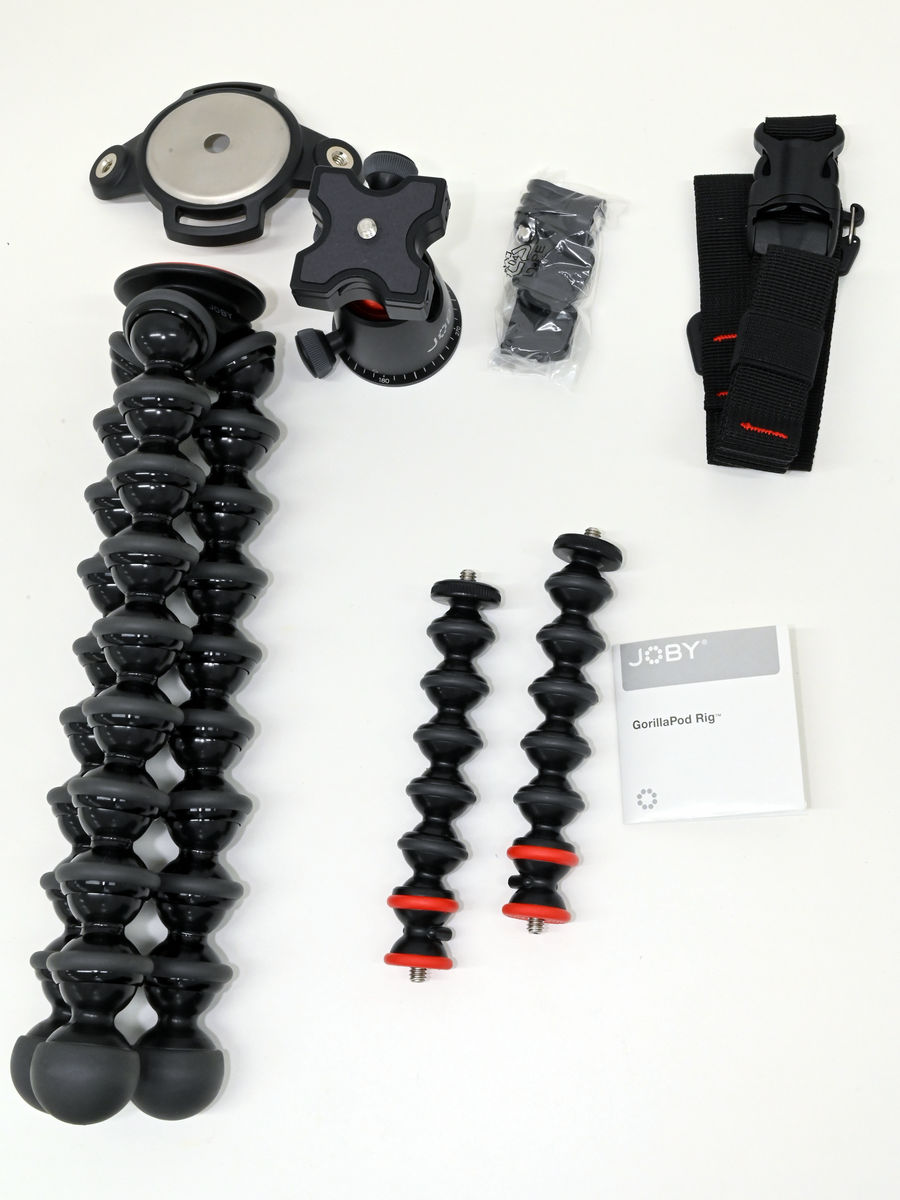
The instructions are very simple with only pictures.

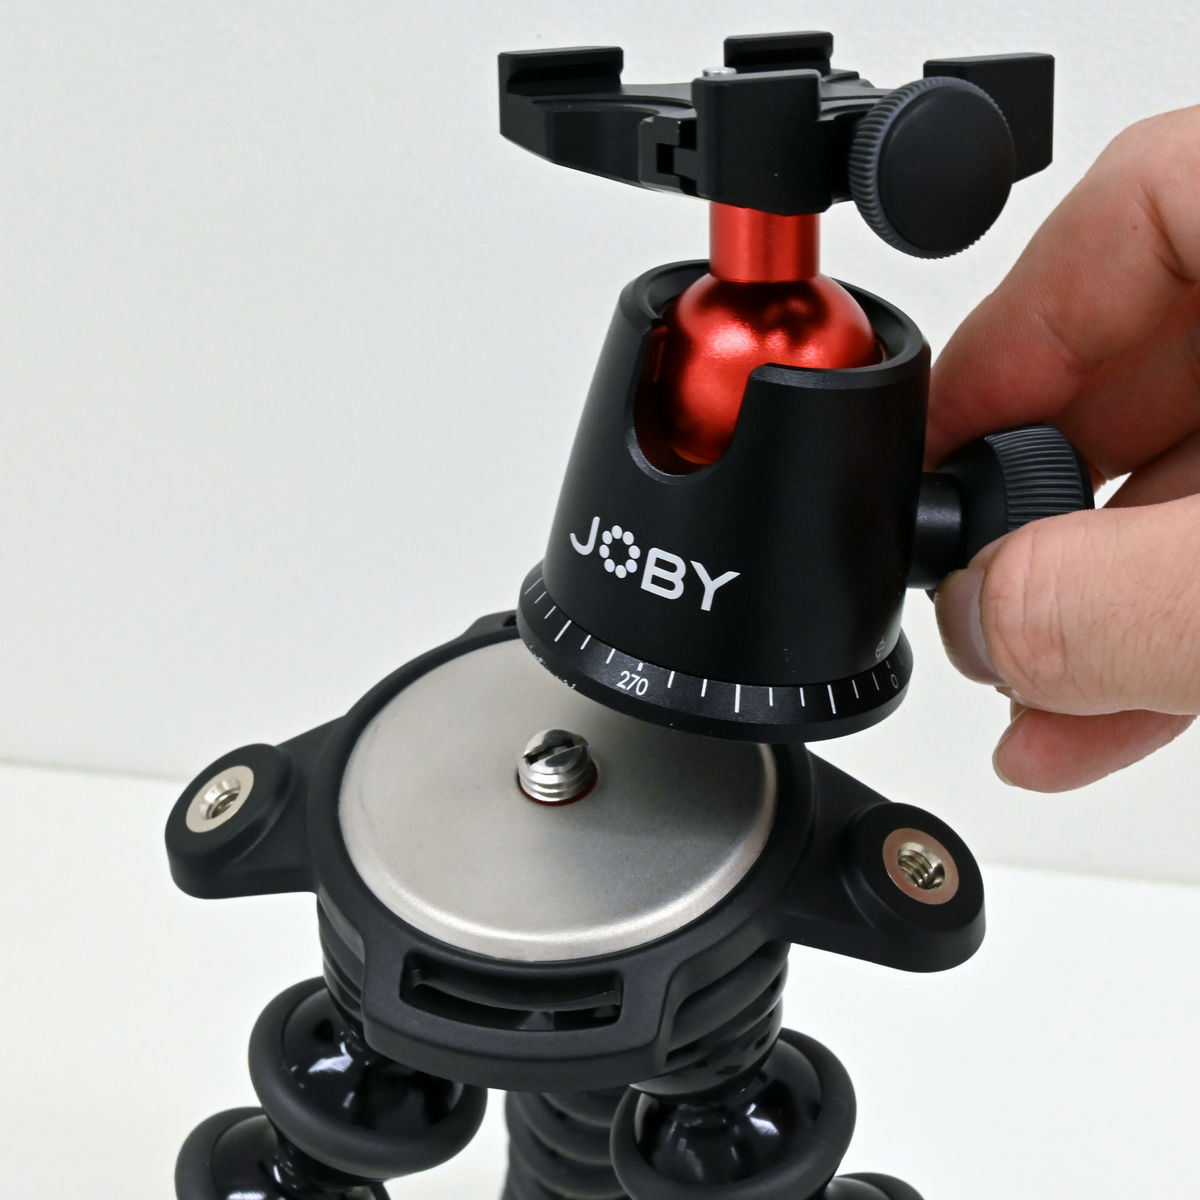
The load capacity of the pan head is 5 kg. In addition to being able to point 360 degrees in any direction, it also has a tilt function of 90 degrees vertically, so it is possible to point the attached camera etc. in the optimum direction.
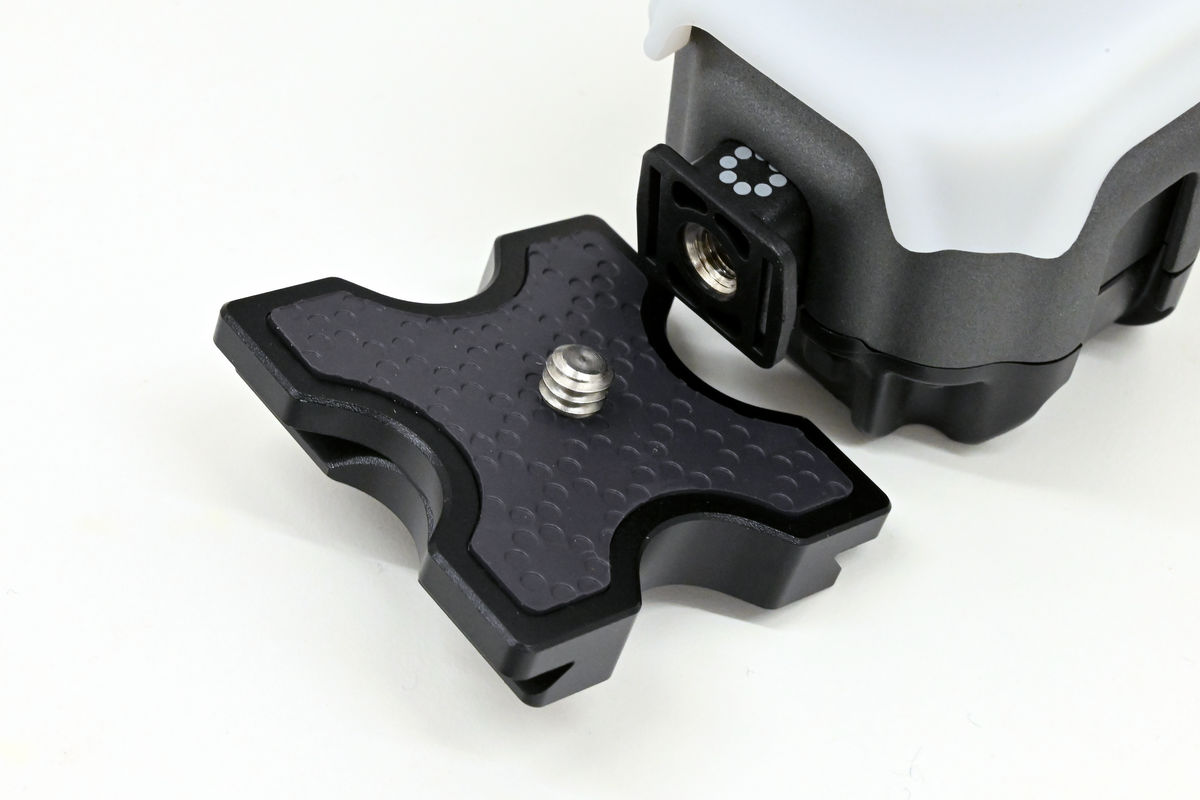
The quick shoe removed from the pan head has an X shape like this.
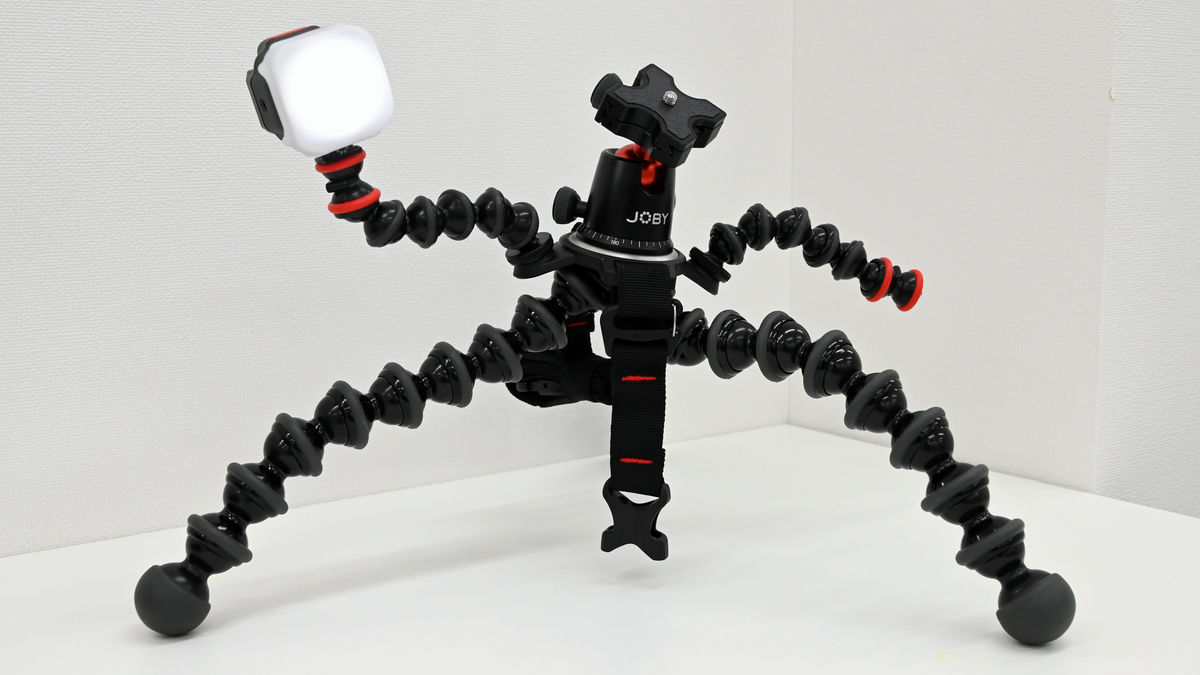
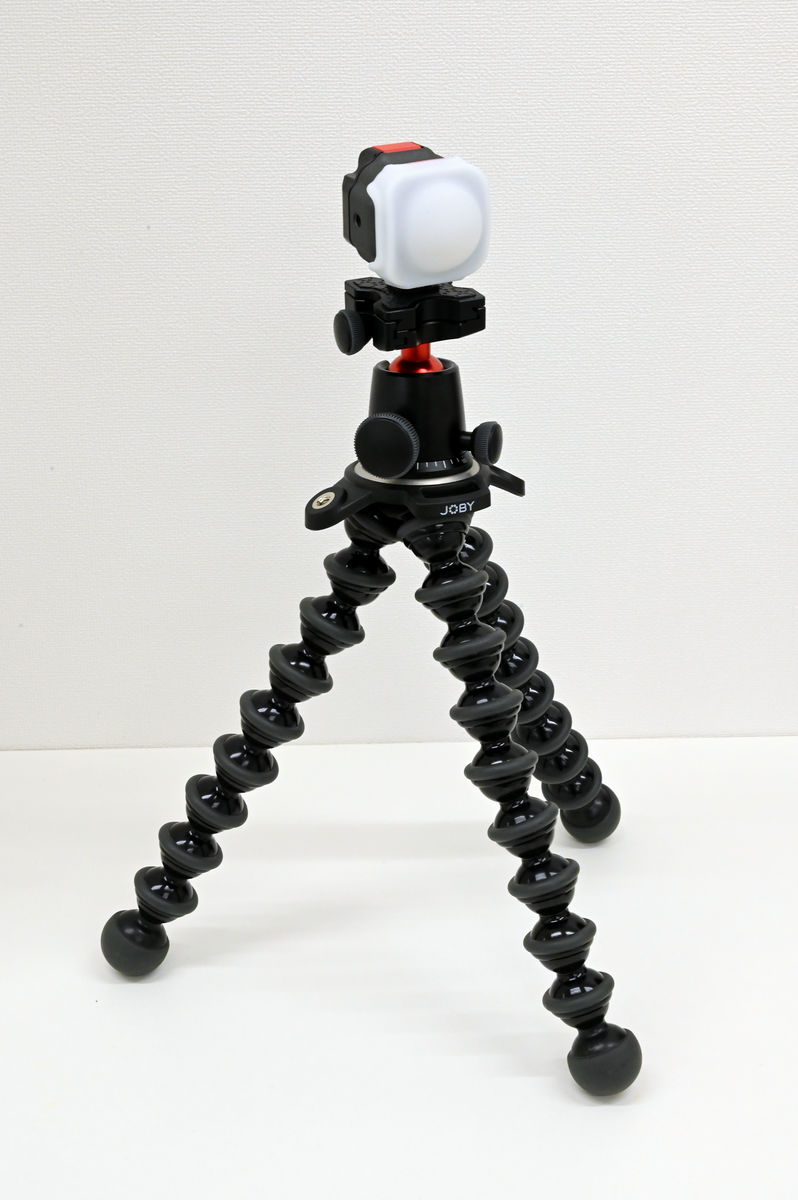
When you attach the BMO, it looks like this.
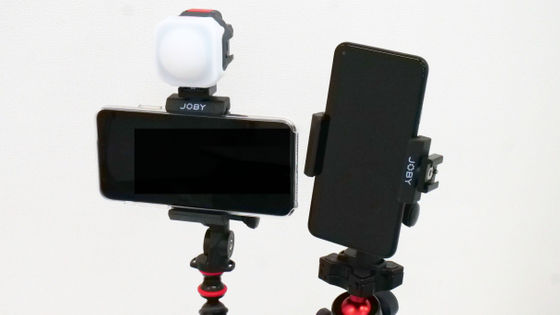
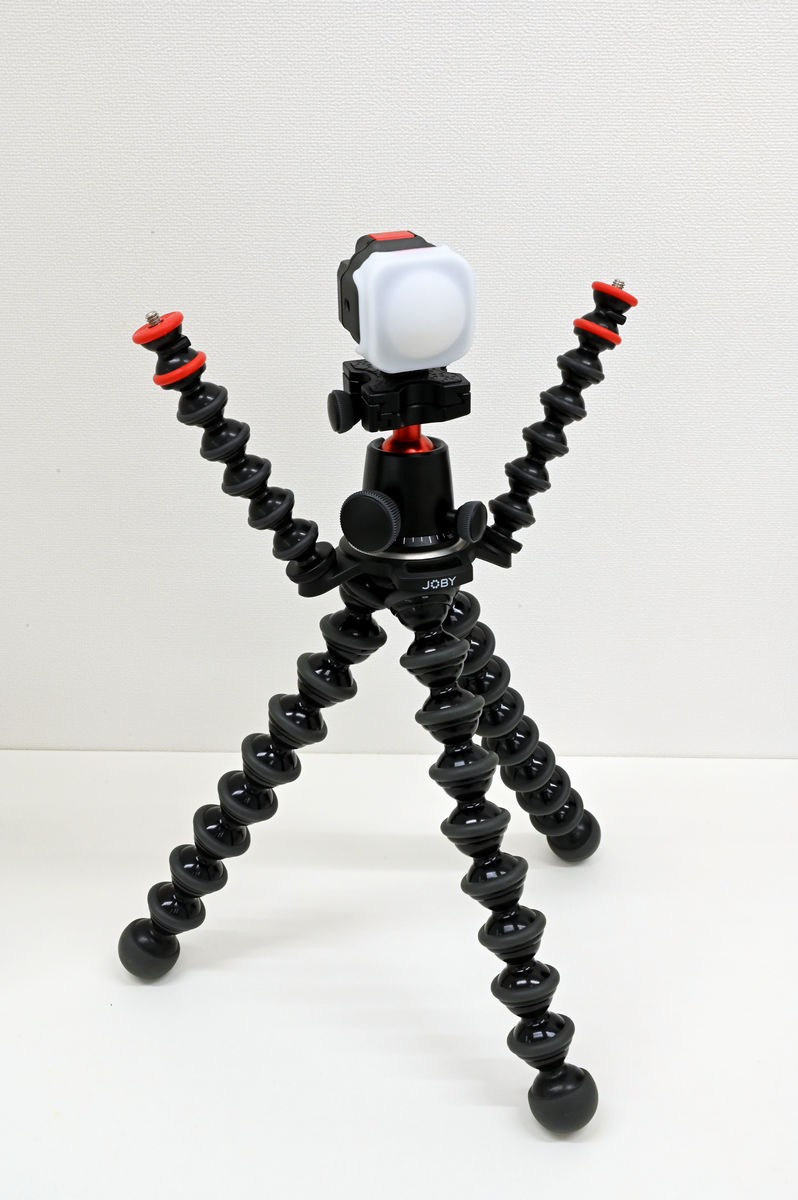
Furthermore, if you attach arms on both sides, it will be like this. If you fix the camera in the center and attach two BMOs to the arms on both sides, you can shoot while illuminating from both directions.
In addition, there is a slit in the base of the tripod so that the belt can be passed through.

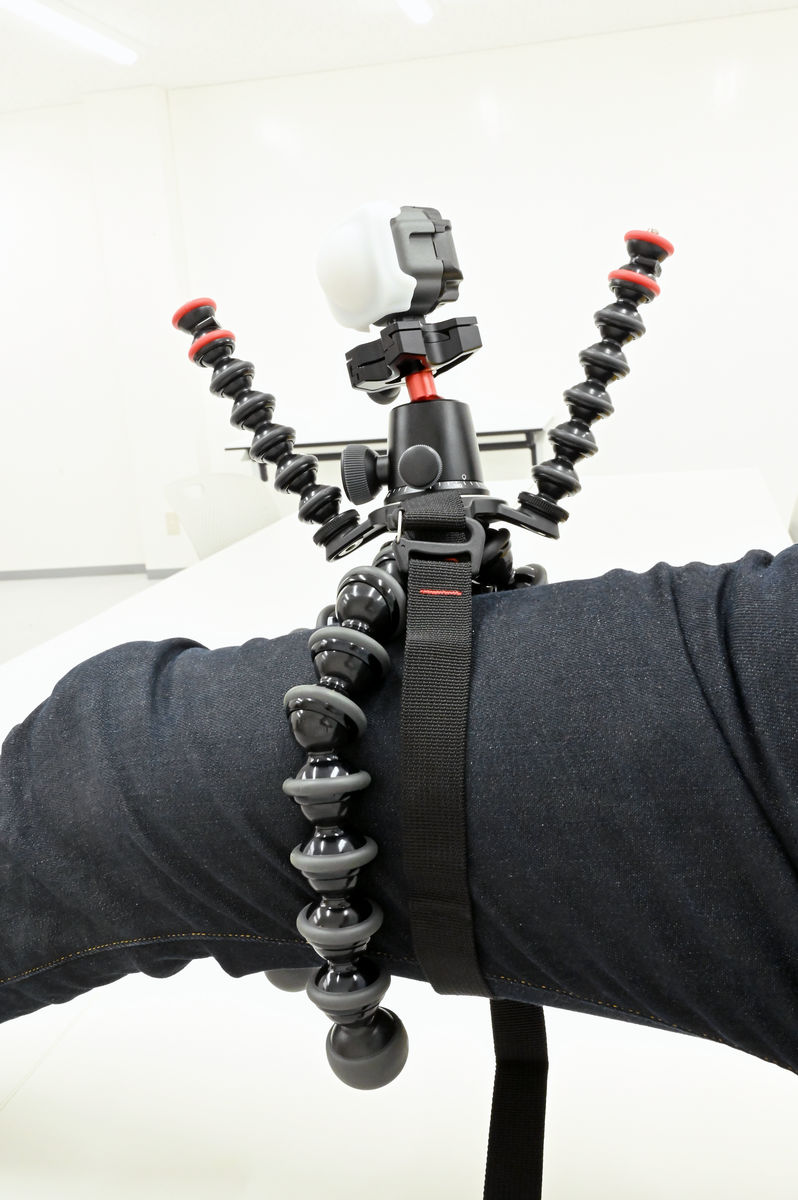
If you fix it like this ...
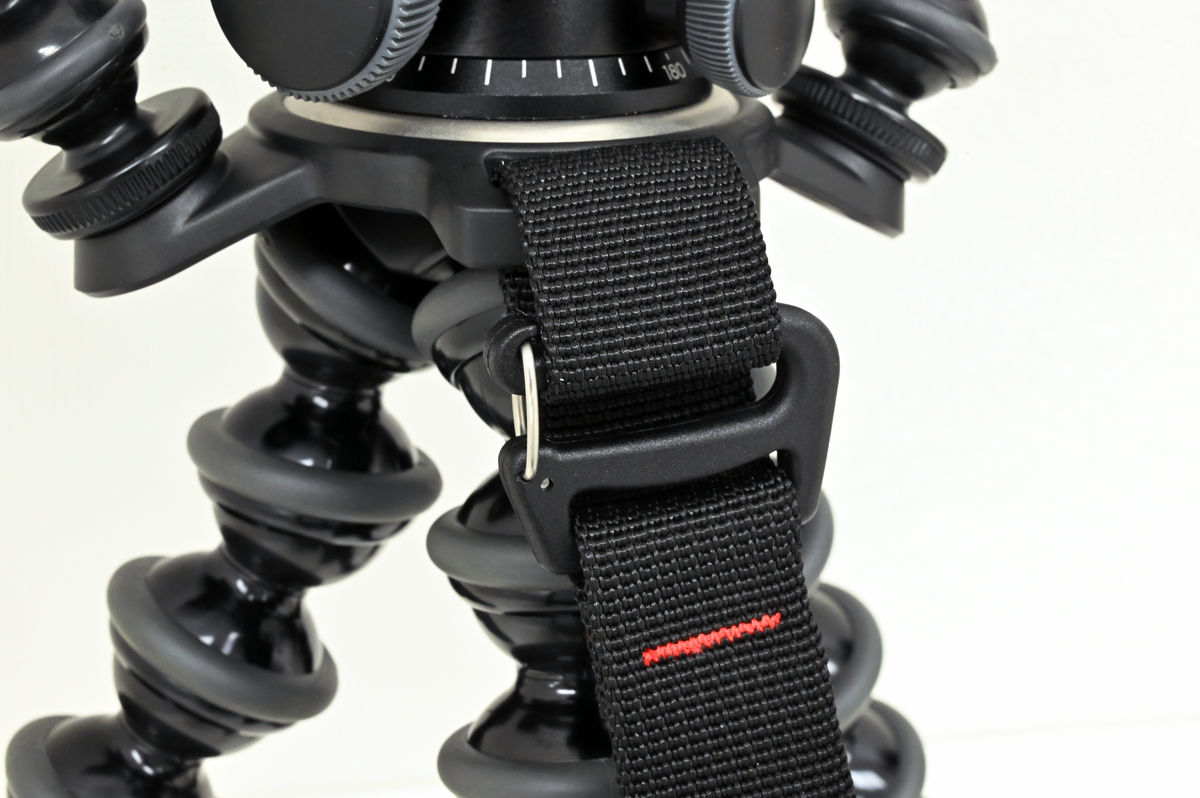
It can also be attached to places like thick pillars that cannot be fixed with just the legs of a tripod.
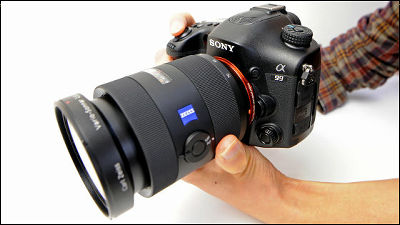
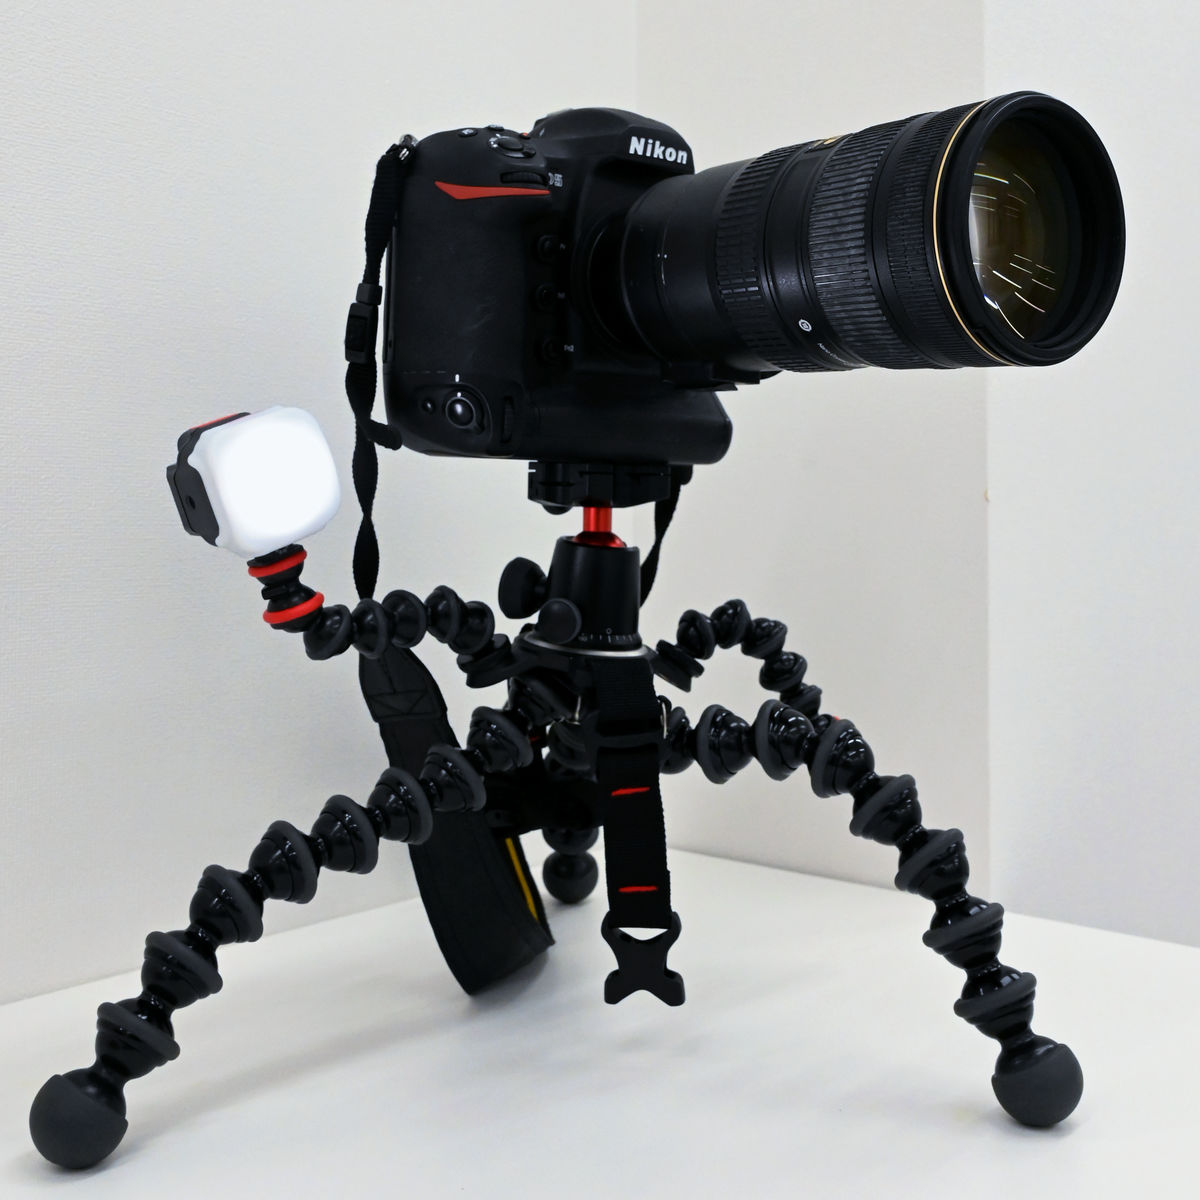
Taking advantage of the load capacity of 5 kg, fixing a large single-lens reflex camera will look like this. This equipment weighs about 2.8 kg. In addition, if the weight is one point, the legs will bend slowly, so if you want to equip more than a certain amount of weight, you need to balance it.
At the time of writing, 'BMO' is on the JOBY official website for 9882 yen, a 20% discount on the list price, and 'Gorillapod Rig' is also on sale for 22,968 yen, a 20% discount on the list price.
Related Posts: