How to make ascii art with a typewriter & book of 1939 is released
Although
Artyping (book): Julius Nelson: Free Download, Borrow, and Streaming: Internet Archive
https://archive.org/details/Artyping
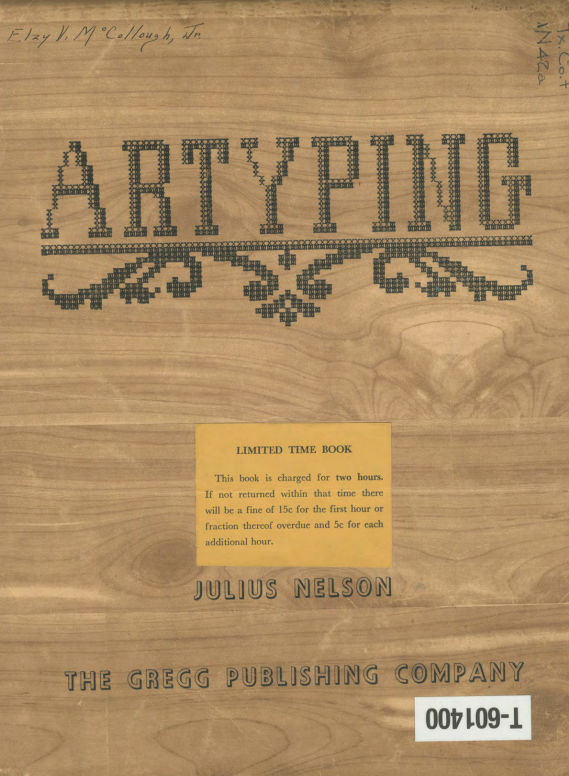
This is the cover. Of course the title is also ASCII art. The author is Julius Nelson, a secretary student at Windbar High School, Pennsylvania, USA.
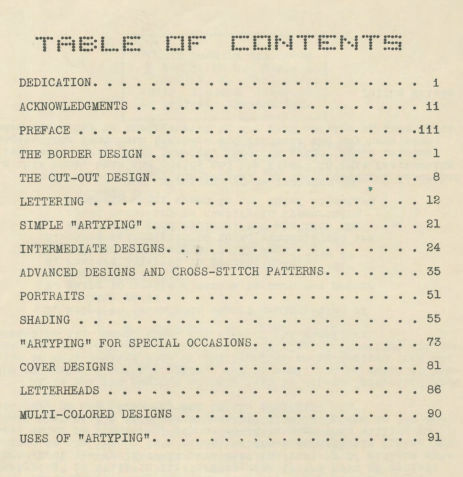
Of the items listed in the table of contents, the first three are dedications, acknowledgments, and prefaces. The remaining 13 are AA related.
・ THE BORDER DESIGN (border design)
・ THE CUT-OUT DESIGN (cut out design)
・ LETTERING (lettering)
・ SIMPLE 'ARTYPING' (simple 'Artyping')
・ INTERMEDIATE DESIGN (intermediate design)
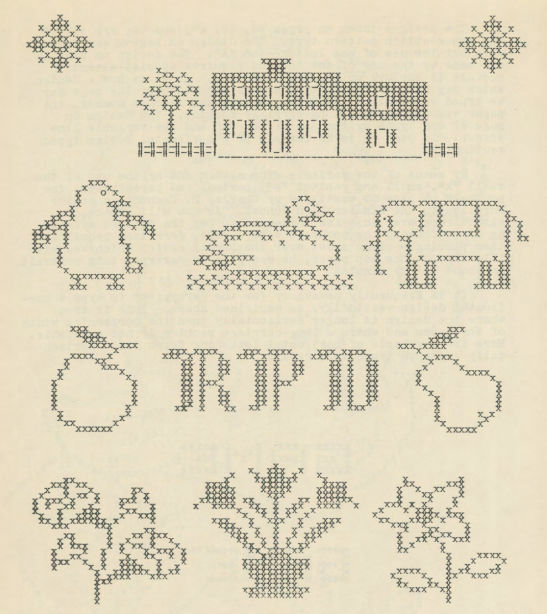
-ADVANCED DESIGN AND CROSS-STITCH PATTERN (Advanced design and cross-stitch pattern)
・ PORTRAITS (portrait)
・ SHADING (shadow)
・ 'ARTYPING' FOR SPECIAL OCCASIONS ('Artyping' for special occasions)
・ COVER DESIGNS (cover design)
・ LETTER HEADS (
・ MULTI-COLORED DESIGN (multi-color design)
・ USES OF 'ARTYPING' (Example for 'Artyping')
For example, border design looks like this. Borders of various patterns are lined up ...
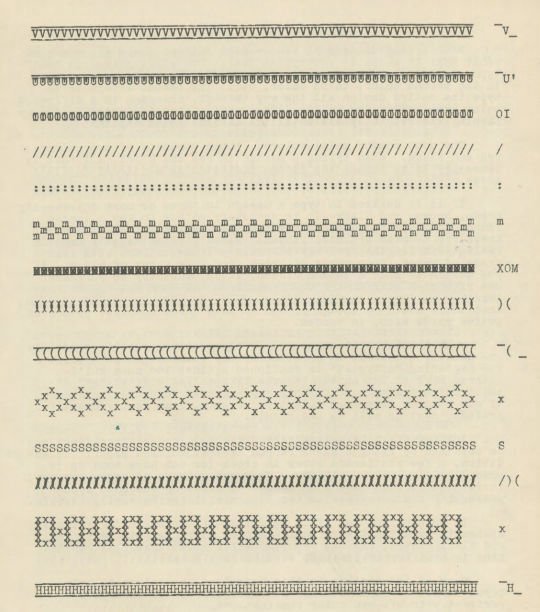
If you look closely, the characters used on the right side of the border are written. It looks only like
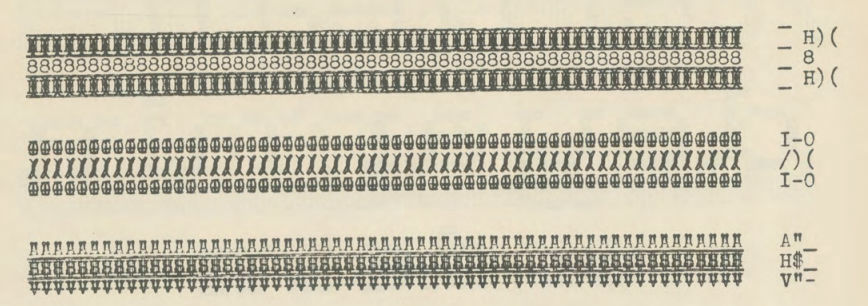
Also the design of the decoration frame.
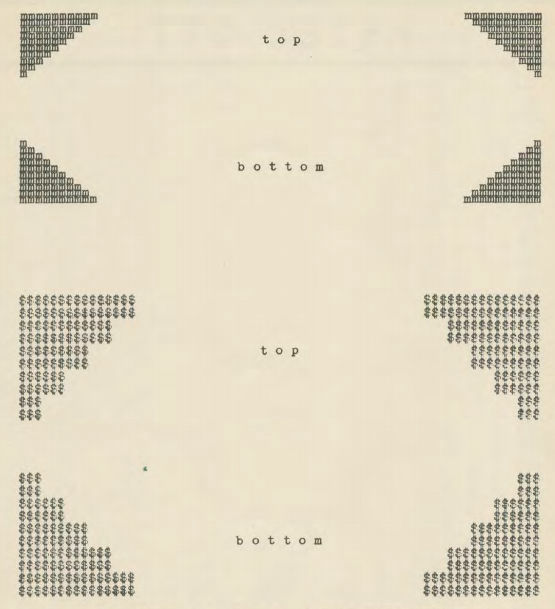
There was also some ASCII art that could only be seen in the picture.
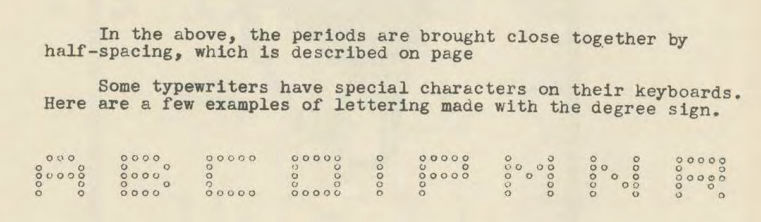
With ASCII art using symbols, you can also increase the font size of the alphabet.
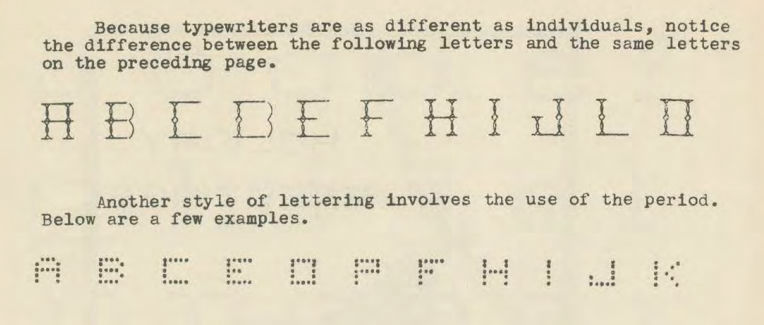
The following is an alphabet created using the upper left circle to indicate '° C'.
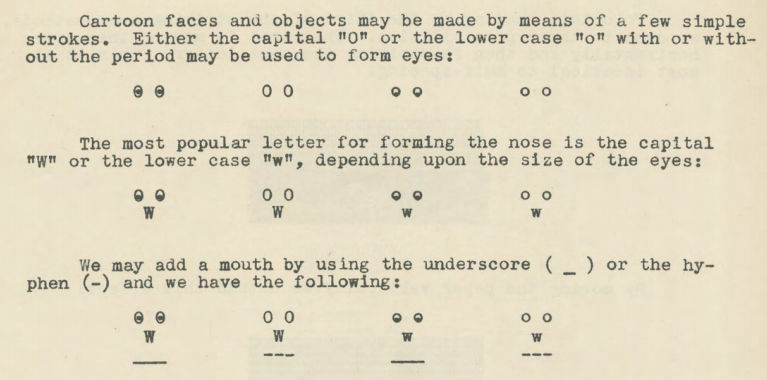
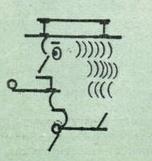
There are also instructions on how to make a face. Let's combine the upper case 'O' and the lower case 'o' to make an eye, use 'W' for the nose, and use underscores and hyphens for the mouth.
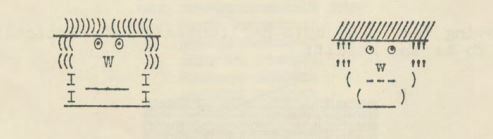
It looks like this is completed. Until this point is beginners ...
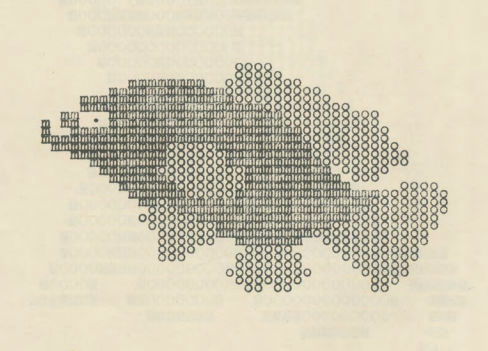
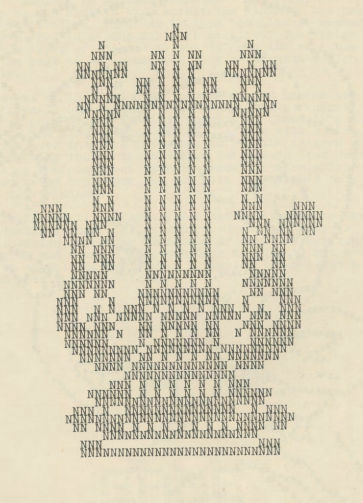
The complexity has increased with the intermediate level. Fish and ......
harp
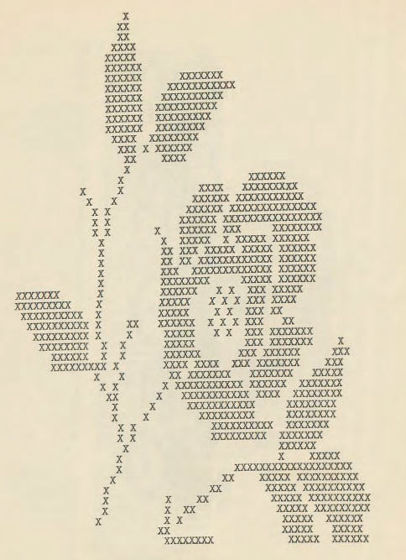
rose
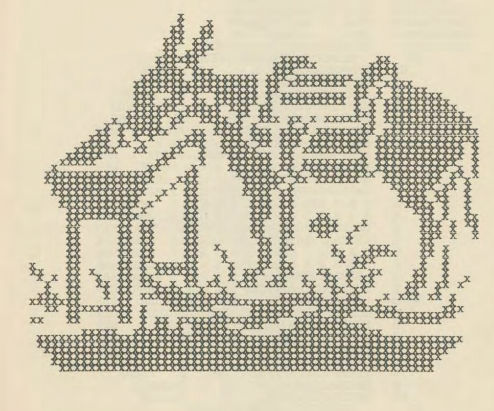
Donkey
Also a key-like design.
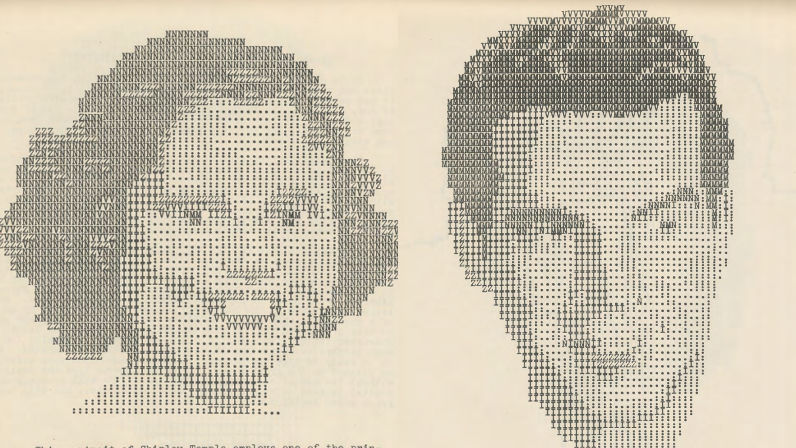
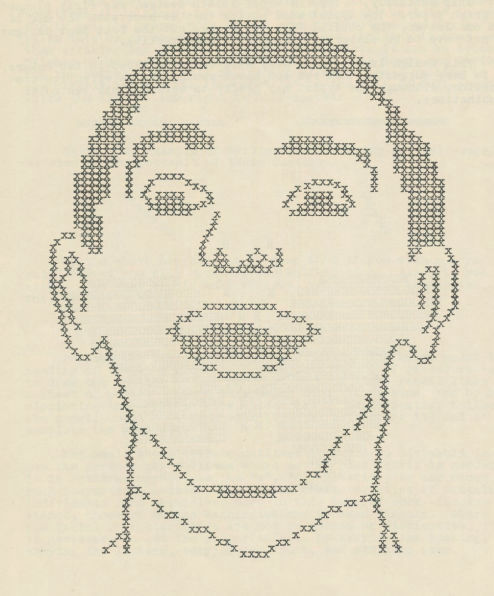
Reproduction of portraits is one of the most difficult of the typings. The hardest part is the nose, followed by the eyes, ears and mouth. Instead of suddenly creating the entire portrait, it is recommended that you first go into portrait creation after practicing how to make parts. The following portraits are relatively simple but ...
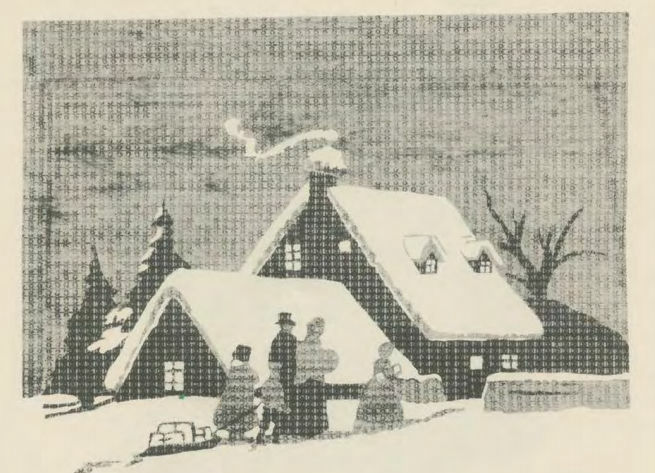
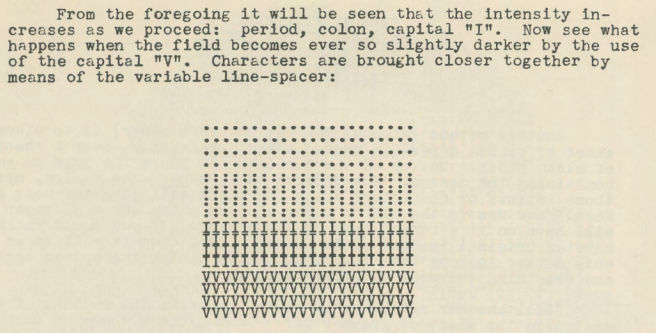
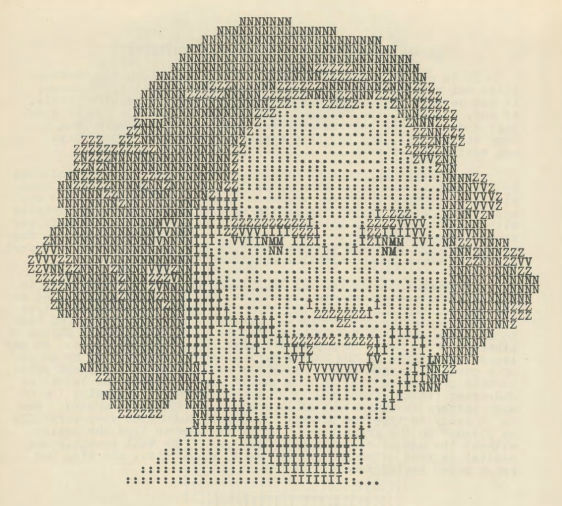
There was also a guide on how to make shadows to create more advanced portraits.
The finished drawing looks like this. It is more realistic.
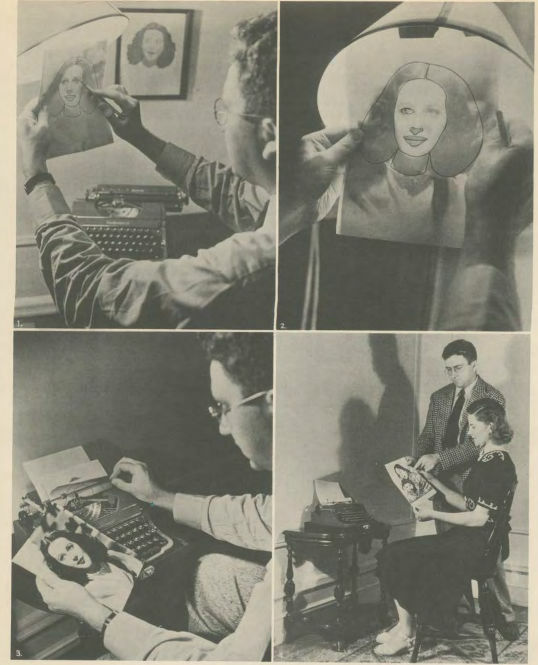
The state of the production tracing the photo that is the source of the portrait was also published. .
In addition, the PDF version of 'Artyping' can be downloaded for free from the link below.
Artyping
(PDF file) https://loriemersondotnet.files.wordpress.com/2014/01/artyping.pdf
Related Posts:

in Design, Posted by darkhorse_log