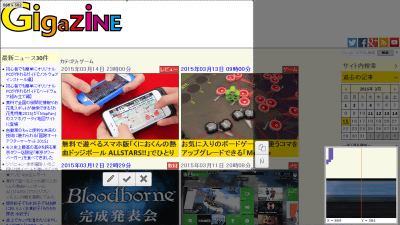
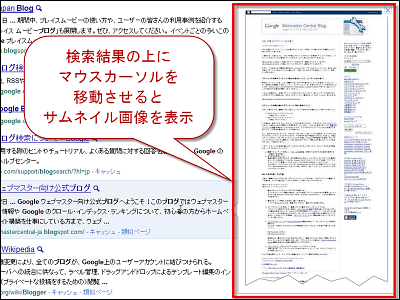
"Pictogon" which can create image maps crisply and attach them to images free of charge

"PictogonIs a web service that can add an image map like a manga balloon to one image file. Since information is displayed only when the mouse cursor is placed on an image file of an illustration such as a map, a photograph, a graph, etc., information can be gathered clearly in one image file, and a plurality of links is created by designating a range You can also.
Pictogon
https://pictogon.com/
Using Pictogon, you can create an "image map" that displays information when you hover over the mouse by specifying a range of clothing only as shown in the image below.
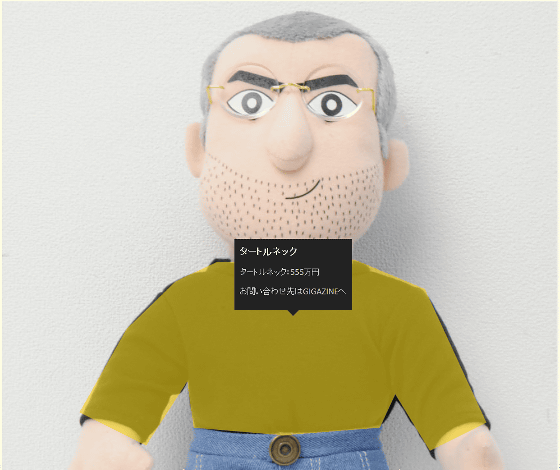
Then, when you click on each specified range ... ....
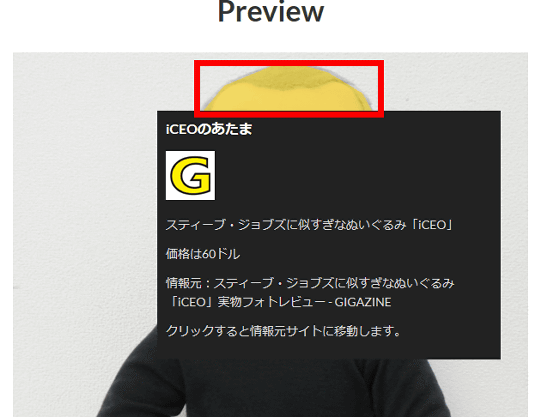
You can add a link function to navigate to another website.
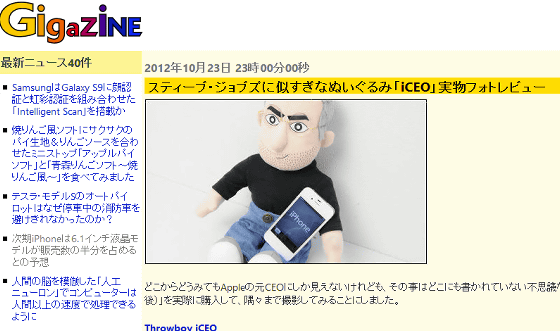
Clicking the following image will display the image containing the image map actually created by Pictogon in a separate window.
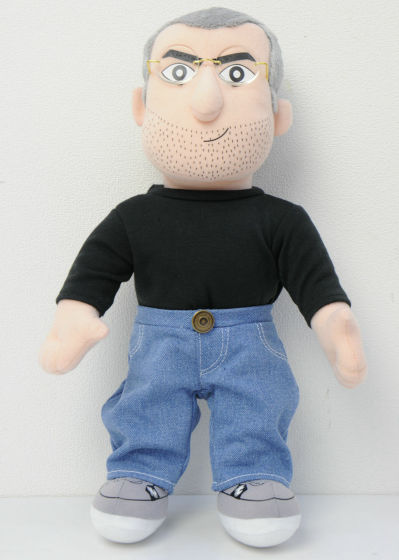
By publishing a map to an unspecified number of people, it is possible to display only the information of the place of interest and display it like a statistics site or real estate information site.
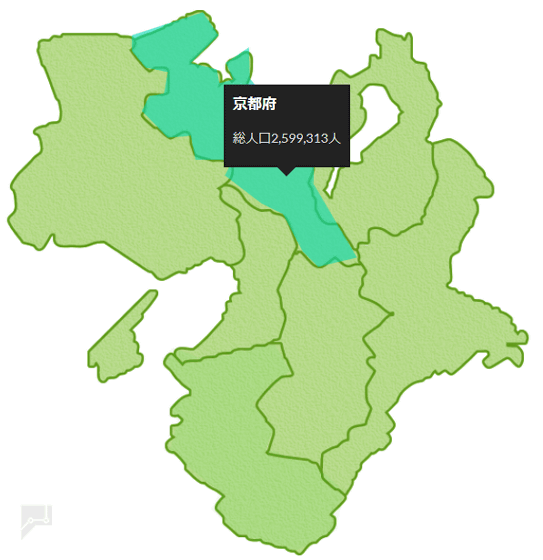
Since links can be created for each specified range, links can be placed in each designated area without complicated knowledge such as HTML tags.
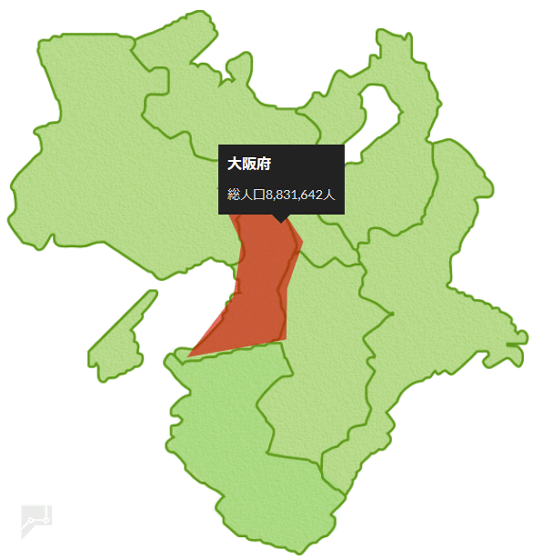
When you click the following image, the image containing the image map will be displayed in a separate window. In the image, I set it to link to Wikipedia by prefecture.
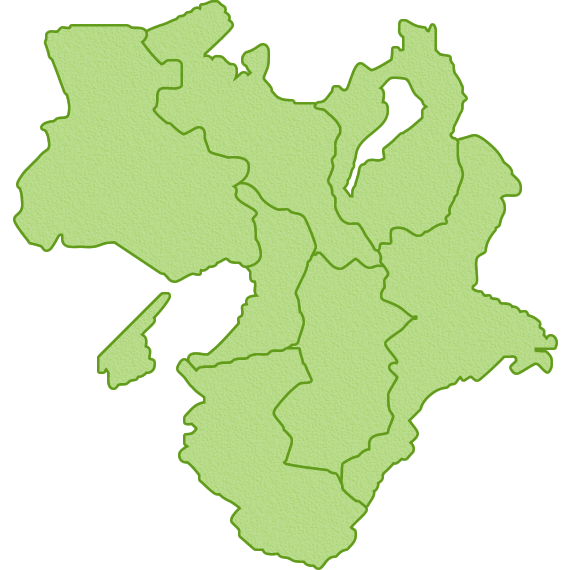
When used for illustrations such as graphs, detailed information is additionally displayed only on the part where the mouse is placed, so you can clean up the information cleanly. By registering with Pictogon, you can add image maps to up to three image files on the web for free.
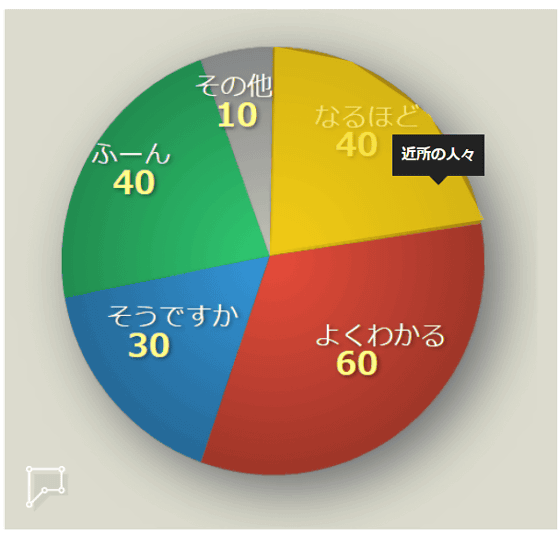
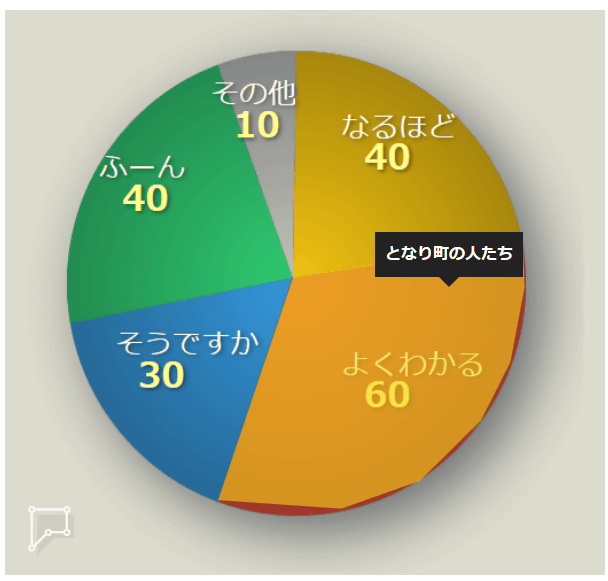
Click the following image to display the pie chart image with the image map actually created by Pictogon.
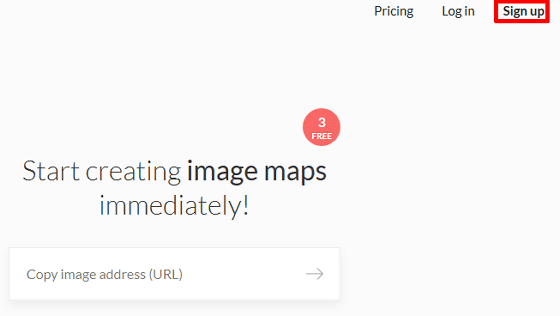
To register,Official siteGo to "Sign Up".
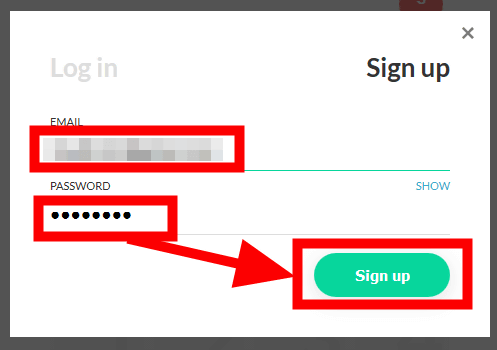
Enter any email URL and password. Click "Sign Up".
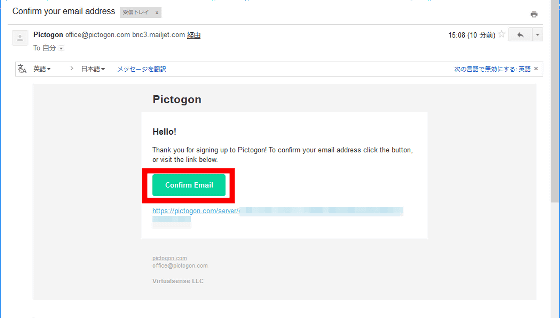
入力したメールアドレスを確認すると、Pictogonから「Confirm your email address」という件名で確認のメールが届いていました。登録するために、メールに記載されている緑色の「Confirm Email」か、「https://pictogon.com/server/confirmation~」から始まるURLをクリック。
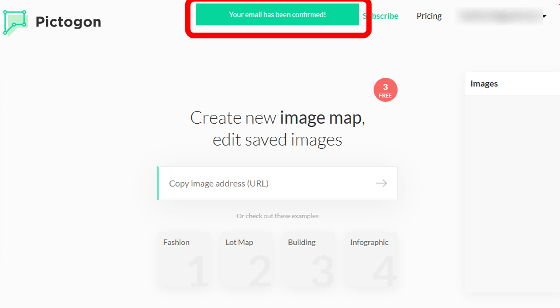
Pictogon's web page opens on a separate tab in the browser and appears as "green your email has been confirmed!" In your browser's white letter. The embedded information of the image map embedded by this procedure can be saved on Pictogon's server.
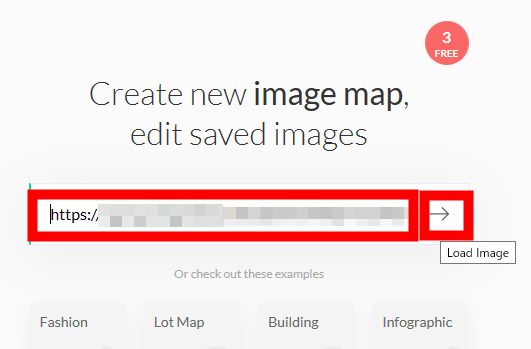
Using Pictogon, try embedding an image map in the image on the web. Enter the URL of the image on the web in the input box displayed as "Copy image address (URL)" on the top page and click the arrow "→".
The editor opens, the image of the entered URL is displayed, and you can edit it to embed the image map in the image.
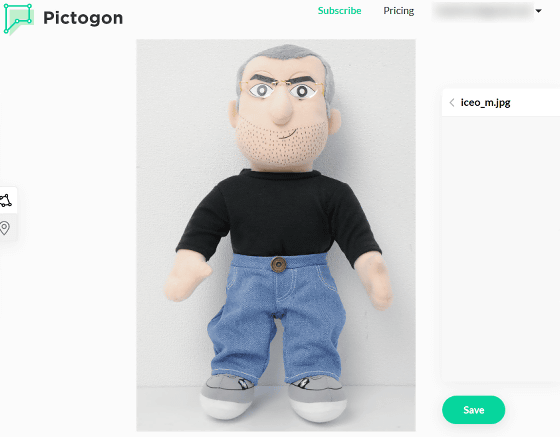
First of all, it is recommended to save the image map information by clicking "Save" at the bottom of the screen.
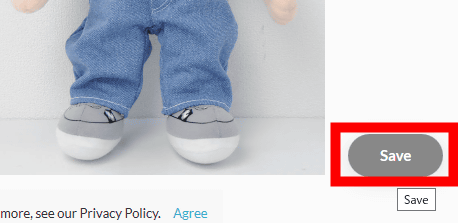
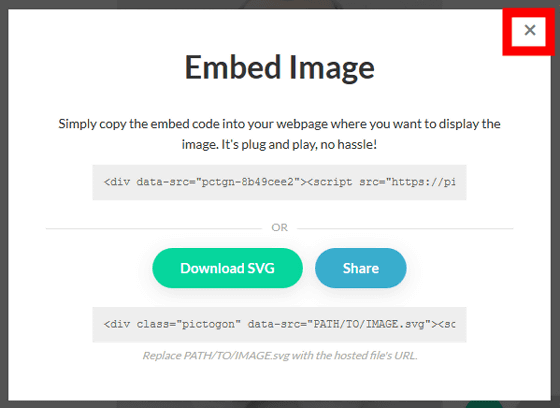
Next, click "×" at the top of the window to be displayed. Save the image map information in this way.
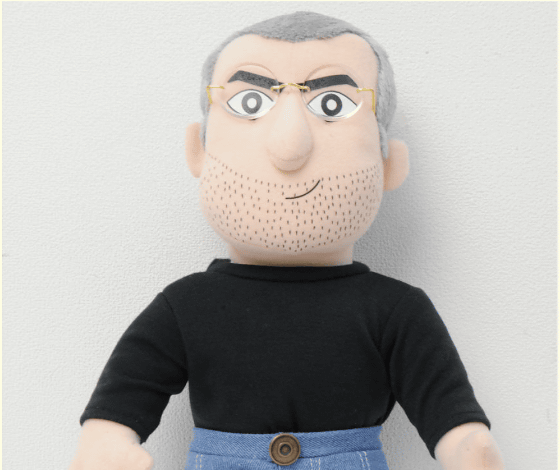
Next, specify the range of the image map. Click on the image to hit a black dot. Based on this black dot, we will specify the range to embed the information. For this time, I will try to designate the head of this stuffed animal "iCEO".
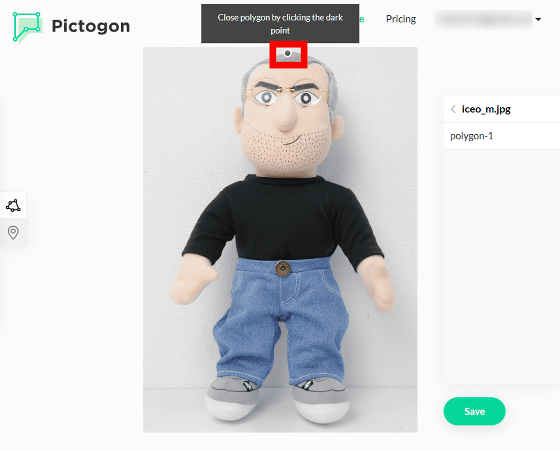
2nd transition When clicking, white dots are struck, enclosing the information in the range to be embedded with dots allows you to specify the area with color. In addition, you can drag the dot once you can drag, and you can delete the dot by clicking on the dot itself.
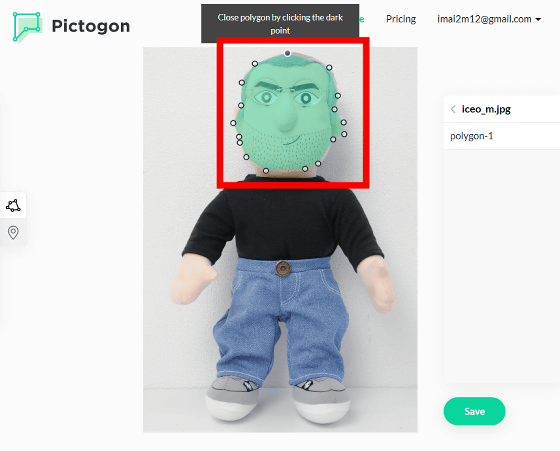
Next, change the name of the specified range. The name of the specified range is displayed as "polygon - 1" on the right side of the screen. Click to change the name of the specified range.
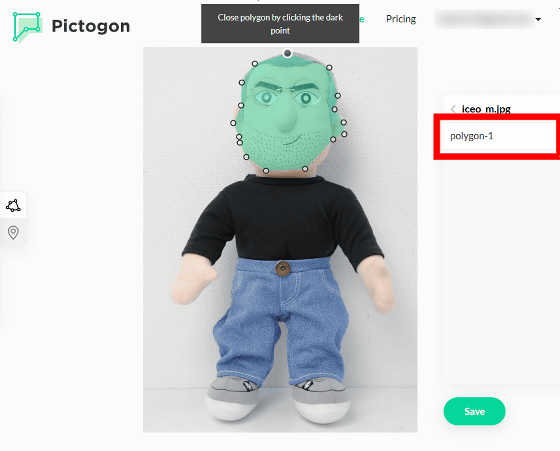
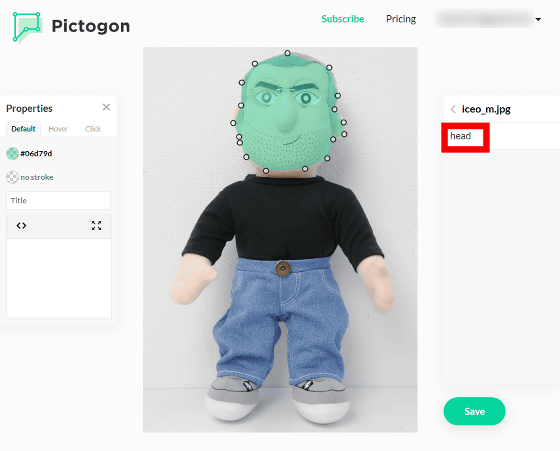
For this time, the designated range is head, so change the name to "head". You can enter only the alphabet.
Click the name of the specified range and click the following icon on the right side. You can use the preview function to reproduce the look and function at completion.

In the initial state, the specified range is green ... ....
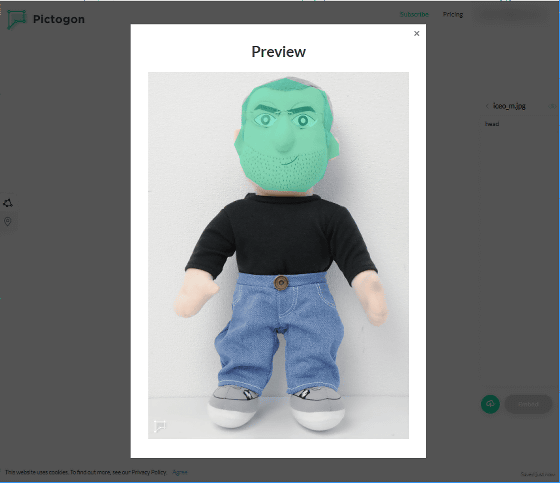
When placing the mouse cursor on the part enclosing the specified range, it turns yellow and no information on the image map is displayed. In this time, the name is displayed in each clothing part, so when linking with the mouse cursor, explanation of that part is displayed in the image map, and the setting range is set to function as the link I will.
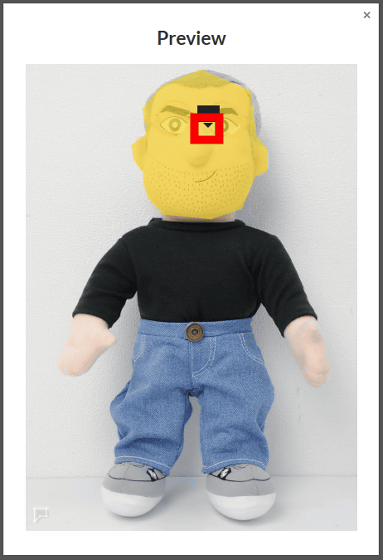
Next, edit the color and function of the specified range. When you click the name of the specified range or the enclosed range. "Properties" to edit the contents of the image map is displayed on the left side of the image.
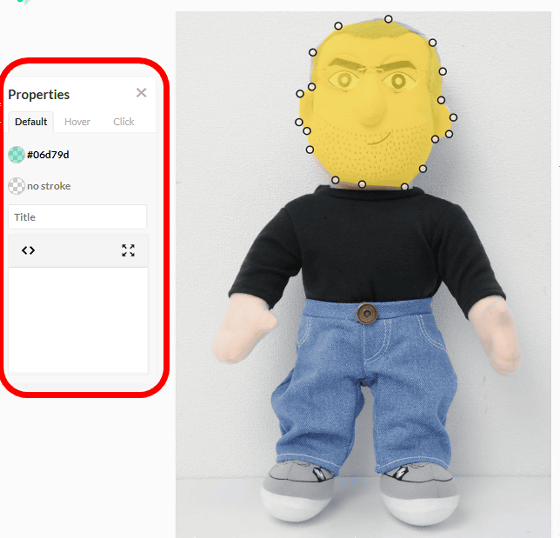
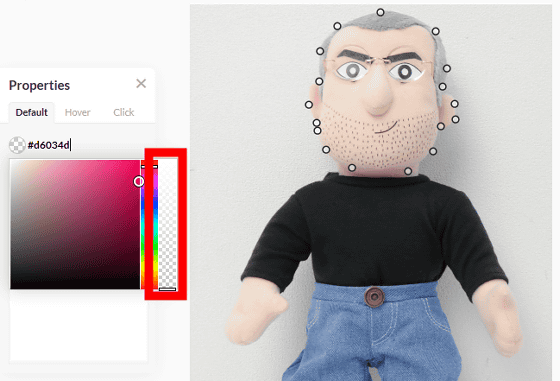
By clicking the following on the "Default" tab, you can change the color of the specified range when not putting the mouse cursor using color code or color picker.
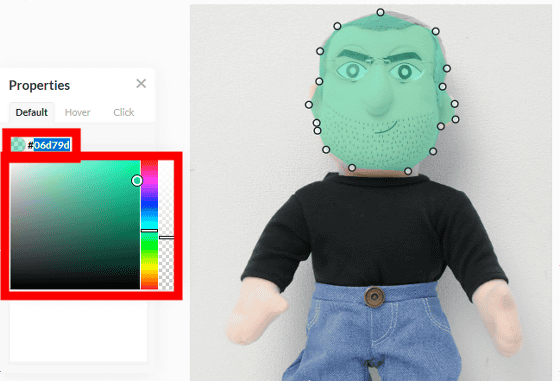
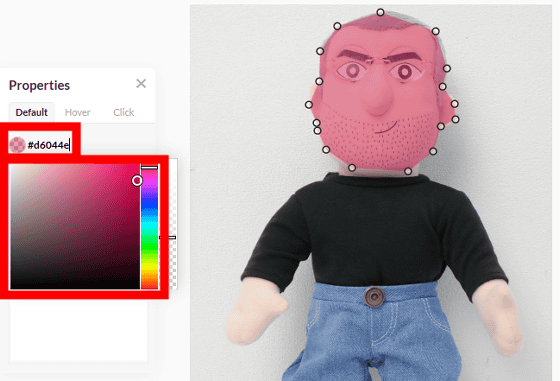
You can specify transparency by moving the right bar up and down. This time, I wanted to change the color of the specified range only when I put the image, so I made it transparent.
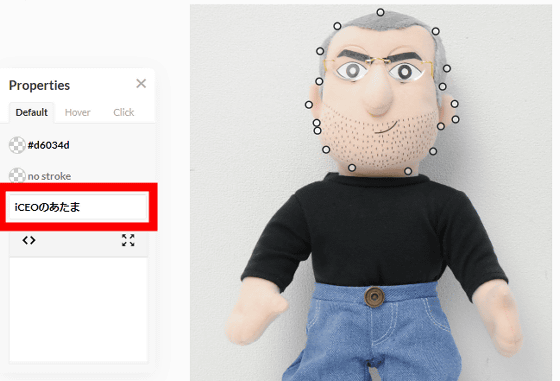
For the input box displayed as "Title" under the color code, you can enter the title name of the specified range.
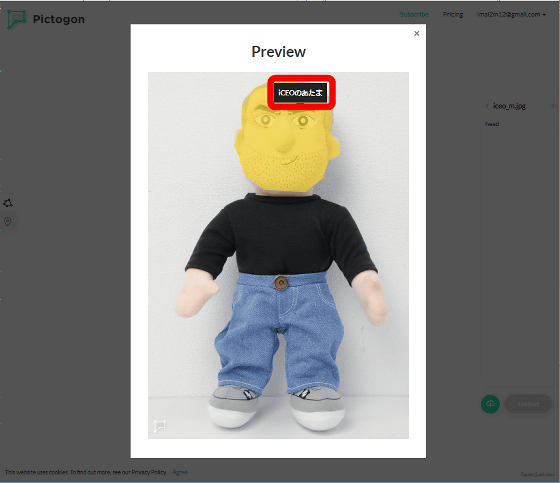
When entering the title name and previewing, the title name is displayed when the mouse cursor is placed in the specified range.
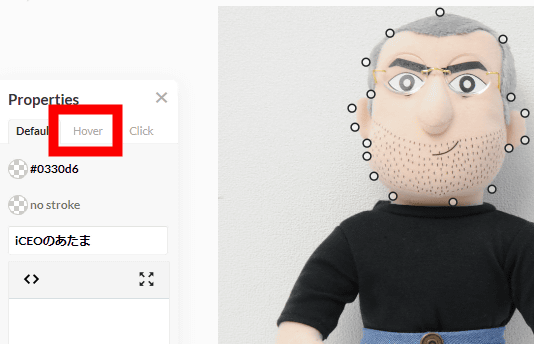
Then click the "Hover" tab. The "Hover" tab can change the display content and display method of the image map when mouse cursor is placed in the specified range.
Since I want to increase the information of the image map this time, I changed from "Show title" which shows only the title name to "Show tooltip" which can increase the information.
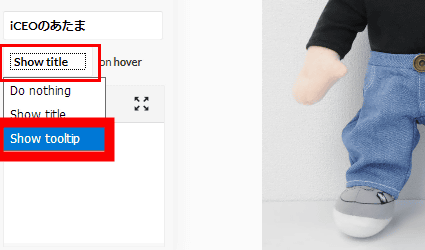
Next, change the information displayed in the image map. Click on the icon below "Show tooltip".
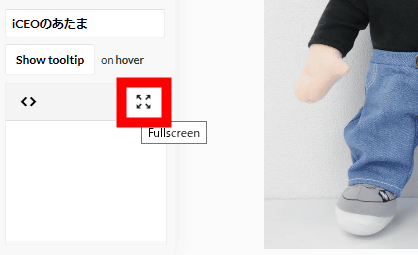
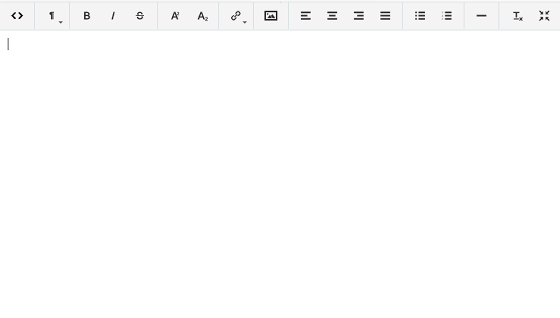
A text editor used for blog creation etc. is displayed in full screen. The procedure described here is displayed as the content of the image map.
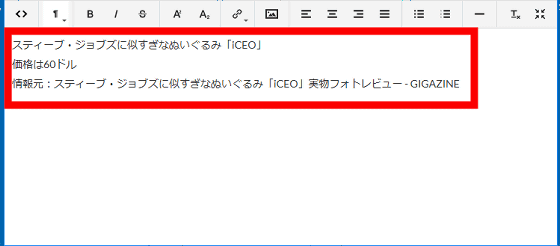
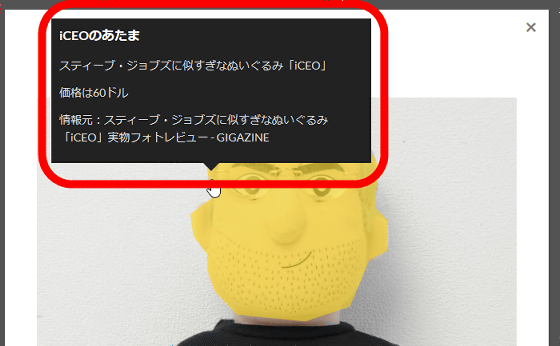
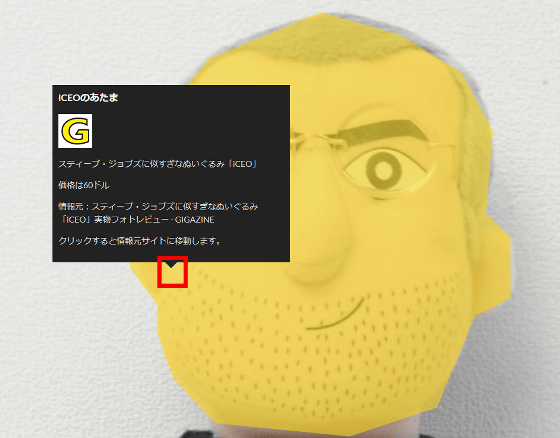
This time, I explained the description of iCEO as follows.
When you preview, the content entered in the text editor is now displayed in the image map.
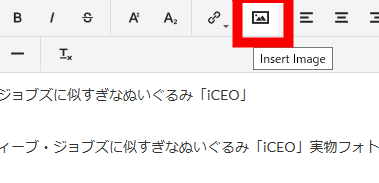
Images on the web can be embedded in the image map. This time, I will embed the logo of GIGAZINE. Click on the icon below to embed the image.
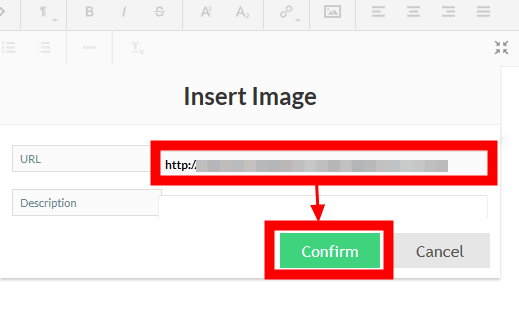
Since the input box is displayed, enter the URL of the image to be embedded. Click "Confirm".
The image of the URL destination will be displayed in the form of a text editor.
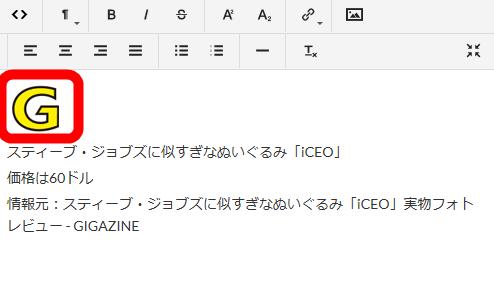
When previewing, I was able to confirm that the image is embedded in the image map.
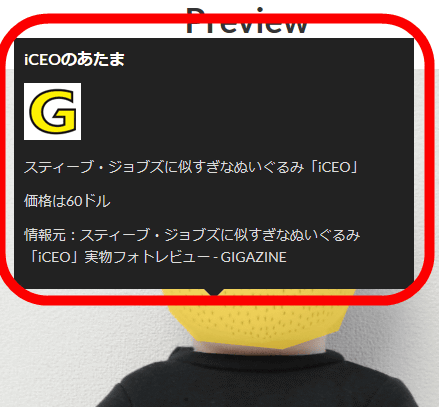
Note that this text editor can be edited using HTML tags. Click the following icon to use HTML tag.
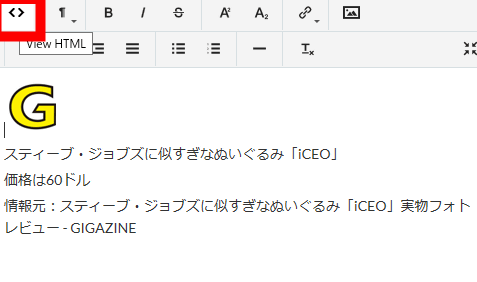
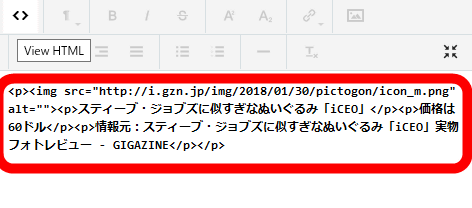
You can edit the contents of the image map using HTML tags. By this method, not only images but also types of things that can be embedded in image maps such as links will be expanded.
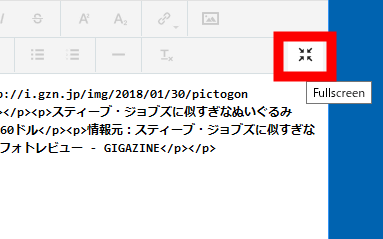
To end the full screen display of the text editor, click the following icon.
Next, try to make the specified range function as a link to another website. On the "Click" tab, click "Do nothing" and click "Open link". It is possible to make it function as one link per one specified range.
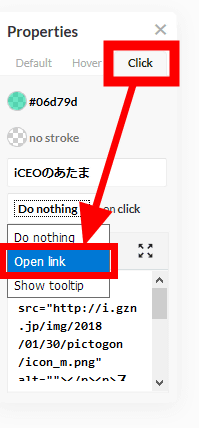
An input box for entering the URL of the link destination is added.
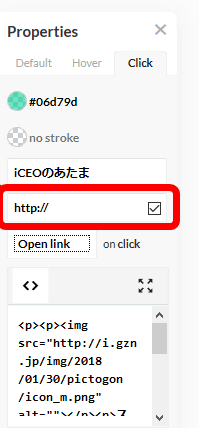
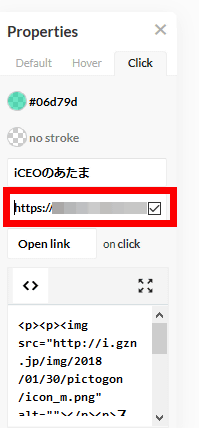
Enter the link URL.
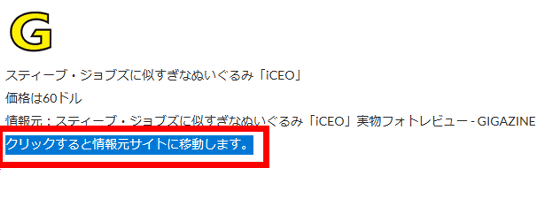
To make it easier for readers who saw the image map, it is recommended to add a sentence to advance the click on the image map contents.
When previewing and clicking the specified range ... ....

Move to the link destination URL.

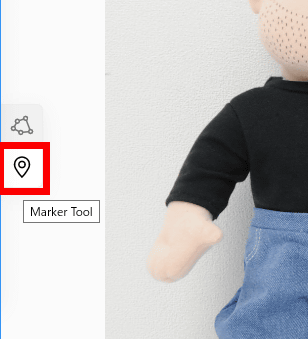
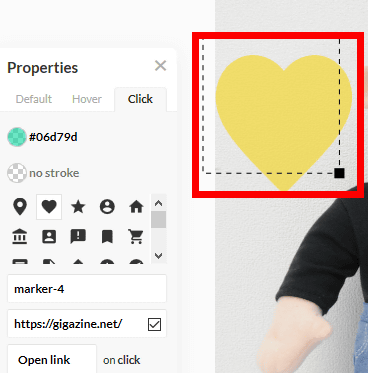
Besides, when clicking the following icon at the right end of the image ......
You can add a specified range such as heart type or star type.
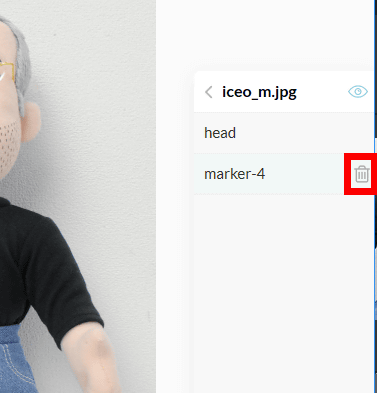
To delete the specified range of the created image map, click the following icon displayed when placing the mouse cursor over the specified range name.
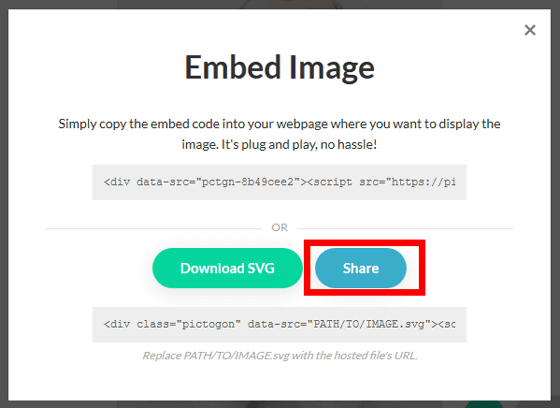
When the creation of the image map is completed, click "Embed" at the bottom right of the image.
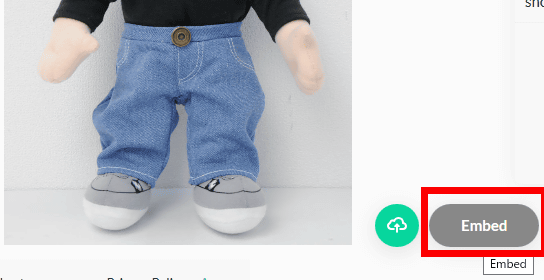
You can download as "SVG" file with "Download SVG" and click "Share" ......
The image to which the image map was added is displayed in another tab of the browser.
When placing the mouse cursor, the image map of the edited content was displayed. When you want to show images with image map, it is easy to let the other party know the URL displayed as "Embed".
If you use the embedded tag at the top of "Embed", it is possible to embed images with image map in blogs etc. However, depending on the environment, the short side of the image is displayed in the full width of the display window Please be aware of the points.
Related Posts:
in Web Service, Design, Posted by darkhorse_log

