I tried to replace the battery of "Nexus 5" I used for over a year myself
Even though I purchased the Nexus 5 for a day, although charging never ended in the middle even though I used it for a day, the battery exhaustion was intense at the present time more than one year passed from use, and even though I was worried about the battery I will only do it. After considering how to keep using it, it reached the conclusion that it seems that it only seems to replace the battery with a new one, so I tried to replace the battery by myself.
※ If you repair or disassemble the terminal yourself, manufacturer's warranty will be lost or there is a possibility that the terminal malfunctioning, please be careful enough.
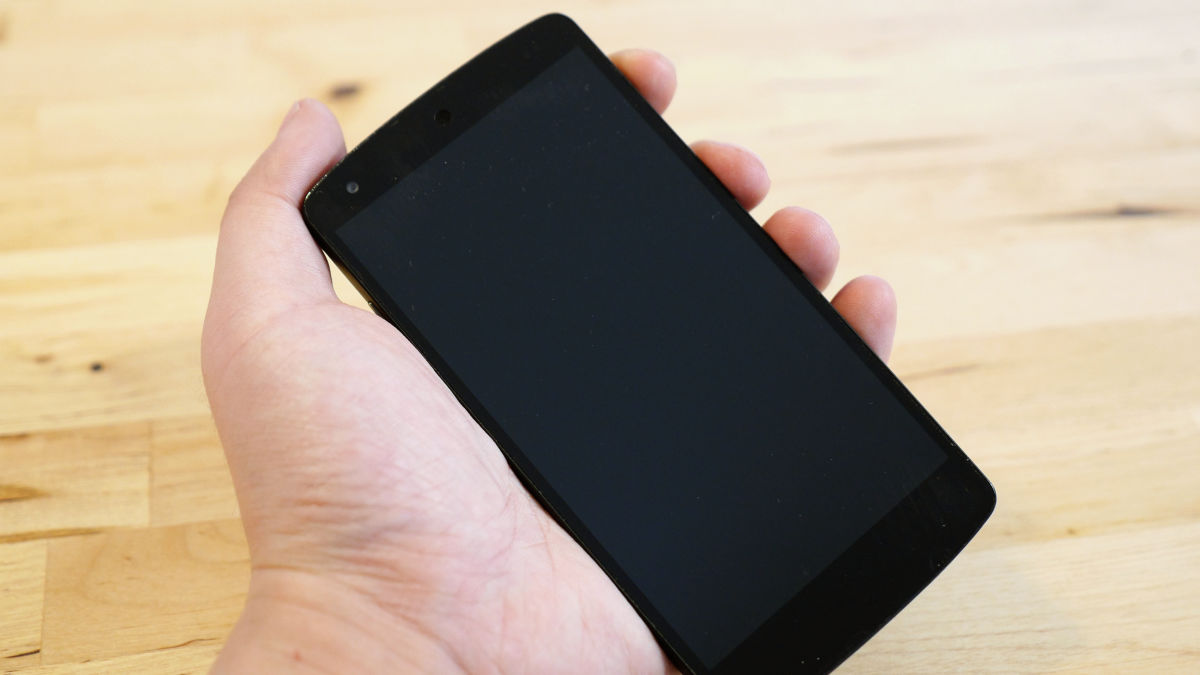
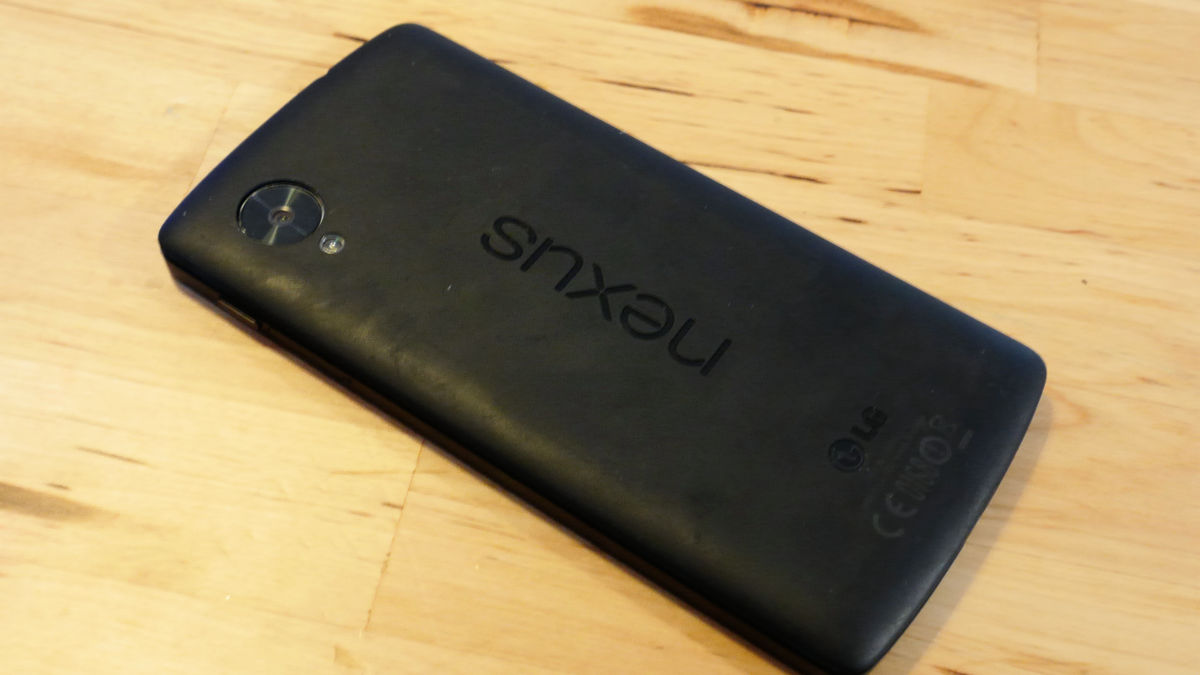
Nexus 5 used for over 1 year. There is no problem with the use feeling at all, I would rather continue to use it for a long time, but I was stuck with keeping using it is a bad thing with battery.

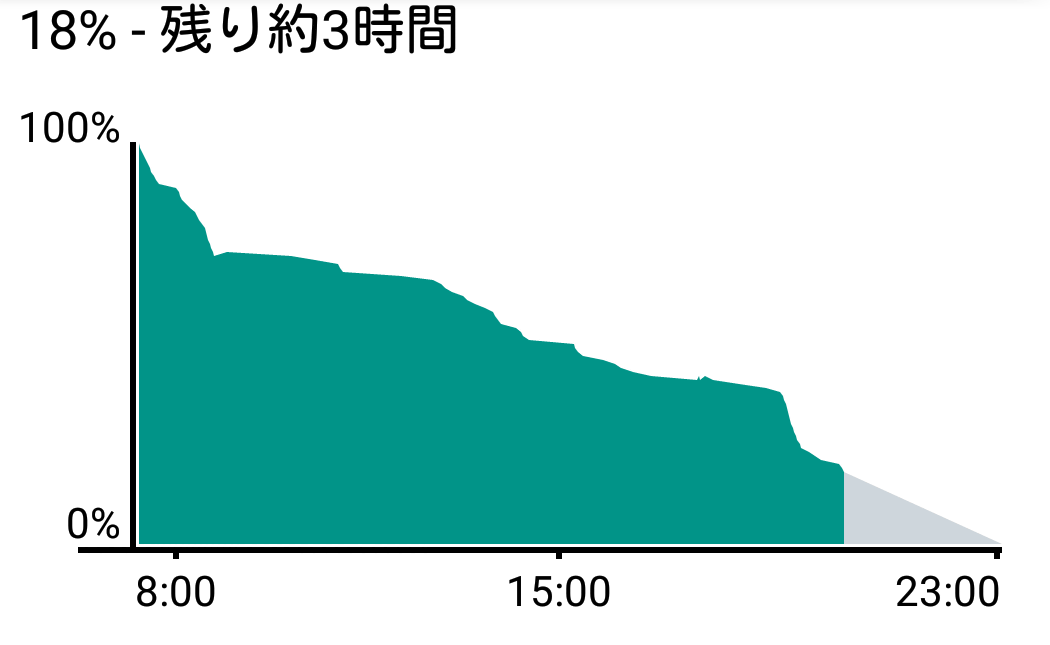
Below is a graph showing the remaining battery charge on weekdays, it can be seen that the graph is rapidly descending from 7 o'clock to 9 o'clock. This is because Nexus 5 is used when commuting, but it is about using a browser and a news application instead of using heavy usage such as opening multiple applications. Although it is not a usage method that puts a burden on the battery, about 20% of the battery is exhausted in about one hour of commuting. Since 9:00 am I am working, the frequency of use decreases, and accordingly the battery reduction is not intense, but after 20 o'clock the graph suddenly descends again. It is obvious that the battery runs out as soon as it is used all day.
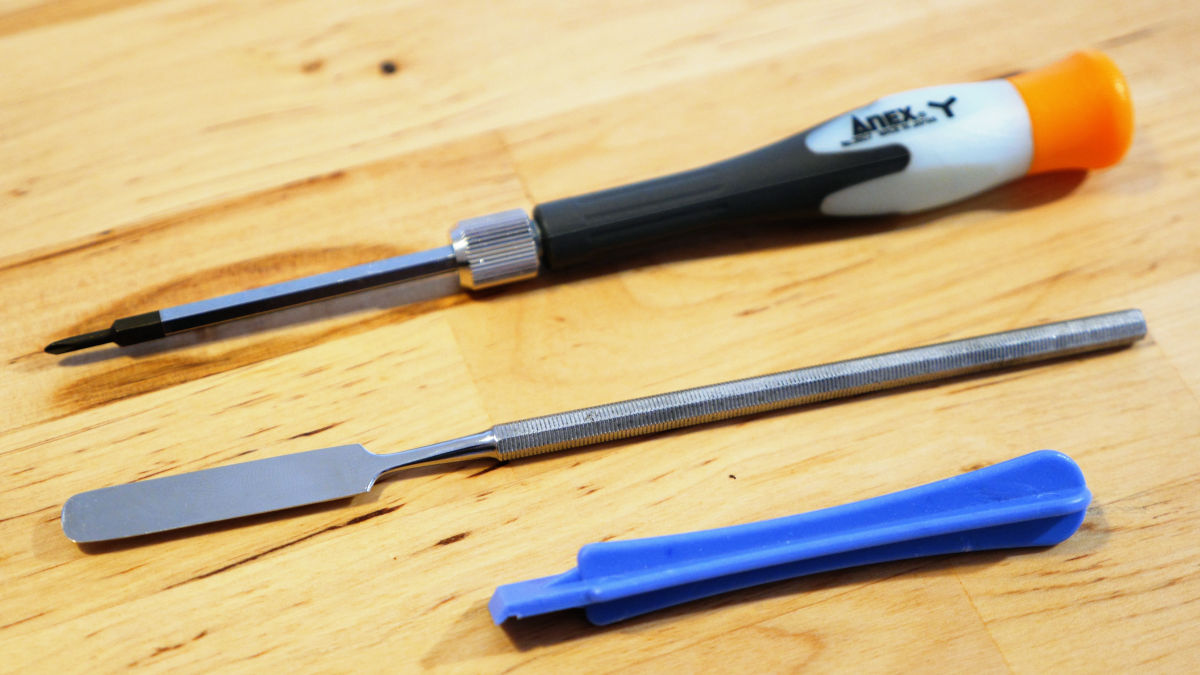
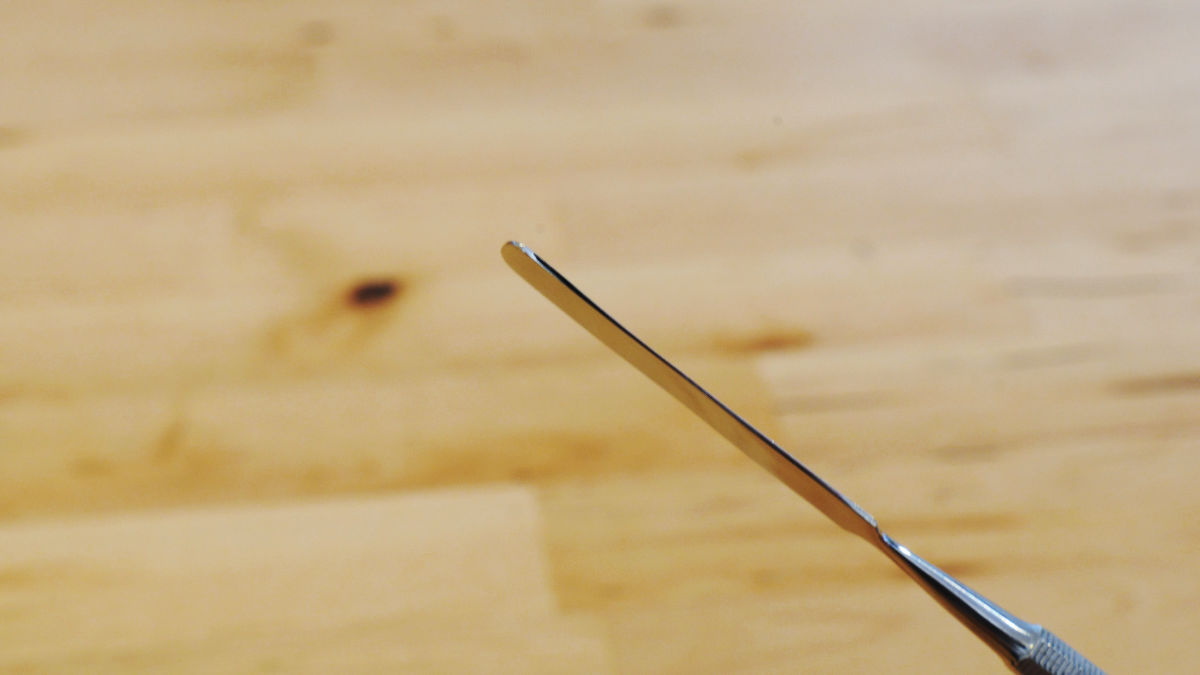
We decided to replace the battery of Nexus 5 this time. I prepared Nexus 5 main unit · Replacement battery ·Special precision screwdriver for Y type screw· Metal spatula · Plastic opener.
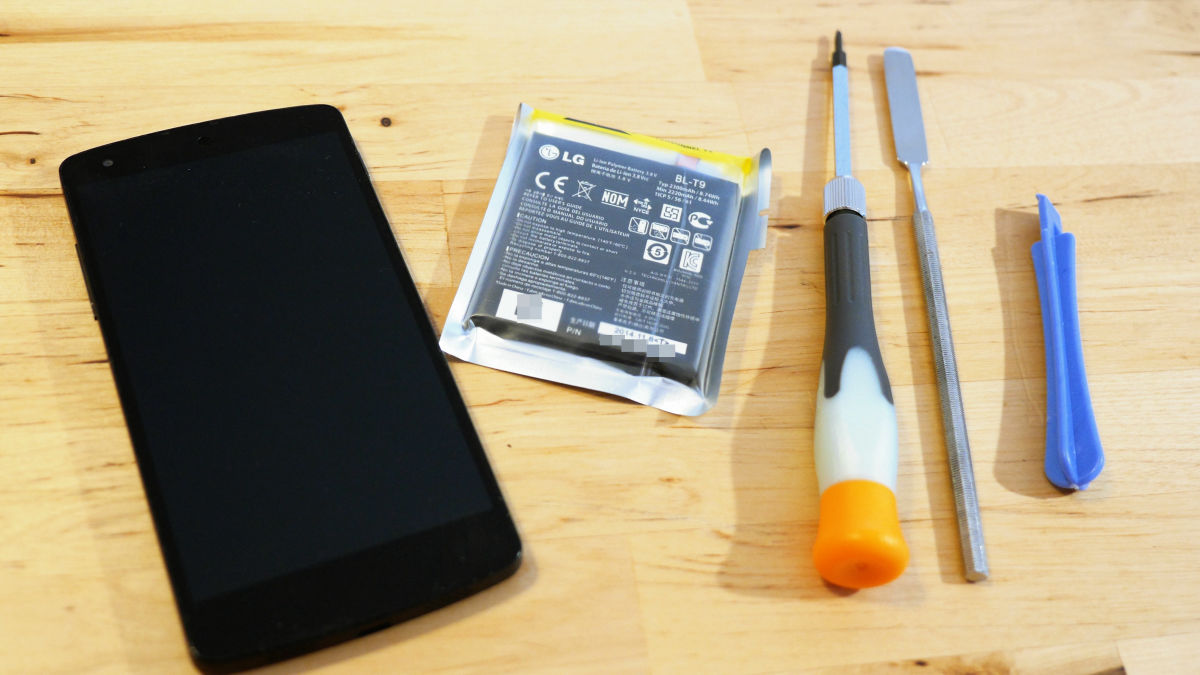
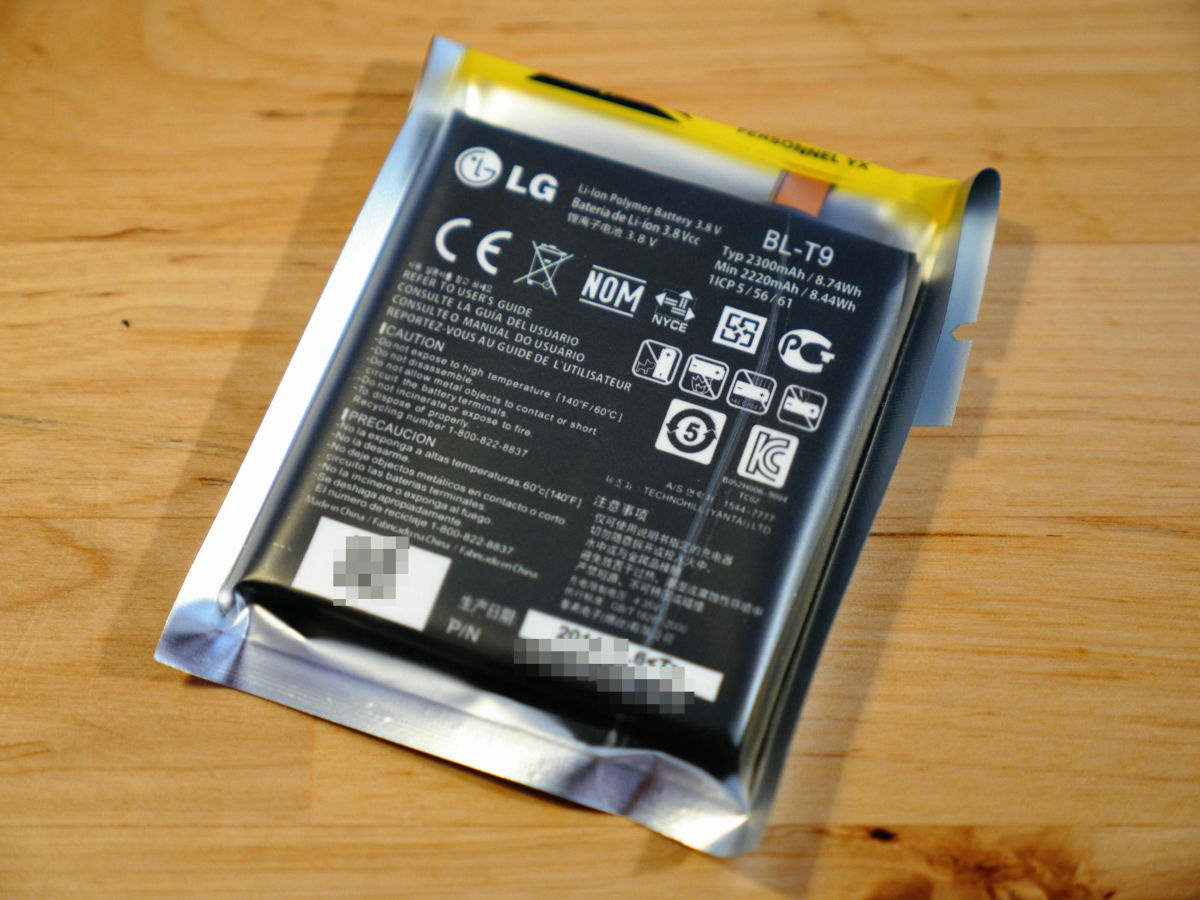
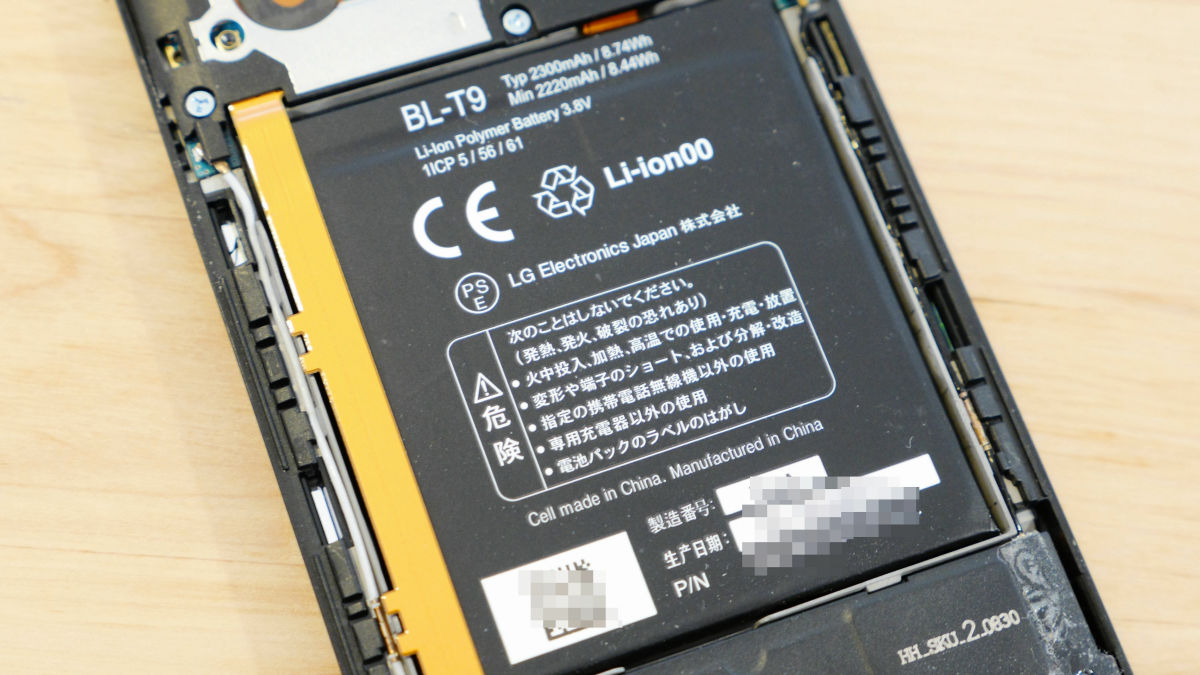
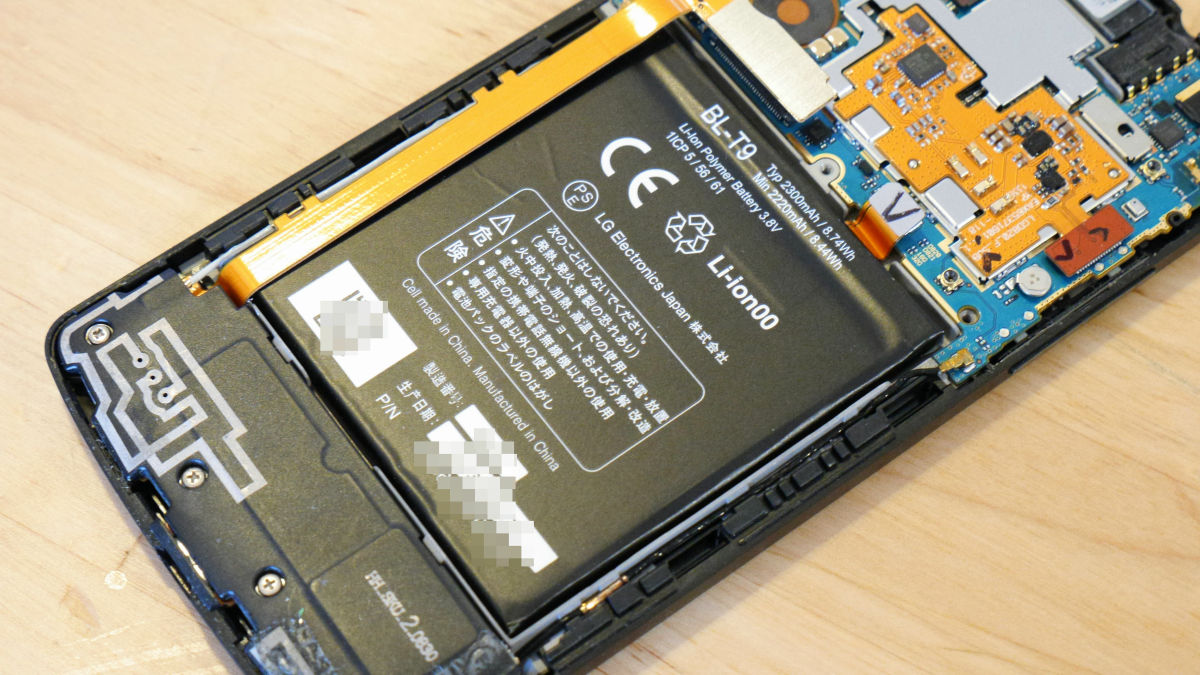
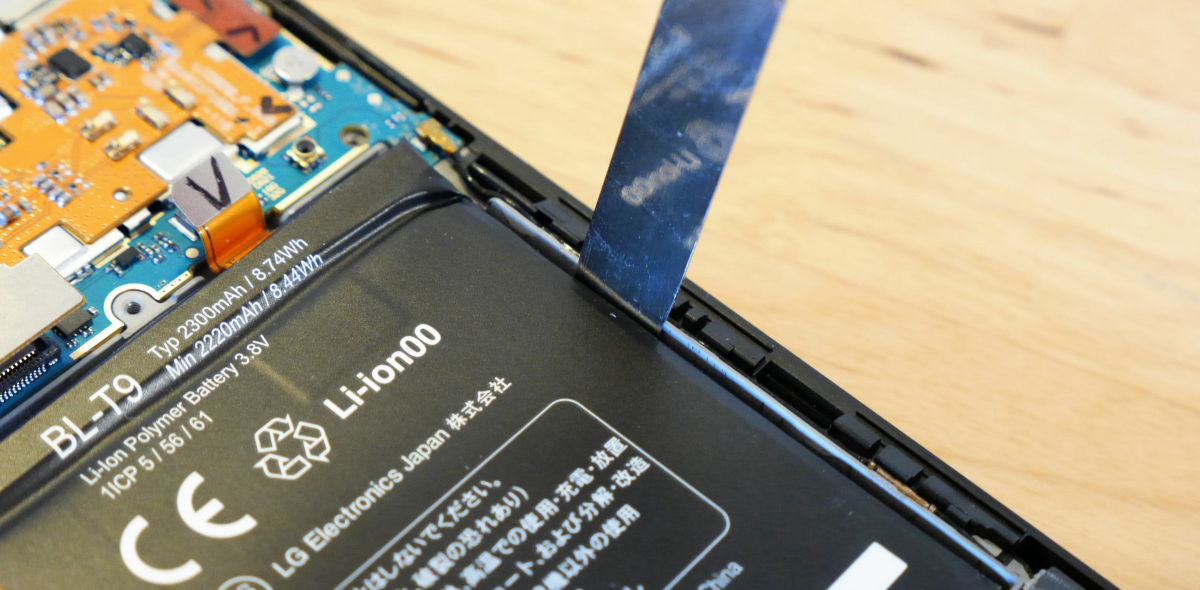
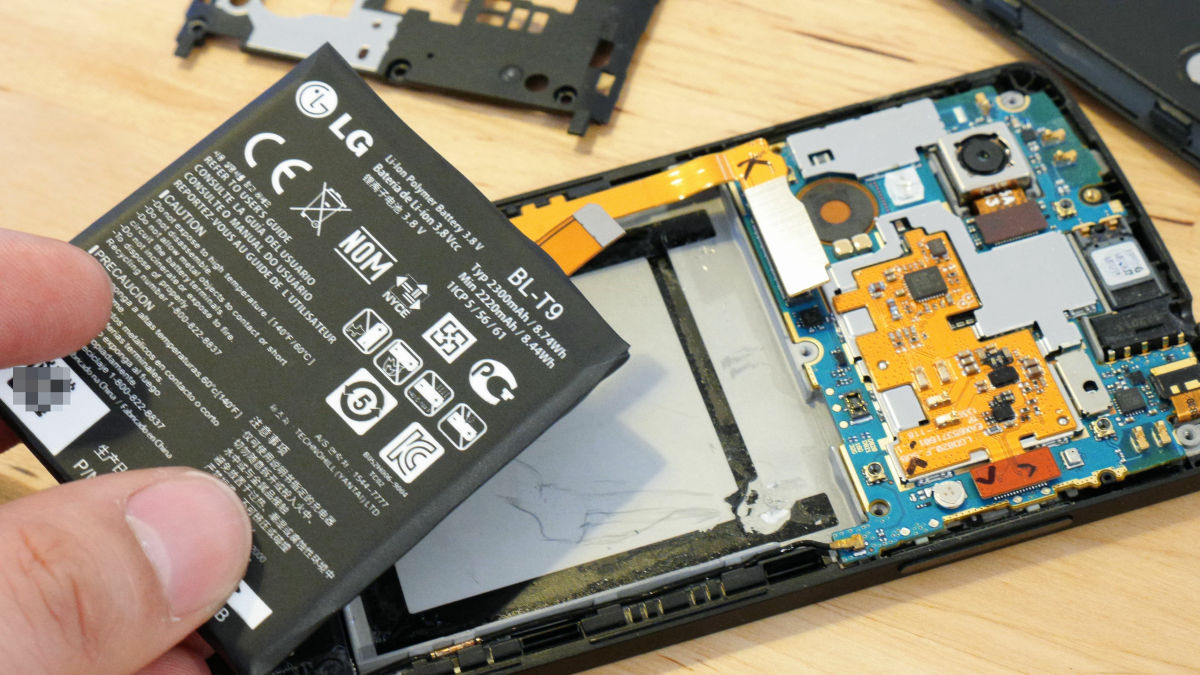
The replacement battery is a model number called "BL-T9" which is a battery of Nexus 5, purchased at Amazon.
Special precision screwdriver for Y type screw is necessary to remove the cover mounted inside Nexus 5. The metallic spatula used to remove the back cover of the main body, and the plastic openerIFixit dedicated repair kitIt was what was in.
Beginning to replace batteries. I hope the problem will not occur.
First, from the back cover. Since the battery is mounted inside the rear cover, you need to remove the rear cover.
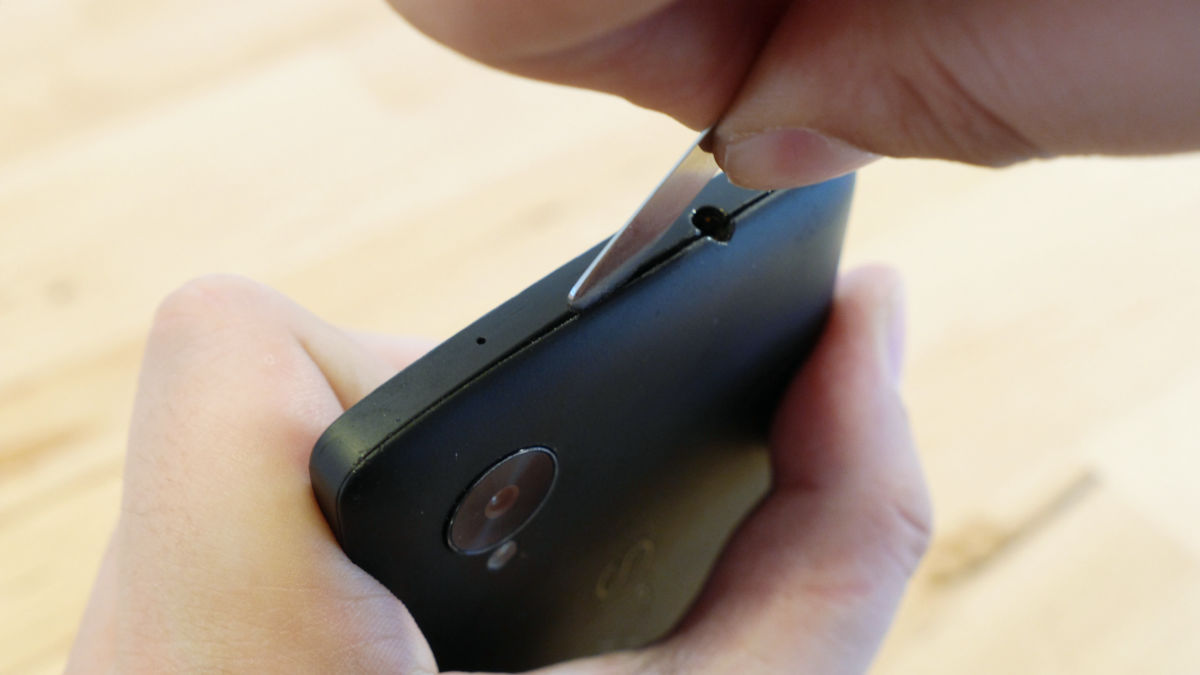
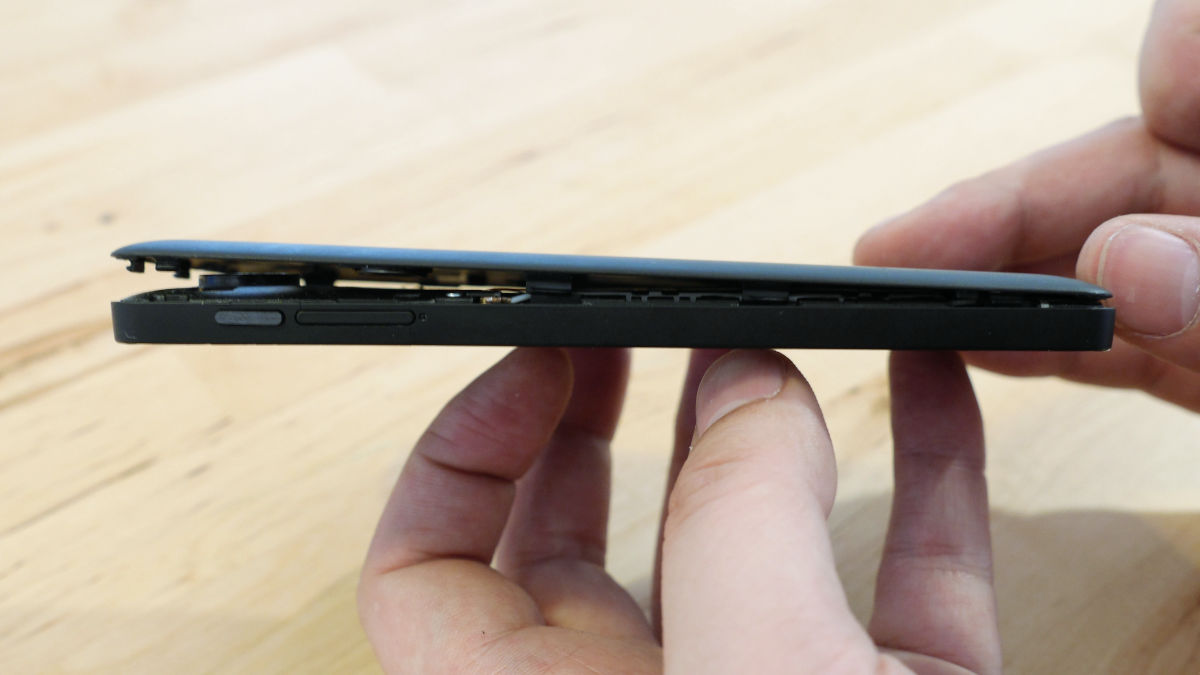
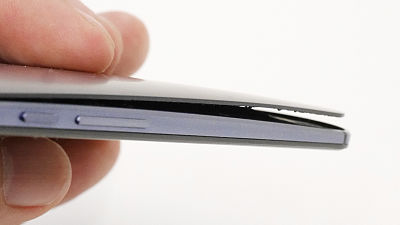
There is a narrow groove around the Nexus 5 ......
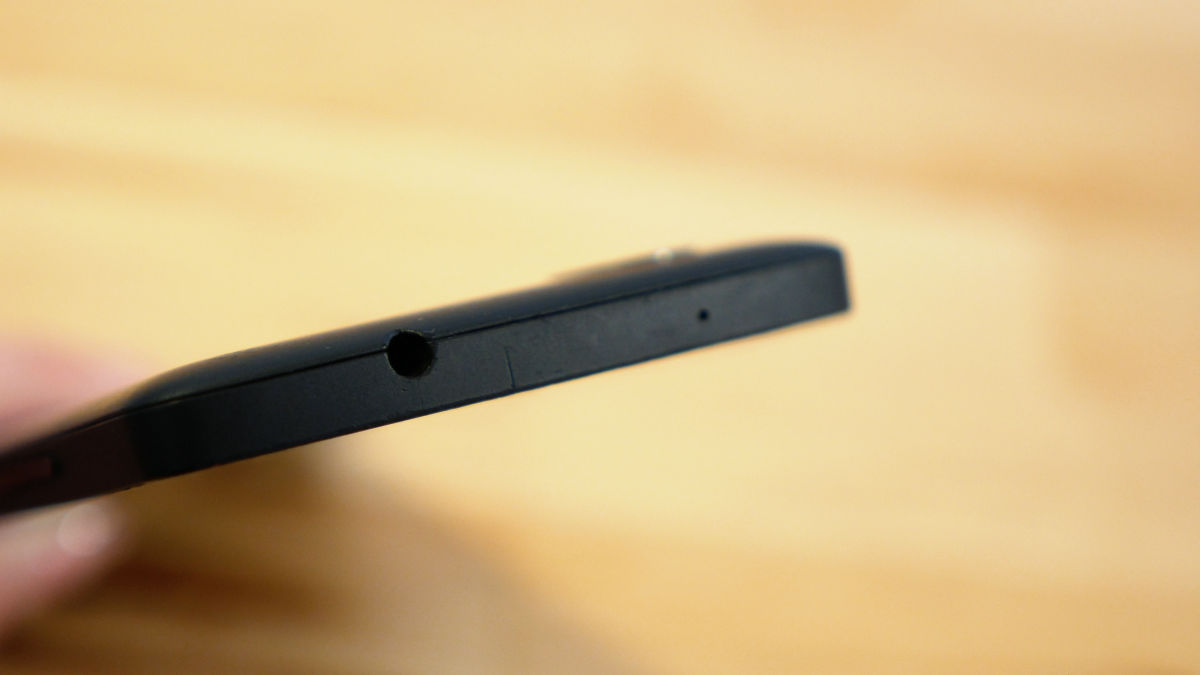
Insert a metallic spatula in this narrow groove and remove the back cover.
The groove on the side is quite small, and if you insert the metal spatula forcefully it will get scratched.
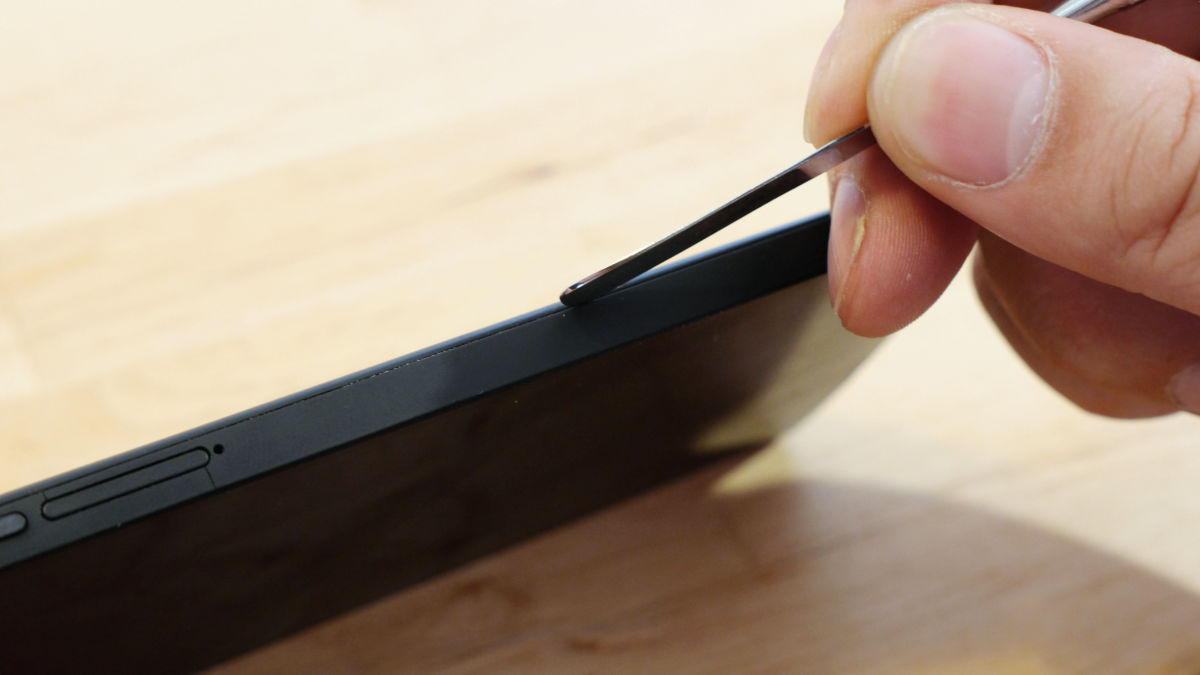
Remove the rear cover from the top of the earphone jack where it was relatively easy to insert a spatula.
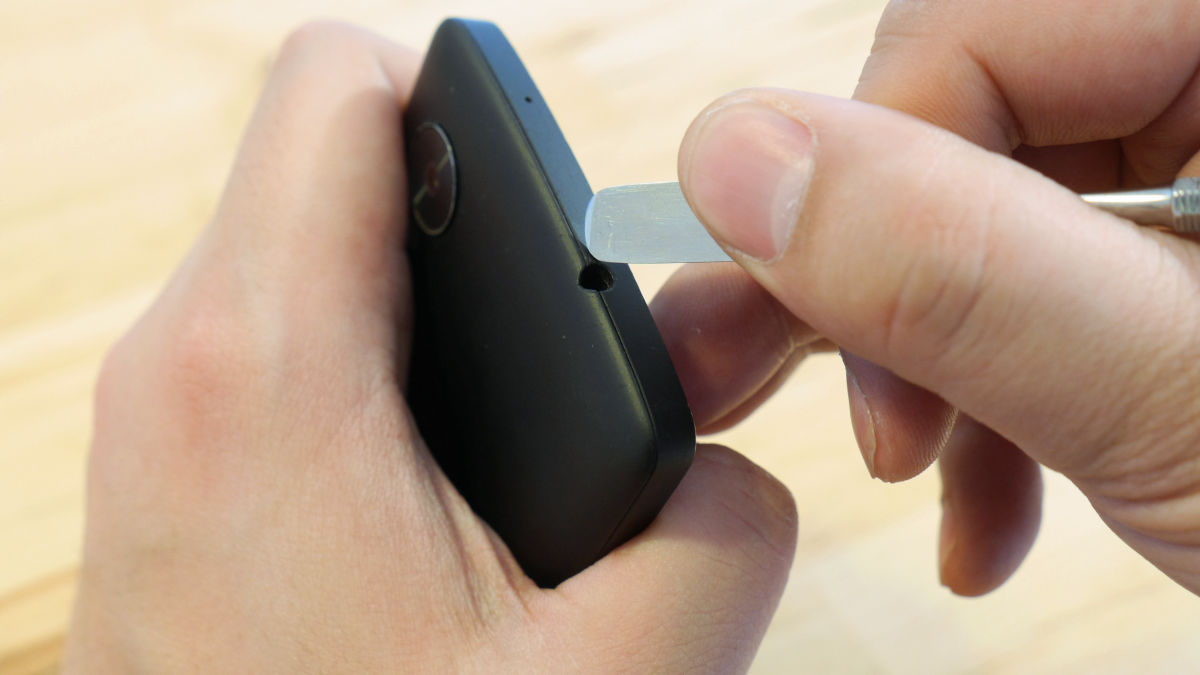
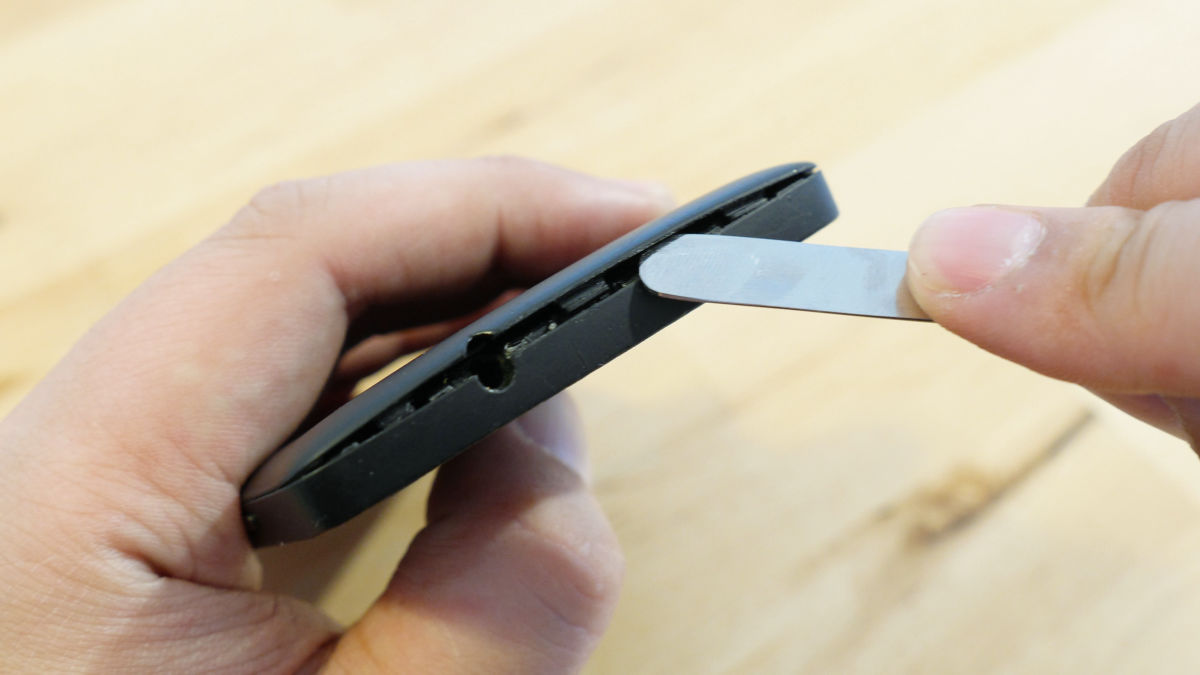
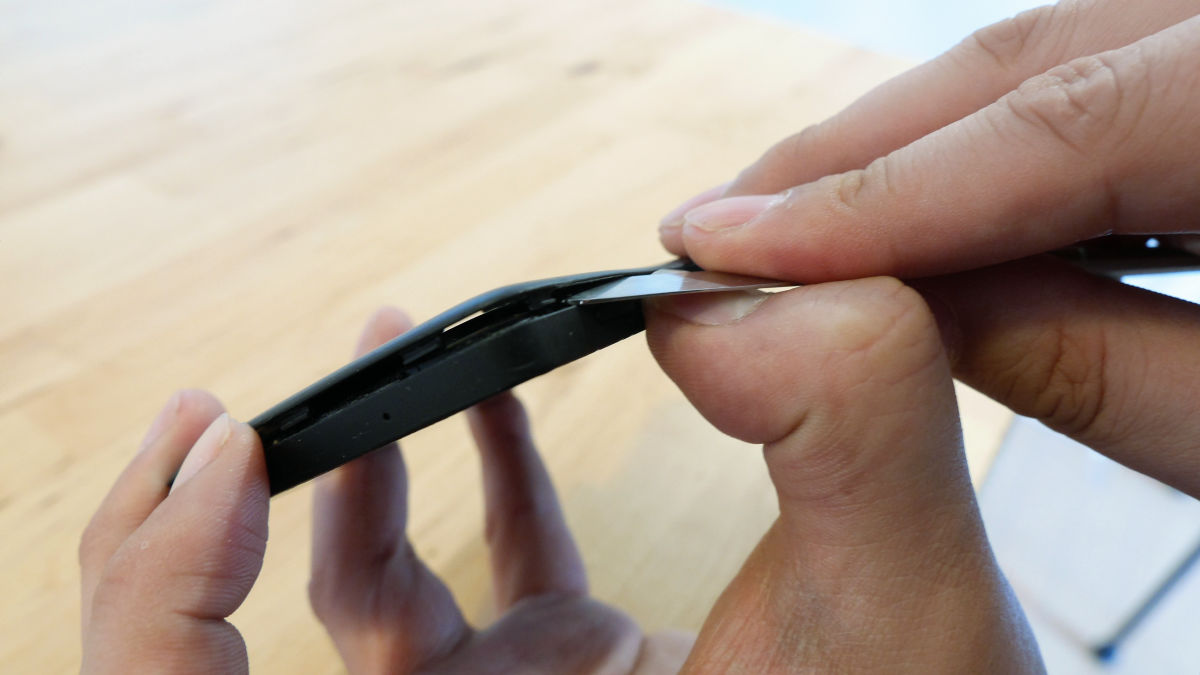
When a little effort is put in, the spat goes into the groove and ...
If you slide it sideways ...
There was a crisp sound and the claws on the rear cover went off the main body. Basically it works OK if you work with an image that removes the claws from the main body. However, there is a possibility that the claw will crack, so it is dangerous to lift the rear cover to force. In addition, since the sound of puffing is surprised for a moment, be careful not to accidentally drop Nexus 5.
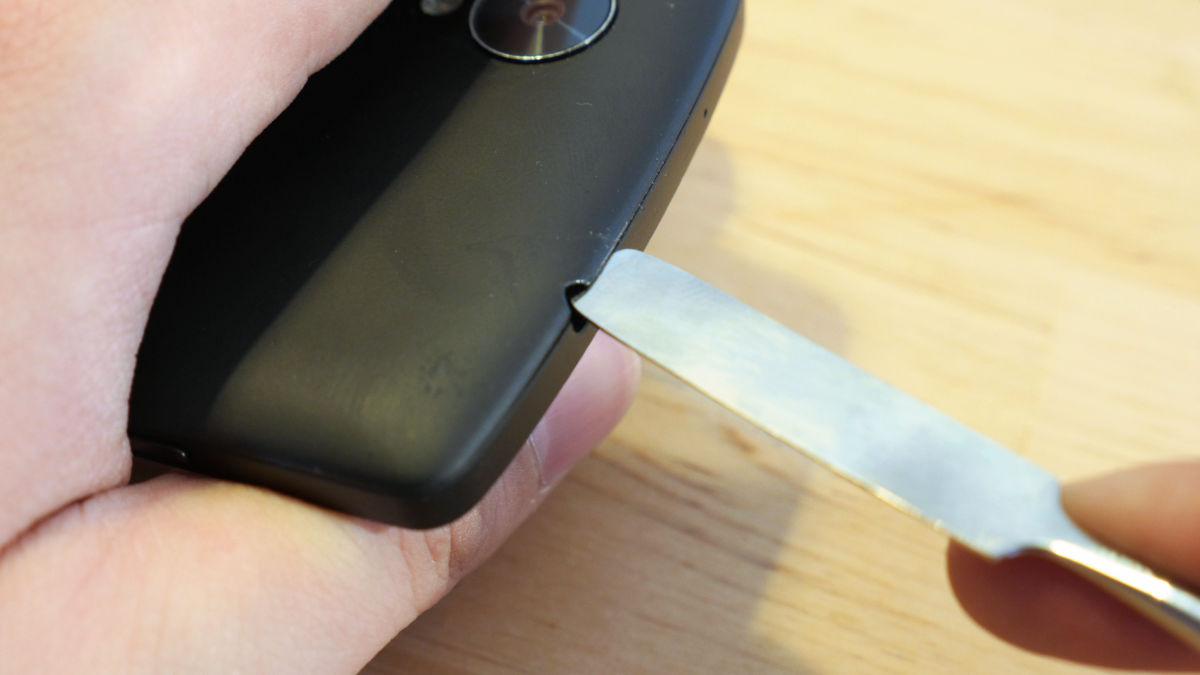
I will also insert a spat on the side so that it slides from the bottom.
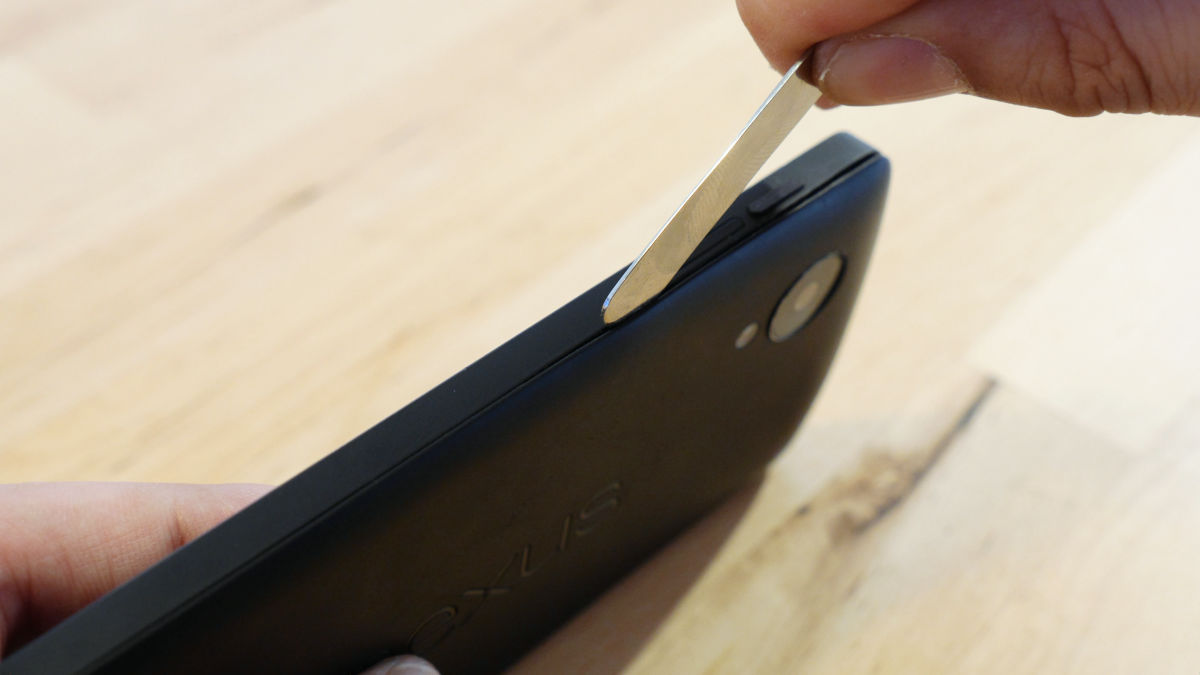
Remove the claws quickly ......
Processing of claws other than the bottom is completed.
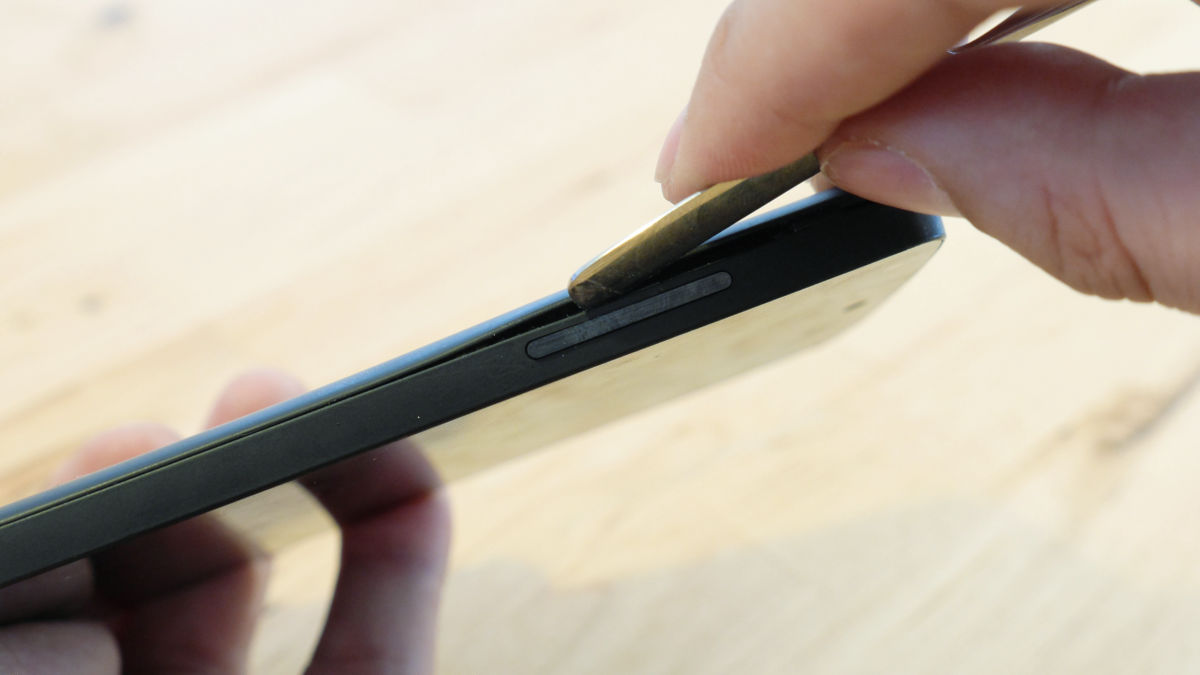
Although only the bottom claws are left, the lower right part of the body is attached with tape, so a little power is needed.
Please remove it by hand if it is a coconut.

It took less than 5 minutes to remove the rear cover.
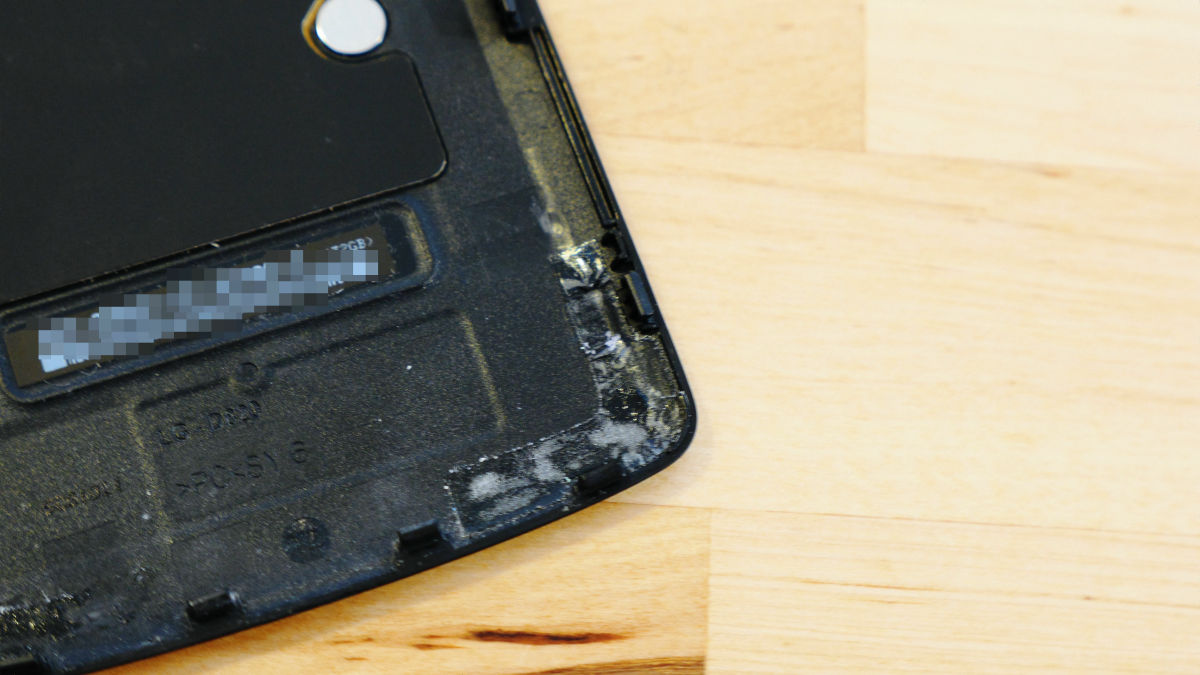
The struggling battle is the corner part of the back right lower corner. If you look closely you will see that the tape is stuck.
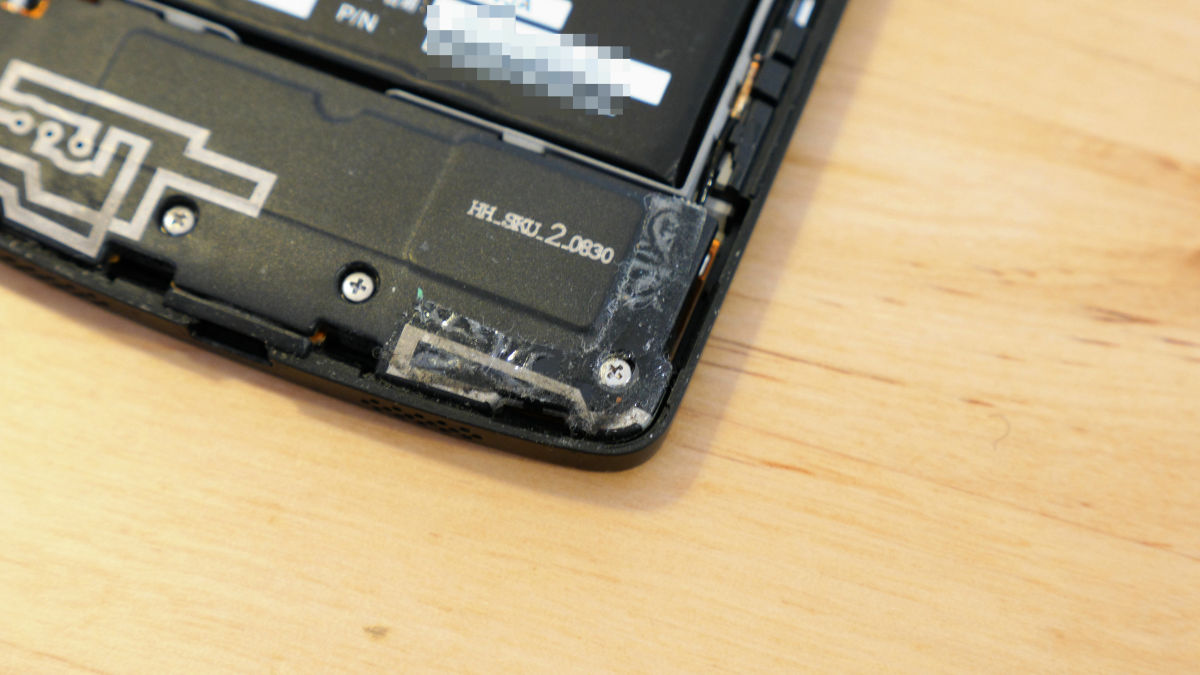
Tape is also pasted on the same part of the back cover, and it was necessary to put a little effort only when removing this place.
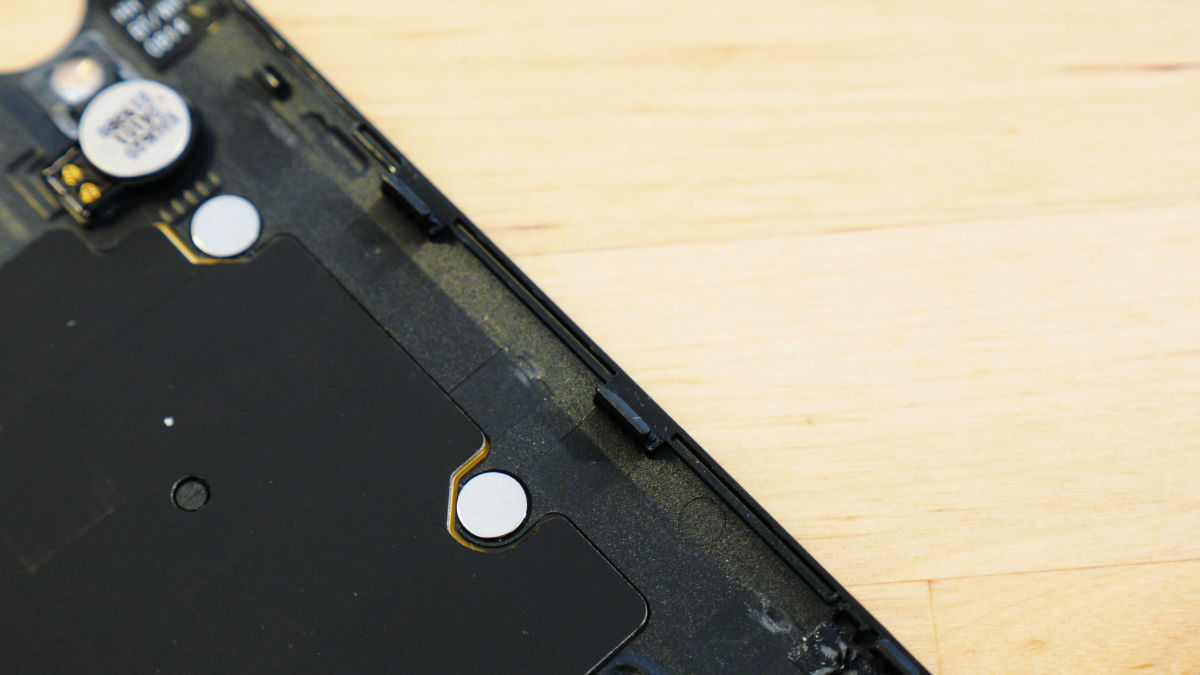
The claws pushed out with the claws. If you look at the shape of the claws, I think that it's easy to imagine how you move the spatula to remove the claws.
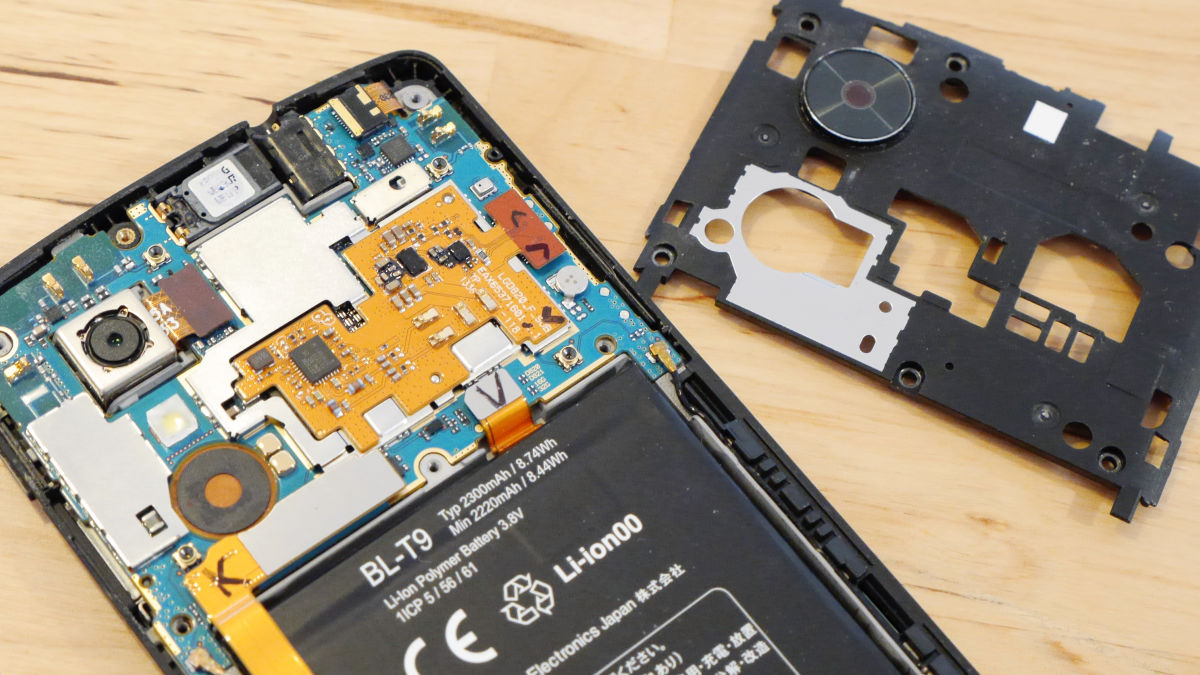
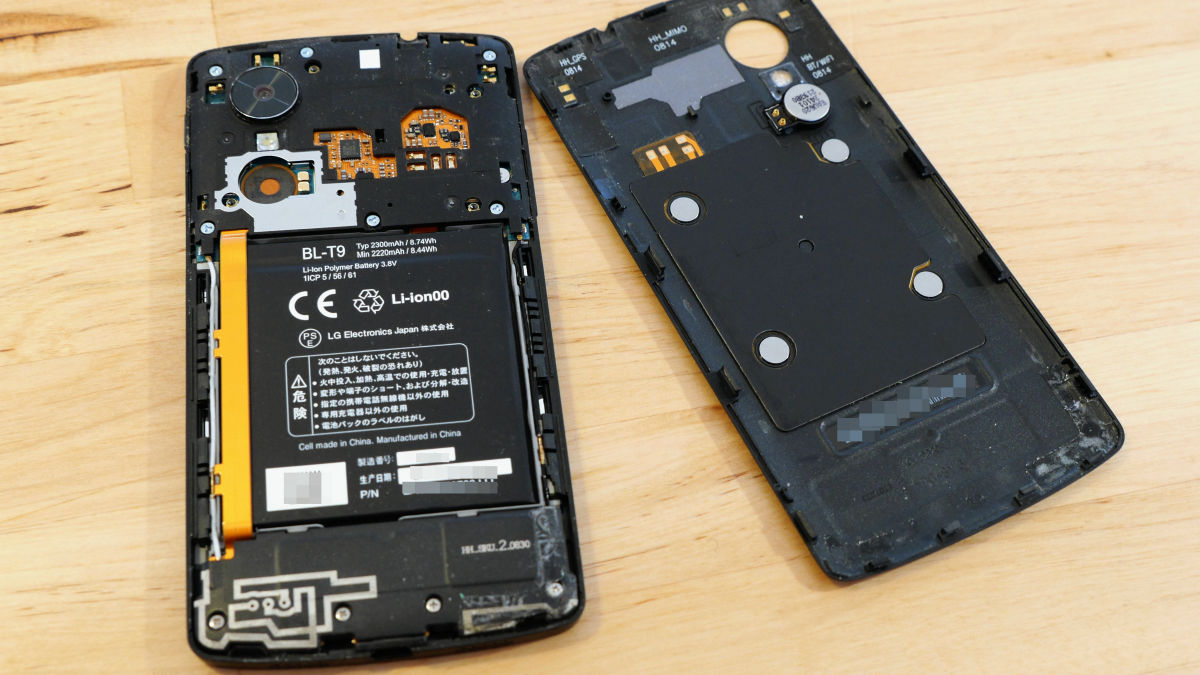
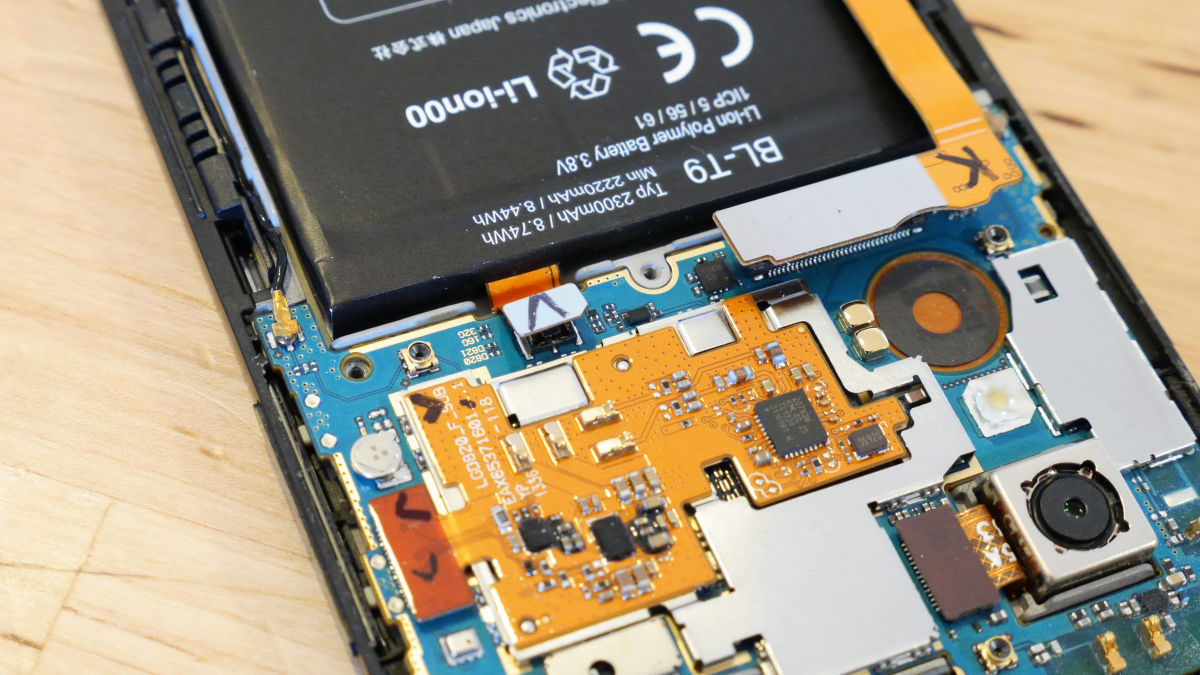
I'd like to replace the battery as soon as I opened the rear cover ... ...
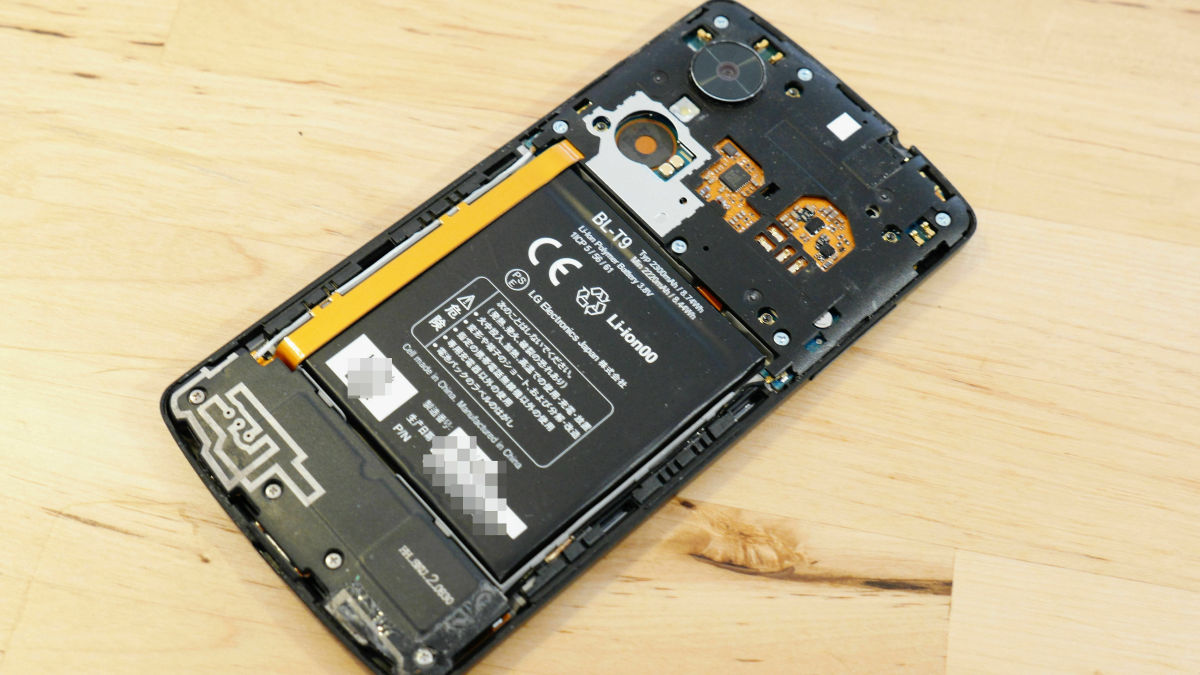
There is something like a golden tape on the left side of the battery and you can not remove the battery as it is.
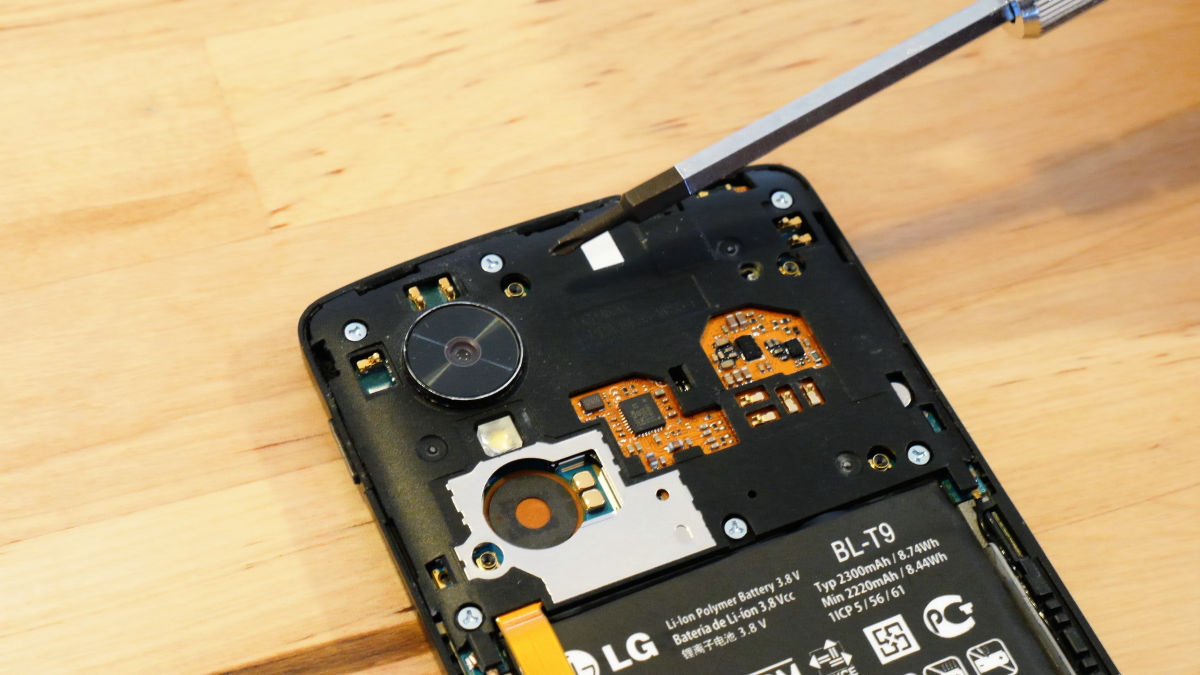
The gold tape is getting under the cover screwed securely, so you need to remove this cover.
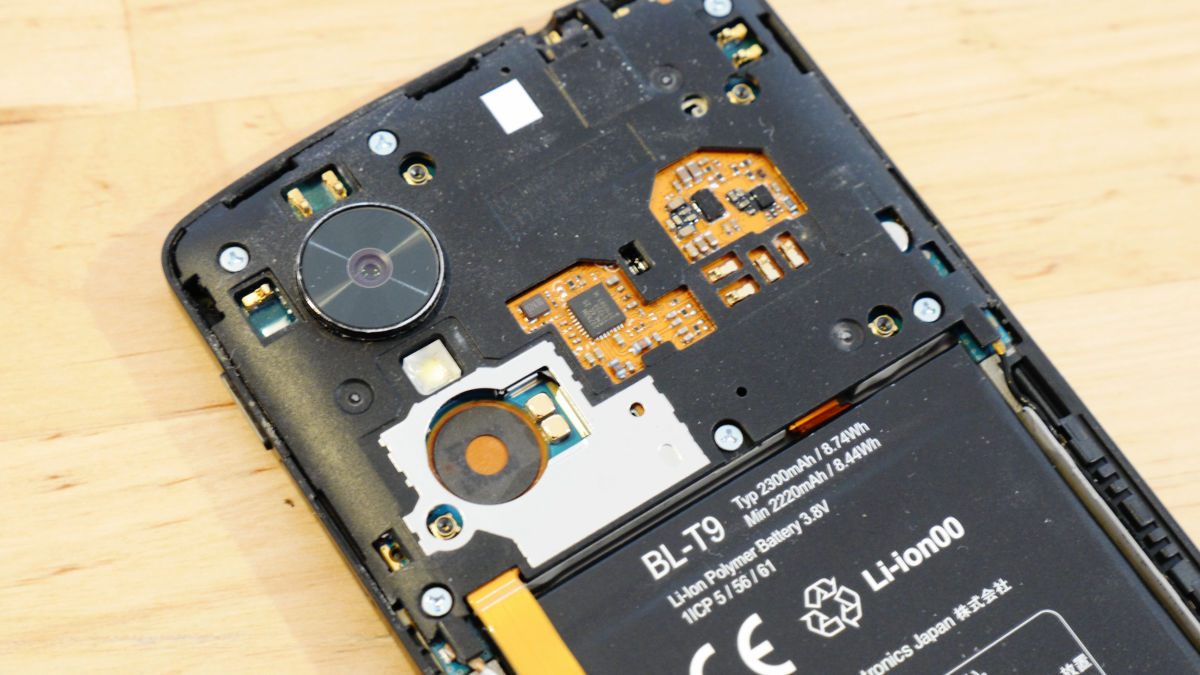
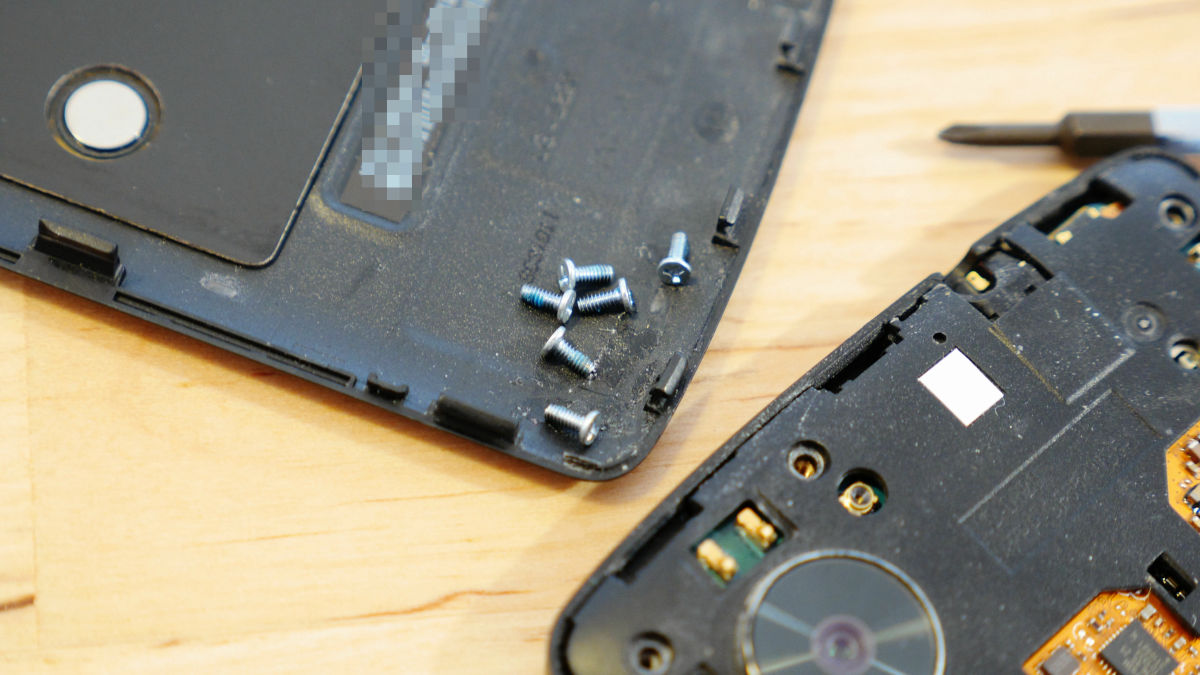
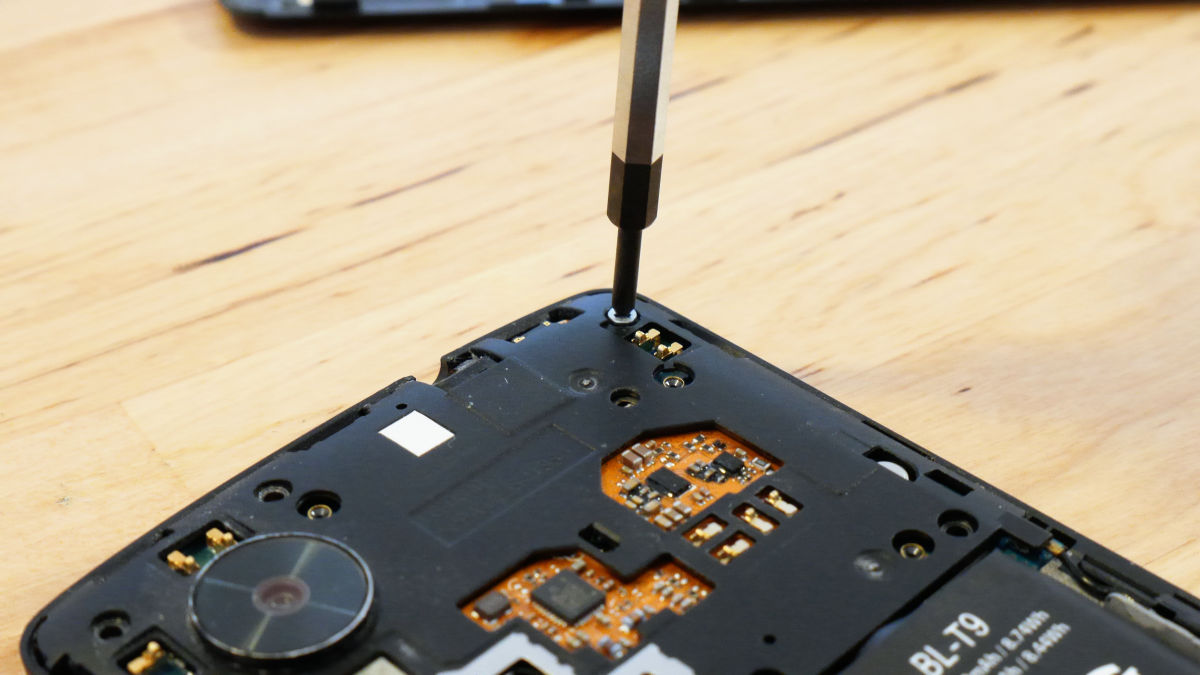
There are six screws attached to the cover in total.
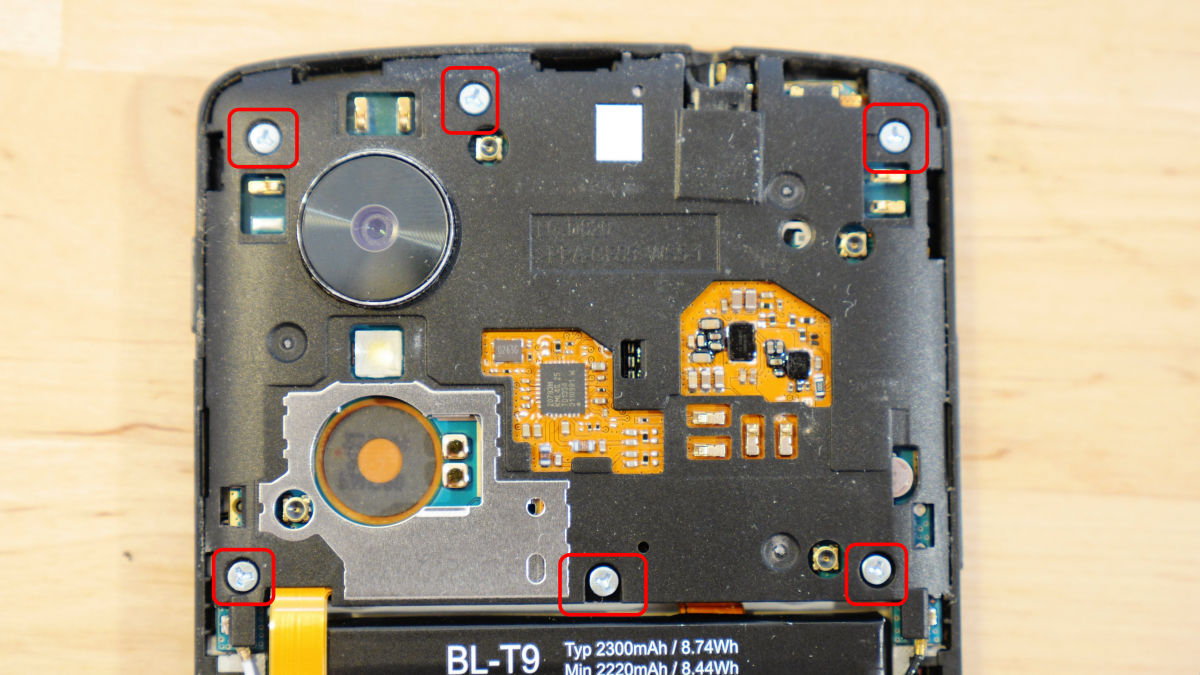
Remove the screws one by one using the special precision screwdriver corresponding to Y type screw.
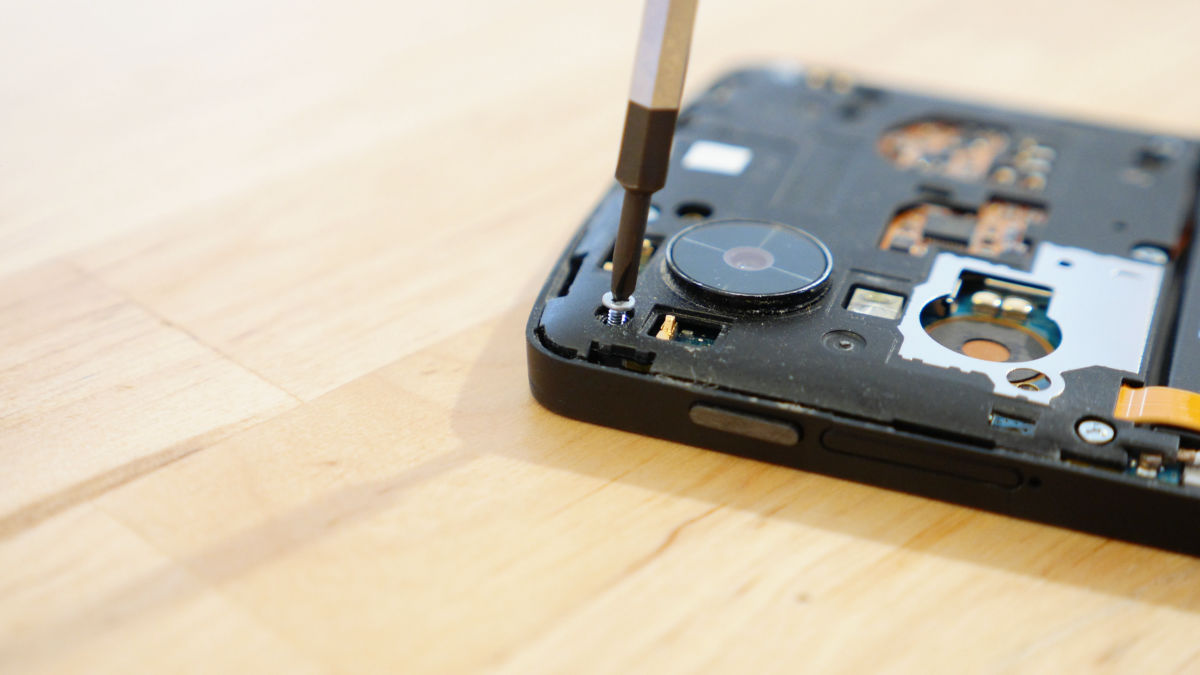
Screw removal completed.
It is tough to lose the removed screws, so keep it in the back cover removed first.
When removing the screw, insert a little spatula under the cover and lift it up.
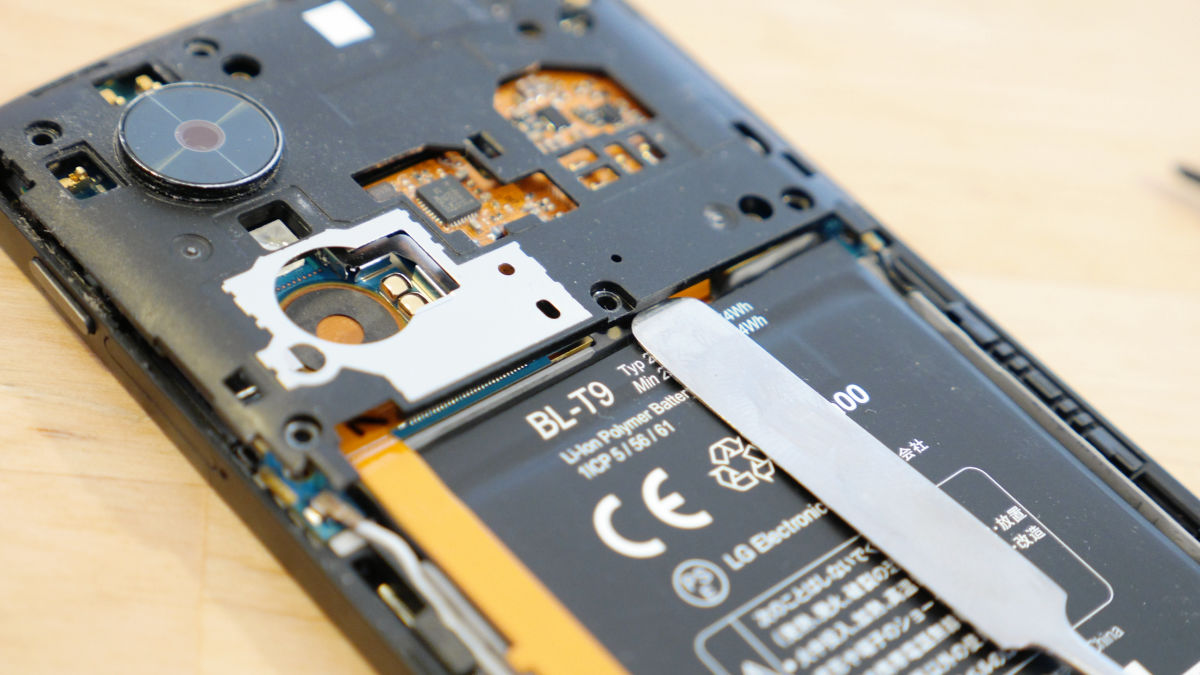
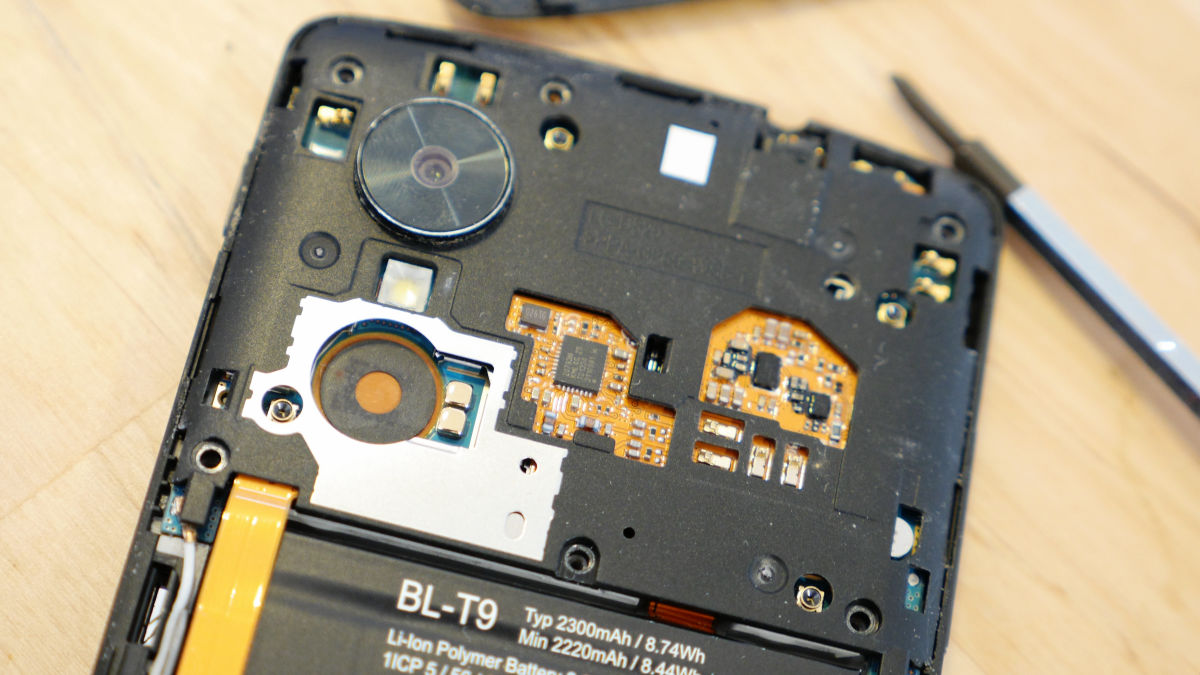
When the cover is lifted a little, remove it with your hand.
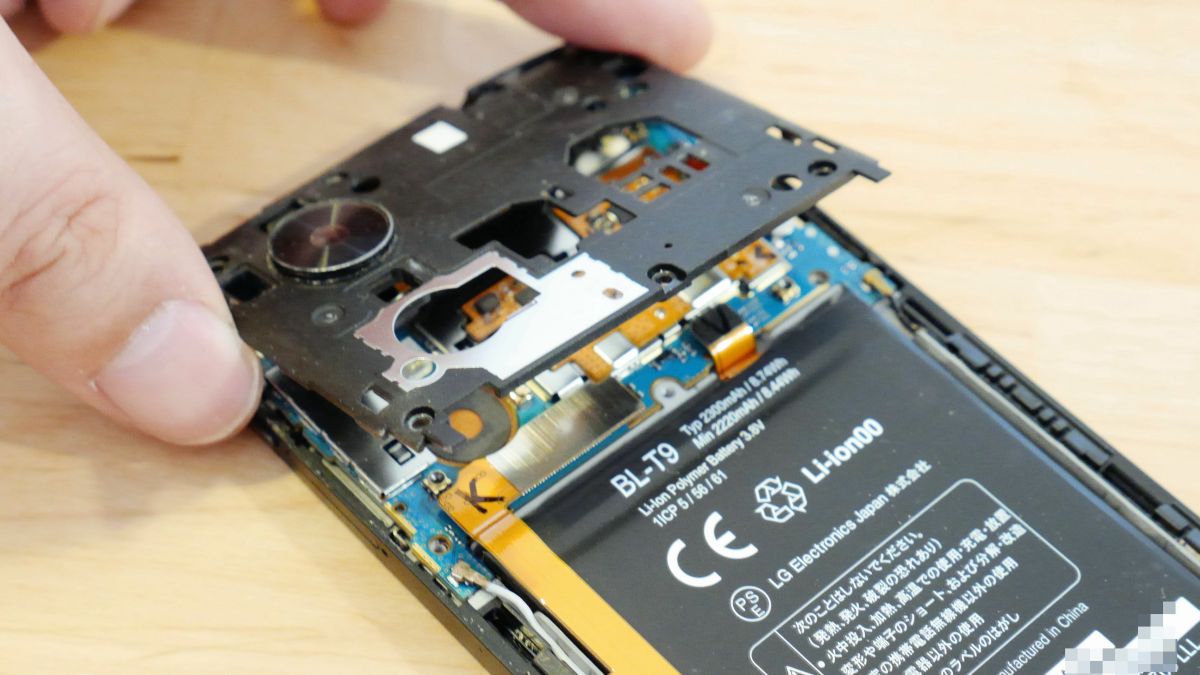
The removal of the cover is now complete. It took about 10 minutes in total.
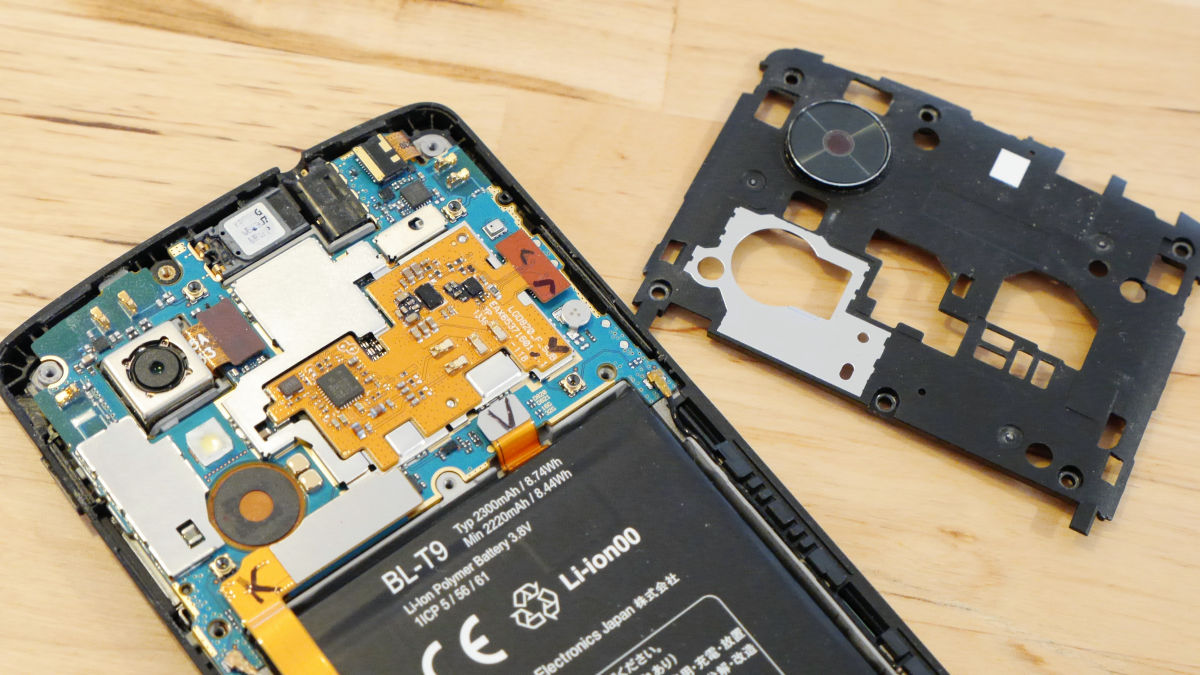
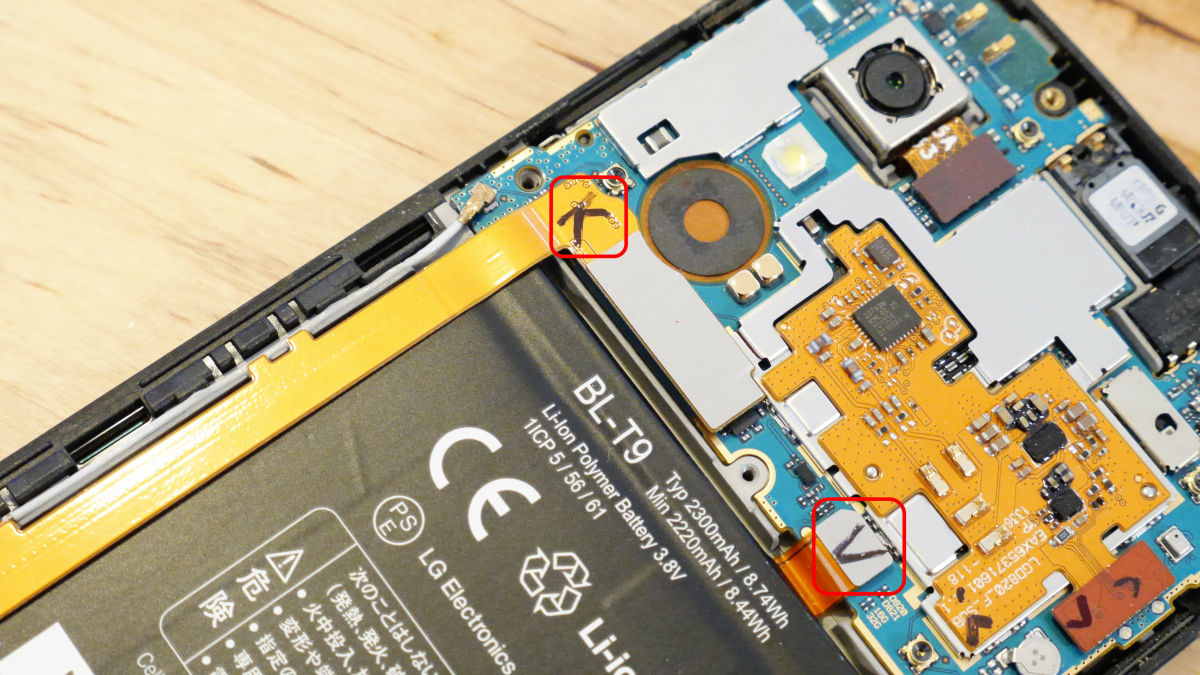
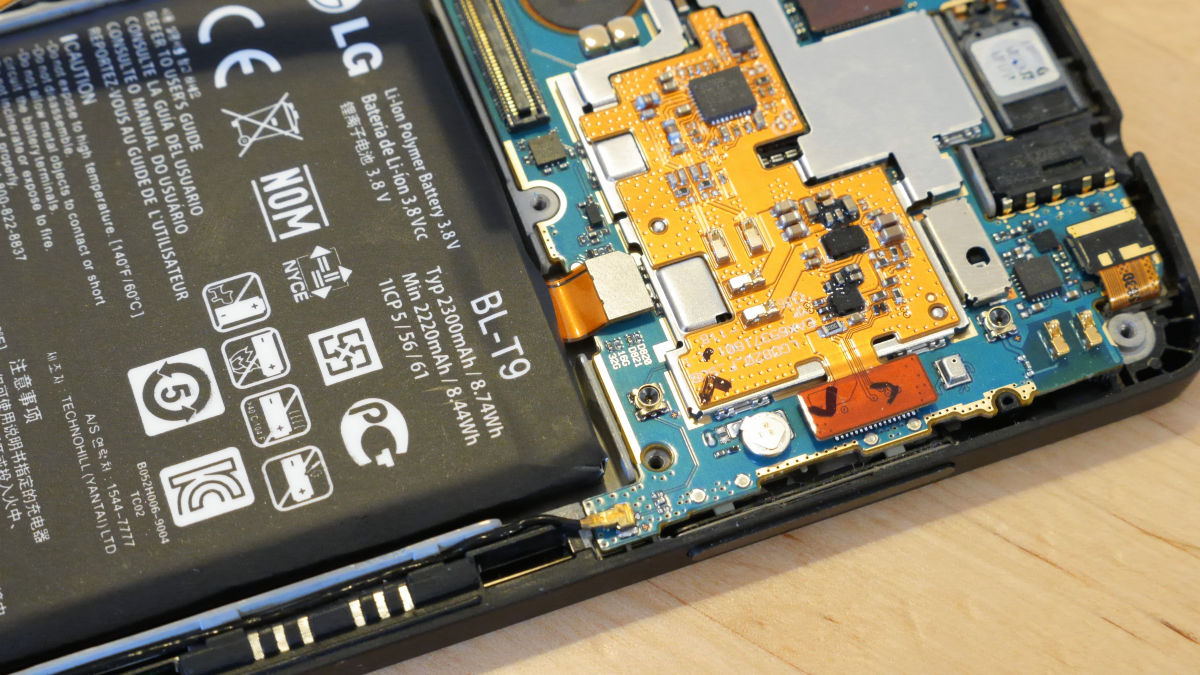
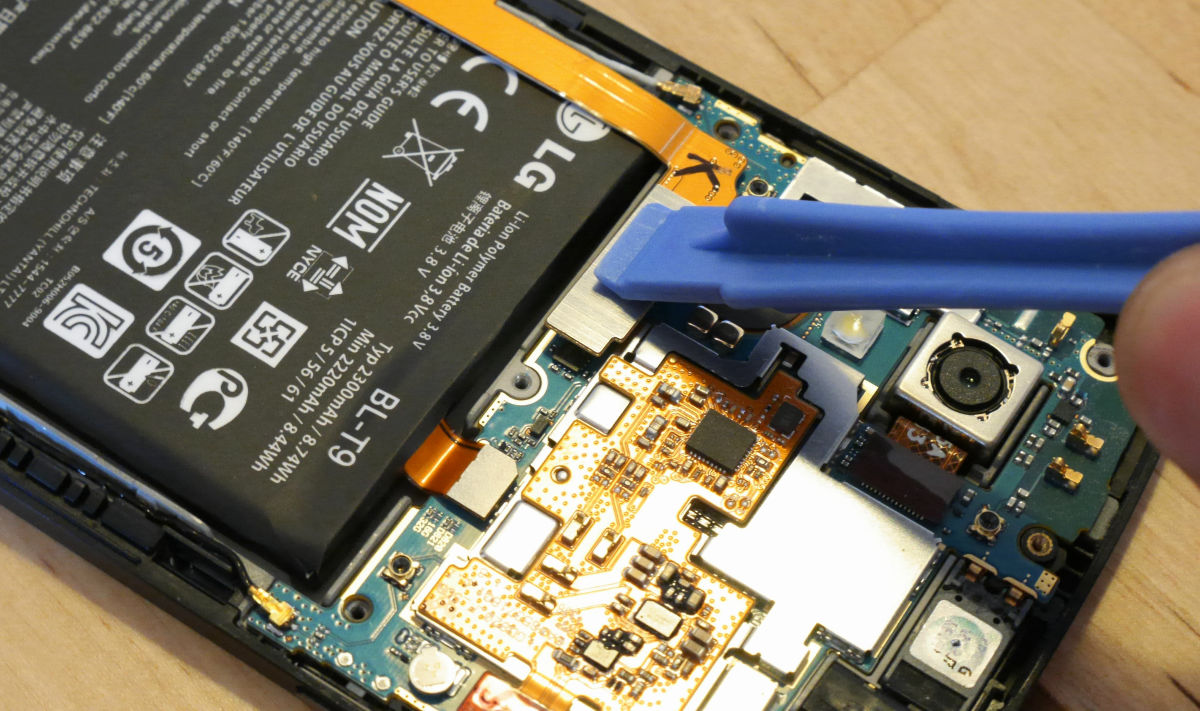
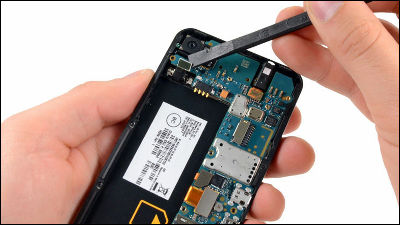
The connector marked "K" and "V" in the image is connected to the battery, and remove the two connectors with opener.
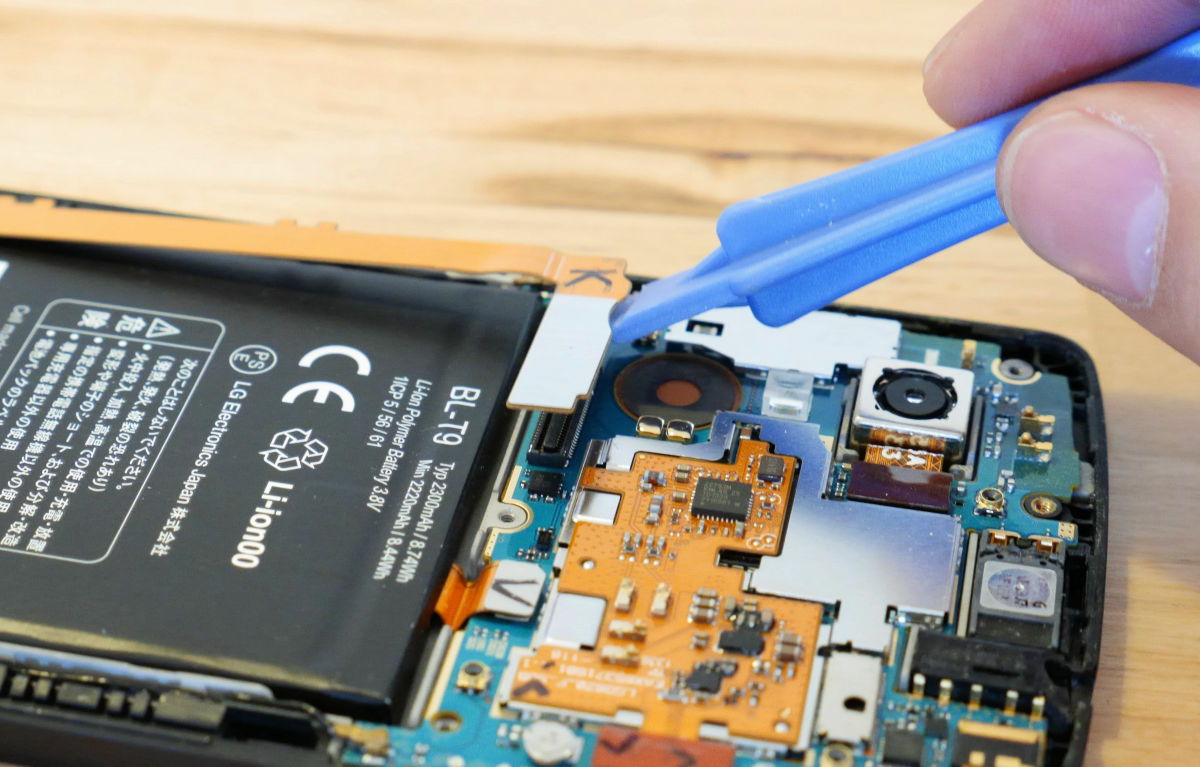
Insert the opener under the connector so that it does not hit the exposed substrate ......
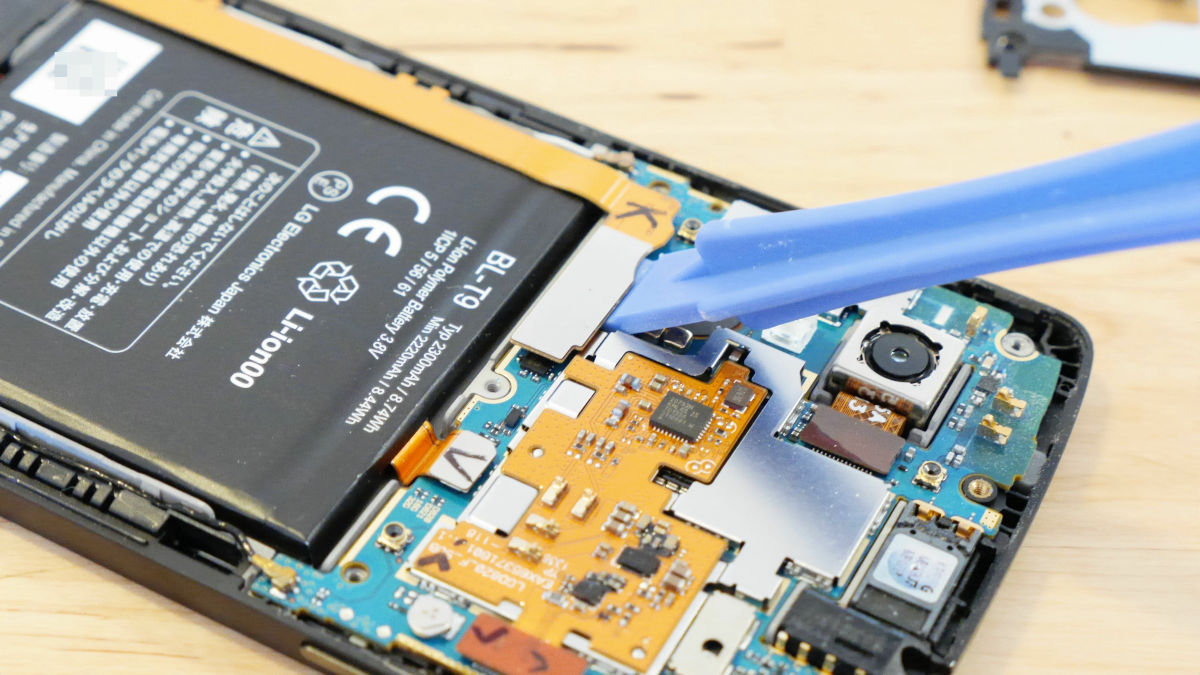
I will lift it gently. Work carefully so as not to scratch the board part.
Remove the connector marked V in the same way.
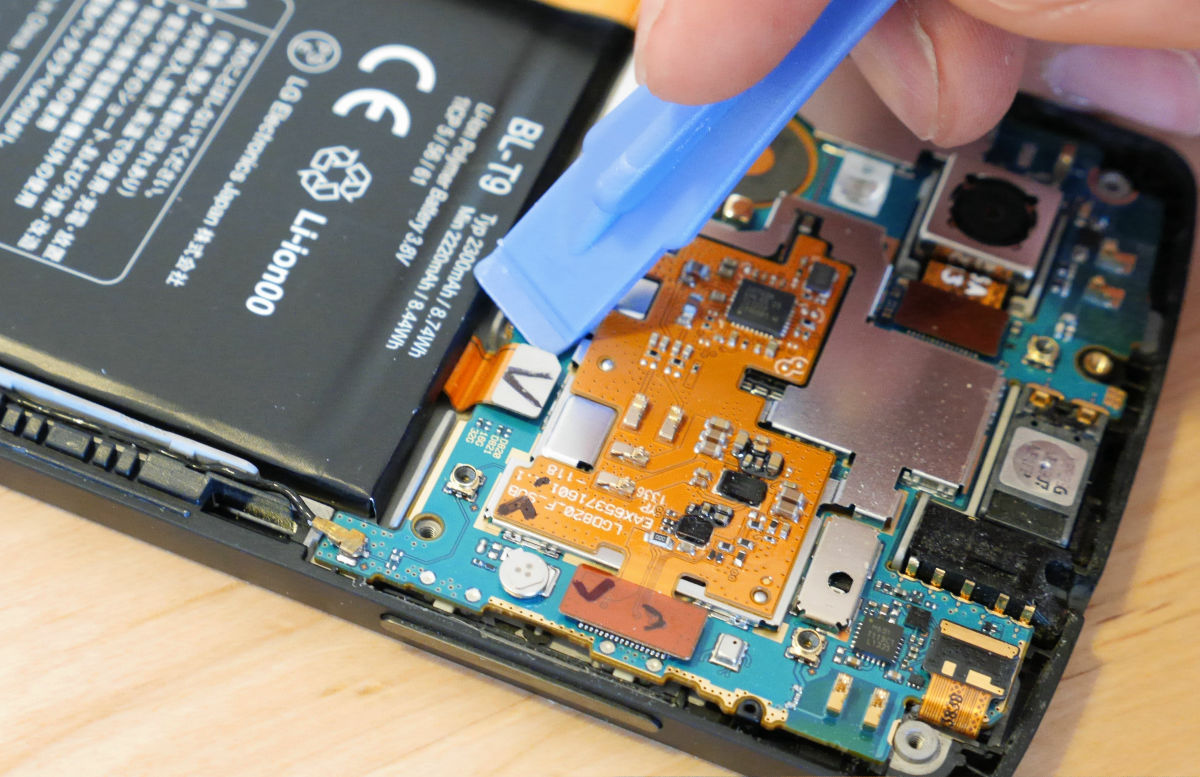
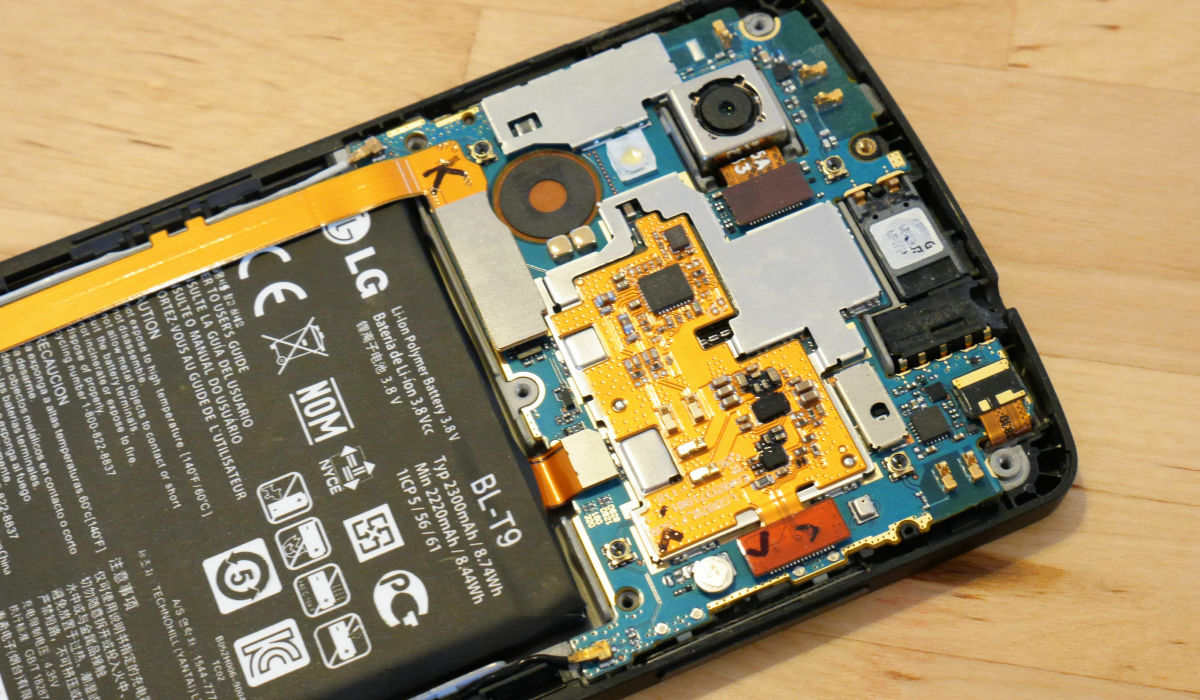
The removal of the connector is completed.
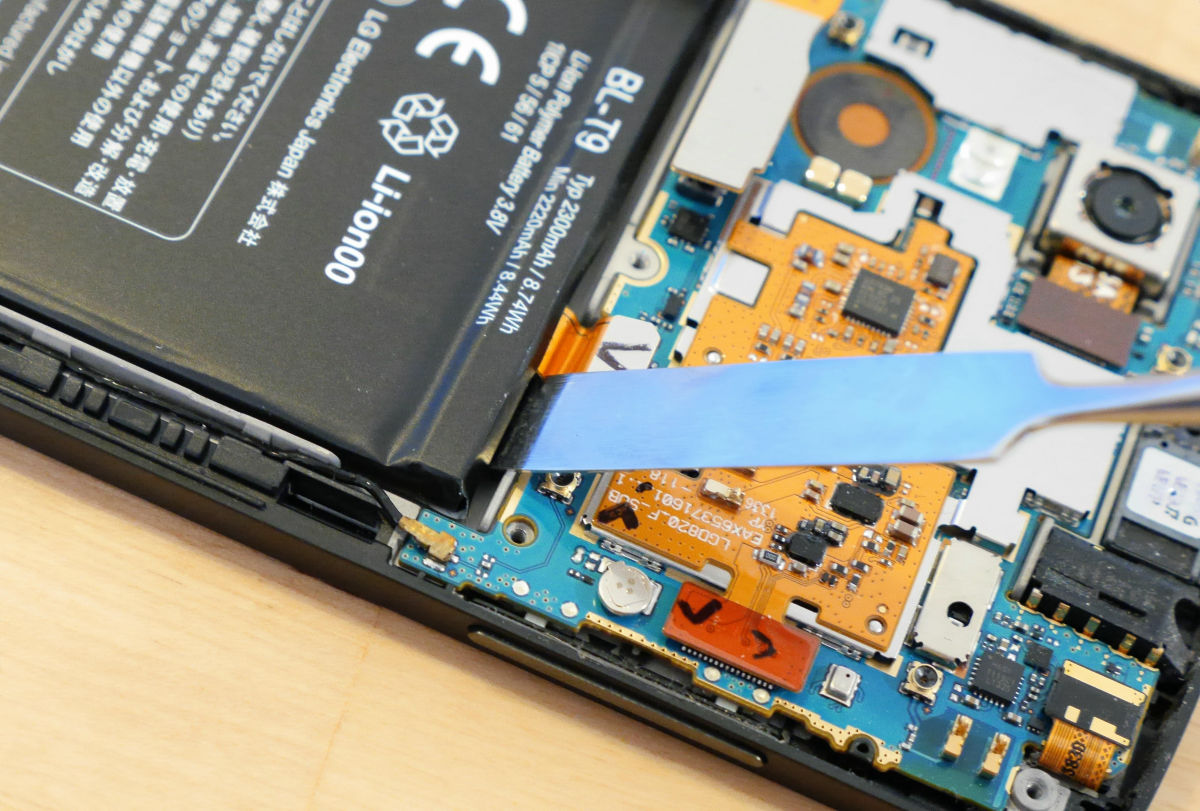
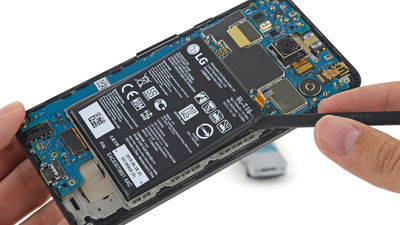
Next we will remove the battery, but the battery is attached to the main body with a strong tape on the back, removing can be said to be the most difficult of all the work.
In the image of peeling the battery from a powerful tape, insert a spatto under the battery and lift it.
The bottom and ...
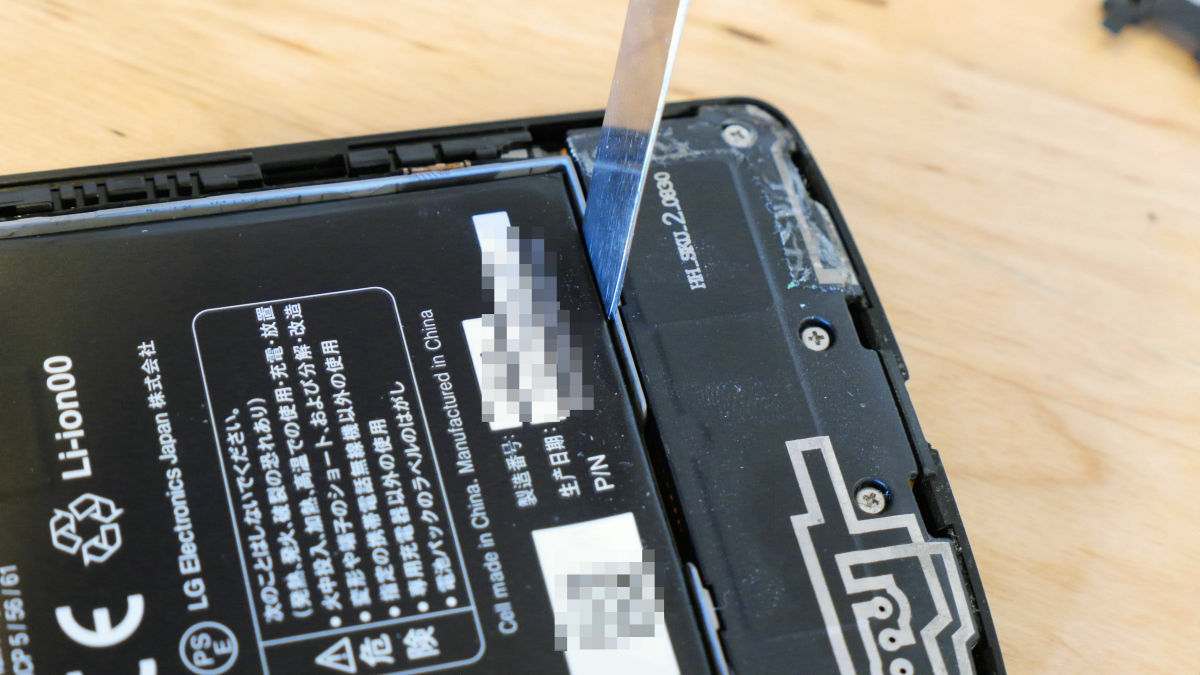
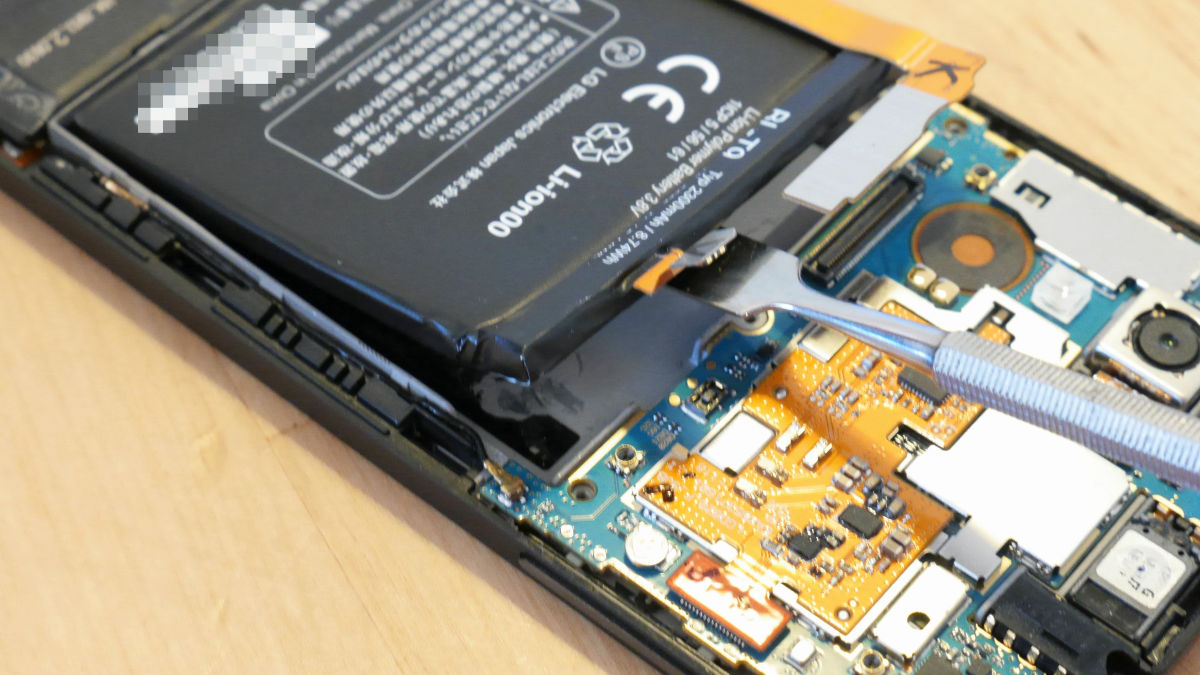
Insert a spat on the side and carefully remove the battery little by little.
When the tape comes off, insert the spattoon all the way and lift it up and remove the battery OK. Although it sounds mellow when you remove it, there is no problem because the battery is detached from the tape.
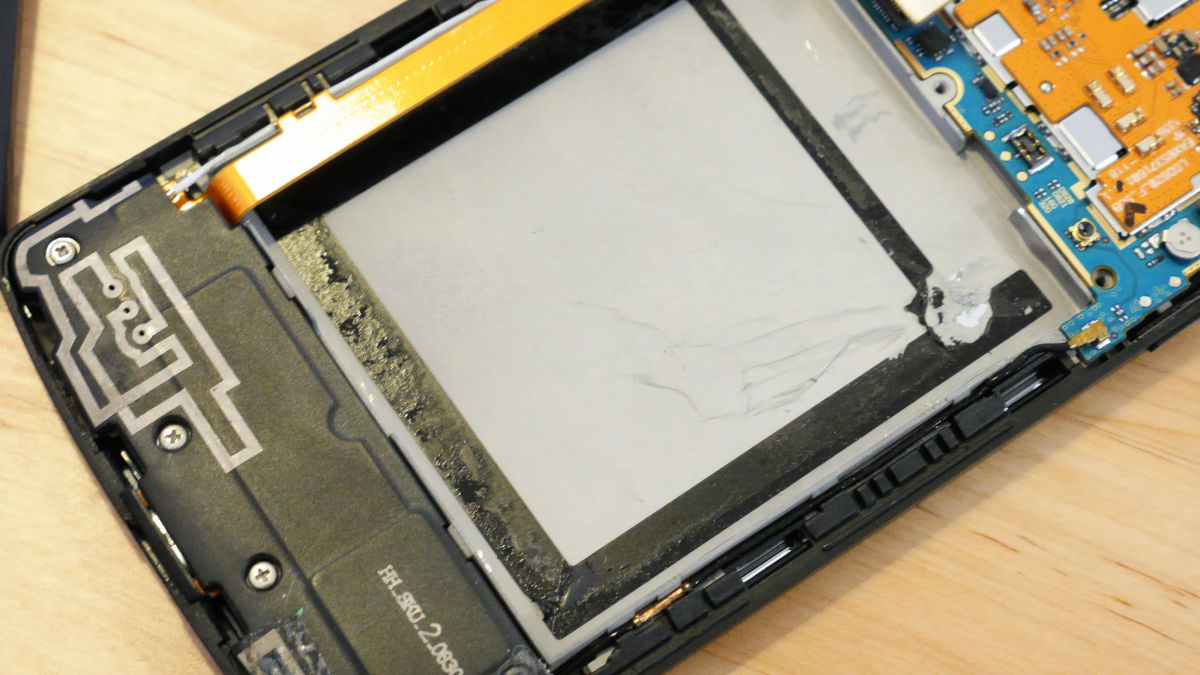
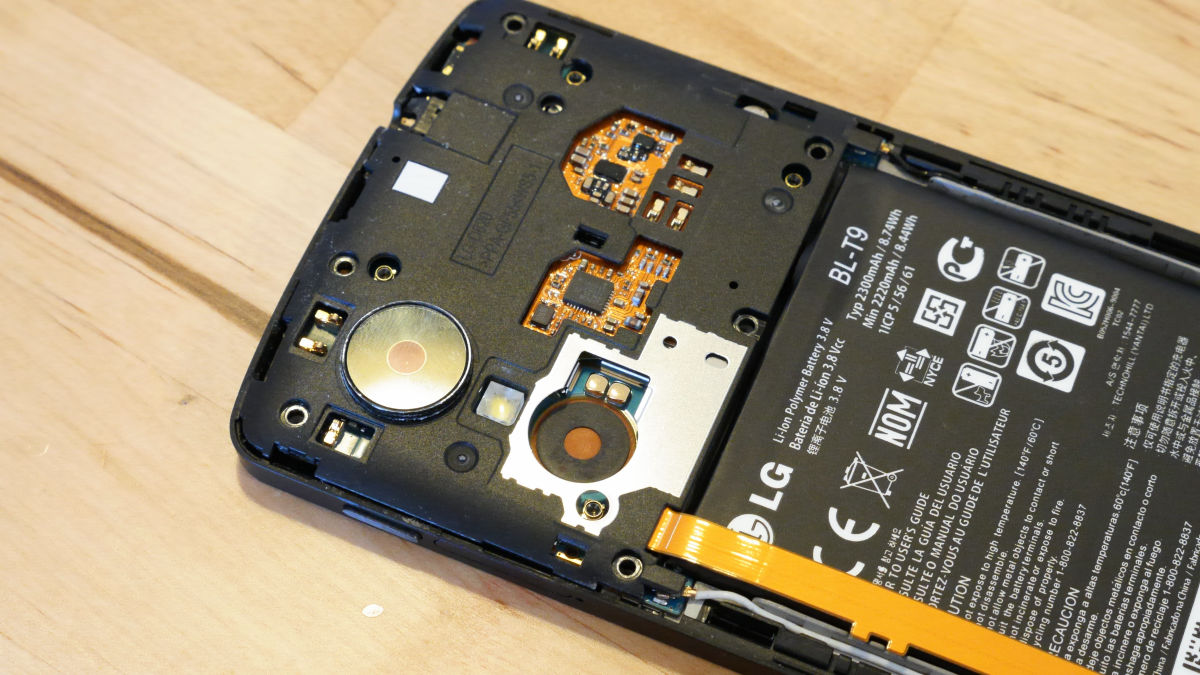
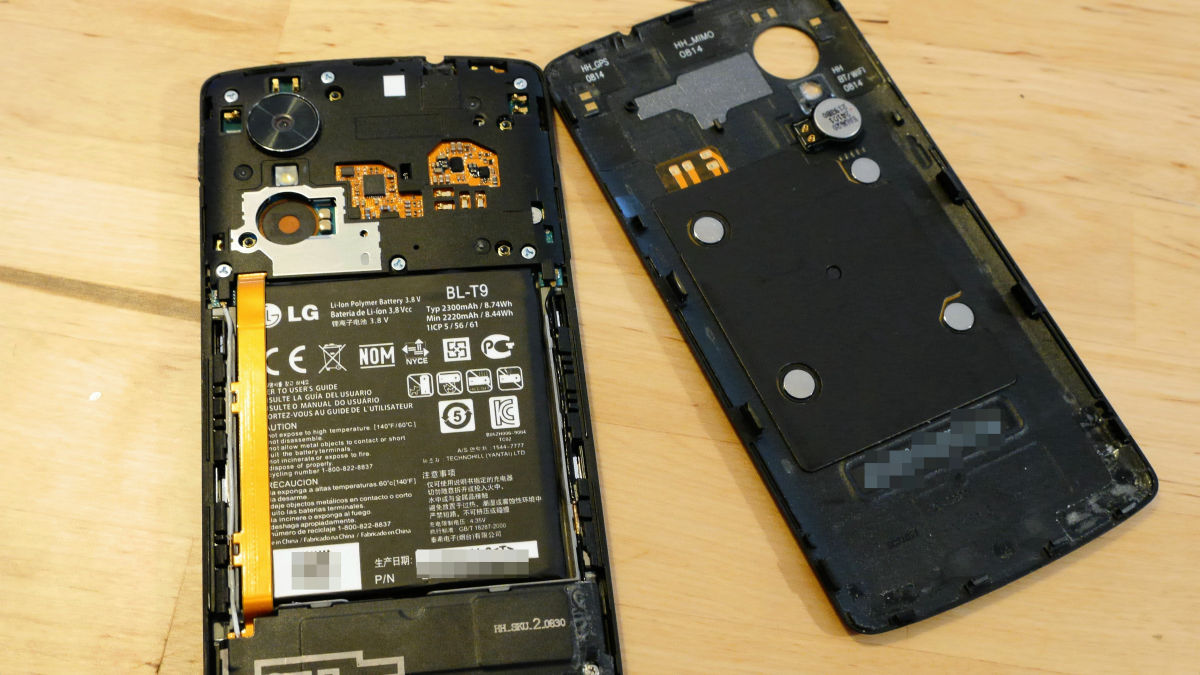
Finally I was able to remove the battery.
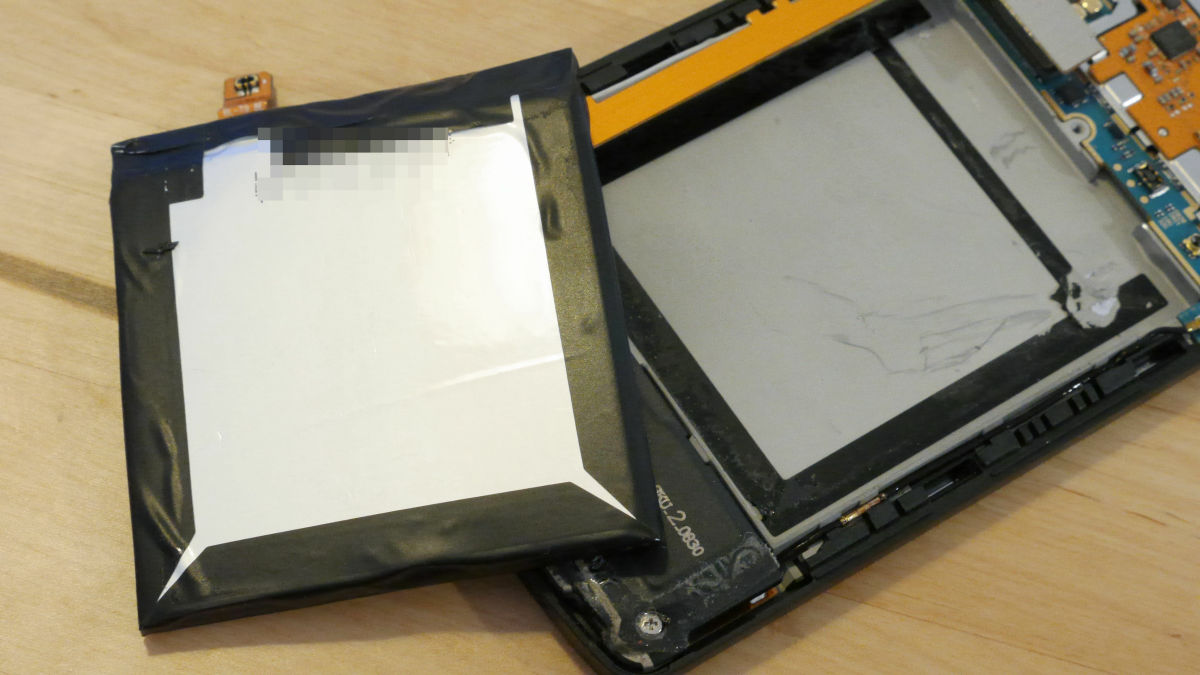
The black tape visible on the main unit side stuck the battery and the main unit.
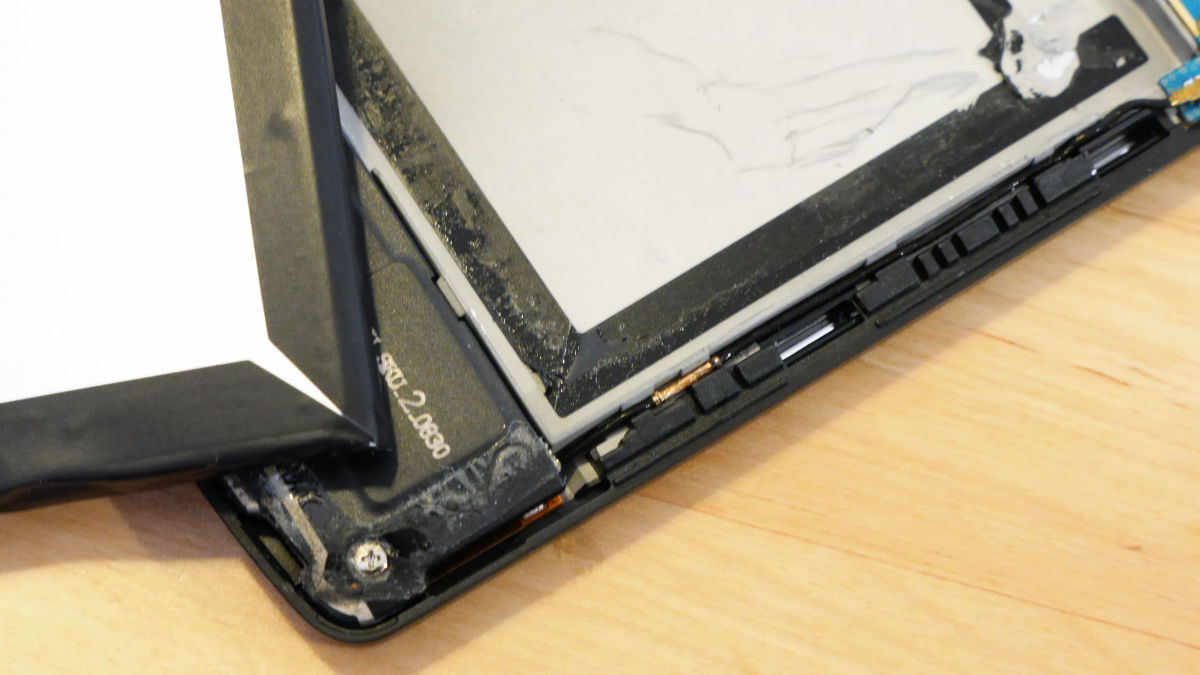
Since the tape is pasted along the periphery of the battery, when you actually remove it, put it in your head, it will be easy to work.
Next we set up a new battery.
Fit the battery ...
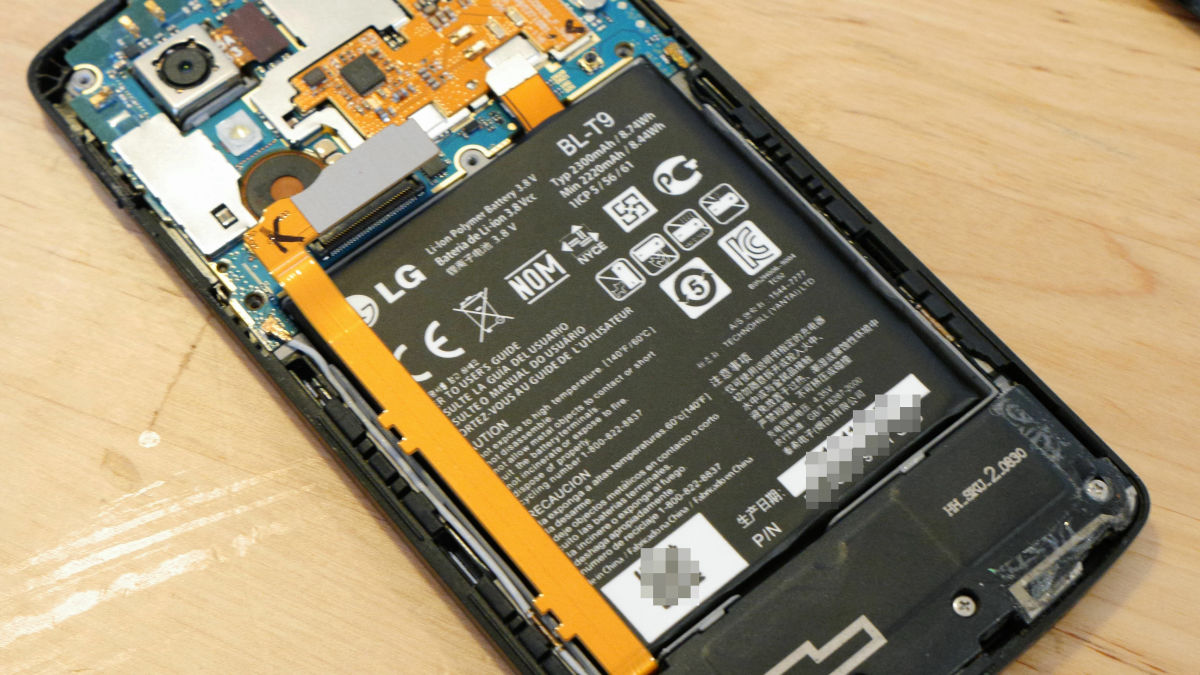
First connect the shorter connector by pushing in firmly. Because the gold part of the connected connector is long, it is slightly bent.
When checking the battery that was originally installed, the golden part of the connector is bent, so there seems to be no problem even if it is slightly bent.

Set with the connector written as K also holding down from the top with opener.
Battery replacement is complete. After that, it is OK if you proceed in the opposite direction.
Fit the cover of the board ... ...
I will tighten the screws.
Confirm whether all six screws are tightened.
The back is the back cover.
Cover the back cover ......
Push in with it by hand.
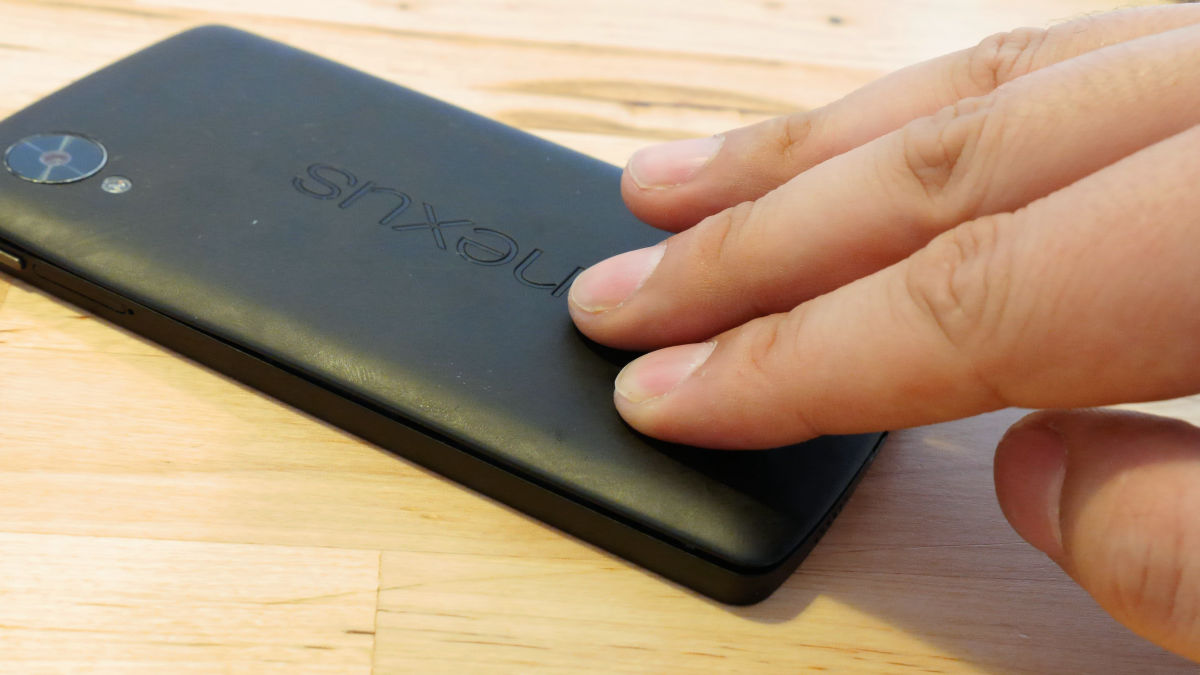
If you hold down a little hard part with your hands, you will snap back.
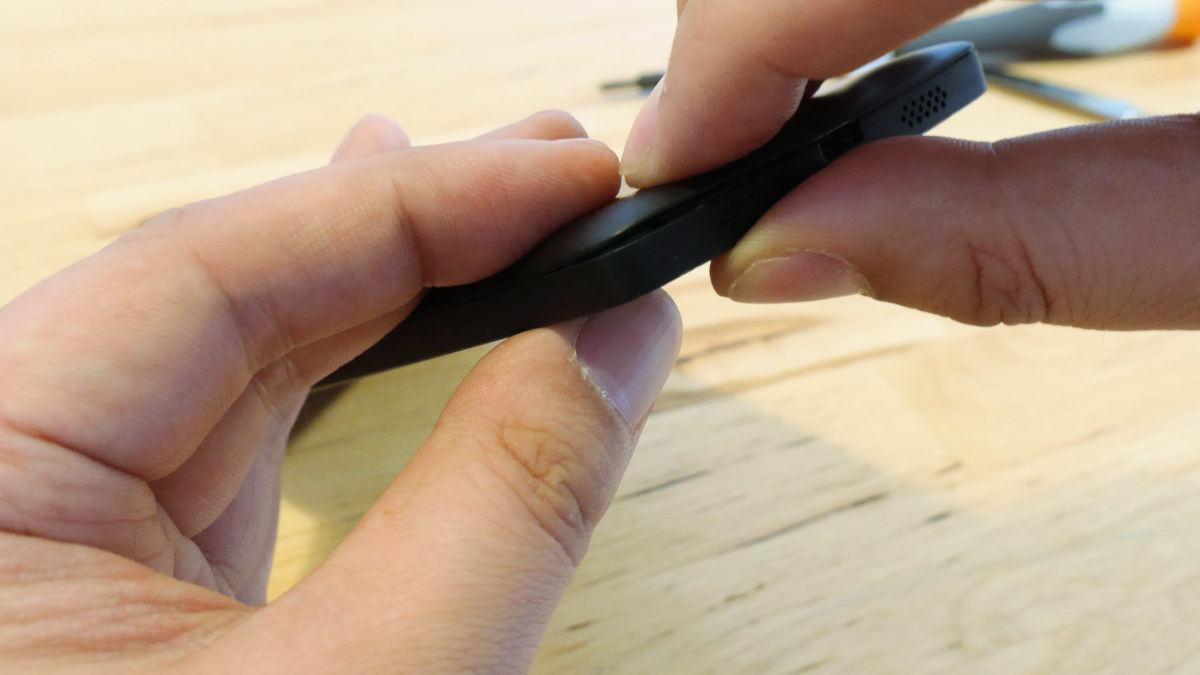
Termination of all work.
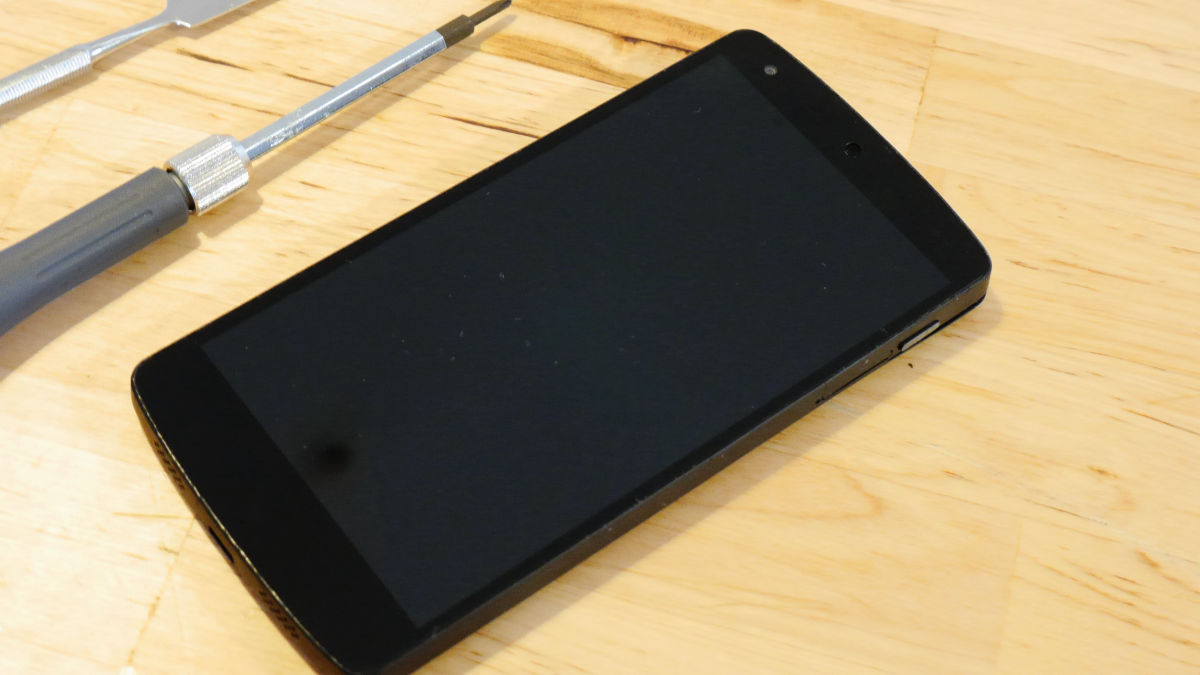
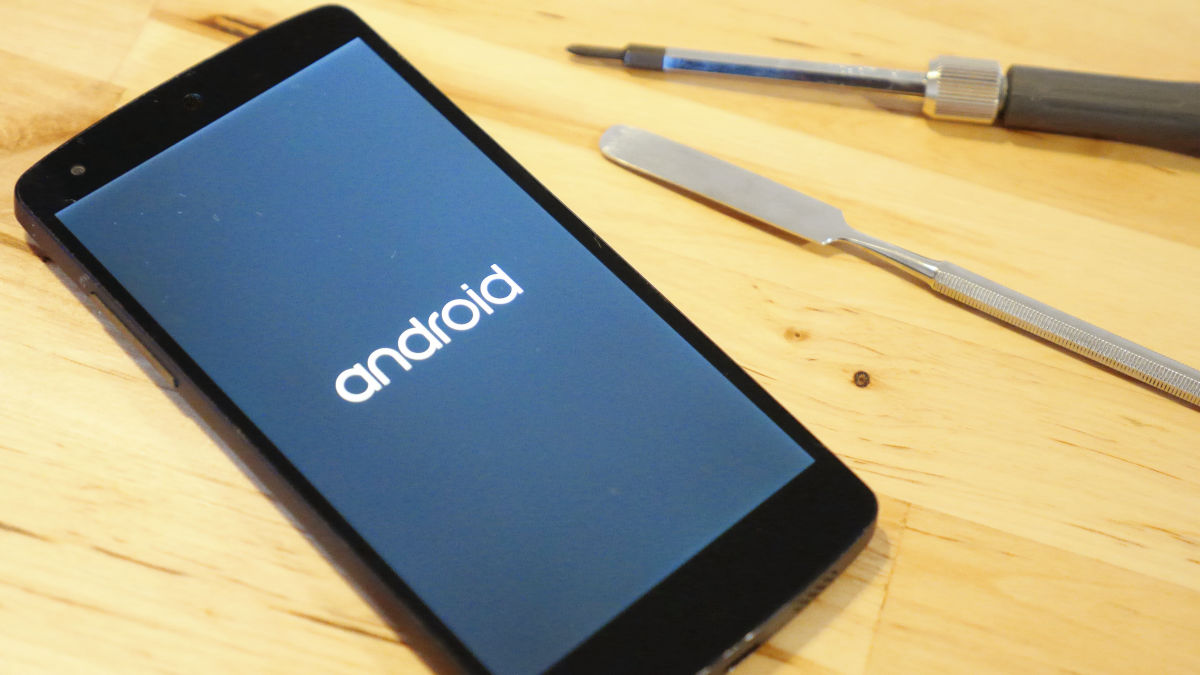
I tried to turn on the power and started up safely, and USB power supply was able to be done without any problem.
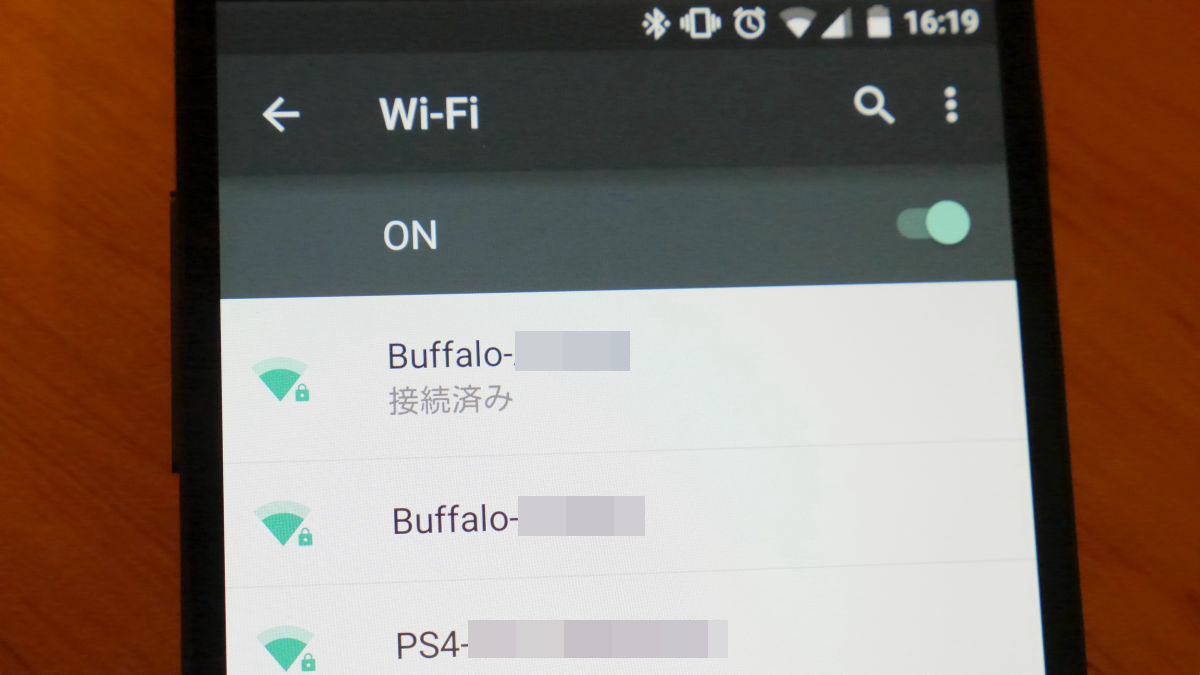
There is no problem with Wi-Fi connection.
After using the battery for a while, I did not dramatically improve battery holding, but it seems to be somewhat improved. The Nexus 5 that updated to Android 5.0 said that the battery holding became worseReportThere is a possibility that there may be problems with OS and firmware. At the time of article writing Android 5.1 distribution is not come to Nexus 5 and it may be improved by updating, so I will continue to use Nexus 5 a little more.
Related Posts:


in Hardware, Posted by darkhorse_log