Free software "GoodFrame" that can easily add frames, logos, watermark, etc. to multiple images
You can put customized frames, logos, watermarks and signatures in multiple images in the folder, free software that can also trim and resize images "GoodFrame"is. It can be started on Windows.
Download, installation, operation method etc. from the following.
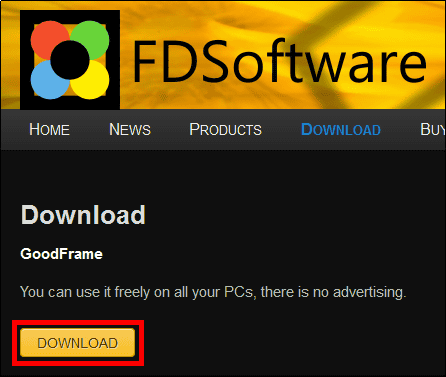
Download | FDSoftware
http://fdsoftware.frandevs.fr/?page_id=52
Click "DOWNLOAD" on the above site.
Run the downloaded installer.
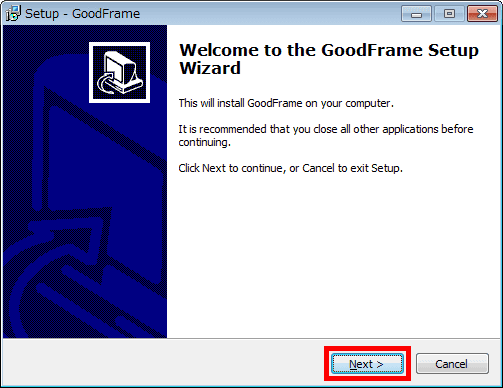
Click "Next".
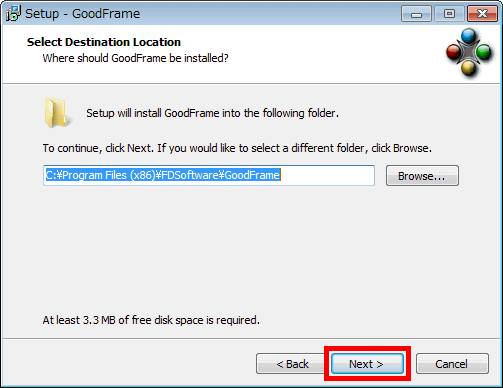
Click "Next".
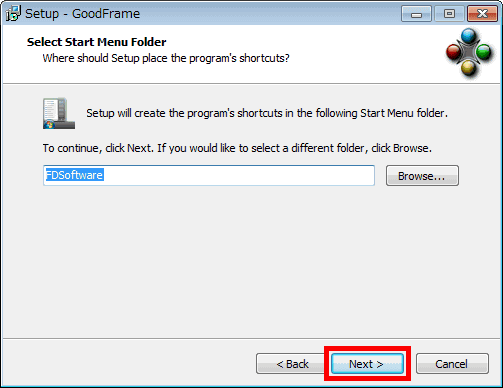
Click "Next".
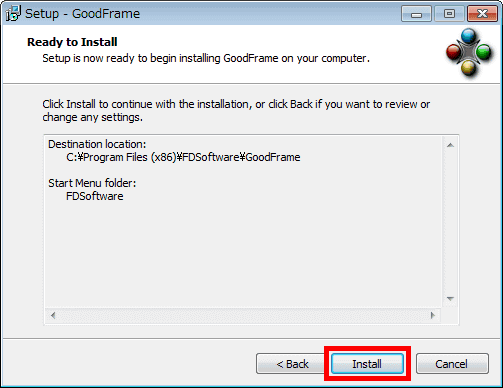
Click "Install".
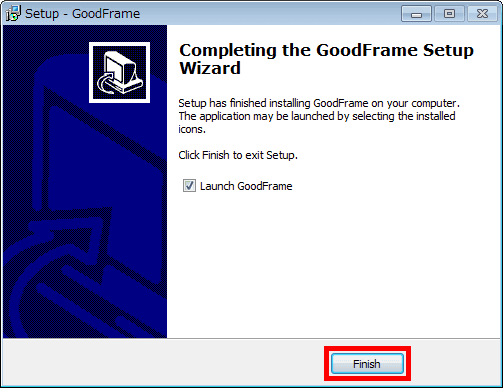
Click "Finish".
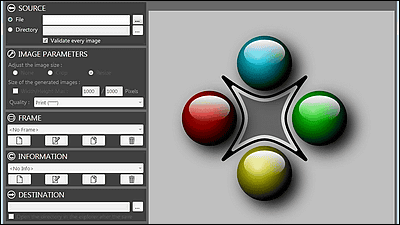
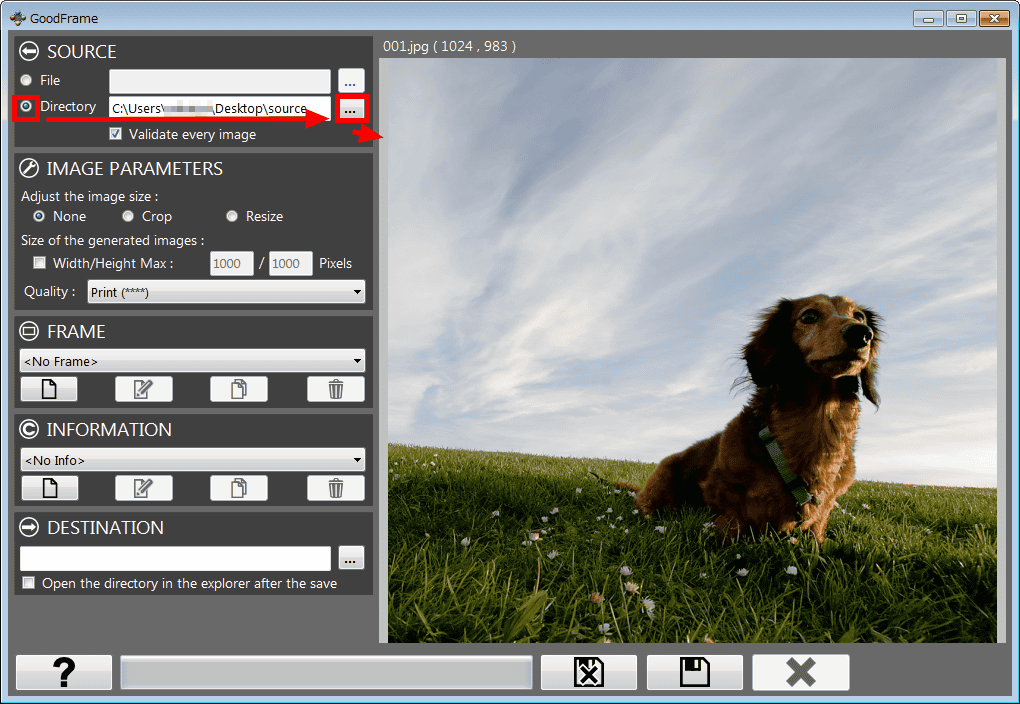
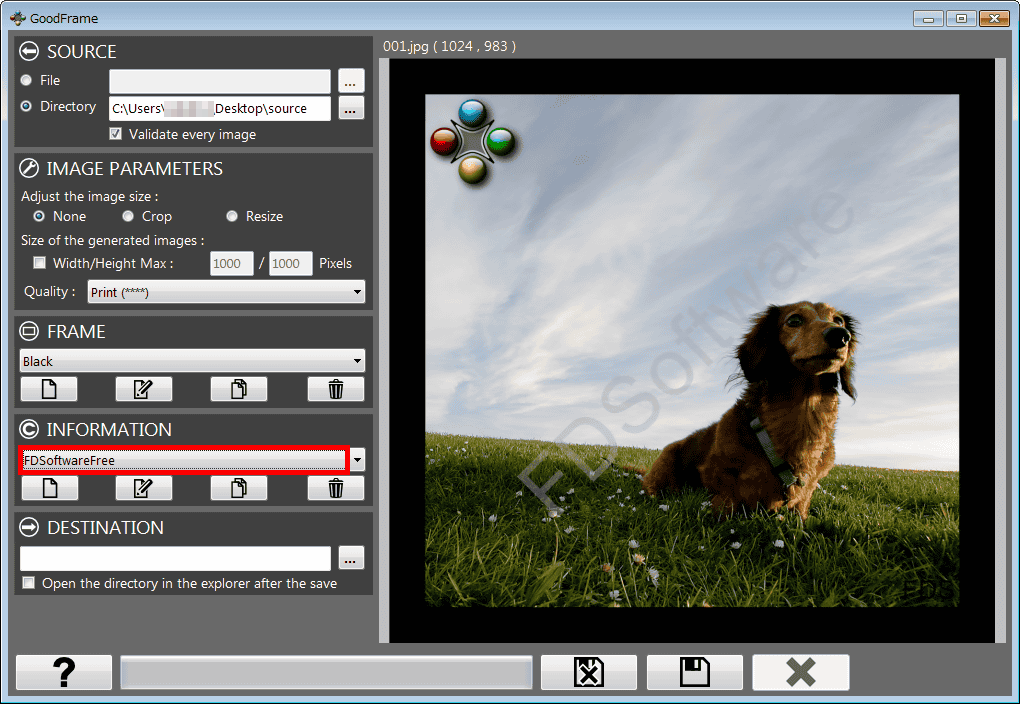
The operation screen is displayed.
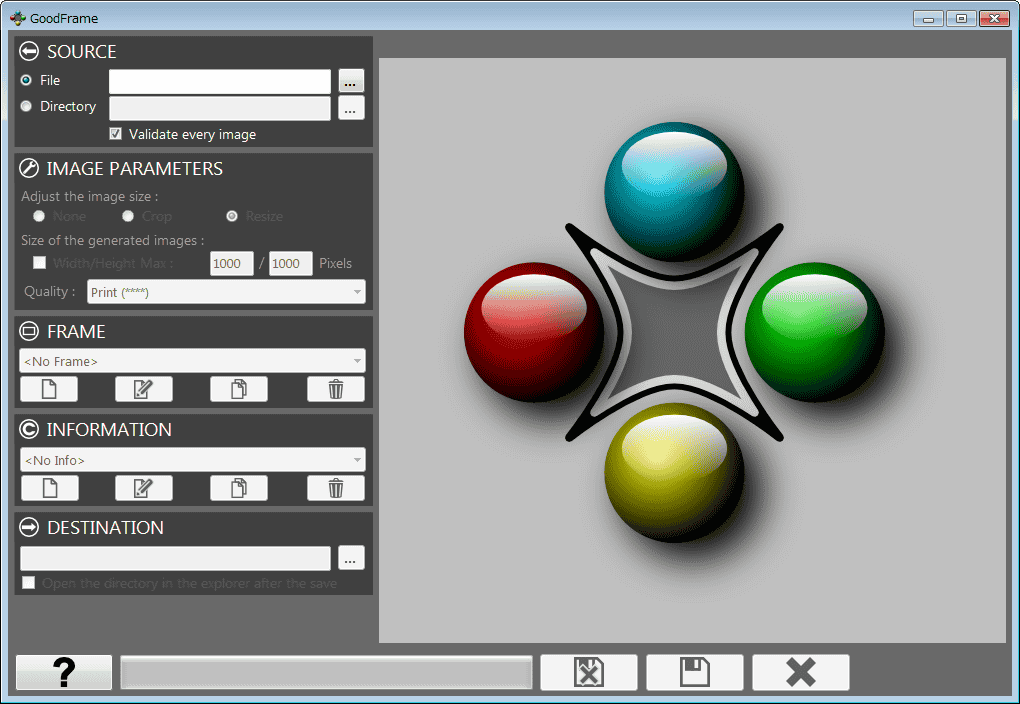
This time, we will process all the images in the folder at once.
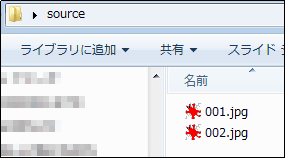
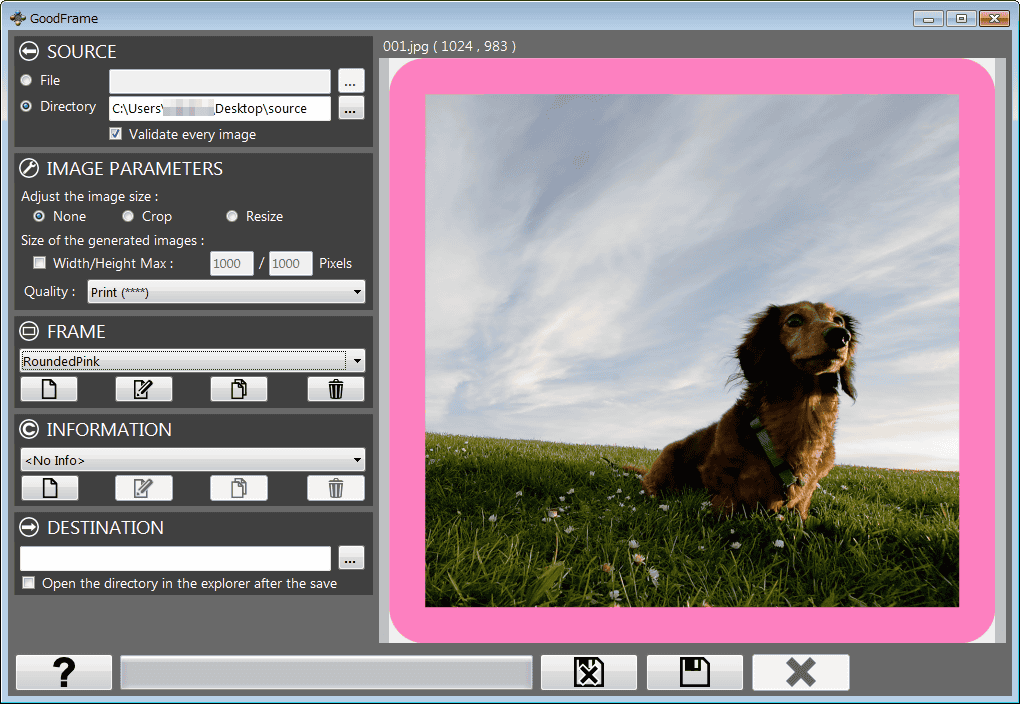
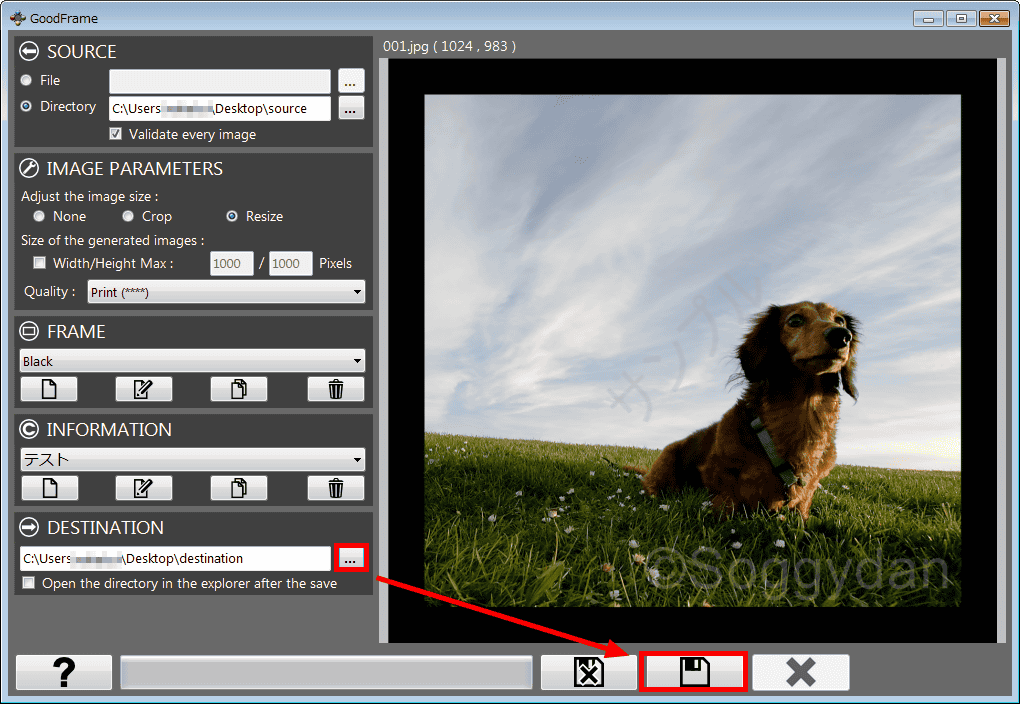
Select "Directory" and select the folder containing the image. Then one image is displayed on the right side.
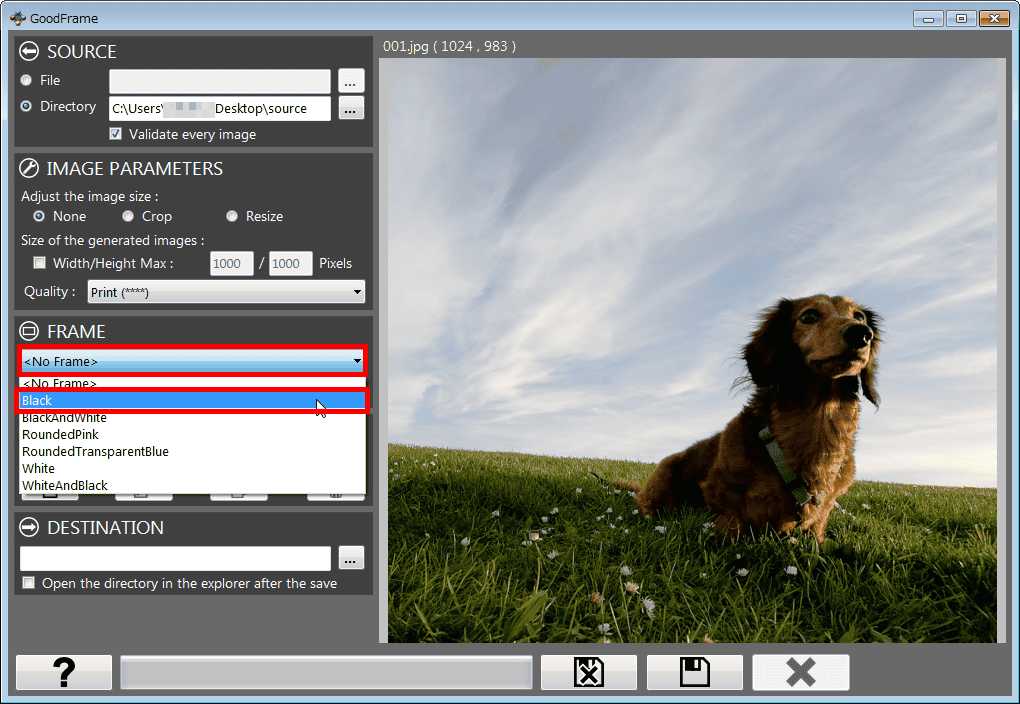
In the item of "FRAME", it is possible to add a frame to the image, click "No Frame" to try and select "Black" ......
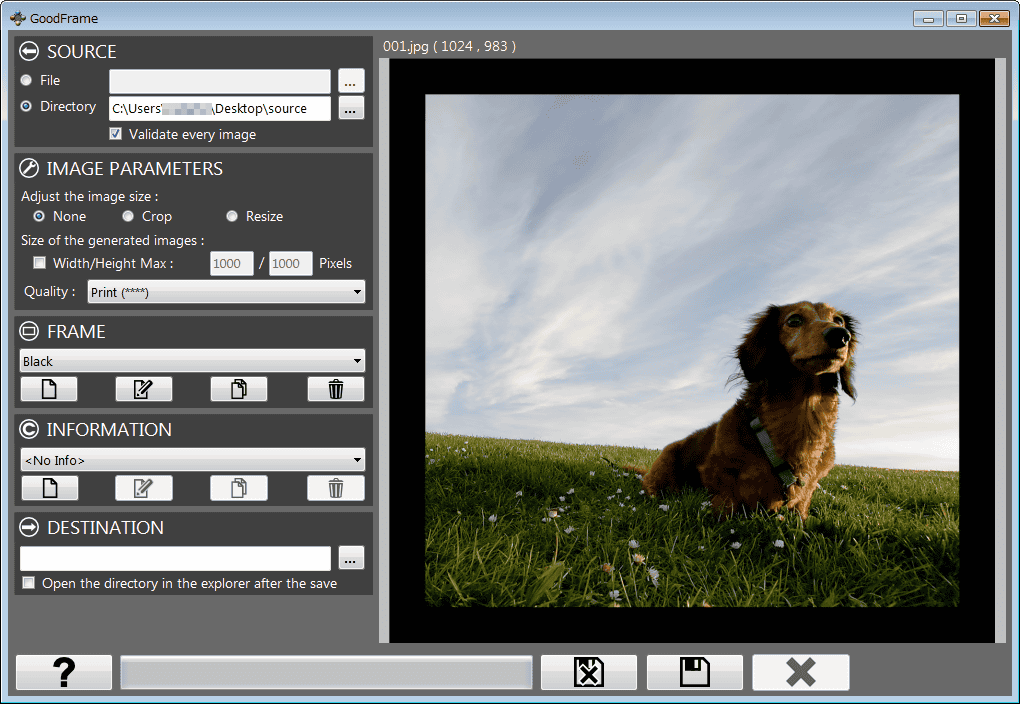
Added a thick black frame to the image.
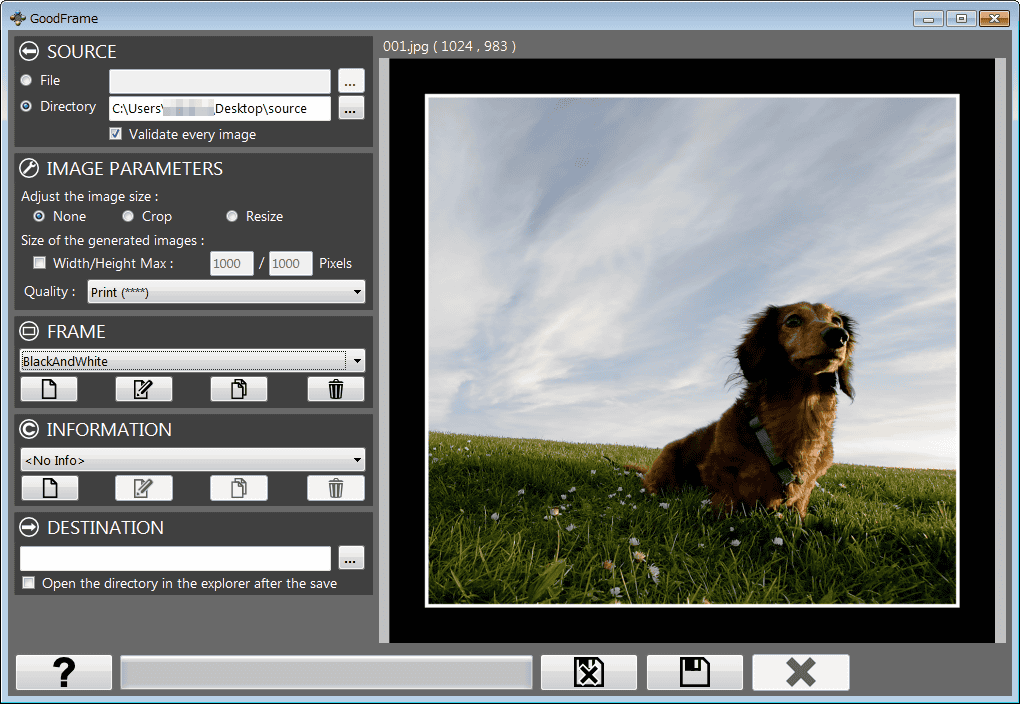
When "BlackAndWhite" is selected, a frame with a white frame added inside the thick black frame is displayed.
Other than "RoundedPink"
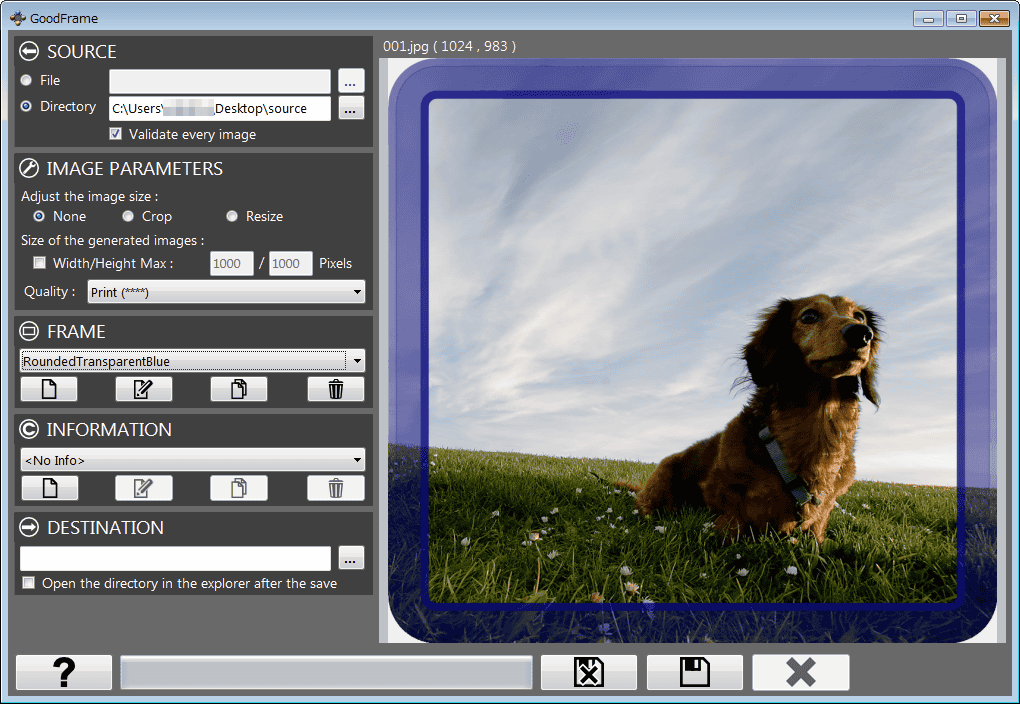
"RoundedTransparentBlue" etc. are prepared as samples.
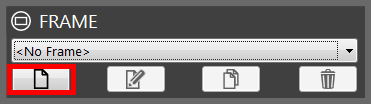
To create a frame yourself, click the lower left icon in the item "FRAME".
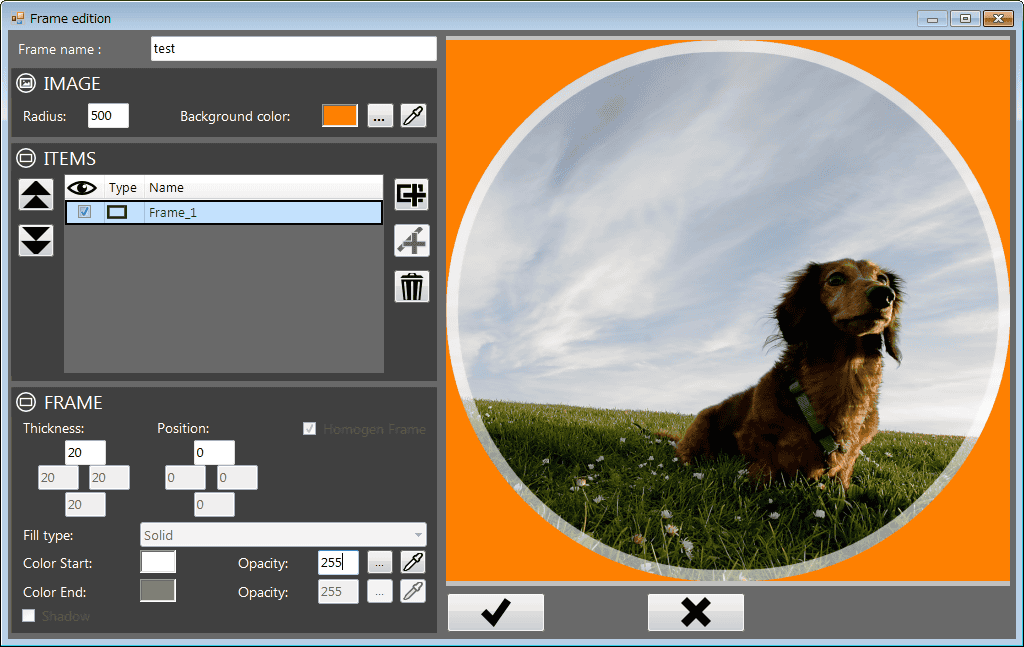
An operation screen that allows you to create various frames is displayed.
If you select "FDSoftwareFree" from the pulldown option in the "INFORMATION" item, the GoodFrame logo and gray text "FDSoftwareFree" will be added to the image.
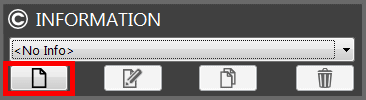
To create your own logo, watermark, or signature, click on the lower left icon in the item "INFORMATION".
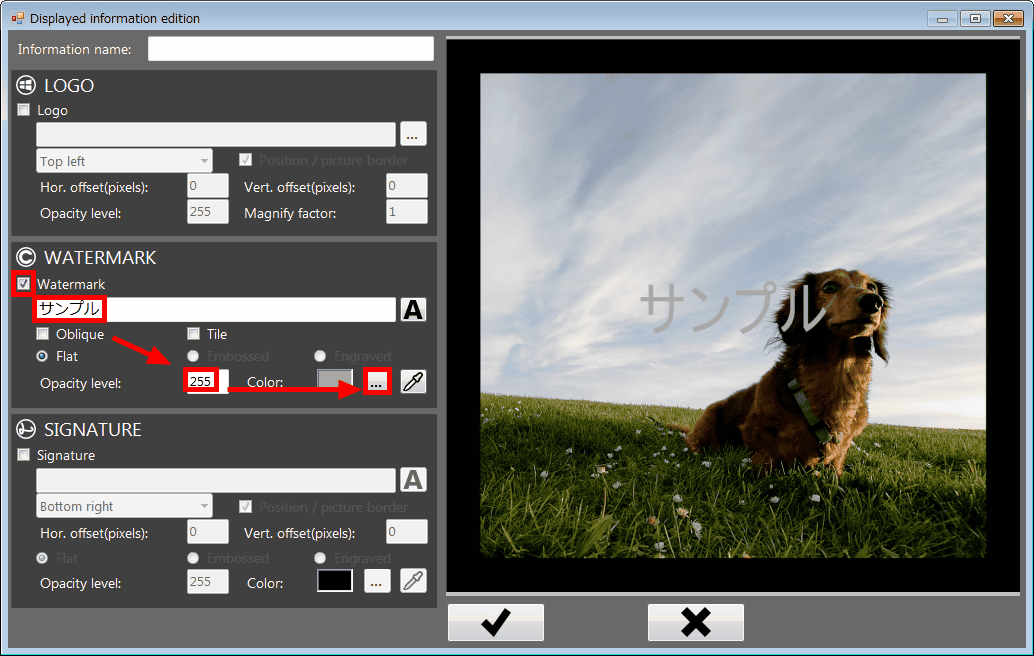
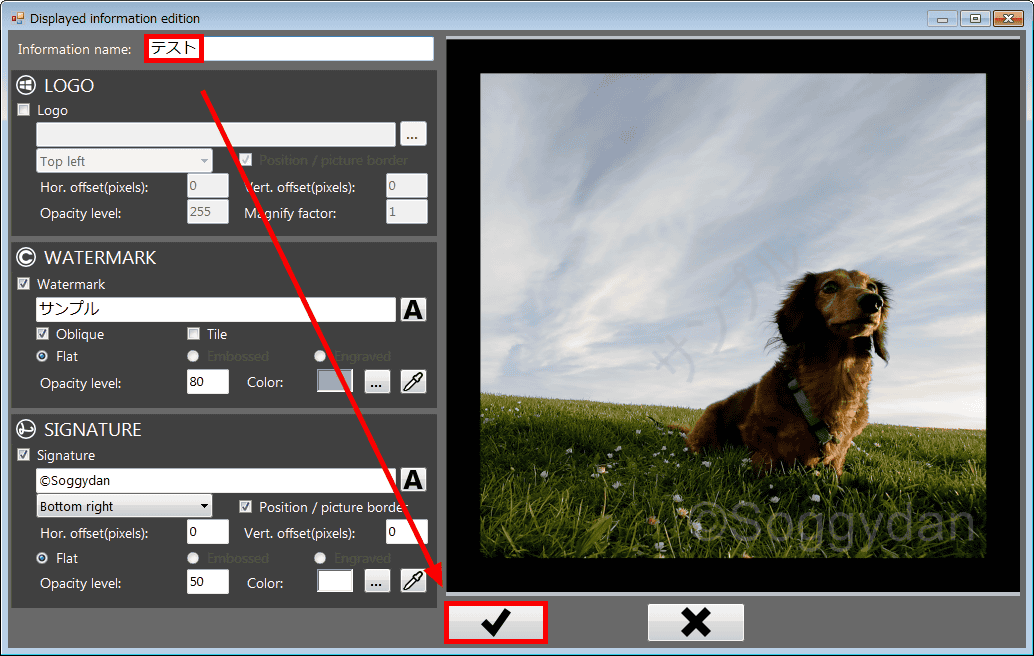
A screen for setting the logo, watermark, and signature is displayed. To add a watermark, put a check in "Watermark", enter the characters of the watermark, enter the transparency value and select the color, the watermark will be added to the image.
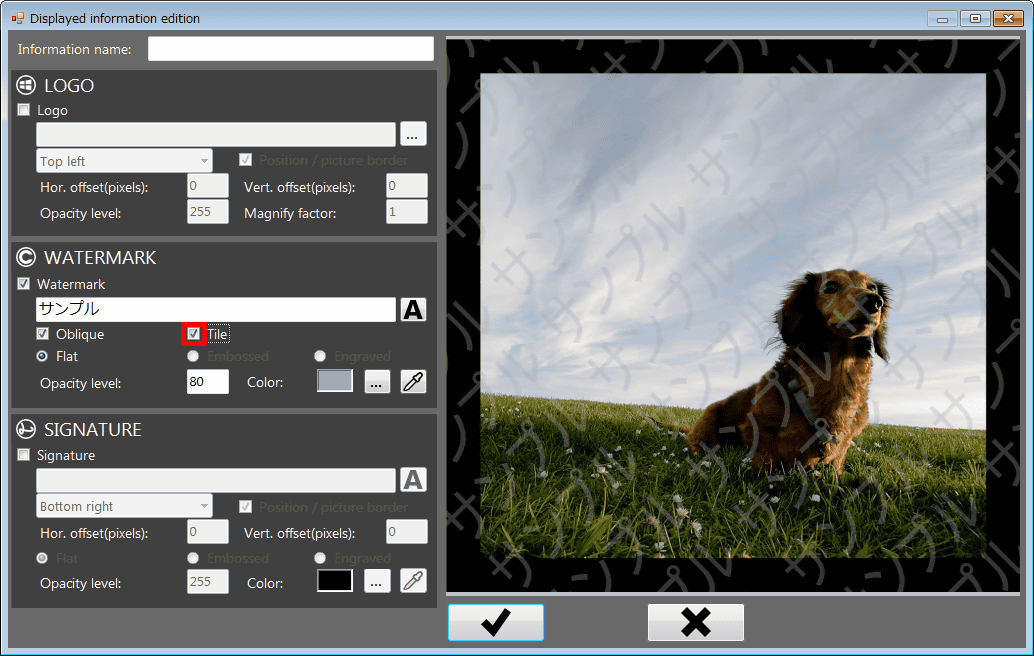
When checking "Oblique", letters of the watermark diagonally.

Then add "Tile" and a watermark will be added to the whole screen.
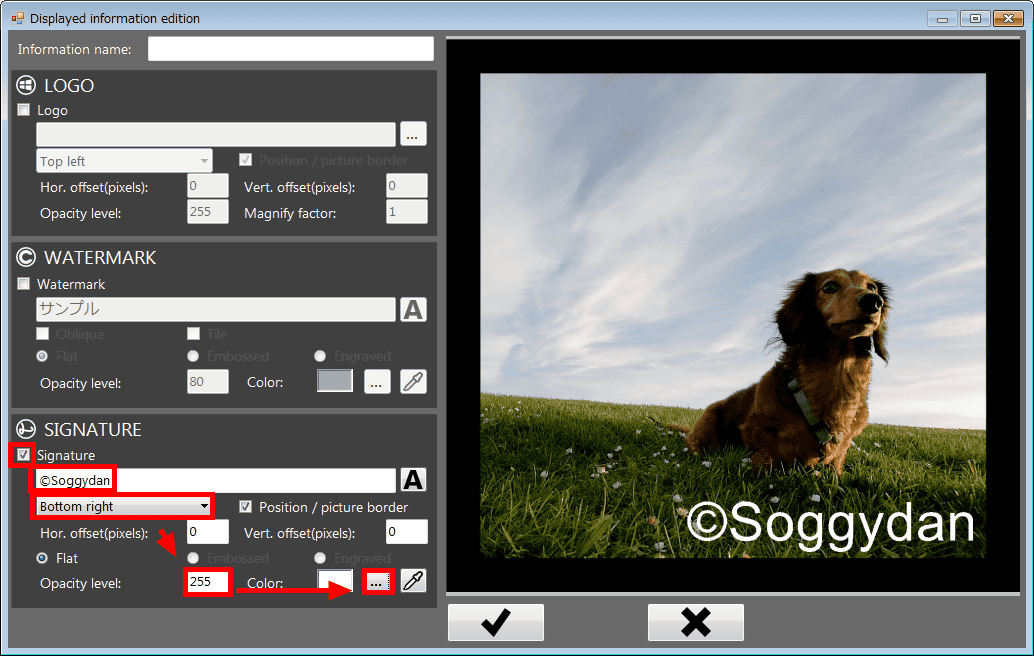
Next, to add a signature to the image, check the "Signature", enter the letters of the signature, select the sign display position (upper left, upper right, lower left, lower right, center) and set the transparency When you enter a value and select a color, a sign is displayed.
When setting is completed, enter the name of the setting at the top and click on the check button.
To save the processed image last, select the save destination and click the second icon from the right at the bottom.
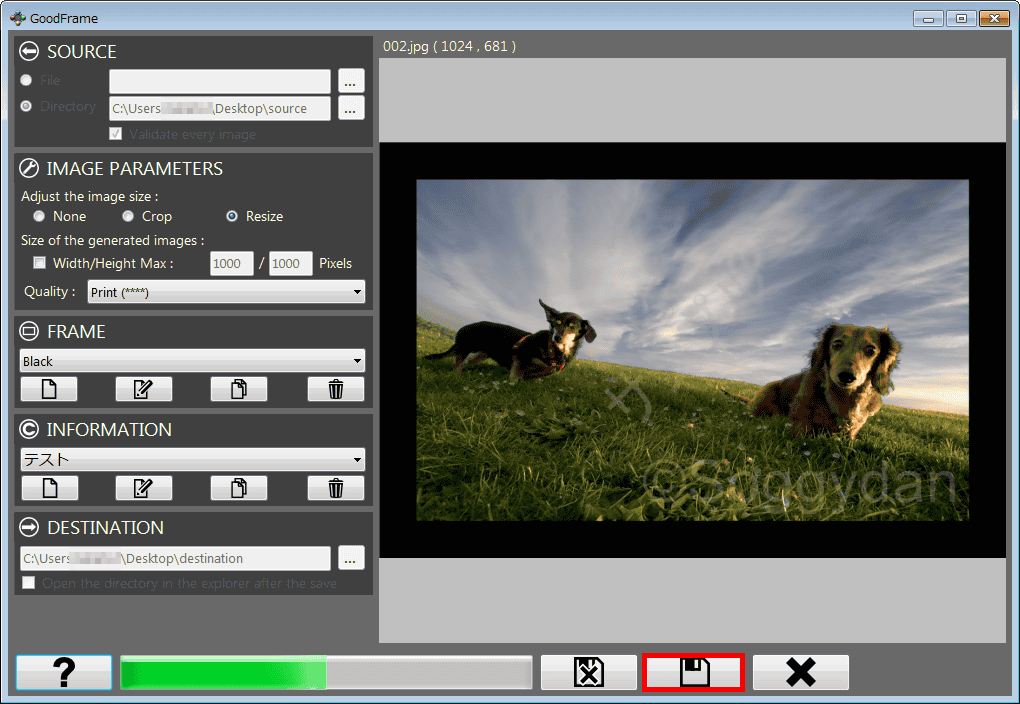
When the processing of the first image in the folder is completed, the next image is displayed. To execute the same process again, click the second icon from the right at the bottom.
When the processing of images in the folder is completed, the following screen is displayed, so click "OK".
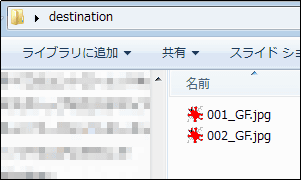
The image is saved to the save destination.
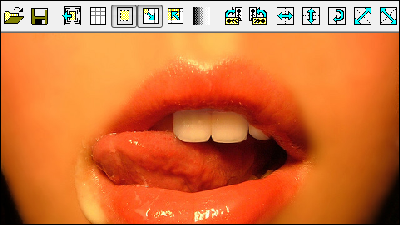
With this procedure, this image ......

BySoggydan
in this way.

Another image ......

BySoggydan
You can easily add frames, watermarks and signs.

Related Posts: