"Jet Screenshot" that you can take screenshots, process them, and share them on the net
"Jet Screenshot"Desktop screen - Active window - Screenshot of the specified range can be taken, you can add arrows, frame lines etc, can be uploaded on the net and can be shared for free, easy to set up and how to operate etc It is taught to people by images. It can be started on Windows 98, Me, NT, 2000, XP, 2003, Vista, 7.
Download, installation, basic operation method, how to share on the net from the following.
Jet Screenshot
http://jetscreenshot.com/
Click "Download Now" on the above site.

Run the downloaded installer.

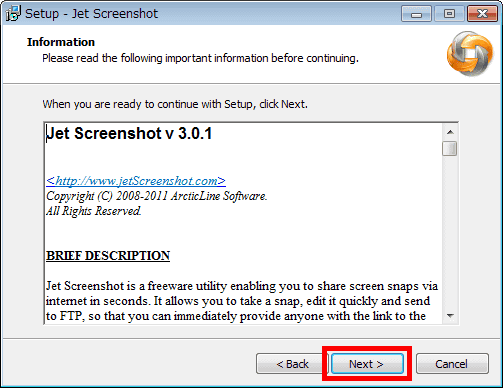
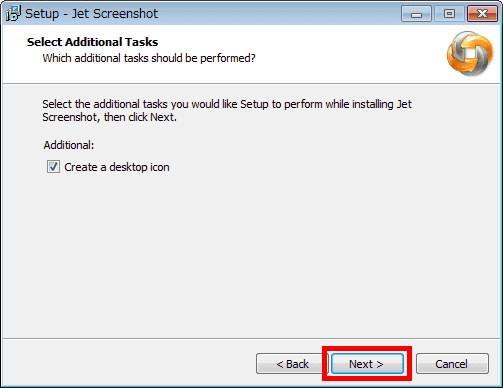
Click "Next"

Please check above and click "Next"

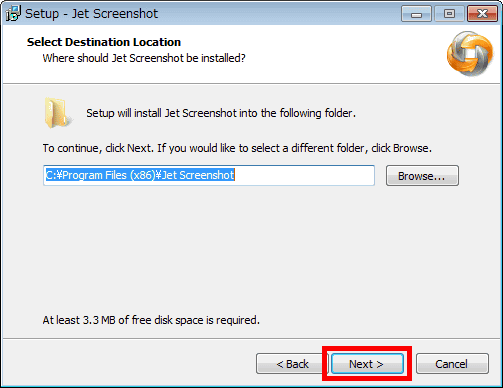
Click "Next"
Click "Next"
Click "Next"
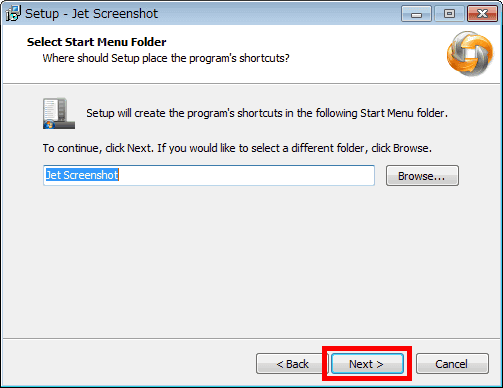
Click "Next"
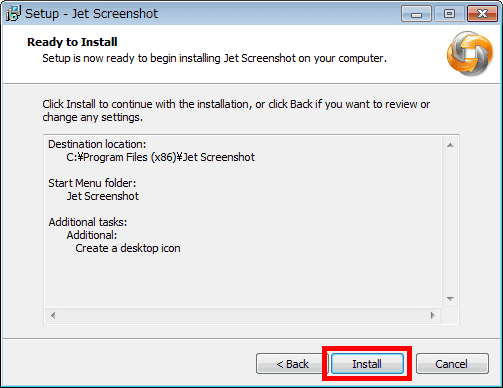
Click "Install"
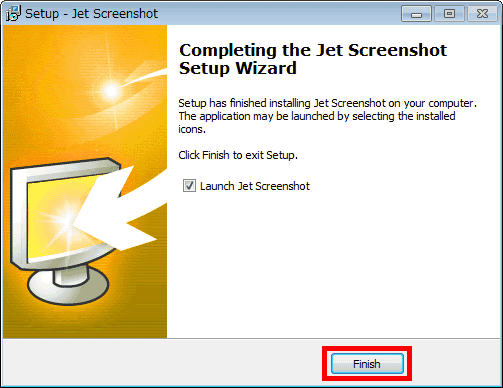
Click "Finish" to complete the installation.
The Jet Screenshot icon is displayed in the task tray.
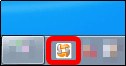
To take a screen shot, click the icon in the task tray.

Specify the area to shoot the screenshot by drag & drop.

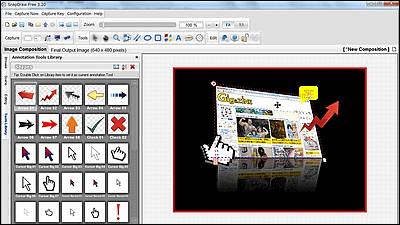
The specified range and editing screen are displayed.
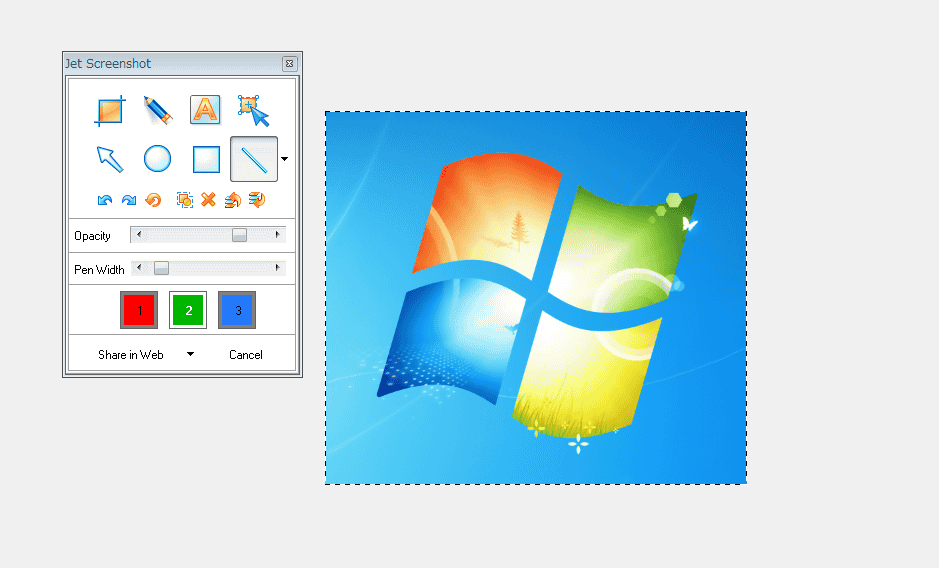
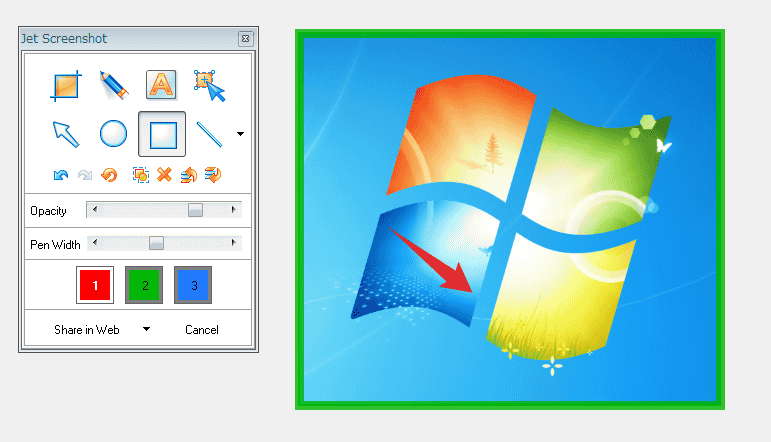
Here you can add clipping, writing, entering letters, arrows, border lines, lines etc.
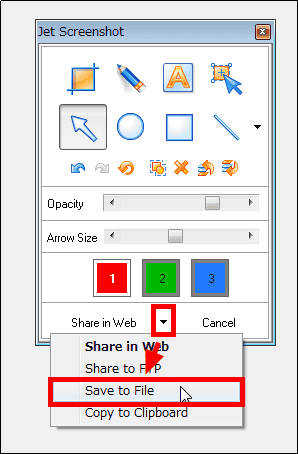
To save locally, click "▼" at the bottom of the edit screen and select "Save to File".
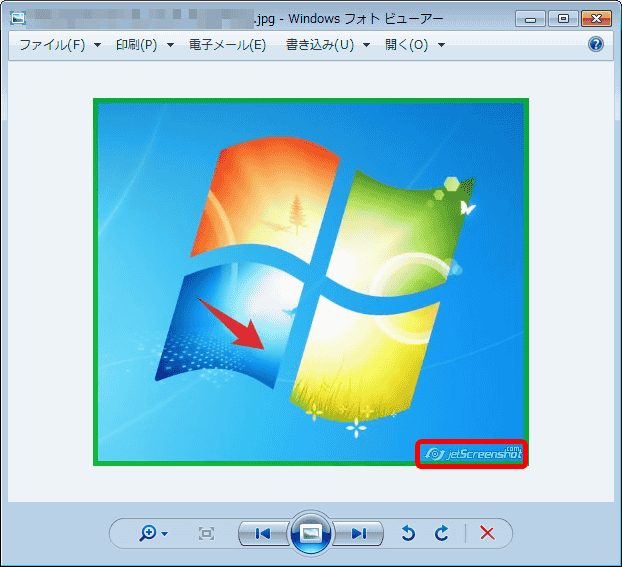
This is the saved image. The watermark of Jet Screenshot is displayed in the lower right.
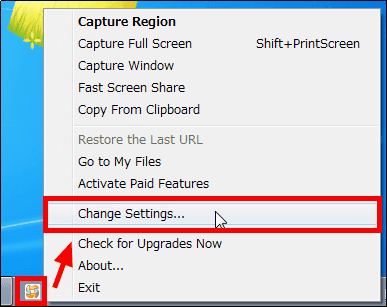
To change the setting, right-click the icon in the task tray and click "Change Settings ...".
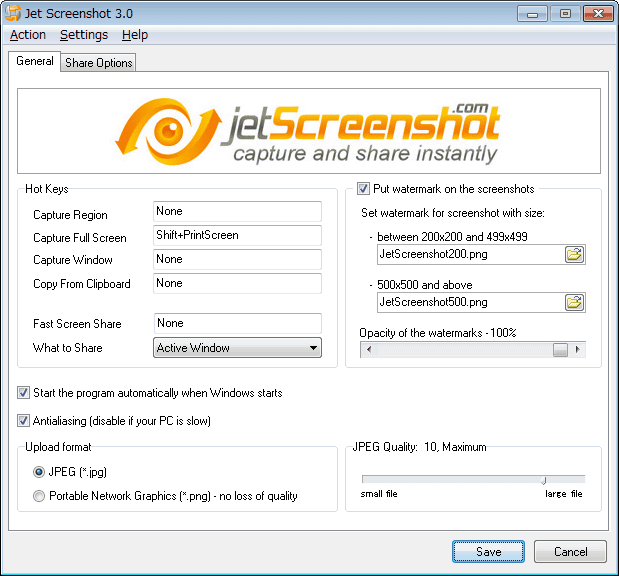
The operation screen is displayed. In this screen, it is possible to set hot key, resident status, JPEG quality.
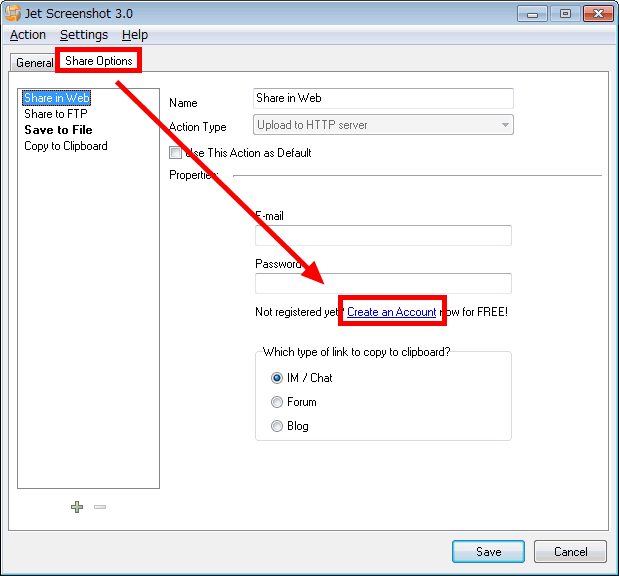
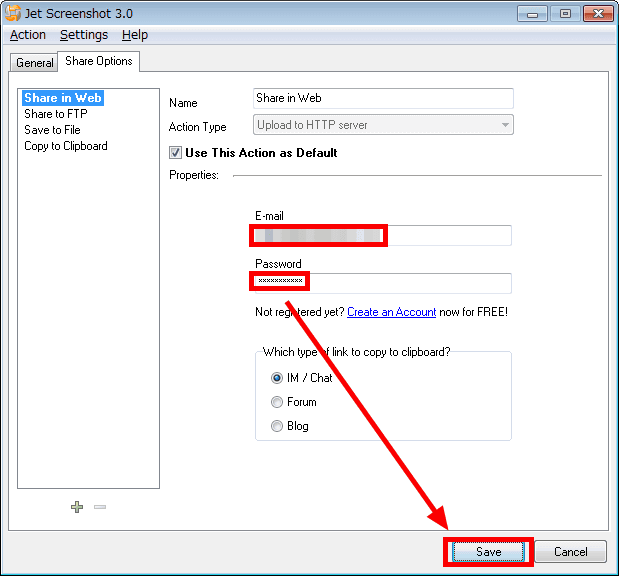
If you use the resources of a company that runs Jet Screenshot and share the screenshot on the net, you will need to create an account, so click the Share Options tab and select "Create an Account" click.
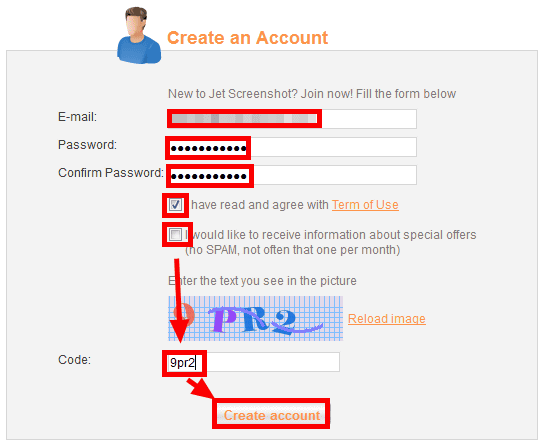
Since the account creation form is displayed in the browser, enter the mail address, password, confirmation password in order, check the terms of service, check the terms of use, do not receive information mail, so uncheck the following, enter the image authentication code Click "Create account".
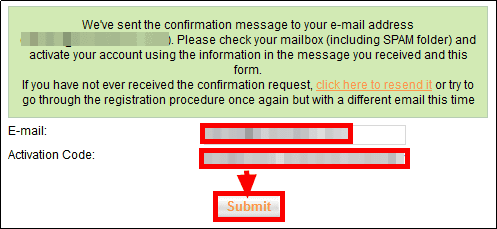
Since the mail with the activation code is delivered to the input mail address ......

Enter the same e-mail address and activation code as above on the page opened in the browser and enter "Submit".
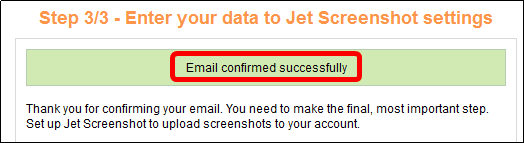
With this you can create an account.
Return to the setting screen, enter your e-mail address and password, and click "Save" to complete the setting.
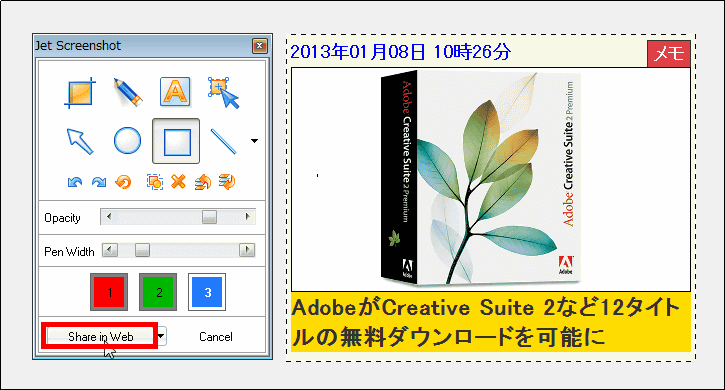
To share the screenshot on the net, click "Share in Web" when saving the screenshot. When the uploading of the screenshot is completed, the URL where the screen shot is published is saved on the clipboard.
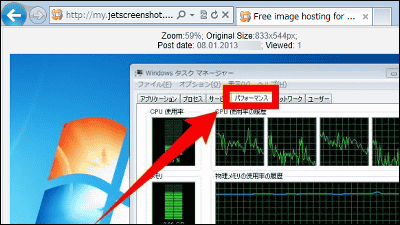
To check the uploaded screenshot, enter Ctrl + V or Paste URL into the browser.
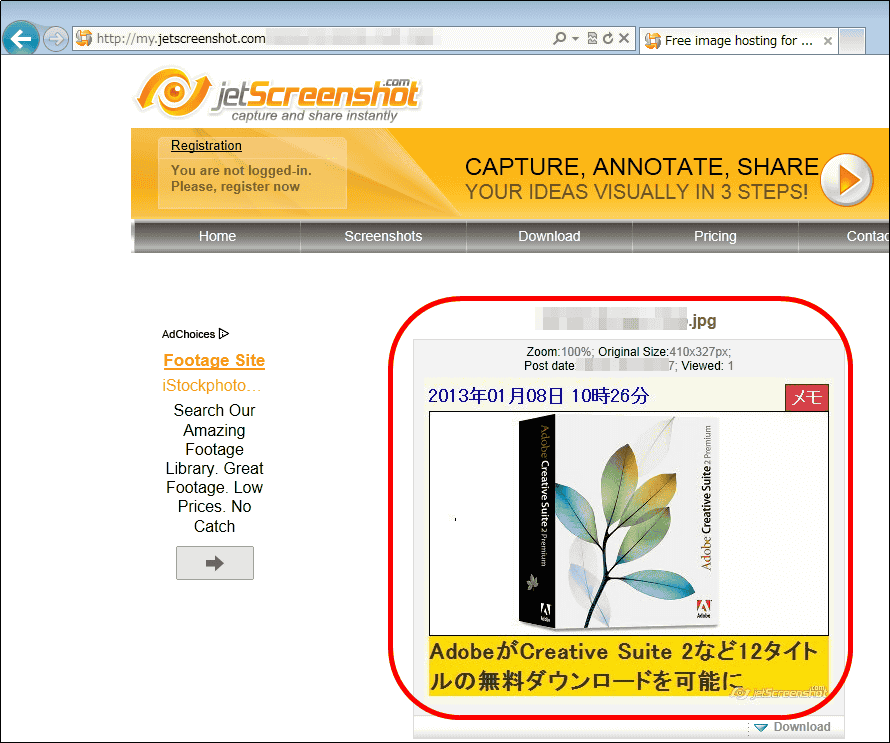
You can check the screenshots published online on this page. The period during which screenshots are stored on the net is 30 days.
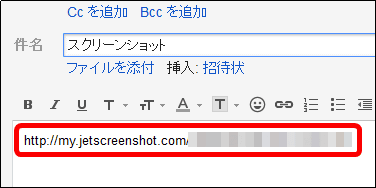
If you want to share the screen shot with the URL, you can use e-mail, Skype, etc. It is OK.
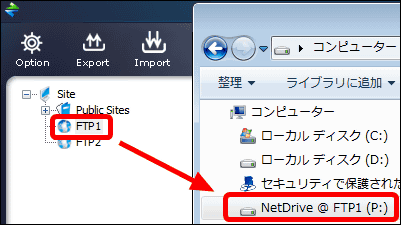
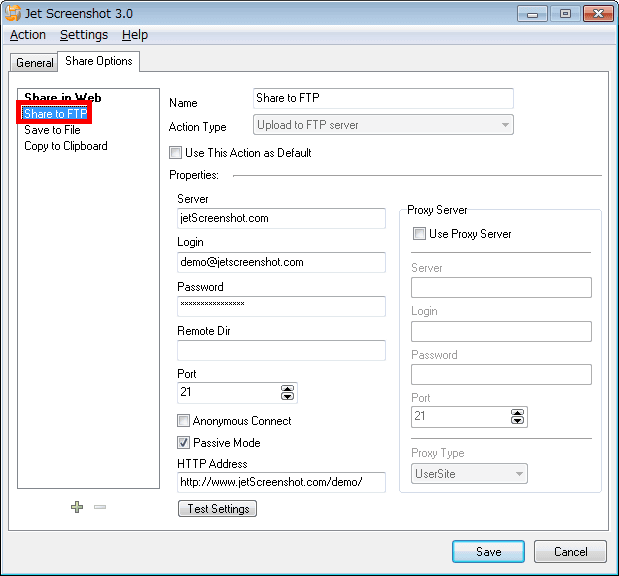
In addition, you can set up to upload screenshot to FTP server by "Share to FTP" on the setting screen.
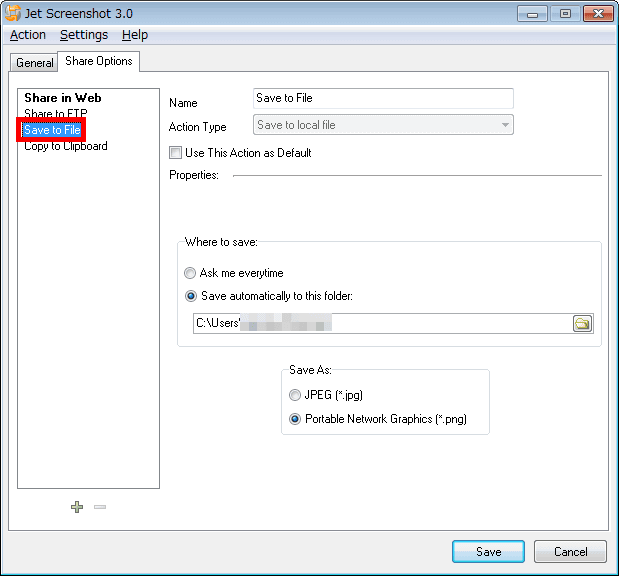
With "Save to File", you can set folders and save formats for saving locally.
In addition, when extending the retention period of the screen shot, deleting the watermark, changing the format at the time of upload, commercial use, etc.,Paid versionIf you purchase it will be available.

Related Posts: