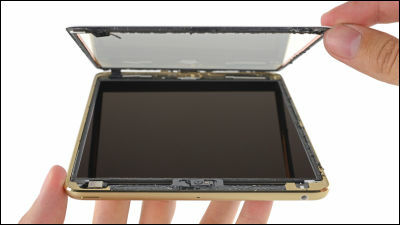
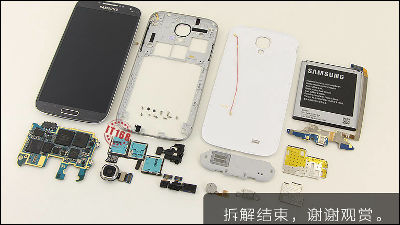
A movie decomposing "iPad mini" with haste is being released on YouTube

"IPad mini" and 4 th generation iPad began selling from 8 am on November 2 and ordered also at GIGAZINE editorial department"IPad mini" has arrived so we compare variously with "Nexus 7"I did, but the iPhone repair shopI LABO FACTORYIsIPhone 5 decomposition immediately after releaseFollowing on, I bought an iPad mini and disintegrated soon and released a movie on YouTube
Must-see! IPad mini exploded video release!
http://ilab.cc/news/6149.html
The movie being uploaded is kore.
IPadMini decomposition started! - YouTube
I just bought iPad mini, it is still not peeling the box film.
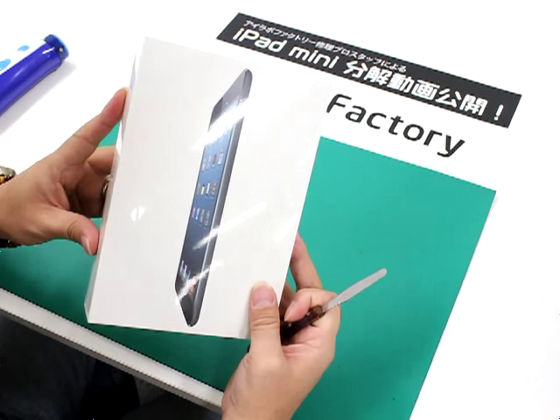
That's it.
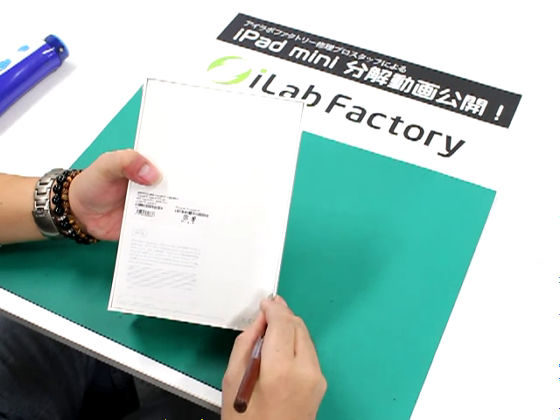
IPad mini came out
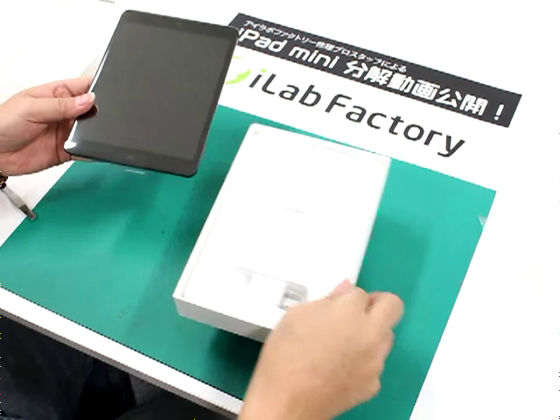
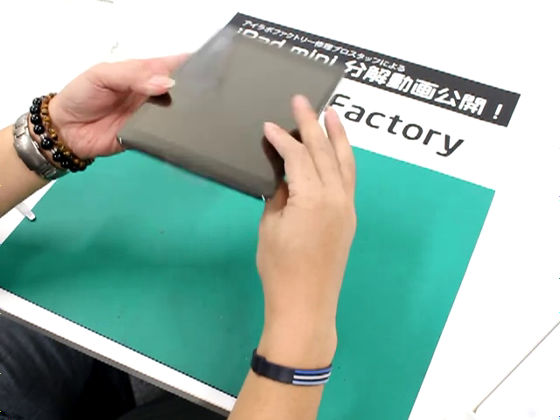
Check the back and front and the exterior, peel off the film.
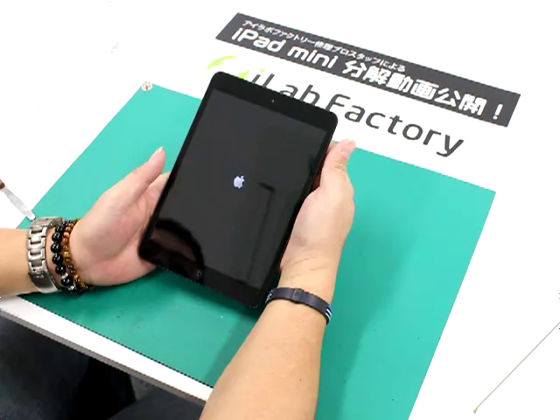
After confirming that the power supply is properly in ... ...
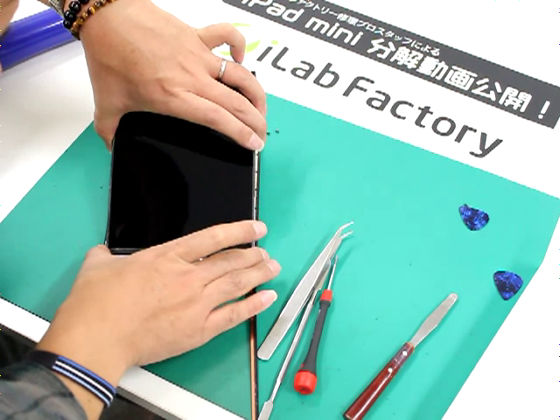
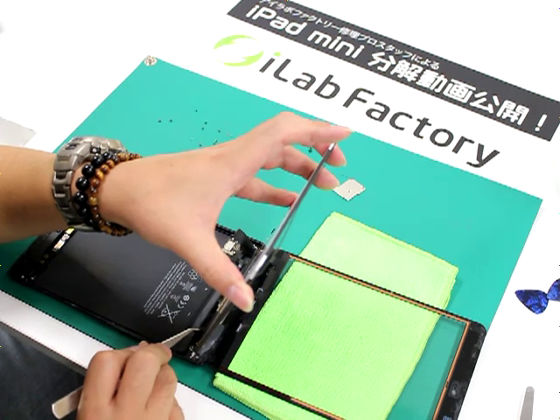
I will start decomposing. The rough making is the same as with the iPad so far, so the work starts from removing the glass panel first. Heating the fixed adhesive tape with a dryer makes the adhesive easy to peel off.
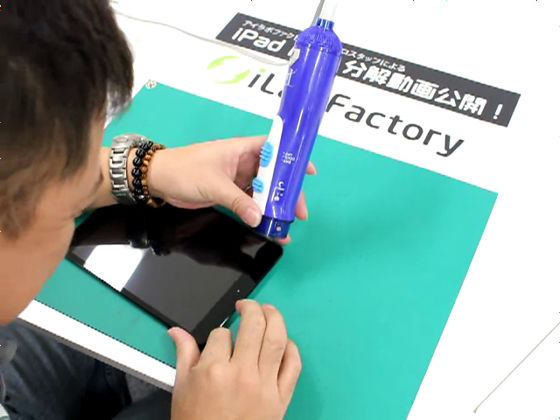
However, because it's pretty close to you, the work progress is quite slow.
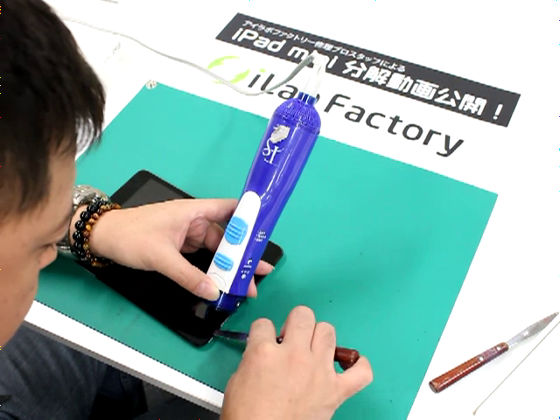
I will proceed while inserting a spatula, so as not to return the peeled part.
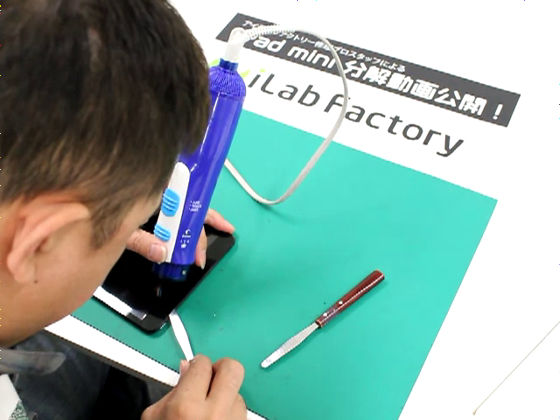
And to the second movie.
IPadMini decomposition starting! 2nd bullet - YouTube
I will heat the peripheral part of the main body with a dryer. As for the removal work of this glass panel, it seems that I took a picture again so that it is easy to understand.
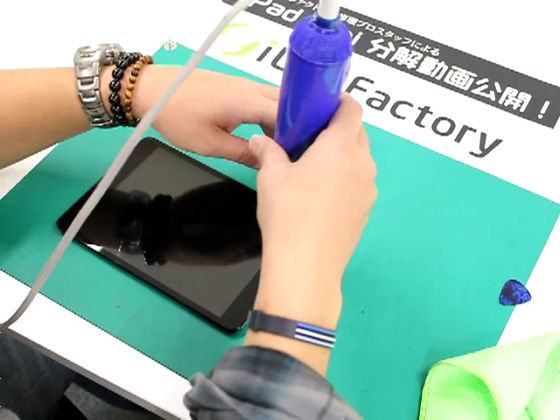
The glass panel and the whimper begins to separate.
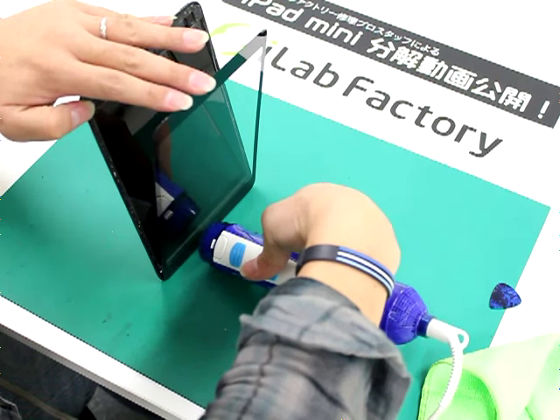
When it finished peeling off the adhesive tape completely, it looks like it opens like this.
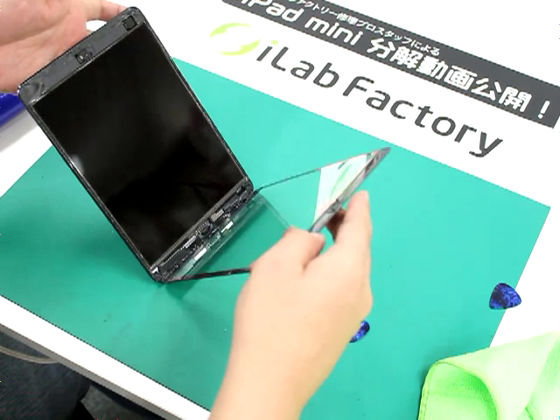
But the connection part is still connected.
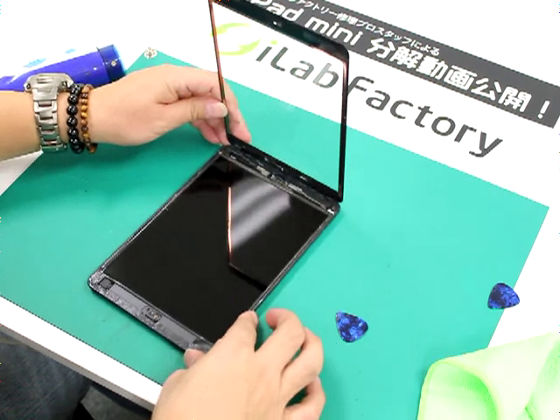
Next, in order to remove the liquid crystal, I will remove the fine screws.
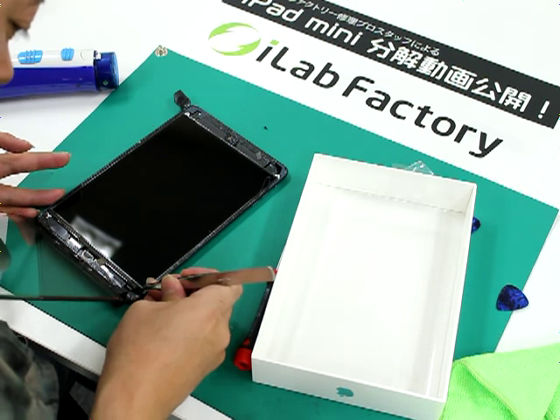
There was a gap between the main body and the liquid crystal slightly.
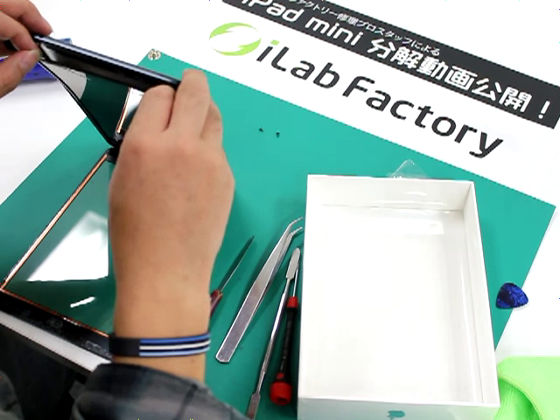
I will continue working further ...
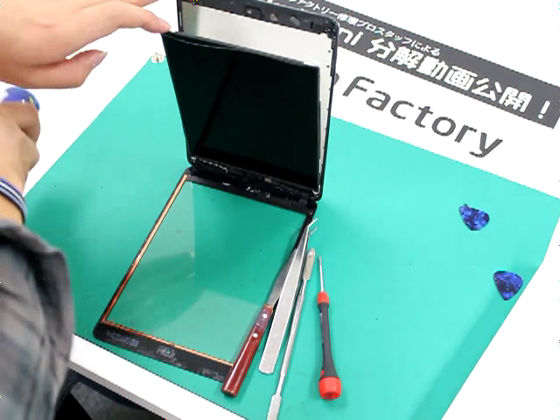
Almost liquid crystal also comes off.
The third movie, this is the last.
IPadMini decomposition started! The third volume - YouTube
As it stands now, the three-piece structure, body, liquid crystal, glass panel, is connected.
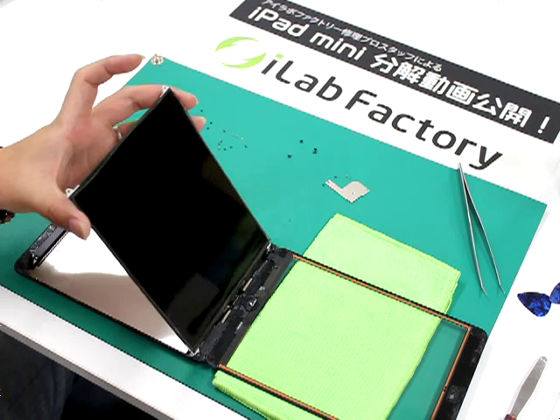
If you remove one panel on the main unit side here ...
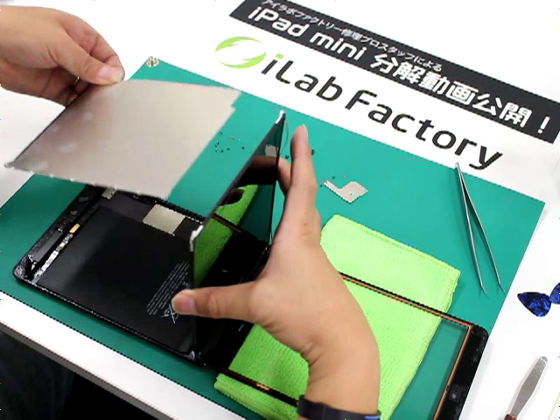
Detailed parts including processors are under this.
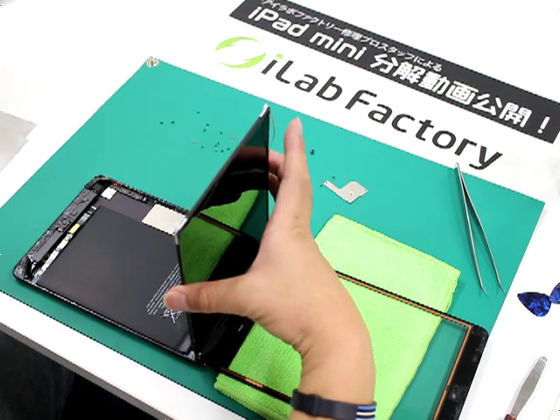
From this state, first remove the liquid crystal.
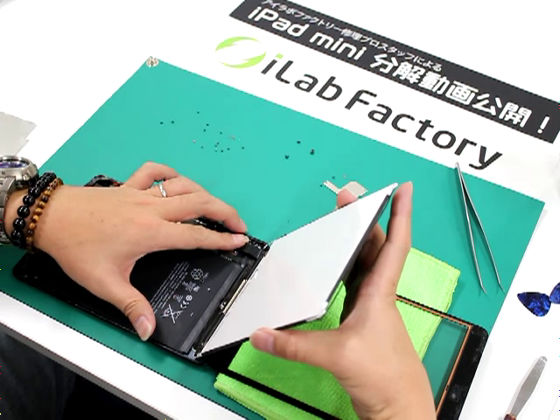
There is still part connected by adhesive tape, so peel off this ... ...
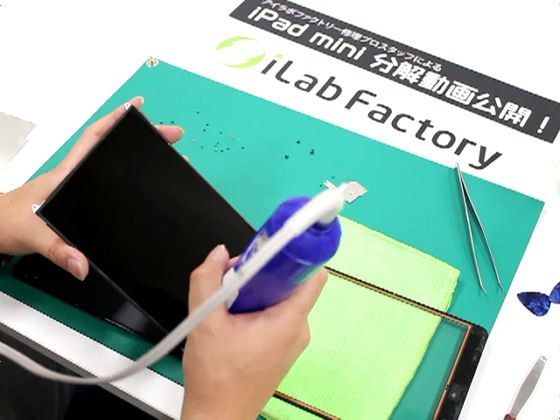
Also remove connectors ...
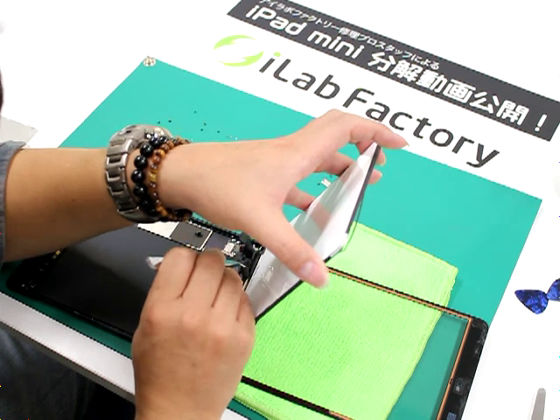
Completion with separation is completed.
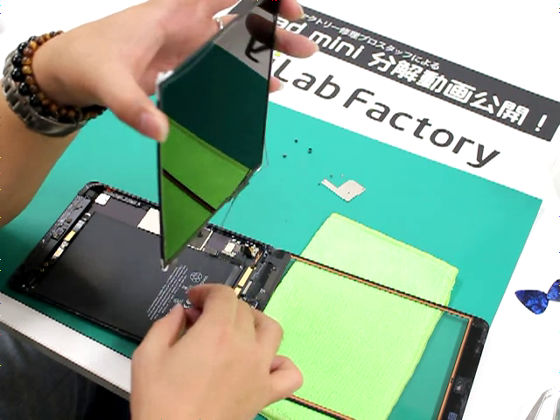
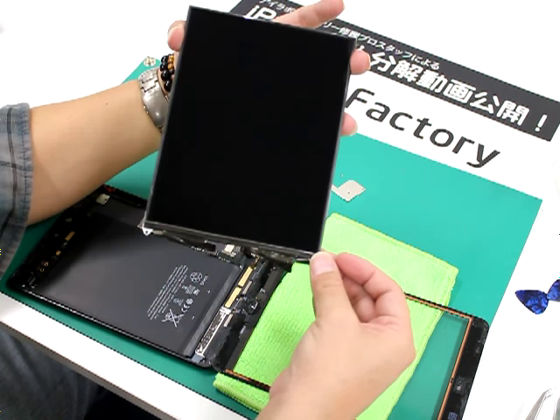
Then, remove the glass panel ... ...
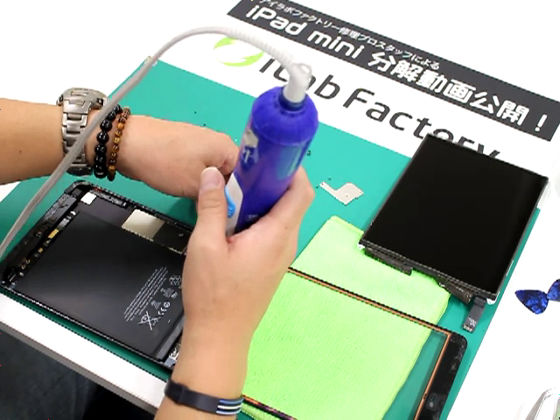
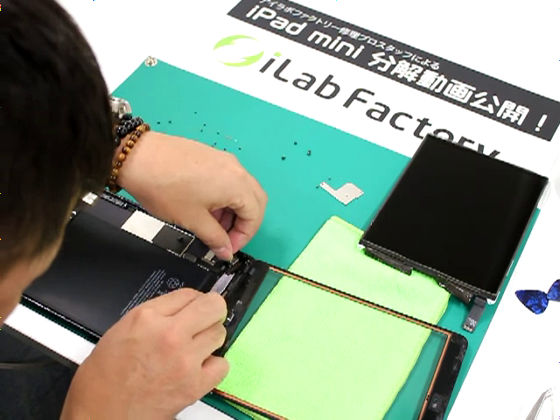
Disassembly work is complete.
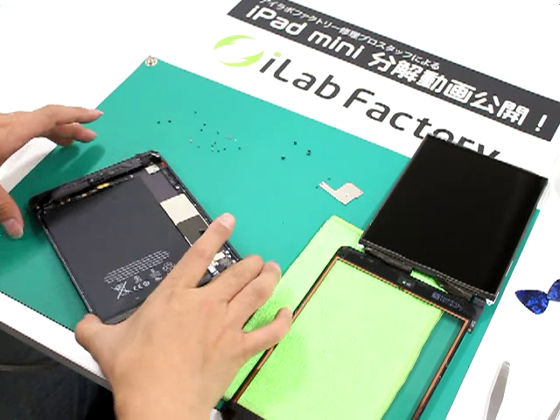
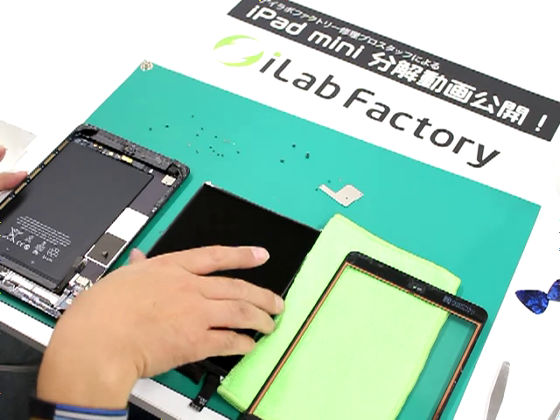
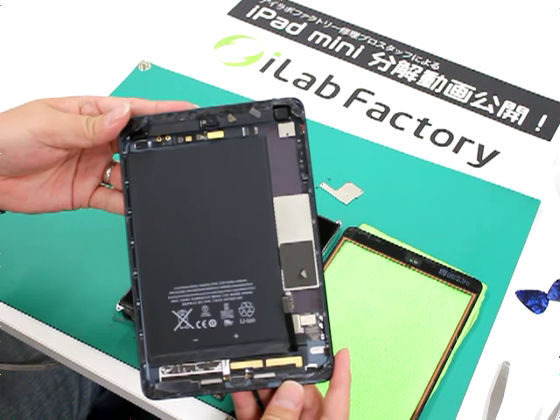
According to the disassembled eye love factory,
After taking off the glass panel, I took a shot again from the beginning, easy to understand. The second bullet shoot until the liquid crystal is removed.
Likewise to glass panel removal of liquid crystal is a bit painful.
Try to disassemble, the digitizer is different from the one before, the part of the connector turns into an inlay, the cable of the home button also becomes one piece, it becomes a sleep mode
The sensor seems to be embedded.
The liquid crystal also becomes a connector of the fit, and it is similar to the shape of the connector of the iPhone as an impression.
There are 16 screws on the iron plate under the liquid crystal before reaching the logic board, and it is fixed finely.
I felt the layout of the logic board and the battery very simple when removing the steel plate.
As he said, "Because it seems to be hurt, I think the cover is essential."
Related Posts:
