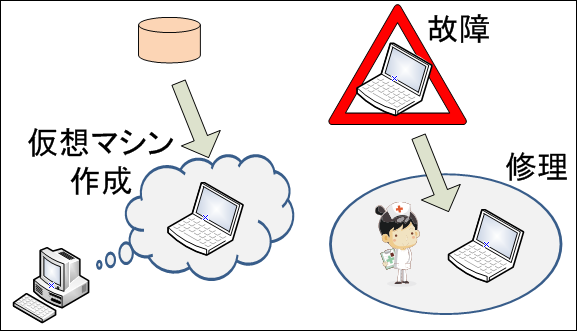
Even if the PC got broken, I tried P2V · V2P to make it easy to continue work in the usual environment immediately

BySlollo
If the PC becomes unusable due to breakdown etc., I will be in trouble as I can not do the job as usual. Therefore, although we regularly back up from time to time, even if we think carefully, even if a backup image is present, the PC itself is physically broken, so while we are out for repair, we do not have a PC to restore Can not proceed. Especially in the case of the built-in environment, it is hard to just reconstruct the environment into another personal computer.
Therefore, convert the backup image to the virtual machine image (P2V), Continue working as a virtual machine of another computer, convert the virtual machine image to a backup image when returning from repair (V2P) And restored it to the repaired personal computer from there, I thought about how to "stop the work flow of the work as much as possible" so I tried to do it actually.
Backup · P2V (Physical to Virtual) · V2P (Virtual to Pysical) is a series of flows from the following.
◆ Overall flow
Normally, backup of the personal computer is saved to external HDD or NAS.
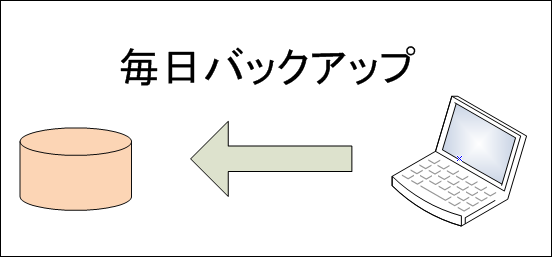
If the PC fails, send the computer to the repair, create the virtual machine from the data that was backed up, move it on another computer, and continue working in the usual environment.
After the repair is completed, save the backup of the virtual machine to the external HDD or NAS, transfer the data to the computer returned from the repair, and return it to the usual state.
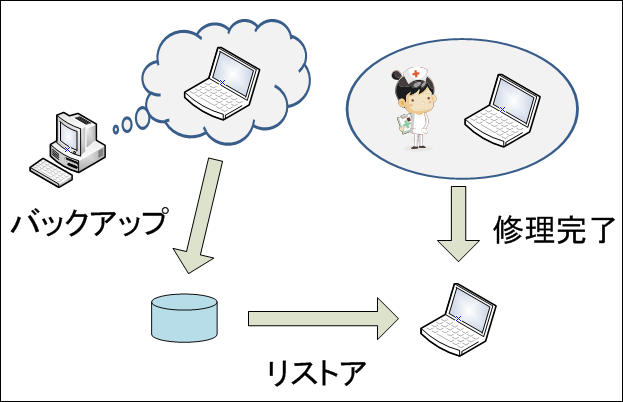
After returning to the usual state, as usual it backs up every day.
◆ What used
· Personal computer you are using always (Microsoft Windows 7 64 bit Edition) × 1
· Computer that runs virtual machine (Microsoft Windows 7 64 bit Edition) × 1
· USB memory for inserting Paragon's WinPE × 1
· 1 external hard disk for backup
· "Paragon Hard Disk Manager 11 Professional - Windows Installation Package (English)"
· "Paragon Hard Disk Manager 11 Professional - WinPE based Recovery CD Image (English)"
· "VMware Workstation 7.1.5 for Windows 32-bit and 64-bit with VMware Tools"
◆ Back up your physical machine
First of all from the place to save the backup on the external HDD each day. The backup timing of this part is more efficient for each person, and it is more efficient to back up on a daily basis at a fixed time or a combination of full backup for the first time and differential backup for the second and subsequent times. This time it is a verification that "whether it is possible", I will carry out "the manual full backup" at the timing that is most basic for the time being, the most basic way.
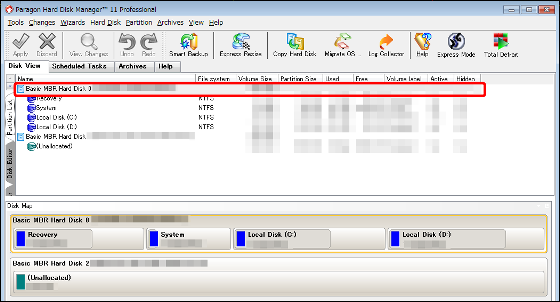
Launch "Paragon Hard Disk Manager 11 Professional" on the computer you are using all the time.
Select the hard disk you want to back up.
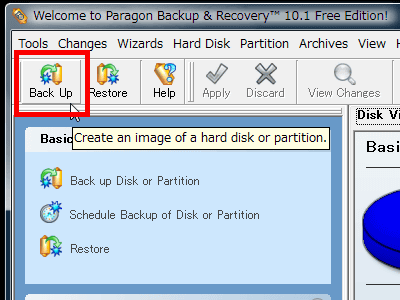
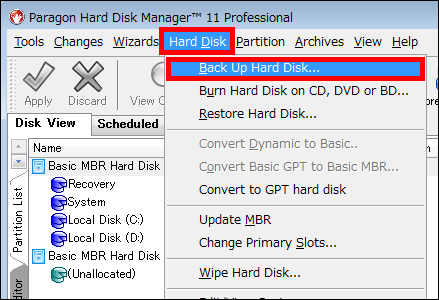
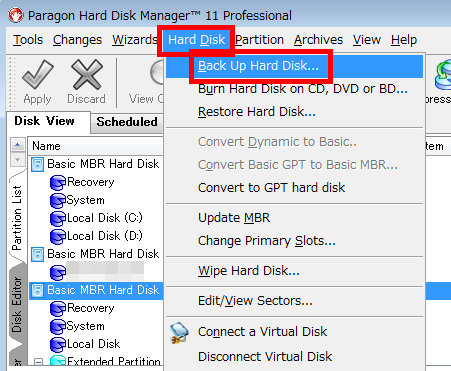
Click "Back Up Hard Disk" from "Hard Disk".
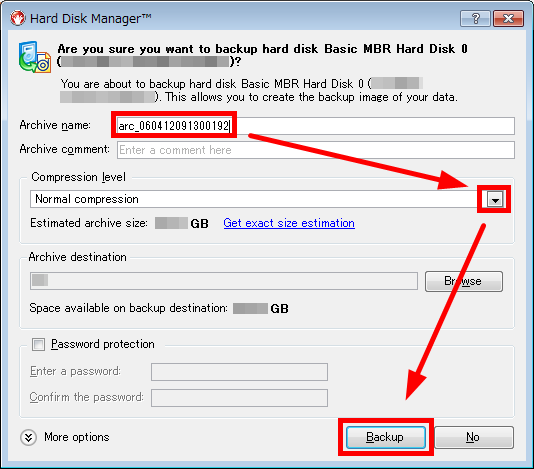
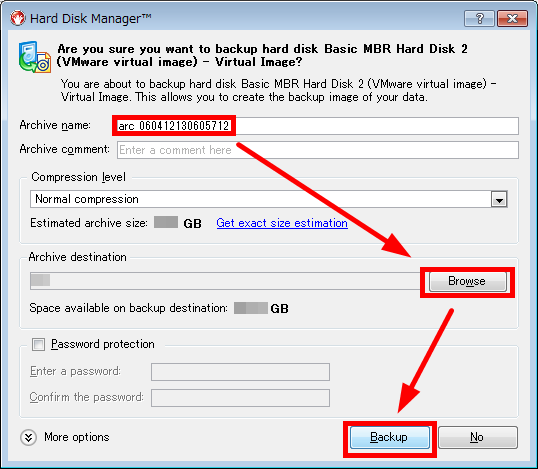
Enter and confirm the name and save place to back up and click "Backup".
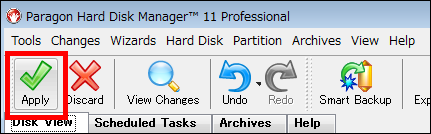
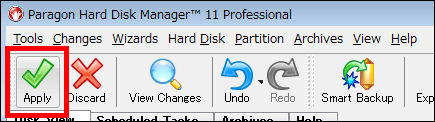
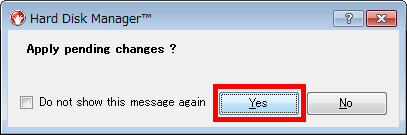
Click "Apply" at the upper left of the screen.
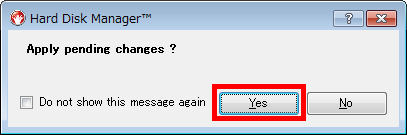
Click "Yes".
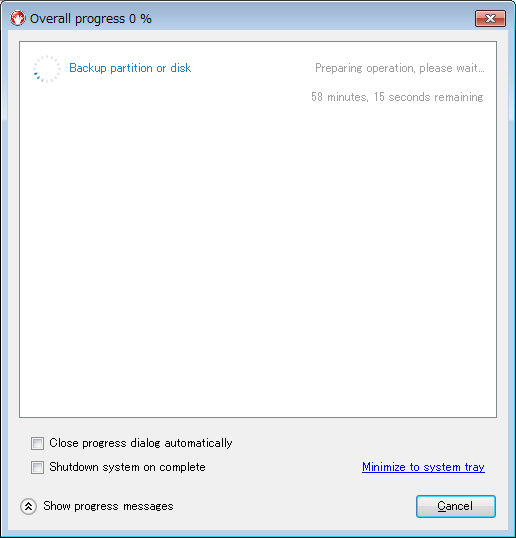
Backup will start.
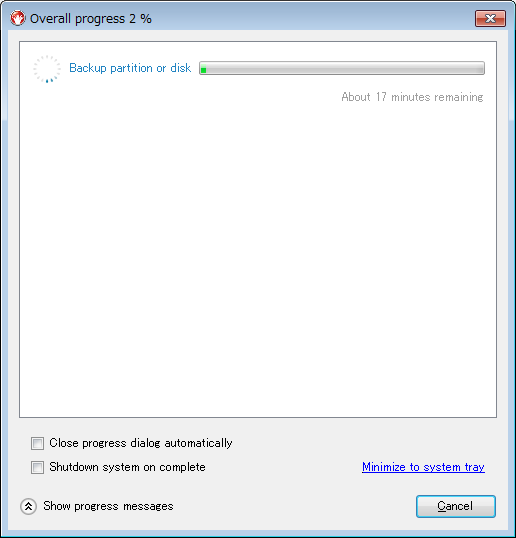
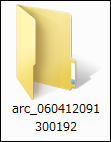
After completion, the backup data of the used physical machine is saved in the folder.
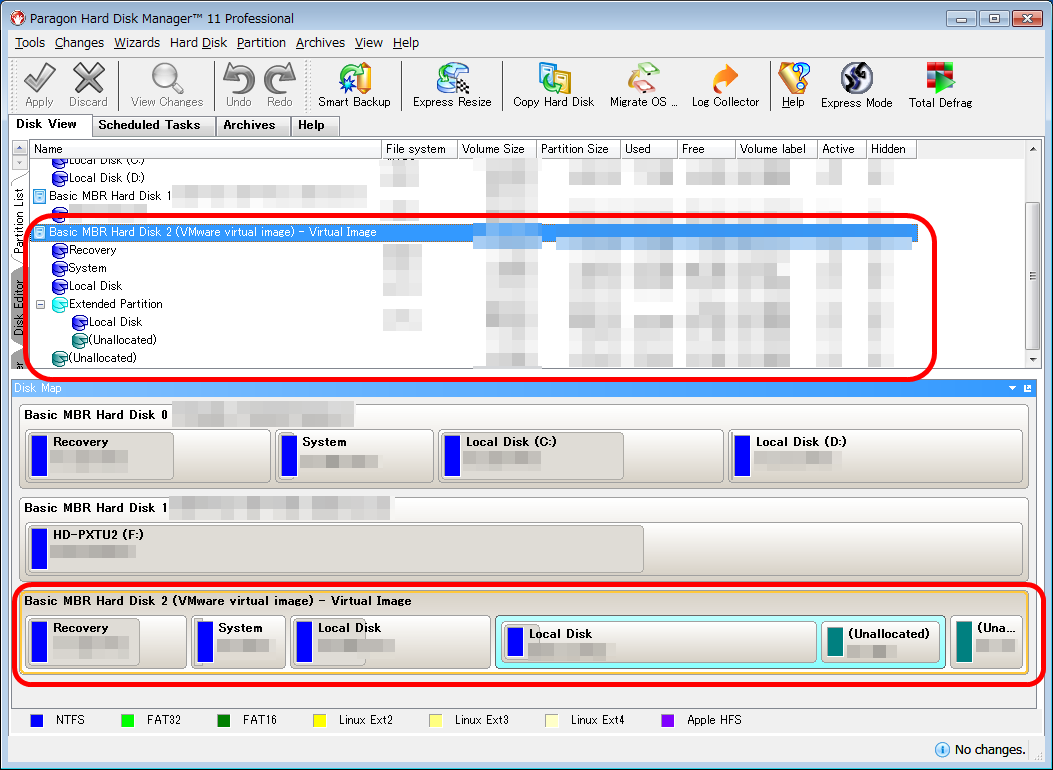
◆ Create virtual machine from backup data of physical machine (P2V)
The following operations are performed when the PC you are using can not be operated or sent out for repair. Use the backup data saved on the external HDD here.
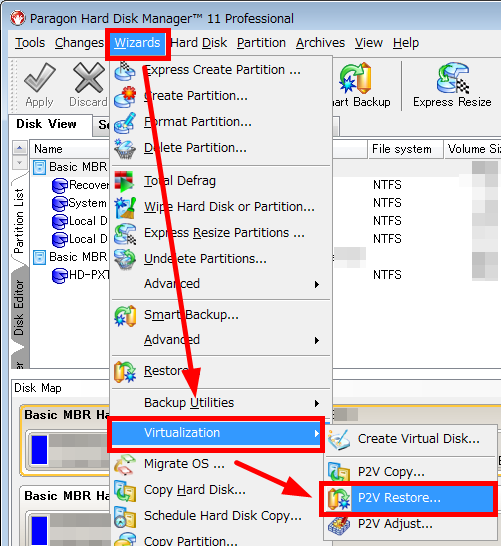
Launch the backup software Paragon, select "Virtualization" from "Wizards" and click "P2V Restore ...".
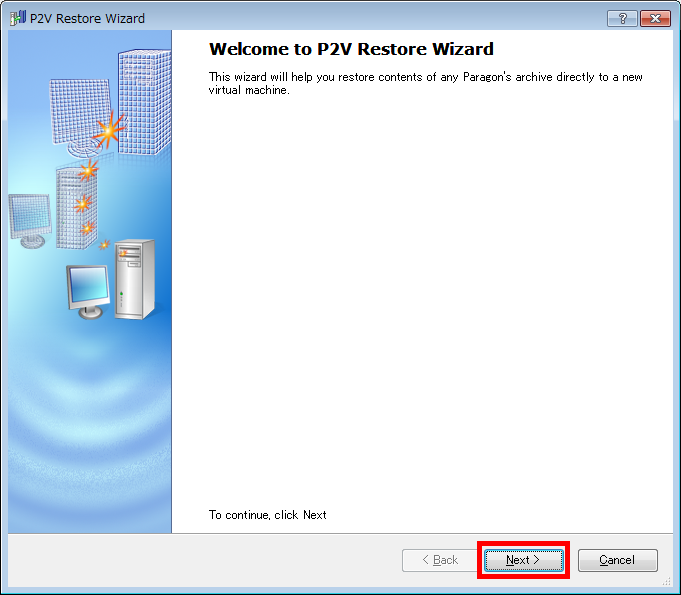
Click "Next".
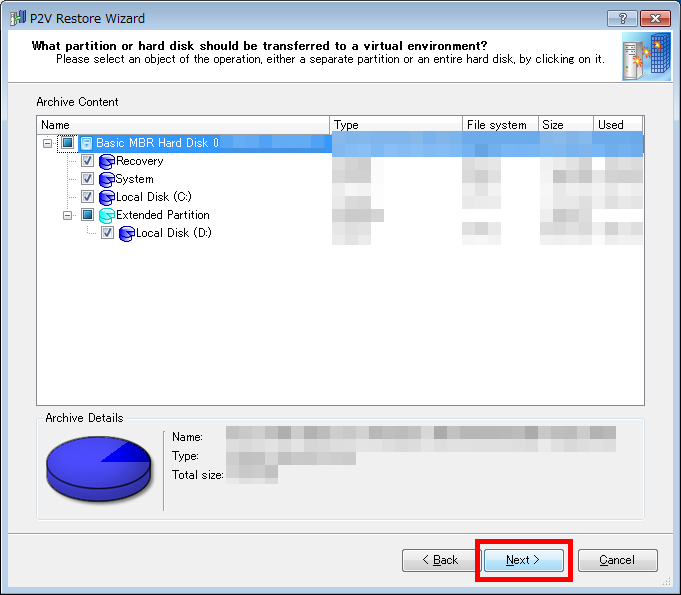
Click "Switch to Archive List View", select the "Save backup name.PBF" file in the folder of the saved backup data, and click "Next".

Click "Next".
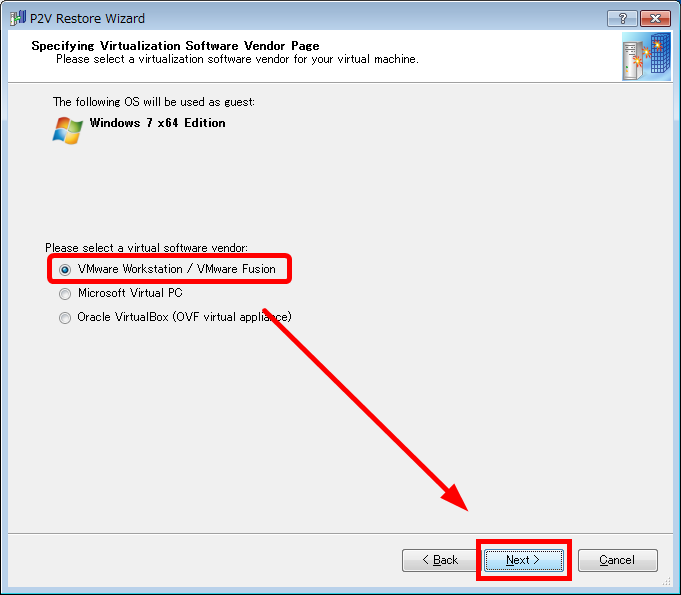
Check "VMware Workstation / VMware Fusion" and click "Next". VMware is the reason for choosing VMware because it is the only VMware that I can confirm at this time that it supports V2P operation after this.
Set the VMware Workstation version · CPU · memory and confirm it, then click "Next".
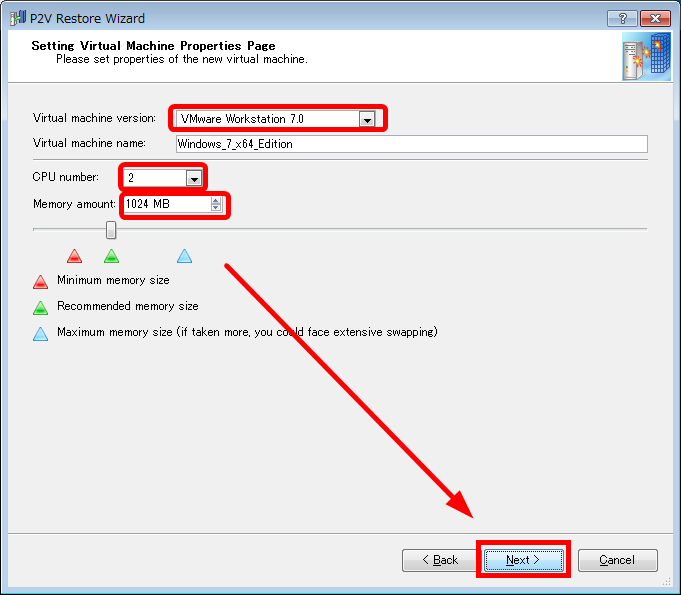
Click "Next".
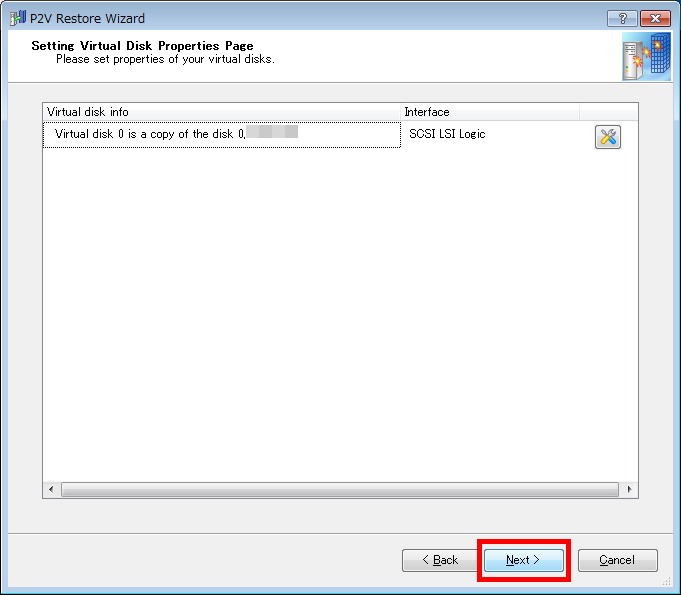
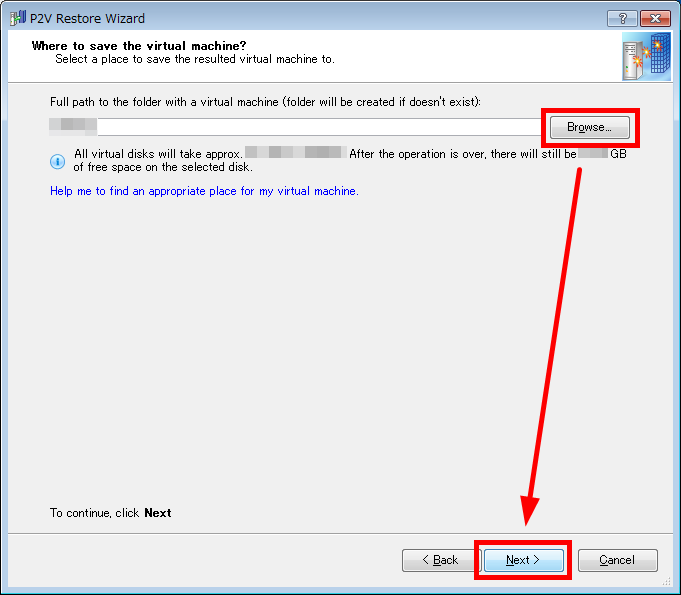
Confirm the storage location and click "Next".
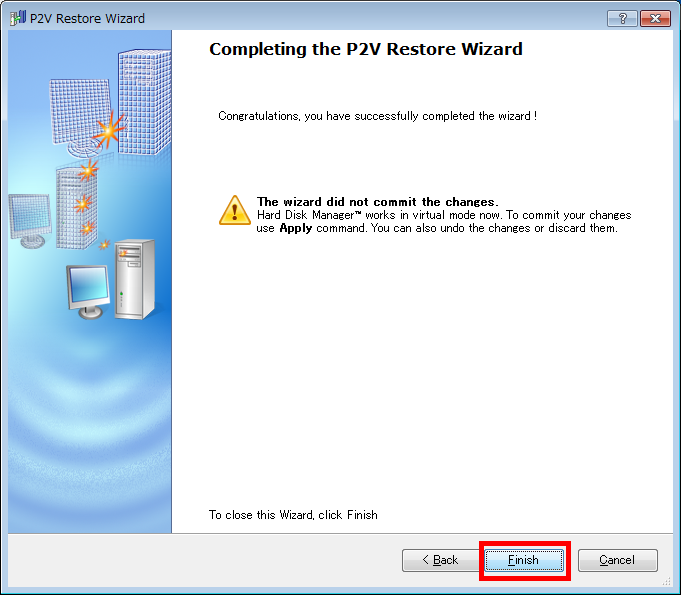
Click "Finish".
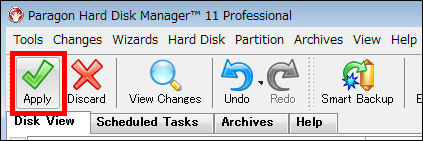
Click "Apply" in the upper left of the screen.
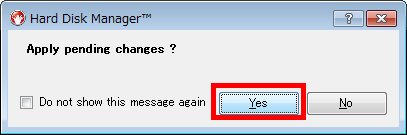
Click "Yes".
The virtual machine creation starts from the backup data.
The backup data of the virtual machine is saved in the folder.

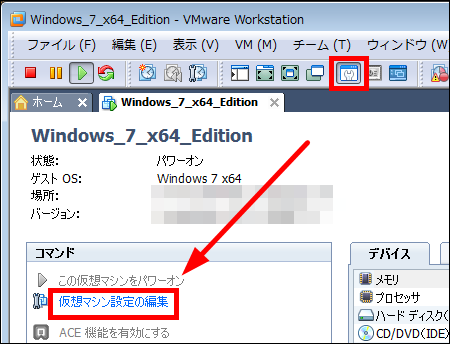
◆ Working with virtual machines using VMware Workstation
Make the created virtual machine operate on another computer.
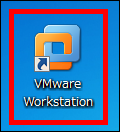
Launch "VMware Workstation" on the PC running the virtual machine.
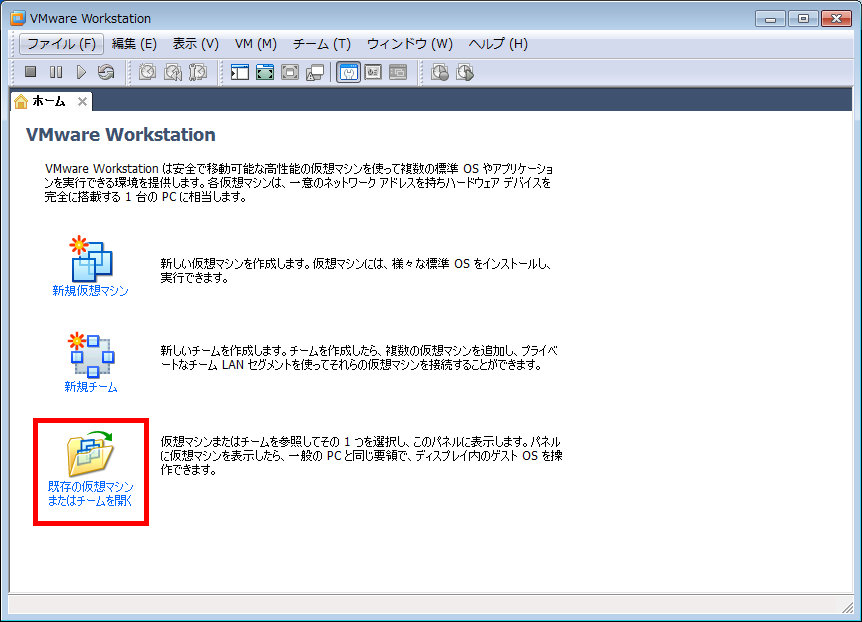
Click "Open existing virtual machine or team".
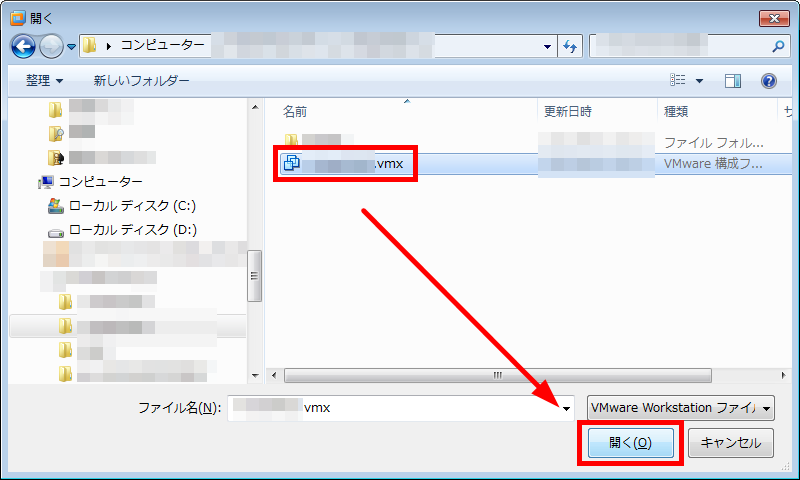
Select "virtual machine name. Vmx" in the folder of the saved virtual machine and click "Open".
The virtual machine is displayed.
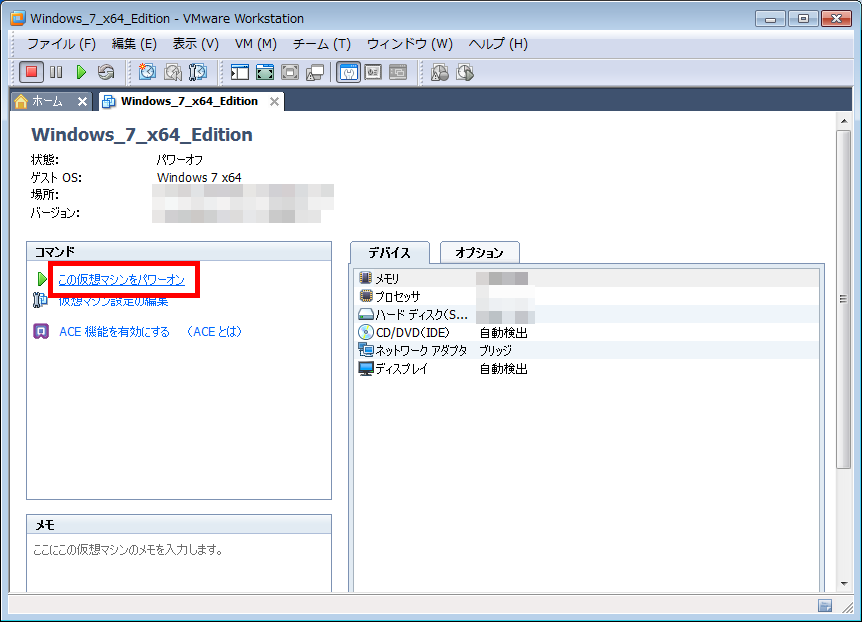
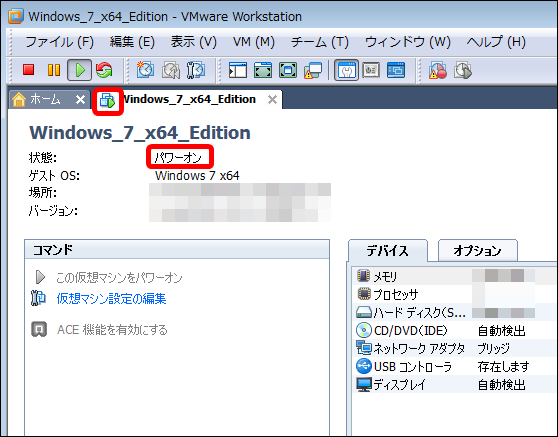
Click "Power on this virtual machine" to activate it.
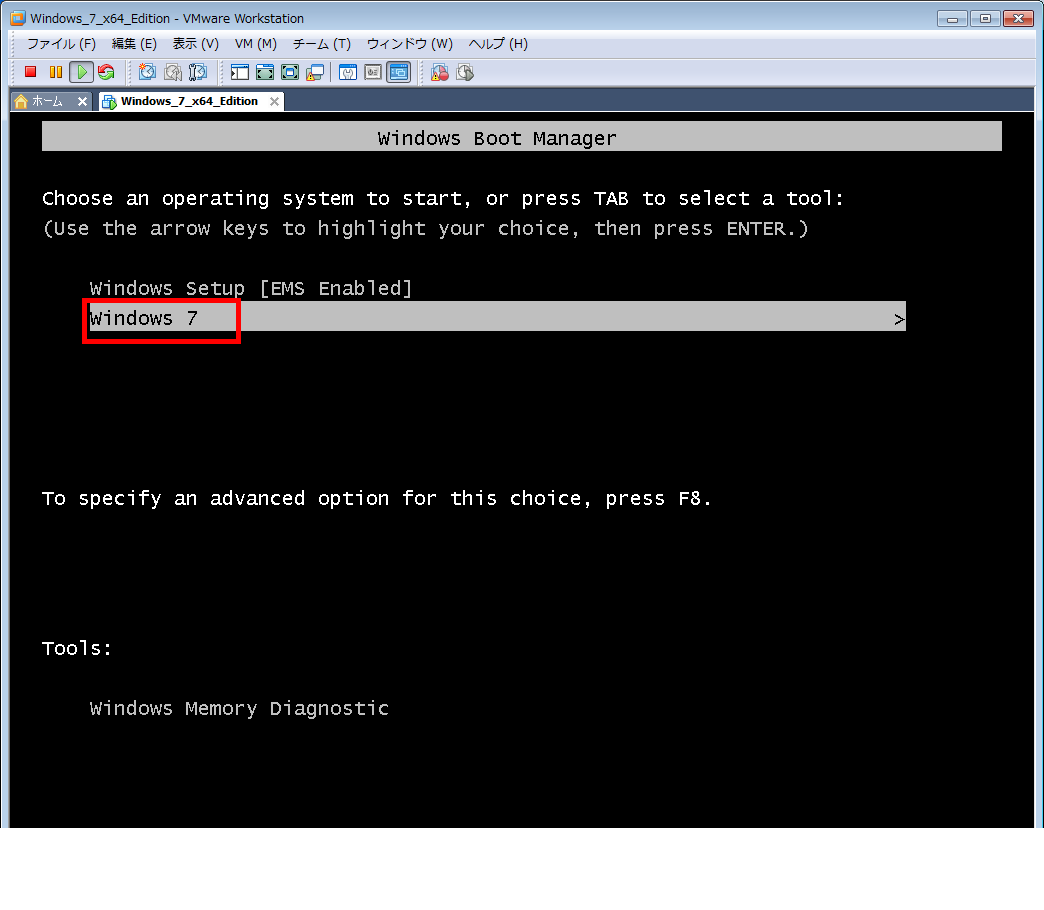
View VMware

Since the selection screen is displayed, select "Windows 7".
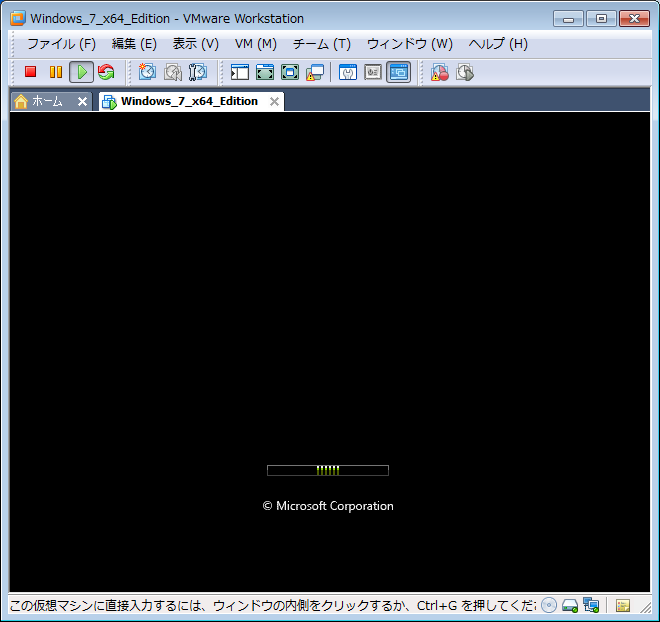
It will start normally.
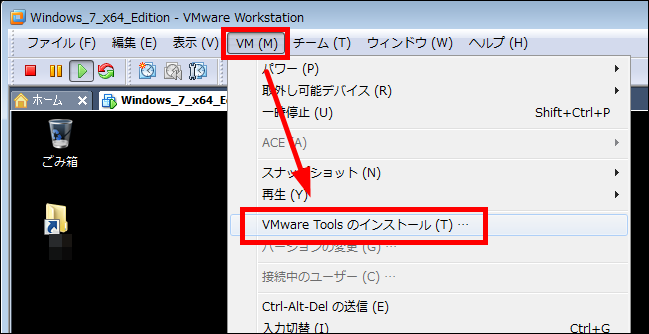
After starting up, click "Install VMware Tools" from "VM" to adjust the environment of the virtual machine. VMware Tools improves the performance of virtual machines.
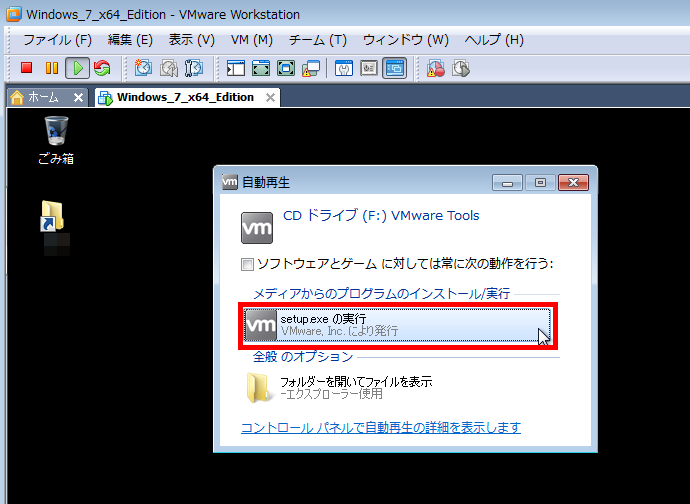
Since automatic playback is displayed, click "Run setup.exe".
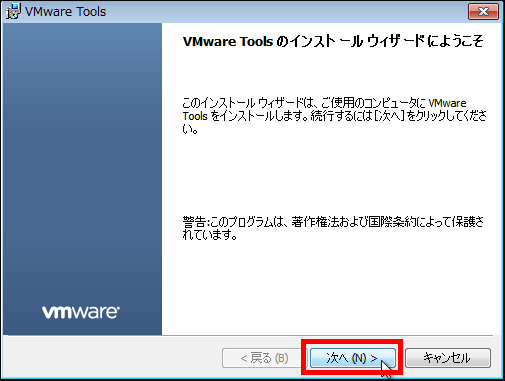
Click "Next".
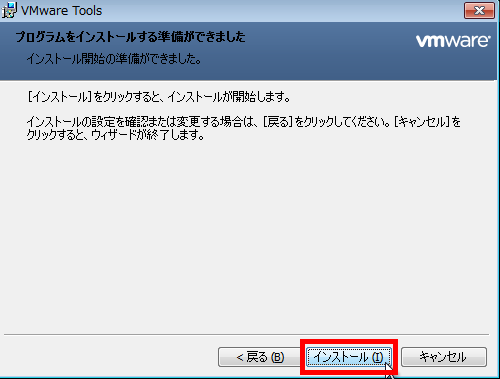
Click "Next".
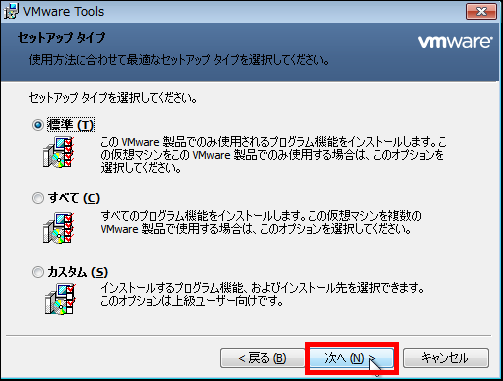
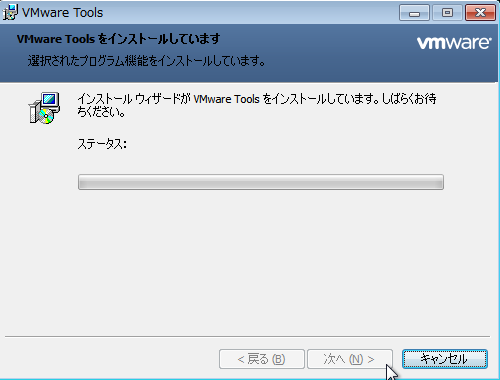
Click "Install".
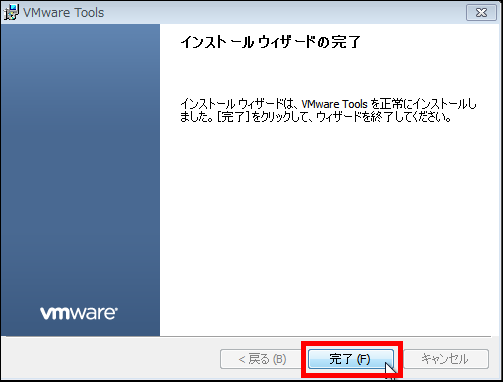
Wait for installation for several minutes.
Click "Finish".
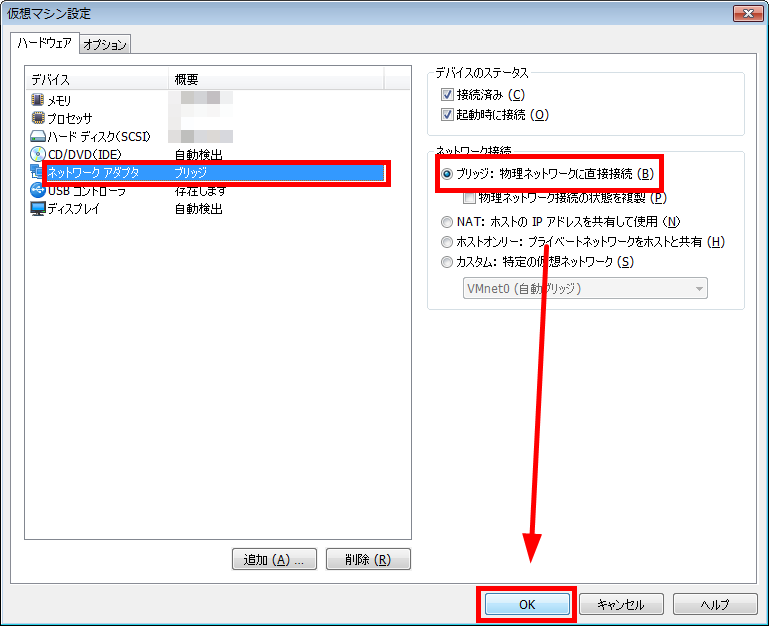
Next, configure the network. Here, it is set by the bridge to which the virtual machine directly connects to the physical network.
Click "Spanner Mark" to change the screen, and click "Edit Virtual Machine Settings".
Click on the network adapter, check "Bridge: Connect directly to physical network" and click "OK". Completing the network setting in VMware Workstation.
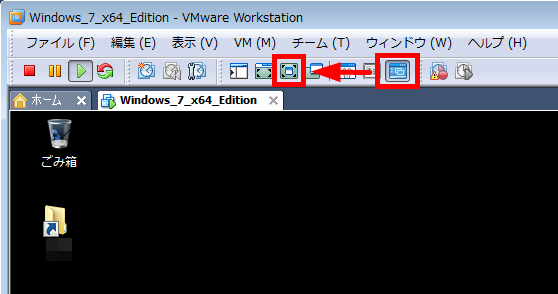
Click the "button with the window" to return to the operation screen, click "button with triangles in the four corners". Now you can operate in the usual environment.
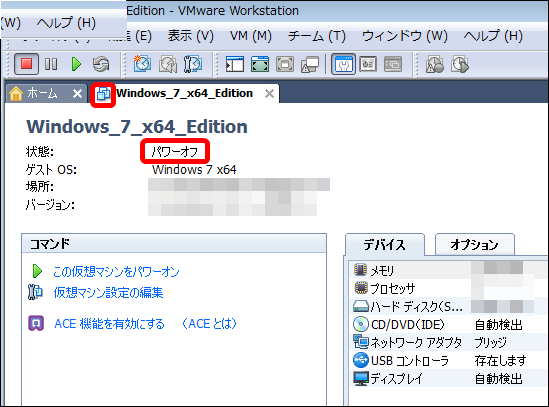
To stop the virtual machine, simply press "shutdown" as usual.
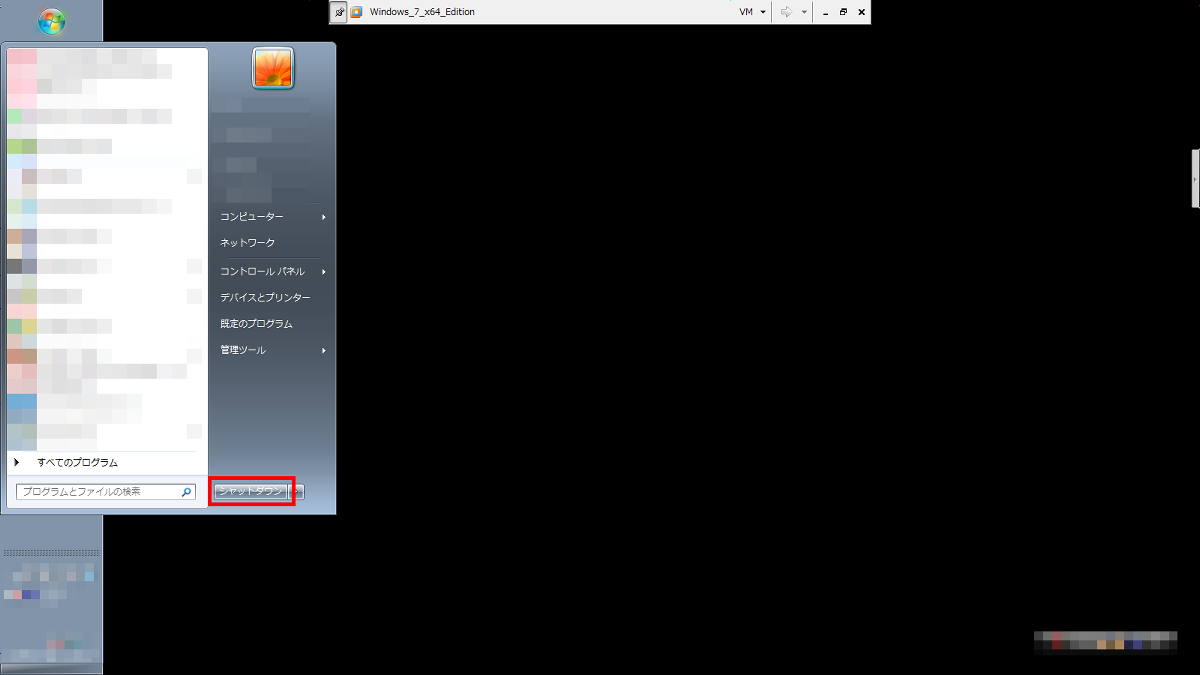
As a caveat in shutdown, the virtual machine is powered on for several minutes even after the shutdown is completed, so do not forcibly stop VMware Workstation and wait until the virtual machine powers off.
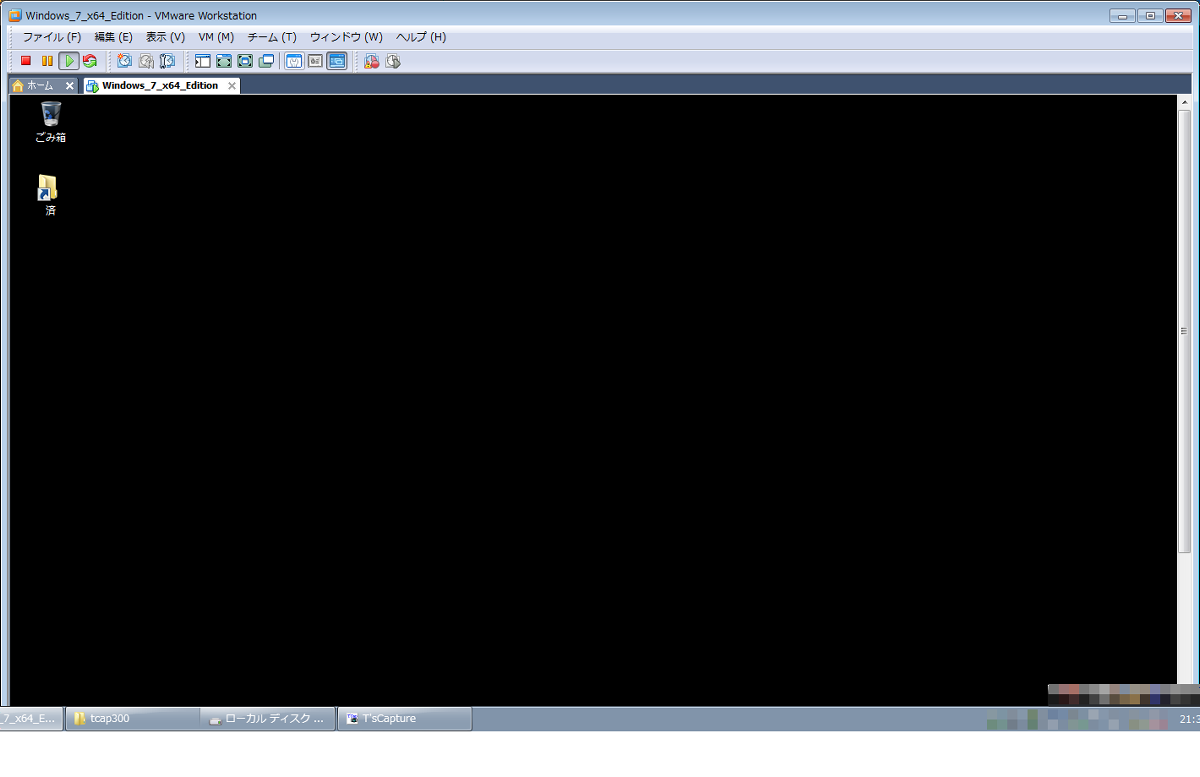
It turns out like this when you turn off the power.
◆ Virtual Machine Backup
It is a backup for moving a virtual machine to a physical machine (V2P). It is also a backup in case the backup data of the virtual machine is destroyed.
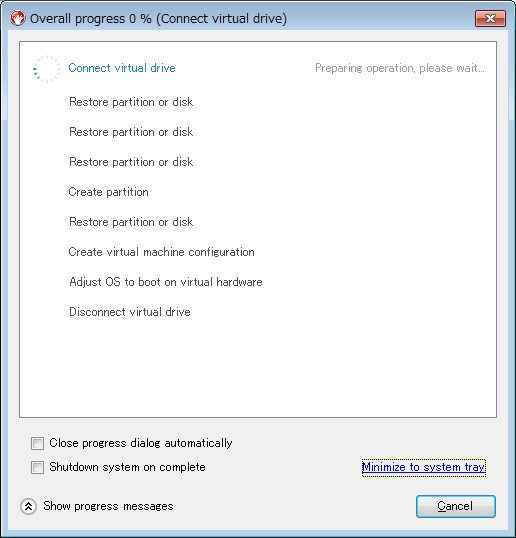
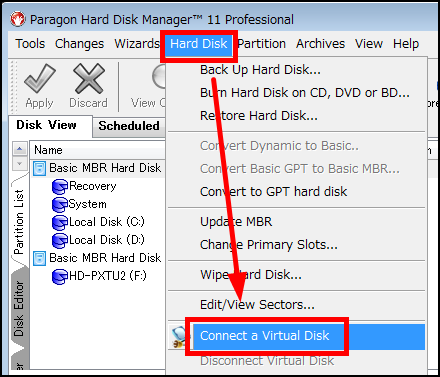
Stop the virtual machine, start Paragon on the computer that was running the virtual machine, and click "Connect a Virtual Disk" from "Hard Disk".
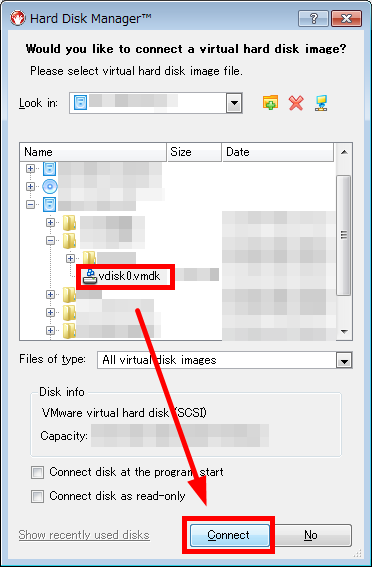
Select "vdisk0.vmdk" of the virtual machine you want to back up and click "Connect".
Make sure the virtual machine is displayed and selected. You can now make the virtual machine look like a physical machine and backup it.
Click "Back Up Hard Disk ..." from "Hard Disk".
Just as when backing up the physical machine, enter the name and save location to be backed up and click "Backup".
Click "Apply".
Click "Yes".
Start backup
The backup data of the virtual machine is saved in the folder.
◆ Transfer virtual machine to physical machine (V2P)
Perform the following operation when the PC you used always returns from repair or you change to a new computer. From here I am operating the repaired PC.
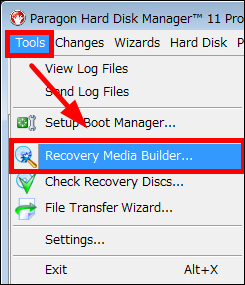
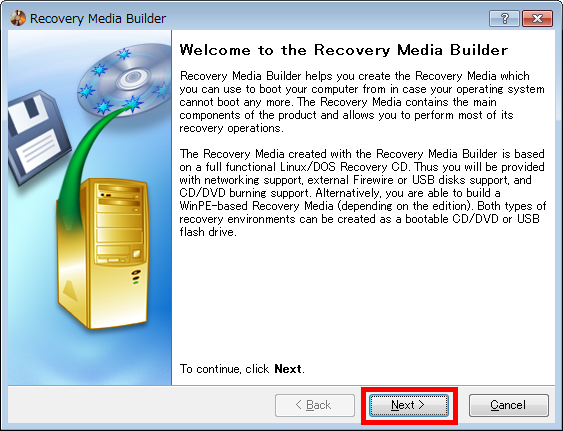
As preparation for V2P, install Paragon's WinPE on USB. Launch Paragon and click "Reovery Media Builder" from "Tools".
Click "Next".
Click "Next".
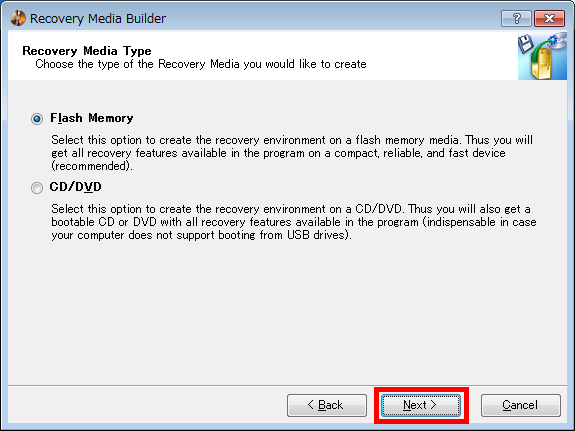
Check "User specified CD / DVD image (.iso file)", select ISO of WinPERCD and click "Next>".

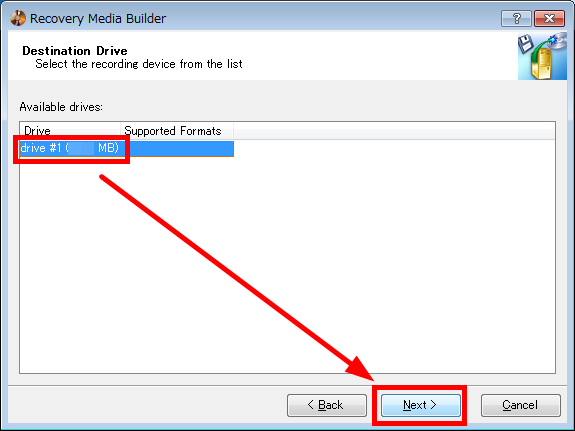
Click the USB memory to save WinPE and click "Next".
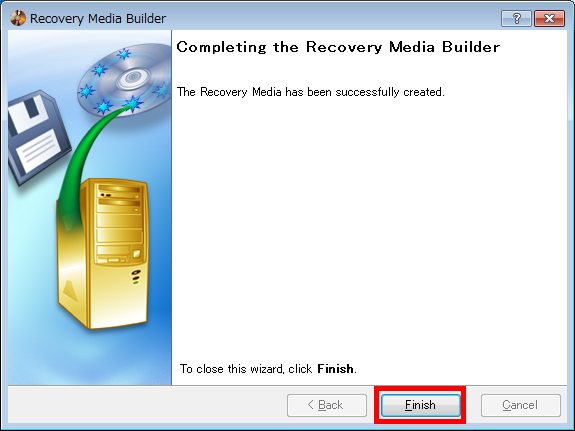
Click "Finish". This completes preparation for V2P.
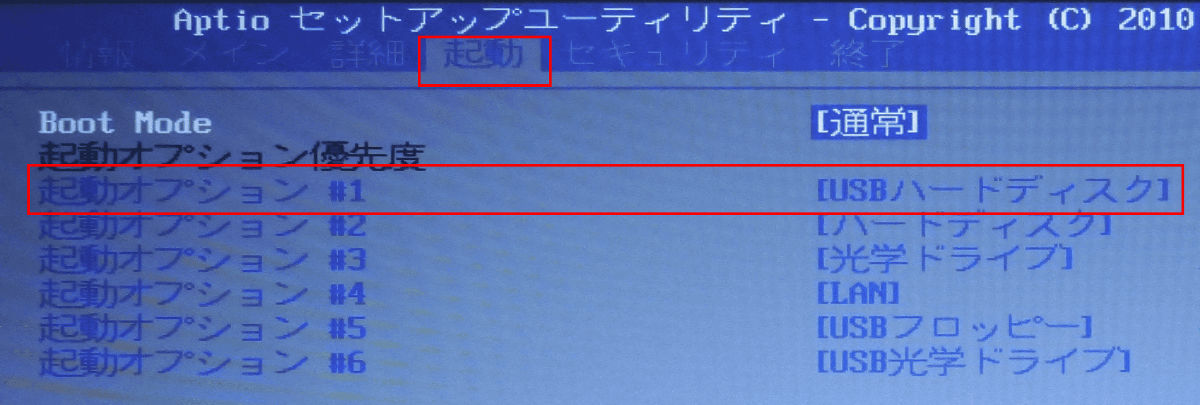
Transfer the virtual machine Insert the prepared USB memory into the computer, display the BIOS setting screen, change from "start up" to "USB hard disk" the first priority, start it.
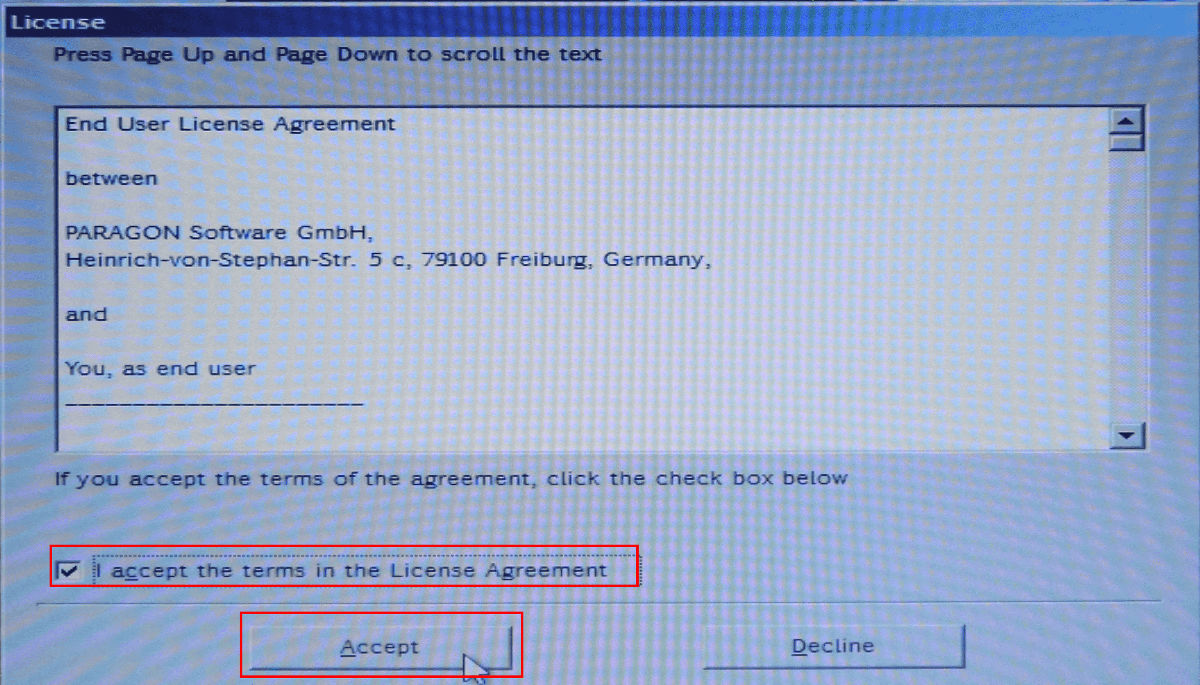
Please check "I accept the term in the License Agreement" and click "Accept".
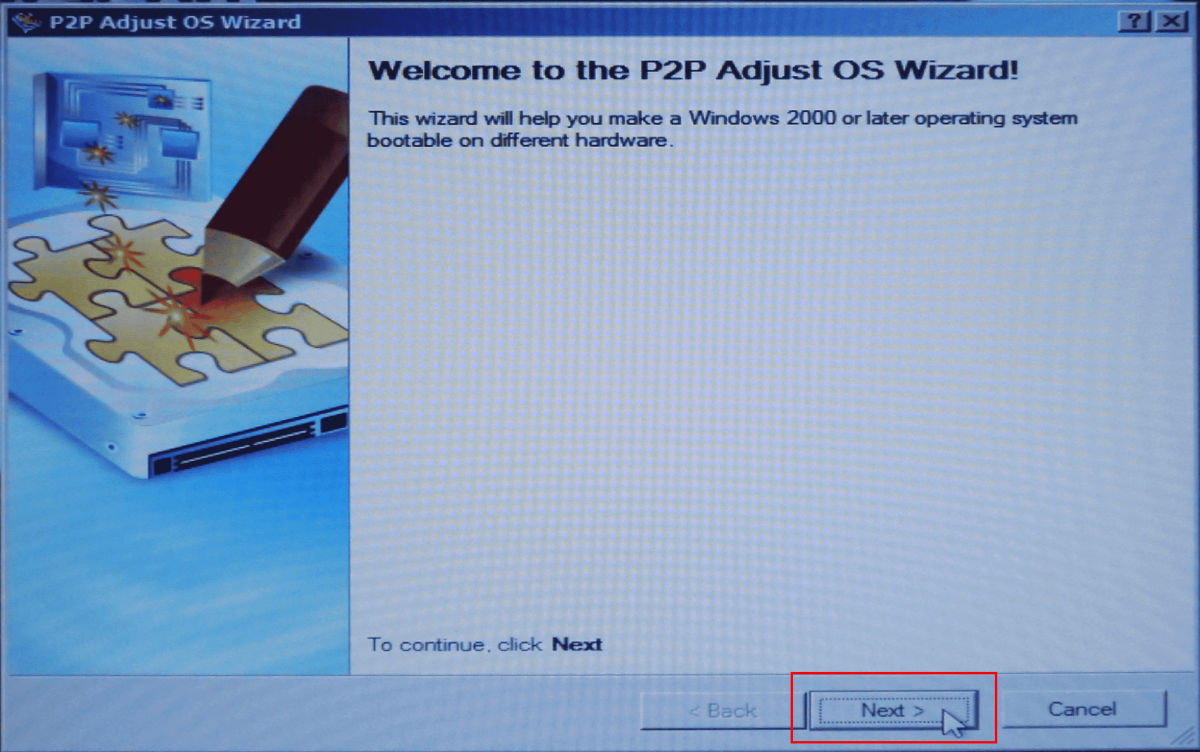
Click "Copying and Migration" and click "P2P Adjust OS".

Click "Next".
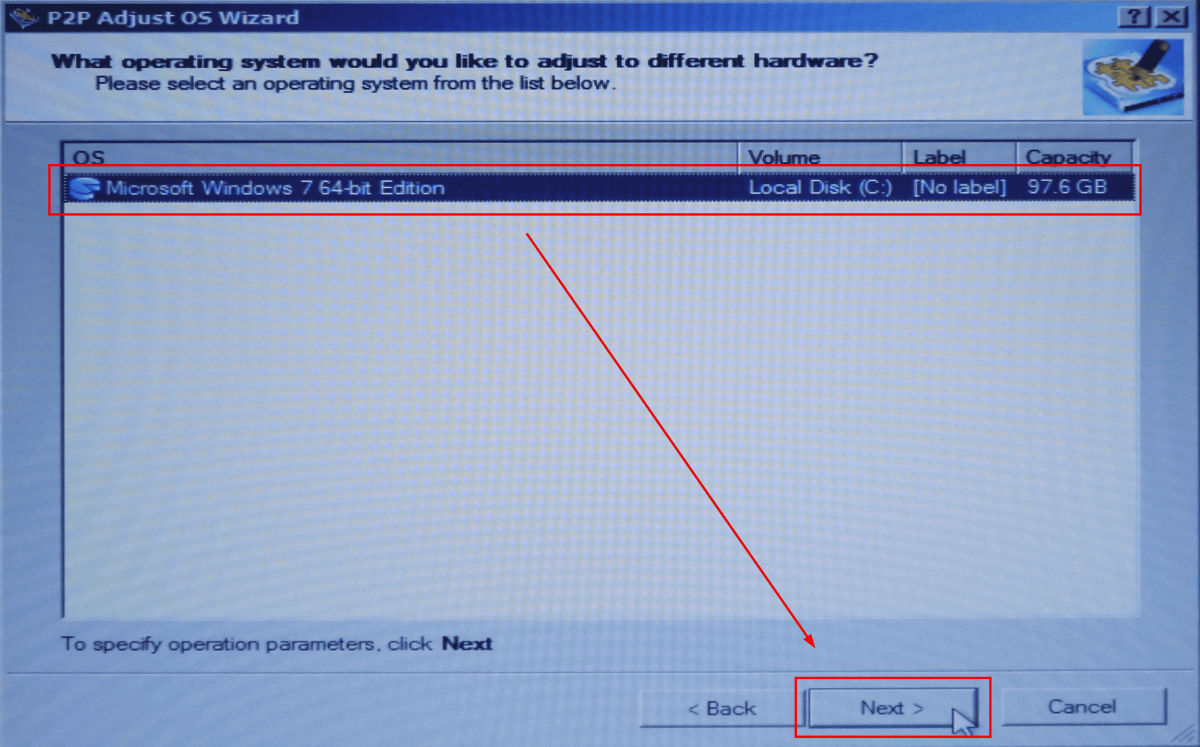
Select the OS as the virtual machine and click "Next". I chose "Microsoft Windows 7 64 bit Edition" here.
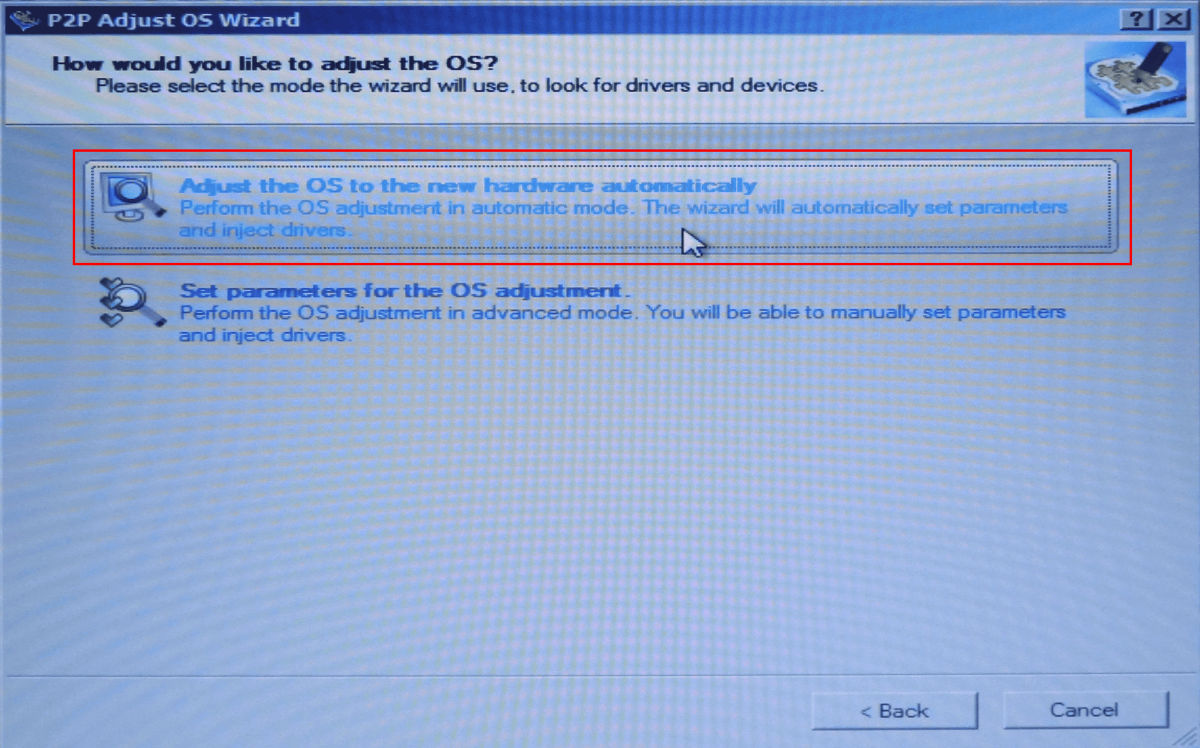
Click "Adjust the OS to the now hardware automatically".
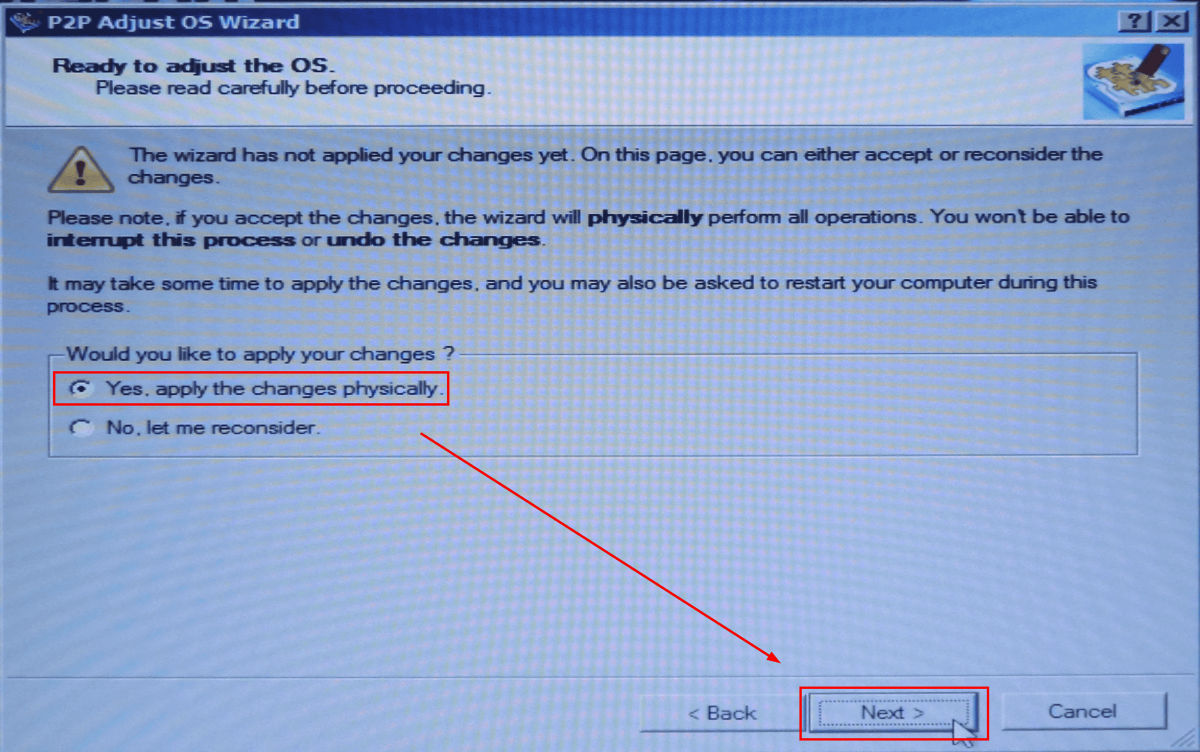
Check "Yes, apply the chenges physically" and click "Next".
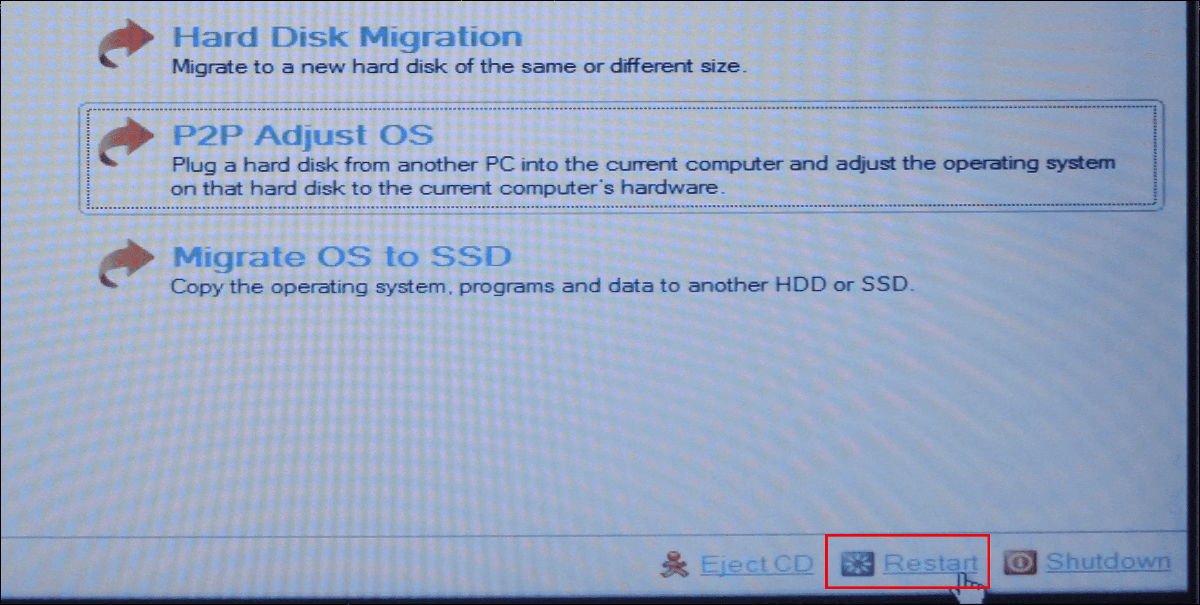
Click "Finish".

Click "Restart" to start Windows.
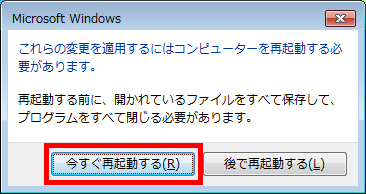
After starting up, click "Restart Now".
After restarting, start Paragon and click "Restore ..." from "Wizards".
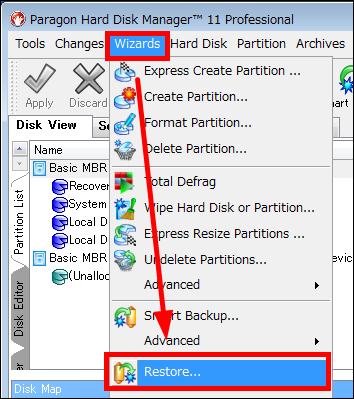
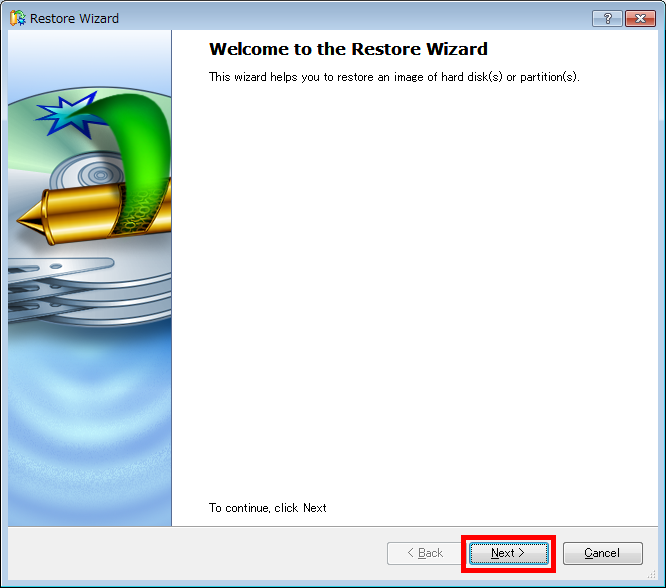
Click "Next".
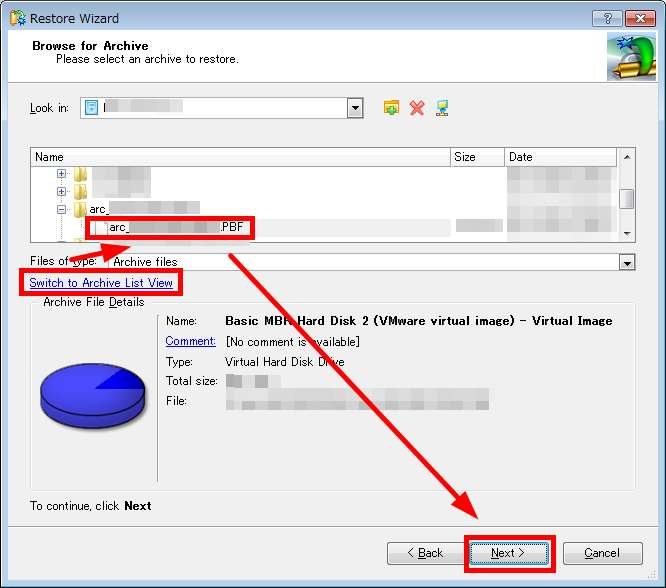
Click "Switch to Archive View", select the virtual machine backup data "virtual machine data name .PBF" and click "Next". Choose the backup data on the external HDD. Data that is locally disappears with V2P and can not be used.
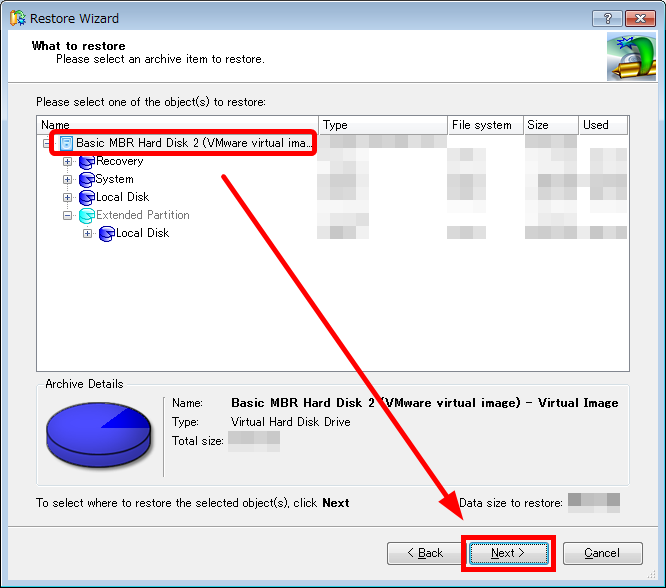
Confirm that it is the VMware backup data disk and click "Next" j.
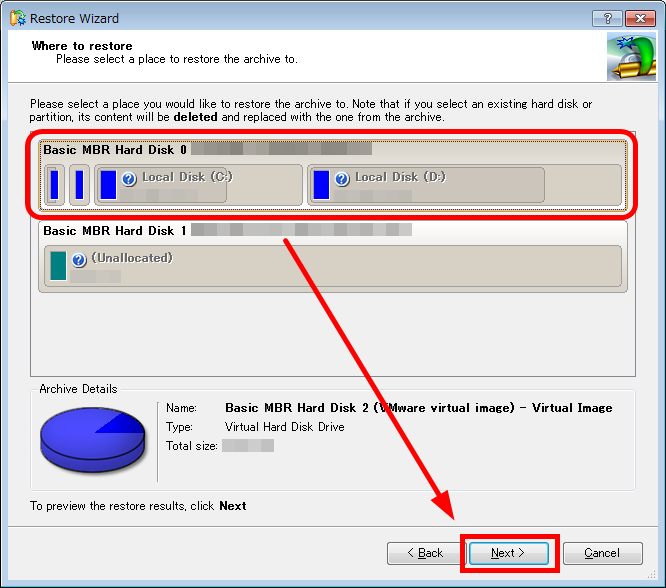
After checking the restore destination, click "Next".
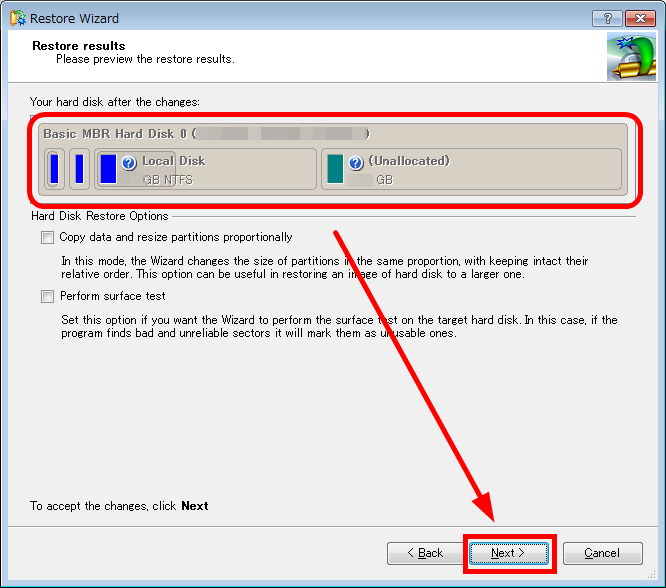
Check the state after restoration on this screen and click "Next". Here, the D drive could not be restored, but if you restore only the D drive after V2P, the machine worked without problems.
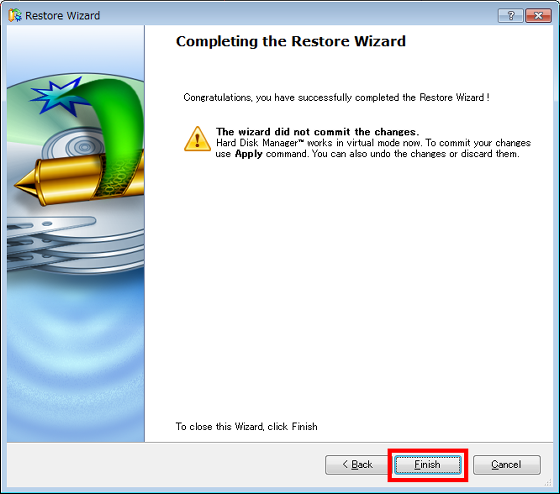
Click "Finish".
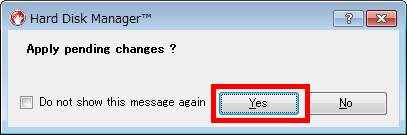
Click "Apply".
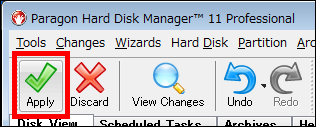
Click "Yes".
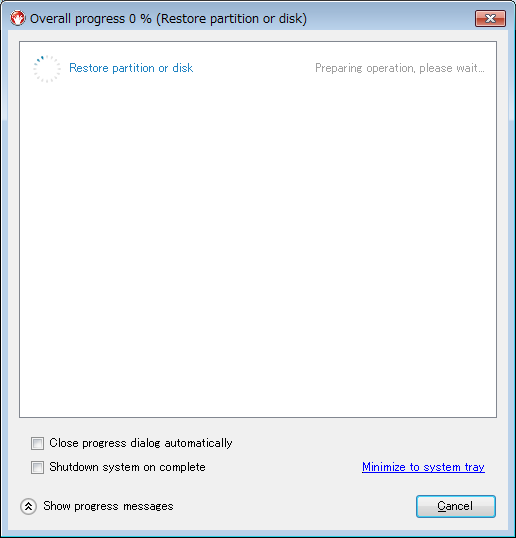
Start of V2P
Because I will request restart in about 1 minute, click "Restart the computer".

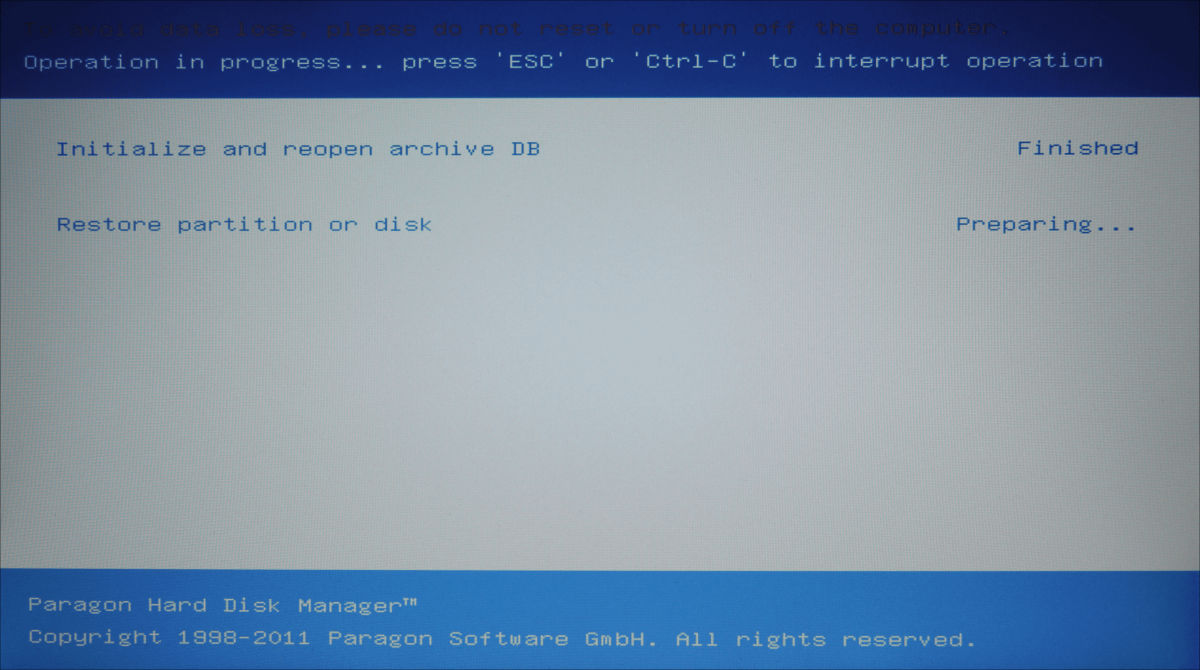
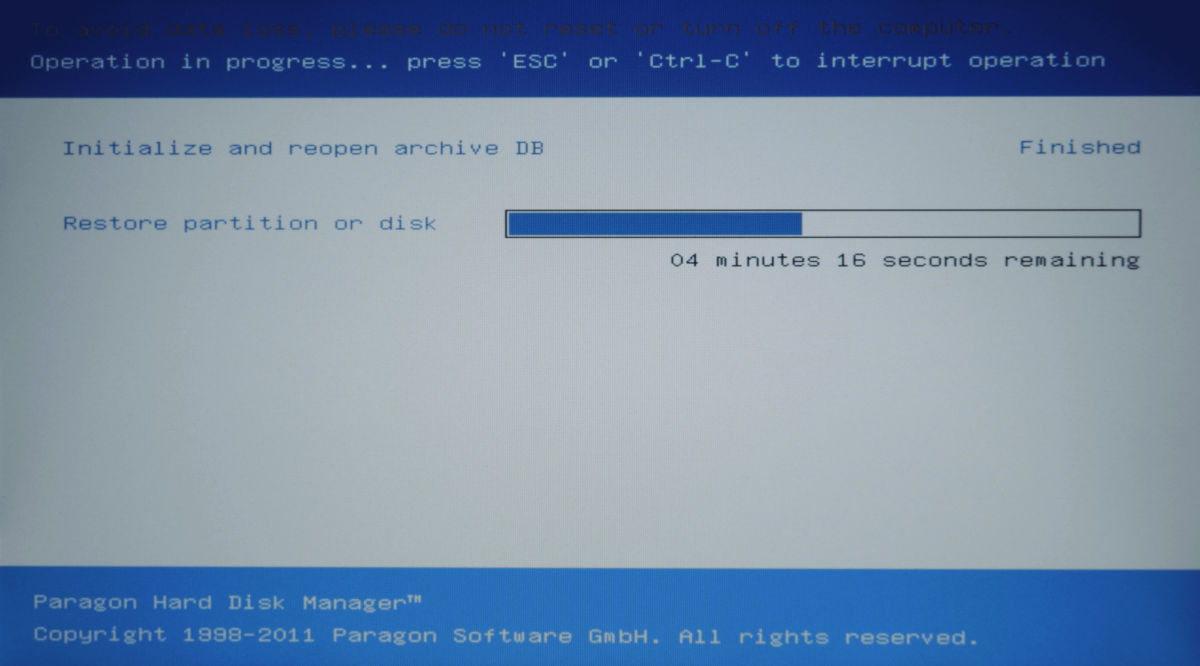
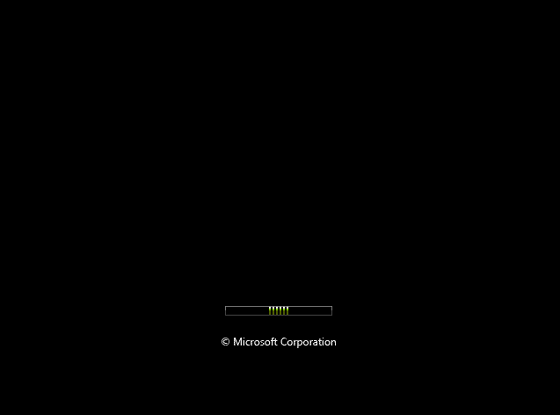
After rebooting, such a screen is displayed and the execution of V2P starts.
When V2P is completed, I return to the usual environment.
Related Posts: