Free software "Glamor" that automatically cleans portraits and facial photos
Just pick a favorite portrait, such as portraits and face photos, and automatically clickhistogramIs adjusted so that free software that can make portrait even more attractive is "Glamor"is.
Also, by moving the slider, you can fine-tune three kinds of "increase / decrease in effect", "saturation", "soft focus", and compare the changing state with the original image as a before-after. Then you can copy the completed image to the clipboard or save it in various image formats. This software is compatible with all Windows.
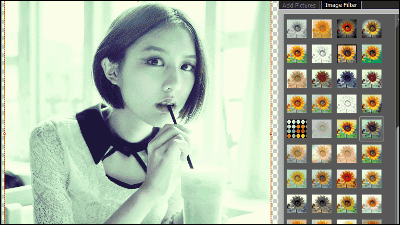
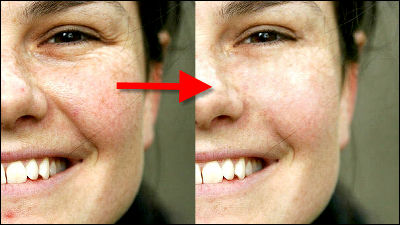
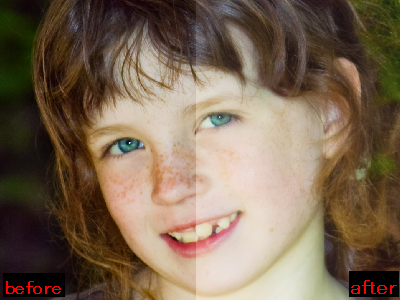
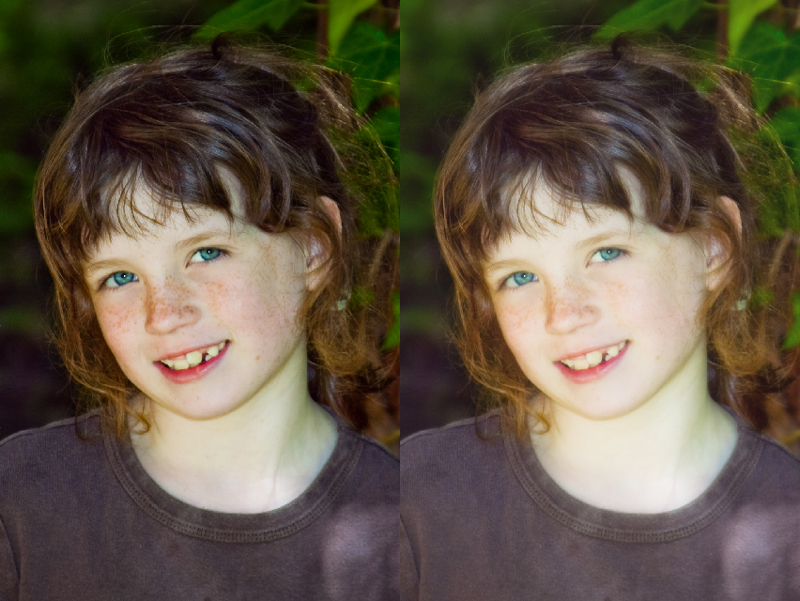
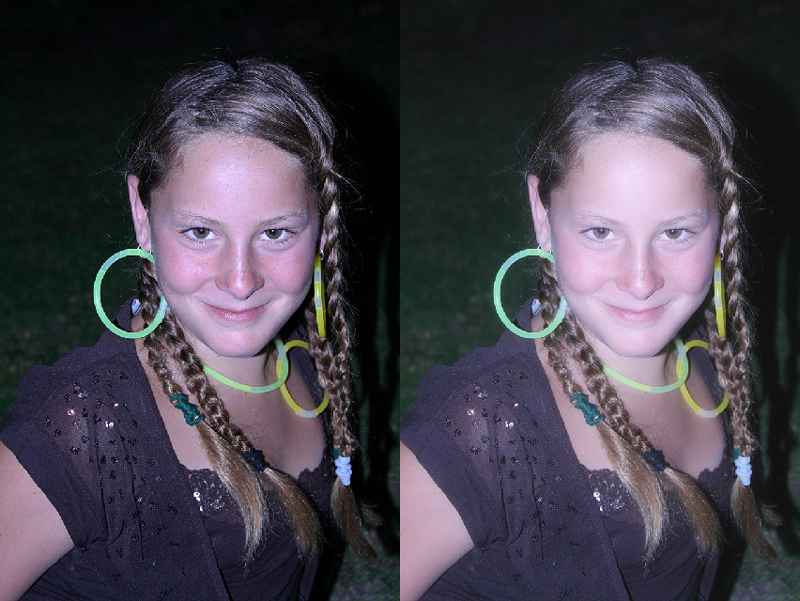
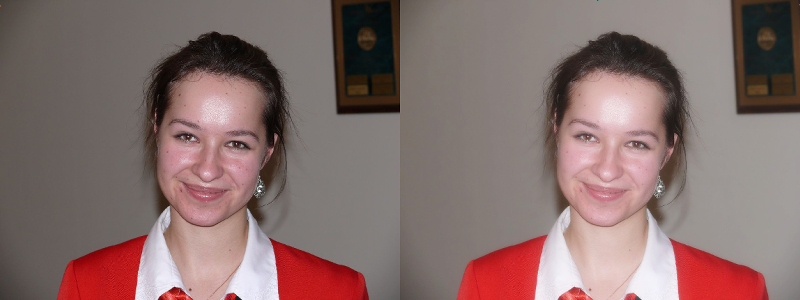
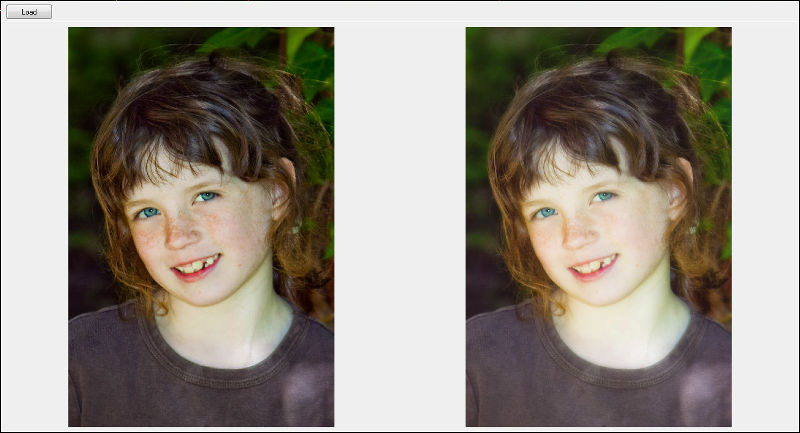
Detailed examples, downloading, actual usage etc are as follows. First of all, we introduce examples that actually processed with this software. All left is original, right is processed with "Glamor".
Let's start the download.
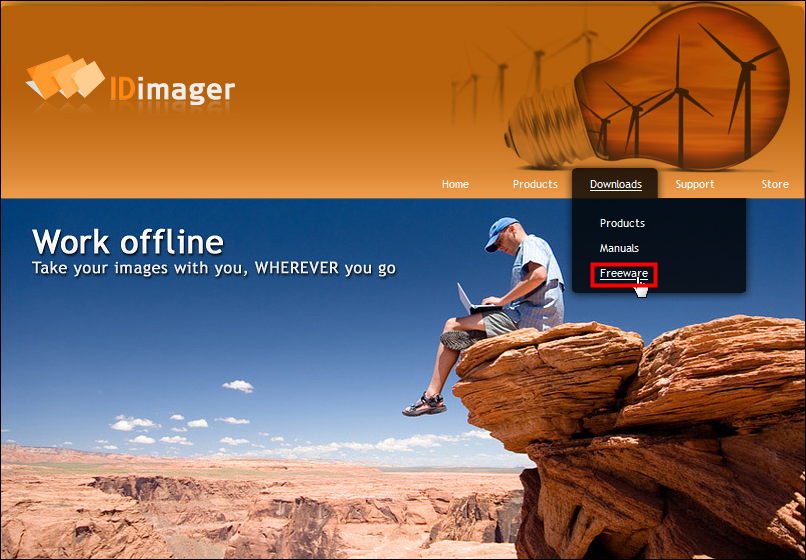
IDimager - Power up your photo management workflow
http://www.idimager.com/
Click "Freeware" from "Downloads" in the above page
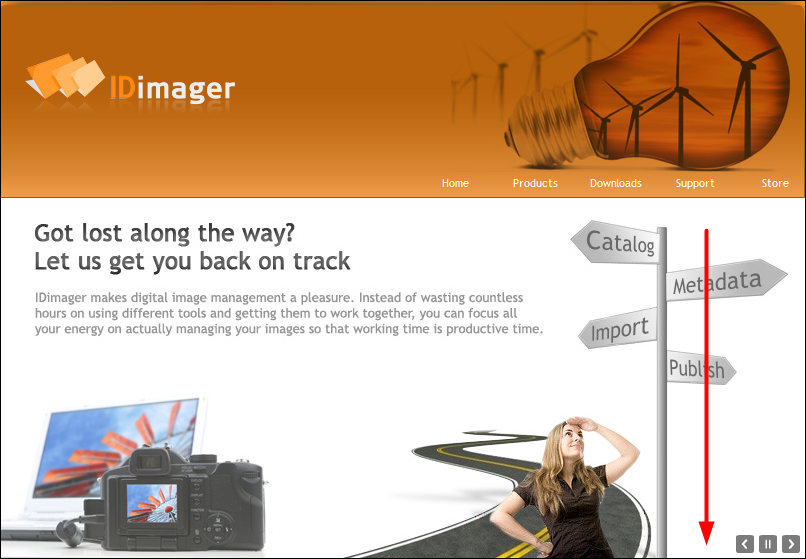
Scroll down
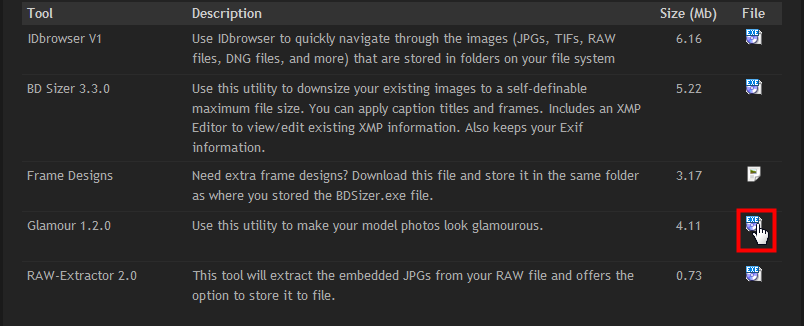
Click on the red frame to start downloading
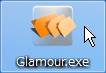
Since the installer "Glamor.exe" is created on the desktop, click
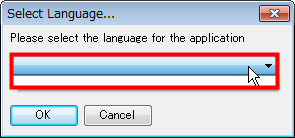
I choose a language to use, why is the pull down menu blank
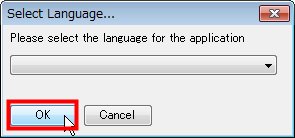
Click "OK" without worrying
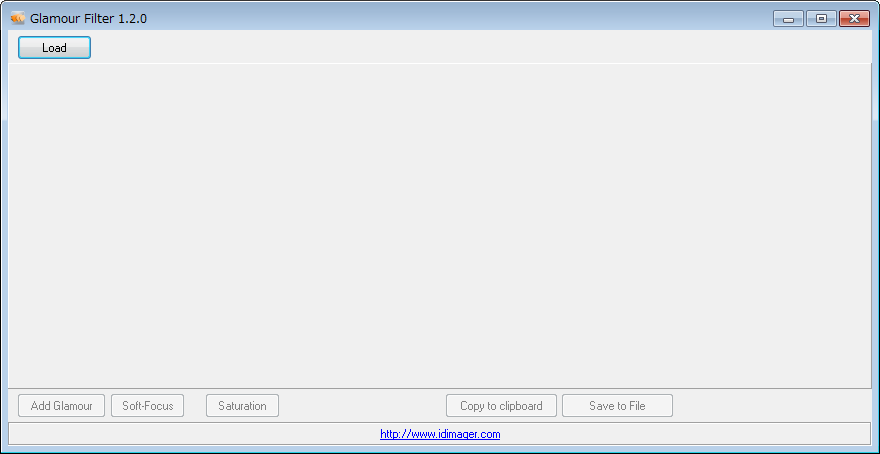
This is the start screen.
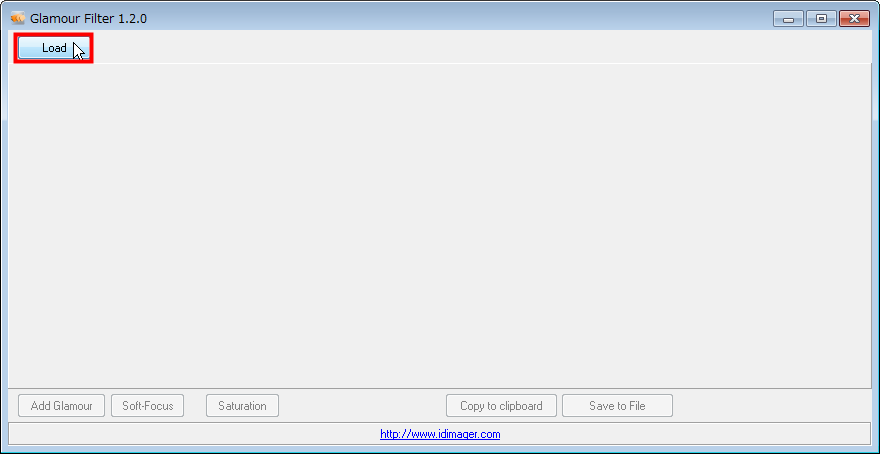
Click "Load"
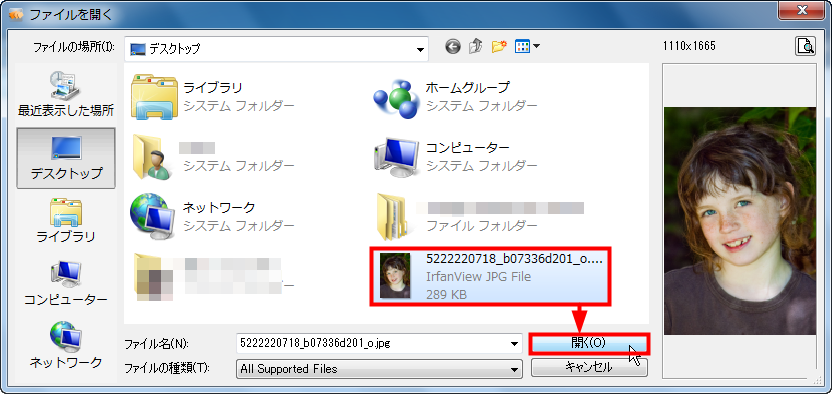
Select the image you want to process and click "Open"
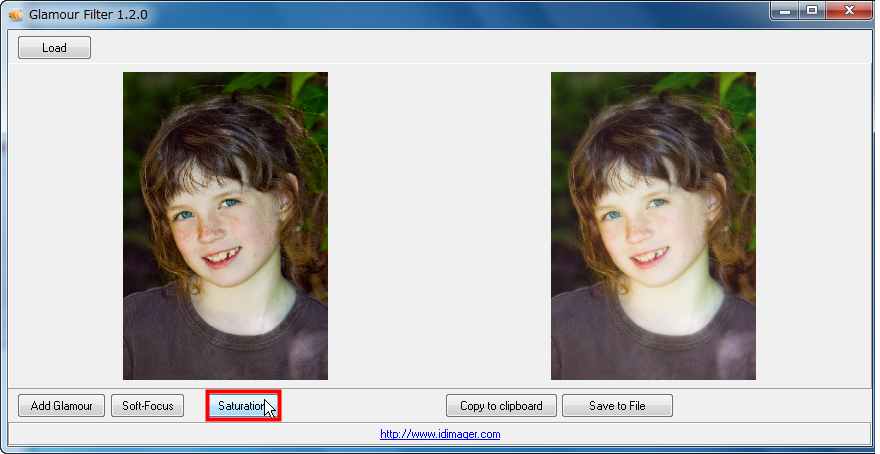
Click "Add Glamor" to start processing
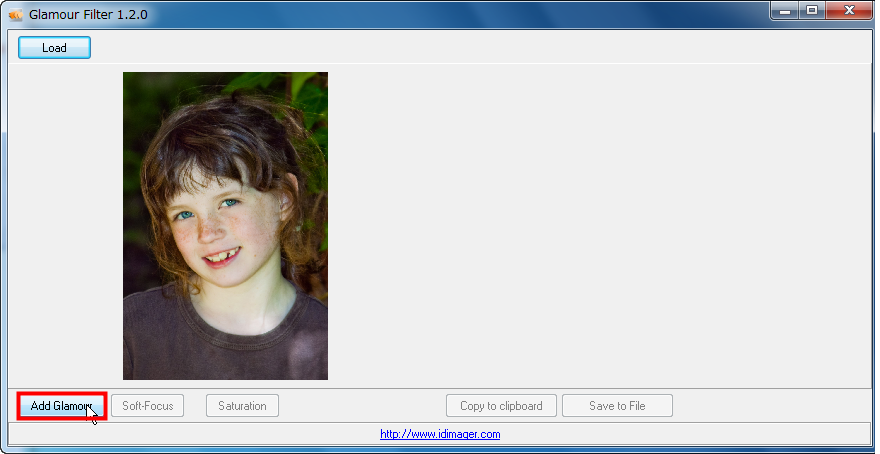
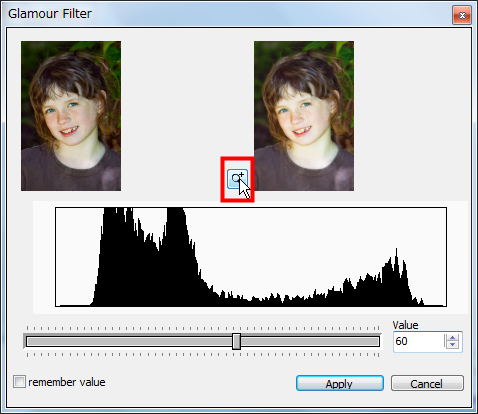
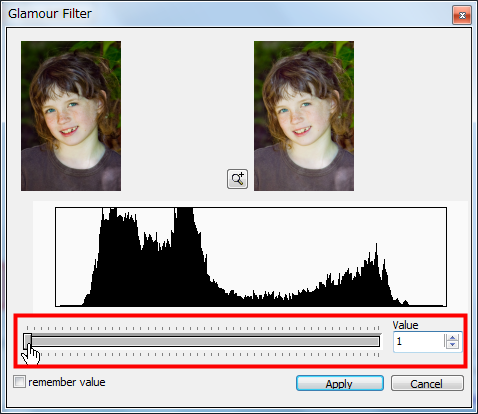
Adjust the effect on this screen. The picture on the left is the original, the right is the picture already with the "Glamor effect".

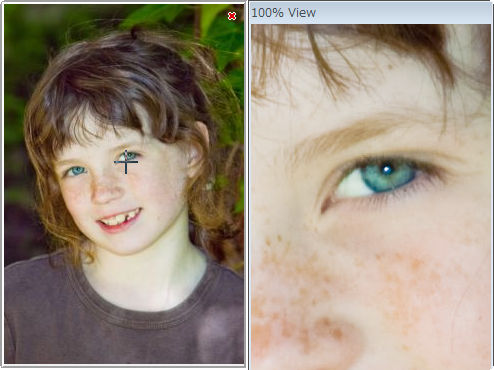
By clicking on the red frame part, you can preview while zooming on the processed image.
Each time you move the pointer the location you zoom will change so let's check out any places.
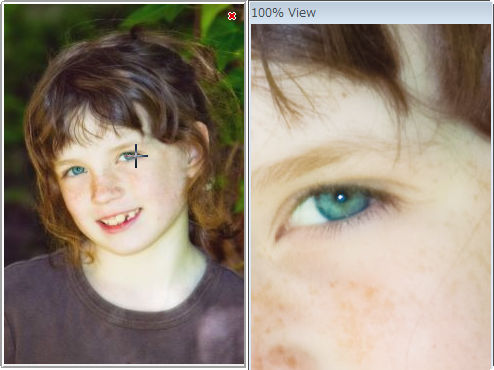
You can adjust the amount of the effect by operating the slide bar. By default, we set "Value", which was 60, to 1. I will see this effect by zoom
Then it looks like this.
On the contrary, I tried to make "Value" 100
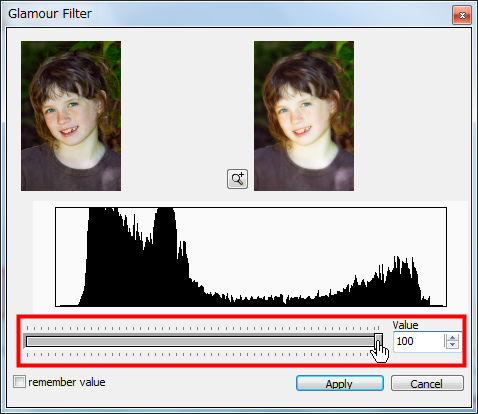
It is getting brighter overall.

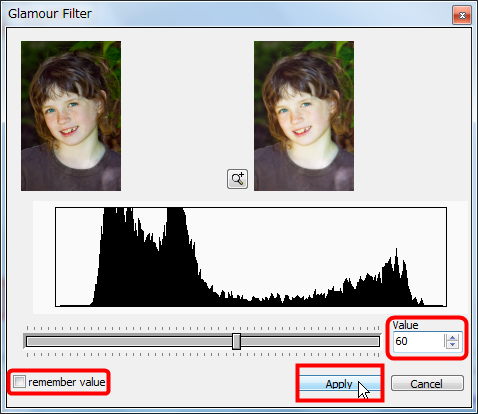
When you are satisfied with the effect, it is decided by "Apply". In this time "Value" is set to the default of 60. If "remember value" is checked, the value will be retained the next time the software is activated.
Next, select "Soft-Focus"

In the same way as before, the degree of soft focus effect can be adjusted with the slide bar. However, you can not preview with zoom. We also set this to 50 as the default. Click "Apply" when you are done.

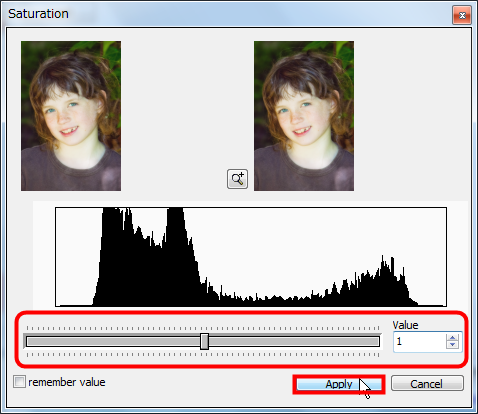
Click "Saturation" this time. It is adjustment of saturation.
Move the slide bar to the right to make the image brighter. Click "Apply" after adjustment. This time I chose the default 1.
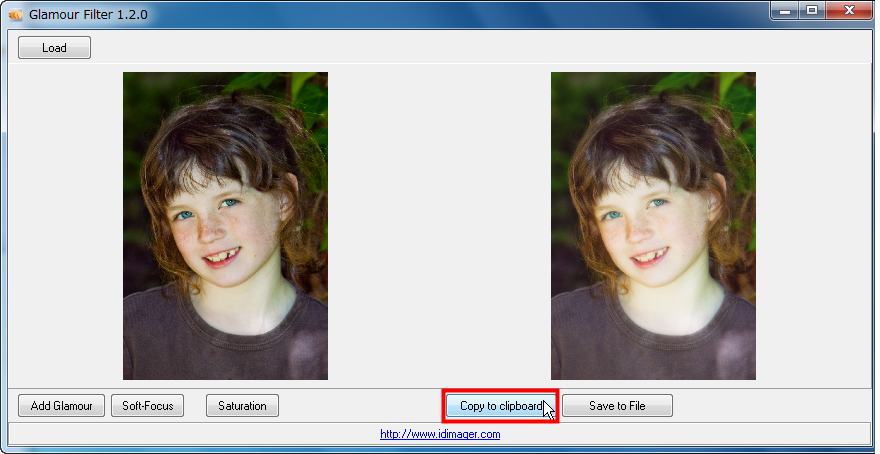
When you press "Copy to clipboard", you can copy the processed image to the clipboard, so it is useful when you want to use it with other image related software.
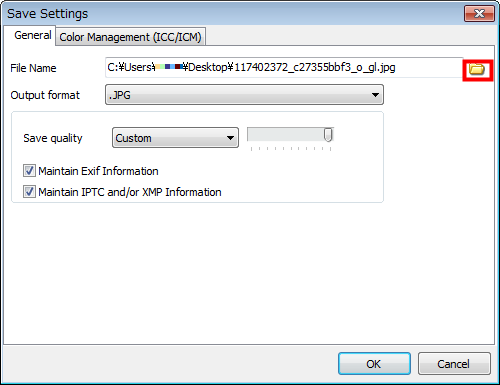
"Save to File" is saving images. Clicking on it opens the "Save Settings" window.
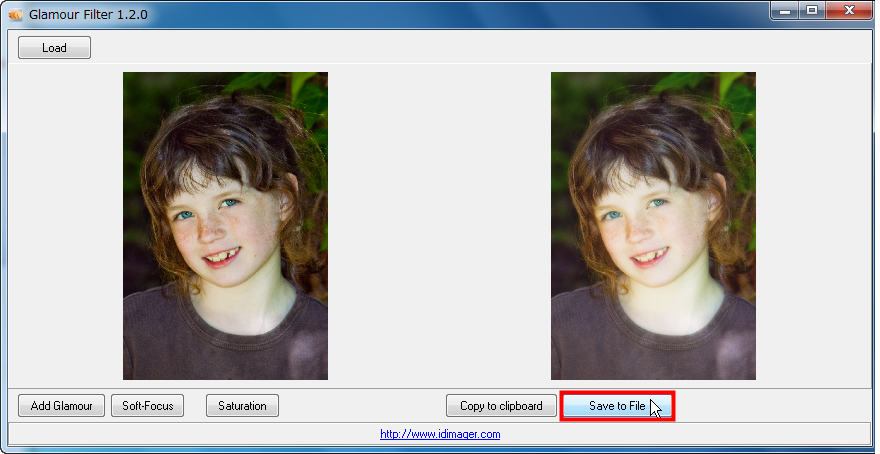
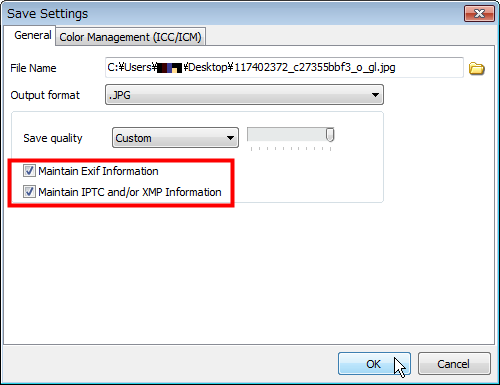
In the "Save Settings" "General" tab, you can change the name and format of images. You can change the save destination and name by clicking the icon to the right of "File Name".
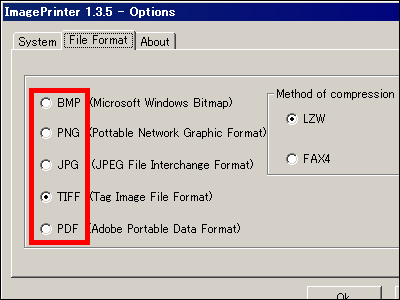
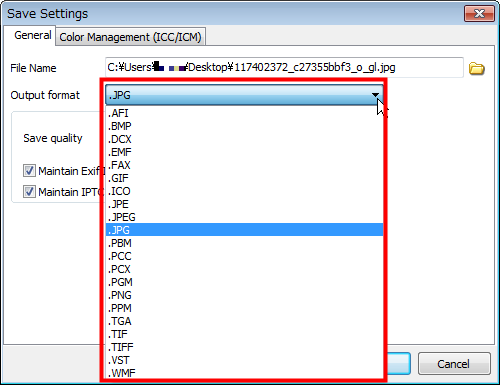
To change the format of the image, click the pull-down menu to the right of "Output format". You can choose the format from just this kind.
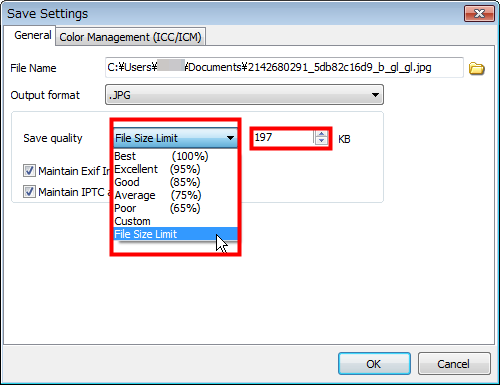
To select the image quality to save, it is a pull-down menu to the right of "Save quality". You can choose from 100% to 65% by default.
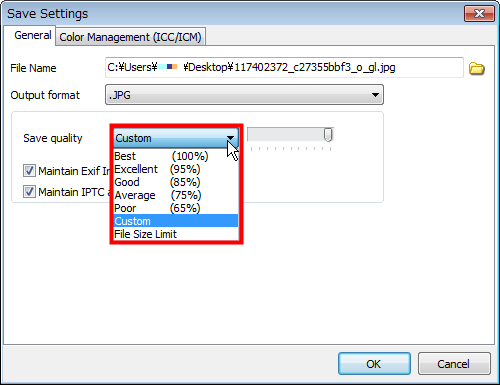
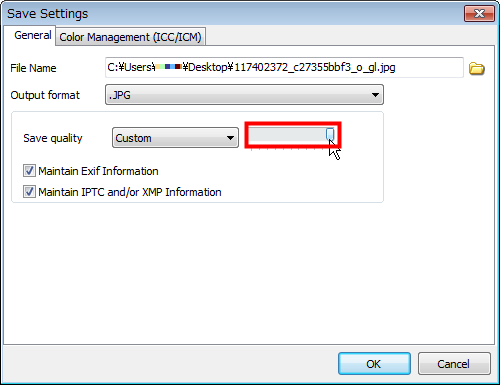
Also, if you select "Custom", a slide bar will appear on the right side, so you can specify a fine number and save it.
Choose "File Size Limit" if you save with specifying the limit capacity of the image.
To keep the Exif information of the original image intact Check "Maintain Exif Information".XMPYaIPTCIf you want to keep the information as it is, check "Maintain IPTC and / or XMP Information".
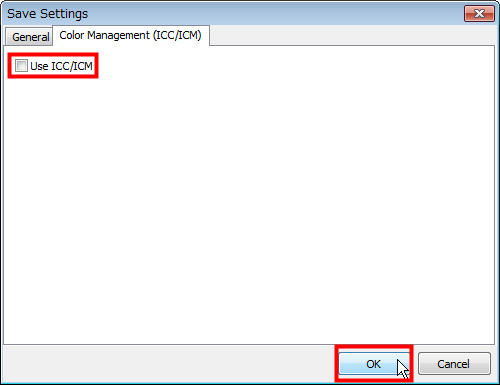
Color management systemTo use, check "Use ICC / ICM" on "Color Management (ICC / ICM)" tab. After all settings are completed, press "OK" to save.
It was completed.
Related Posts: