I tried setting up Cloudflare Access, which is free to use, to securely access my local AI from outside.
Cloudflare Tunnel allows you to expose services running on your local PC via Cloudflare without needing to configure router port forwarding or other settings. However, simply setting up the Tunnel allows anyone to access it, so this time we decided to add authentication using Cloudflare Access to the URL exposed by Cloudflare Tunnel.
Access | Zero Trust Network Access (ZTNA) Solution | Cloudflare
The previous article explained how to use Cloudflare Tunnel to allow external access to services in your local environment.
I tried out 'Cloudflare Tunnel,' which allows you to expose your local environment to the outside world for free without the need for troublesome settings such as port forwarding - GIGAZINE
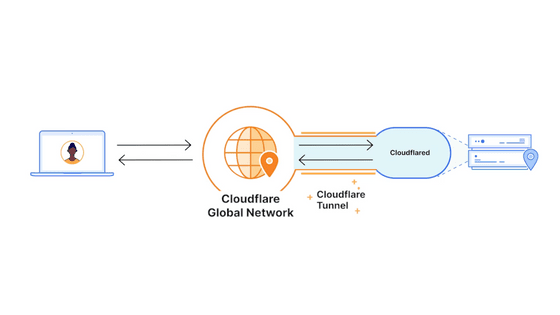
Cloudflare Access allows you to add an authentication layer in front of your published application. This means that even with an application like Lemonade, which we're running locally and is designed specifically for local use, Cloudflare can control who can access it.
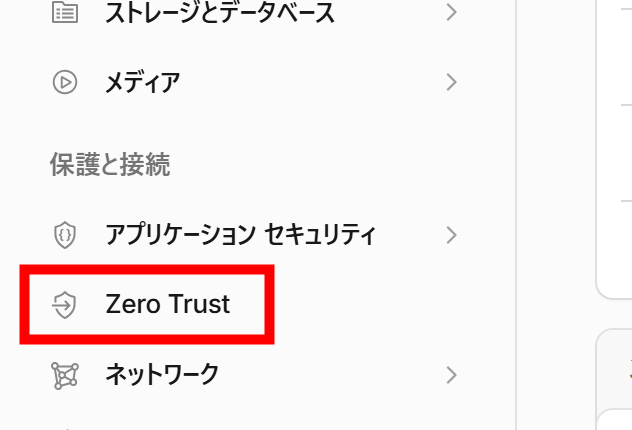
First, log in to your Cloudflare dashboard and click 'Zero Trust' from the menu on the left.
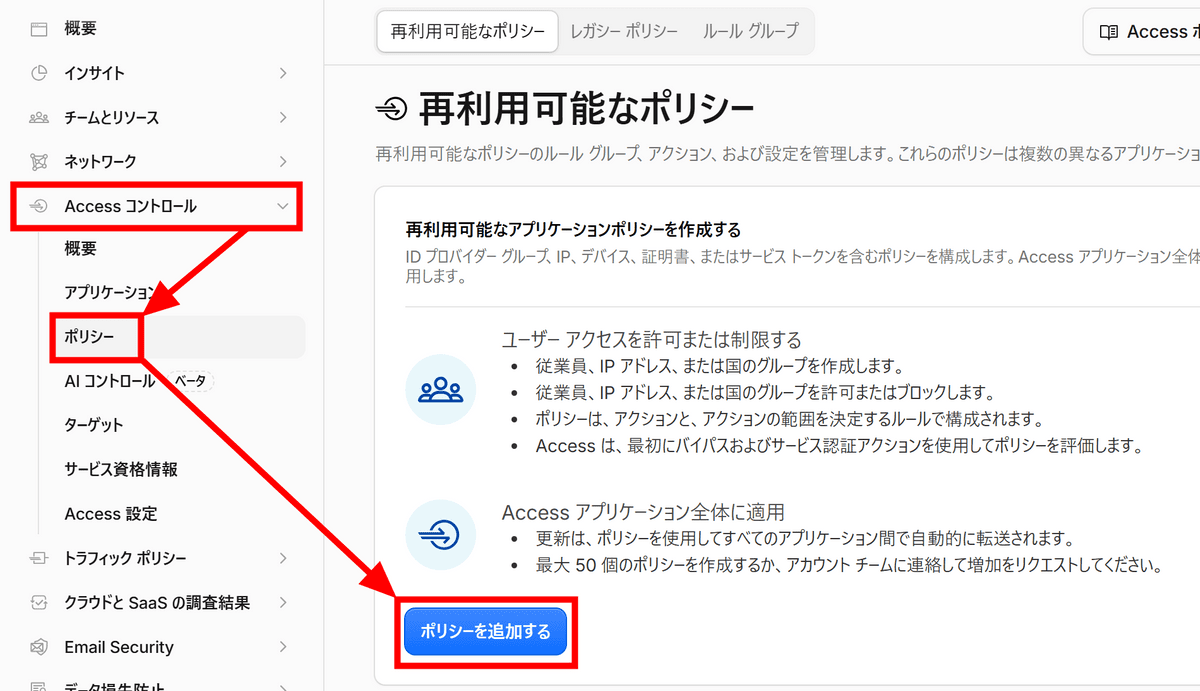
Once the Zero Trust page opens, the first step is to configure the policies. Click on 'Policies' under the 'Access Control' section, and then click 'Add Policy'.
This time, we'll set up email authentication, so select 'Email' and add the email address you want to allow. On the right, enter a clear 'Policy Name' and select 'Allow' for the action.
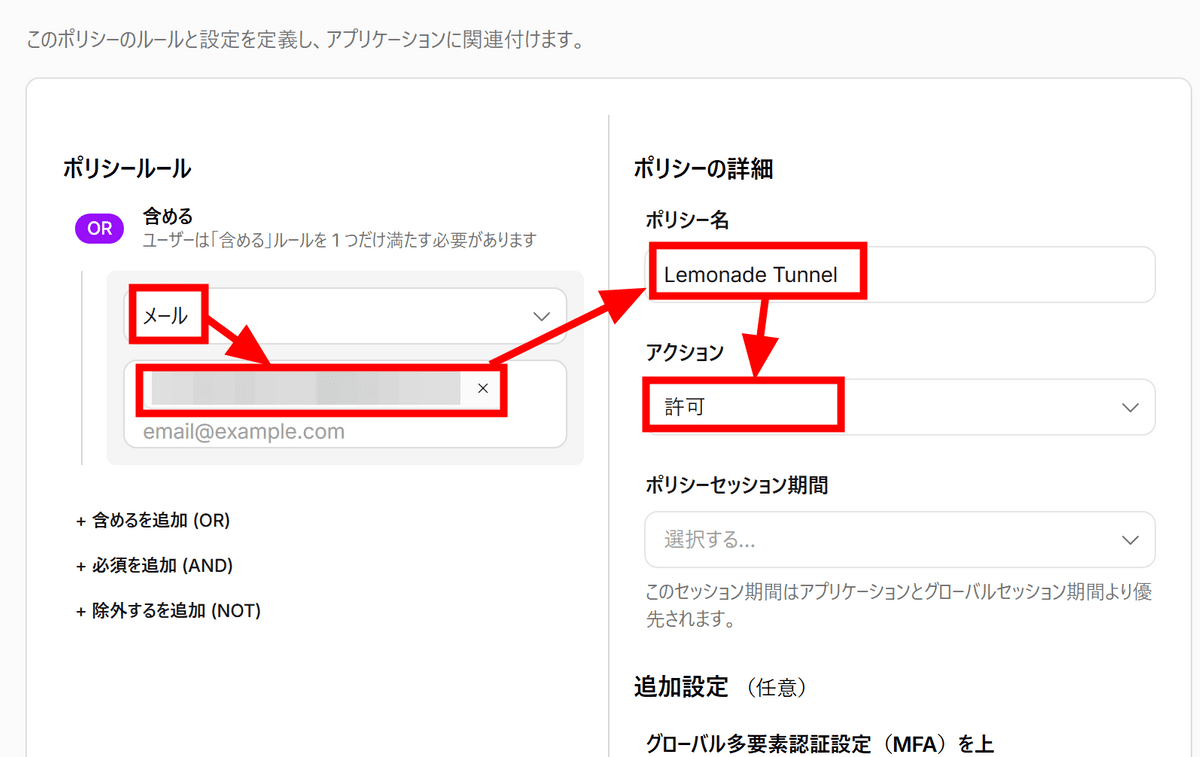
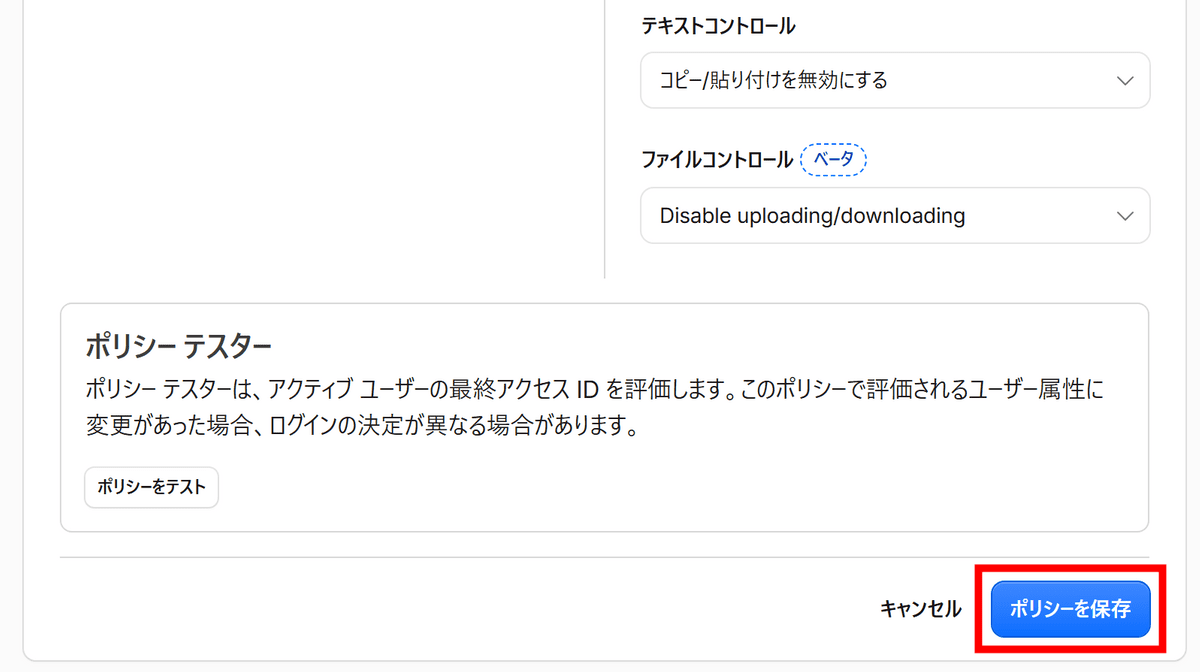
Scroll down the page and click 'Save Policy' at the bottom.
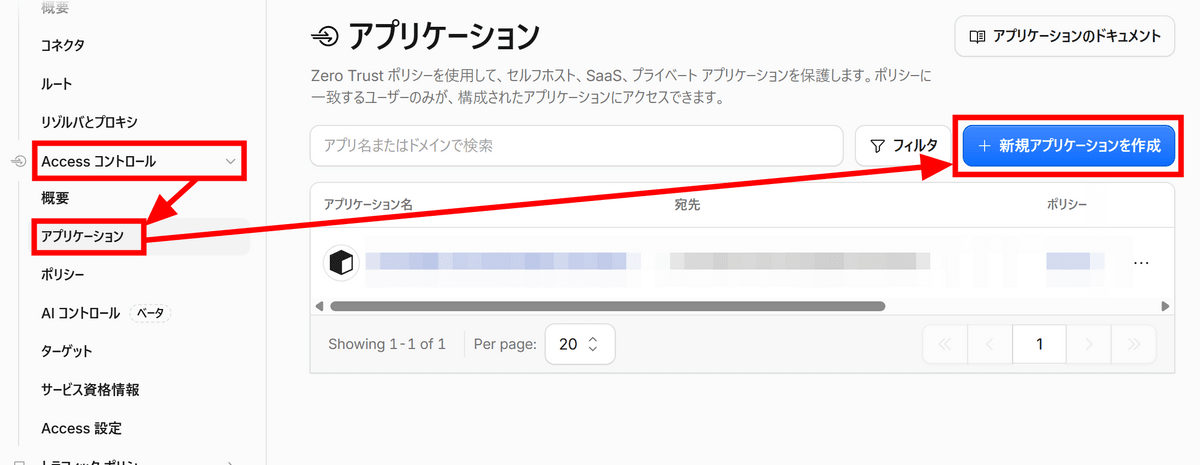
Next, we'll configure the application to define the scope of protection. Click 'Applications' under 'Access Controls,' and then click 'Create New Application.'
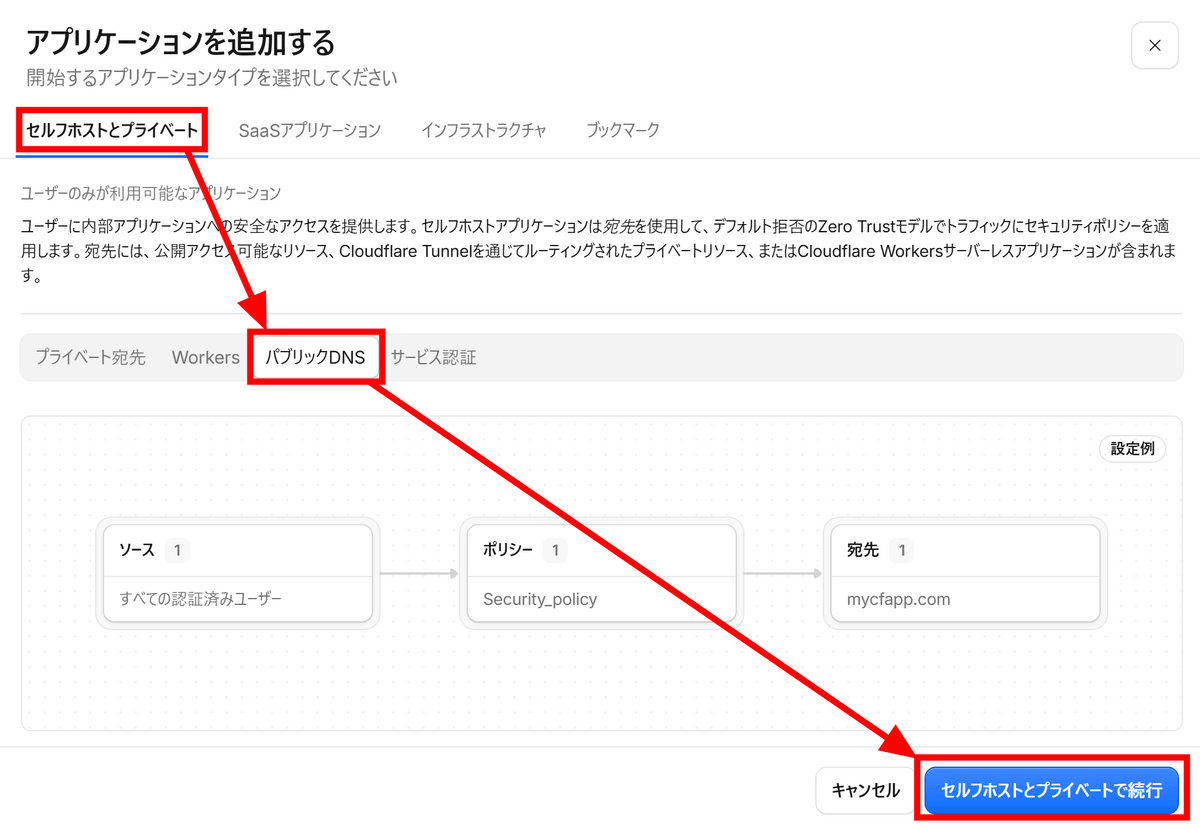
Select 'Public DNS' under the 'Self-hosted and Private' tab, and then click 'Continue with Self-hosted and Private'.
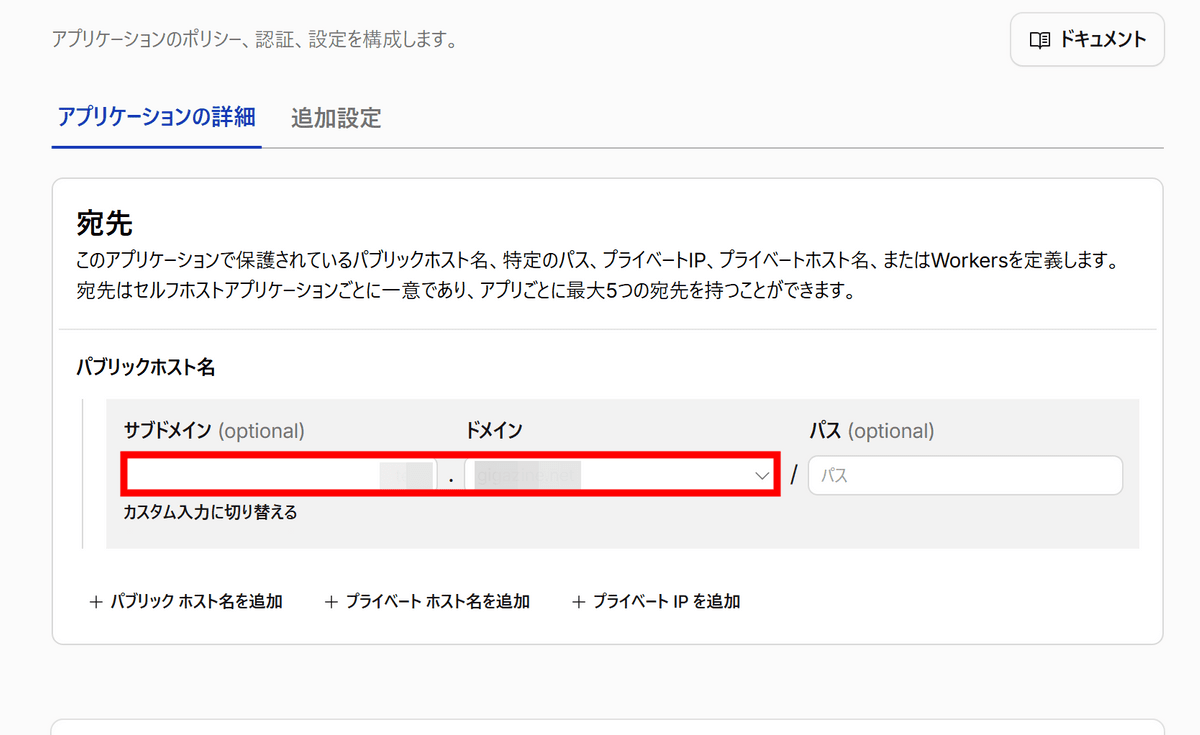
Enter the domain to be protected. In this case, I entered the domain that I set up for the Tunnel connecting to the local Lemonade.
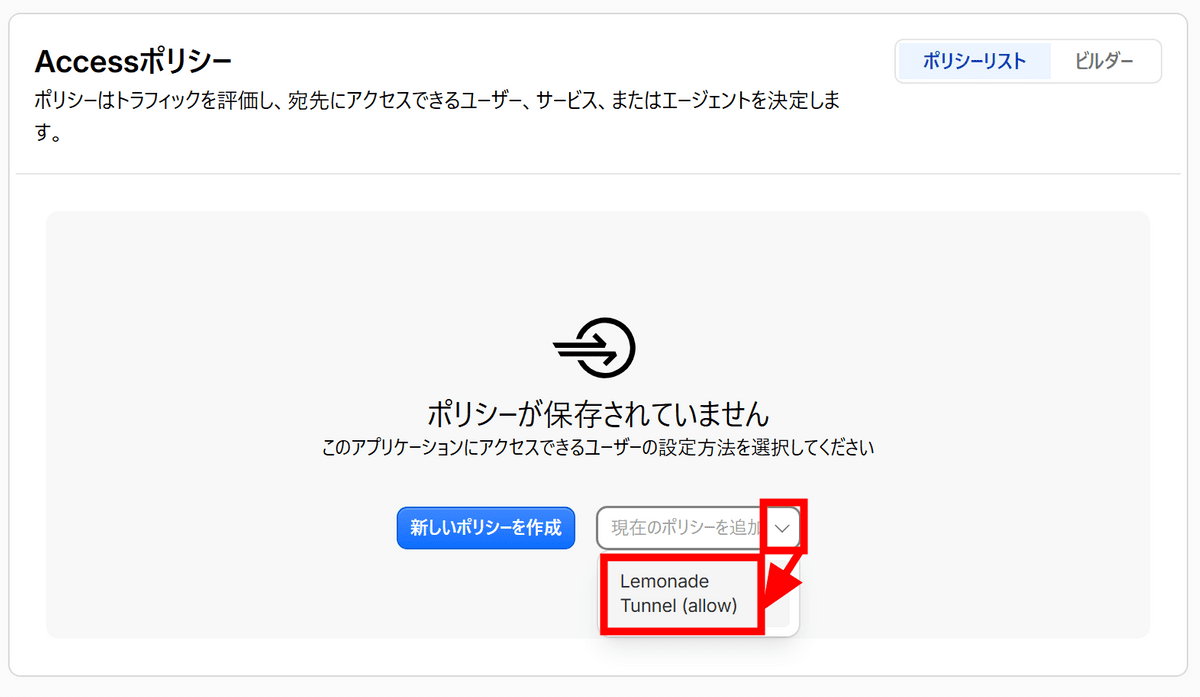
Scroll down and in the Access policies section, click the arrow next to 'Add an existing policy' and then click 'Lemonade Tunnel (allow)'.
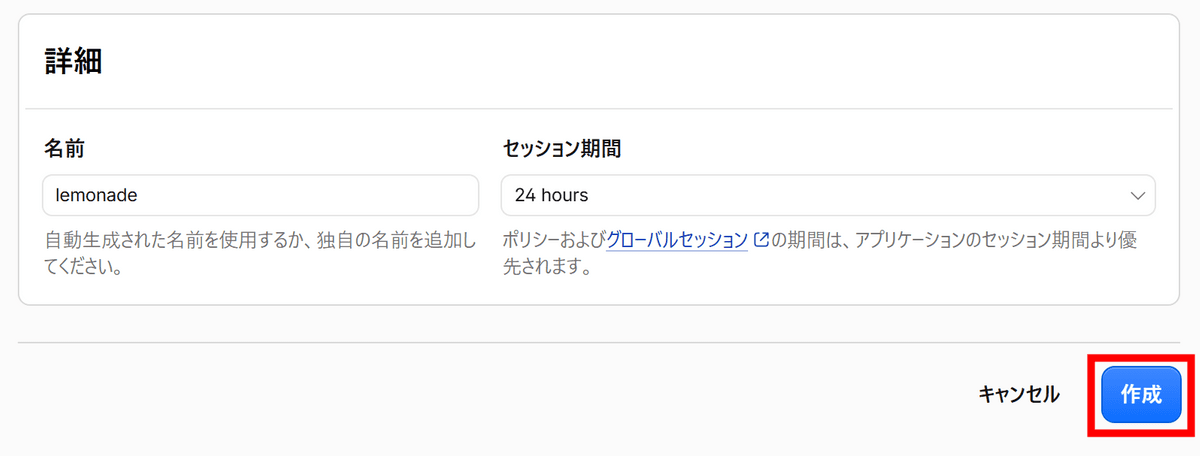
Scroll to the bottom and click 'Create'.
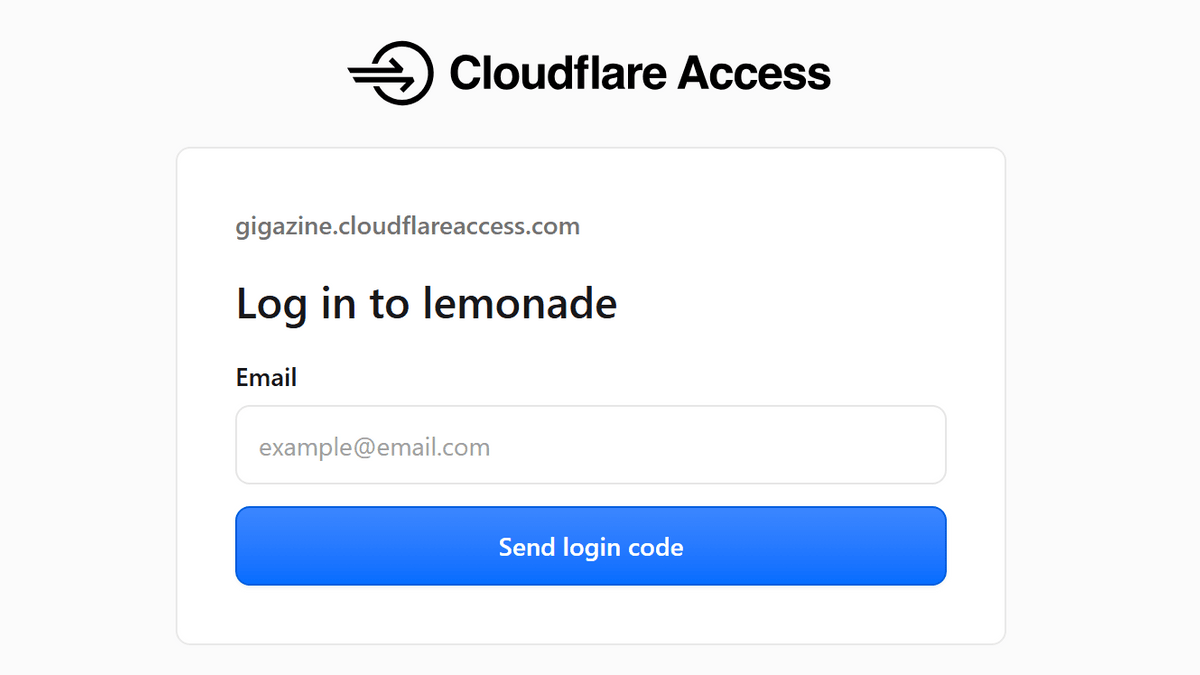
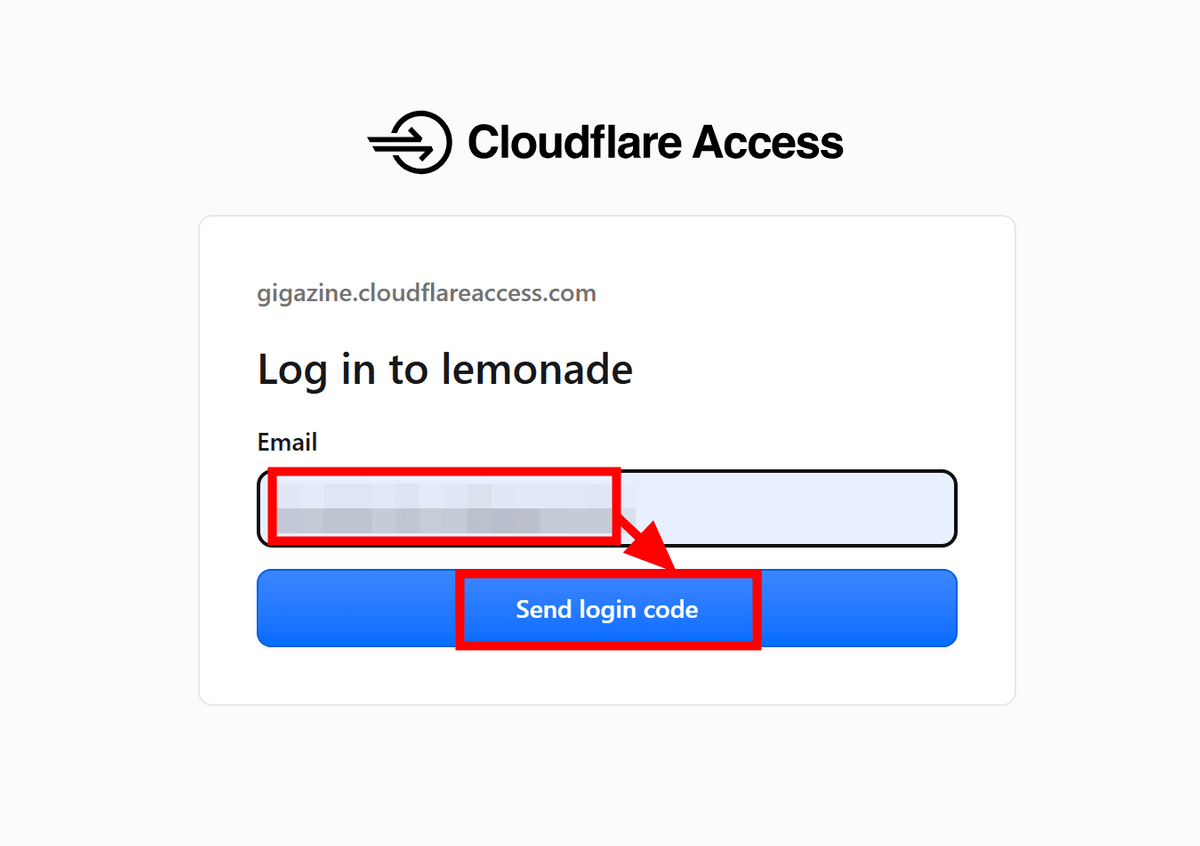
When you access the URL where Lemonade is available, a screen prompting you to log in will appear as shown below. Enter your email address and click 'Send login code'.
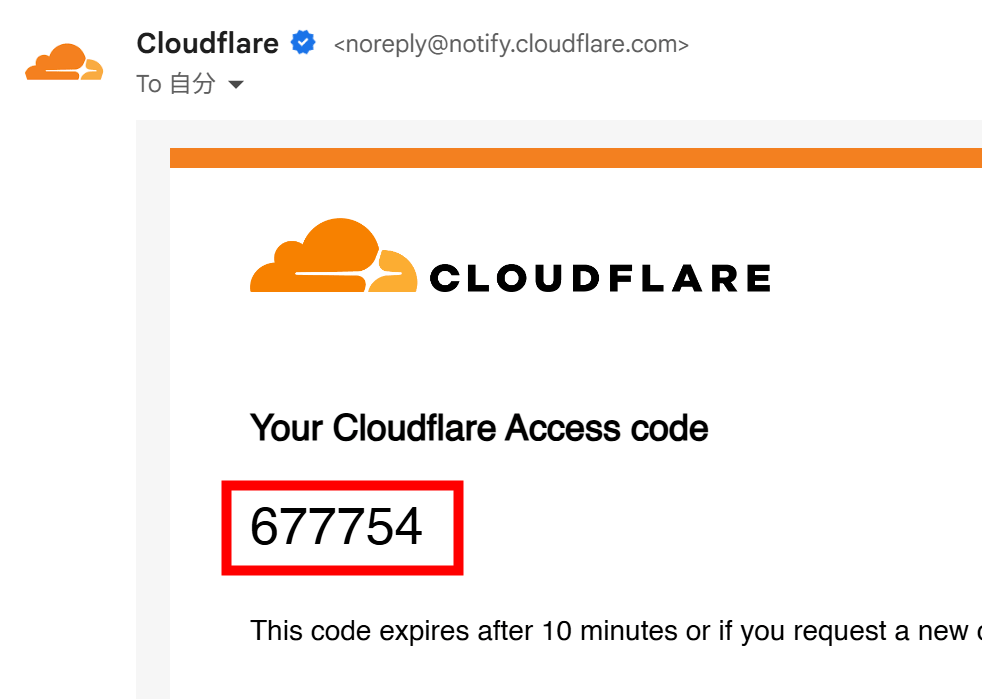
Copy the login code you received in the email.
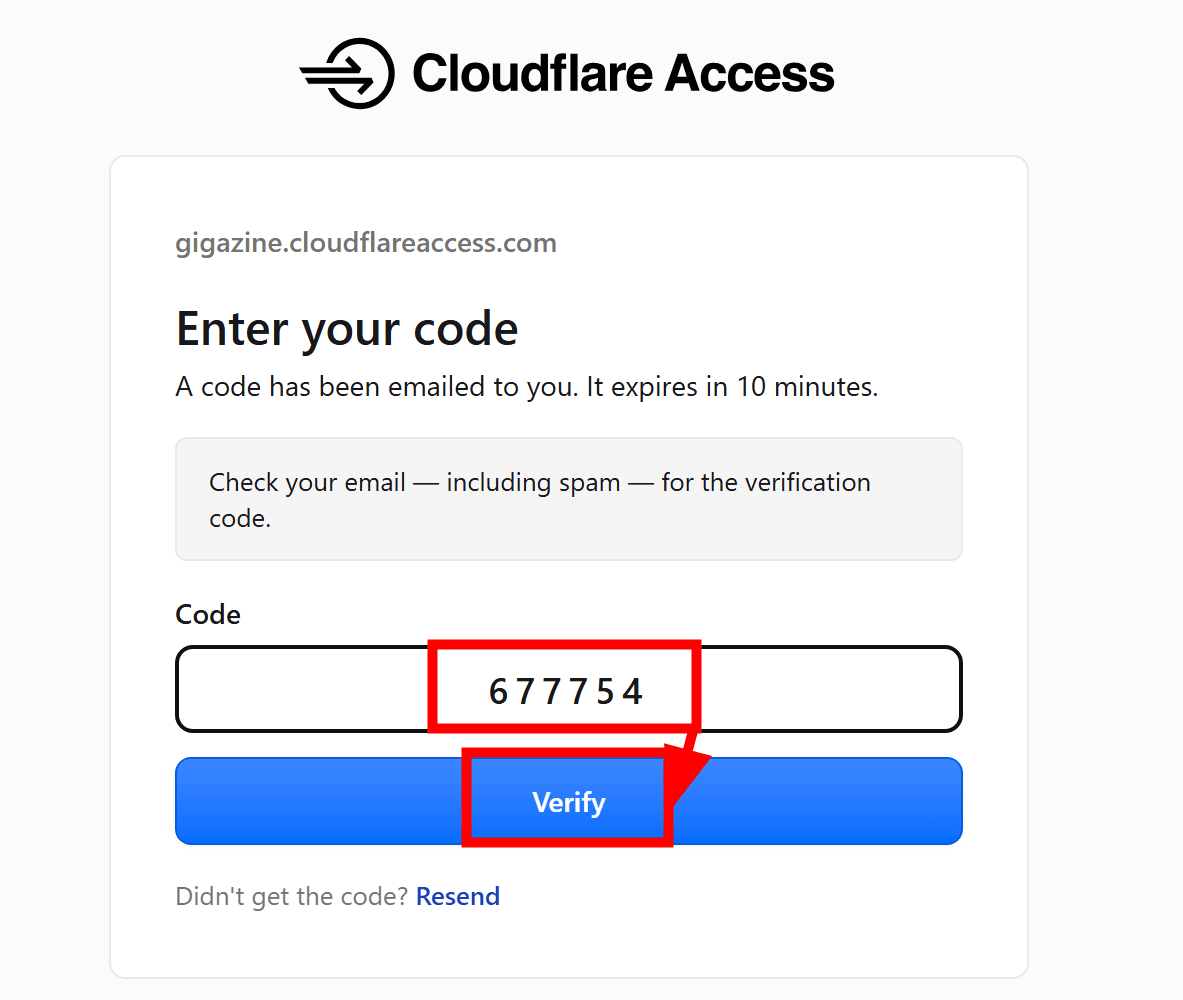
Simply paste the code into your browser and click 'Verify' to complete the login process.
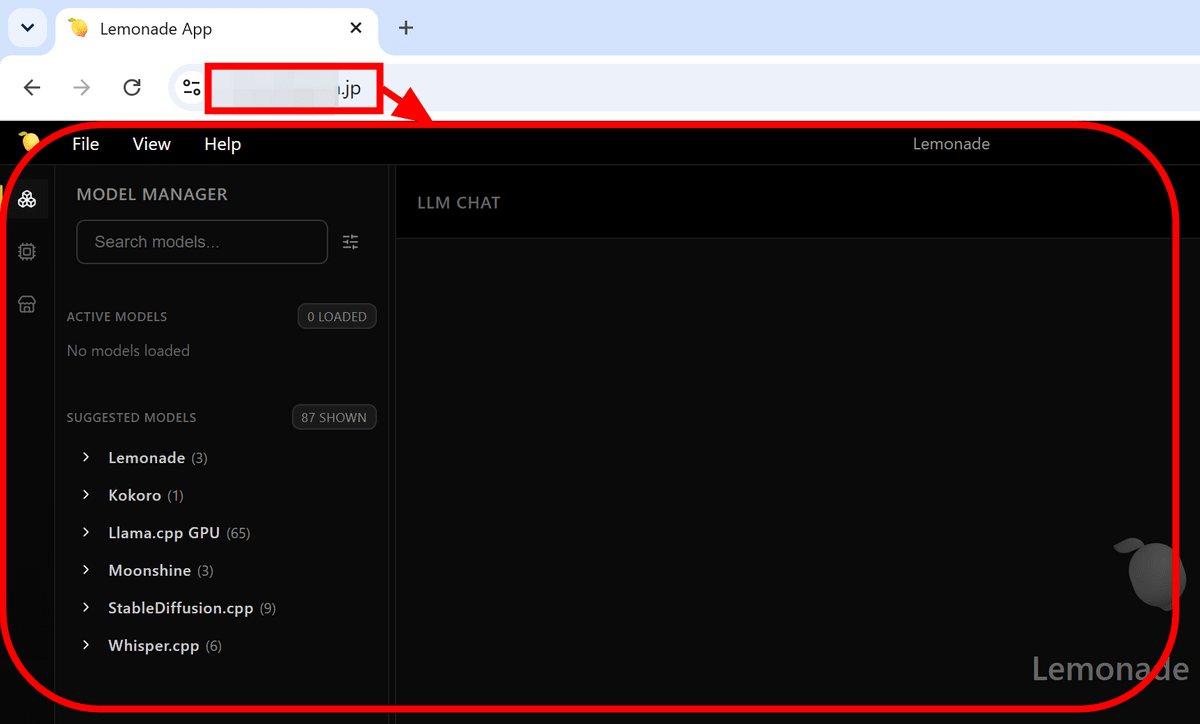
As with the previous article, we were able to access the local Lemonade server from an external source. This time, however, authentication is set up, so there's no need to worry about others using it.
Related Posts:
in Software, Web Service, Review, Posted by log1d_ts