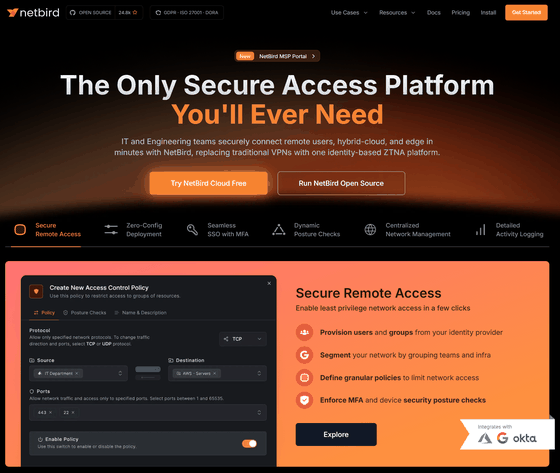
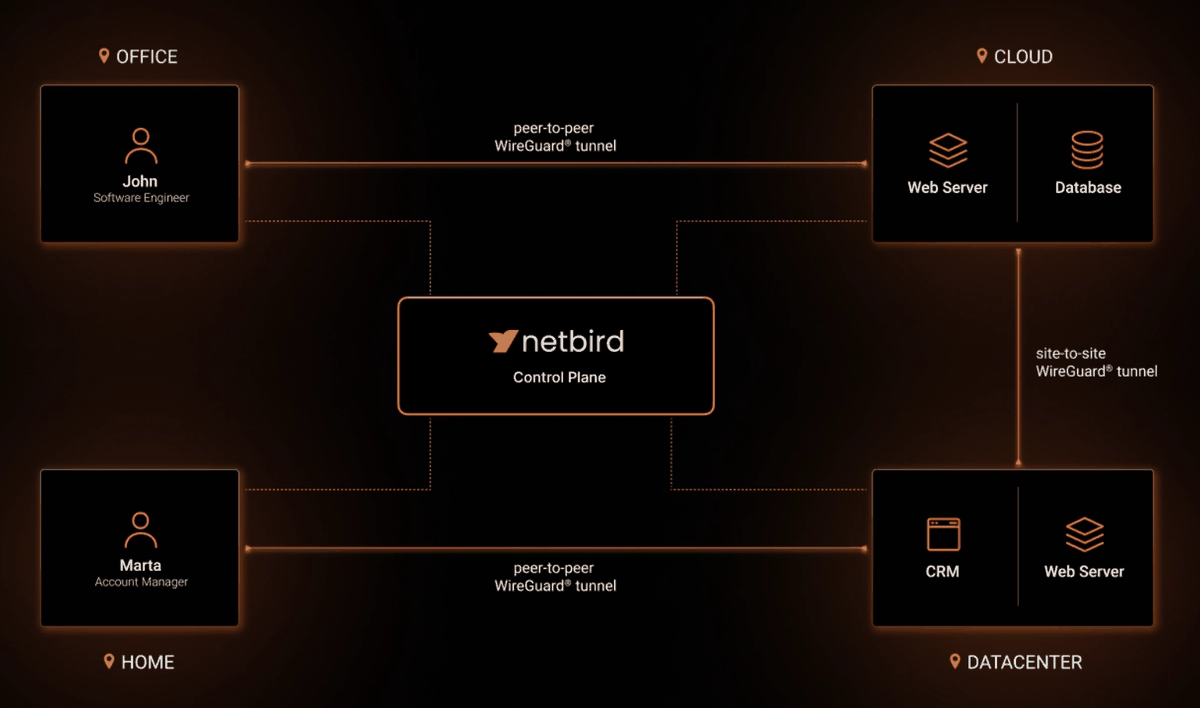
NetBird combines WireGuard-based overlay networking with zero-trust network access to provide highly reliable and secure connectivity; it is open source and self-hostable.
With the rise of remote work, the importance of building a secure internal network has increased. Products that allow for easy VPN setup, such as
NetBird - Open Source Zero Trust Networking
https://netbird.io/
netbirdio/netbird: Connect your devices into a secure WireGuard -based overlay network with SSO, MFA and granular access controls.
◆NetBird Overview
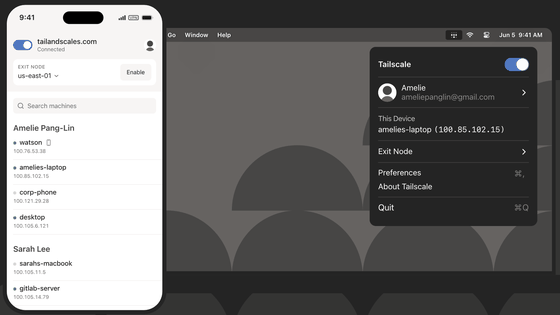
' How does Tailscale, which makes it easy to build a secure VPN network, work ?' It uses the same WireGuard base to build a mesh network with peer-to-peer connections between devices. The main difference from Tailscale is that the management server can be set up on your own host server.
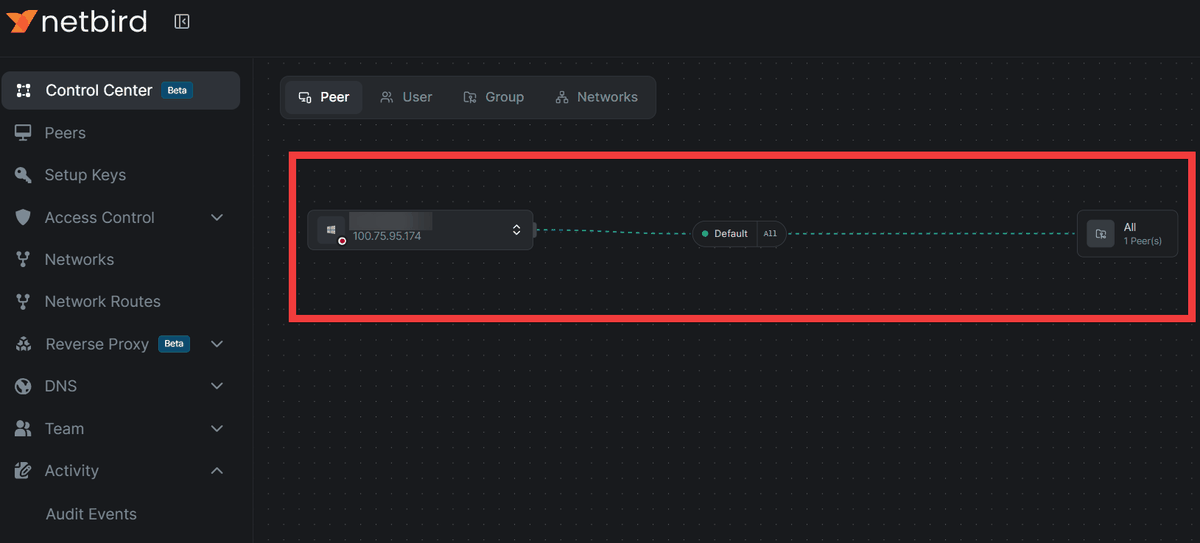
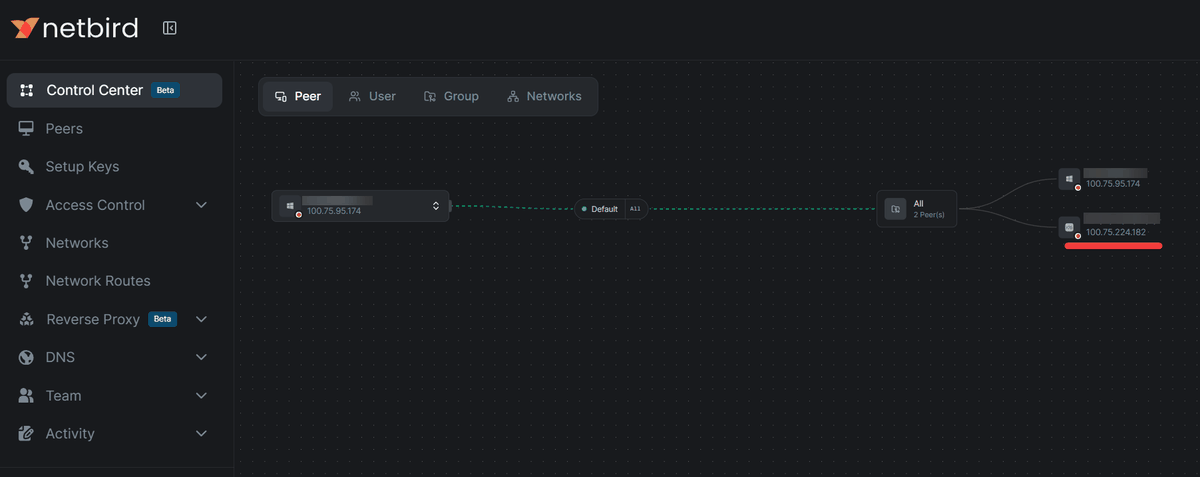
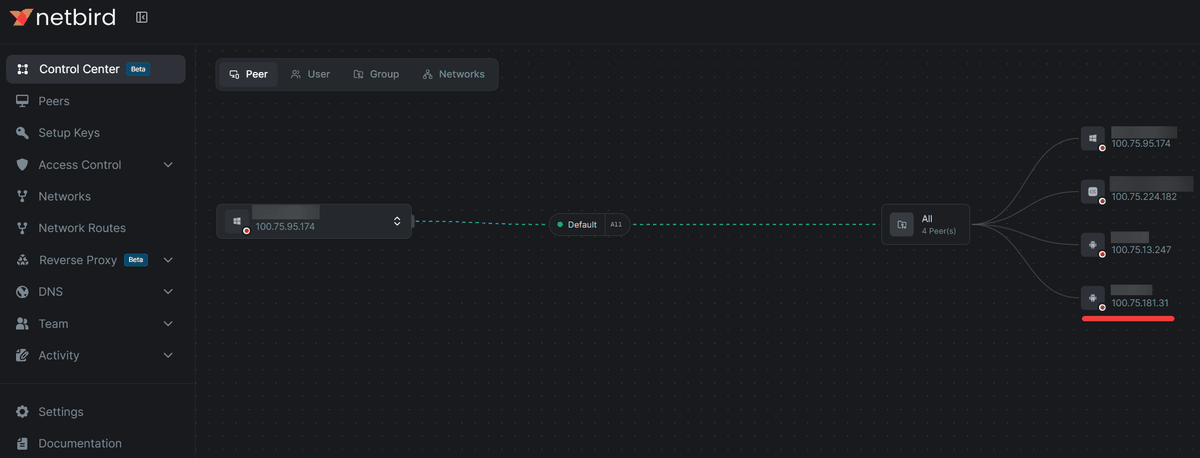
You can visually check access rules. The left side displays 'Users or device groups,' the center displays 'Rules,' and the right side displays 'List of connected devices,' allowing you to verify that the rules are functioning correctly and that devices are connected properly.
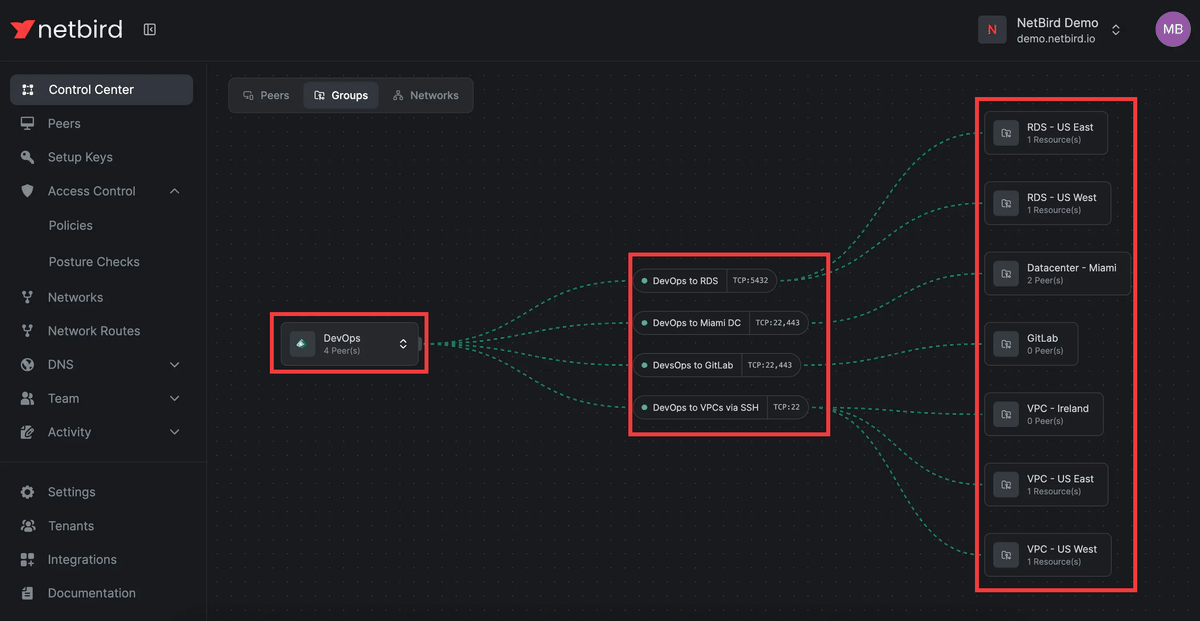
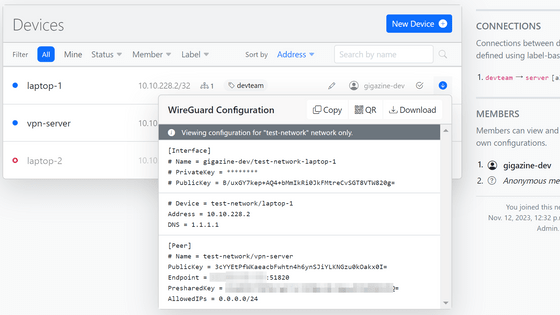
Devices can connect to each other with full access, but flexible rule settings are also available, such as restricting communication to specific ports.
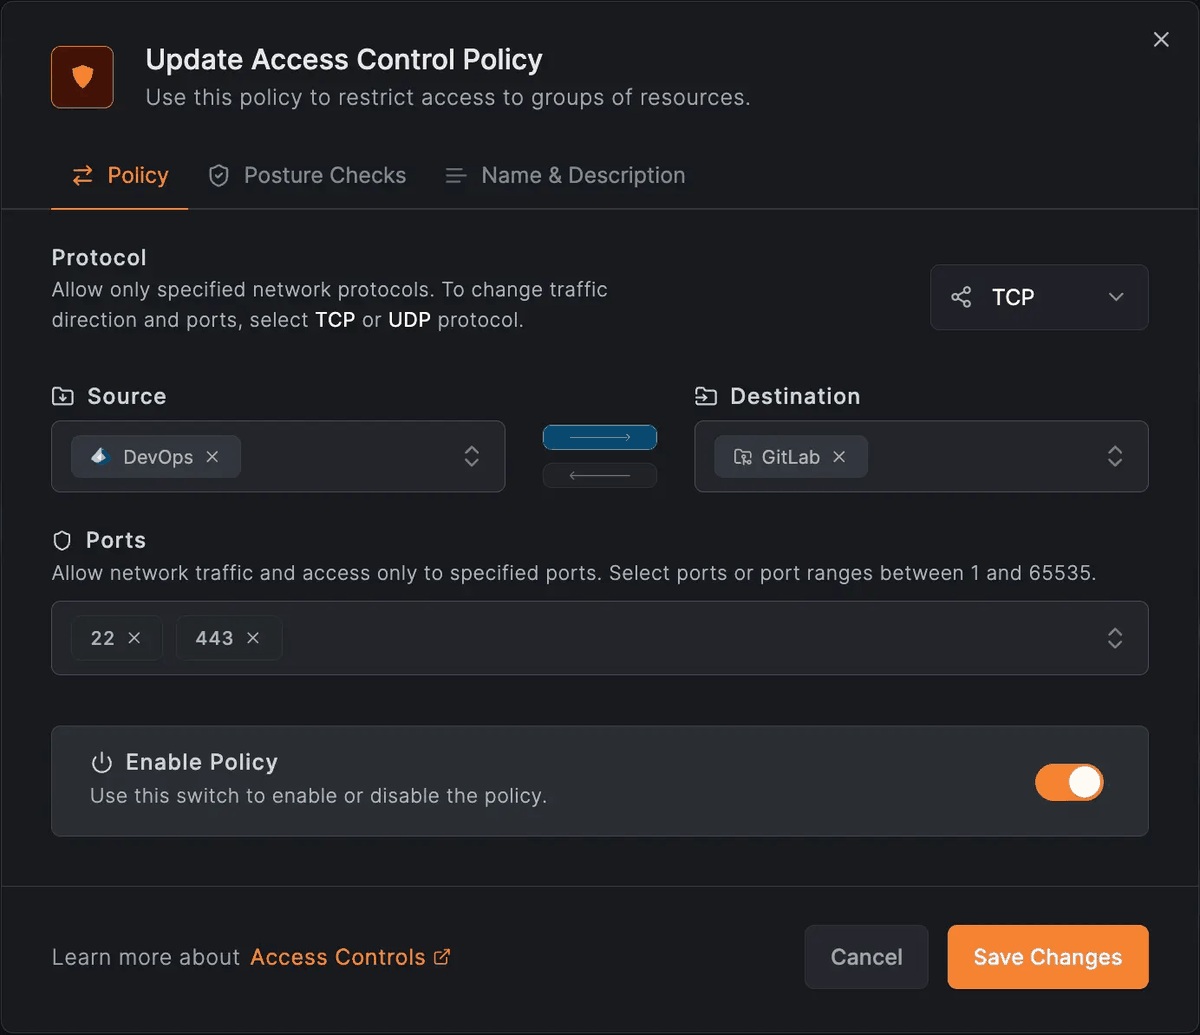
Table of contents for setup instructions
◆ Installation and connection method for the Windows client
◆ How to install and connect the iOS client
◆ How to install and connect the Android client
◆ How to set up a host server
◆Installation and connection method for the Windows client
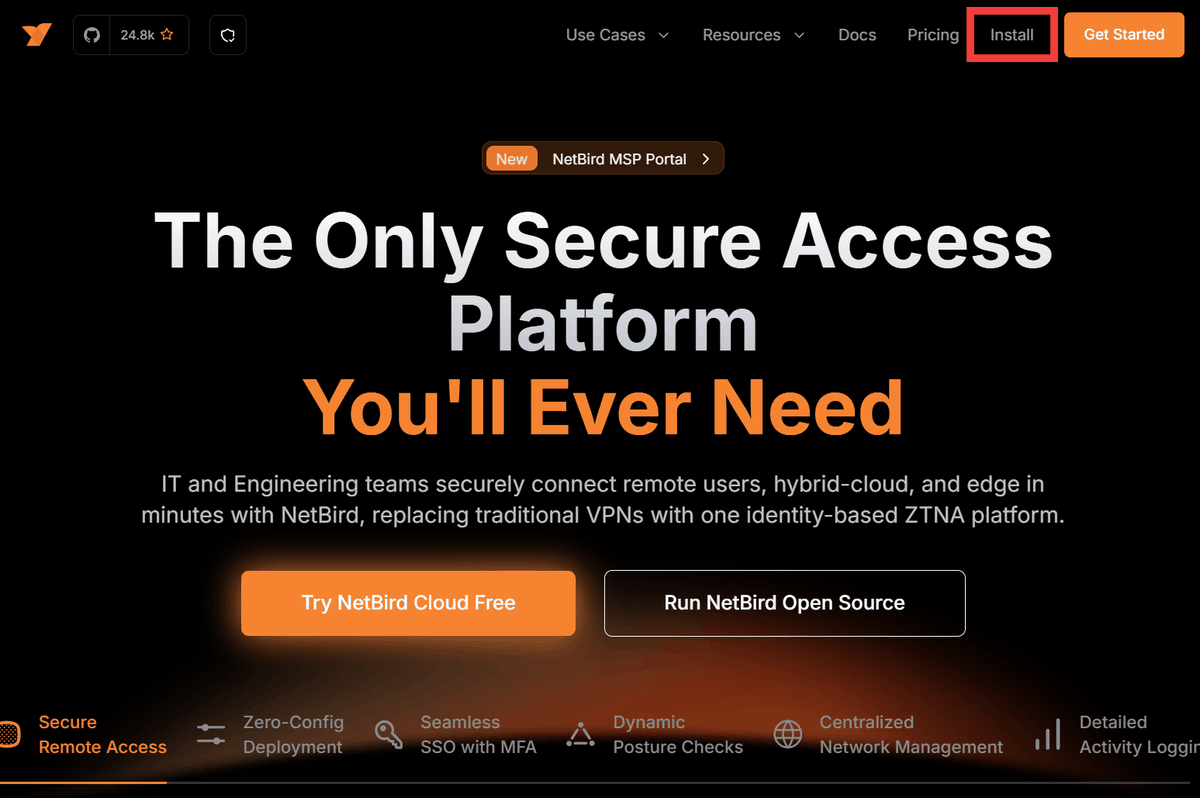
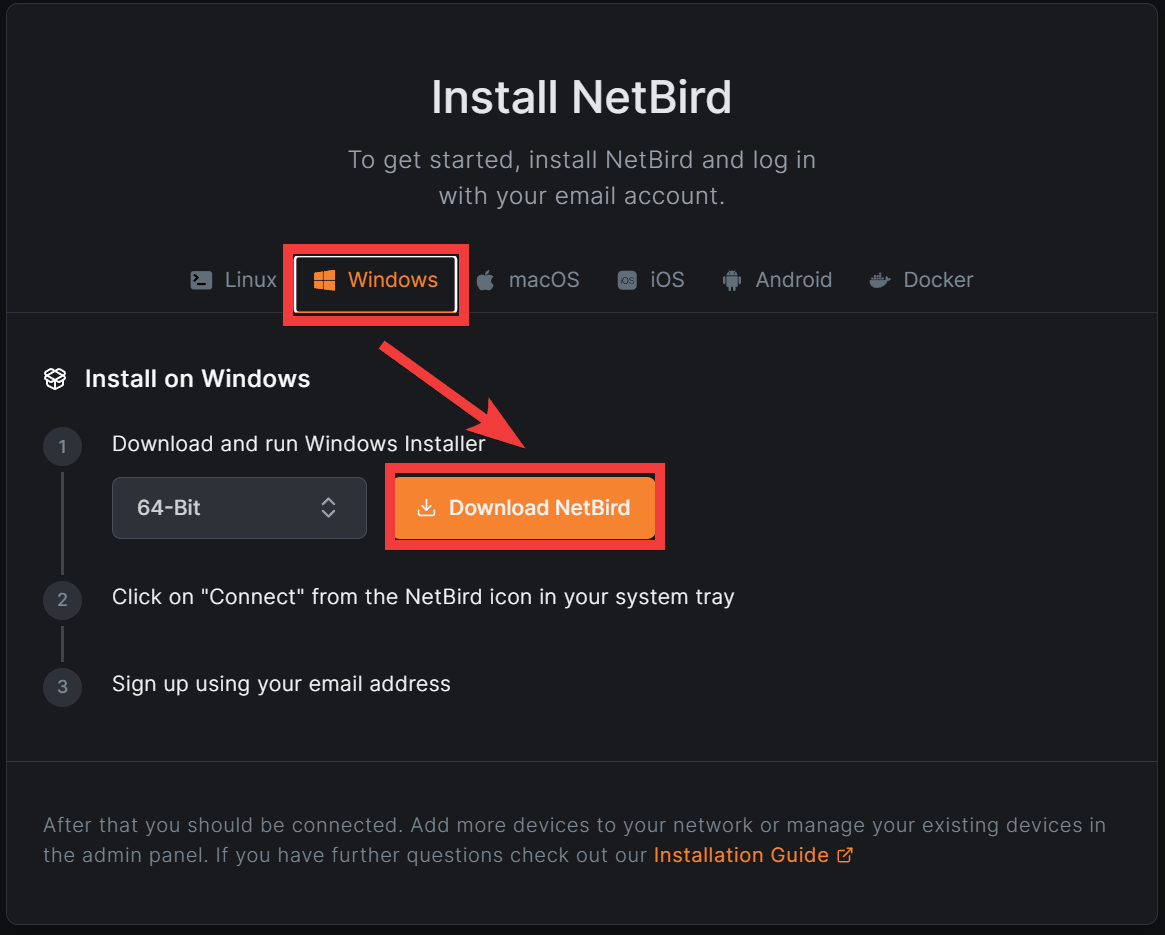
Click 'Install' in the upper right corner of the official website.
The installation site will appear, so make sure 'Windows' is selected and click 'Download NetBird' to save it.
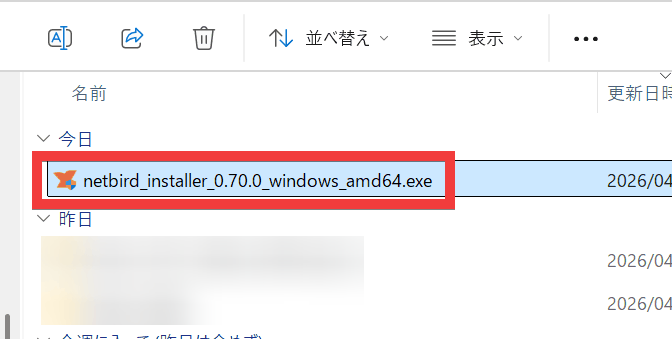
Double-click the downloaded installer to run it.
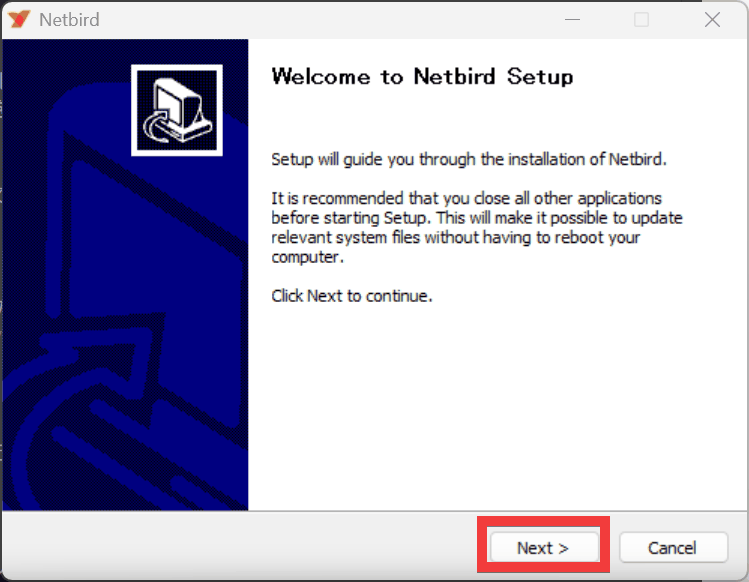
The setup wizard will appear, so click 'Next'.
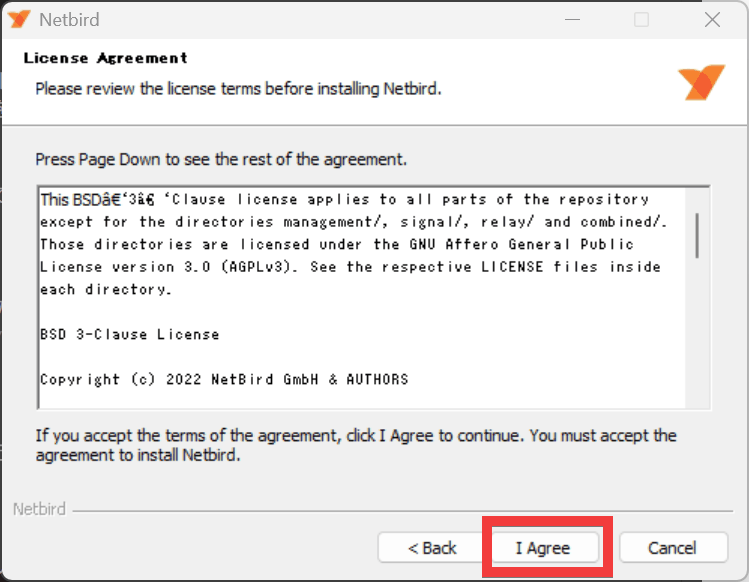
The terms and conditions will be displayed, so click 'I Agree'.
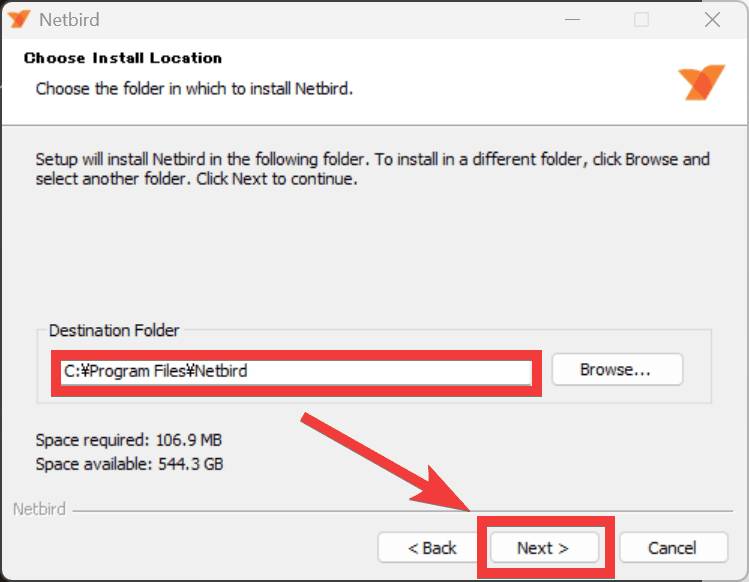
The installation location will be displayed, so select your desired folder and click 'Next'.
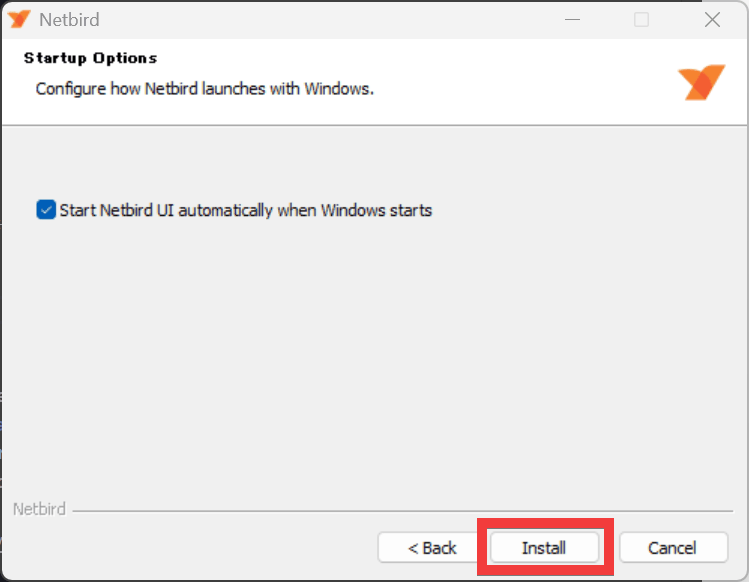
The installation is ready, so click 'Install'.
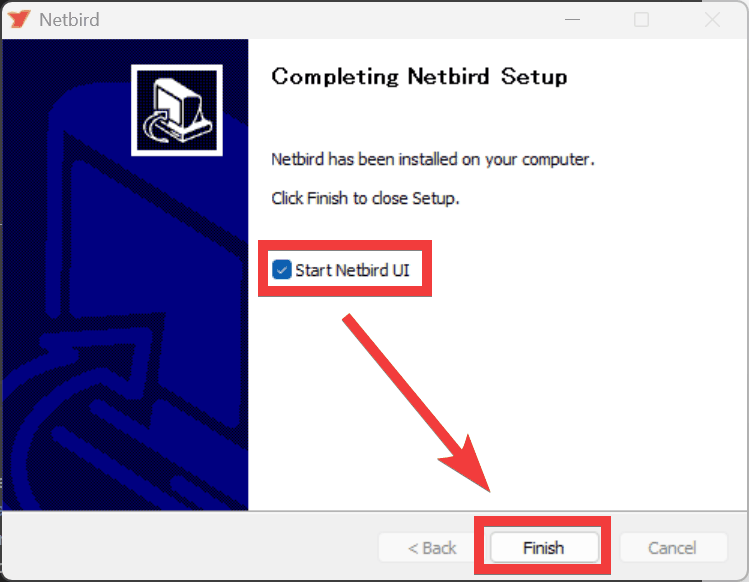
Check the box for 'Start Netbird UI' and click 'Finish'.
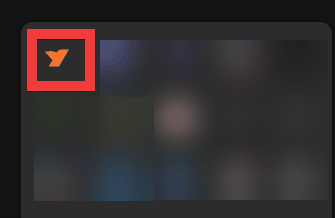
If the UI does not appear after waiting for a while, click the NetBird icon in the taskbar.
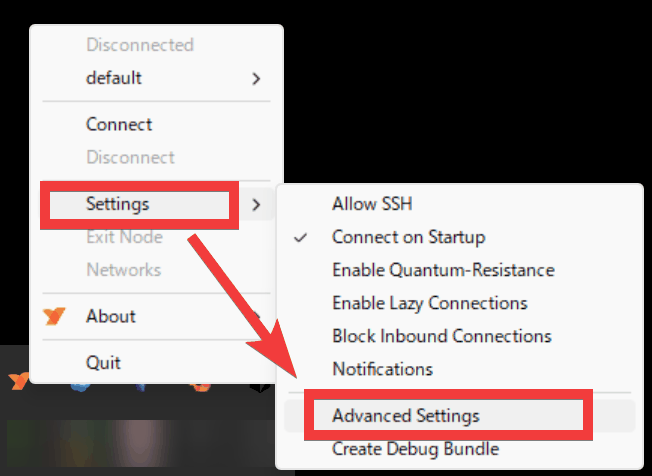
Click 'Advanced Settings' from the 'Settings' menu.
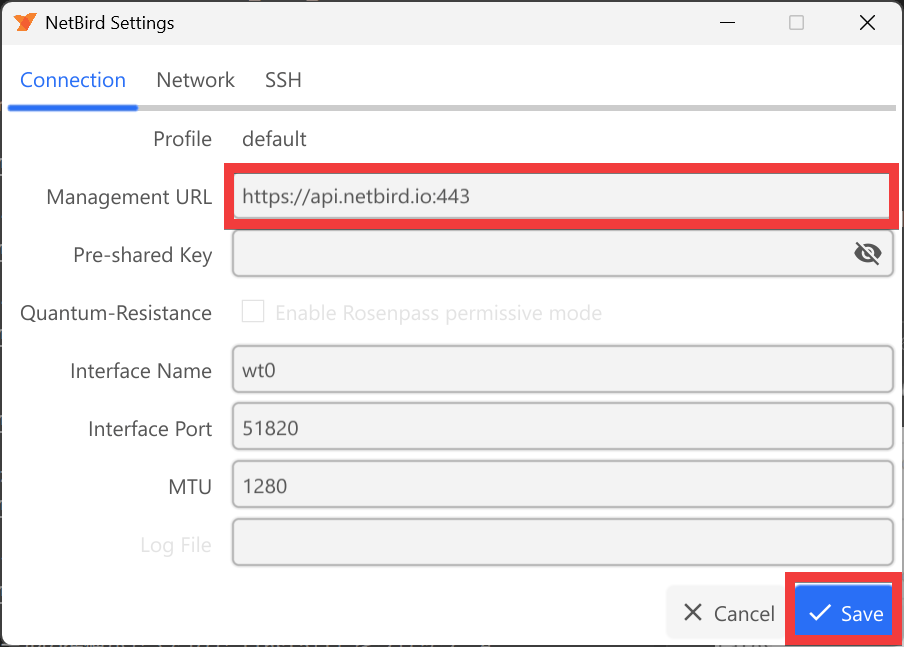
If you are using a self-hosted hosting service, enter the hosting server's URL in 'Management URL' and click 'Save'. If you are using a cloud service provided by NetBird, leave it as is and click 'Cancel'.
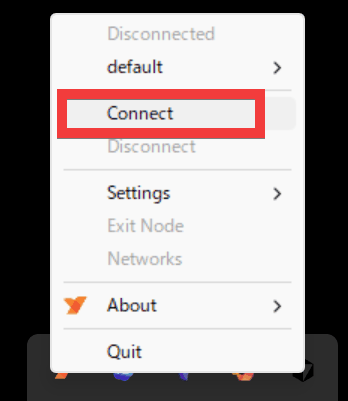
To connect, click the icon in the taskbar and then click 'Connect'.
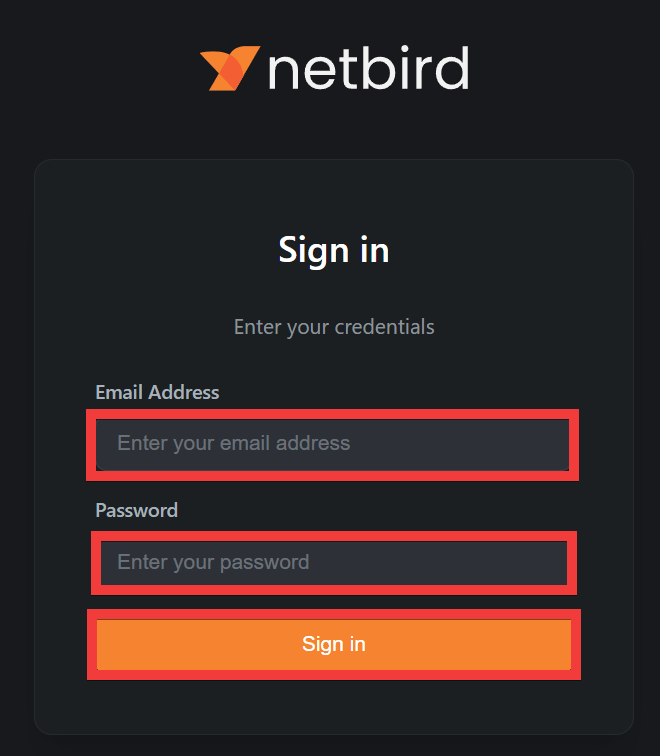
Your browser will launch and a sign-in screen will appear. Enter your email address in the 'Email Address' field and your password in the 'Password' field, then click 'Sign in'.
Your device will be registered once you successfully log in.

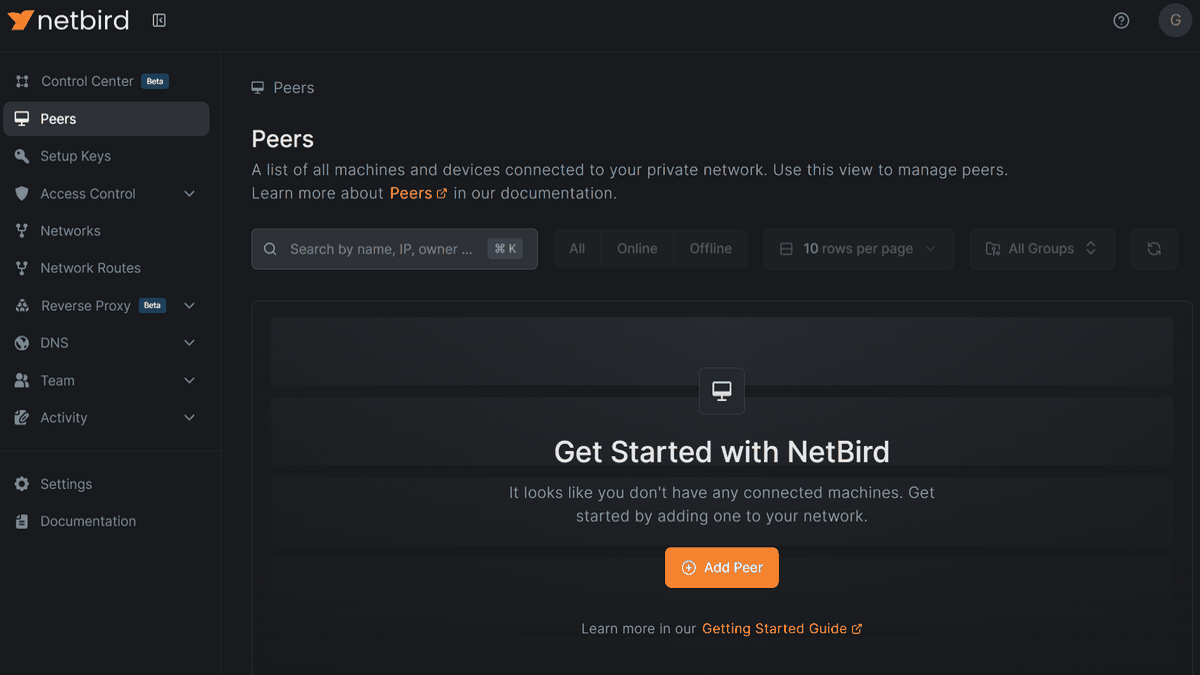
I was able to confirm that the device was connected through the host server's management screen.
◆ How to install and connect the iOS client
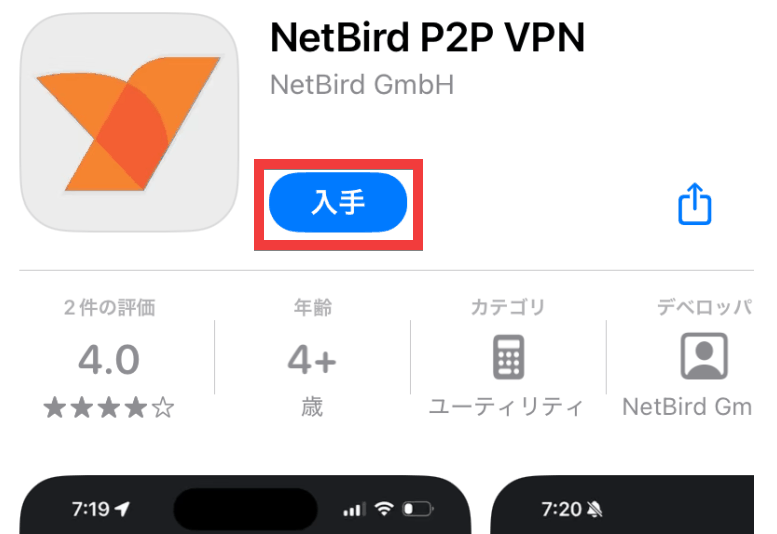
NetBird P2P VPN App - App Store
Access the App Store distribution page and tap 'Get'.
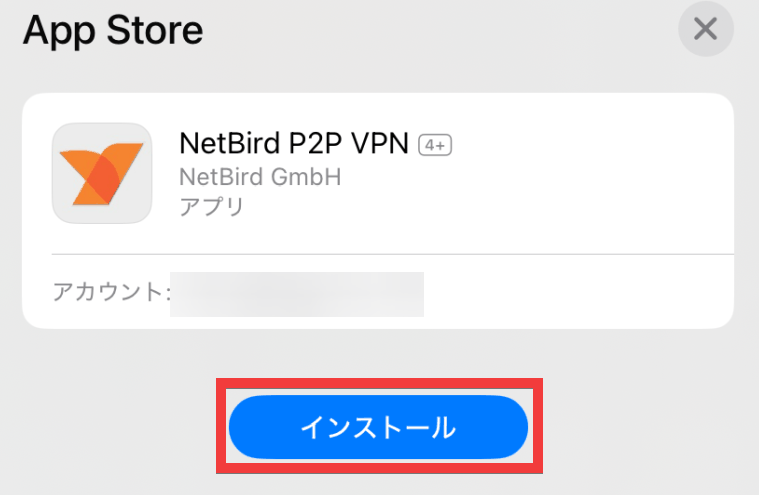
A confirmation screen will appear, so tap 'Install'.
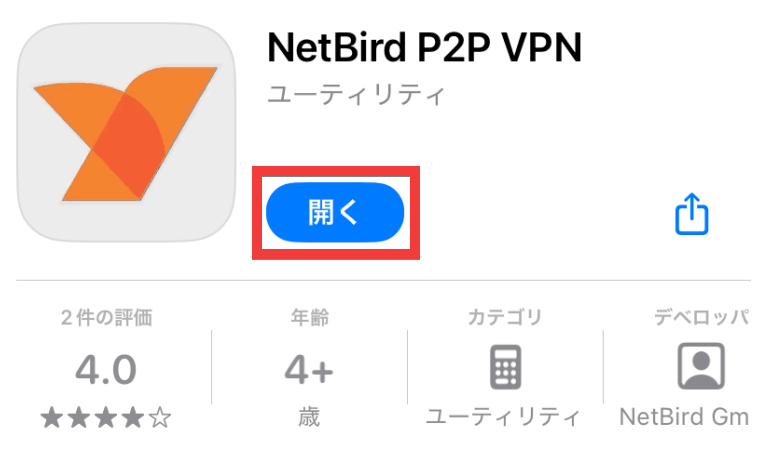
Once the installation is complete, tap 'Open'.
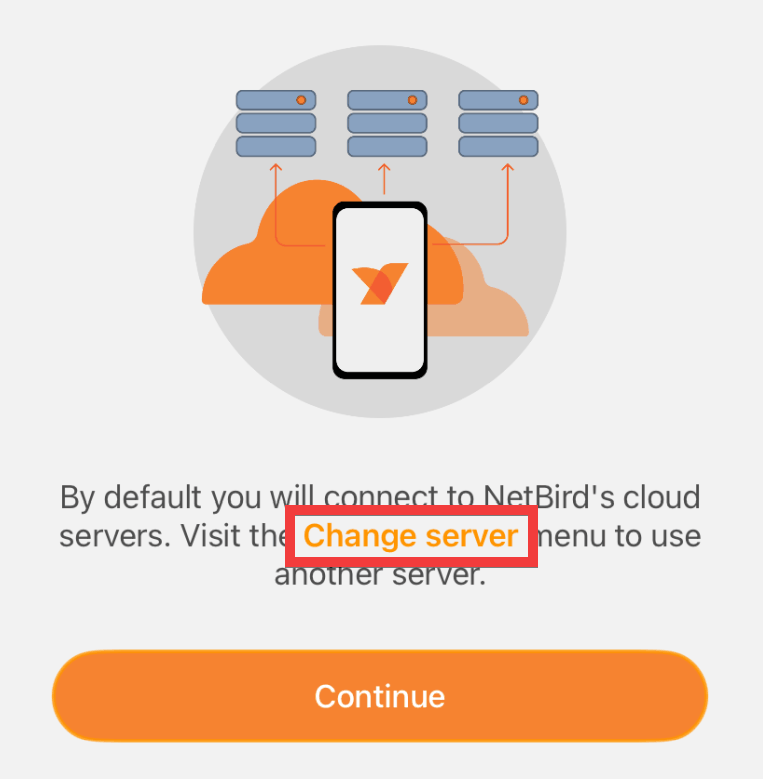
If you want to use the host server as a self-hosted server, tap 'Change server'. If you want to use the cloud service provided by NetBird, tap 'Continue'.
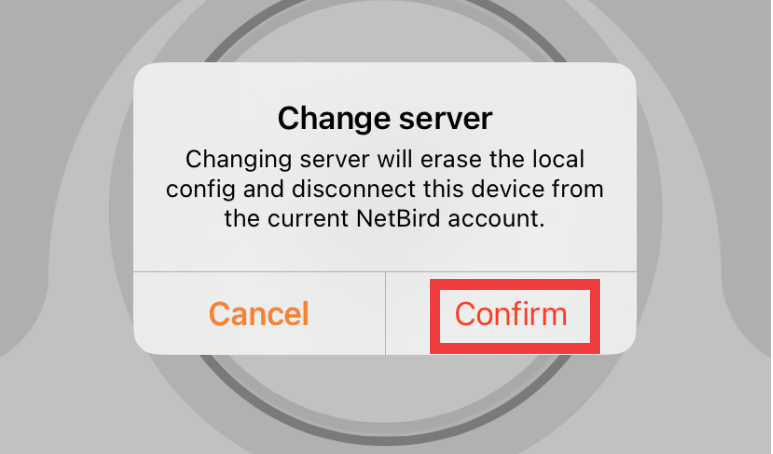
A dialog box confirming the server change will appear, so tap 'Confirm'.
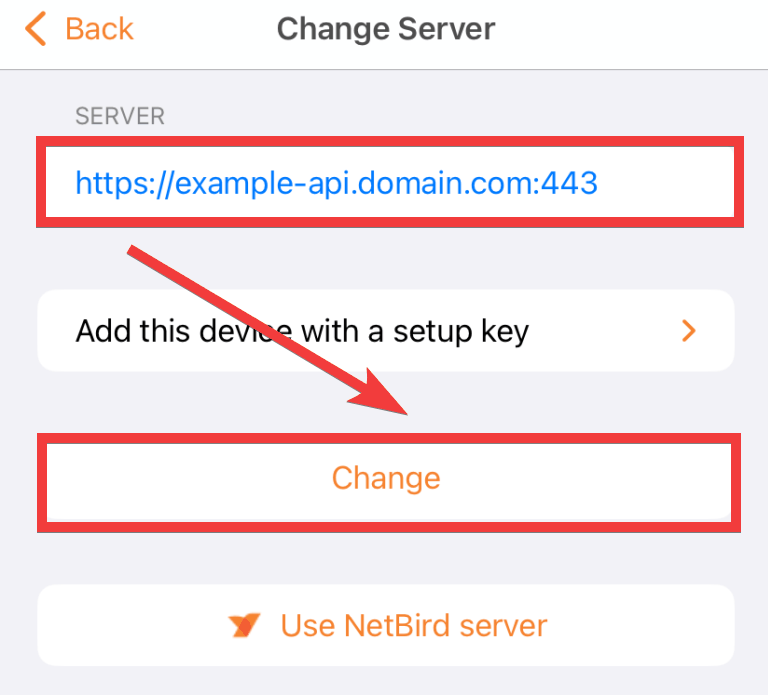
A server registration form will appear. Enter the domain name of the host server you prepared in the 'SERVER' field and tap 'Change'.
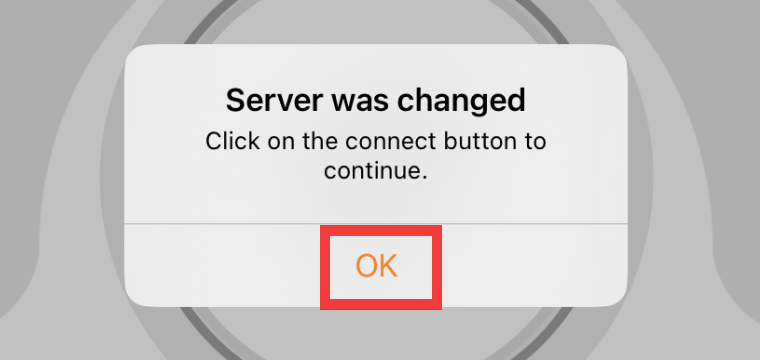
A confirmation dialog for the changes will appear, so tap 'OK'.
Tap the 'Connect' icon from the app's home screen.
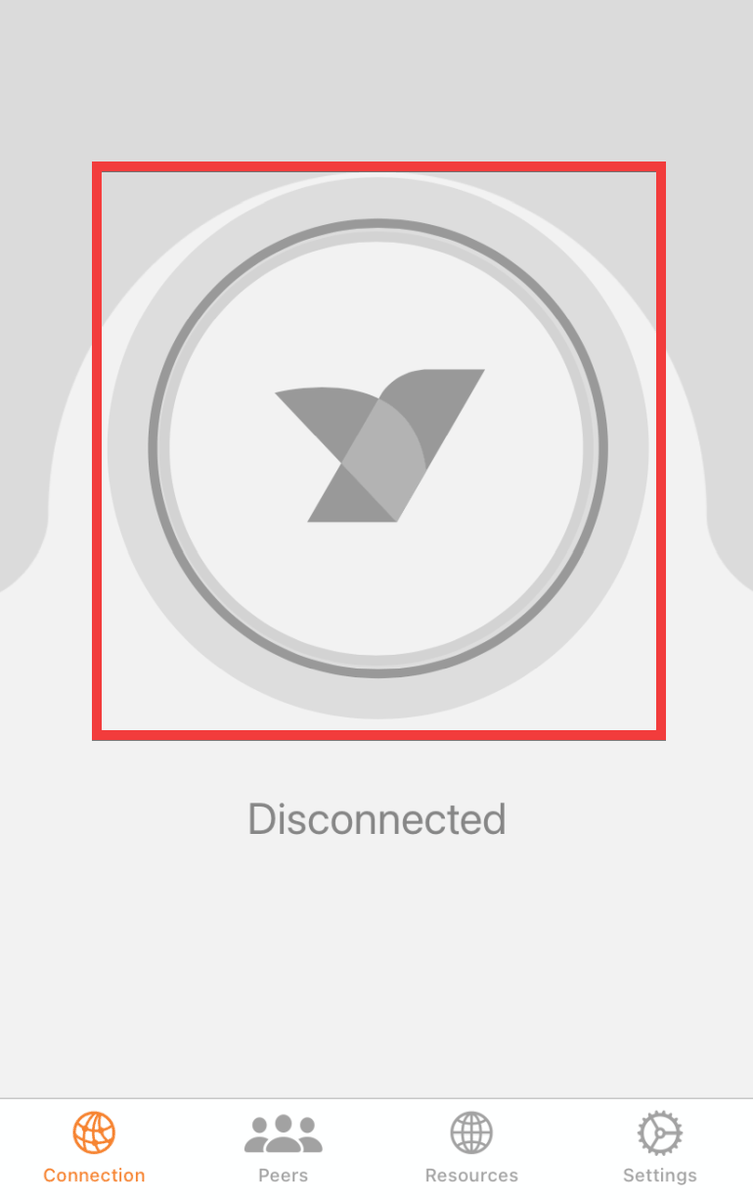
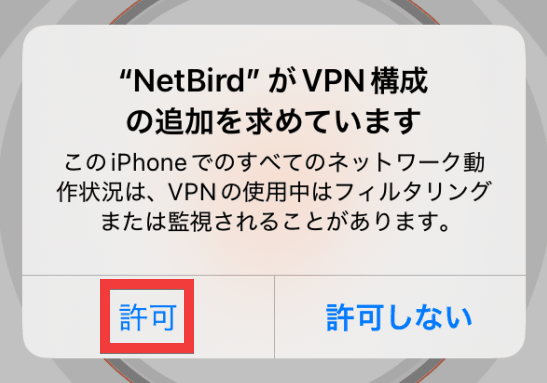
A dialog box for additional permission to configure the VPN will appear, so tap 'Allow'.
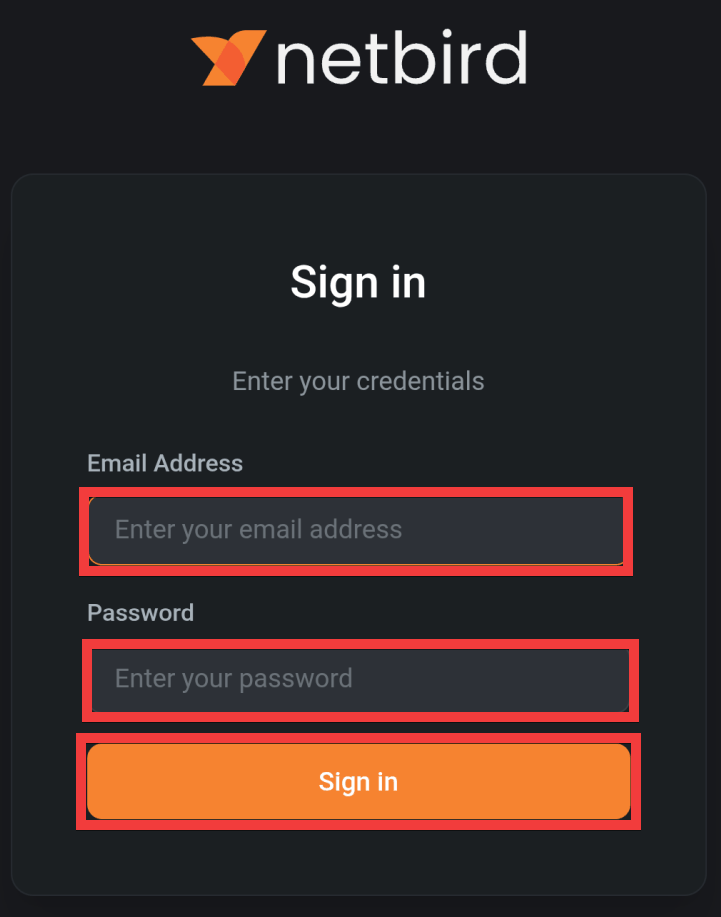
A sign-in screen will appear. Enter your email address in the 'Email Address' field and your password in the 'Password' field, then tap 'Sign in'.
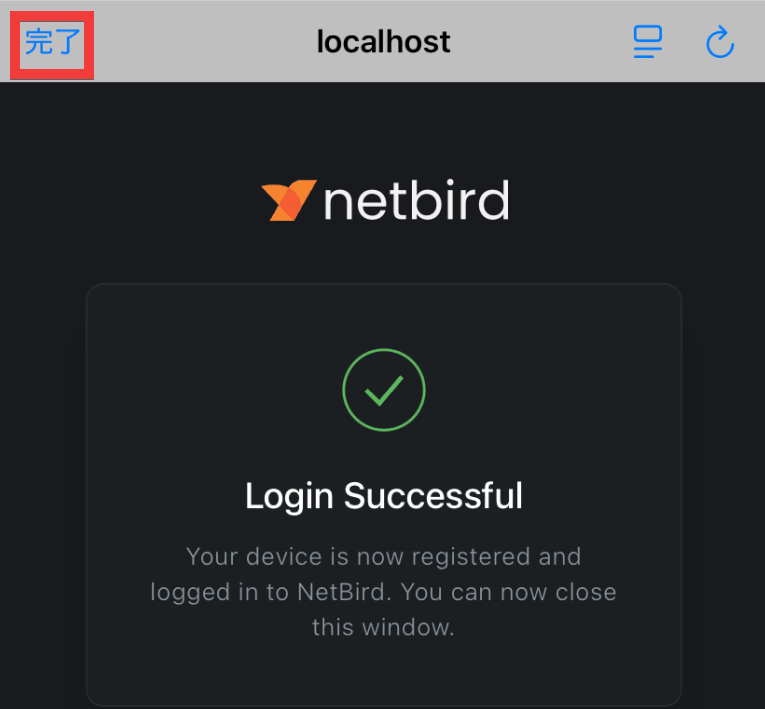
Once the login success screen appears, tap 'Done'.
When you return to the app screen, the name and IP address assigned to your device will be displayed.

Checking the host server's management screen, I was able to confirm that the device had been added.
◆ How to install and connect the Android client
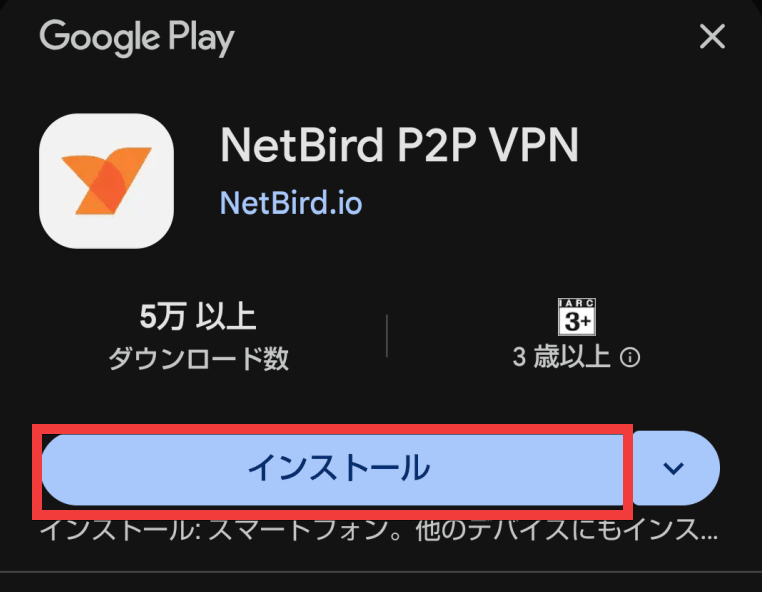
NetBird P2P VPN - App on Google Play
Go to the Google Play distribution page and tap 'Install'.
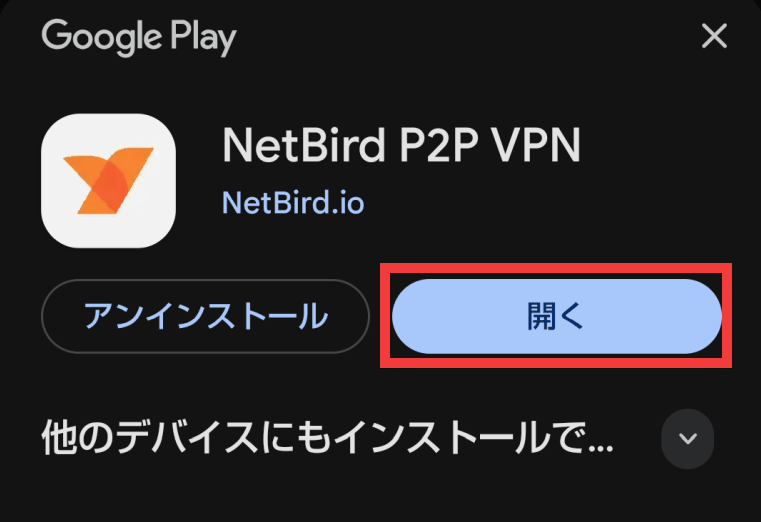
Once the installation is complete, tap 'Open'.
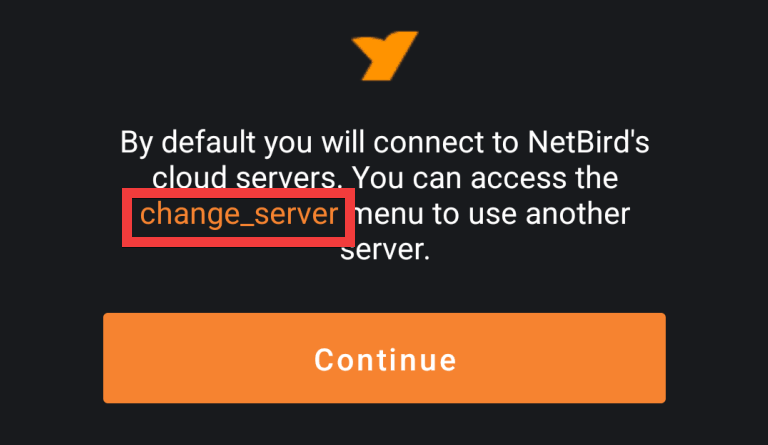
If you want to use the host server as a self-hosted server, tap 'change_server'. If you want to use the cloud service provided by NetBird, tap 'Continue'.
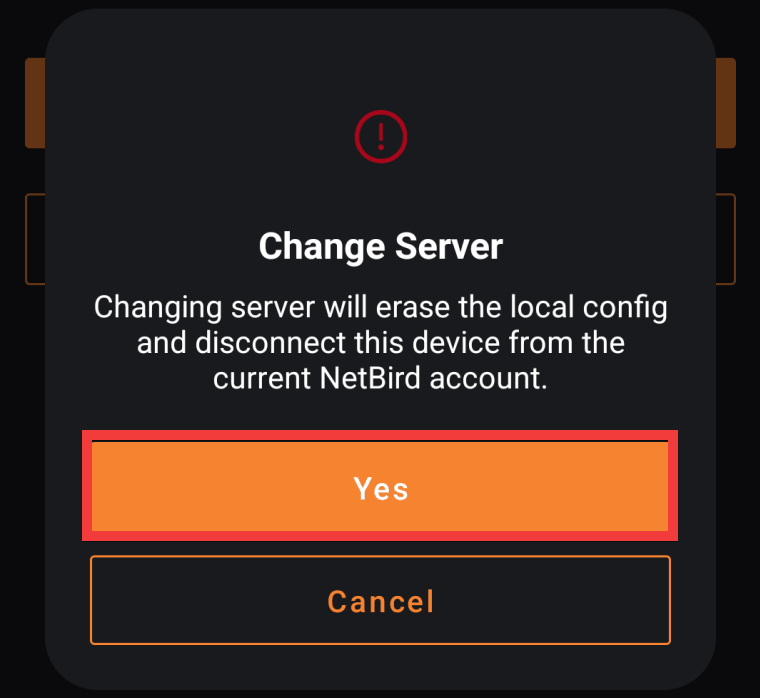
A confirmation dialog for changing the server will appear, so tap 'Yes'.
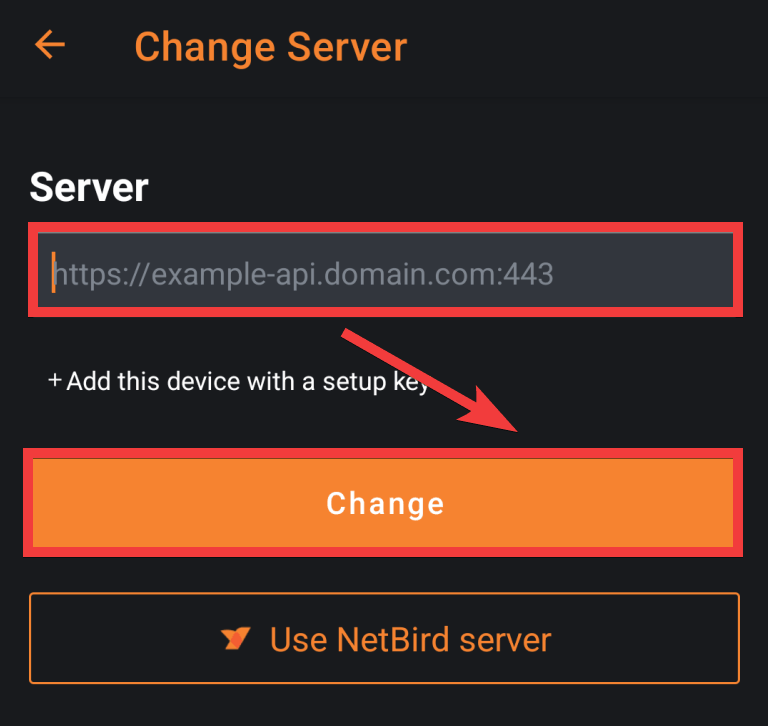
A server registration form will appear. Enter the domain name of the host server you prepared in the 'Server' field and tap 'Change'.
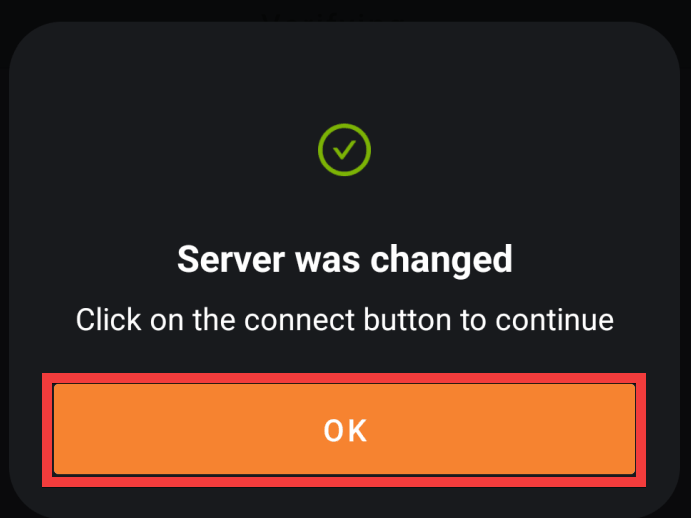
A confirmation dialog for the changes will appear, so tap 'OK'.
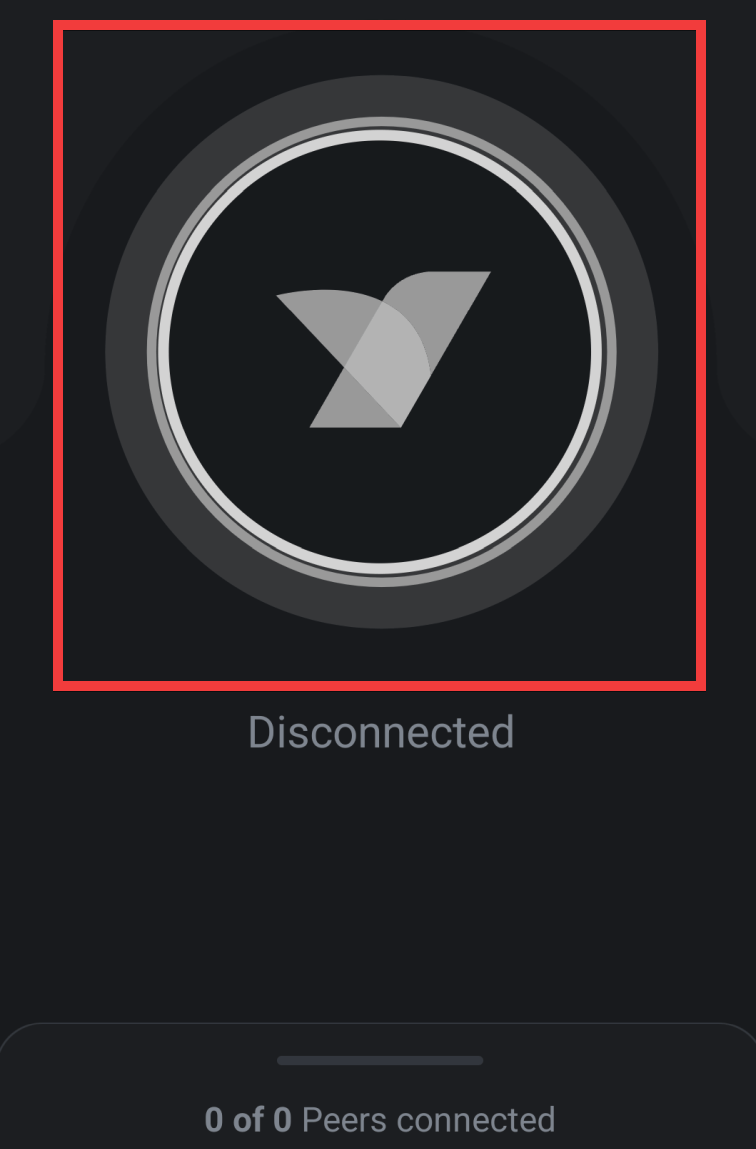
Tap the 'Connect' icon from the app's home screen.
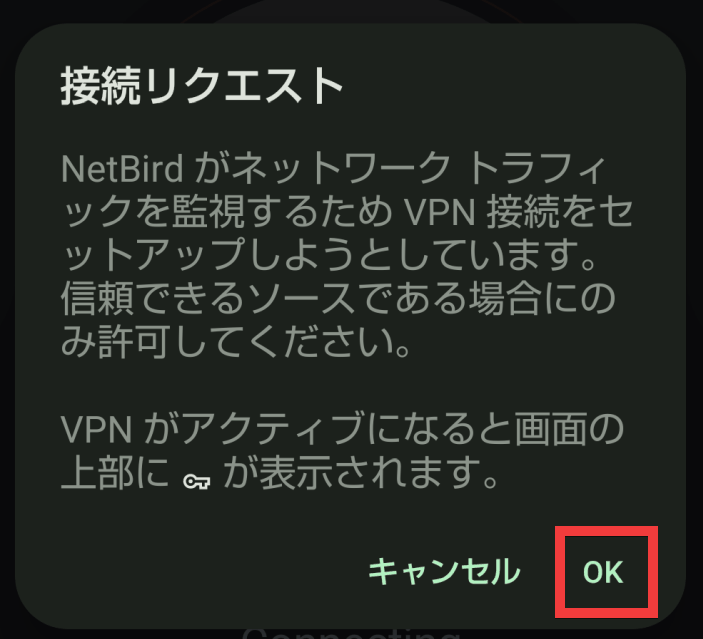
A dialog box requesting permission to connect to the VPN will appear, so tap 'OK'.
A sign-in screen will appear. Enter your email address in the 'Email Address' field and your password in the 'Password' field, then tap 'Sign in'.
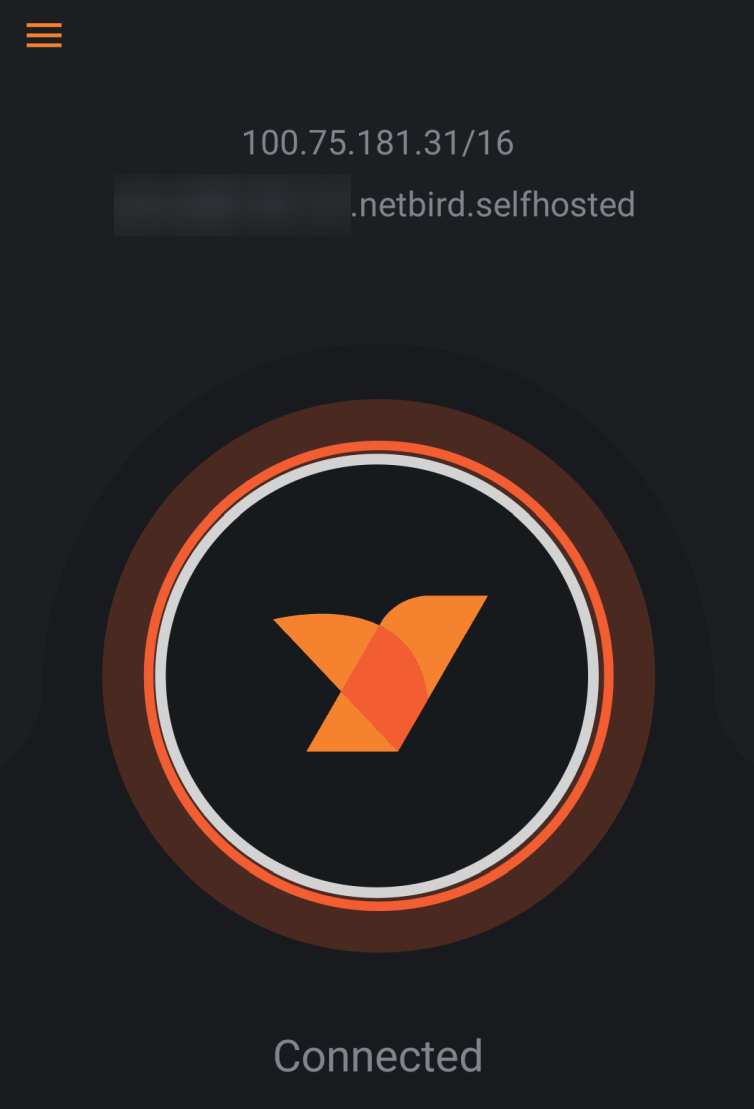
Once the connection is complete, the app screen will display the name and IP address assigned to your device.
Checking the host server's management screen, I was able to confirm that the device had been added.
◆ How to set up a host server
This guide will show you how to set up an environment where
curl -fsSL https://github.com/netbirdio/netbird/releases/latest/download/getting-started.sh | bash
You will enter your domain name and select the proxy server you will use.
 Enter the domain you want to use for NetBird (e.g., netbird.my-domain.com): [Your prepared domain name]

 Which reverse proxy will you use?
 [0] Traefik (recommended - automatic TLS, included in Docker Compose)
 [1] Existing Traefik (labels for external Traefik instance)
 [2] Nginx (generates config template)
 [3] Nginx Proxy Manager (generates config + instructions)
 [4] External Caddy (generates Caddyfile snippet)
 [5] Other/Manual (displays setup documentation)

 Enter choice [0-5] (default: 0): 0

 Enter your email for Let's Encrypt certificate notifications.
 Email address: [Administrator's email address]

 Do you want to enable the NetBird Proxy service?
 The proxy allows you to selectively expose internal NetBird network resources
 to the internet. You control which resources are exposed through the dashboard.
 Enable proxy? [y/N]: n
The container will start automatically, and the URL for the management screen will be displayed.
 ==========================================
 NETBIRD SETUP COMPLETE
 ==========================================

 You can access the NetBird dashboard at:
 [Domain Name]
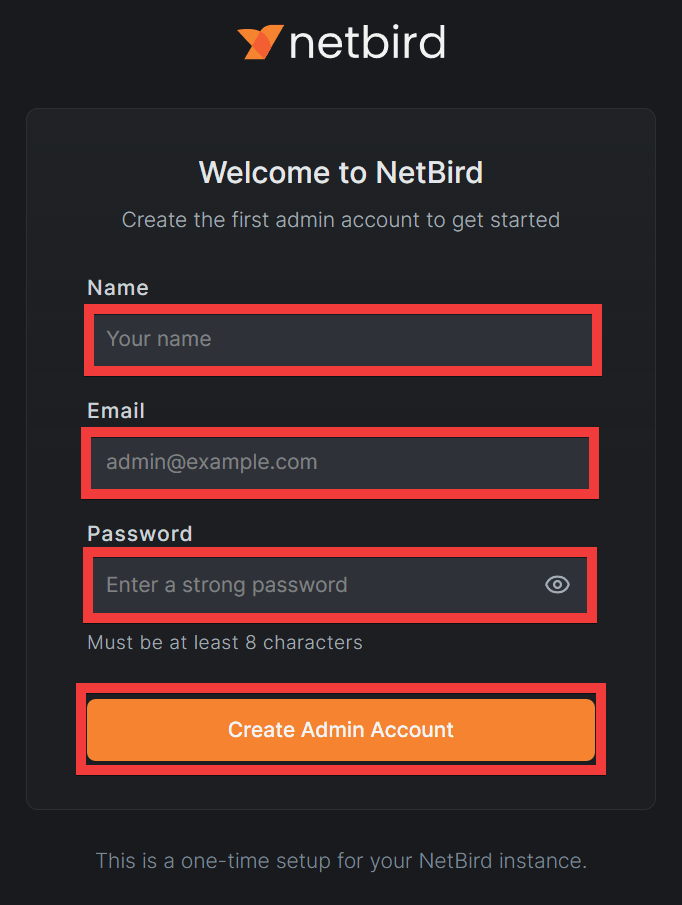
When you access the domain you prepared in your browser, an administrator registration form will appear. Enter a name of your choice in 'Name,' your email address in 'Email,' and your password in 'Password,' then click 'Create Admin Account.'
After completing user registration, the sign-in screen will appear. Enter your email address in the 'Email Address' field and your password in the 'Password' field, then click 'Sign in'.
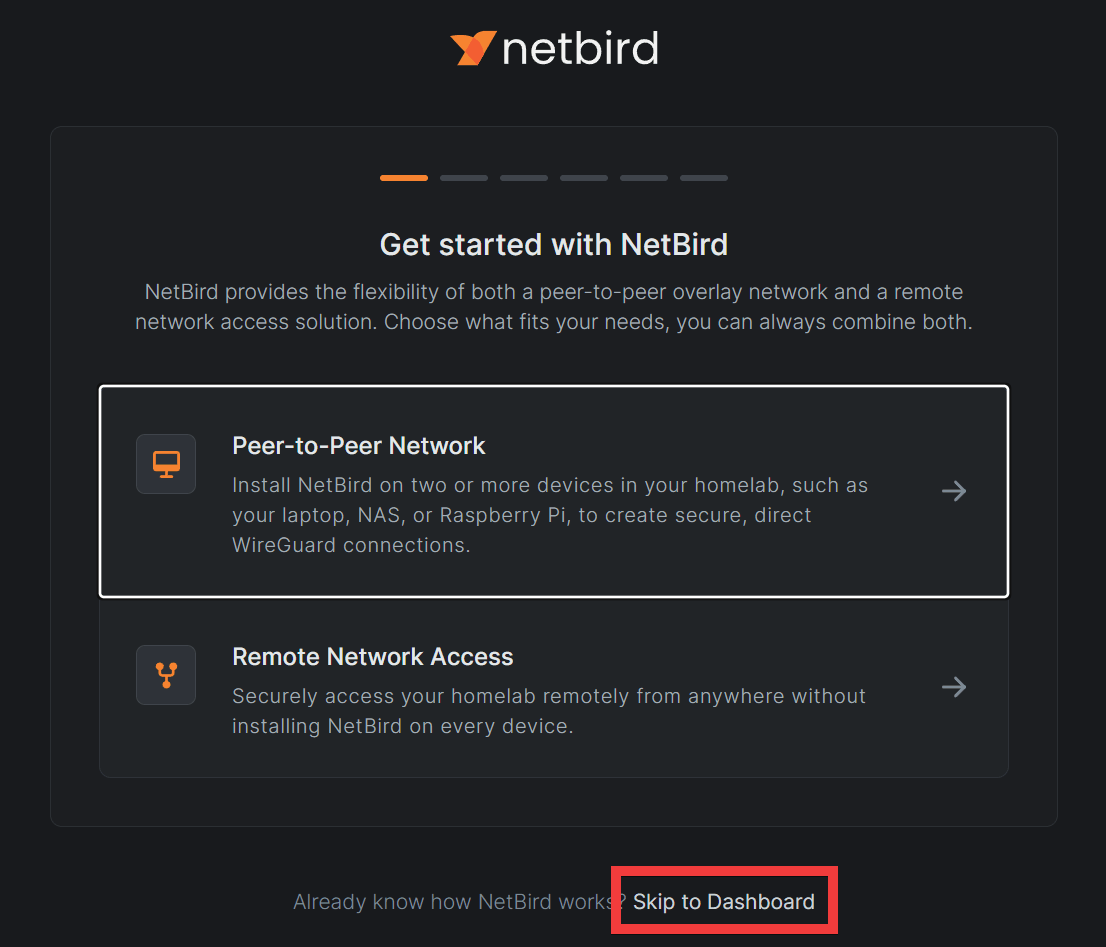
The setup wizard will appear, so click 'Skip to Dashboard'.
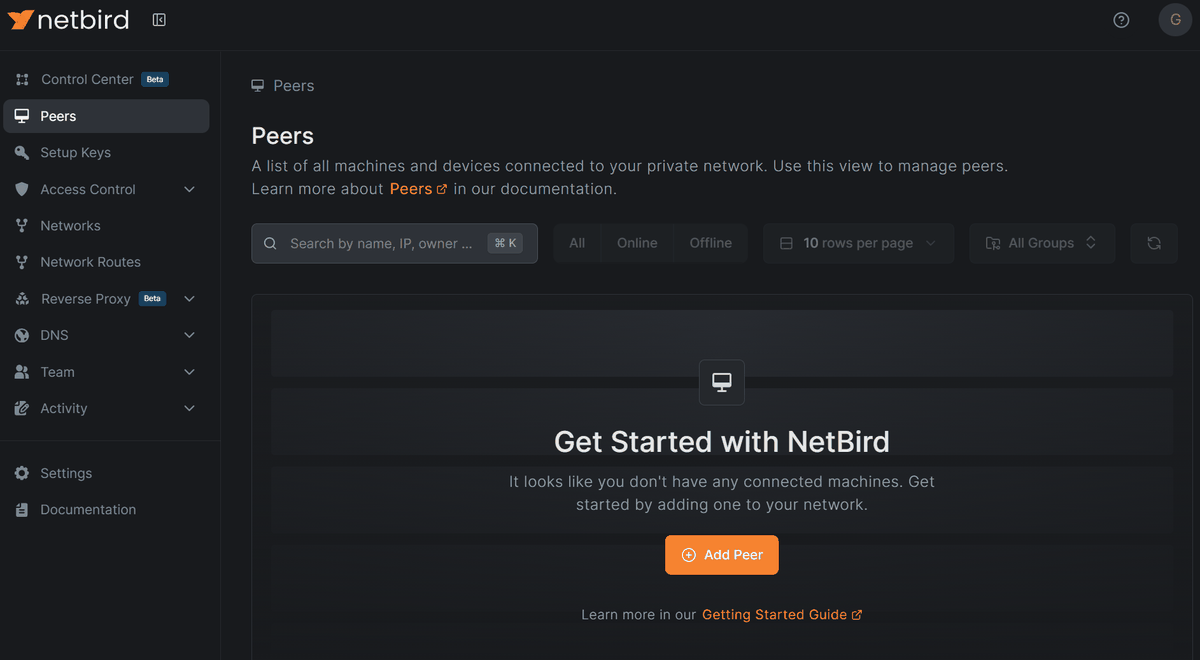
Once the dashboard is displayed, the NetBird host server setup is complete.
While Tailscale allows for easy sharing of smartphone photos, videos, and other files through its app, NetBird lacks a comparable feature. However, NetBird is open-source, has undergone security testing, and can be self-hosted, making it a recommended choice for those seeking a more secure VPN service.
Related Posts: