'PiLiDAR' project to create a 360-degree 3D panoramic scanner using Raspberry Pi and LiDAR sensor
' PiLiDAR ' is a project to develop a homemade 360-degree 3D panoramic scanner using the single-board computer
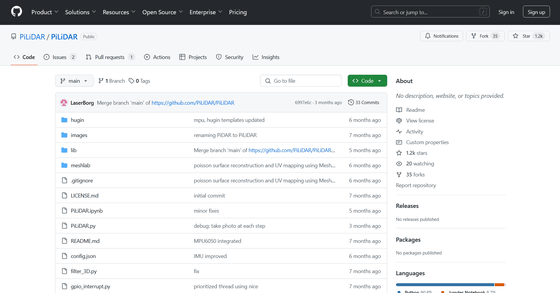
PiLiDAR/PiLiDAR
https://github.com/PiLiDAR/PiLiDAR
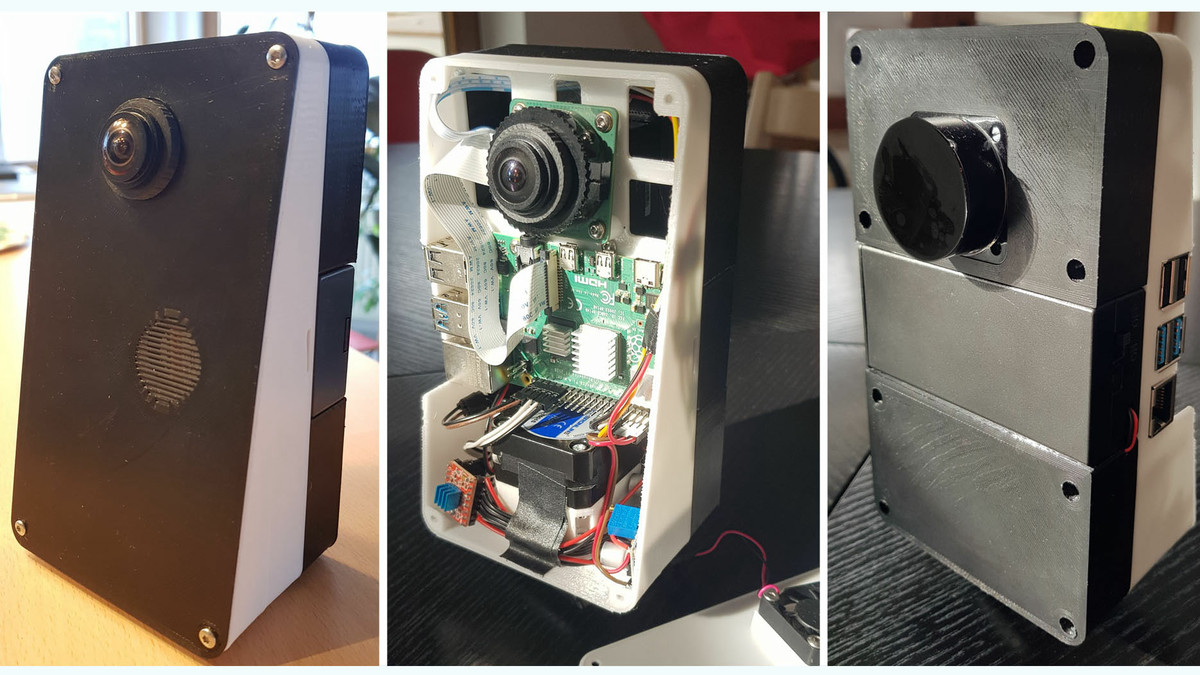
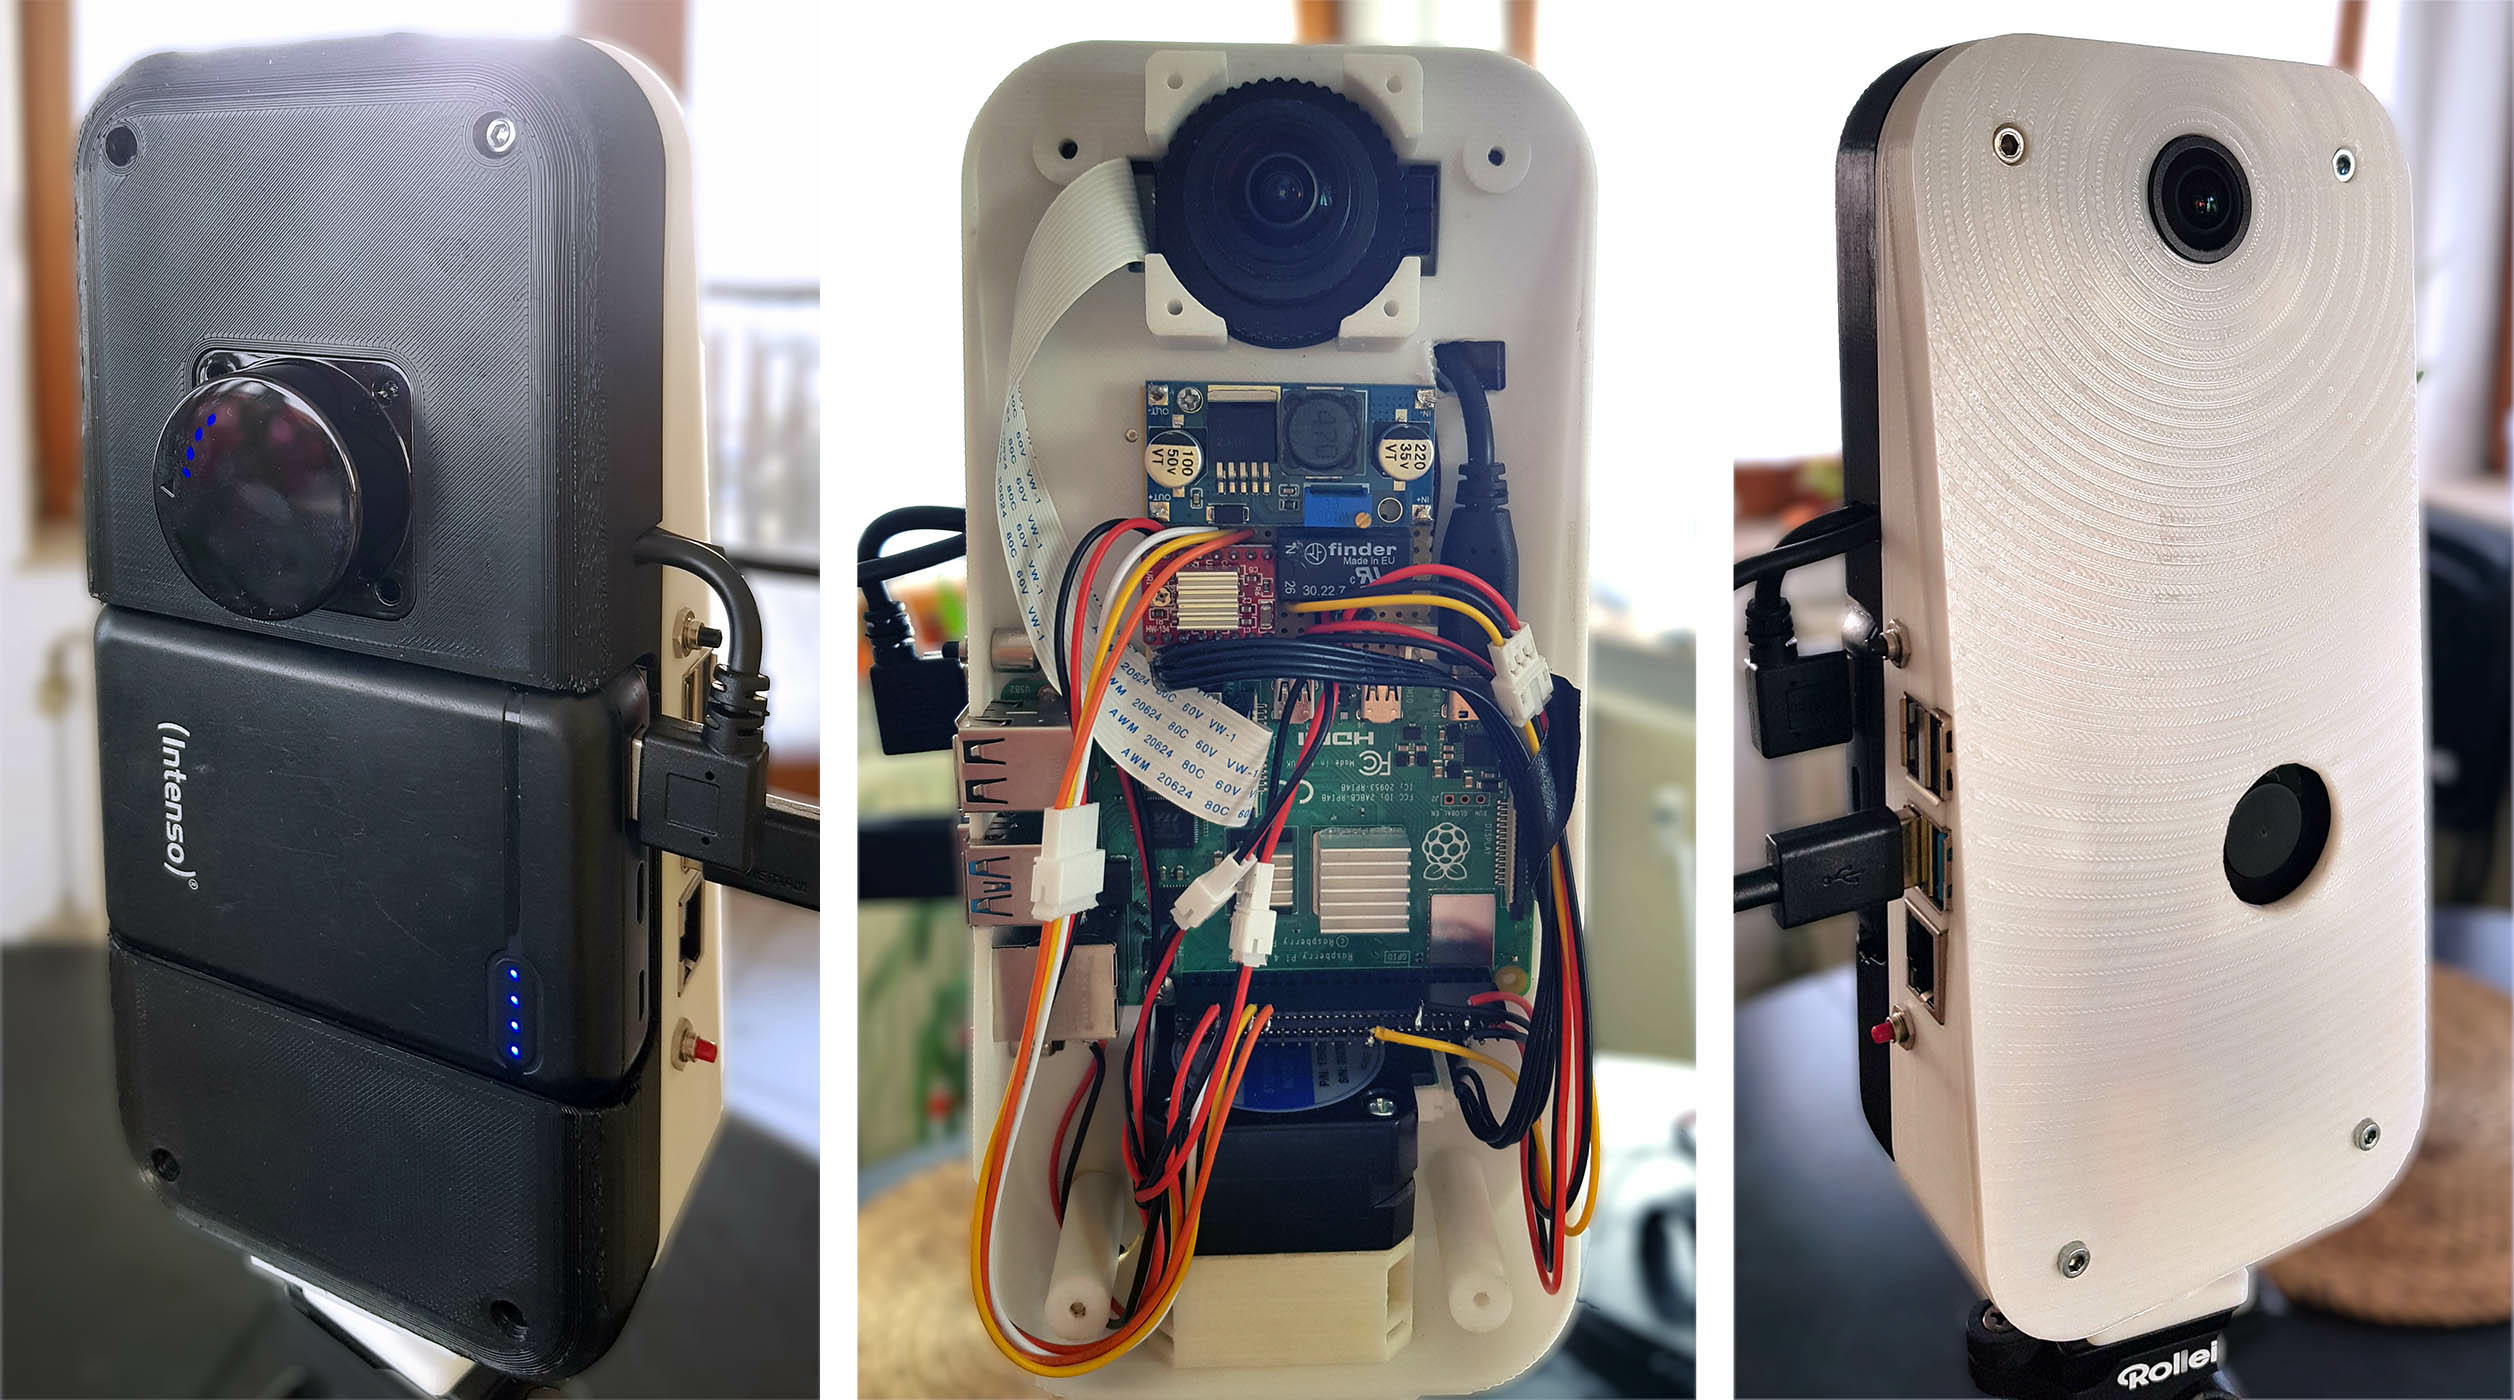
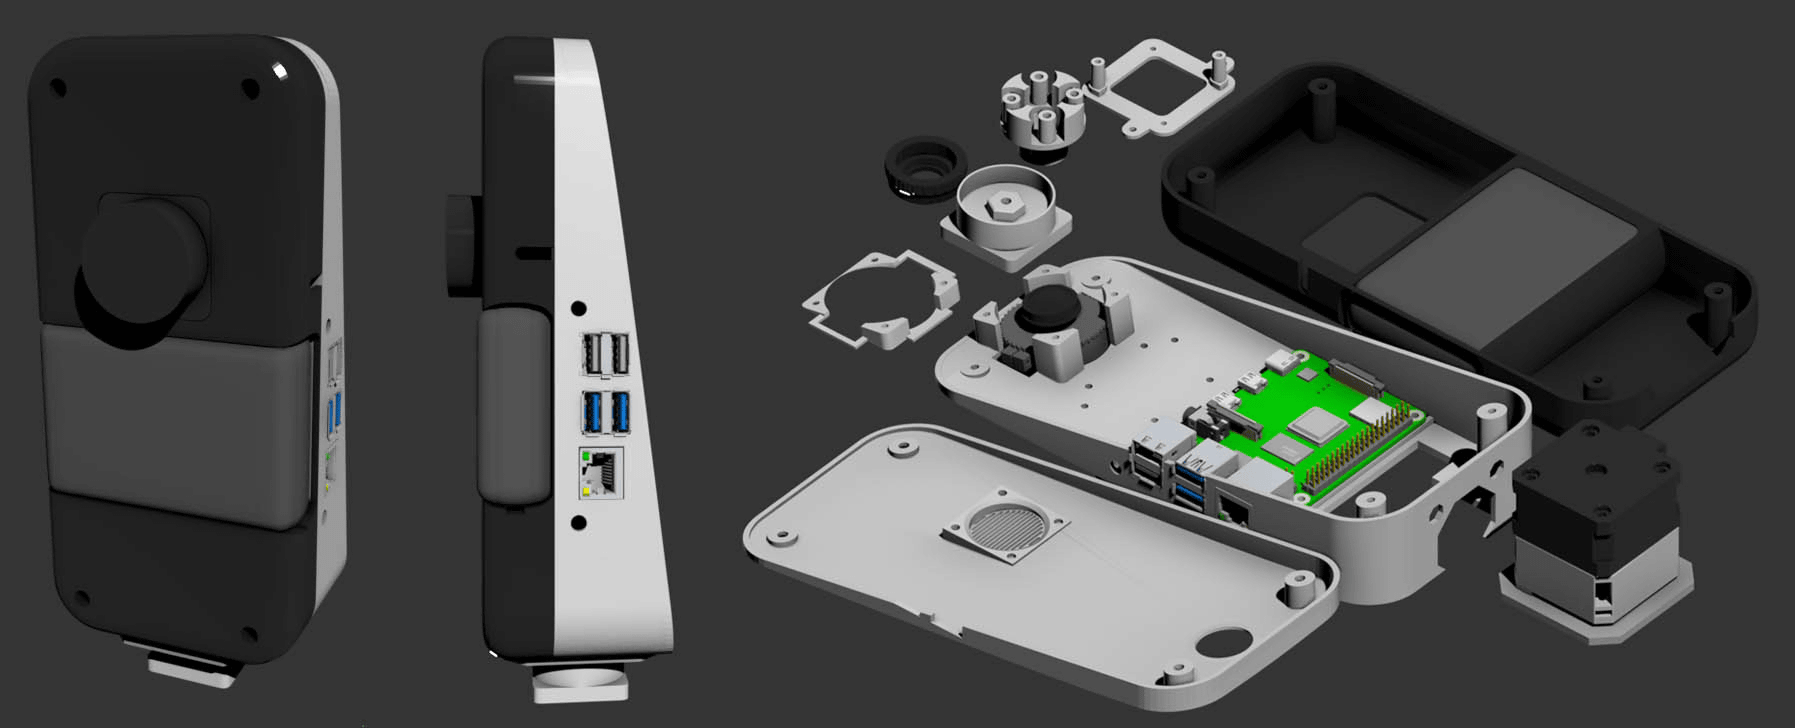
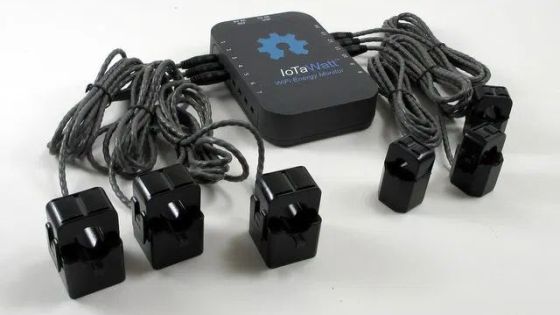
PiLiDAR consists of a Raspberry Pi 4 , an M12 mount HQ camera , LiDAR sensors such as LDRobot LD06 , LD19 , and STL27L , a stepping motor , and a power supply. For example, the image below shows a PiLiDAR that incorporates a 10,000 mAh mobile battery and a boost converter.
PiLiDAR has three core functions:
1: LiDAR scan
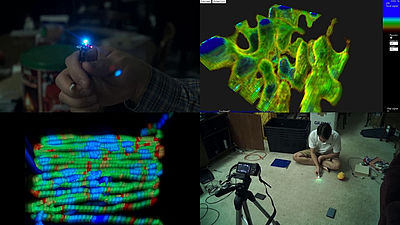
PiLiDAR uses LDRobot's LiDAR sensor to scan the surrounding space in two dimensions and acquire and visualize the data in real time. The sensor is connected to a Raspberry Pi and is precisely controlled by serial communication and hardware PWM control. The acquired data can be saved in numpy array or CSV format, allowing for flexible post-processing and analysis. In addition, a stepping motor is used to rotate the sensor, creating a mechanism for automatically scanning the entire surroundings.
2. Panorama shooting and composition function
PiLiDAR uses a wide-angle lens to capture 360-degree panoramic images. The captured fisheye images are automatically combined into a spherical panoramic photo with a maximum resolution of 6K using a panoramic photo synthesis tool called
3: 3D scene construction function
PiLiDAR can generate colorful 3D point clouds and reconstruct scenes by integrating the acquired LiDAR scan data with panoramic images. Specifically, a process is performed in which each vertex of the point cloud is assigned the color information of the corresponding pixel from the panoramic image. In addition, fine adjustments are made using global registration and ICP (Iterative Closest Point) to align the results of multiple scans. The generated 3D scene can be visualized using the Open3D library and can also be output in multiple formats.
The result of the actual scan with PiLiDAR looks like this, and you can rotate the image by dragging left and right. The intensity of the point cloud is visualized by a color map.
Below is the scan result of adding color information to the point cloud from a panoramic photo of the room.
The GitHub repository hosts software, tools, and 3D printing data for the housing, stepper motor gearbox, and lens adapter, and is licensed under CC BY-NC-SA 4.0 .
According to a user of the social news site Hacker News, the total cost of the parts required other than the power supply, converter, and 3D printer filament is estimated to be about $200 (about 29,000 yen) to $280 (about 40,000 yen).
Related Posts:


in Hardware, Posted by log1i_yk