A record of the shooting environment of the special effect 'Bullet Time' famous for the movie 'Matrix' built with a used camera and Raspberry Pi

The 1999 movie '
There oughta be a bullet time video booth.
https://there.oughta.be/a/bullet-time-video-booth
Bullet Time Video Booth-YouTube
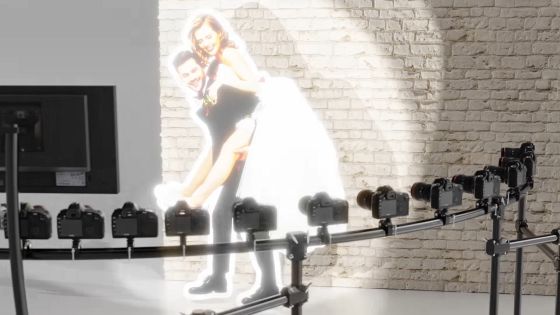
Bullet time has been used in many video works, but the one used in The Matrix's ``Scene where you try to avoid bullets by moving beyond human limits'' is particularly famous. The main character, Neo, is moving slowly, but the camera moves around Neo without slowing down.”

Bullet time can be taken by the method of 'surrounding the subject with a large number of cameras and shooting at the same time'. Mr. Stacks arranged the cameras in an arc and decided to shoot bullet time.

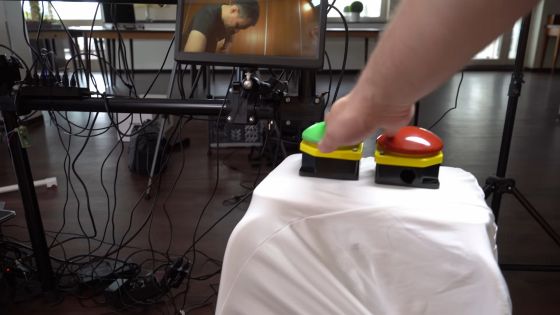
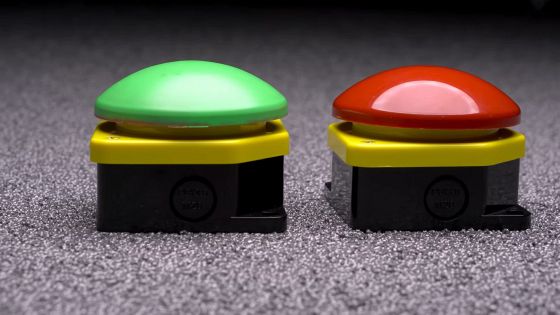
We also provided green and red control buttons to allow wedding guests to start filming themselves. Press the green button to start bullet time shooting, press the green button to save after checking the preview, and press the red button to delete without saving.
You can check the bullet time video shot with the above system from 11 minutes 49 seconds in the following movie.
The details of the system are like this. First, bullet time requires a large number of cameras, so we procured 12 second-hand EOS 400Ds that are characterized by 'fine control of settings' and 'inexpensive'.
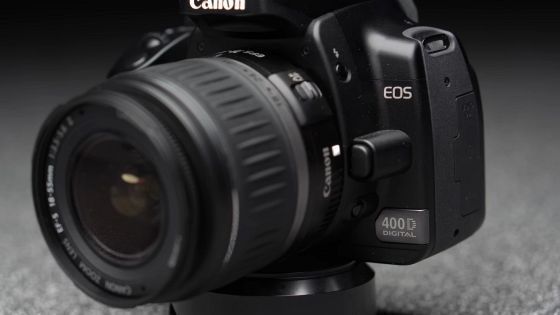
In addition, we also prepared an ' α5000 ' to shoot parts other than bullet time in the video.
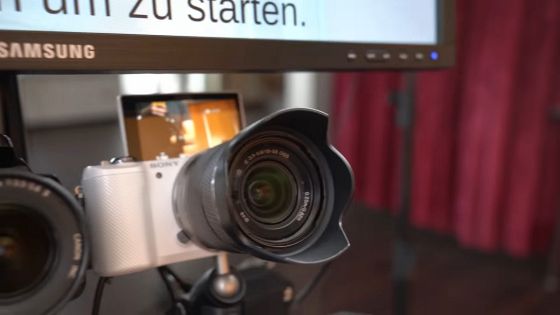
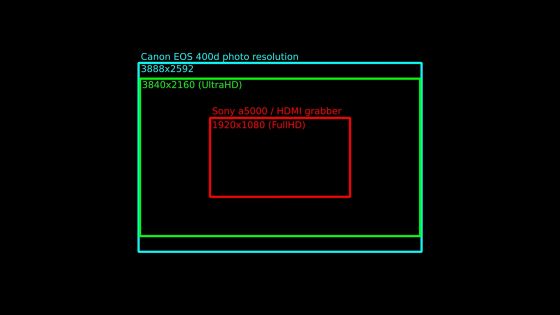
Since the still image shooting resolution of EOS 400D is 3888 × 2592 pixels, it is possible to create a movie of 3840 × 2160 pixels (4K) by joining still images. However, since the movie shooting resolution of α5000 is 1920 × 1080 pixels (full HD), this time it was decided to create a full HD movie according to α5000.
In full-scale bullet time shooting, dozens of cameras are prepared to secure the number of frames, but the EOS 400D prepared by Mr. Stax has 12 cameras, so it can only shoot 12 frames. When making a 25fps movie, it takes less than 0.5 seconds with 12 frames, so it is difficult to make a good looking movie.
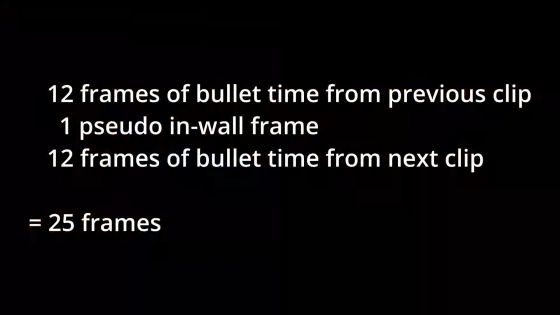
Therefore, Mr. Stacks decided to insert an image with the following blur effect applied next to the 12th frame, and then insert '12 frames showing another subject'.

With this, ``12 frame bullet time'', ``1 frame blur image'', and ``12 frame bullet time'' are continuous, and we have secured 25 frames (1 second) of bullet time video.
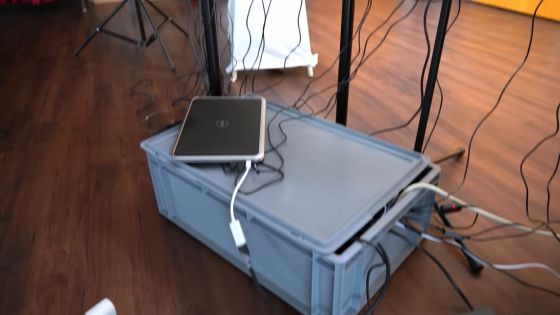
Full-scale processing will be carried out after the wedding ceremony, but it is necessary to show a simple preview image so that the guests can choose whether or not to use the movie. Therefore, Mr. Stacks decided to immediately transfer the photographed photos to the PC and automatically generate the preview video. The PC and wiring are gathered in the following box.
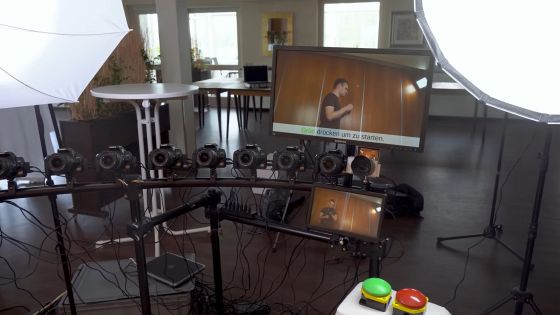
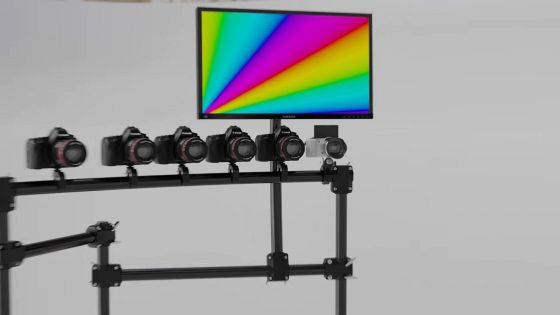
The automatically generated preview image is displayed on a monitor placed near the camera.
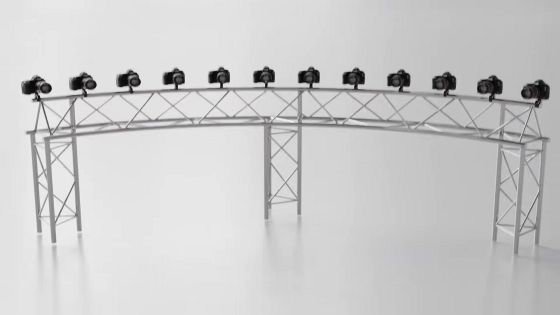
The following specially designed base is optimal for arranging 12 cameras regularly, but there is a problem that the cost is too high.
Therefore, Mr. Stax prepared two electronic drum racks that can be obtained relatively cheaply and decided to use them in combination.
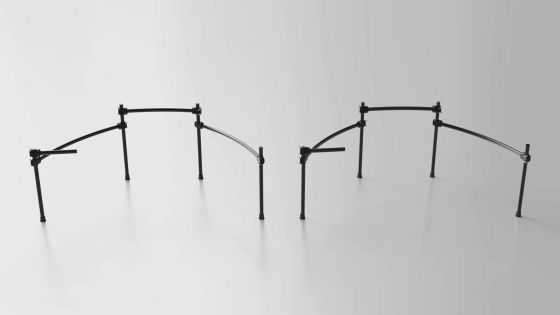
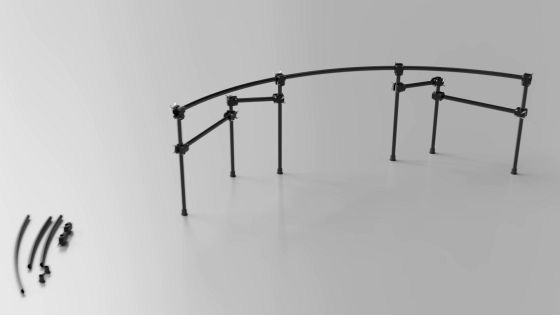
The remaining parts will be used to fix the monitor.
The next thing to consider is the camera battery. Ordinary batteries can run out of power during a wedding.
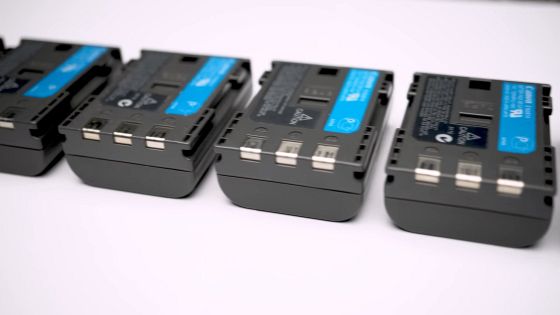
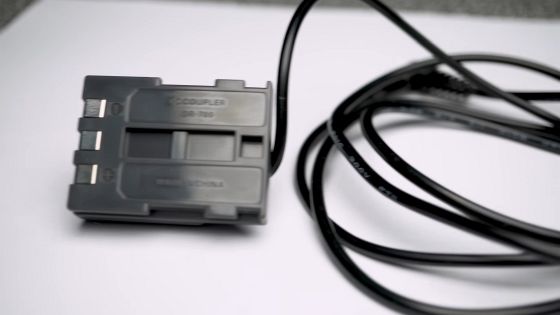
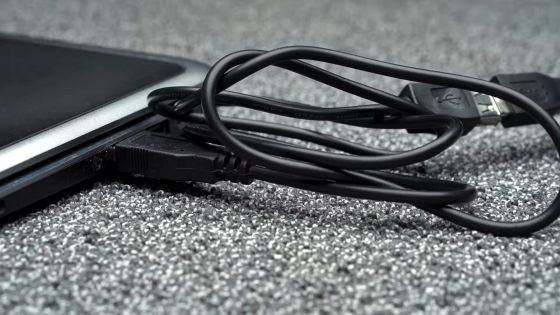
So Mr. Stacks decided to use an adapter that can supply power from a USB connector instead of a battery.
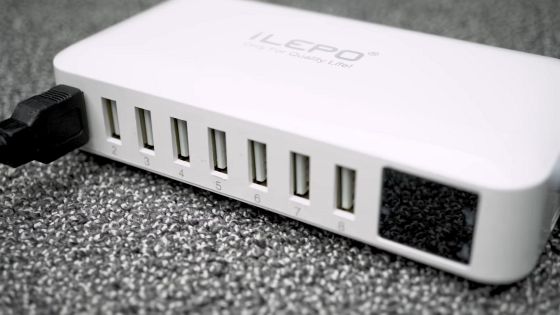
We have prepared two USB chargers that can insert up to 8 USB cables.
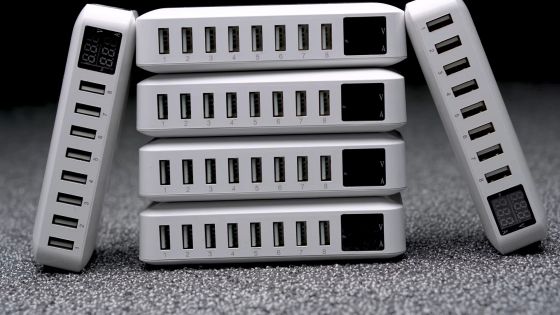
However, there was a phenomenon that the power supply of the camera fell during shooting, probably because the load on the USB charger was heavy. In the end, Stax ended up buying six USB chargers to distribute the load.
Also, there was a problem that 'only one camera is recognized when 12 cameras are connected to the PC with USB 3.0'.
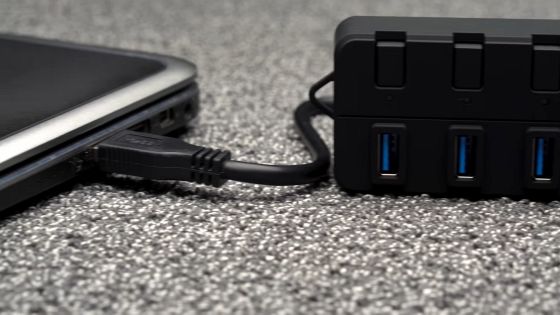
The solution was 'Add a USB 2.0 extension cable between the USB 3.0 cable and the PC'.
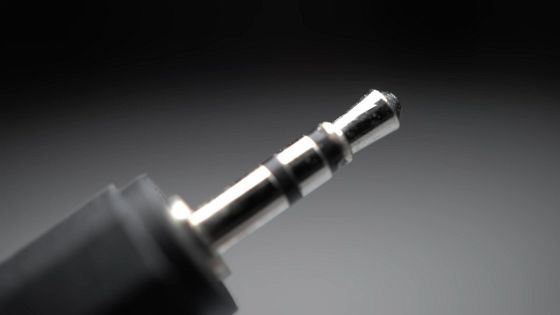
The operation of 'simultaneous shooting with 12 cameras' is realized using a wired remote control. However, a wired remote control can be easily created by using an audio plug.
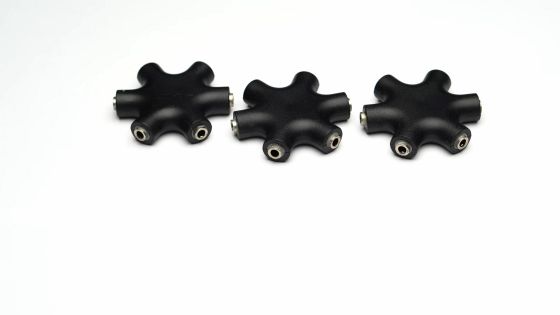
Prepare 3 hubs like this.
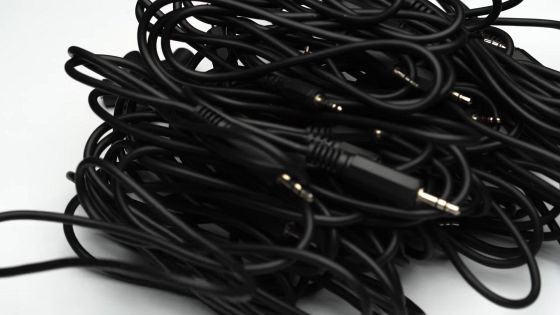
In addition, we prepared audio cables for the number of units.
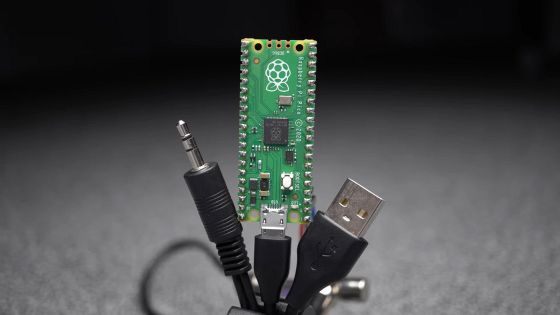
The timing to release the shutter is managed by Raspberry Pi Pico.
We also created green and red buttons for attendees to press.
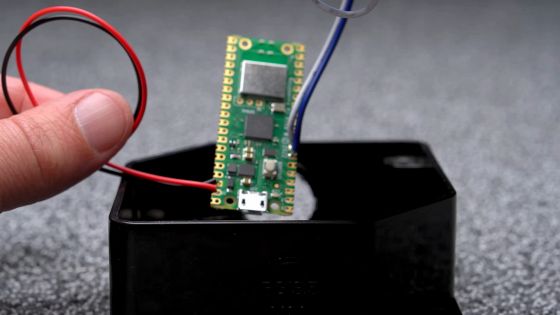
This button is managed by Raspberry Pi Pico W that supports Bluetooth communication.
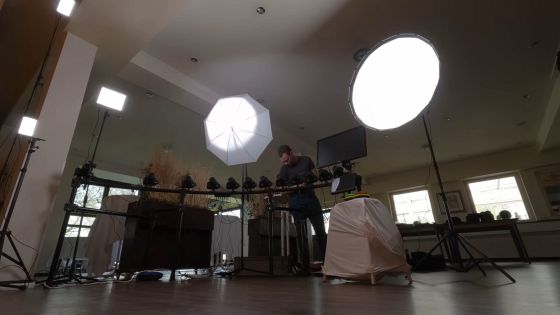
The final consideration is lighting. Weddings last from morning to night, so the lighting environment in the photo booth changes and the intensity and color of the light source fluctuates. In addition, flicker may occur due to the fluorescent lighting in the wedding hall.
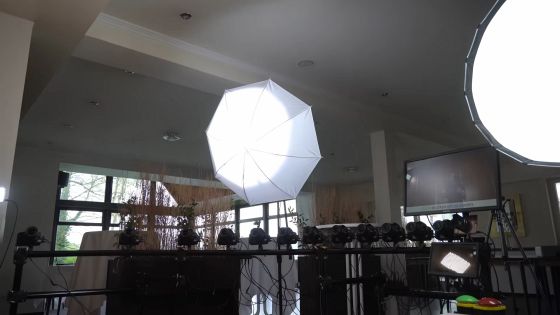
So Stax decided to install a light source that was stronger than the fluorescent lights in the wedding hall or the sunlight from the outside.
The actual shooting booth looks like this. A lot of light sources are installed. Mr. Stacks created a 'wedding memory movie using bullet time' with such a system.
Related Posts:


