How to use image generation AI 'Stable Diffusion' in games
Creating Isometric RPG Game Backgrounds
https://talesofsyn.com/posts/creating-isometric-rpg-game-backgrounds
You can see what the background of the game HACKMANS created using Stable Diffusion is in one shot by watching the following video.
Tales of Syn Game-Navigation Prototype-YouTube
Here are the tools HACKMANS used to create the background for the game you can check out in the video above:
・Stable Diffusion (version 1.5)
・AUTOMATIC1111
・alpaca
・Boosting Monocular Depth
・Adobe Substance 3D Designer
・URP
・Amplify Shader Editor
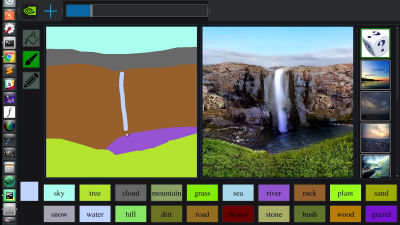
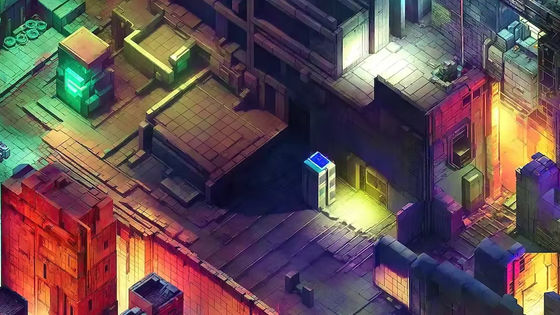
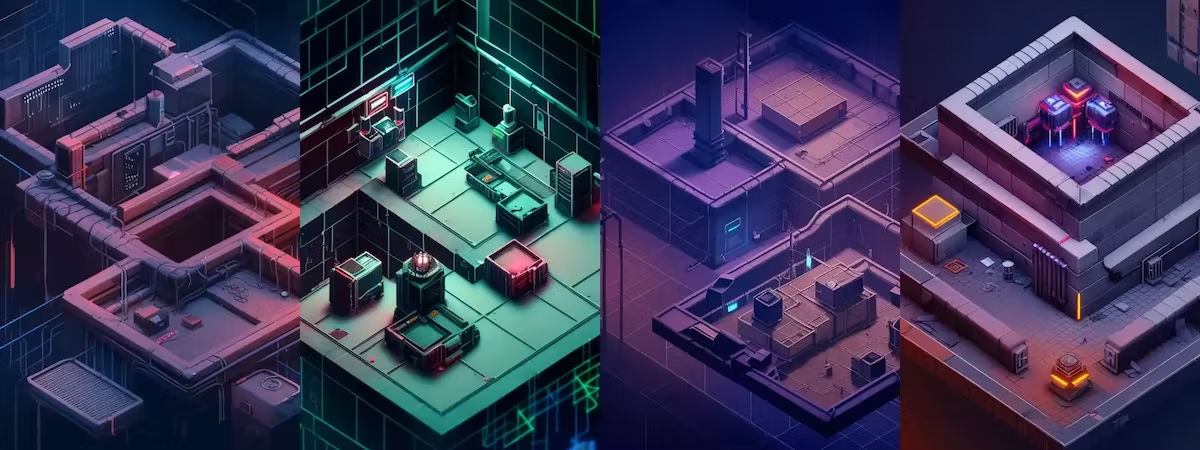
First, Mr. HACKMANS uses the prompts introduced in ' How to generate game assets using Stable Diffusion-based image generation AI/PixelmindAI ' published by VFX artist Ivan Garcia Filho to create a game. I am generating an image containing cyberpunk elements that could be used for Below is an image generated by Stable Diffusion using Filho's prompt.

Filho's prompt is as follows.
An intricate modular top-down isometric concept art with PBR materials of a victorian gothic ornated steampunk lamp, in ominous hellish industrial mood and a neat and clean composition with sharp precisely stabilized straight lines, colorful tone mapped cinematic volumetric lighting and global illumination producing shinning edge reflections and detailed ambient occlusion with smooth cold shadows and hot highlights increasing depth and perspective
Since the first output was not a very good image with an overall blurred impression, the number of steps was increased to '100' and the Classifier Free Guidance (CFG) scale was changed to '15 to 30'. Then, it seems that he succeeded in outputting a better image.
Continue to iterate through a series of steps and CFG using the AUTOMATIC1111
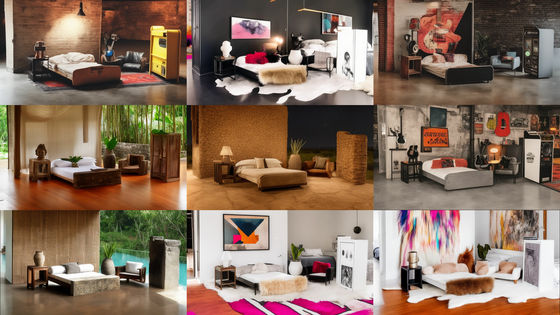
When the CFG scale is changed from 13.0 to 20.0 on the AUTOMATIC1111, the output image changes as follows.
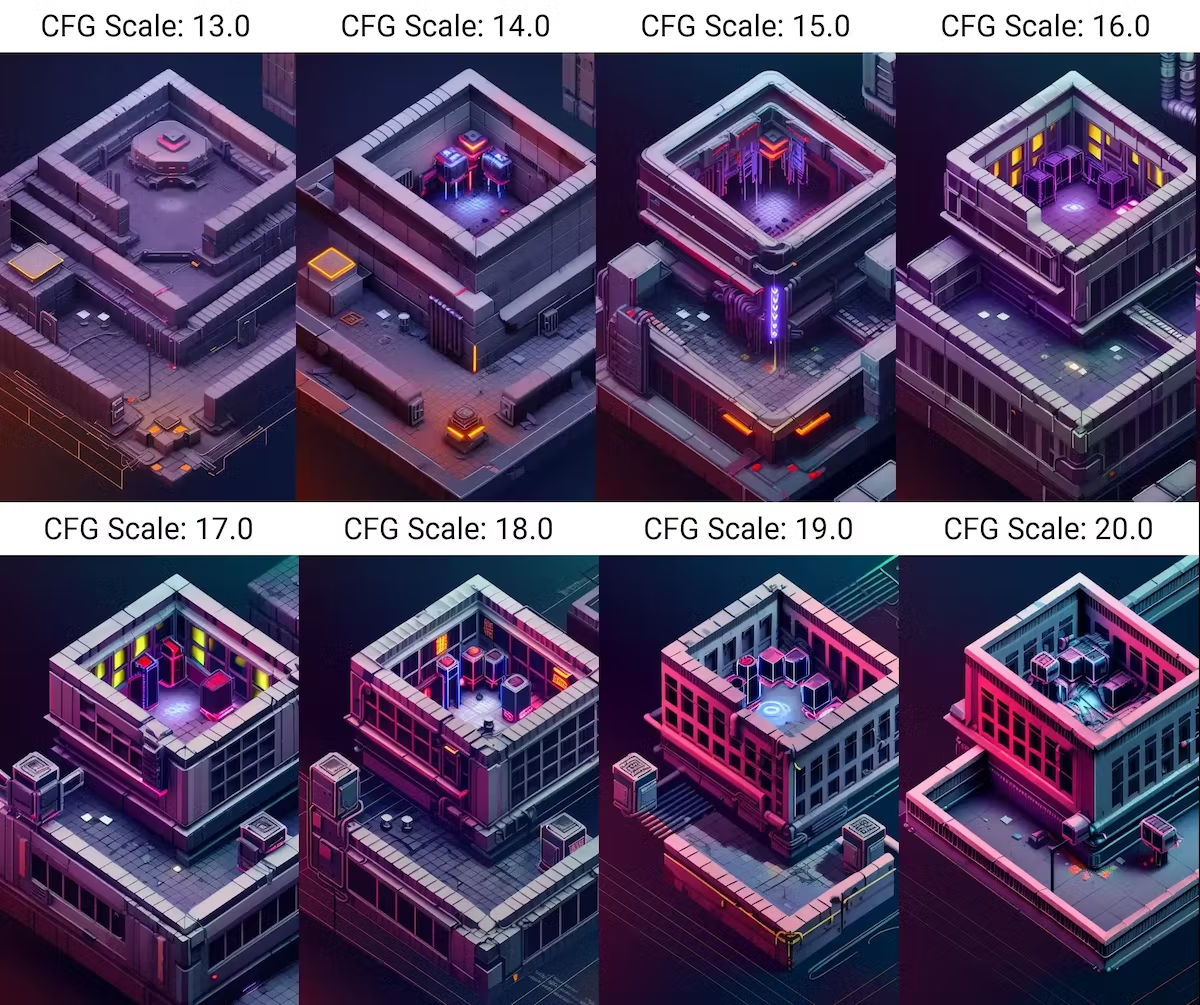
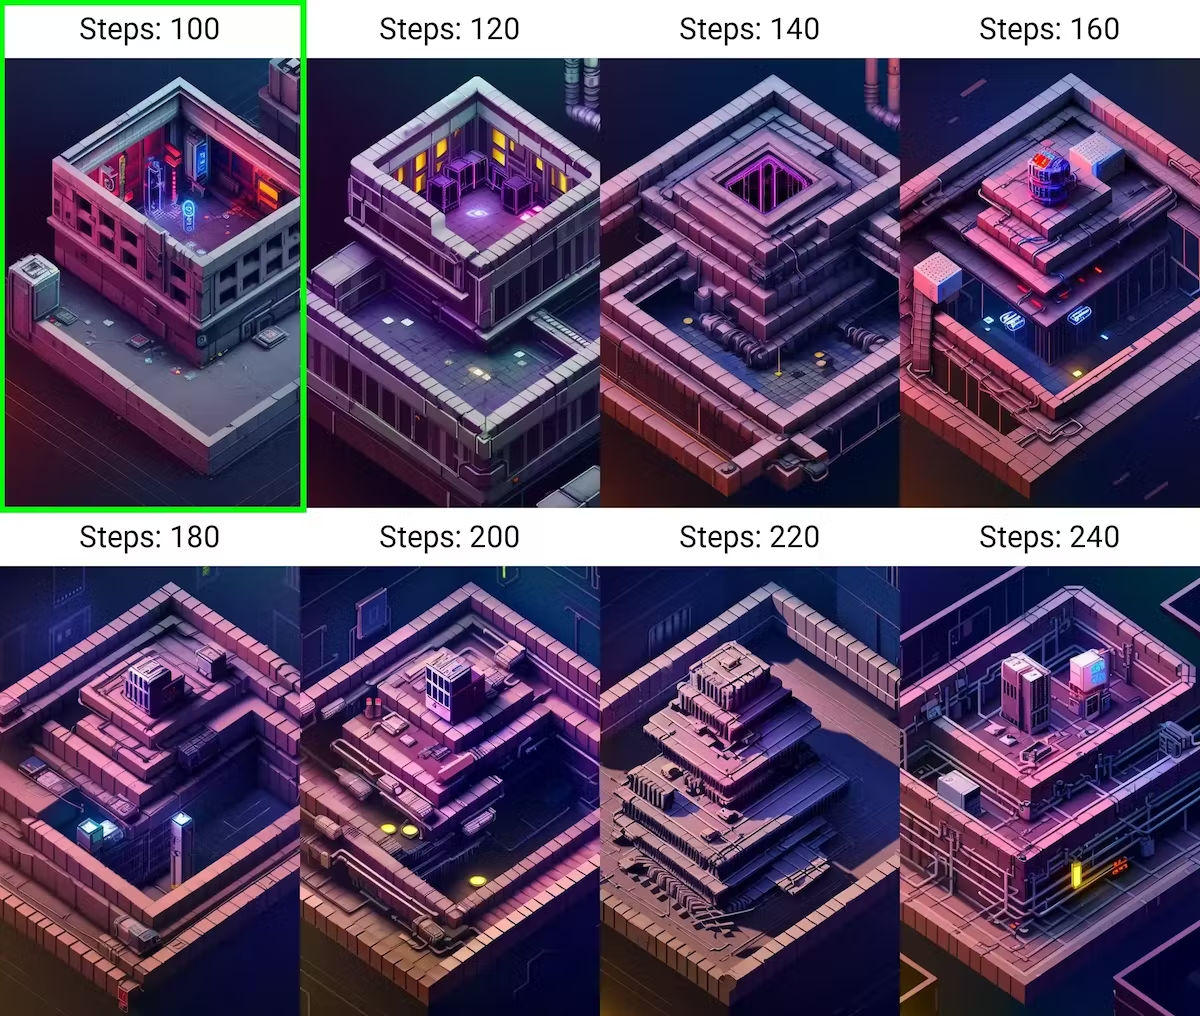
In the case of Mr. HACKMANS, he especially liked the image output when the CFG scale was fixed at 16.0 and the number of steps was '100'.
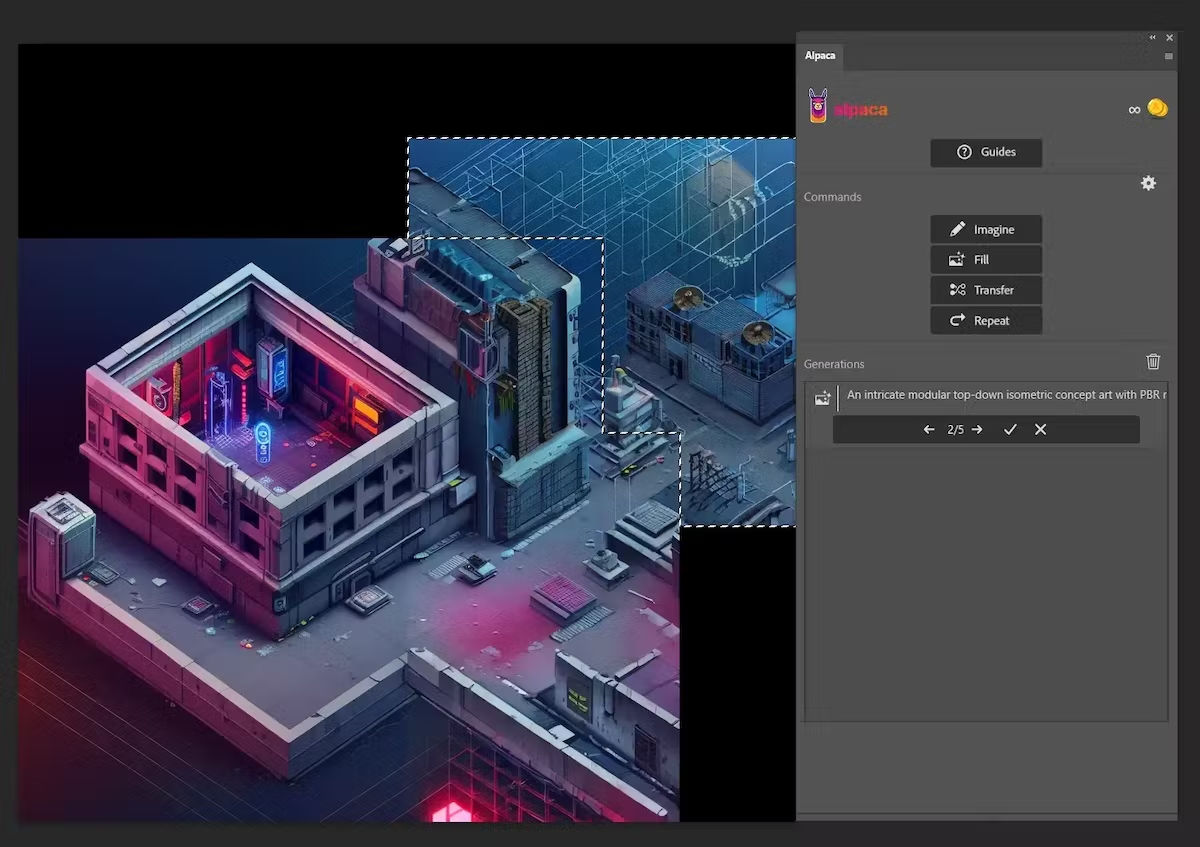
HACKMANS uses Photoshop on a regular basis, so he uses alpaca to generate images with Stable Diffusion.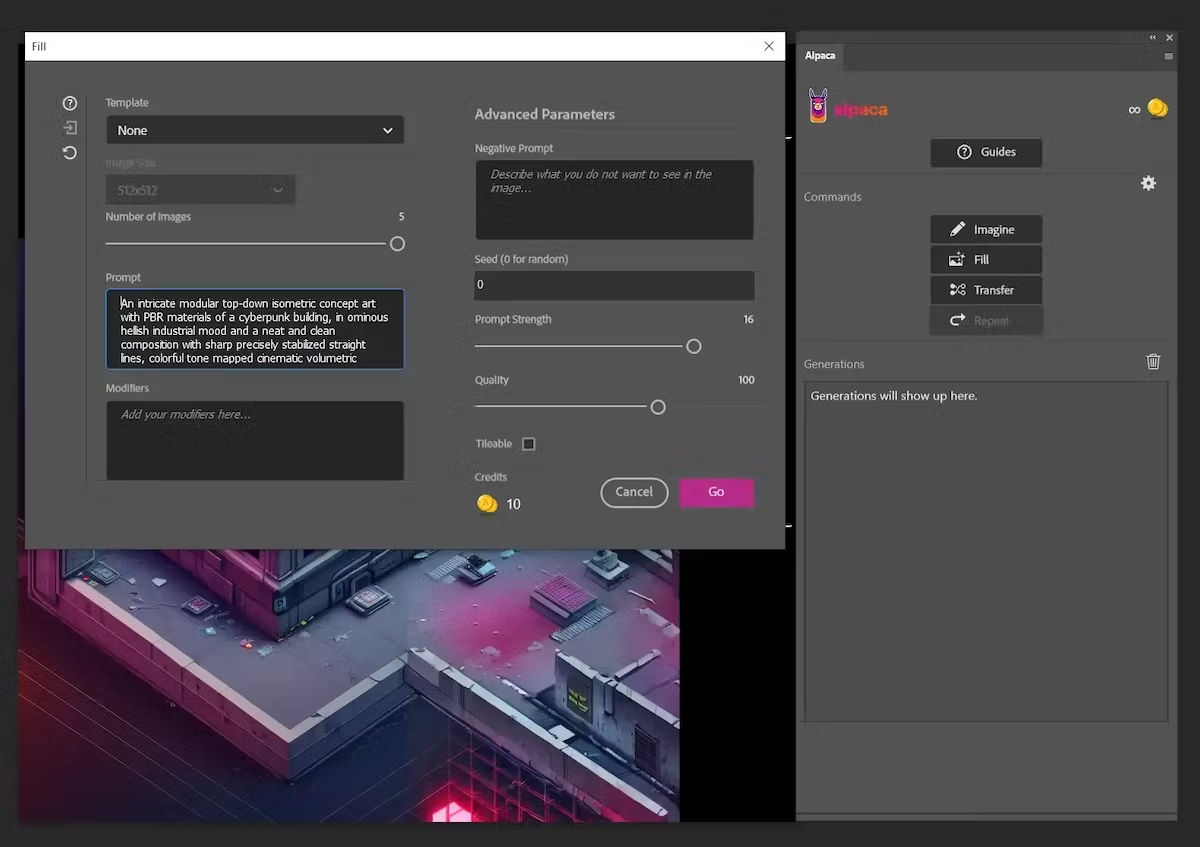
The generated image is placed on a larger canvas, and the outpaint function is used to create areas other than the first generated image.
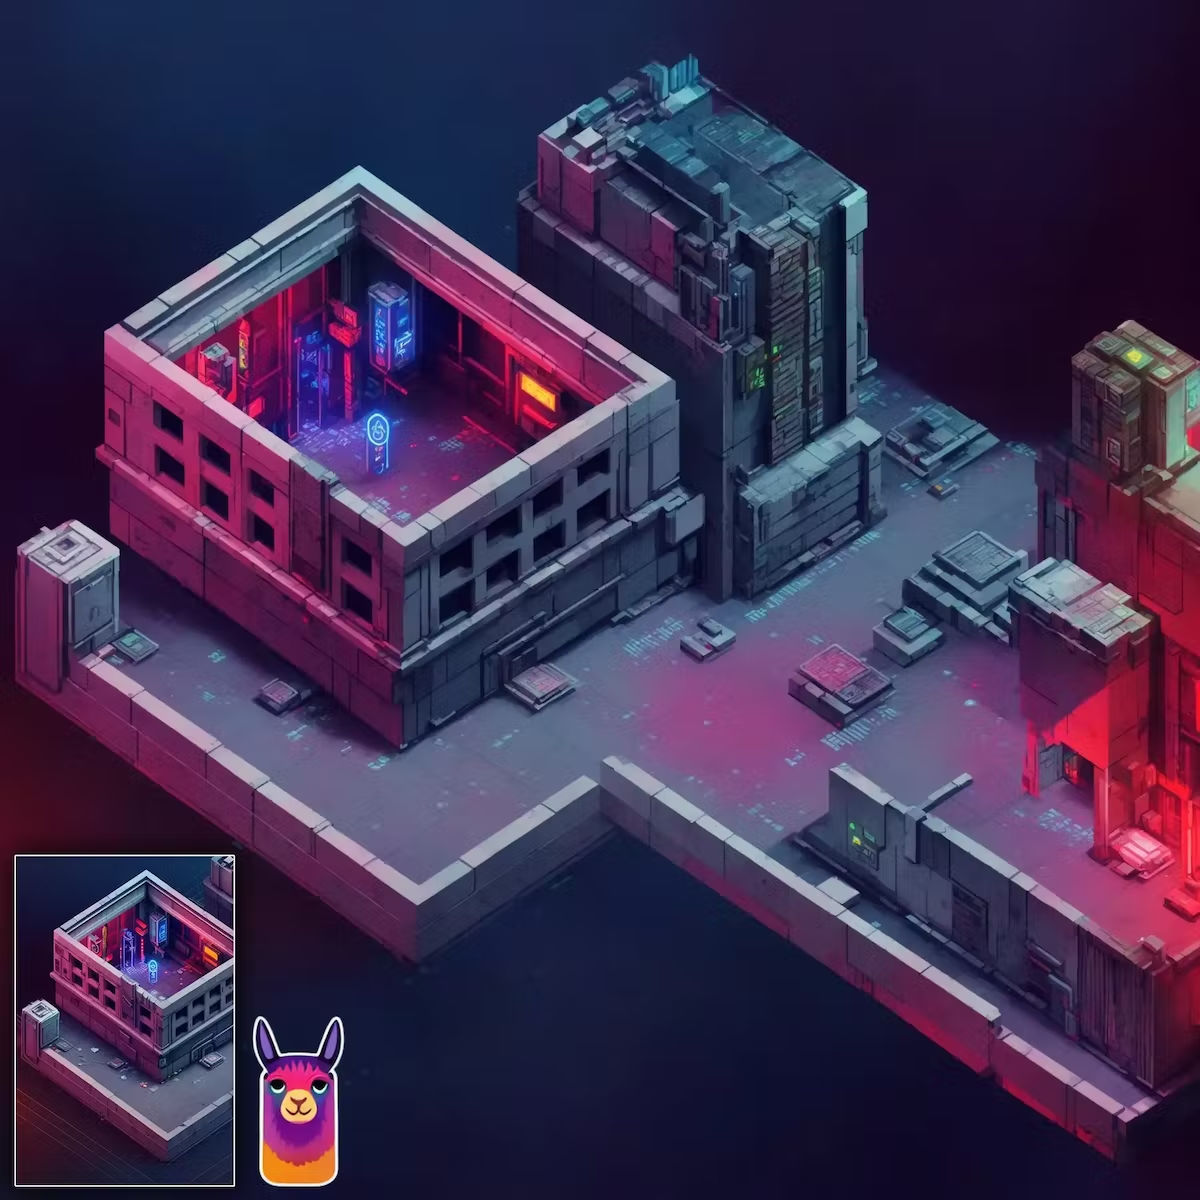
The following image is the final image that has been doubled in resolution with img2img.
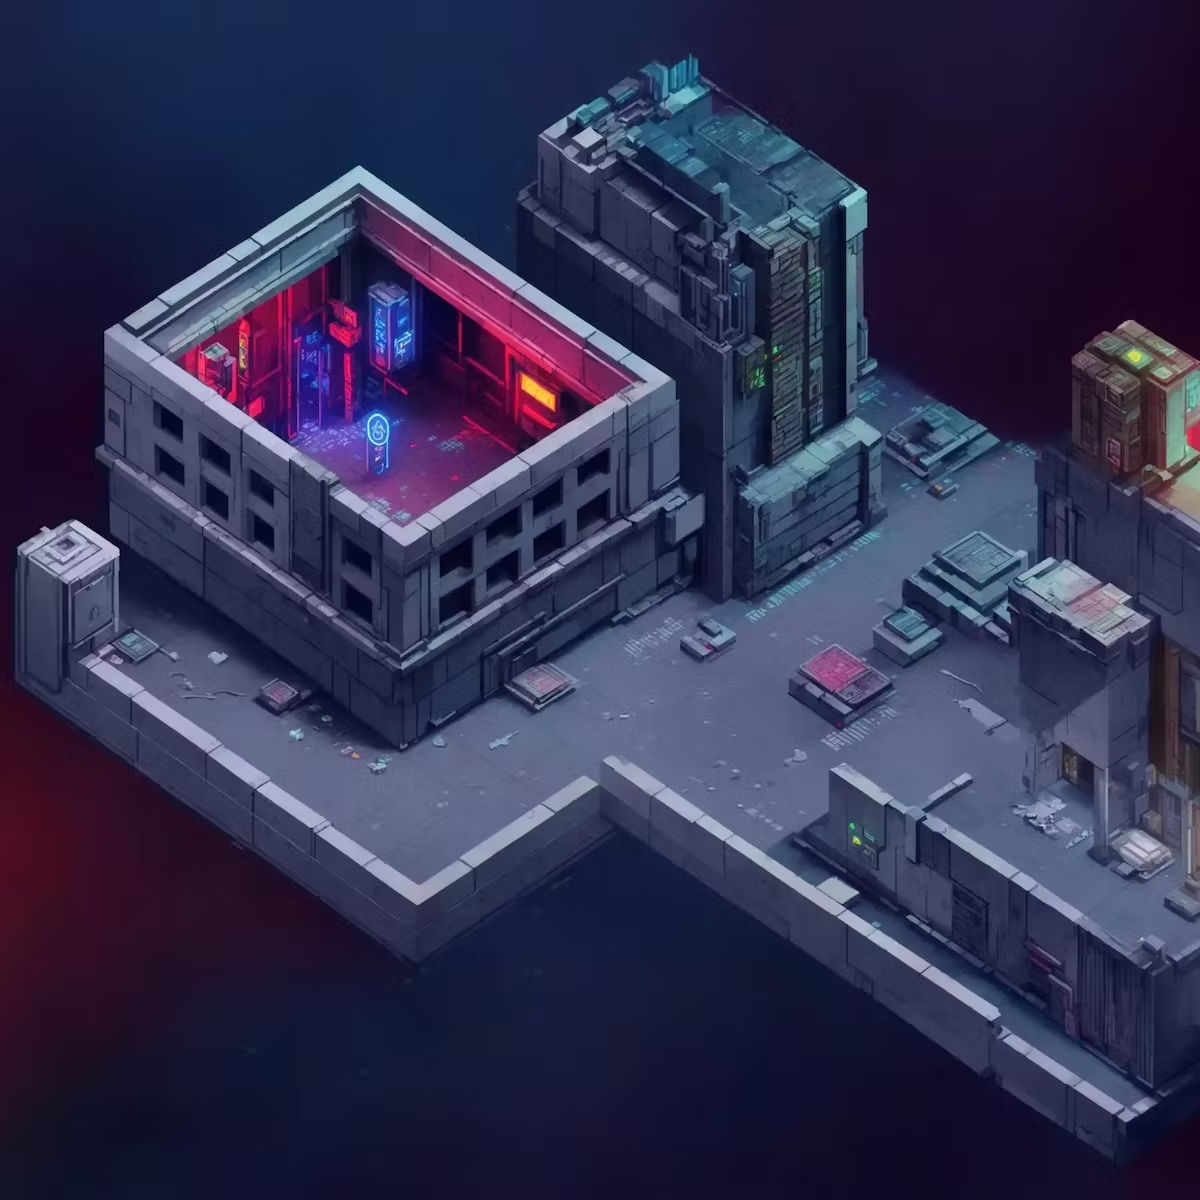
Subsequently, HACKMANS removes the lighting from the image and uses a custom shader to rearrange the lighting in order to use this image as a background in the game engine Unity. For that reason, it seems that he first filled in a strong color using Photoshop.
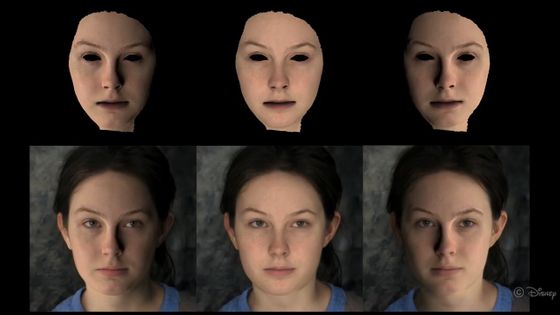
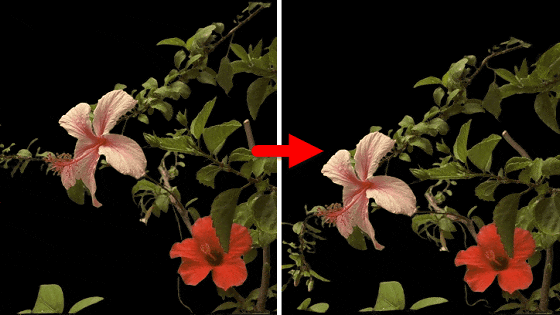
Since it was necessary to create a normal map of the image to add lighting, HACKMANS first uses the functions 'MiDaS' and 'LeRes' of Boosting Monocular Depth to create a depth map of the image. Depth map created by:
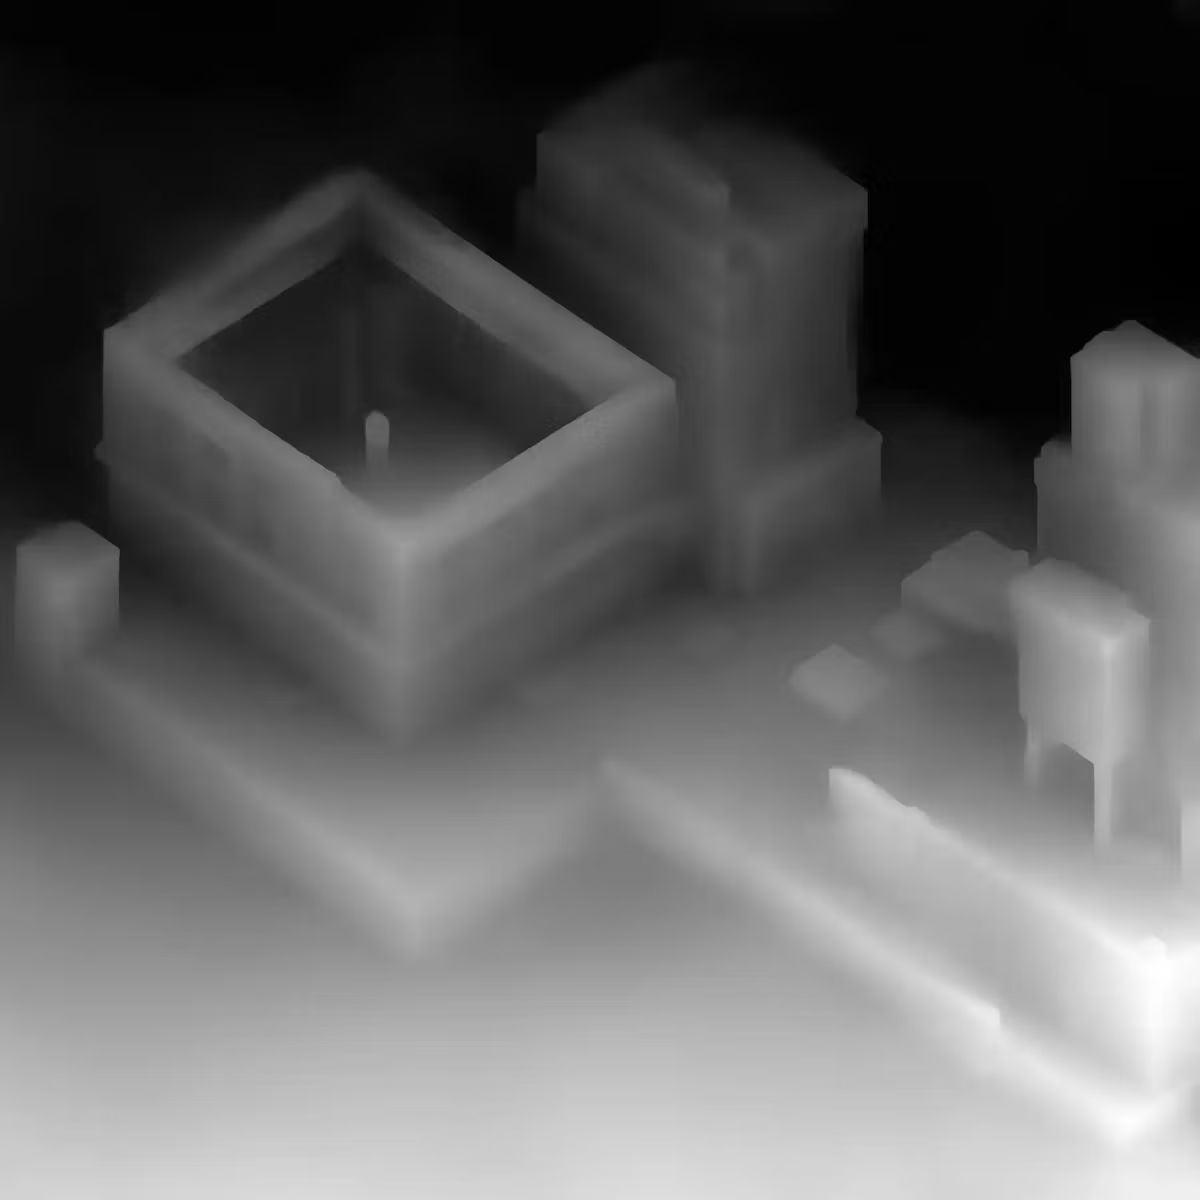
Bring this depth map into Adobe Substance 3D Designer and use
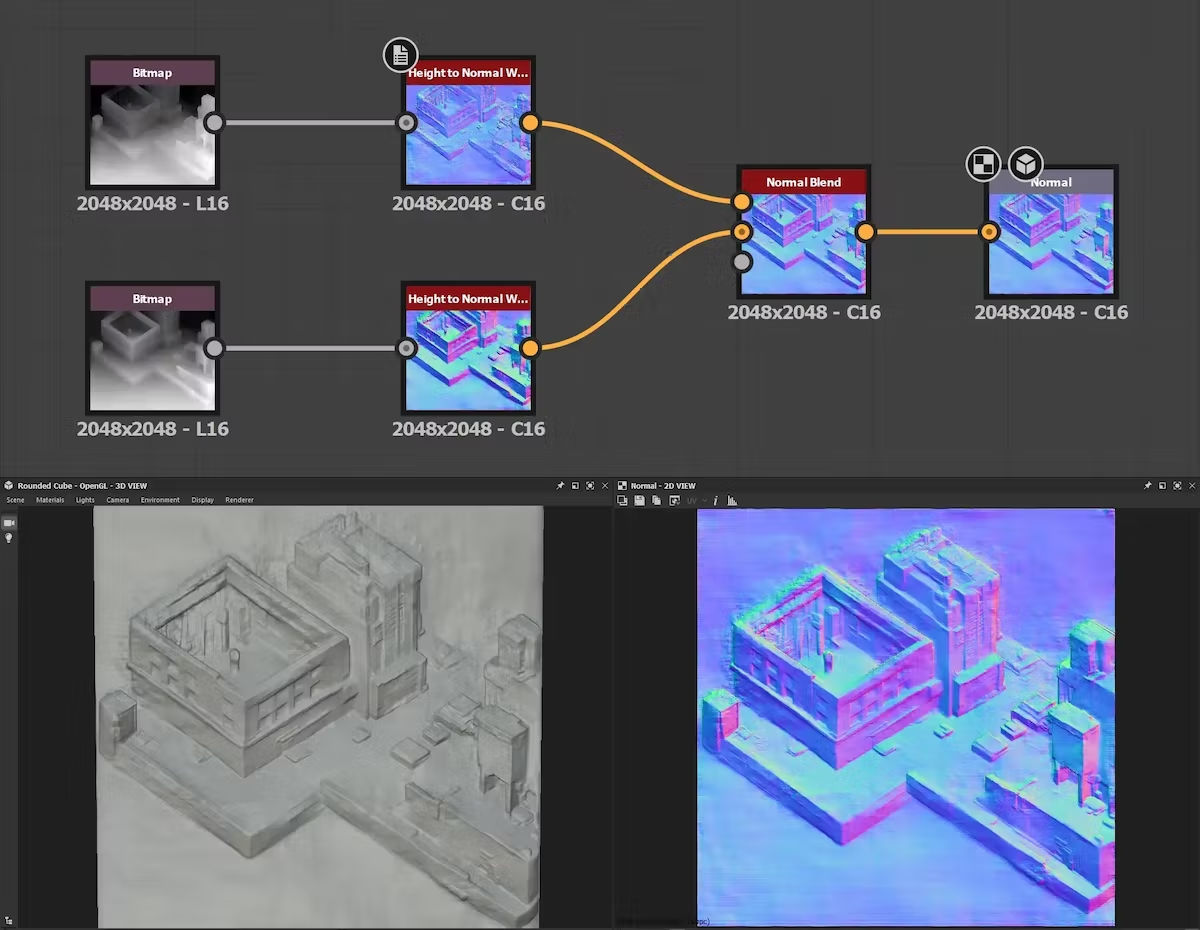
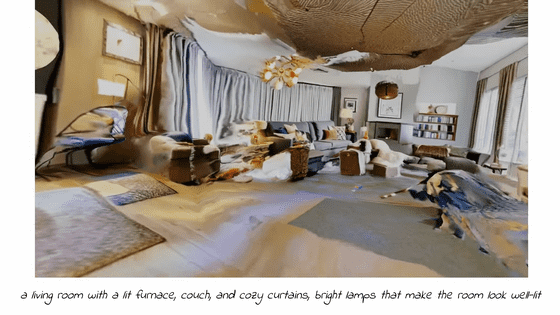
The following video shows colored lighting placed in two places in the background using Unity based on the normal map. 'The light of the lighting naturally wraps around the surface of the building, realizing realistic lighting,' HACKMANS wrote.
In addition, Mr. HACKMANS seems to have tried several different methods using a custom URP shader created with Amplify Shader Editor, depth map and normal map. Although I tried the parallax occlusion mapping of the Amplify Shader Editor, ``Although a subtle pseudo-3D perspective was added to the camera movement, the depth of the isometric view was incorrect, so it looked quite bad,'' HACKMANS said. I am writing.
Related Posts: