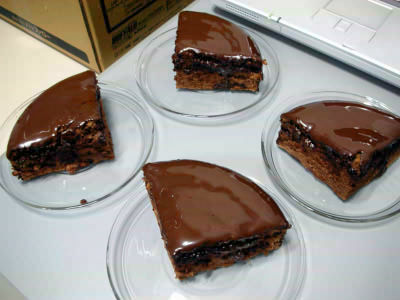
I wanted to be full with canelé alone, so I made a large batch of it.

“ Canelé ”, which is a crispy toasted skin filled with dough with a sticky texture, is a super delicious sweet that will make you want to eat another one! However, because it is a very popular sweet, it is difficult to get a large amount, so I always thought, 'I want to eat more' while eating one or two canelés. I thought, ``I want to eat canelé to my heart's content!
Bordeaux nuns canelé | recipe | NHK 'Gretel's oven'
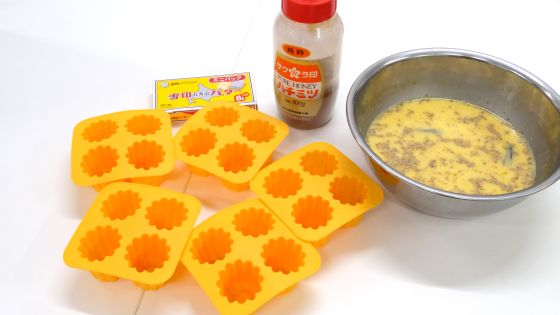
The “canelé type” is essential when making canelés. Canelé molds are made of copper or stainless steel, but this time I will use a small silicon canelé mold that I got at a 100-yen uniform shop.

The materials required to make canelés for the above four molds (total of 16) are as follows.
・Milk (250ml)
・Vanilla pods (1/4)
・Soft flour (35g)
・Strong flour (23g)
・Granulated sugar (125g)
・Egg yolk (30g)
・Egg white (7g)
・Rum (20ml)
・Butter (13g)
・Butter (appropriate amount) for painting on the canelé mold
・Honey (appropriate amount)

This recipe takes 3 days to make the canelé, including the preparation. 'It takes 3 days to make' sounds difficult, but the cooking process itself is a series of very simple tasks, so even beginners can complete the canelé without any problems.
◆Day 1: Transfer the vanilla scent to the milk
First, measure 250ml of milk and cut the vanilla pods into quarters.
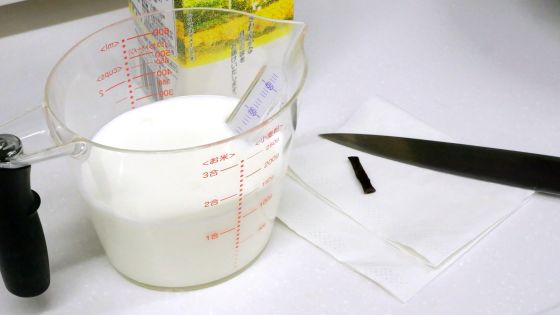
After pouring the milk into the pan, scrape the vanilla seeds with a kitchen knife.
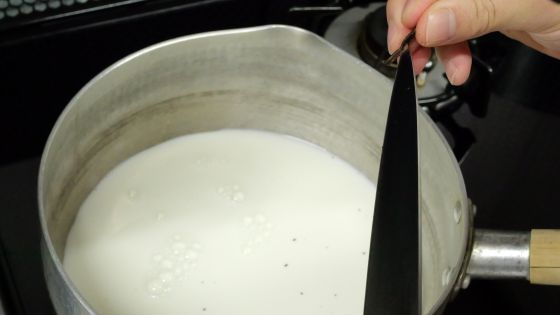
Add the vanilla pods to the pot and heat until boiling.
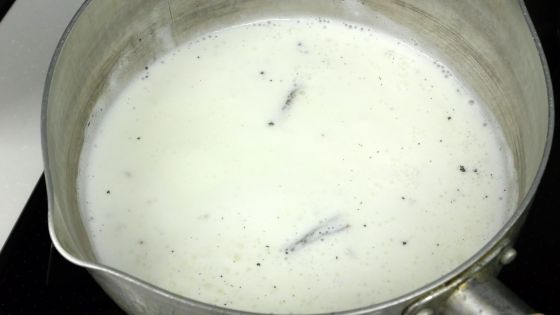
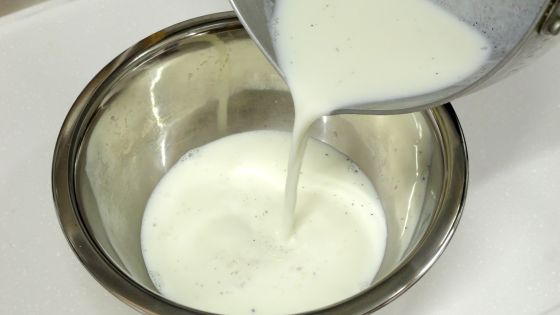
Once the milk is boiling, transfer it to a container.
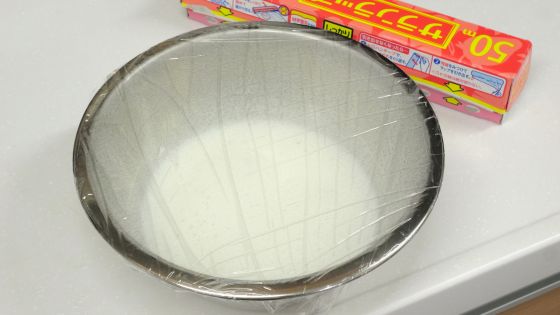
Cover the container with plastic wrap and leave it until the heat is removed.
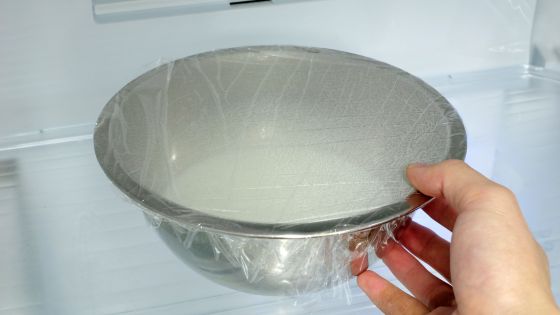
When the heat is removed, put it in the refrigerator and leave it overnight. This completes the first day's work.
◆Day 2: Make canelé dough
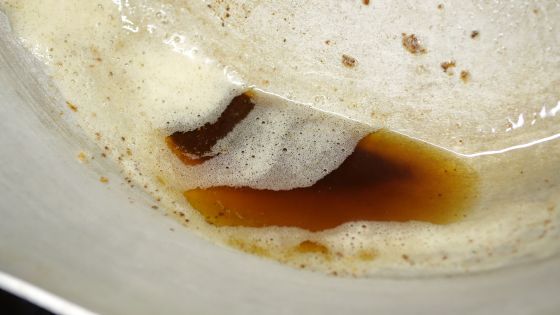
On the second day, the vanilla milk made on the first day is mixed with butter and flour to make the canelé dough. First, heat 13g of butter in a pan to make burnt butter.
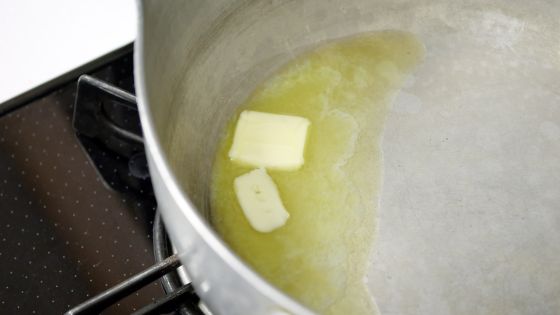
It is OK if it becomes dark brown like this. When the burnt butter is complete, leave the pan to cool.
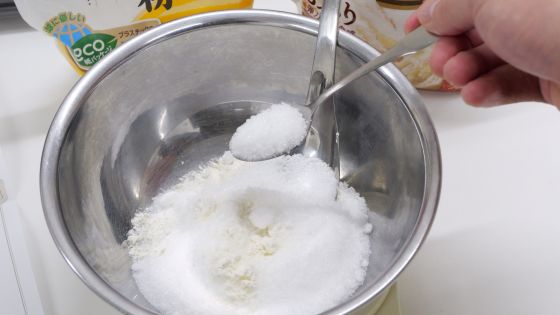
Next, put the soft flour (35g), strong flour (23g), and granulated sugar (125g) in a bowl and mix.
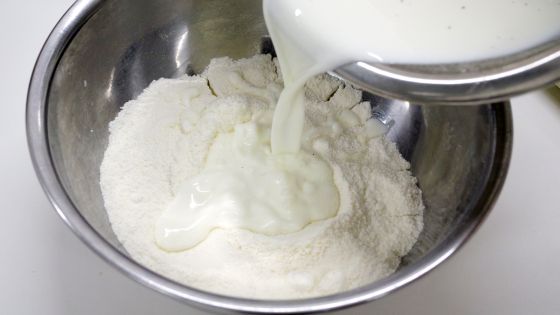
Next, put in the vanilla milk made on the first day.
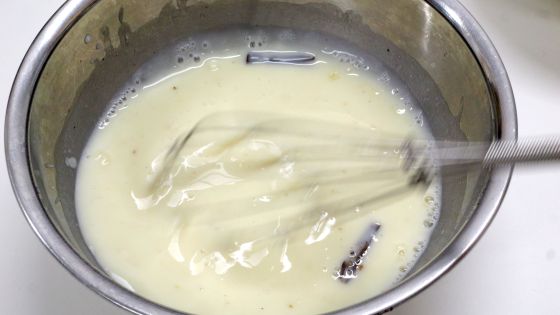
Mix flour and vanilla milk. At this time, if you mix too much, it will be sticky, so it is OK if you mix the powder to the extent that it does not become lumpy.
Next, measure the egg yolk (30g) and egg white (7g) and beat them.
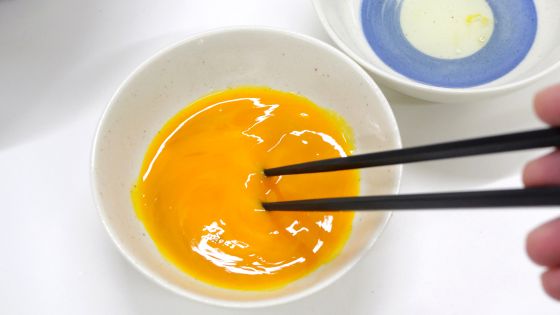
Put the beaten egg into the bowl.
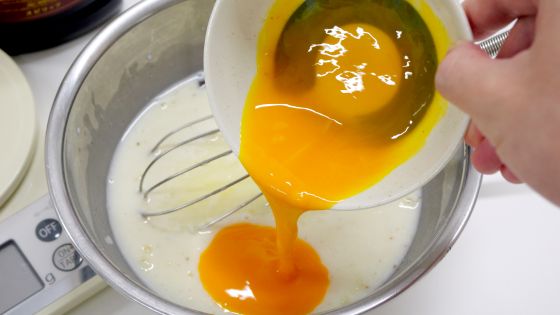
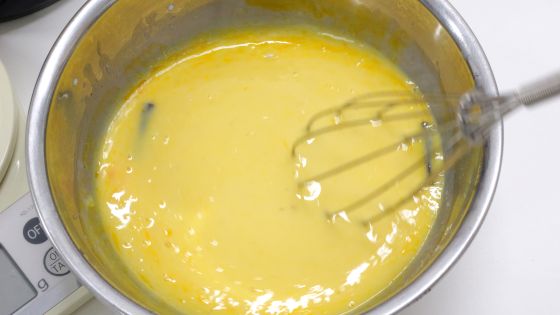
mix mix.
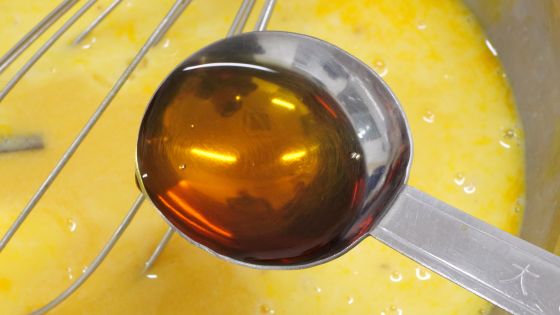
Add rum (20ml).
I also throw in the burnt butter.
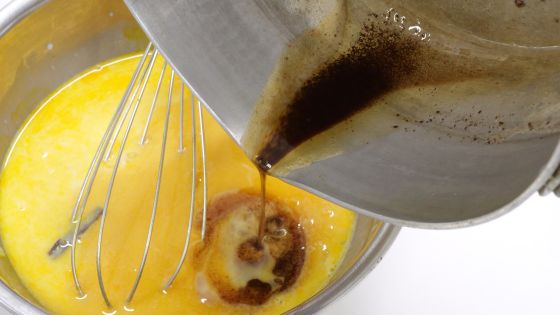
mix mix.
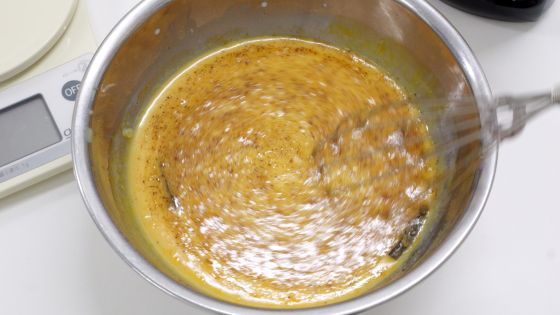
After mixing evenly, cover the dough with cling wrap.
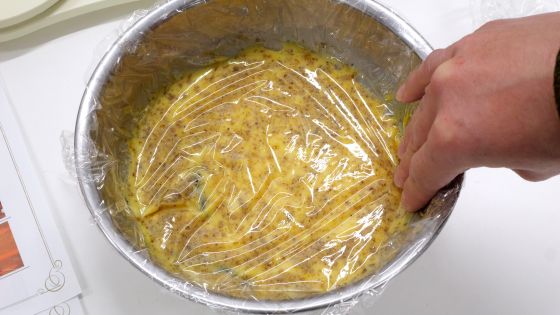
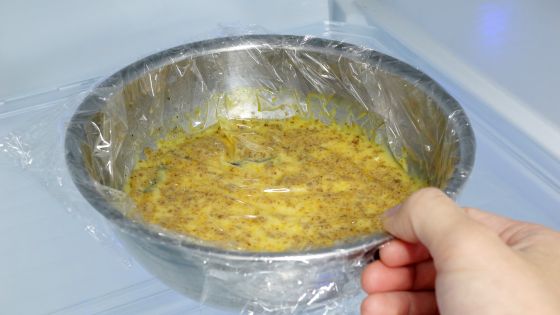
This completes the work of the second day. Soak overnight in the refrigerator.
◆Day 3: Bake the dough in the oven
Before baking the dough, grease the canelé mold with butter and honey.
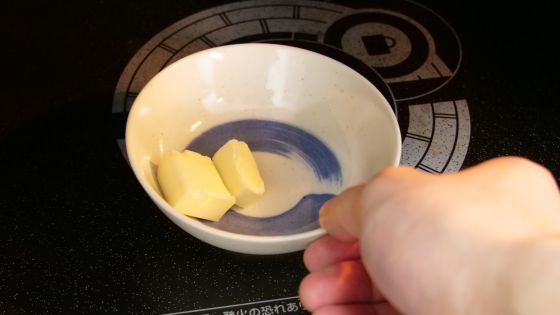
First, soften the butter by heating it in the microwave for about 10 seconds.
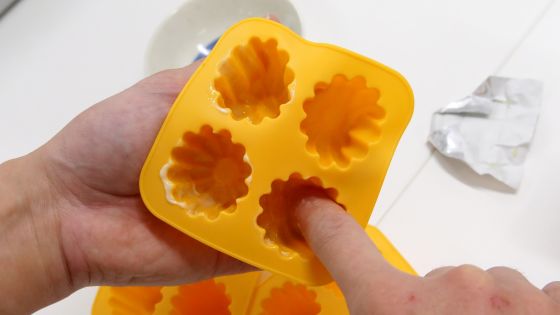
Brush the inside of the canelé mold with softened butter.
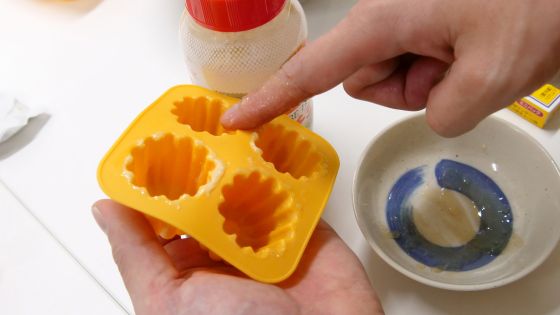
Also coated with honey.
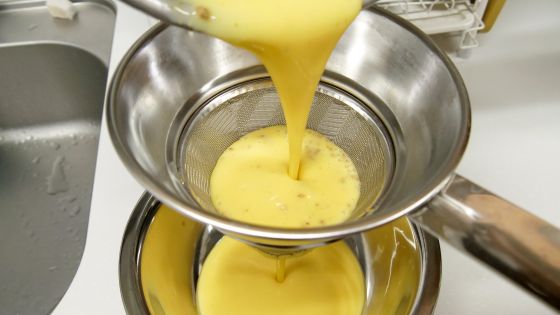
When the canelé mold is ready, mix the dough from the bottom and then rub it.
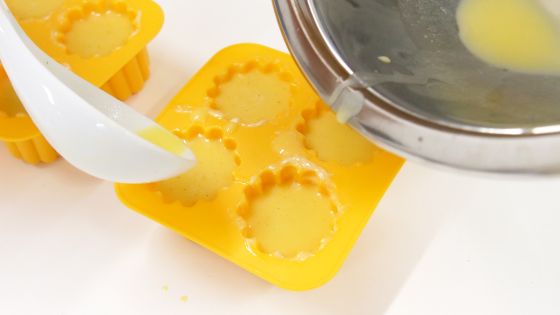
Next, pour the batter up to 80% of the canelé mold.
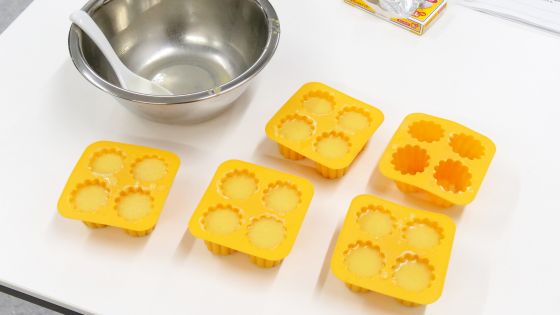
I prepared 5 canelé molds just in case, but 4 canelé molds (for 16 canelés) were perfect for this time.
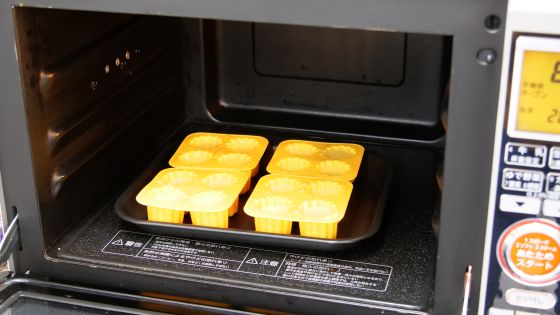
Bake in an oven preheated to 200 degrees for 60 minutes.
It's baked. The scent of butter and rum wafts around.
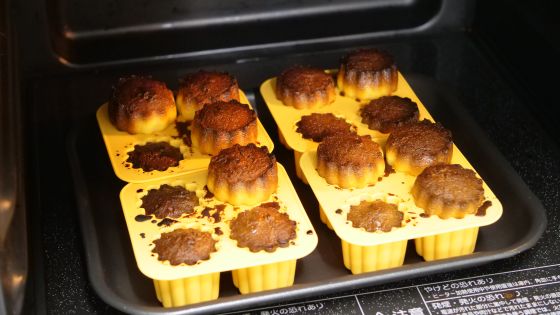
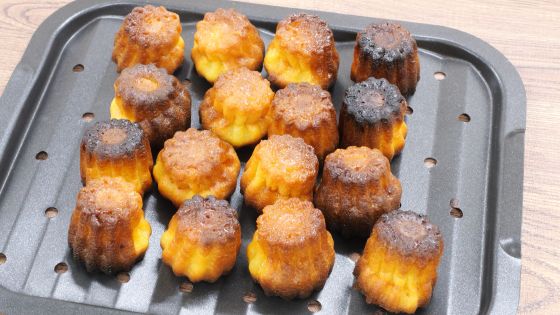
It looks like this when taken out of the mold. The shapes are different, but they are all cute shapes.
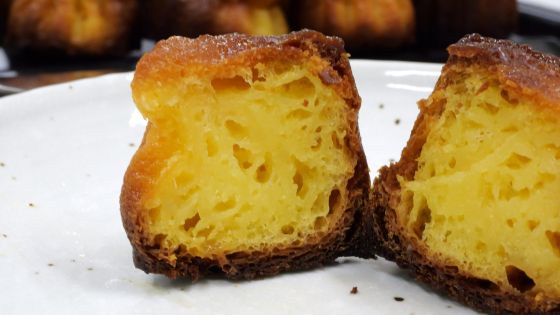
The cross section looks like this. The yellow dough is tightly packed in the outer toasted layer.
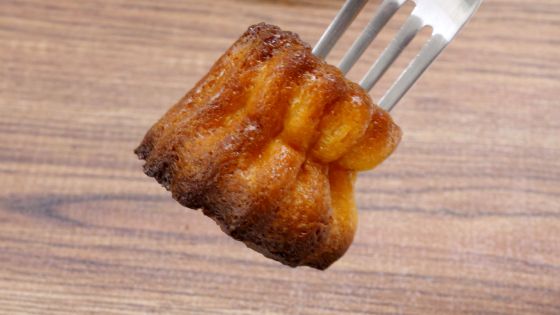
When you eat it, the outside has a crunchy texture and the inside is sticky. The blackened canelé was not burnt and had a fragrant taste. The large canelés that you can buy at the store are delicious, but the good point about the small canelés that you make yourself is that you can eat them in one bite. Also, it is fun to be able to customize the mix by yourself, such as 'I should add more rum next time' or 'I'd like to increase the ratio of flour to make it softer.' In this recipe, I didn't use any special tools or ingredients other than the canelé molds I bought at the 100 yen shop, so the canelés were relatively easy to make and delicious.
Related Posts:


