I tried using the mail service 'Fastmail' that can use various functions such as calendar function and domain management
'Fastmail' is a mail service that has various functions such as a calendar function and an alias function for up to 600 items. It is said that a 30-day free trial is possible, so I actually tried using the function I was interested in.
Fastmail: email on your side
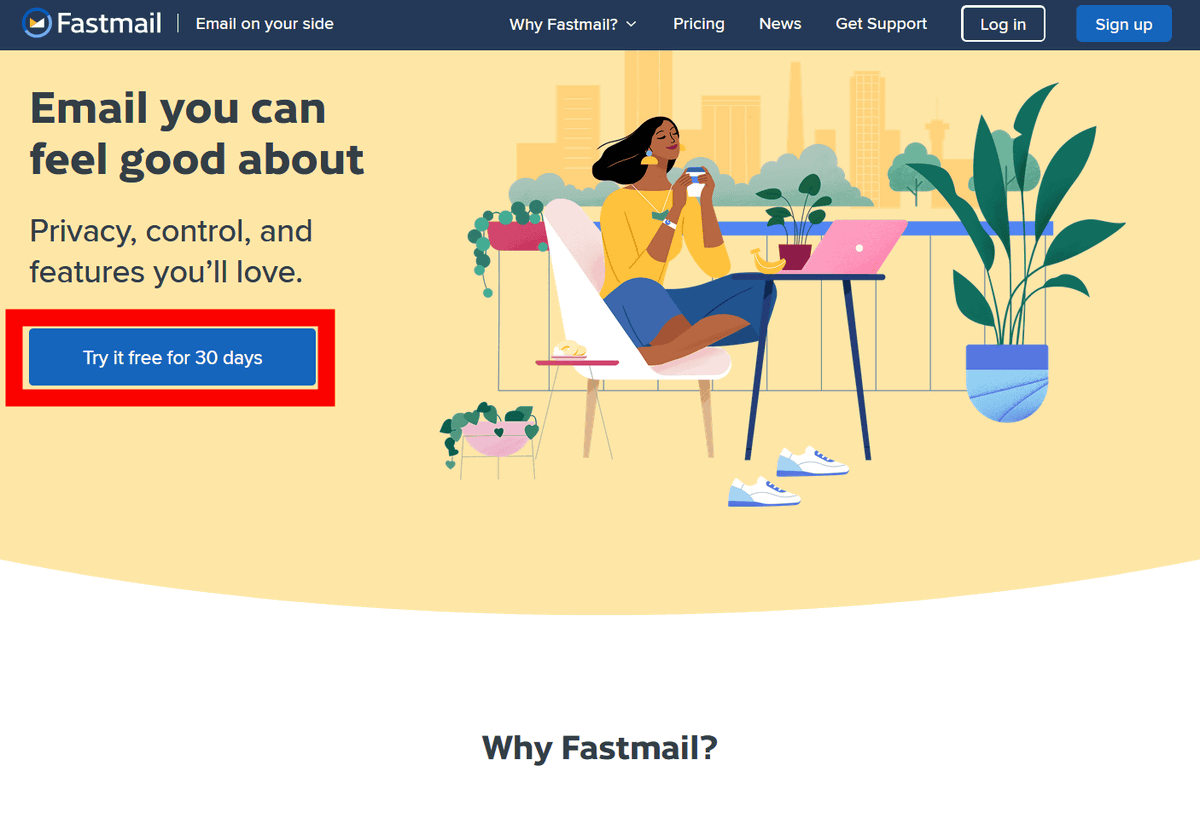
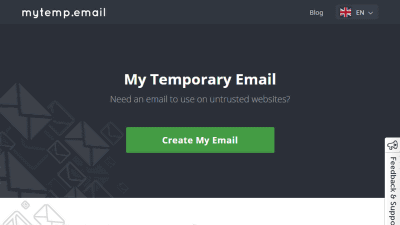
First, access the official website and click 'Try it free for 30 days'.
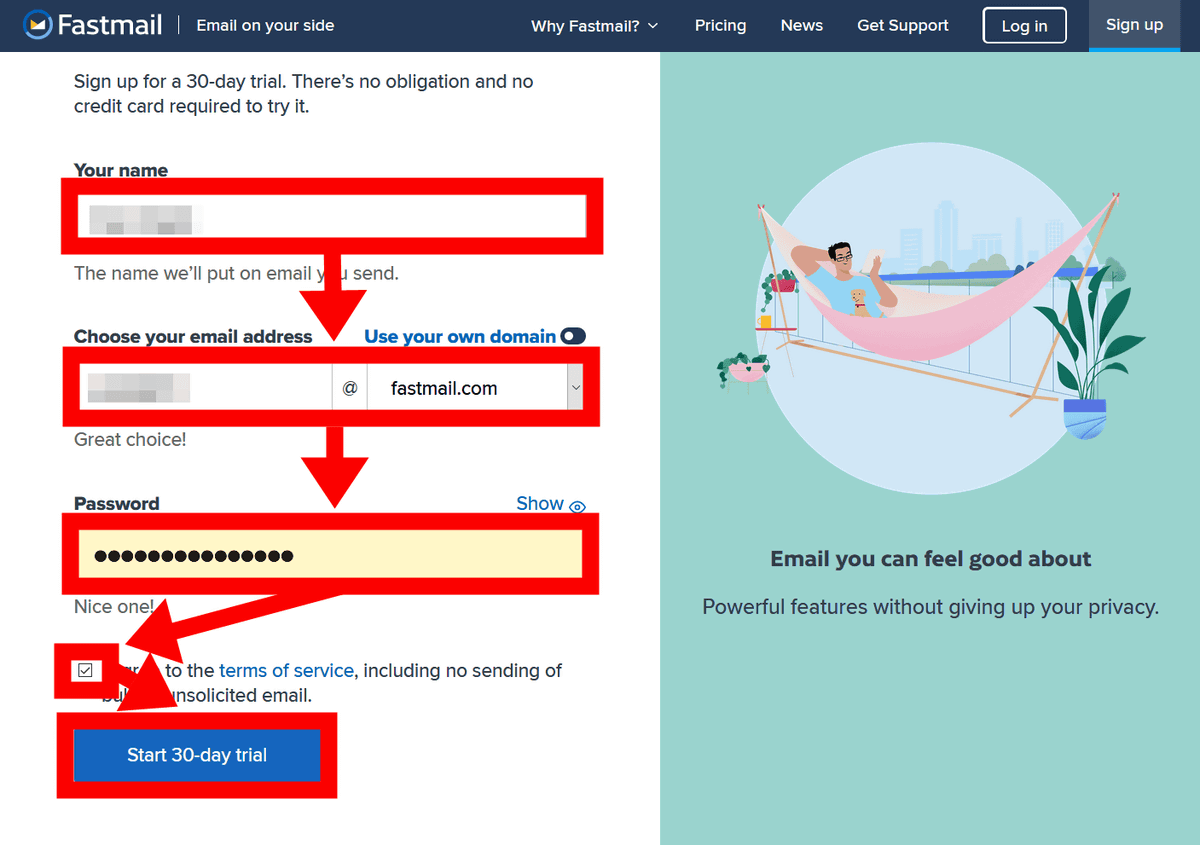
Next, create an account. Enter your username, the email address you want to get, and your password, and agree to the terms of service, including 'I agree to the terms of service, including no sending of bulk or unsolicited email.' ) ”, And click“ Start 30-day trial (start a 30-day free trial) ”. Some services require credit card information even during the free period, but Fastmail does not require you to enter personal information if you only use it during the free period.
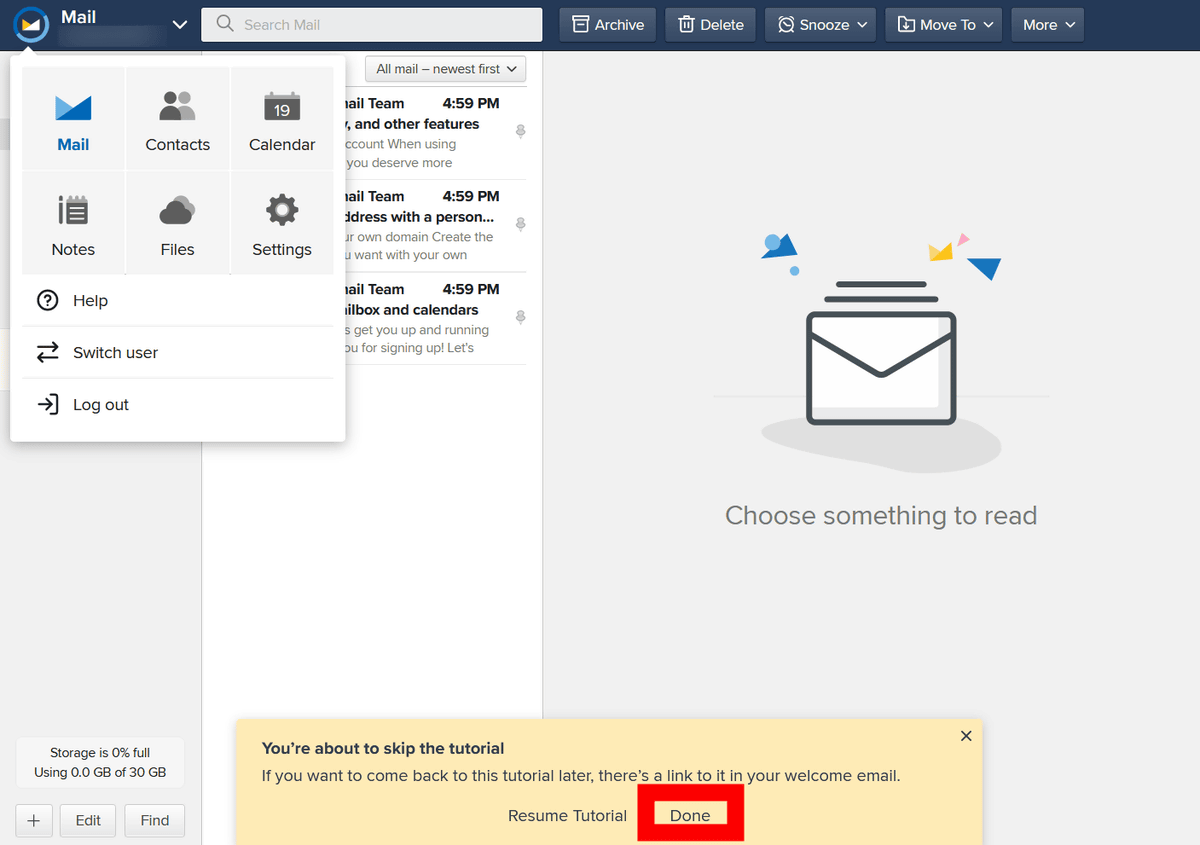
A simple tutorial will start as soon as the Fastmail home screen is displayed, so click the x mark in the pop-up at the bottom of the screen ...
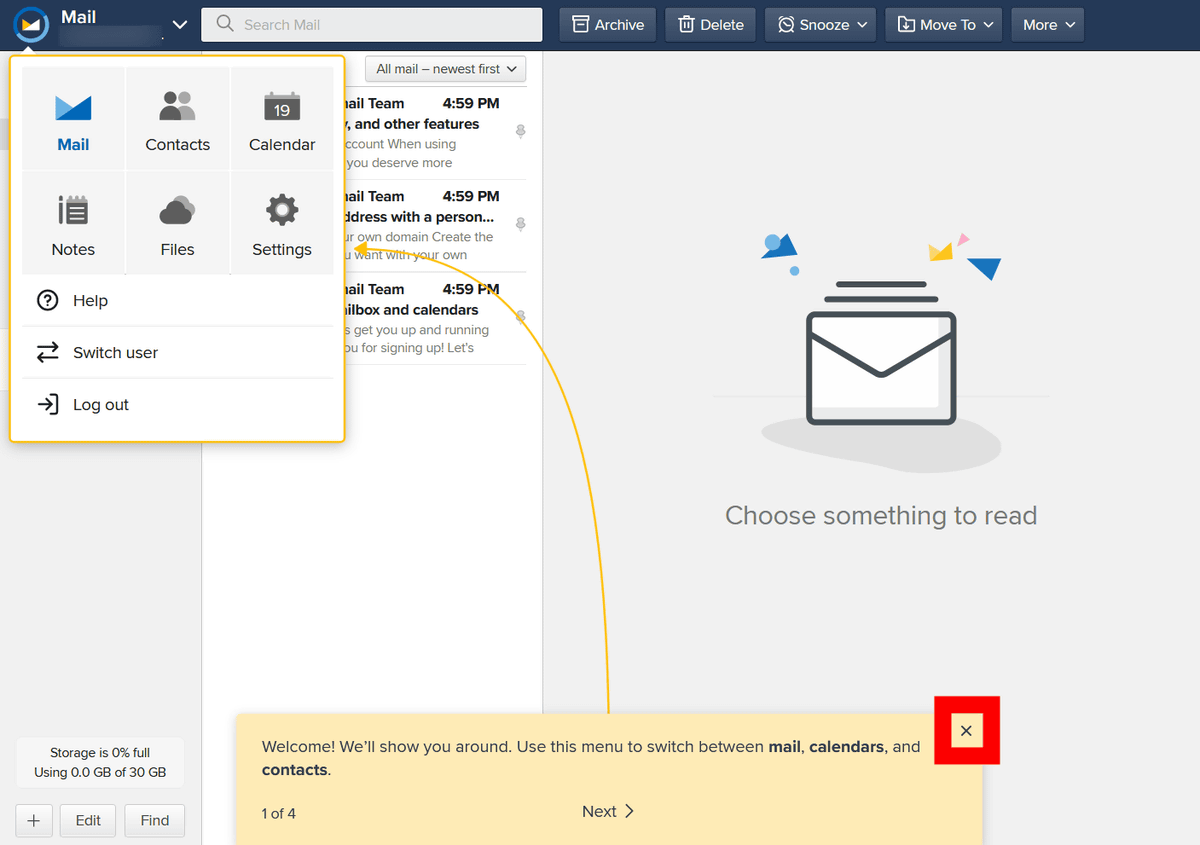
Finish the tutorial with 'Done'.
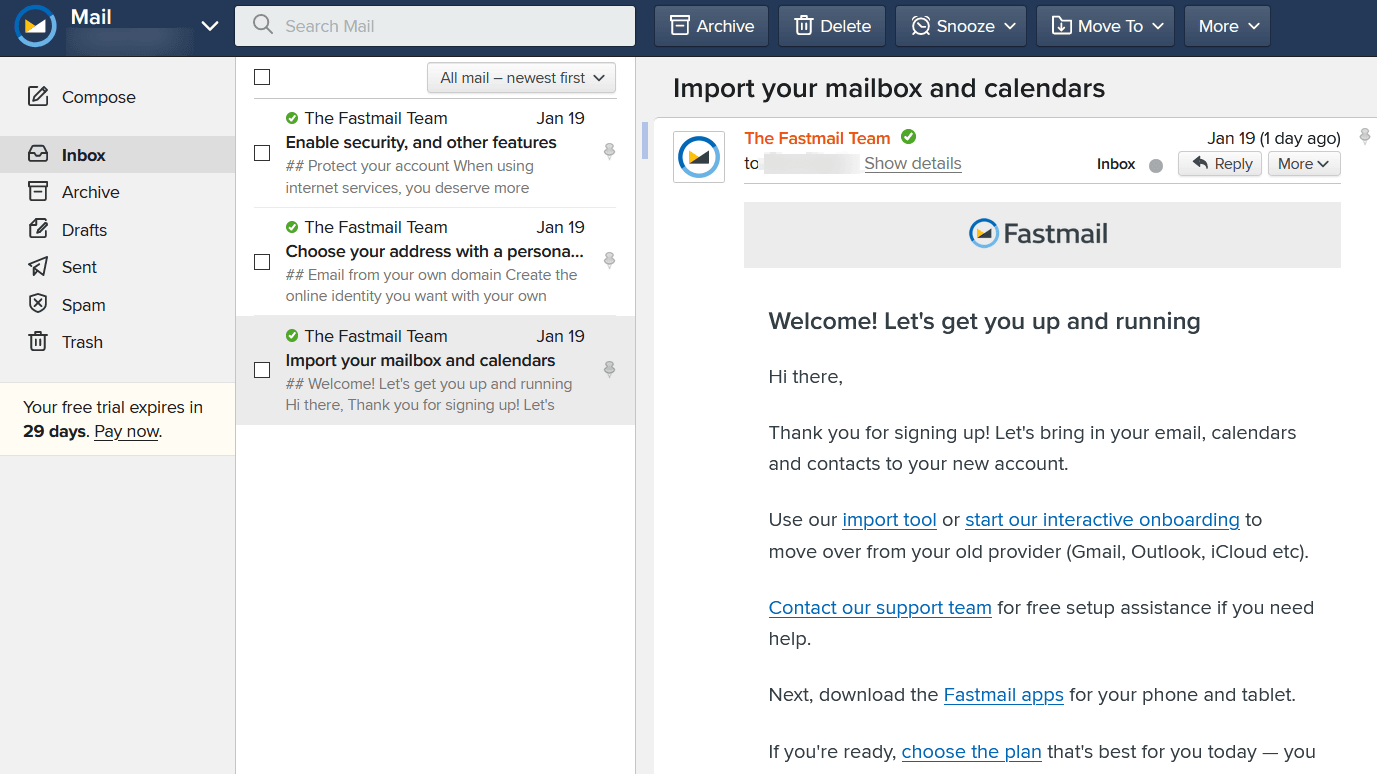
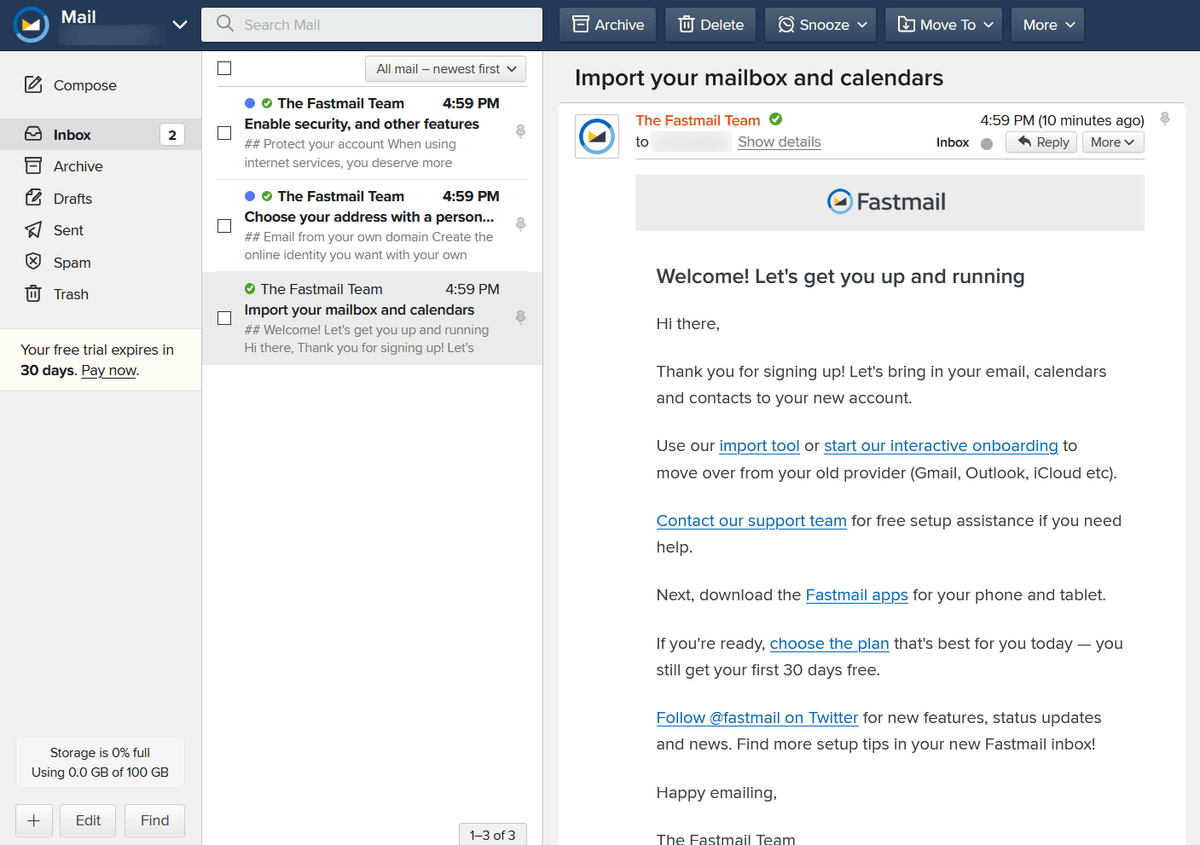
This is the Fastmail home screen. In the initial state, the layout is 'mailbox list', 'mail list in the box', and 'mail content' from the left, and the functions around this are almost the same as the basic mail service. Folder division and automatic filtering can also be set, and mail and address books can be imported from Gmail, Yahoo Mail, etc.
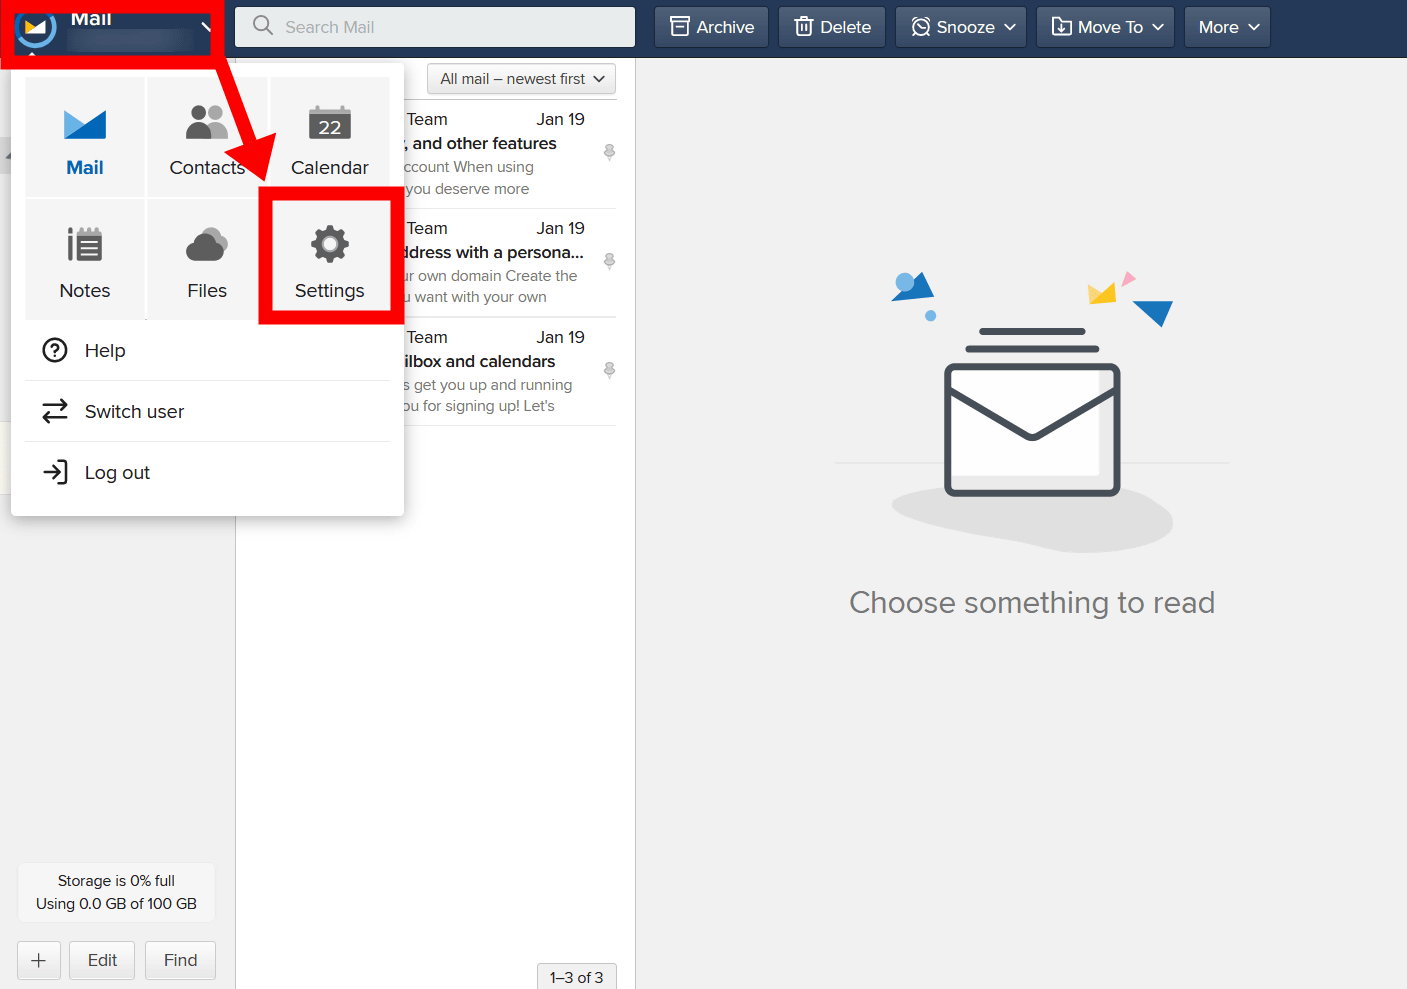
First, set Japanese. Click 'Settings' from the menu screen on the upper left.
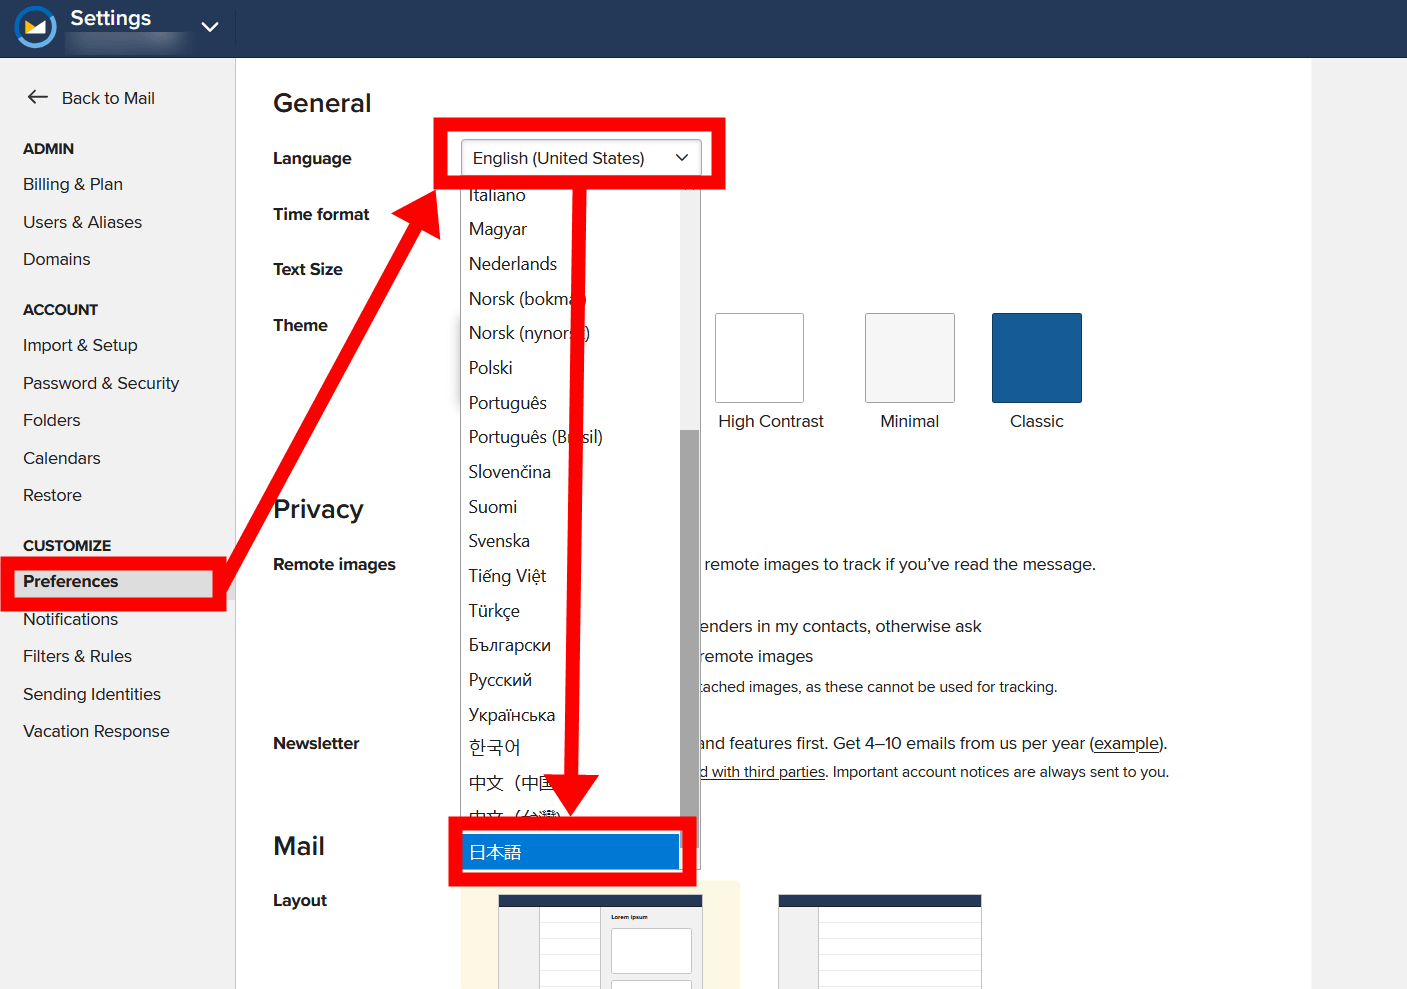
Click 'English (United States)' in the 'Language' item from 'Preferences' and select 'Japanese' from the language list. This completes the Japanese localization.
◆ Calendar
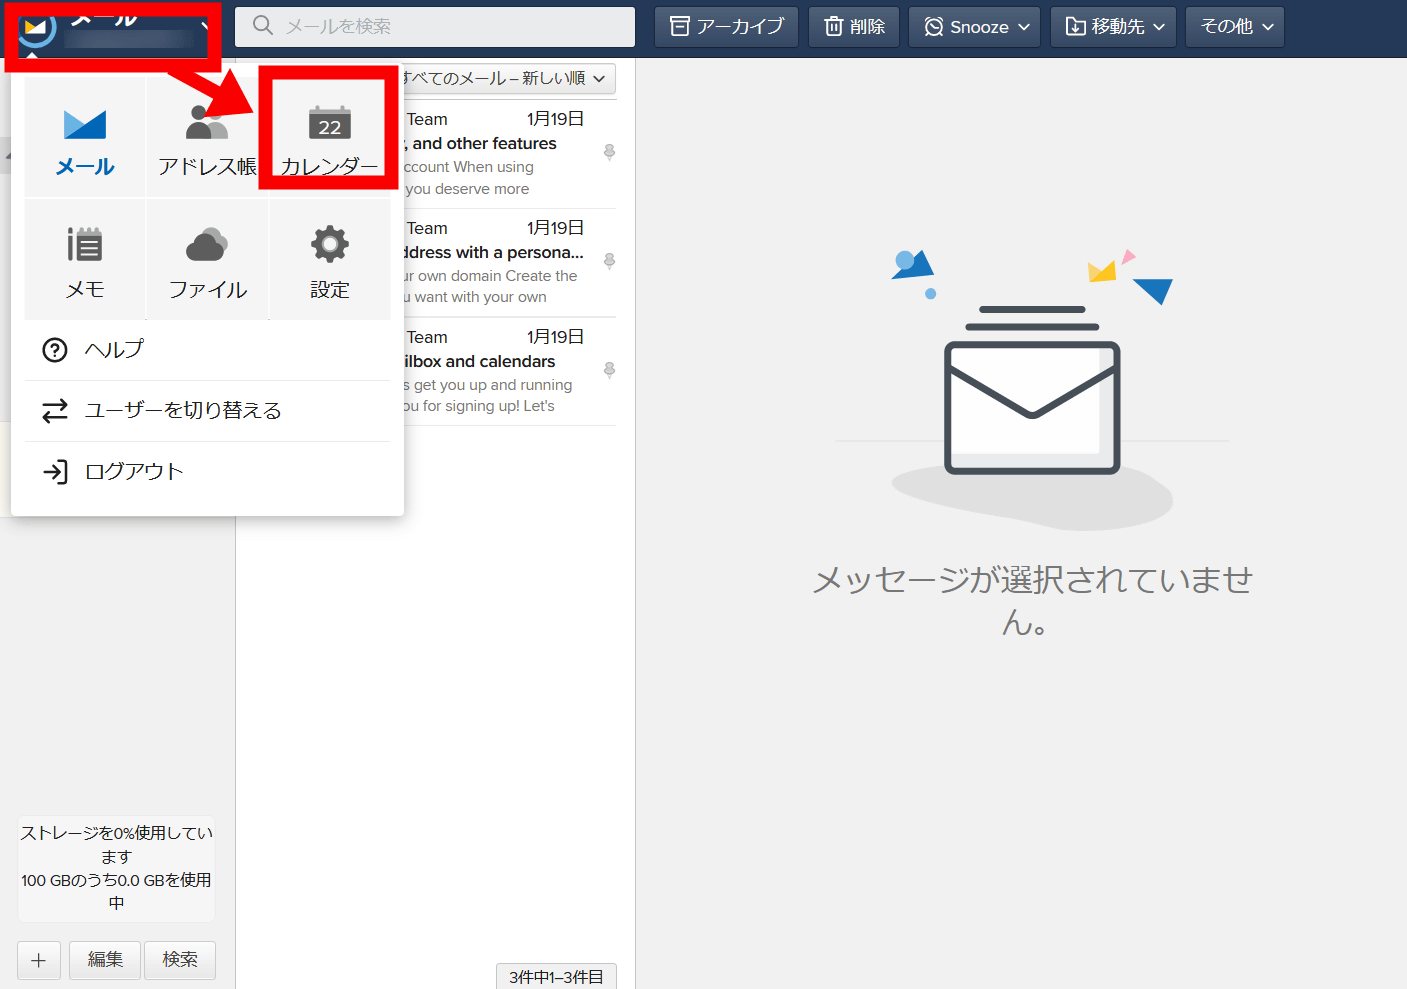
One of the features of Fastmail is the calendar function. To use the calendar, click the menu button in the upper left and select 'Calendar'.
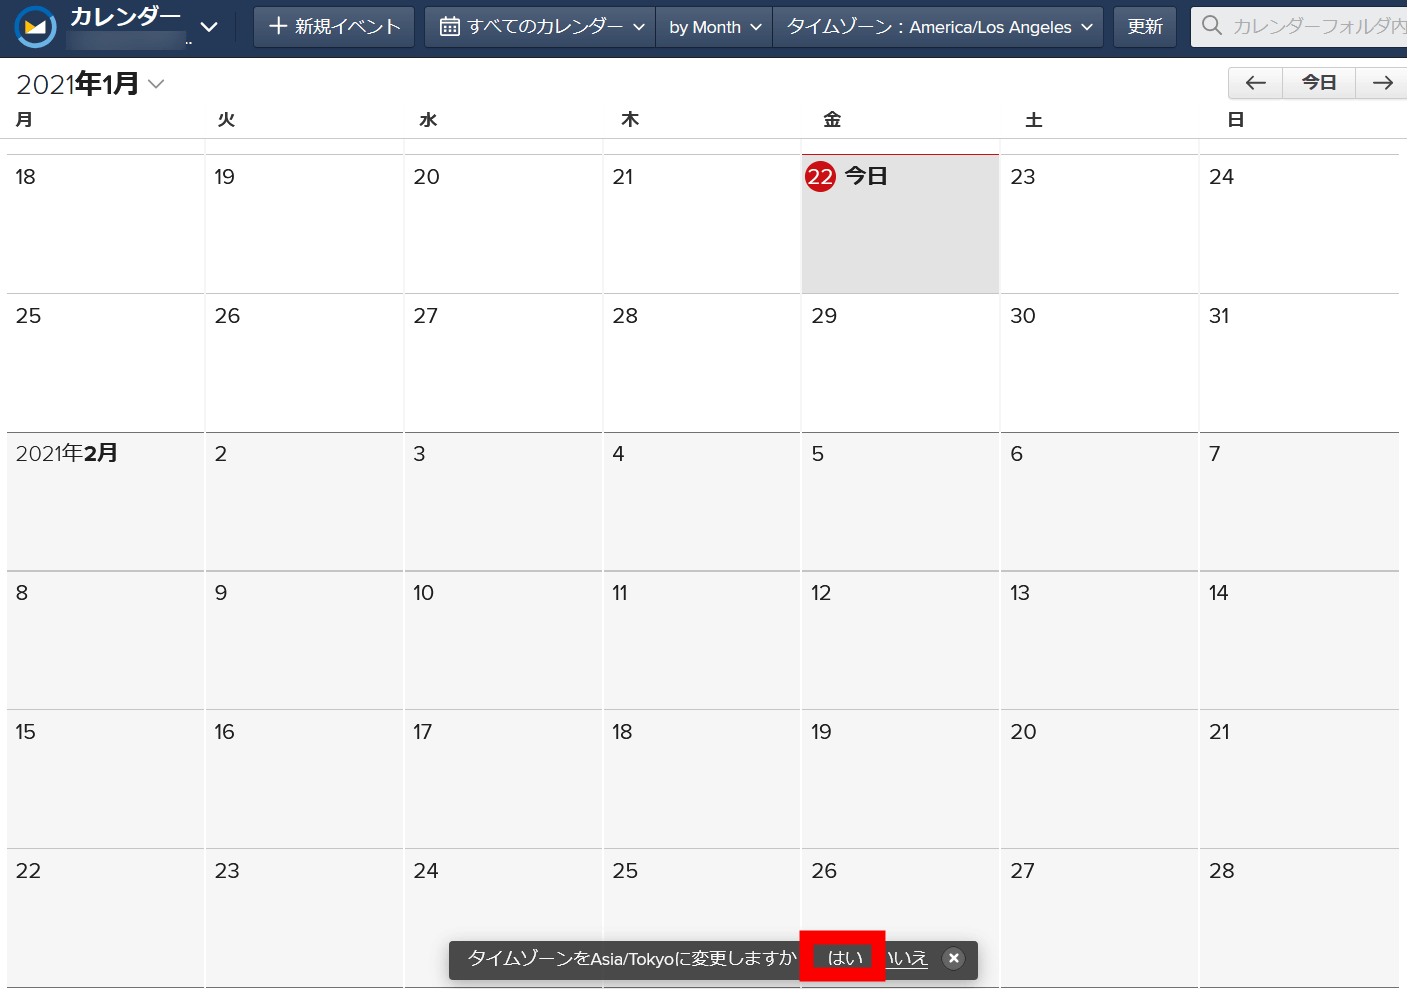
This is the calendar. Since the time zone is set to the United States for the first time, click 'Yes' in the pop-up at the bottom of the screen to set the time zone to Tokyo.
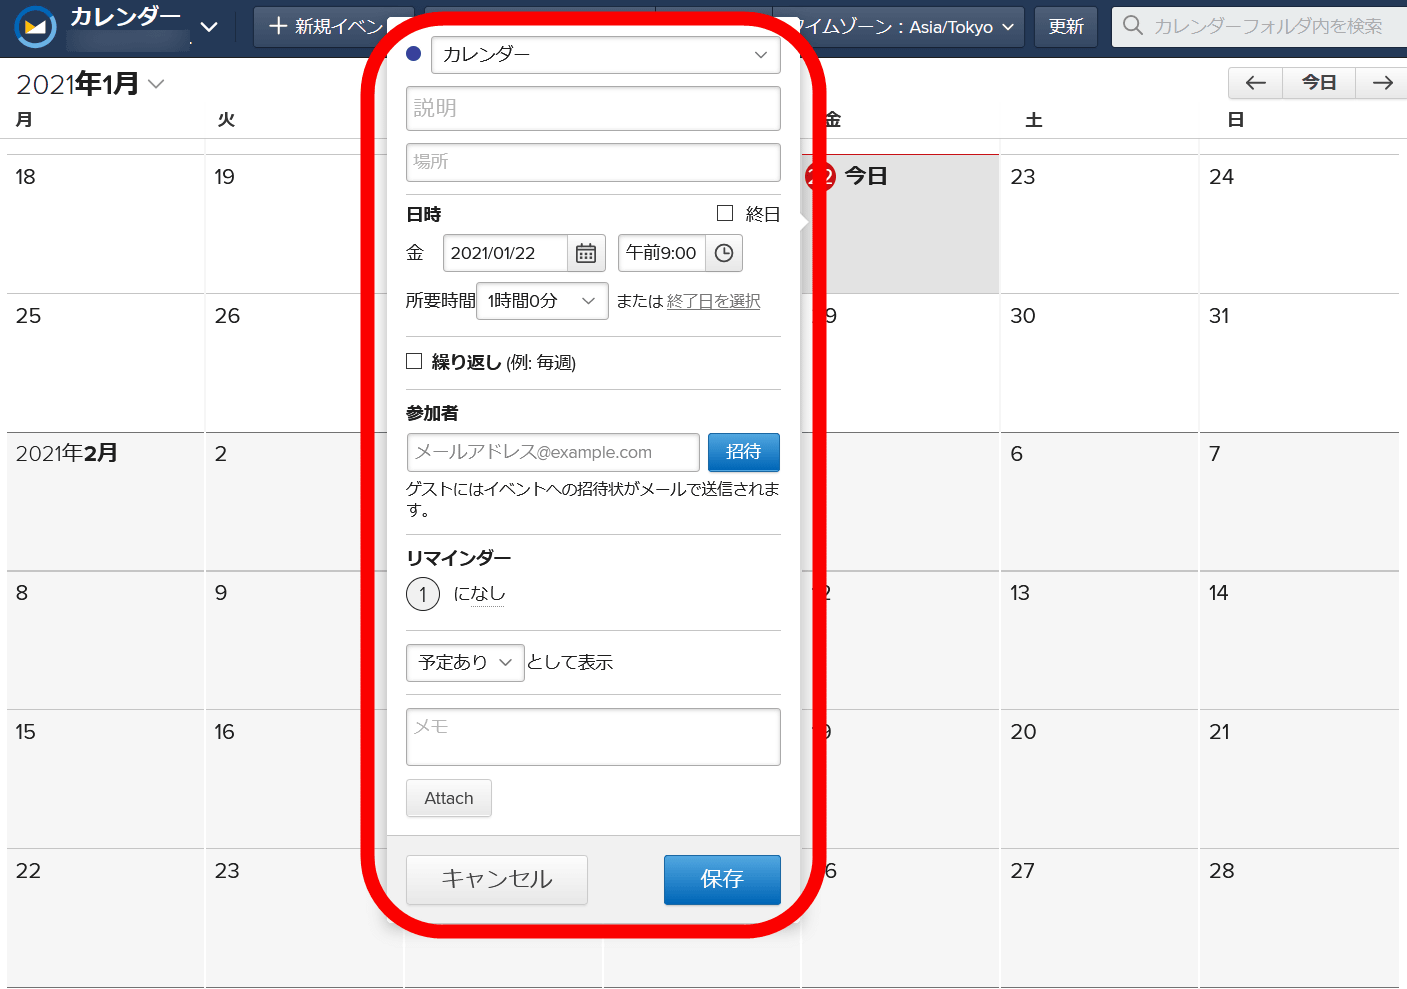
You can create an appointment by double-clicking a date on the calendar. The contents that can be entered are 'Explanation', 'Place', 'Date and time', 'With whom', and also equipped with a repeat function, a reminder function, a memo field, and so on.
◆ Creating a calendar group
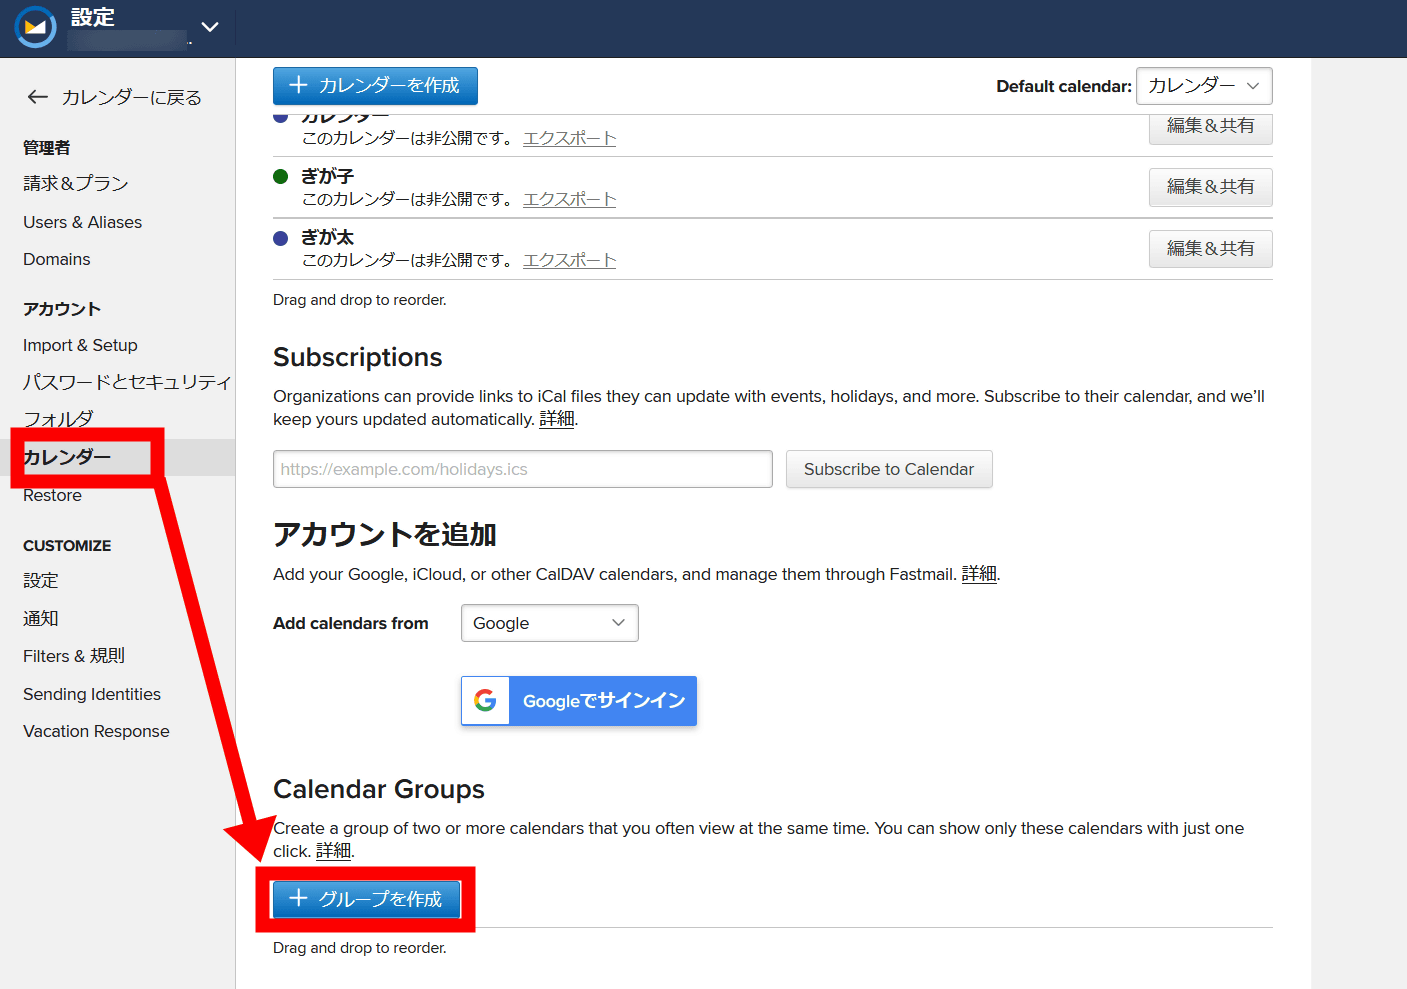
You can also create a 'calendar group' that allows you to browse multiple calendars at once. Click 'Calendar'-> 'Create Group' from the settings.
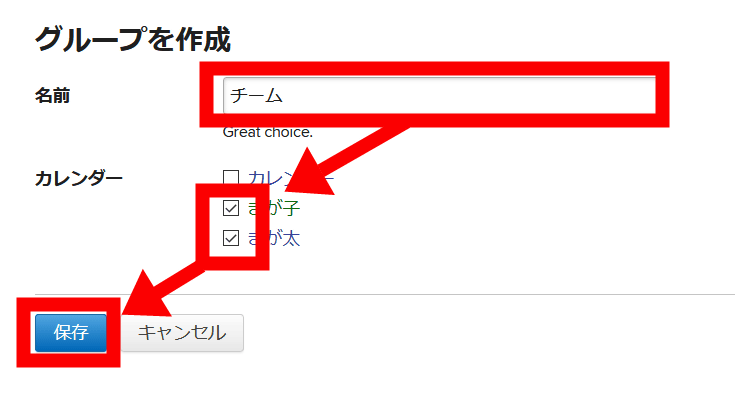
Enter the name of the calendar group you want to create, select the calendars you want to group together, and click 'Save'.
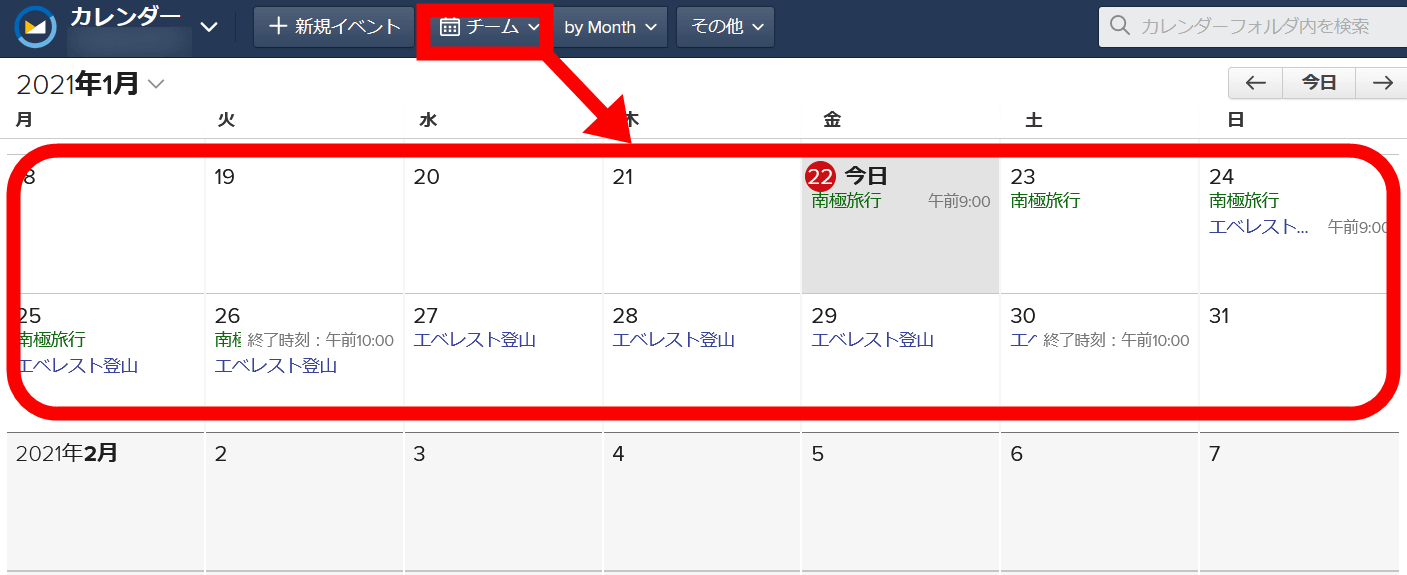
If you select a calendar group created from a calendar, you can see the contents of multiple calendars on one screen.
◆ Alias
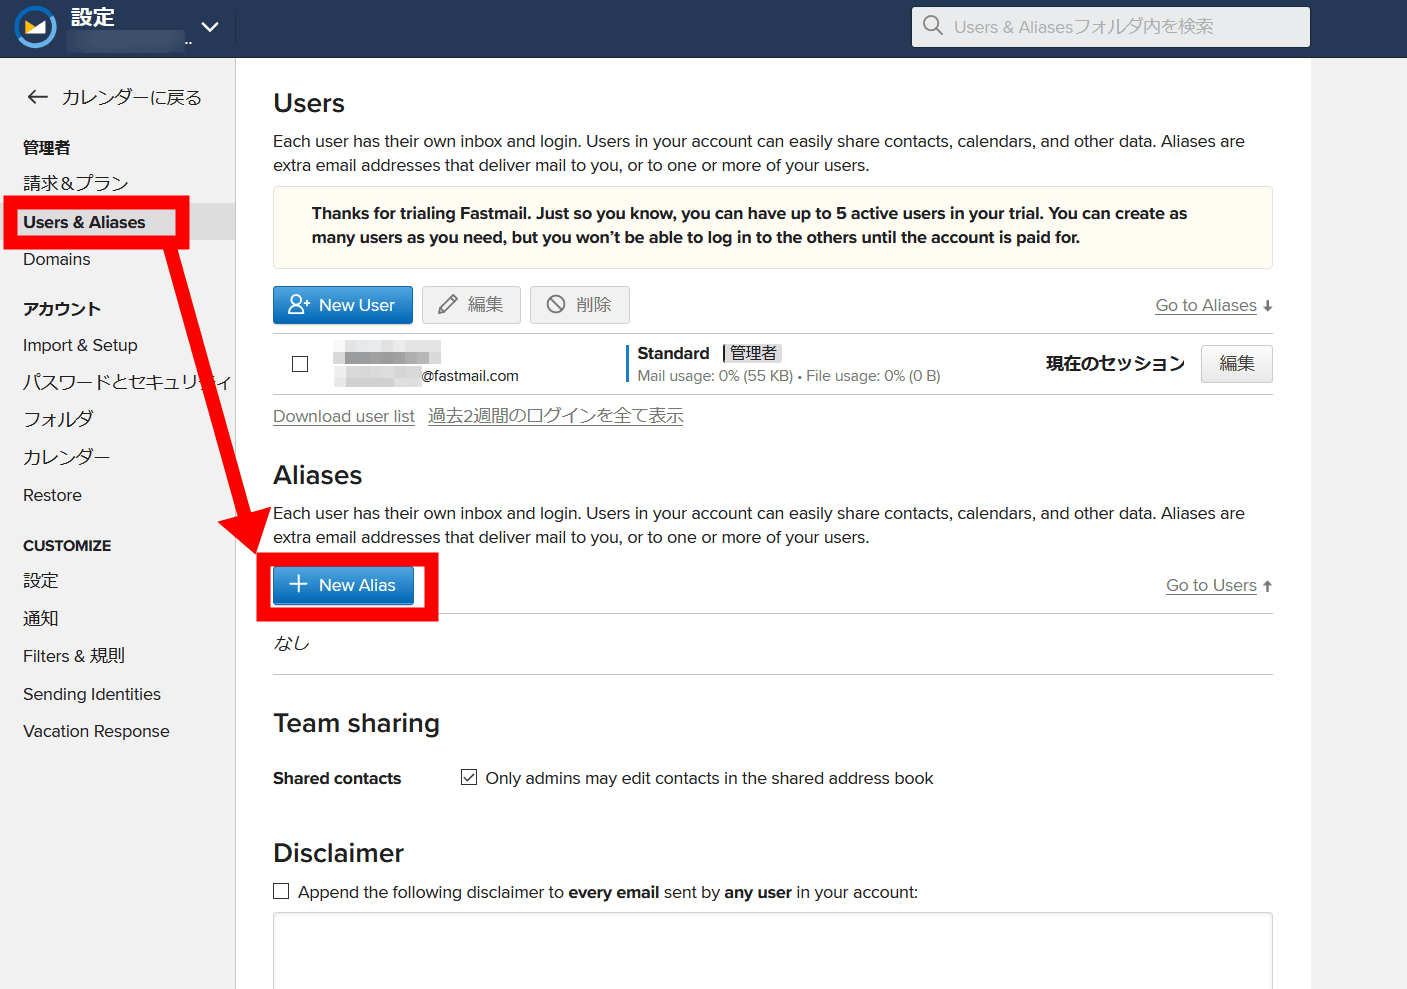
Next is the alias function. Alias is a function that uses one email address like multiple email addresses by centrally managing multiple email addresses such as customer support email addresses and help desk email addresses from one email account. Select 'New Aliases' in the 'Users & Aliases' item on the settings screen.
Enter the alias you want to use and click 'Save' to complete the creation. You can use aliases to manage up to 600 email addresses.

◆ Collective management of multiple accounts
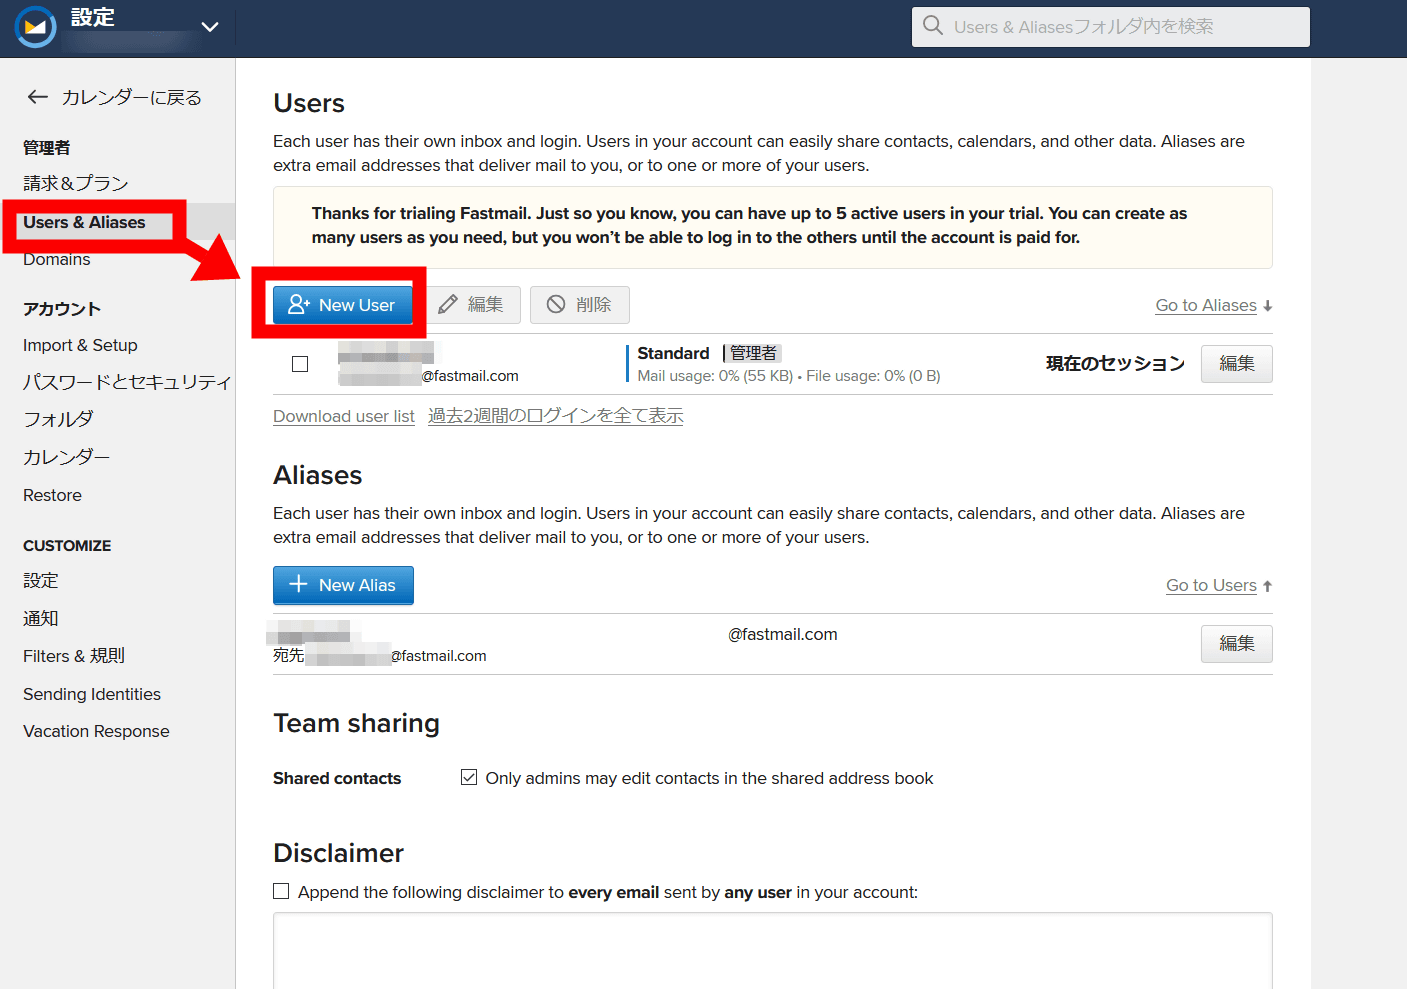
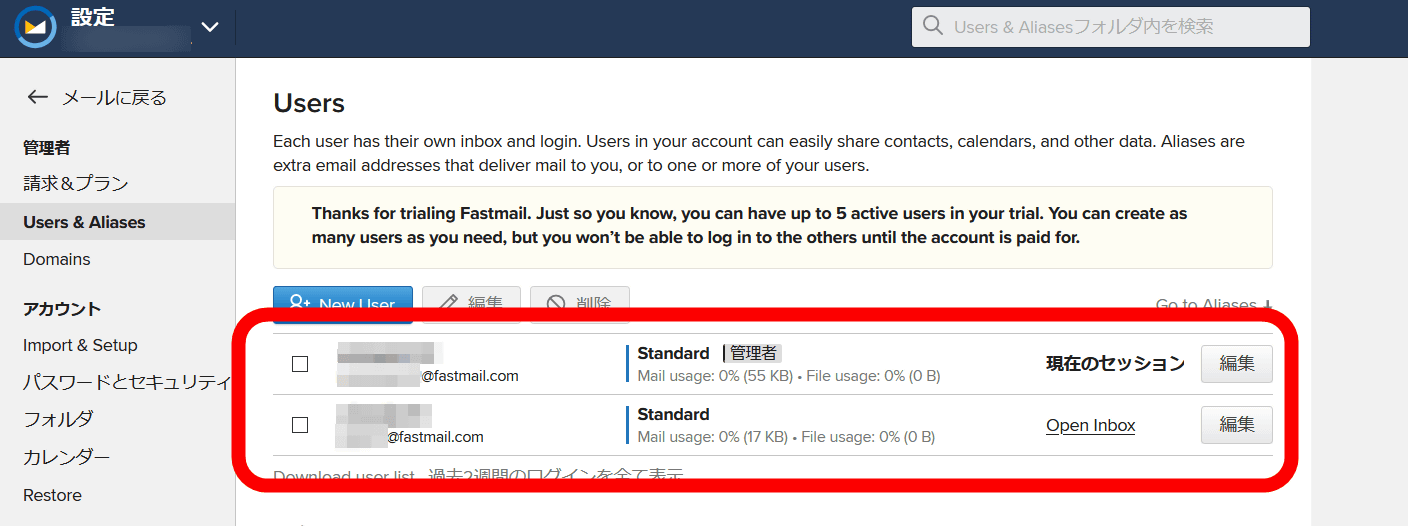
You can also manage up to 5 accounts at once. Select 'Users & Alliances' from the settings screen, and then select 'New User'.
Enter 'Name', 'Username' and 'Password' respectively, and select 'Save' at the bottom of the page.

You can now create a new account with your own mailbox and calendar for centralized management.
◆ Registration of original domain
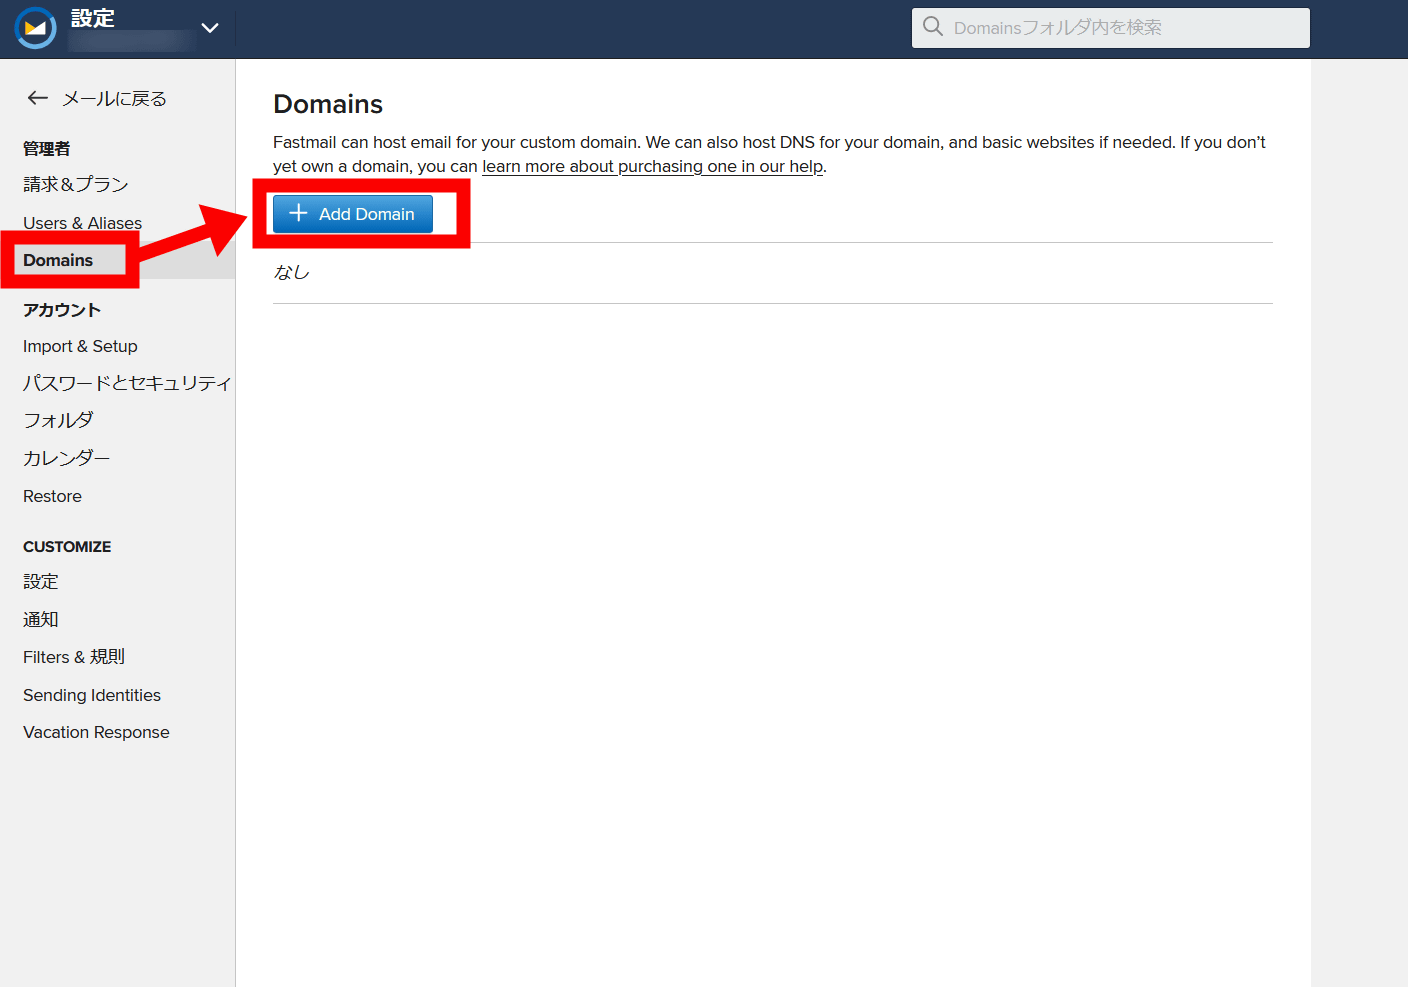
You can also register your own domain with the Standard plan and Professional plan. Select 'Add Domain' from 'Domains' in the settings.
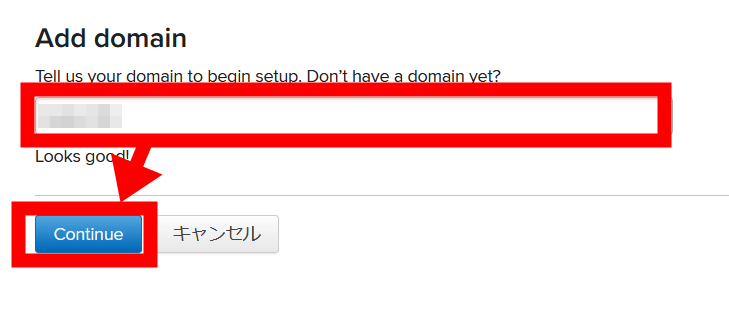
Enter the domain name you want to register and click 'Continue'
Select the domain you own and the registrar and select 'Continue'

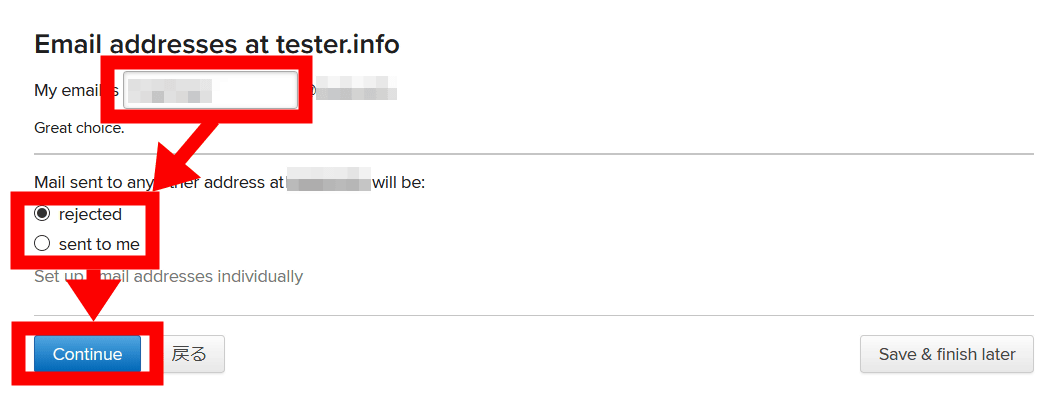
Enter the administrator's email address and choose whether to send all emails to the administrator's email address. After this, the registrar's setting instructions will start, so click 'Save & finish later' to complete the setting. If you set the DNS server to 'ns1.messagingengine.com' or 'ns2.messagingengine.com' on the registrar side, your own domain will be registered in Fastmail.
The registered domain can be shared with users of the Basic plan.
◆ Complete saving of all emails
With the Professional plan, you can save all the emails you send and receive. To enable full saving of all emails, select 'Users & Alliances' from the settings and then 'Edit' of the user who wants to save the email.
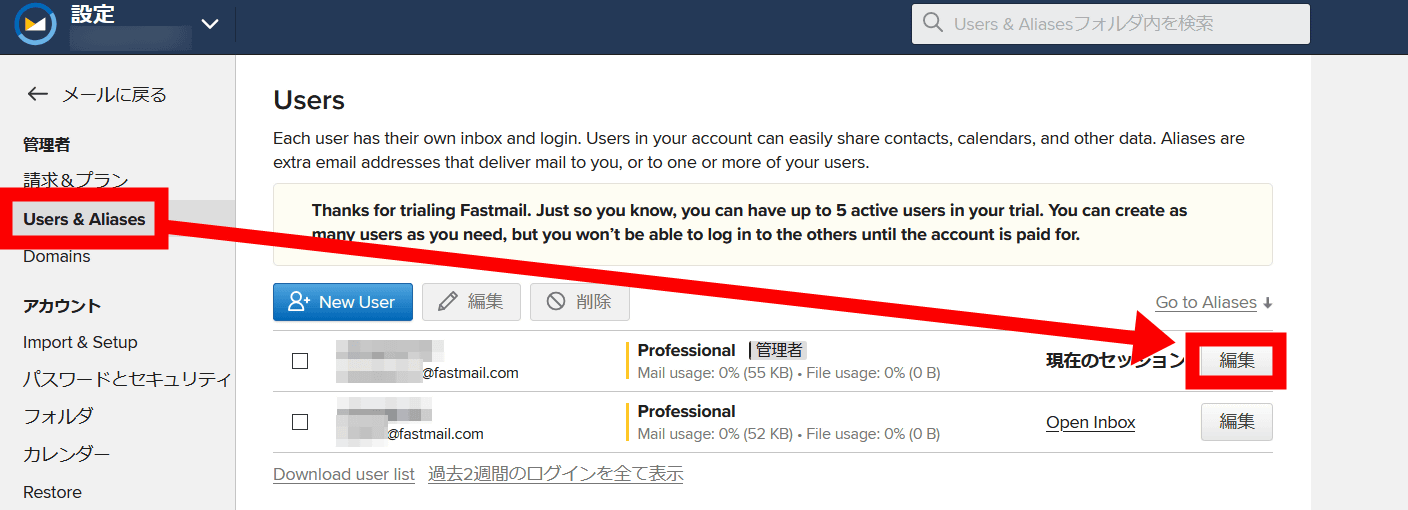
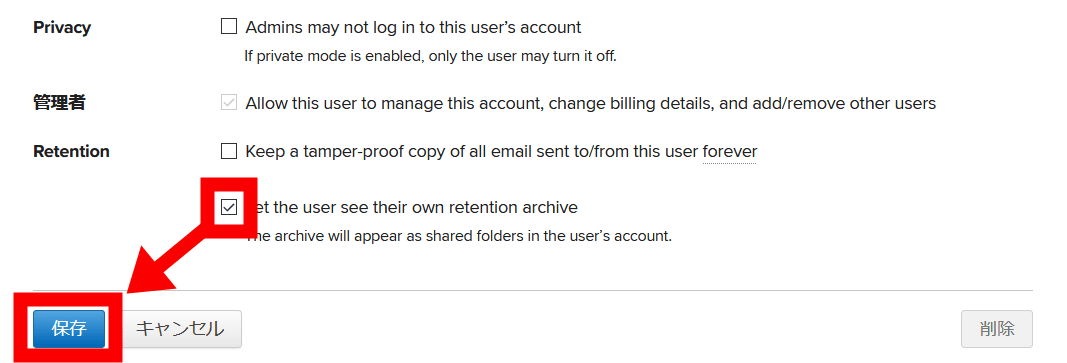
If you check 'Let the user see their own retention archive' in the 'Retention' item and save it, email saving will be enabled.
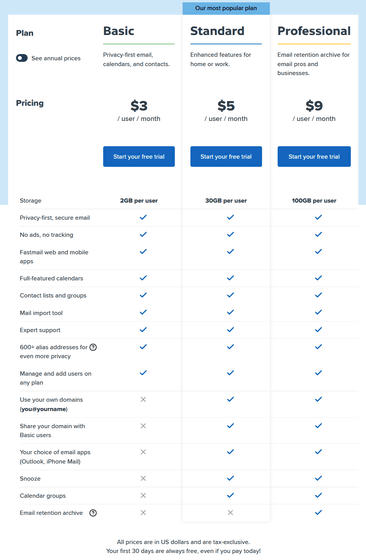
The usage price per user of Fastmail is $ 3 (about 310 yen) per month for the Basic plan, $ 5 (about 520 yen) per month for the Standard plan, and $ 9 (about 930 yen) per month for the Professional plan. ..
Pricing | Fastmail
https://www.fastmail.com/pricing/
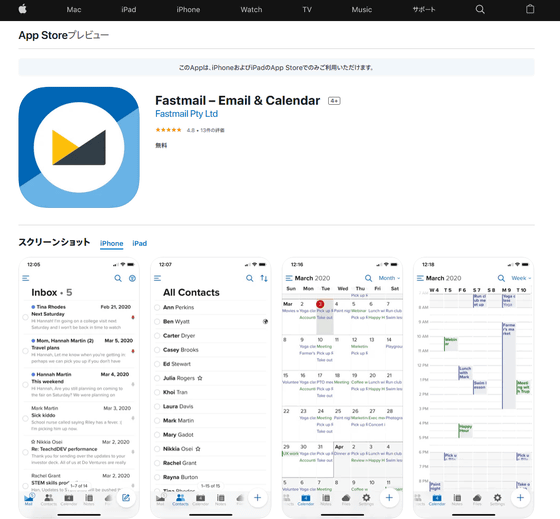
Fastmail is also available as an app version. Although the interface is different, the functions and services are the same, so you can easily check the calendar etc. entered on your PC.
Fastmail – Email & Calendar on the App Store
https://apps.apple.com/jp/app/fastmail-email-calendar/id931370077
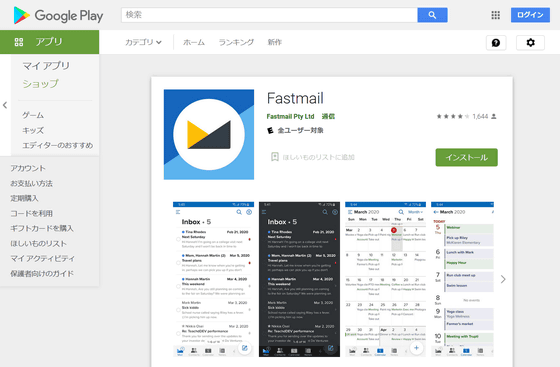
Fastmail-Google Play app
https://play.google.com/store/apps/details?id=com.fastmail.app
Related Posts:


in Web Service, Review, Web Application, Posted by darkhorse_log