'Mock Mechanics' review that allows you to assemble various devices by combining blocks and circuits for free
Even if you suddenly think 'I want to make something by myself!', It takes time and effort to procure the necessary parts and prepare the necessary tools for actual assembly. Free ' MockMechanics ' is software that allows you to learn the concept of programming while making various devices by combining blocks and circuits.
MockMechanics
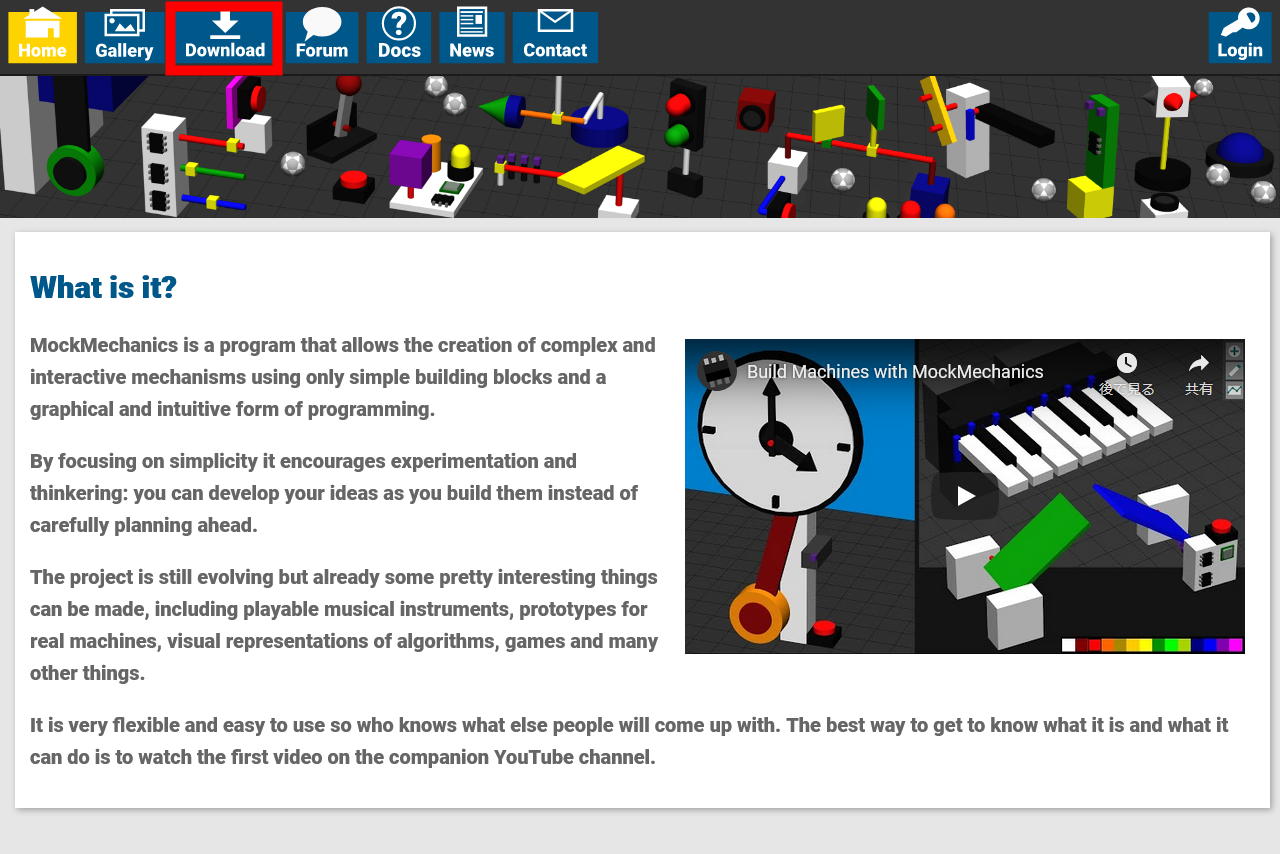
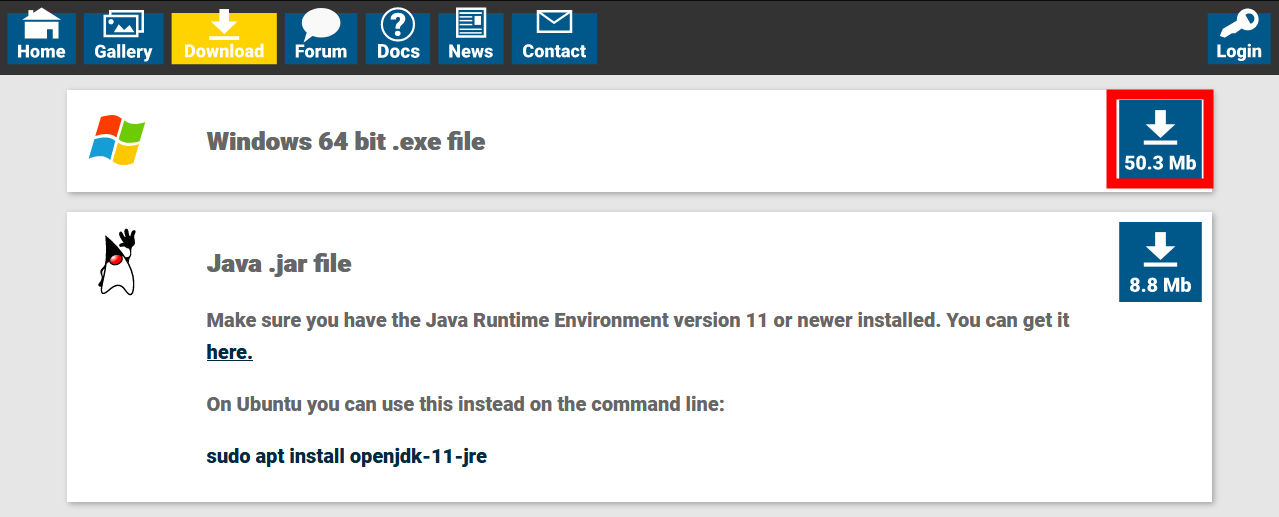
Mock Mechanics is available for free on our homepage. To download MockMechanics, go to the homepage and click 'Download'.
MockMechanics provides a Windows executable and a Java executable. This time, download the Windows executable file.
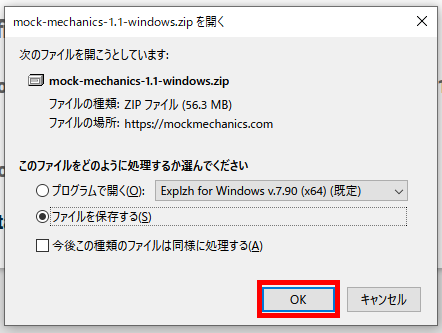
If you are using Firefox as your browser, a pop-up confirming the saving of the file will be displayed, so click 'OK'.
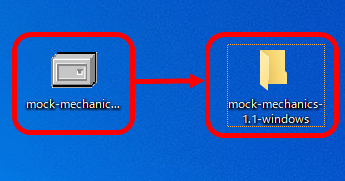
The executable file is compressed in ZIP format, so decompress it with decompression software.
Double-click 'run.exe' in the unzipped folder to start MockMechanics.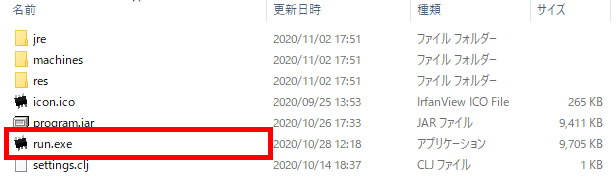
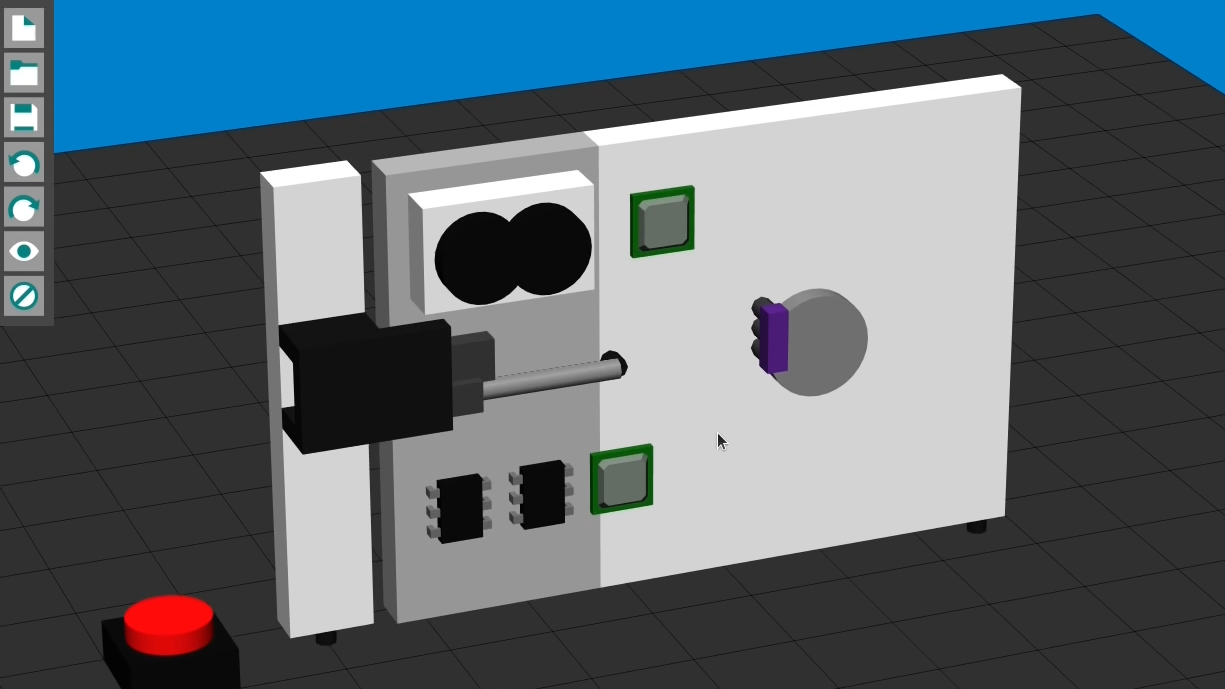
When you start MockMechanics, you will see an empty space at first. Place blocks and chips here to assemble the device.
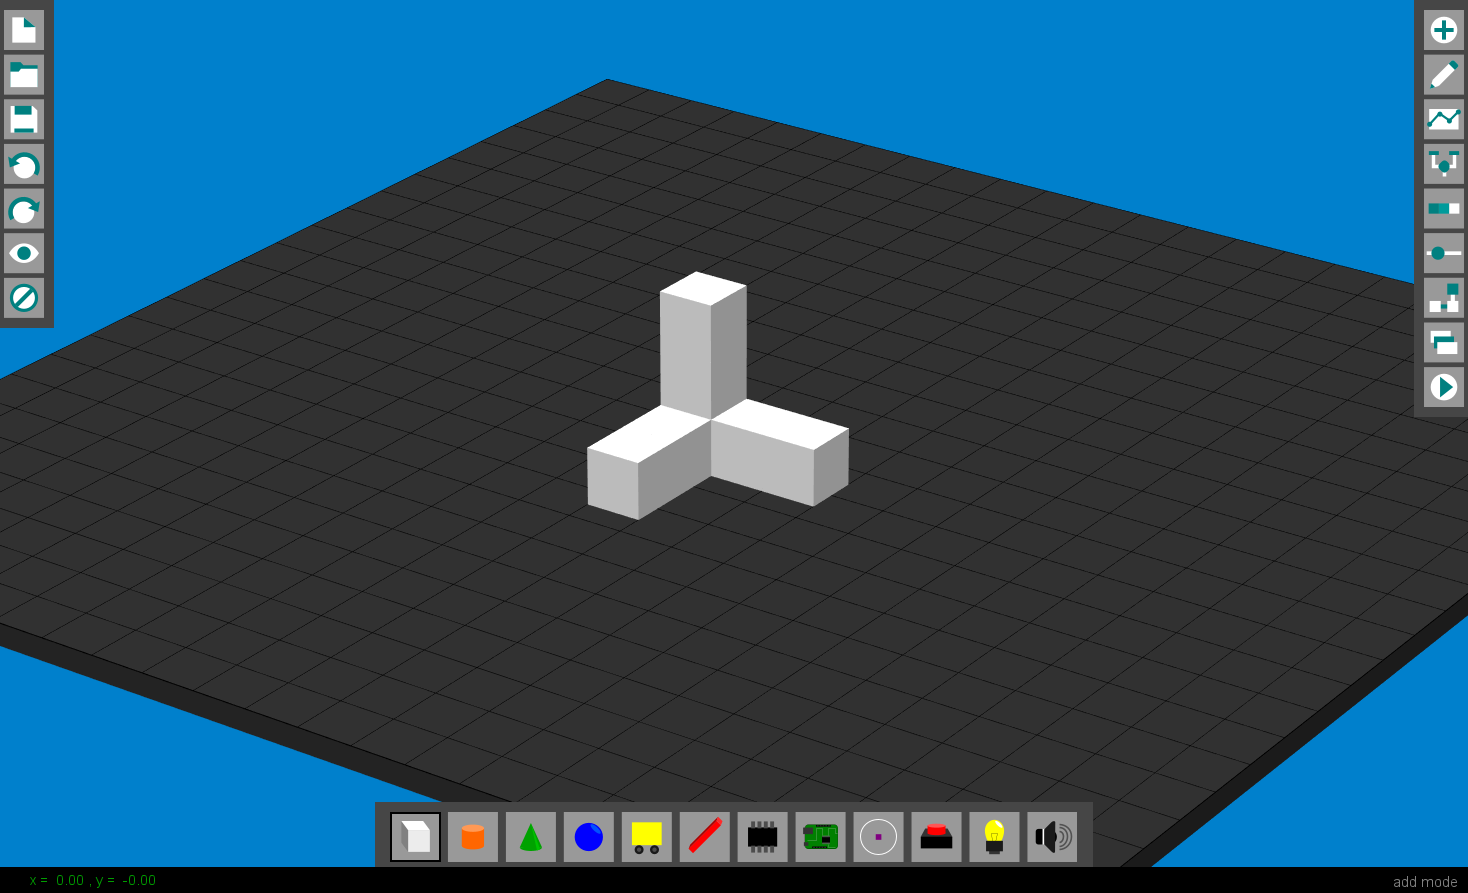
Click the '+' button in the red frame to place the parts.

From blocks such as rectangular parallelepipeds, cylinders, and cones, chips, switches, lamps, etc. that control the device are prepared as parts.

Click the part you want to place to select it, and click on the field to place the part.

The same part can be placed many times by clicking it many times.
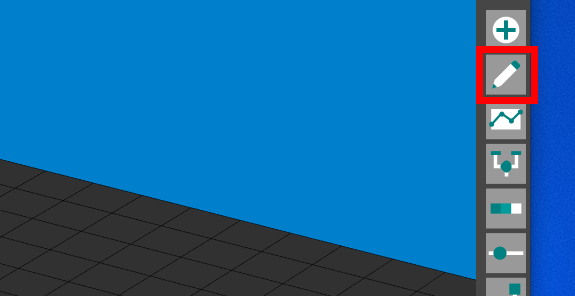
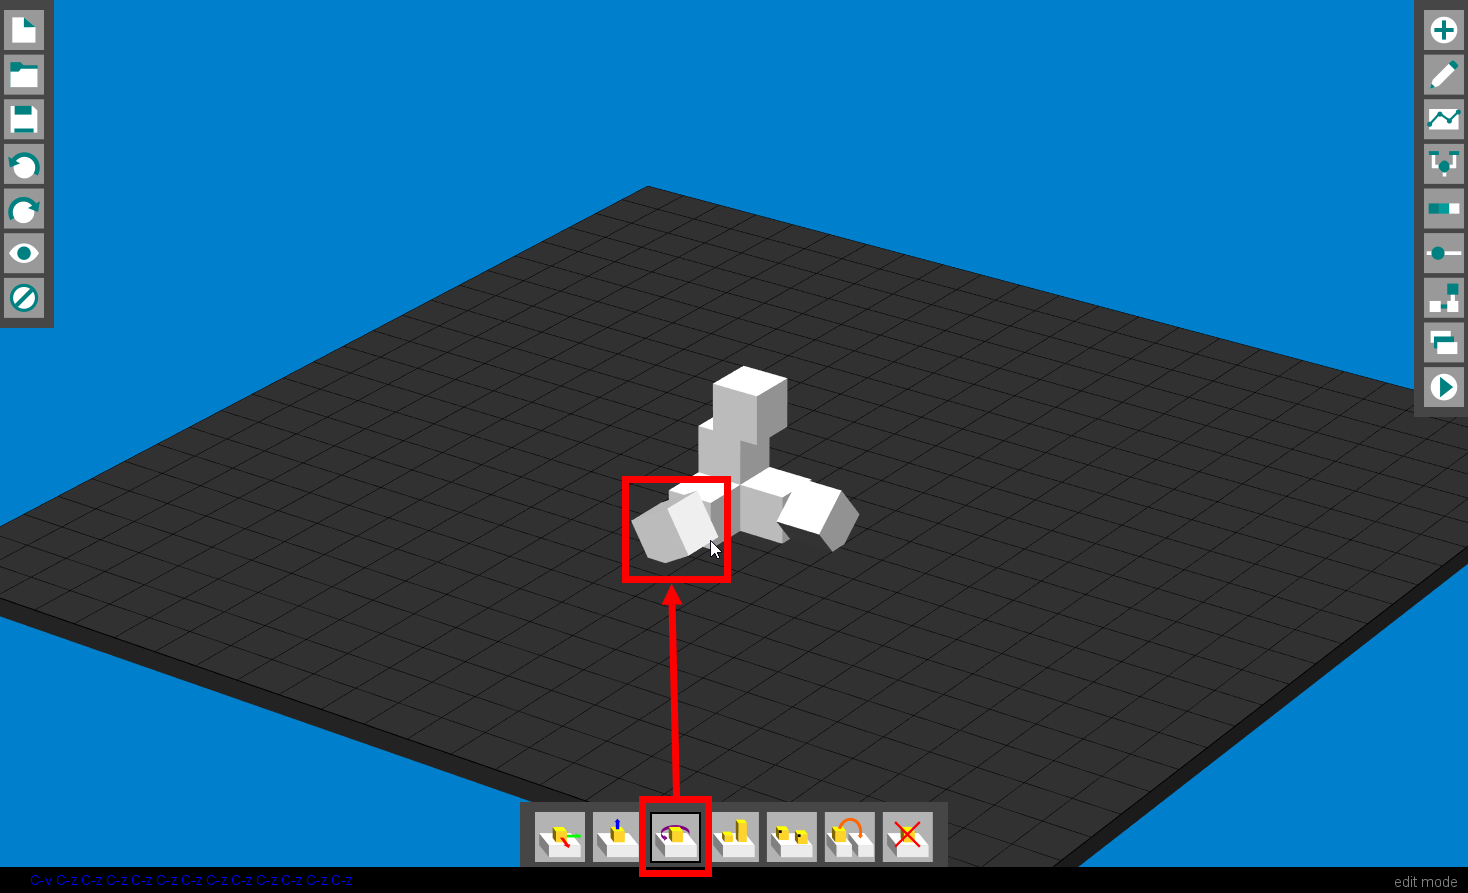
If you want to change the position or orientation of the part, click the edit button in the red frame.
In edit mode, you can move parts ...
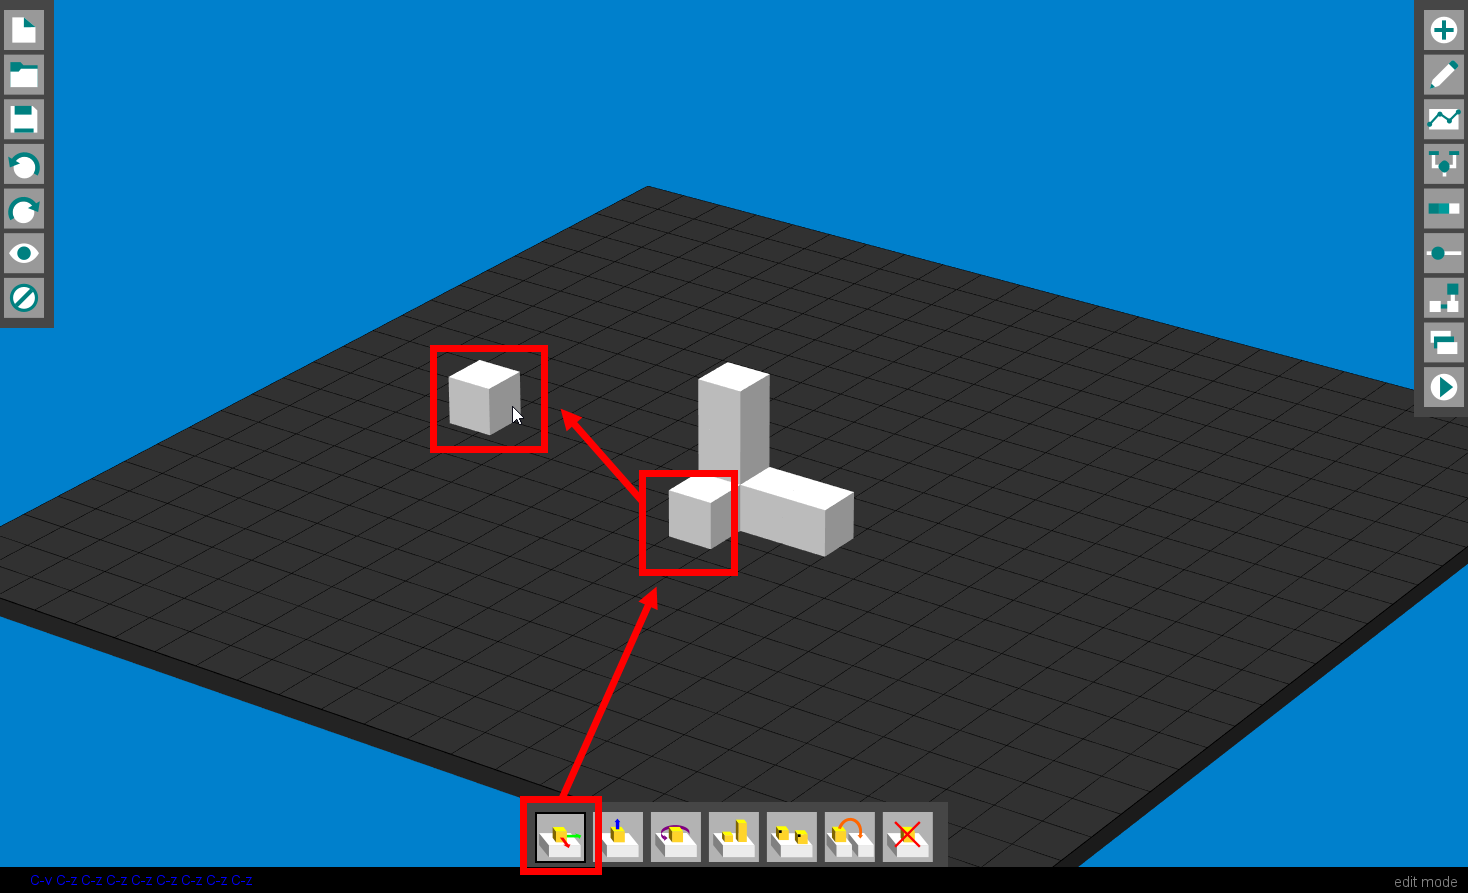
It is possible to change the direction.
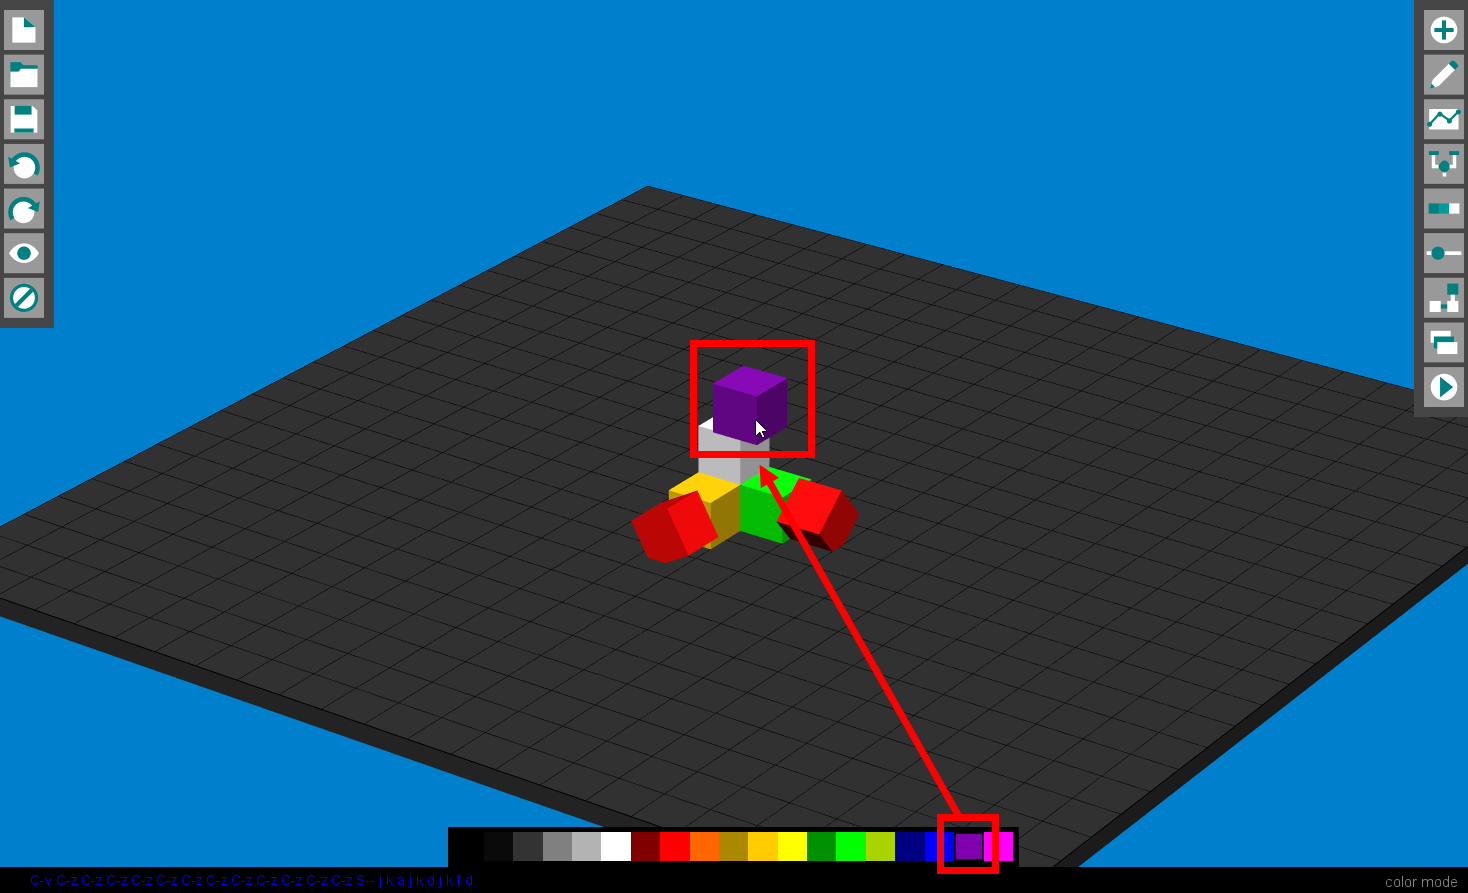
If you want to change the color of the part, click the color button in the red frame.

If you click the block with the color selected, the block will be colored.
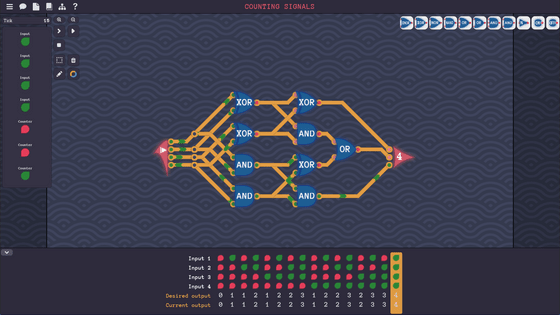
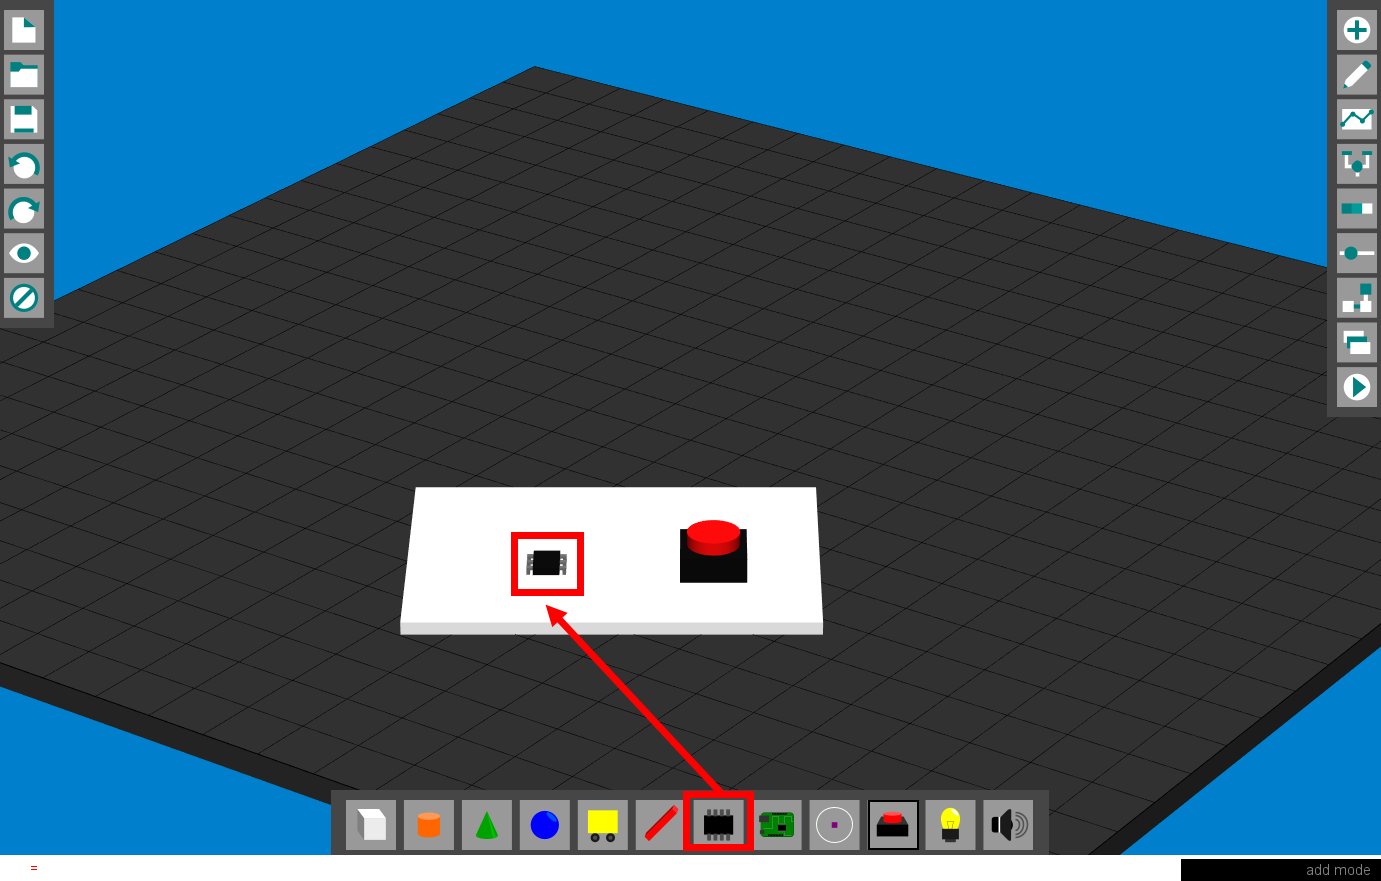
One of the important parts in making a device is a 'graph chip'. Select the graph chip on the part placement screen and place it together with the parts such as buttons.
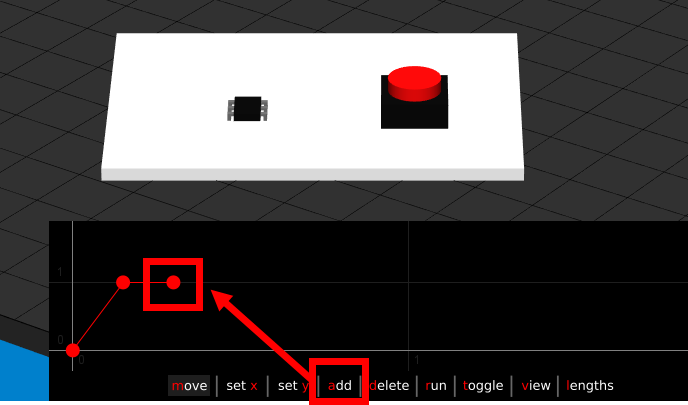
Click the graph button in the red frame to enter the graph mode.

When I clicked the button, a red graph was displayed.

You can add a node for the graph by clicking 'add'.
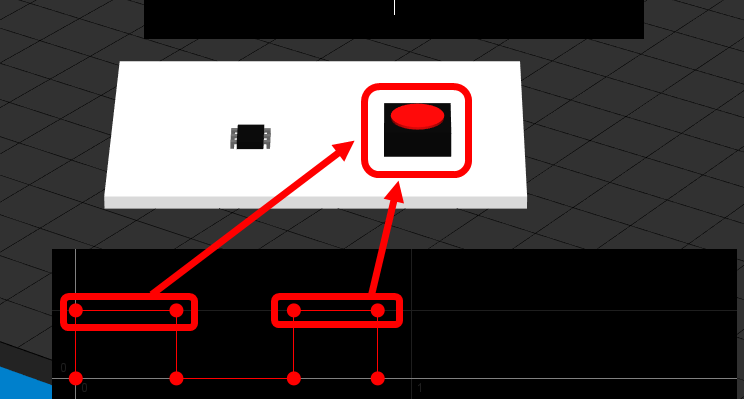
When you create a graph and click 'run' ...
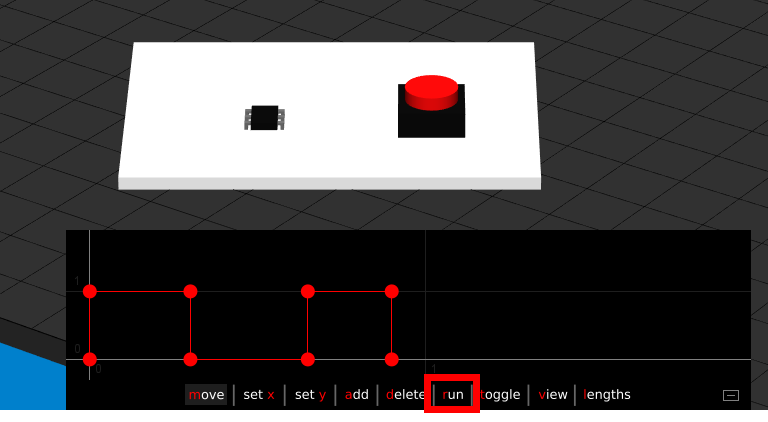
The button was automatically pushed where the graph shows high values. In this way, the graph chip can be used to store operations in advance and control the corresponding parts.
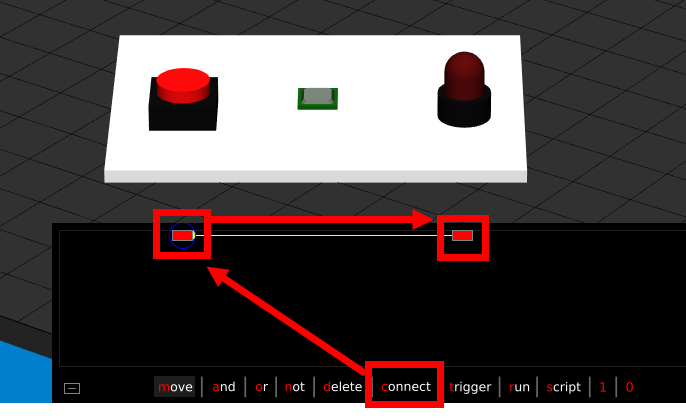
Another important component is the 'motherboard'. Place the motherboard along with the buttons and lamps on the placement screen.
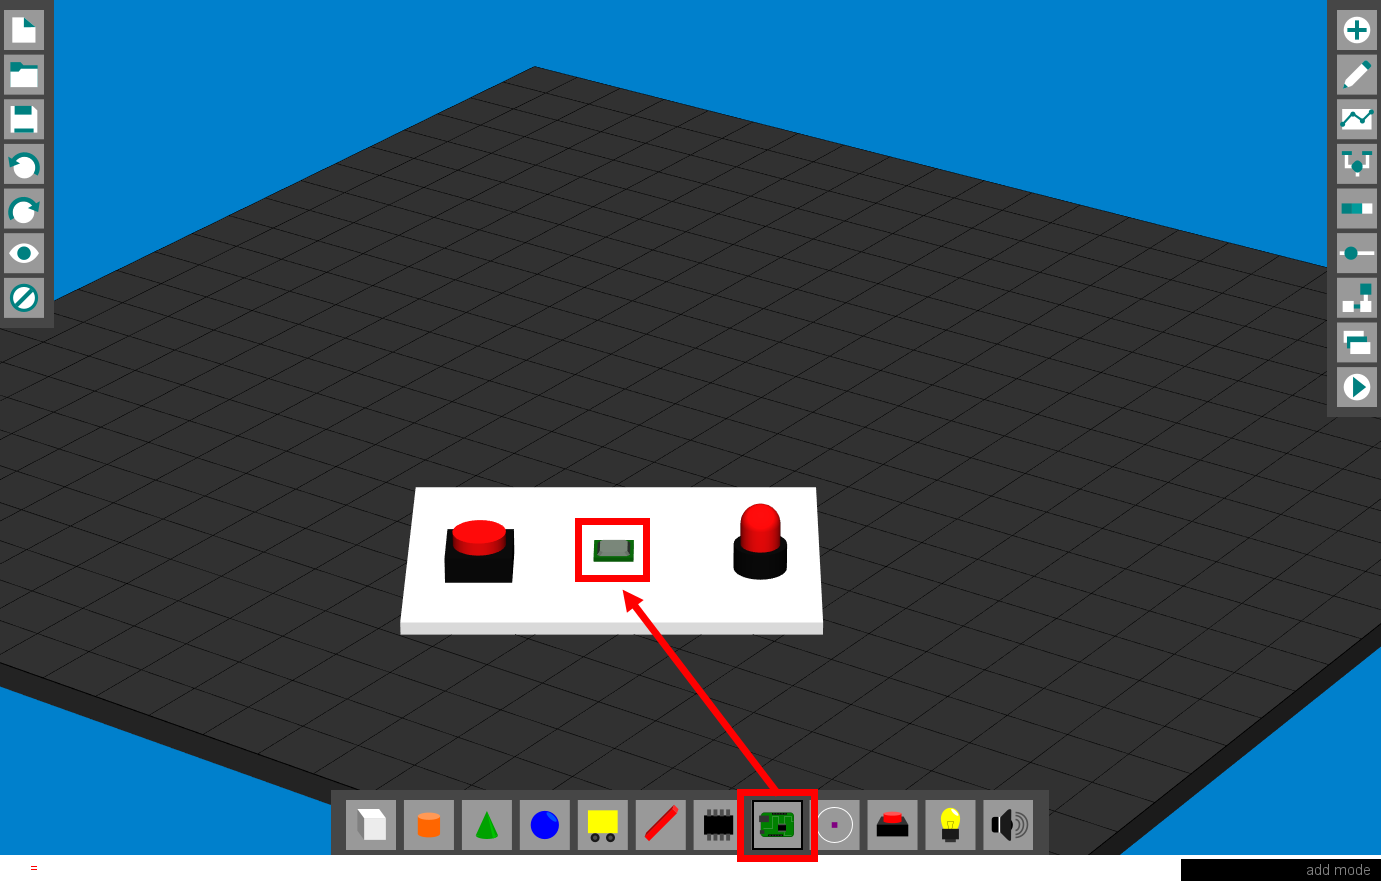
Click the motherboard button to enter motherboard mode.

When you click on a part in motherboard mode, a control icon will appear.
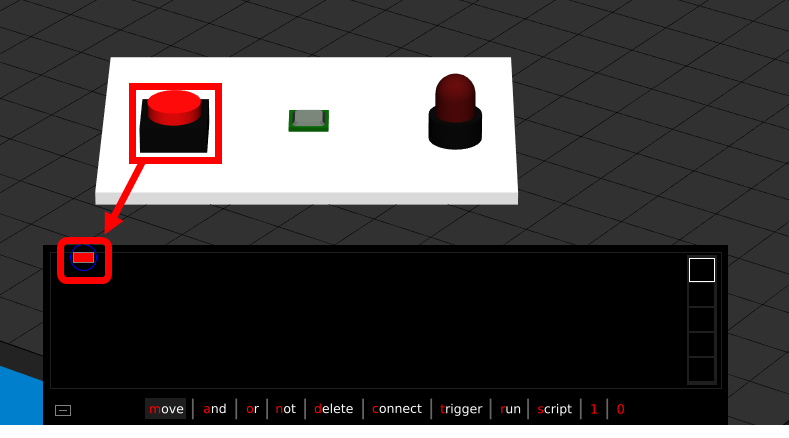
For example, if you want to control the lamp to light while the button is clicked, select 'connect' to connect the button to the lamp.
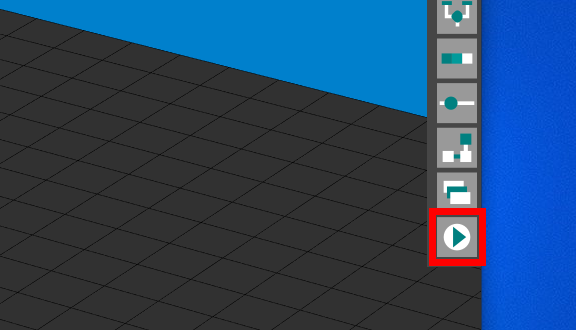
Click the simulation button on the right to actually move the device.
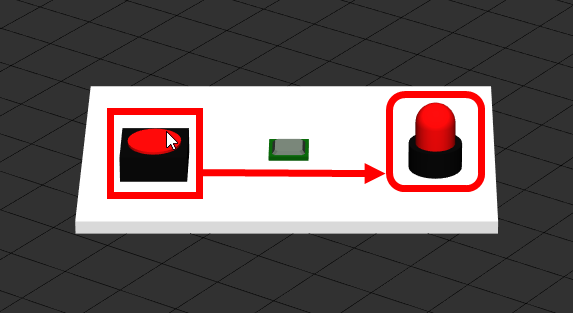
I was able to turn on the lamp while pressing the button. Like this, the motherboard is used to program the operation of other parts. In addition to parts, AND circuits, OR circuits, NOT circuits, etc. can also be used for motherboard programming, so if programmed well, it seems possible to create
Movies of various devices assembled by making full use of the parts explained so far are released on YouTube.
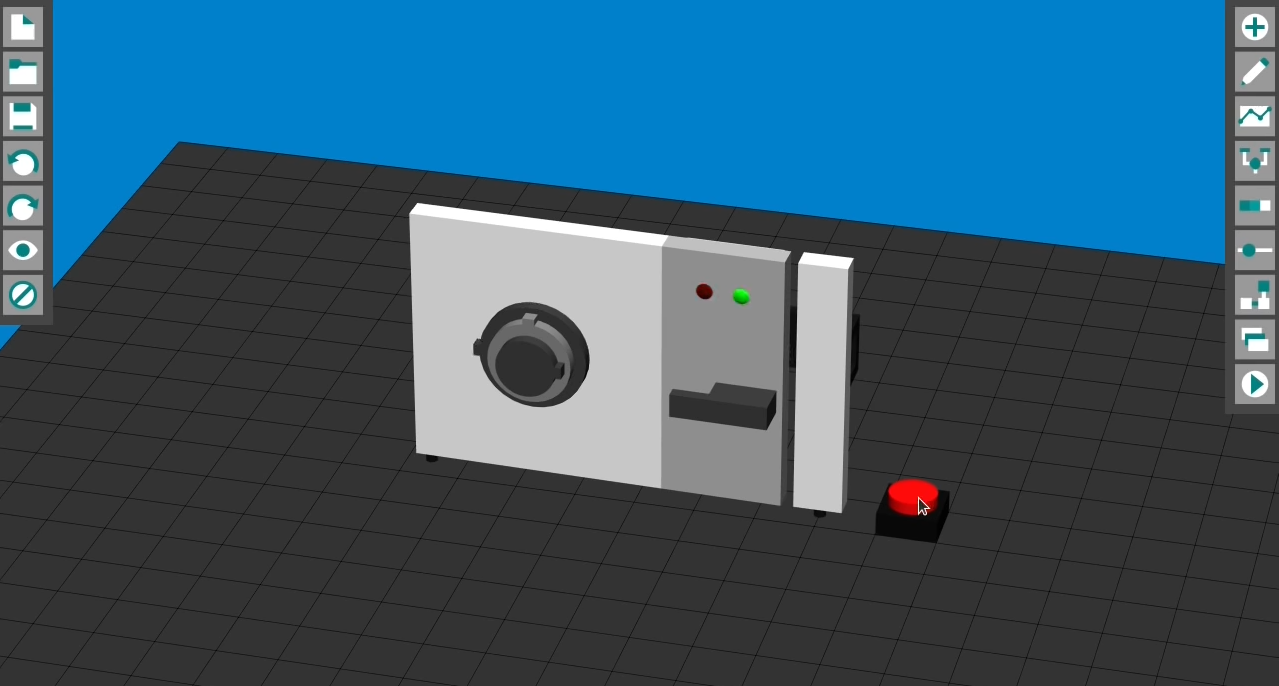
A device like a safe door, which is prepared as one of the samples.
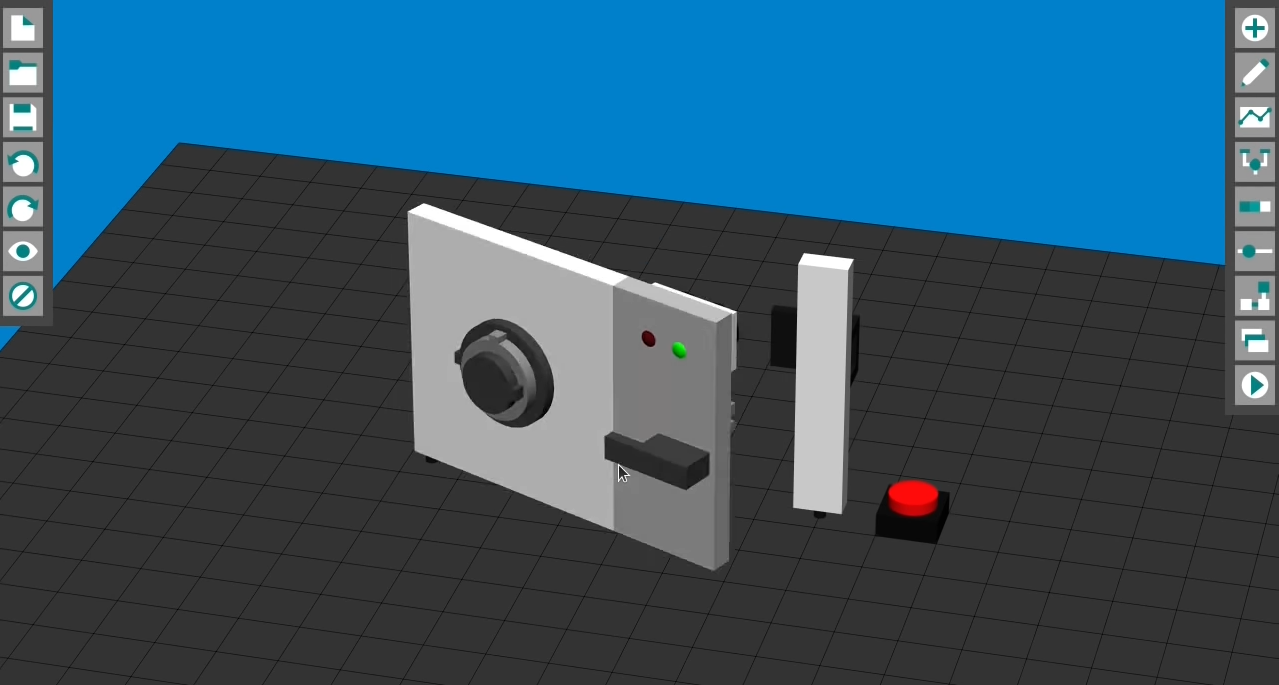
Click the button to unlock it ...
The door is open.
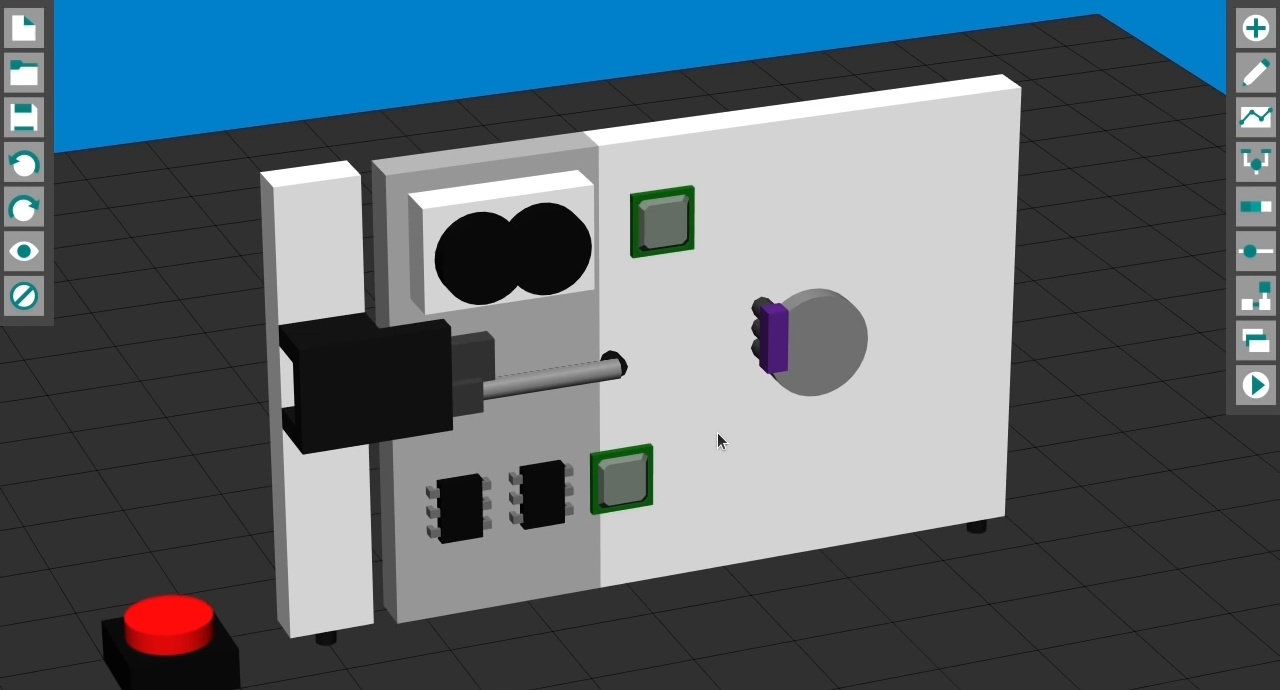
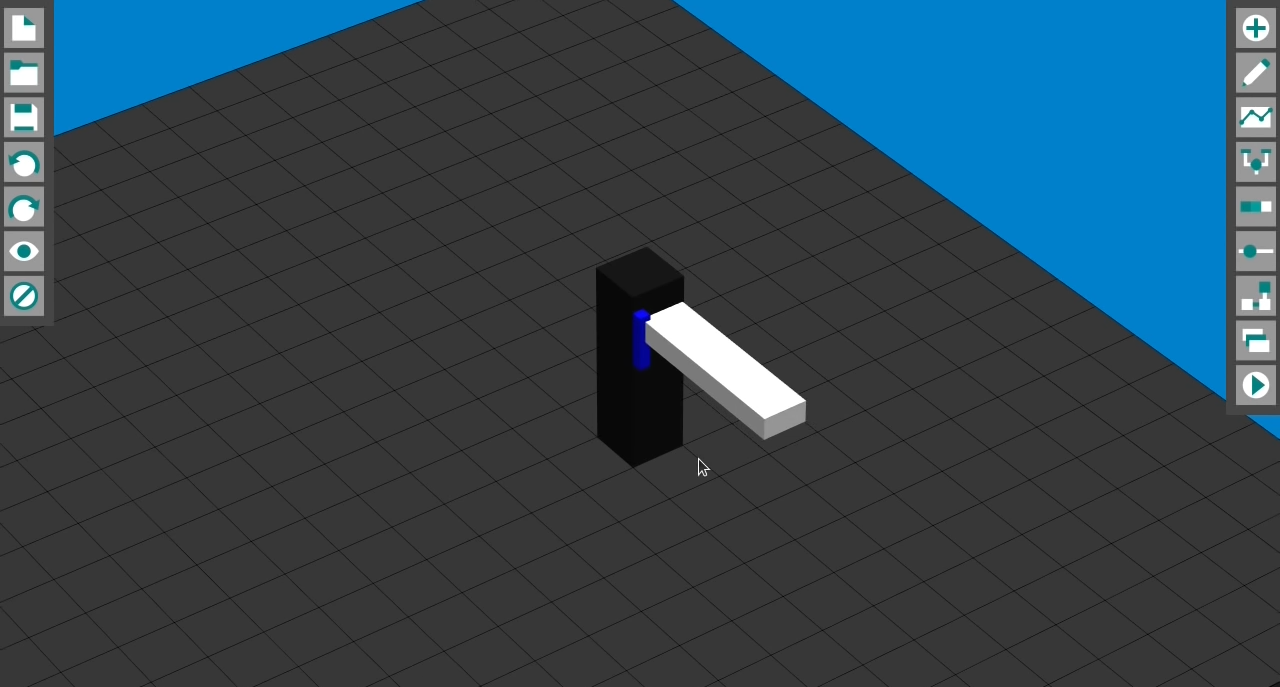
The back of the door looks like this. A mechanism that locks by moving the bar in the red frame from side to side.
If you connect the white and black blocks together ...
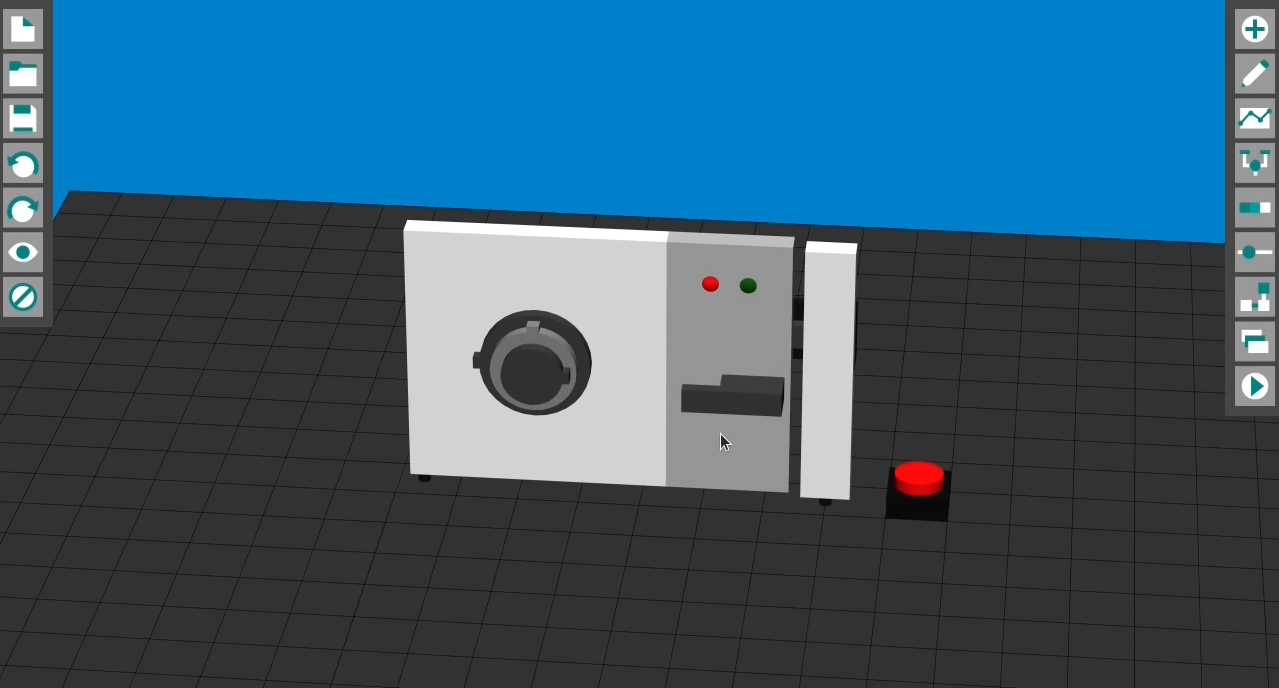
A familiar device will be assembled.
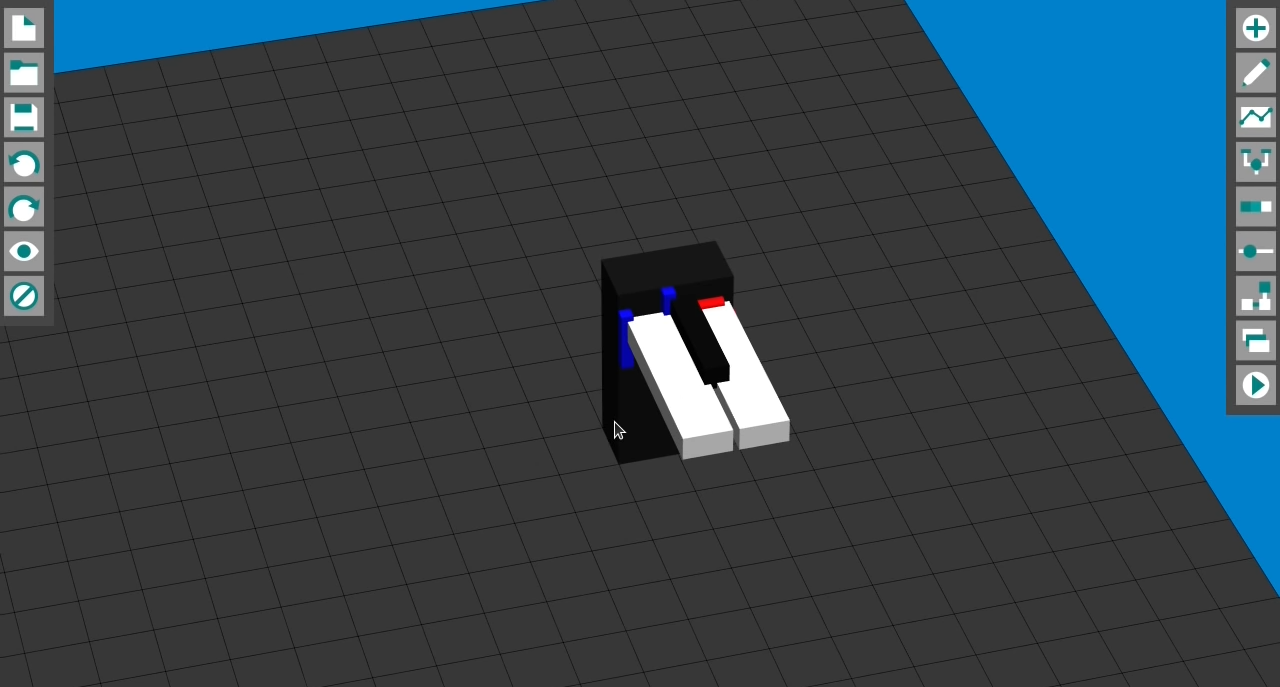
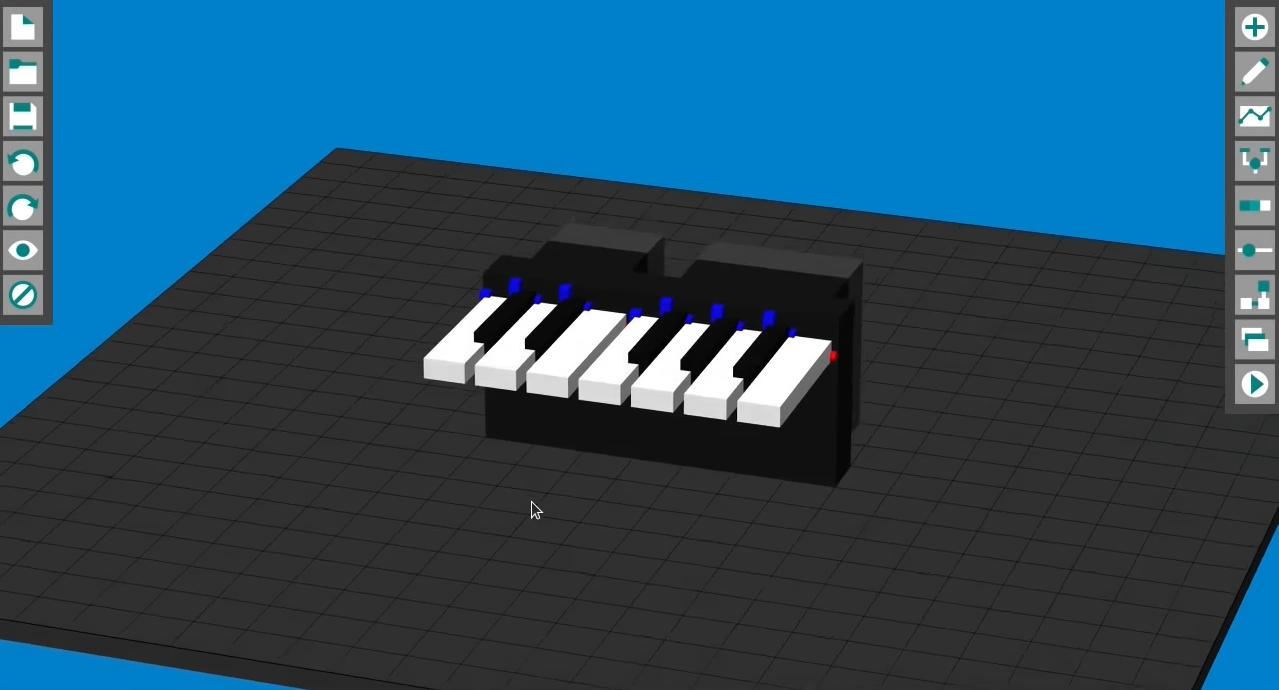
MockMechanics also has speakers as parts, so it seems that you can also assemble a simple piano. The sample introduced in the movie seemed to be a high hurdle for beginners to assemble, but it was software that cultivated the imagination and programming ability to make a device.
Related Posts: