CERN official 'elementary particle detector recipe' that can be made at home is on sale, DIY looks like this

The
CERN at Home: Building a Particle Detector – The Fosters at Clanhouse
https://clanhouse.com/cern-at-home-building-a-particle-detector
GitHub --ozel / DIY_particle_detector: A mobile low-cost spectrometer for measuring radioactivity and the energy of ionizing radiation like alpha particles and electrons
https://github.com/ozel/DIY_particle_detector
DIY Particle Detector | S'Cool LAB
https://scoollab.web.cern.ch/diy-particle-detector
The elementary particle detector whose hardware design is open to the public by CERN researcher Oliver Keller is said to be an educational tool for exploring the radioactivity existing in the natural world. You can check the hardware configuration from the link below. Only parts that are easily procured are used.
electron-detector on Kitspace
https://kitspace.org/boards/github.com/ozel/diy_particle_detector/electron-detector/
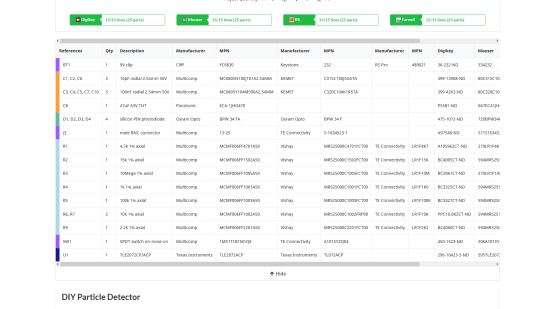
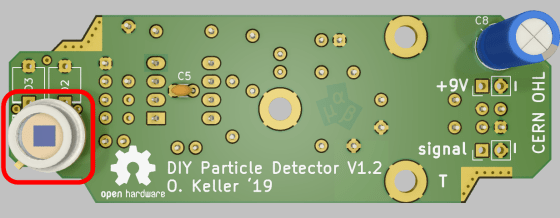
There are two models of elementary particle detectors that are open to the public. The board design is common, and the range of

Based on this parts list and hardware design,
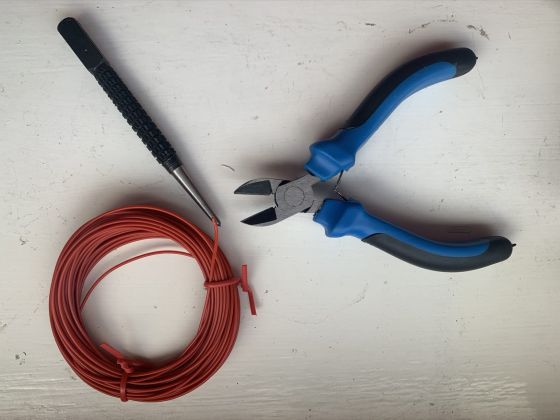
The tools used for DIY of the detector are tools necessary for board work such as soldering irons, cutting pliers, wire strippers, pliers, multimeters, nail punches for making holes in tin cans, and files. ..
The DIY process looks like this. First, solder the resistor to the board ...
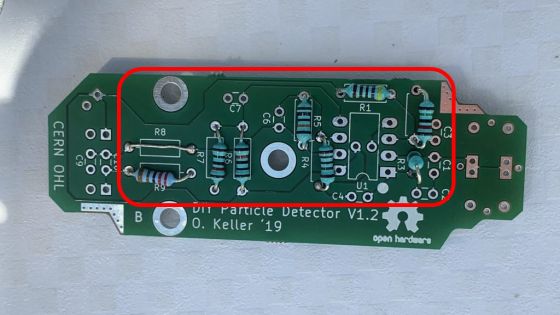
Install the condenser.

With an

Solder the photodiode.

Attach the battery, switch, and

It is possible to monitor the detection of elementary particles by inputting the signal from the RF terminal to the microphone terminal of the PC and displaying the waveform on the oscilloscope. However, recent sound cards remove the signal from the detector as noise, so the

According to Foster, the total production period of the DIY particle detector this time is about 6 weeks. As for the reason why it took so long, he said, 'For my 16-year-old son, the game was a higher priority than the project to make an elementary particle detector.'
Related Posts:
in Hardware, Posted by darkhorse_log


