How to build a system that can remotely control a PC before the OS starts for less than 10,000 yen

Software that enables low-level remote control of computers includes
TinyPilot: Build a KVM Over IP for Under $ 100 · mtlynch.io
https://mtlynch.io/tinypilot/
Lynch has a server for software testing at home, but occasionally he fails to work and shuts down the network, or the server does not start. Lynch says he usually runs the server with SSH and doesn't have a keyboard, mouse or monitor connected, so he has to rewire every time a failure occurs.
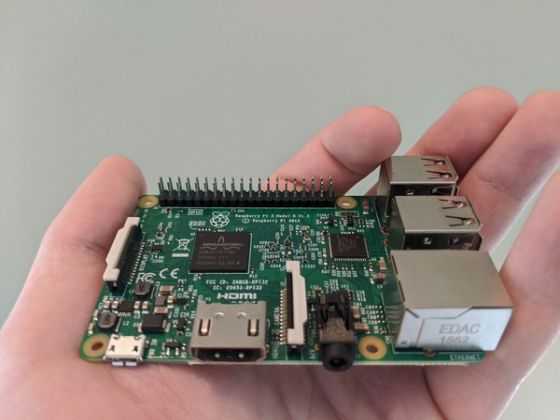
Lynch considered purchasing iDRAC and KVM over IP devices as a way to enable remote control, but abandoned both because they would cost tens of thousands of yen to deploy. He said he decided to make his own KVM over IP device using a Raspberry Pi that can be purchased for less than 10,000 yen.
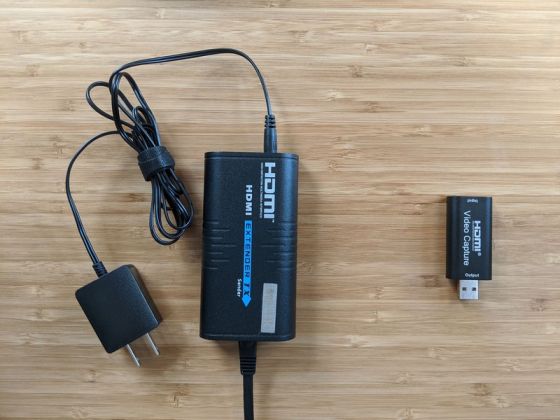
Lynch first considered using an HDMI extender called the
Amazon | HDMI Extender Receiver for 100m LKV373 Extender LYSB01H03VE40-CMPTRACCS | AGPTEK | Video Editor

LKV373 can listen to HDMI signal by reverse engineering , and a patch that makes it possible to handle the signal with ffmpeg has also been released. Using these devices and software, Lynch succeeded in displaying the screen of a laptop on Windows.
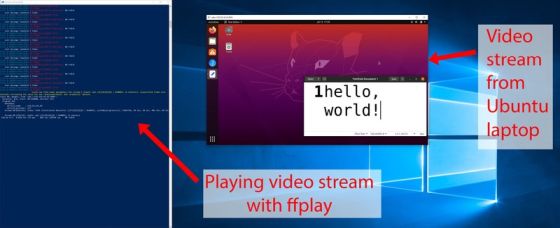
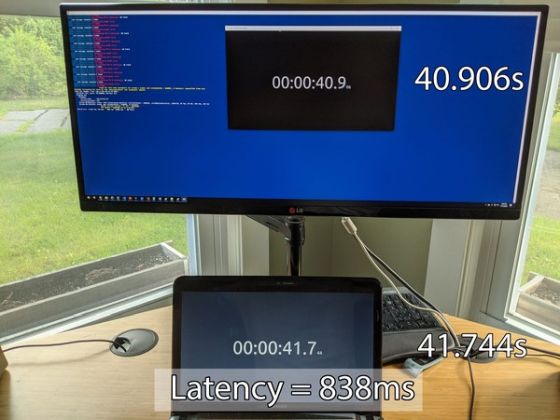
However, with this method, even if the ffmpeg flag was adjusted, the delay could not be reduced from 800 milliseconds.
Lynch considers using the following dongle to convert HDMI to USB as the next method.

It's more compact than the HDMI extender, and I was able to reduce the number of cables ...
The delay is 7 to 10 seconds, which is larger than when using the HDMI extender. Lynch said that ffmpeg needs to be tuned because the tweet that Lynch used as a reference for the USB dongle capture method reported a delay of 20 milliseconds.
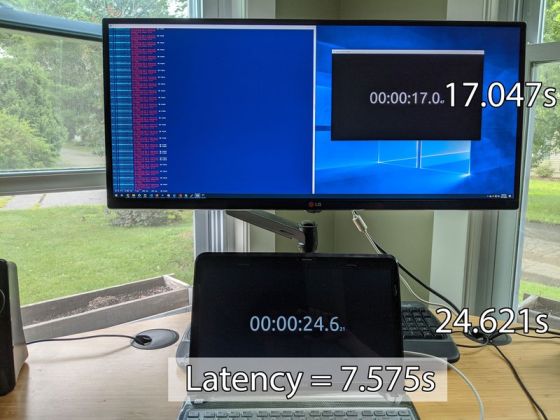
Next, when Lynch tried to capture the screen using software called
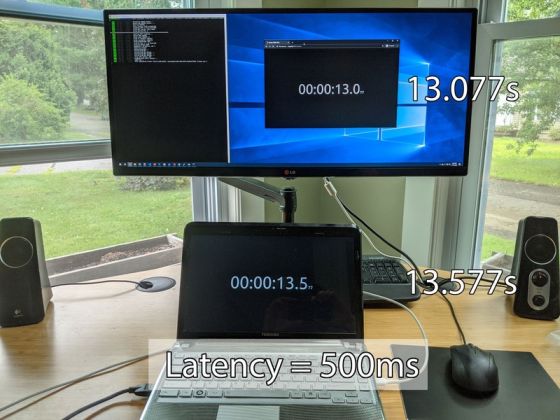
When Lynch consulted with uStreamer developer Devaev for further performance improvements, it turned out that the USB dongle itself was streaming with Motion JPEG. By passing through the stream from the computer as it is without re-encoding with µStreamer, it succeeded in reducing the delay to 200 milliseconds.
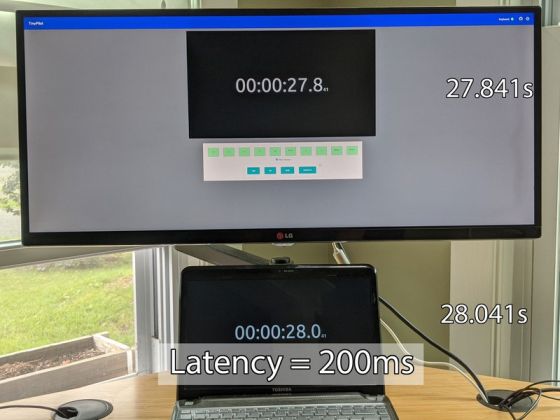
Lynch independently developed an

The following hardware is required as an essential element for remote control by TinyPilot.
・ Raspberry Pi 4
・ USB-C / USB-A conversion cable
・ HDMI / USB capture dongle
・ MicroSD card (Class10, 8GB or more)
・ HDMI cable
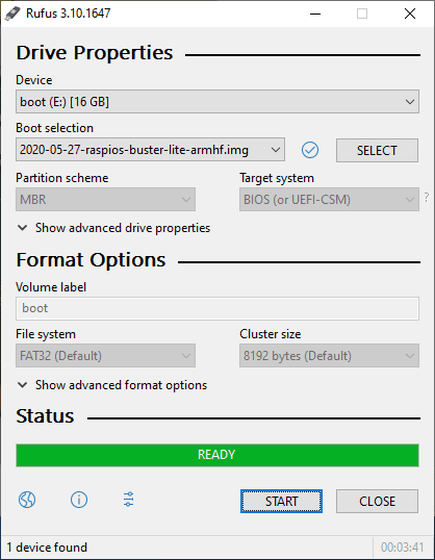
First, install Raspberry Pi OS on microSD. Lynch uses Rufus for the installation.
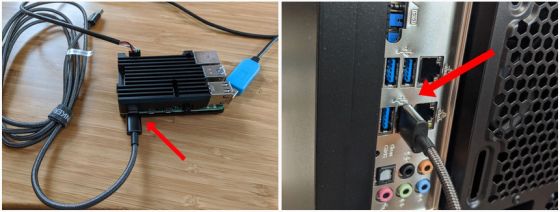
Next, connect the computer you want to remotely control and the Raspberry Pi with a USB-C / USB-A conversion cable. It sends keyboard and mouse signals to your computer via this cable.
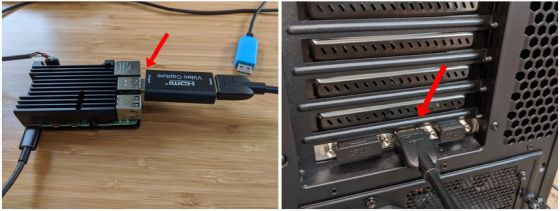
Then connect the dongle to the Raspberry Pi and connect the HDMI cable from the dongle to your computer.
Start Raspberry Pi OS and execute the following command. It is explained that
[code] curl -sS https://raw.githubusercontent.com/mtlynch/tinypilot/master/quick-install \
| bash-
sudo reboot [/ code]
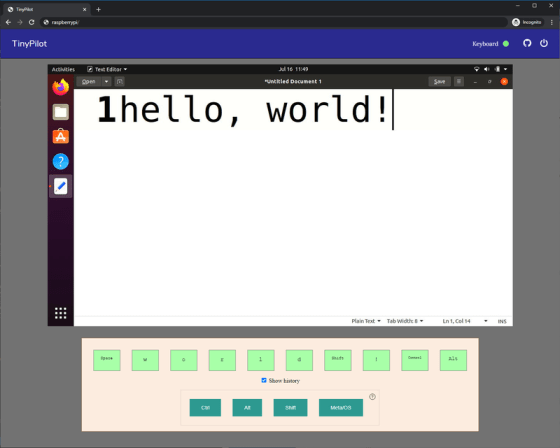
When you access 'http: // raspberrypi /' on the local network, the TinyPilot screen will be displayed and you will be able to remotely control your computer.
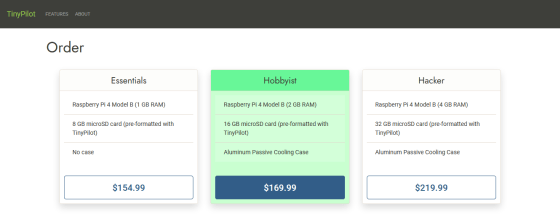
In addition, a toolset that includes all the hardware required for remote control by TinyPilot and completes the software setup is also on sale.
Order | TinyPilot
Related Posts:
in Hardware, Software, Web Application, Posted by darkhorse_log


