A comparative video that you can create the world so far with VFX & a masterpiece making movie using actual Blender is on sale
Video artist
VFX Breakdown-Dynamo Dream Teaser-YouTube
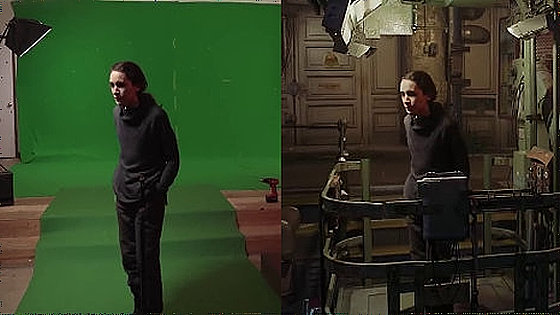
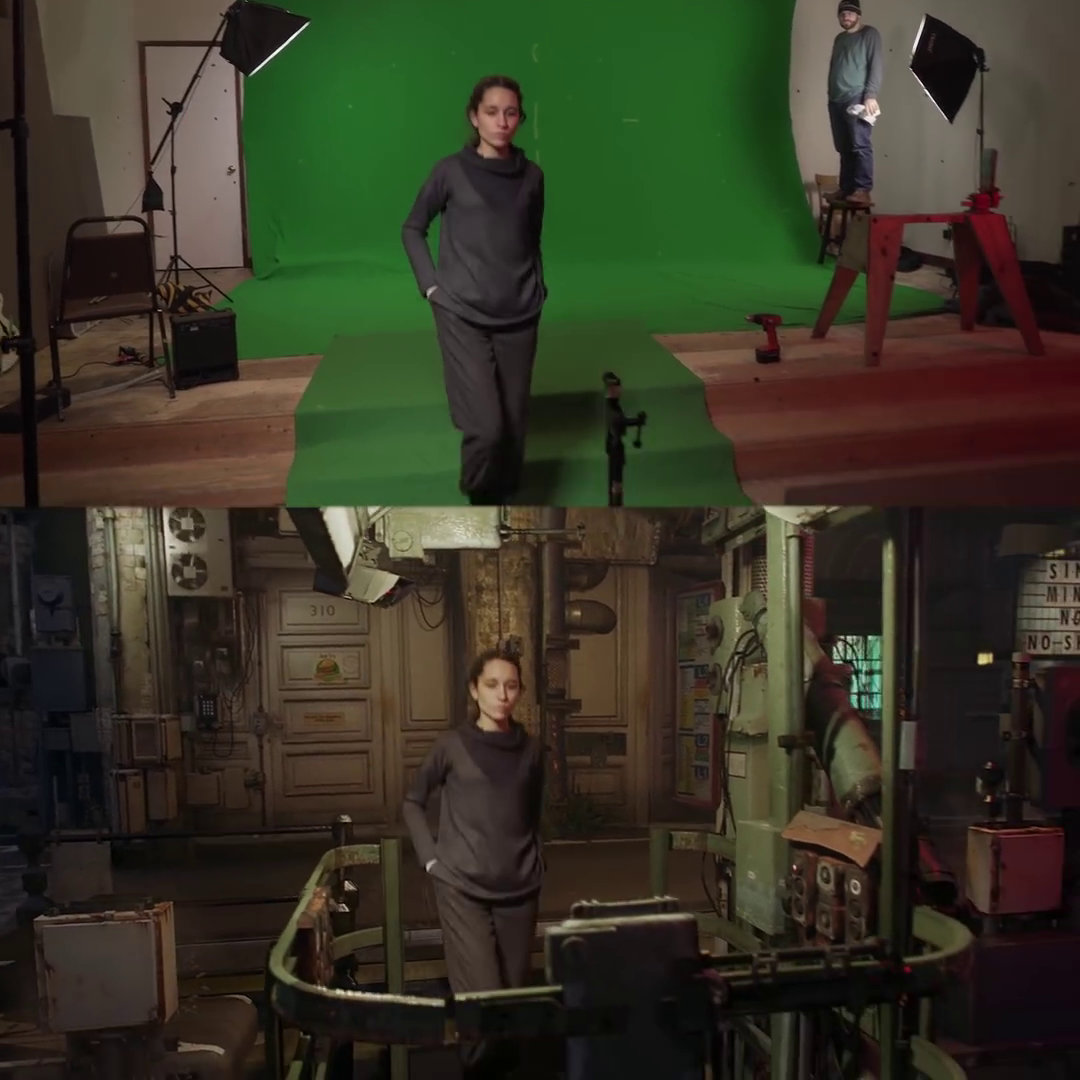
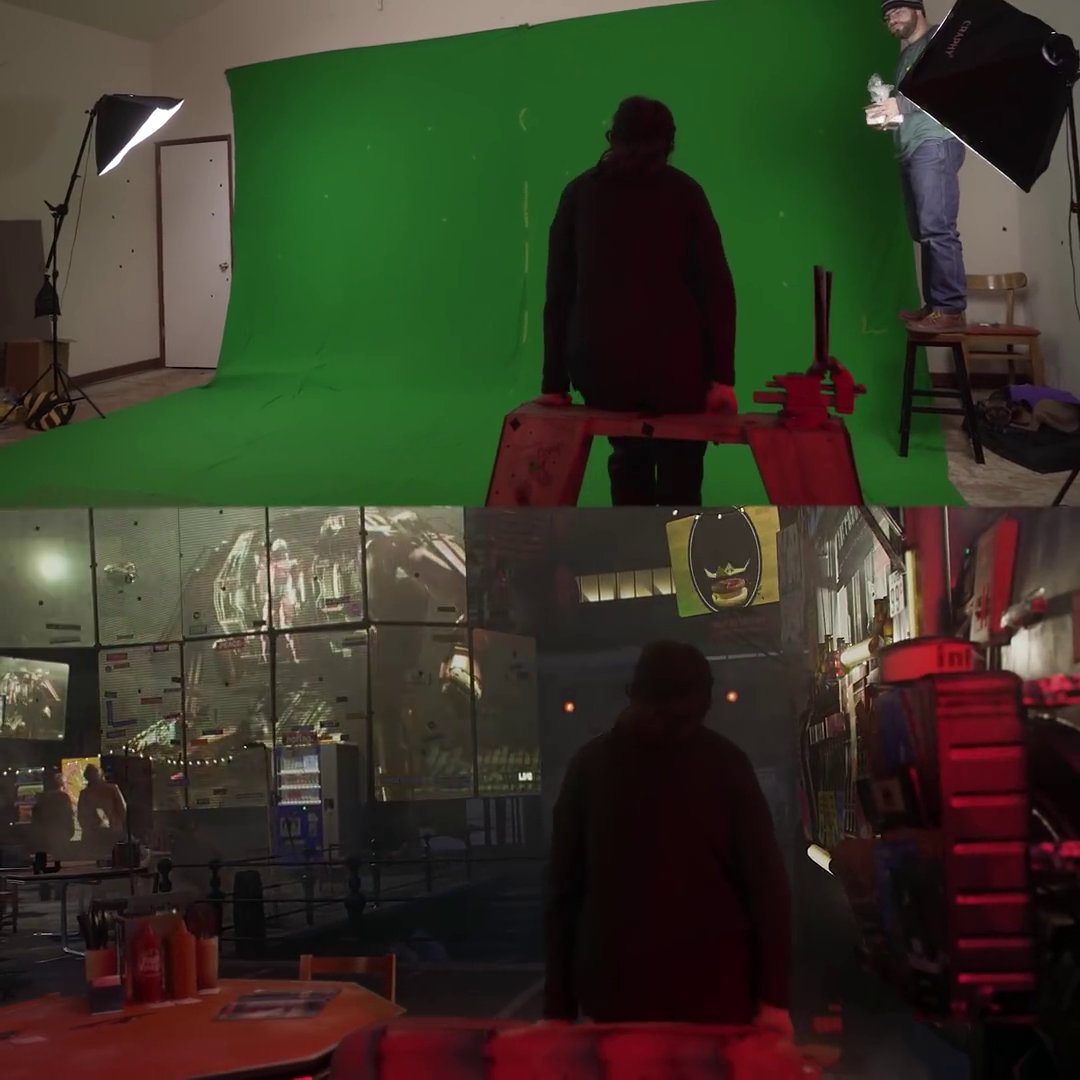
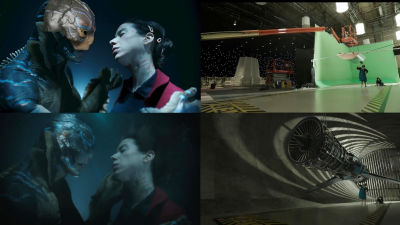
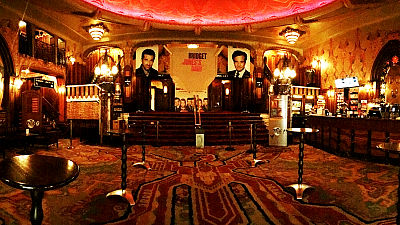
Below is a picture taken with a green bag on the top, and the bottom is a cutout of the completed image after VFX. Two people, shot in two separate shots, are combined into a single image in the room visible through the window.
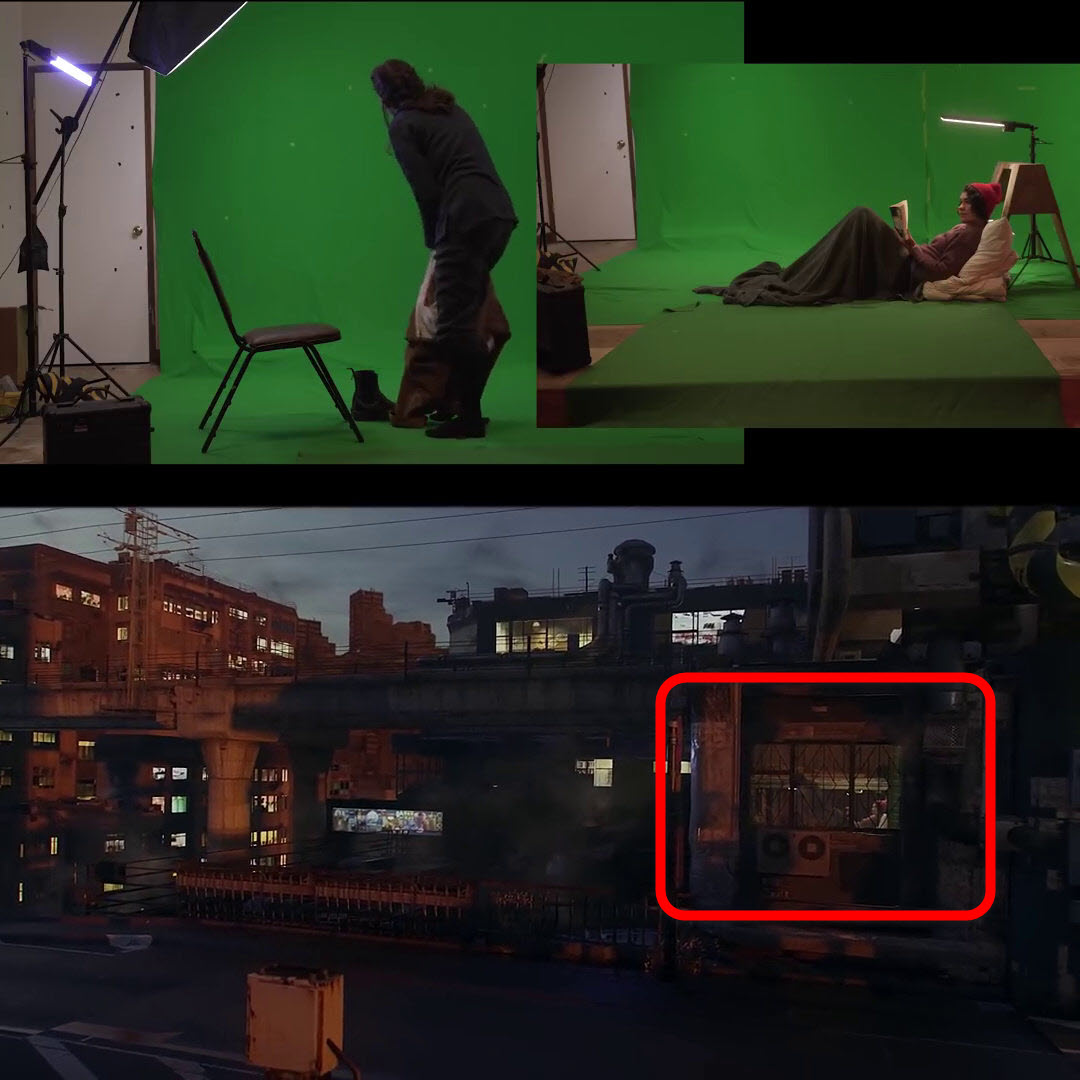
During VFX processing, it looks like the image above.
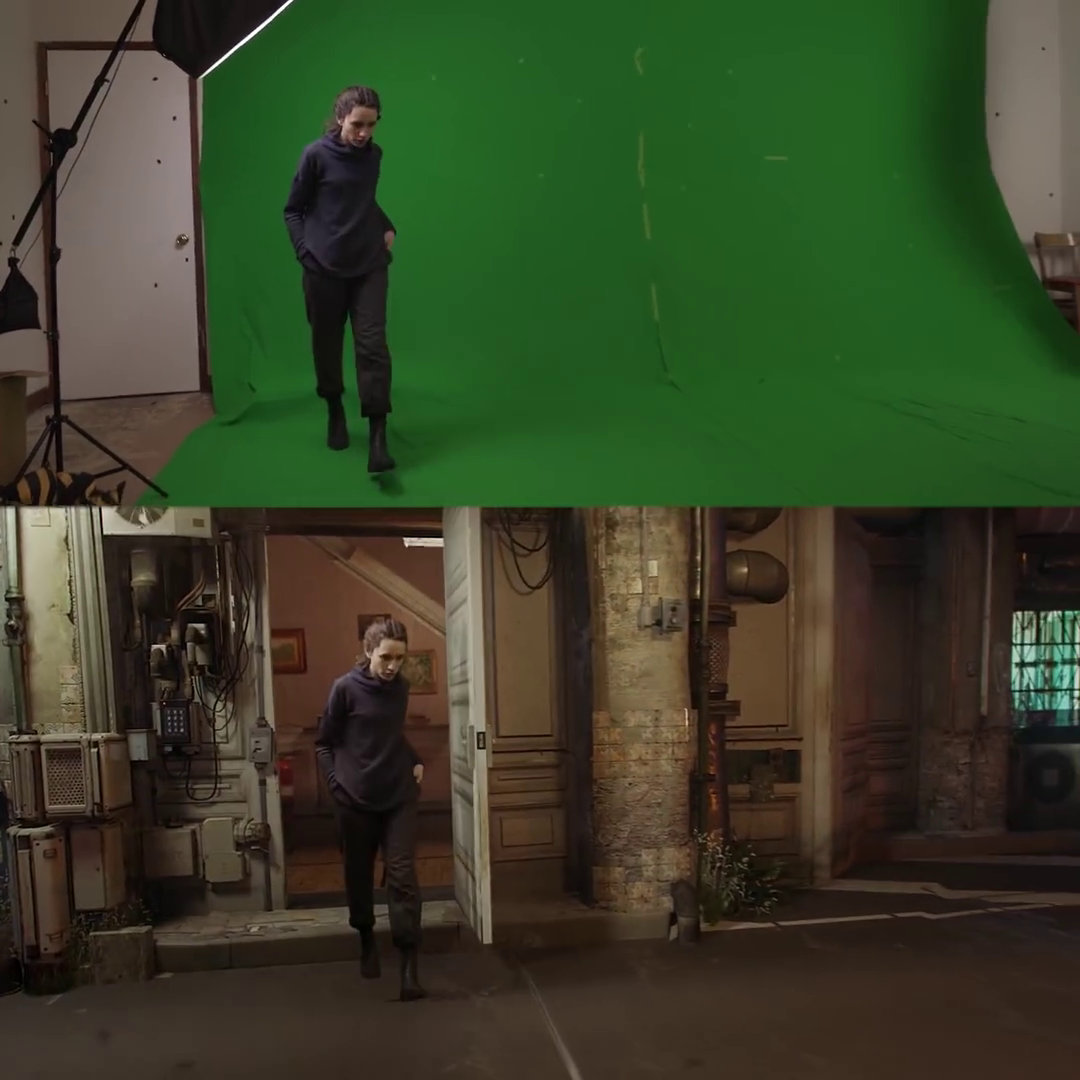
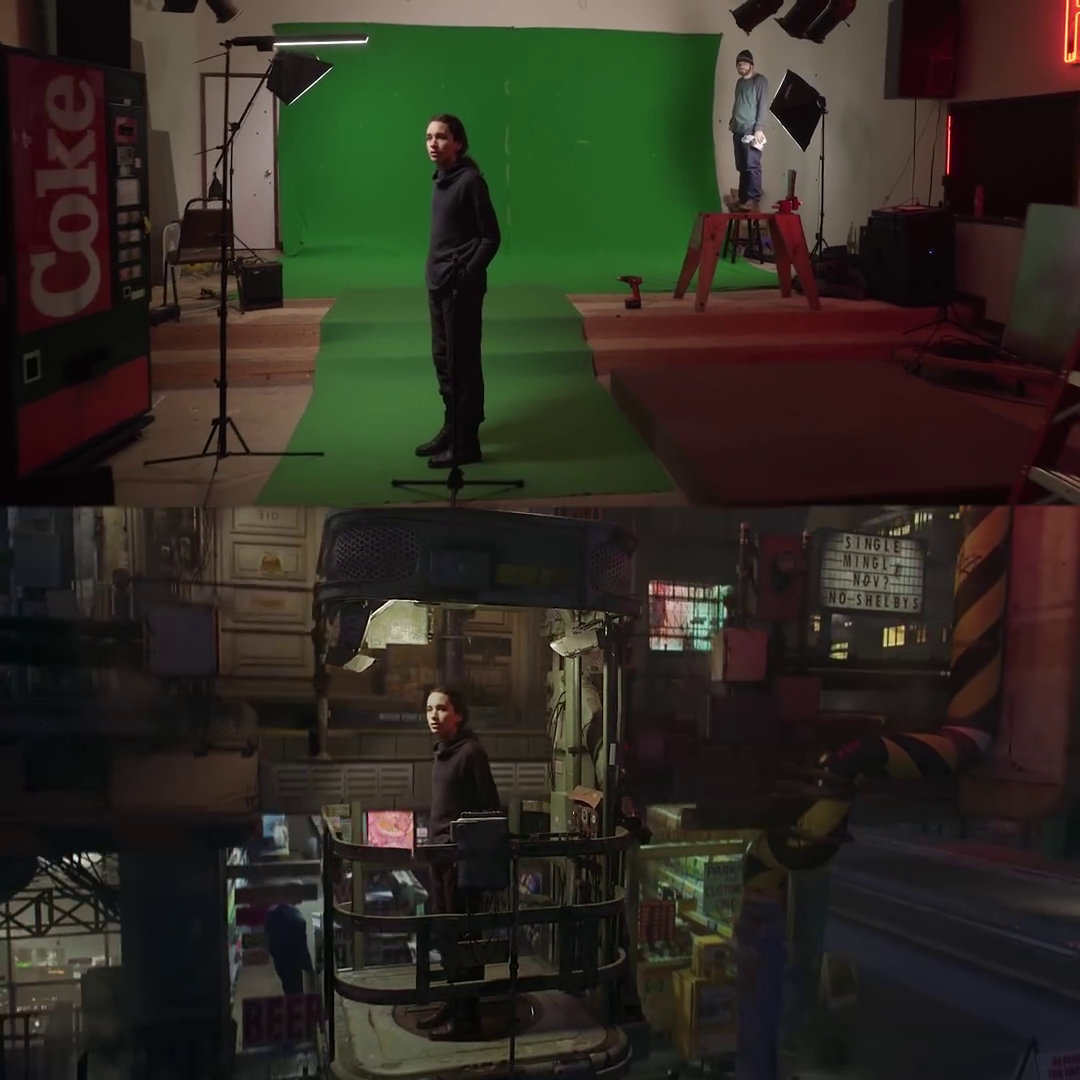
Get out of the building door……
Get on the elevator. There is a man on the right side of the shooting set, but in the completed video there is no man.
While moving downstairs by elevator. Although the scenes are changing rapidly in the finally completed video, the actors at the time of shooting are just standing still.
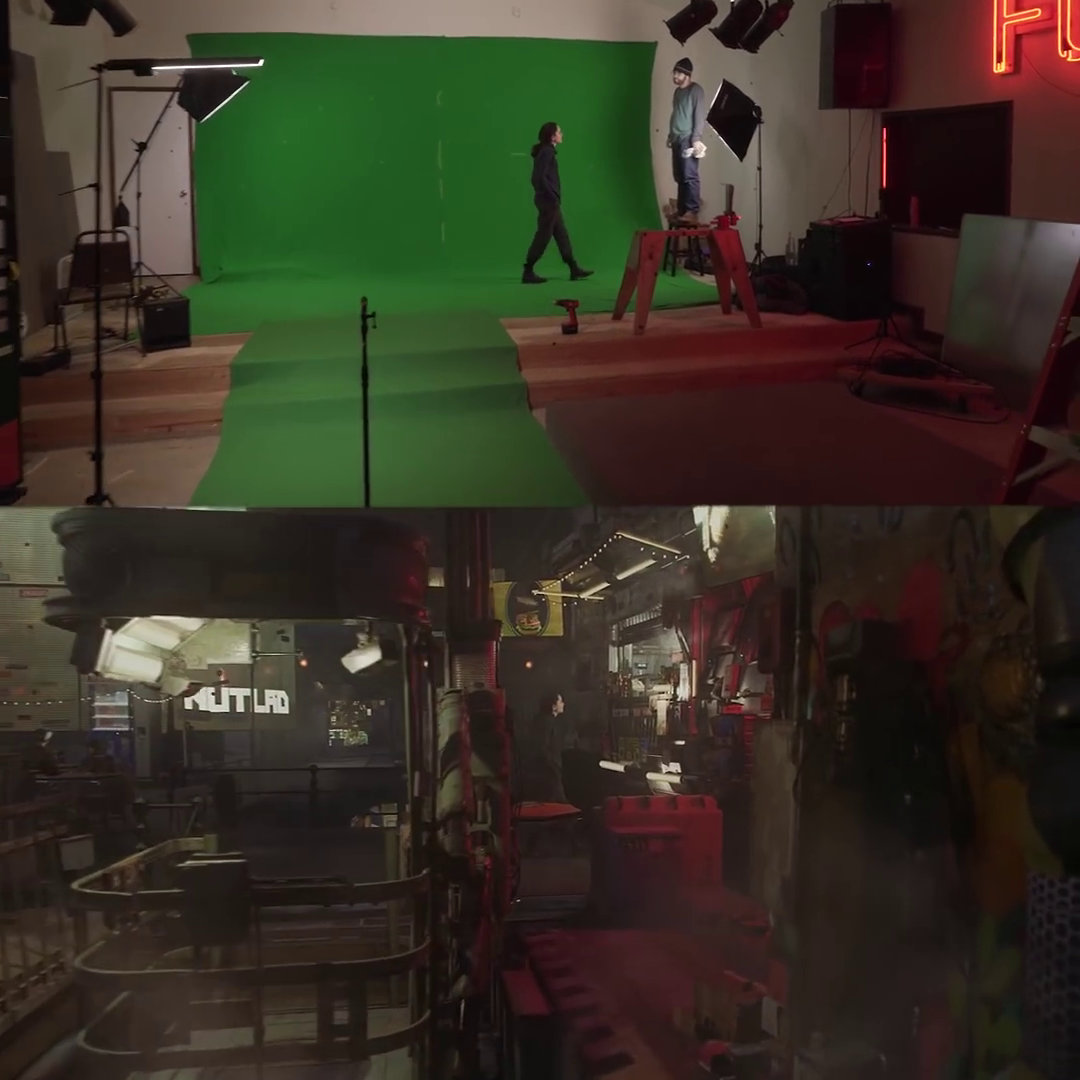
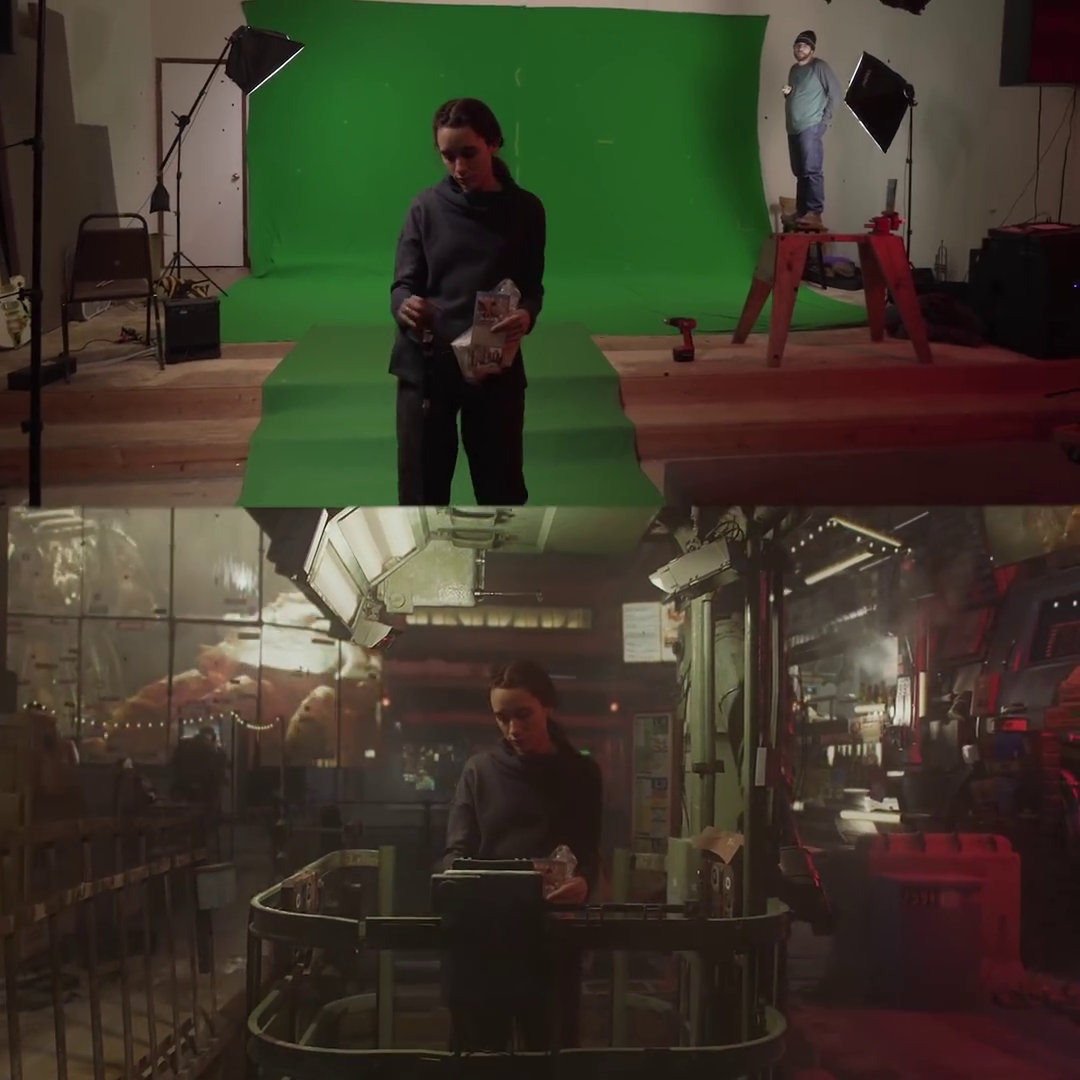
Get off the elevator and go inside the shop.

Finally, the woman heads to the man.
The man was a food truck salesperson. Complete the order and payment.
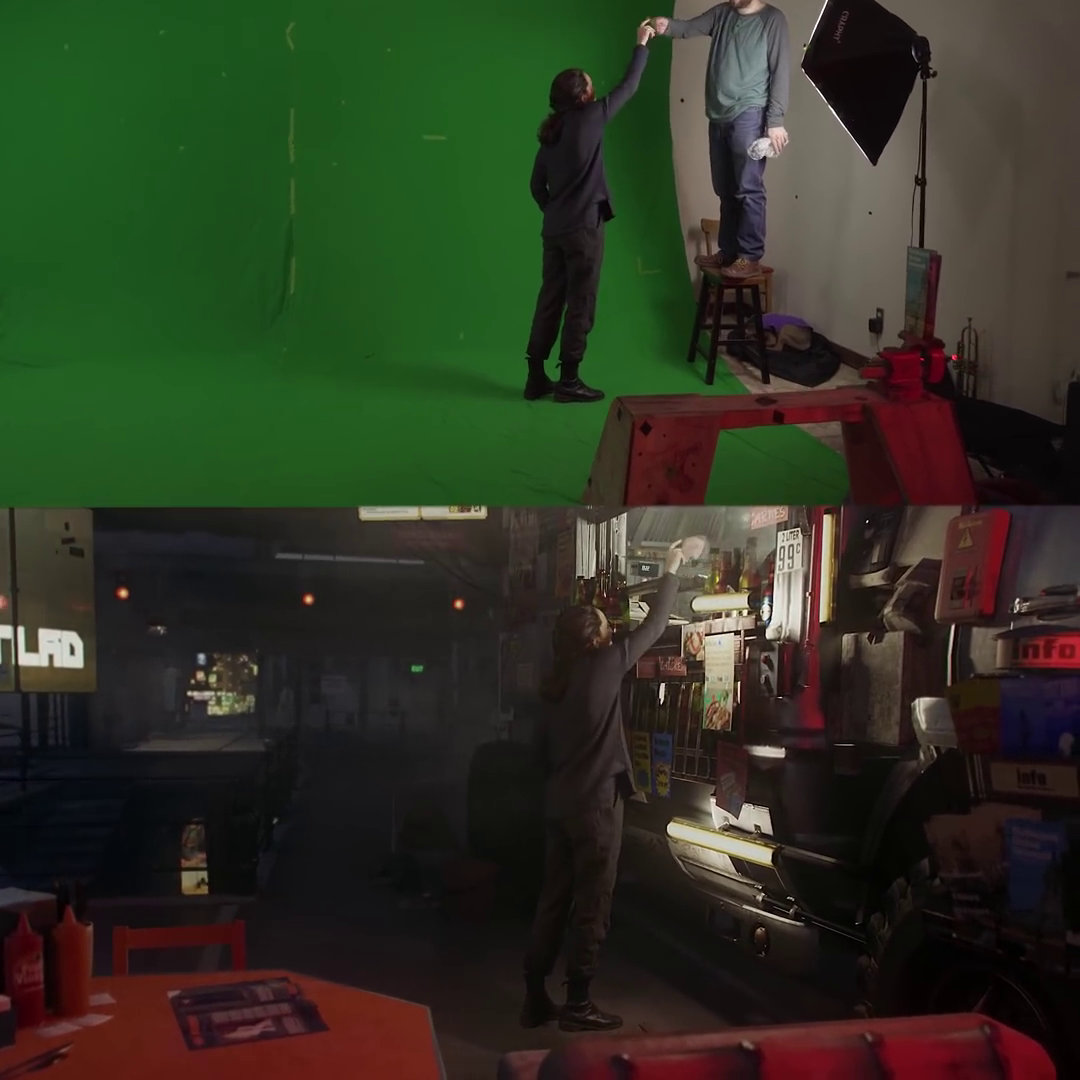
The wind that sits on the chair that was originally set and is watching the image.
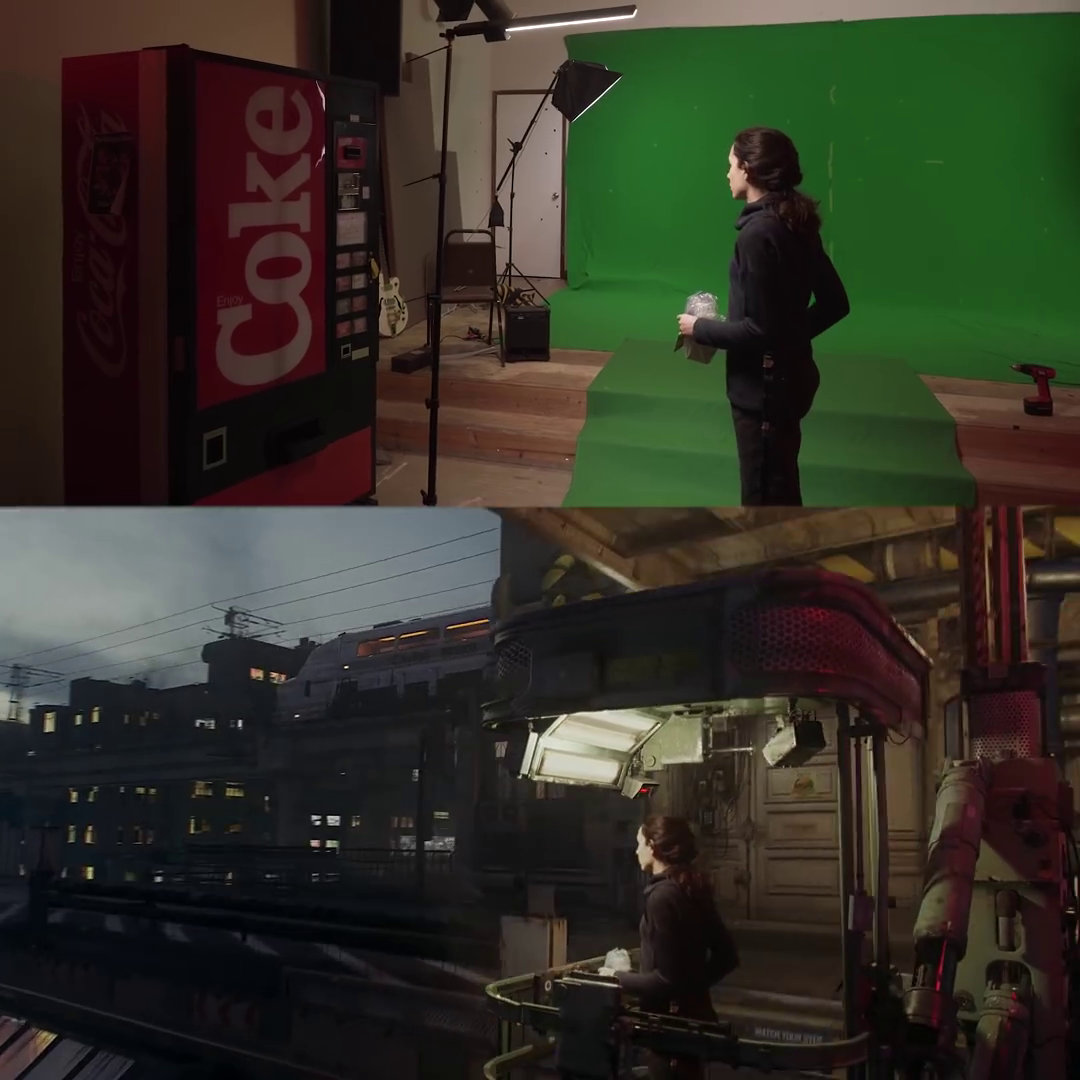
After receiving the goods, board the elevator again...
Gaze at the sunlit streets.
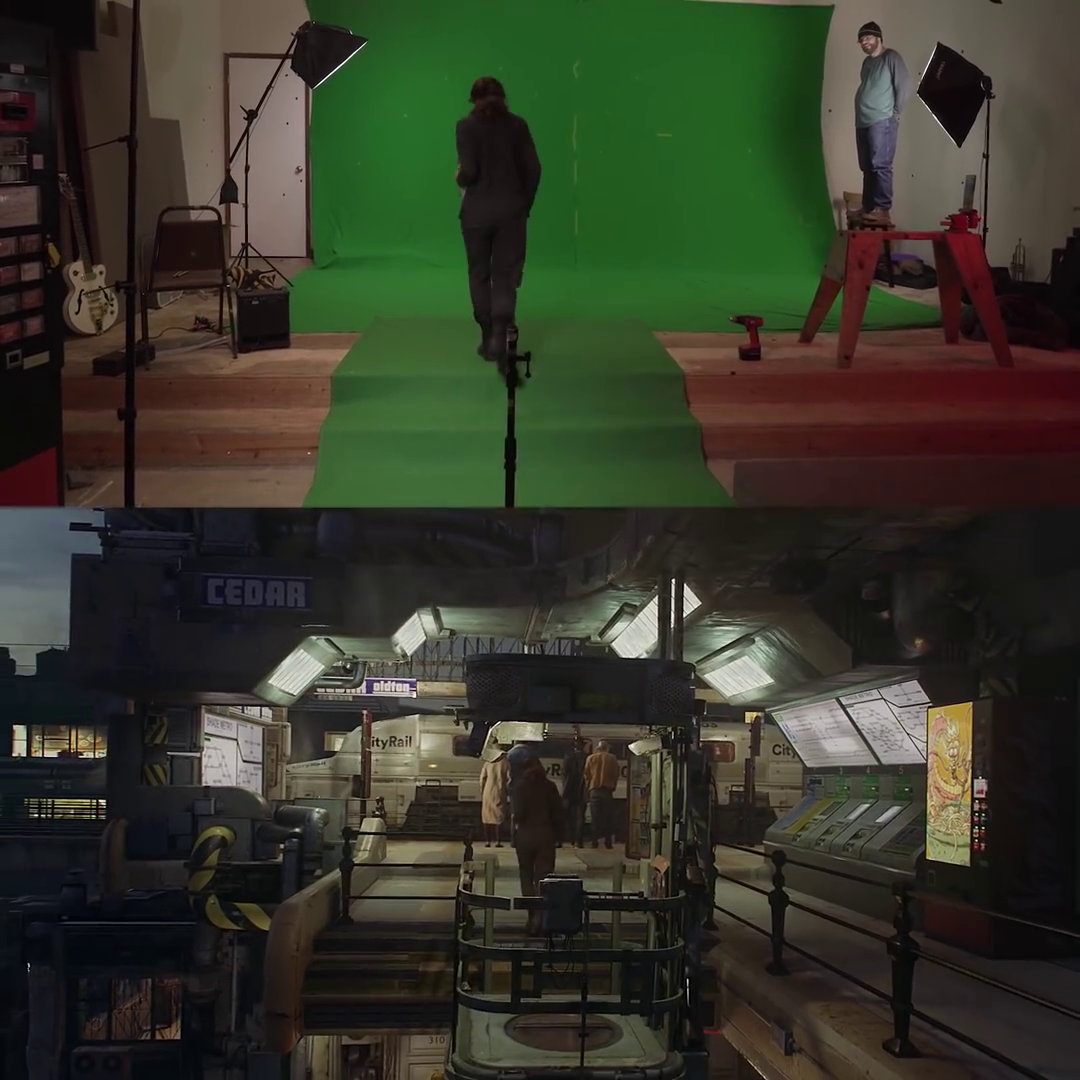
Then, this time I entered the station yard on a different floor... and despite the scenes changing in the completed video, I actually went back and forth one place to shoot. It was.
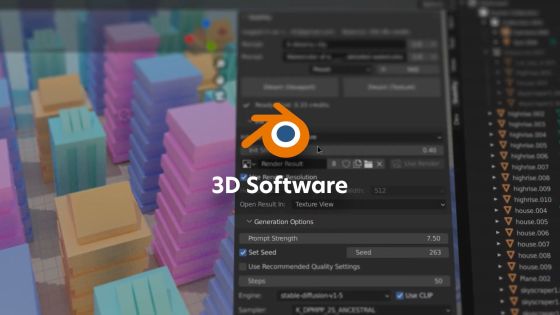
The above VFX is created using the motion tracking function of the
Blender Motion Tracking-Room Transformation!-YouTube
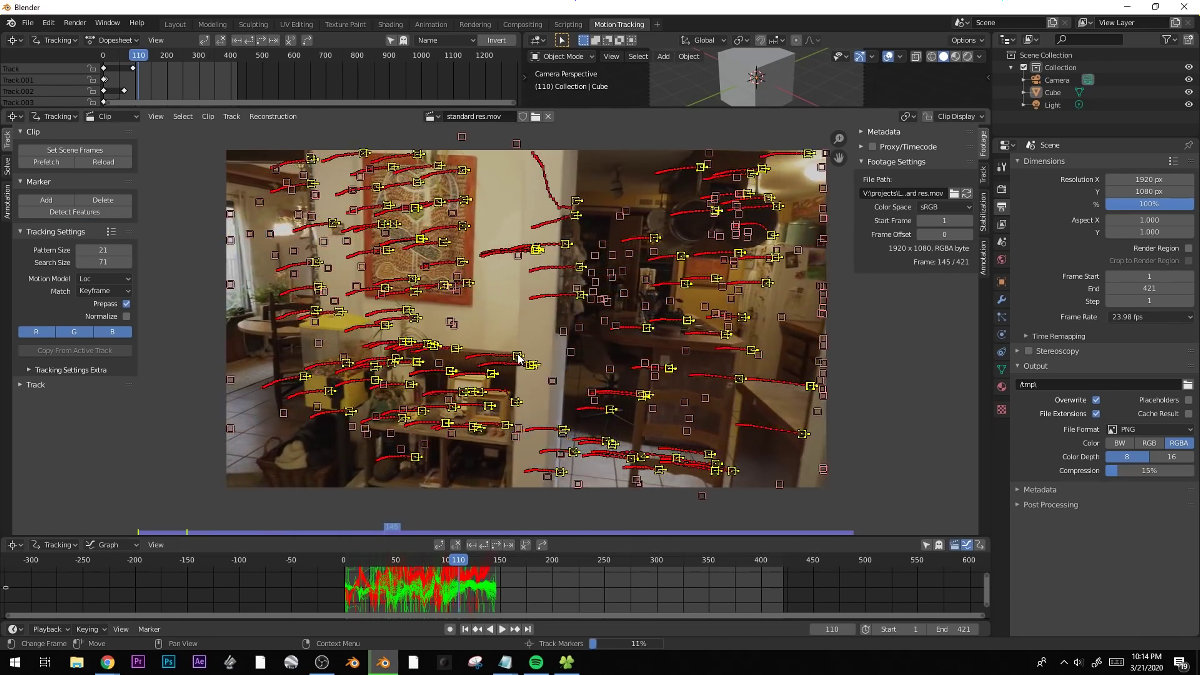
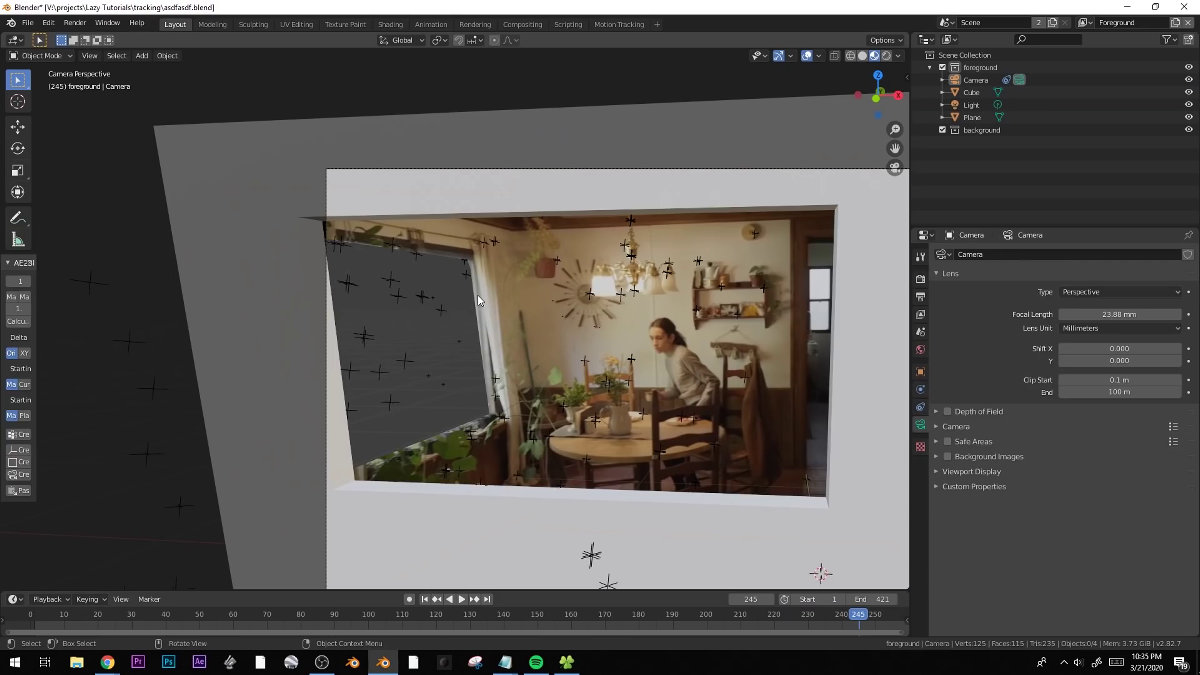
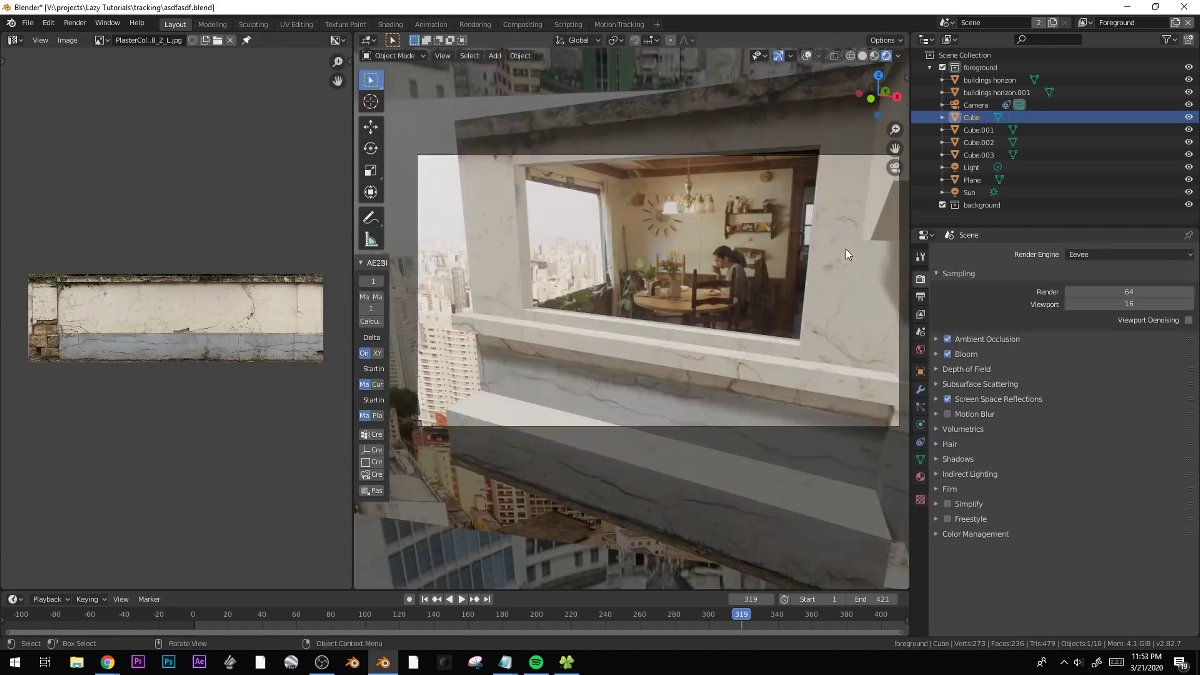
This is the motion tracking edit screen of Blender. First, open the background 3D file.

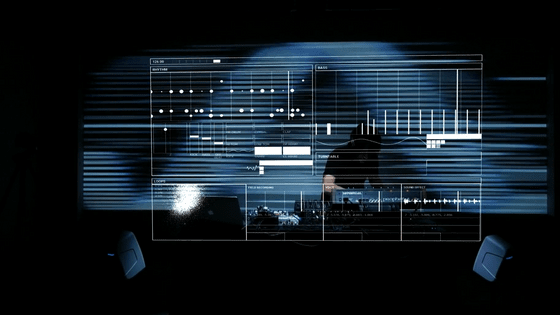
Click anywhere on the background to hit points.

If you move the camera in this state, the trajectory of how the hit point moved will be displayed in red.
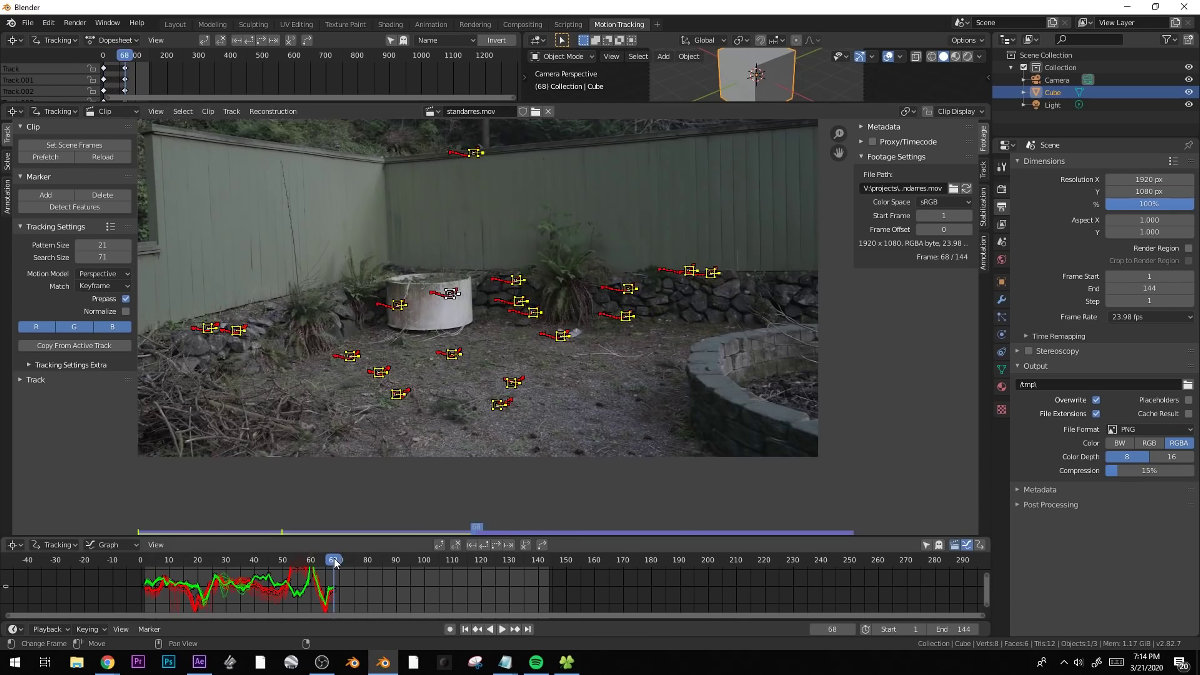
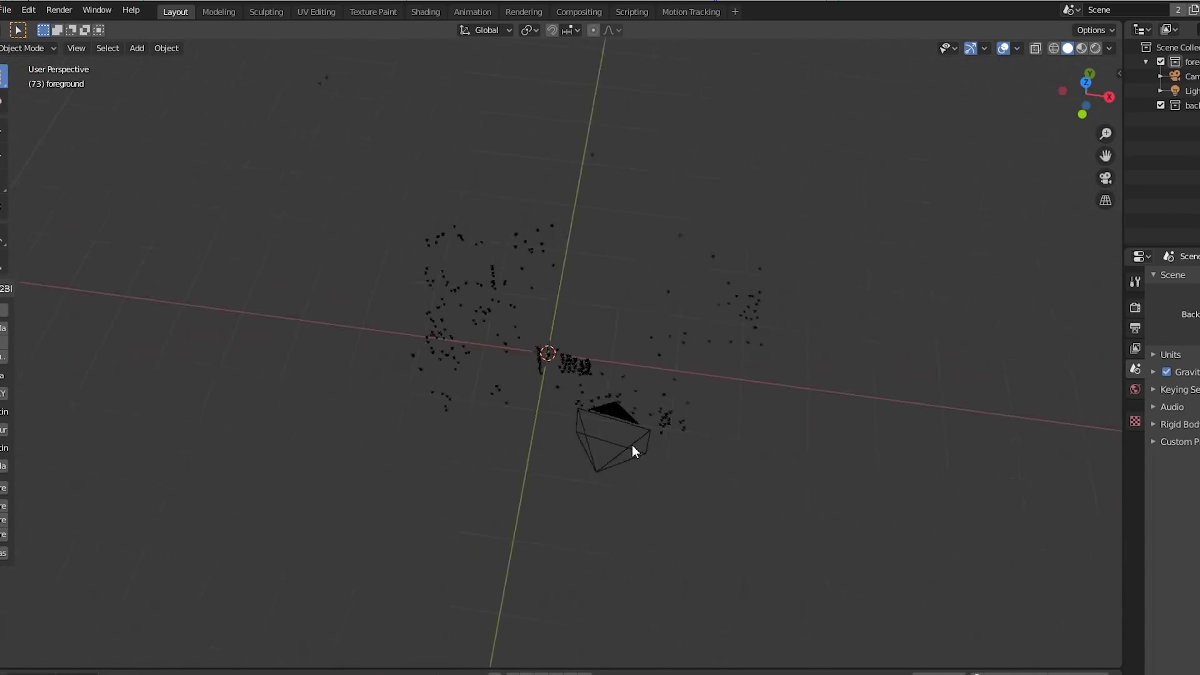
What is displayed in the upper right of the screen is a 3D background seen from an obliquely upper angle. You can see the positional relationship of the hit points more clearly.
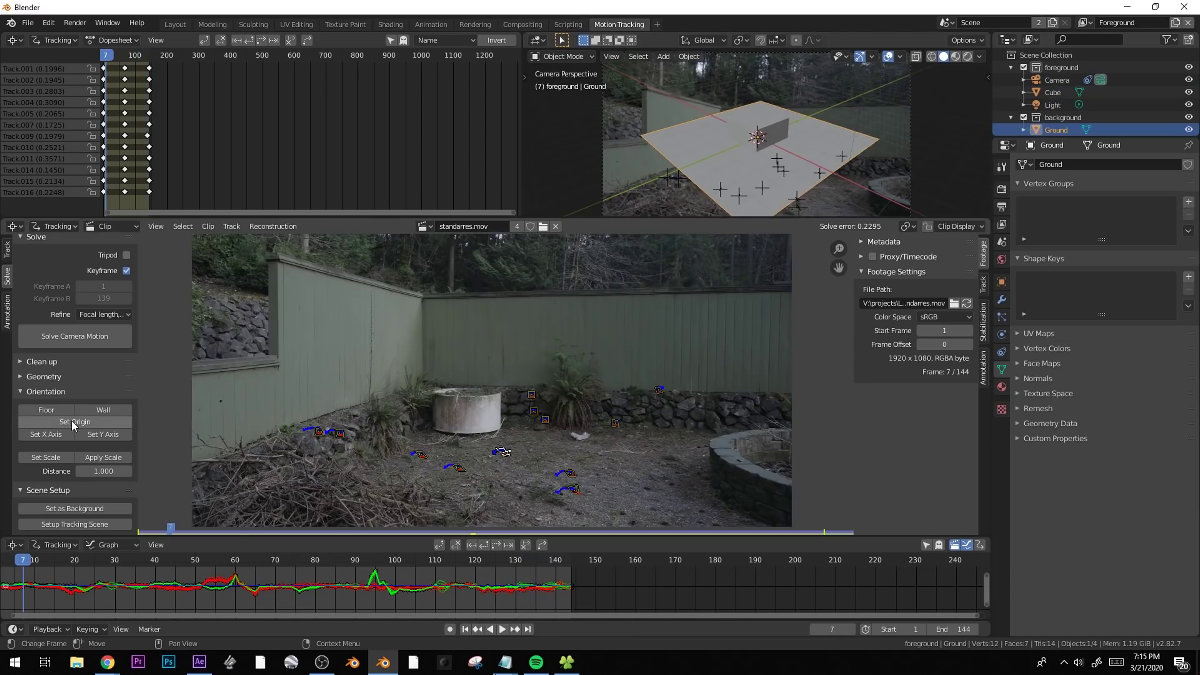
Select the origin that is the center of the scene, and then select the other three points that indicate the floor...

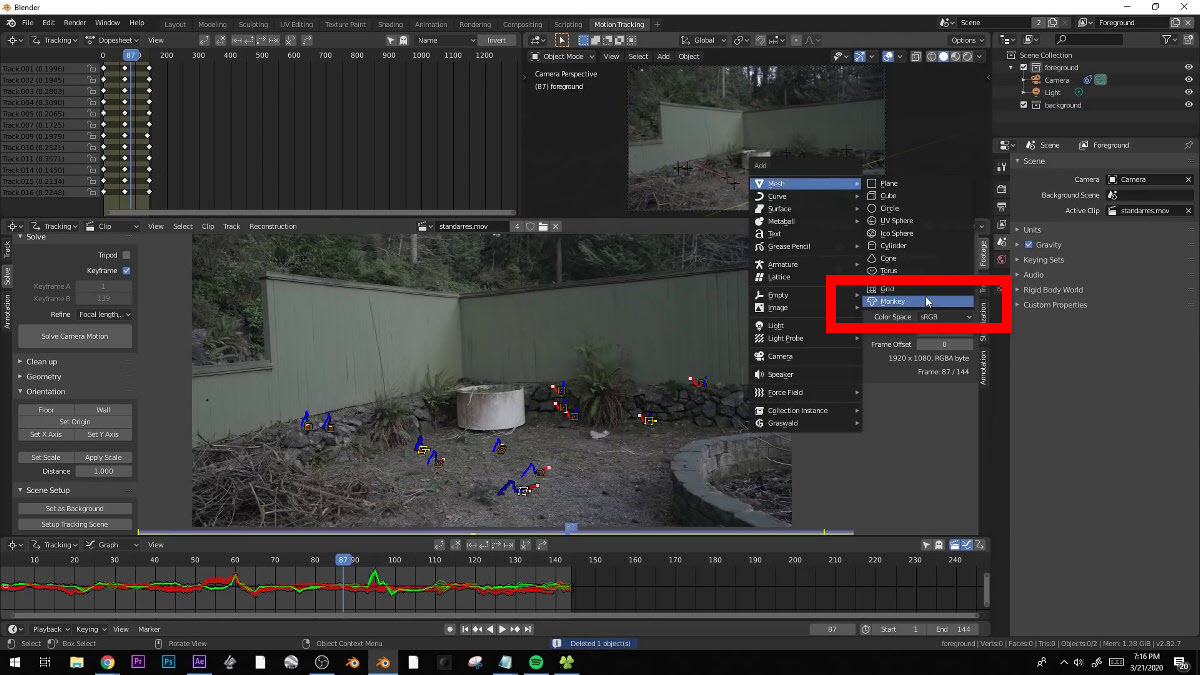
Select a three-dimensional object to add to the scene. This time, 'Monkey' was selected.
Then, a 3D monkey was synthesized around the selected point.
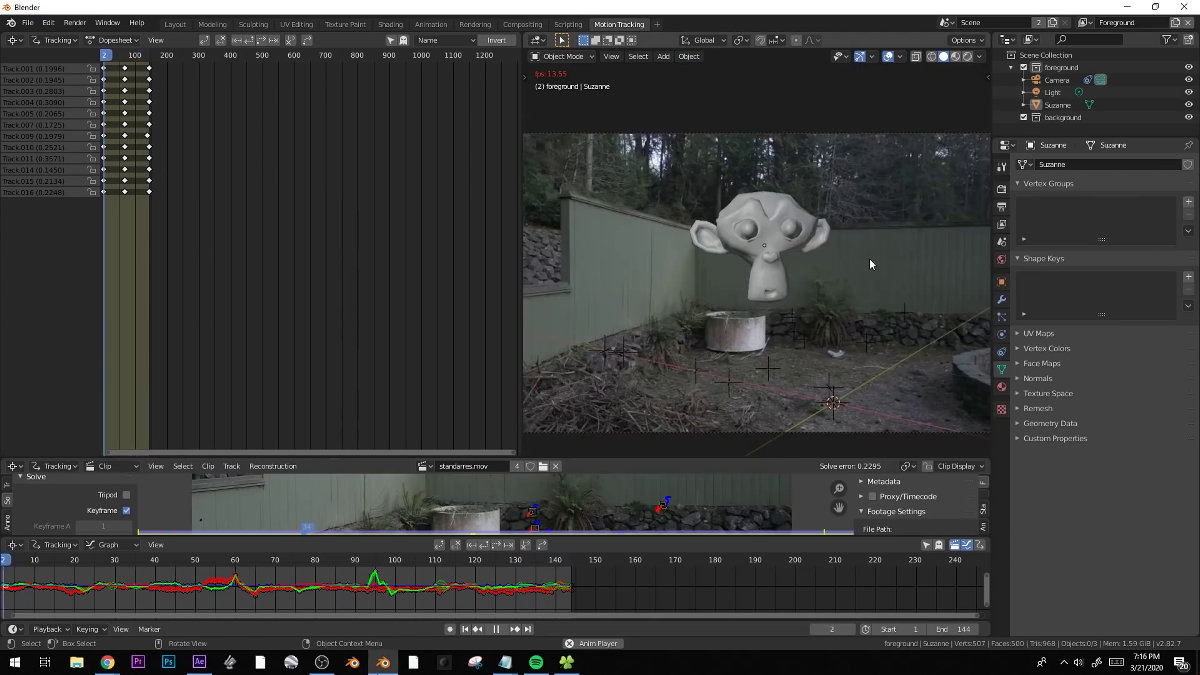
Since the monkey is placed along with the selected point, the direction of the monkey will change according to the trajectory of the point even if the camera moves. Therefore, even if a completely different image is combined, there will be no deviation when the camera is moved, and the image will look very natural.

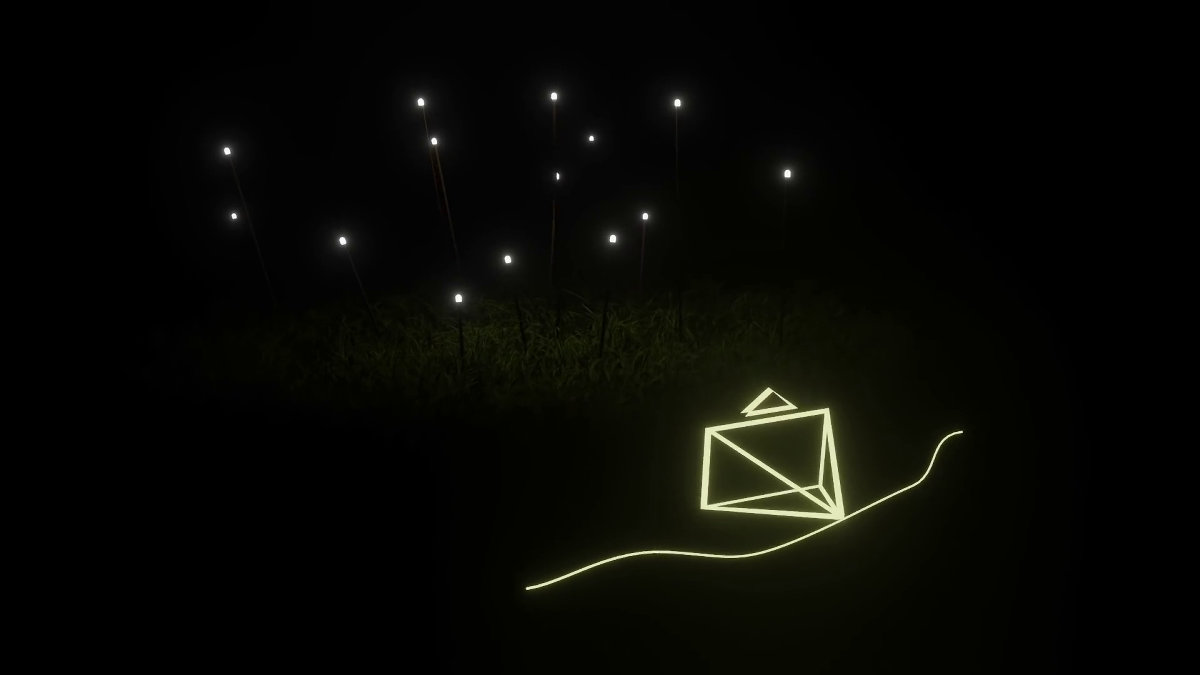
Hubert explained this with an example of 'place small light bulbs in various positions in the dark'. When you move the camera to shoot a light bulb, the light bulb closer to the camera will appear to move faster and the light bulb in the back to appear to move slowly. In the case of 3D images, by striking points at various places, it is possible to clarify the 'how the camera is moving' from the difference in speed and appearance, and it is possible to synthesize accurately.
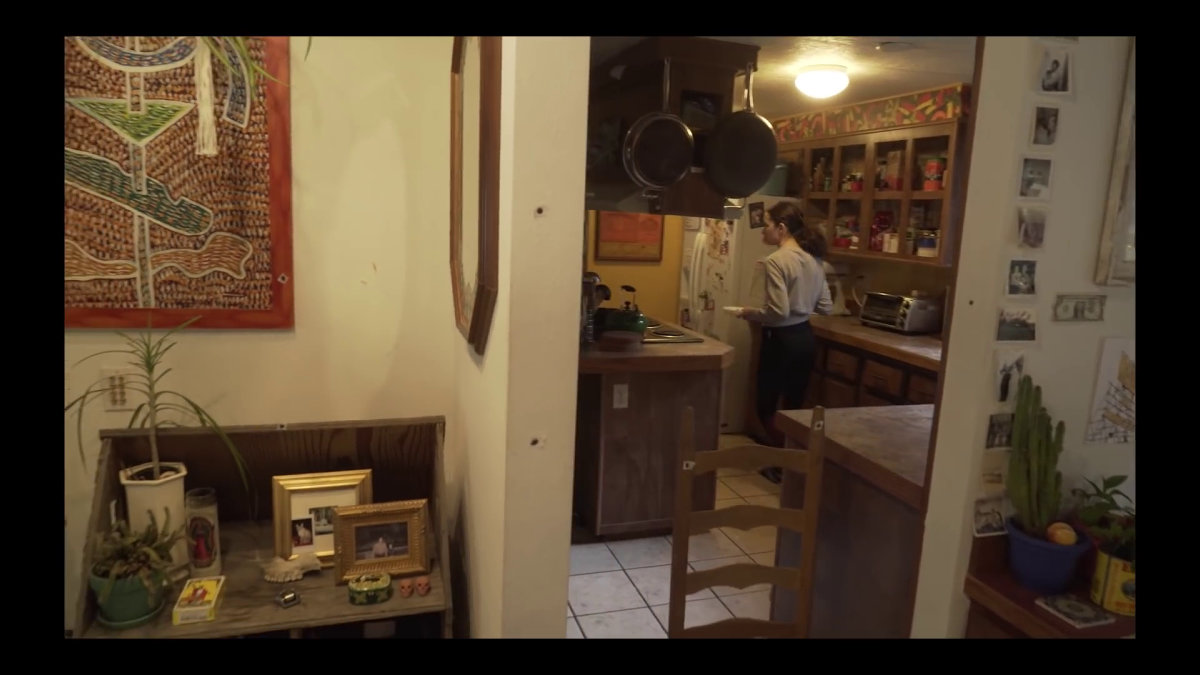
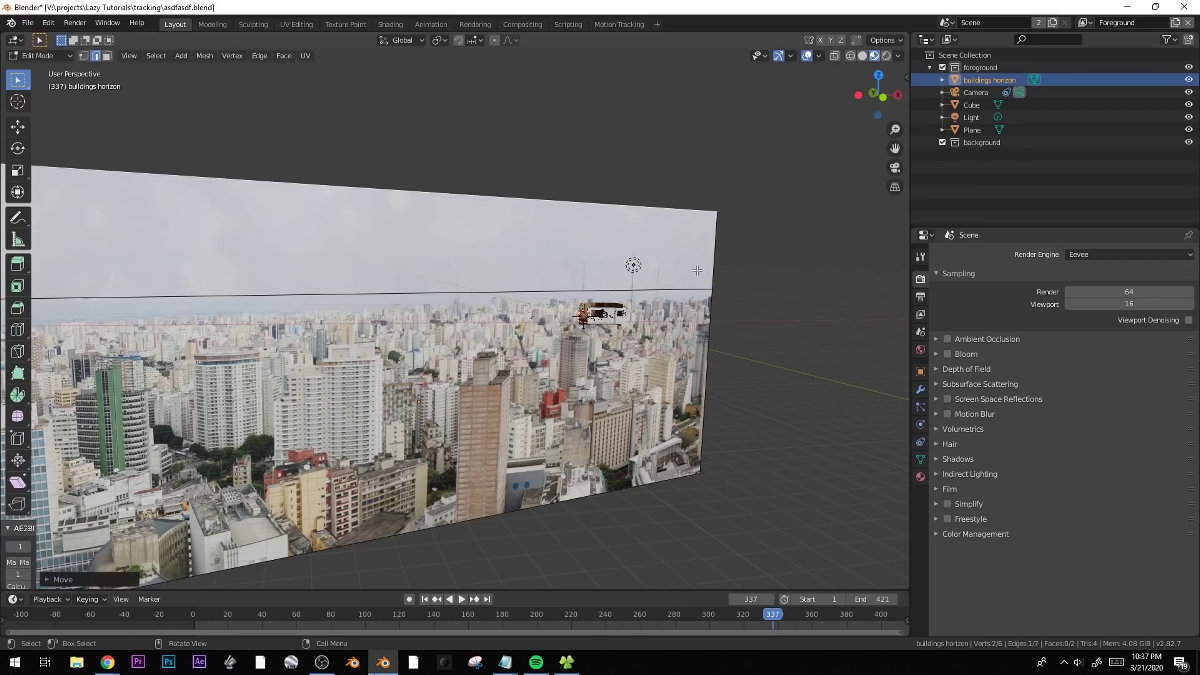
A more complex example is below. A woman after cooking in the kitchen...
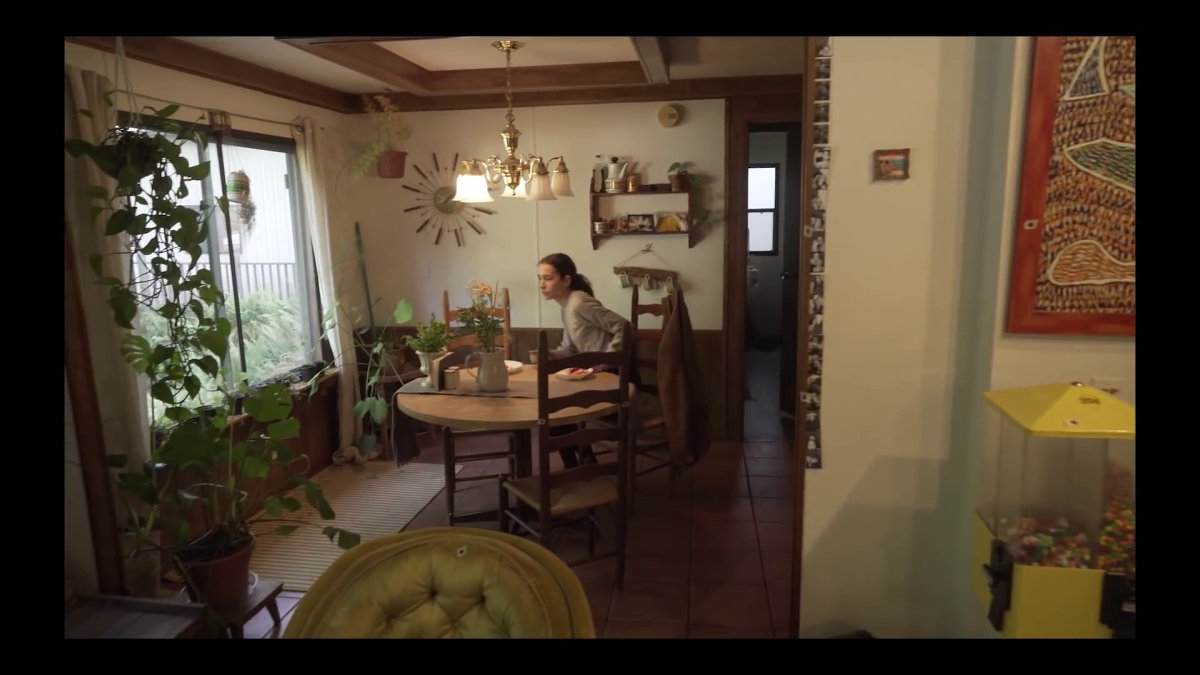
It is a scene where you move to the dining room and get to the table.
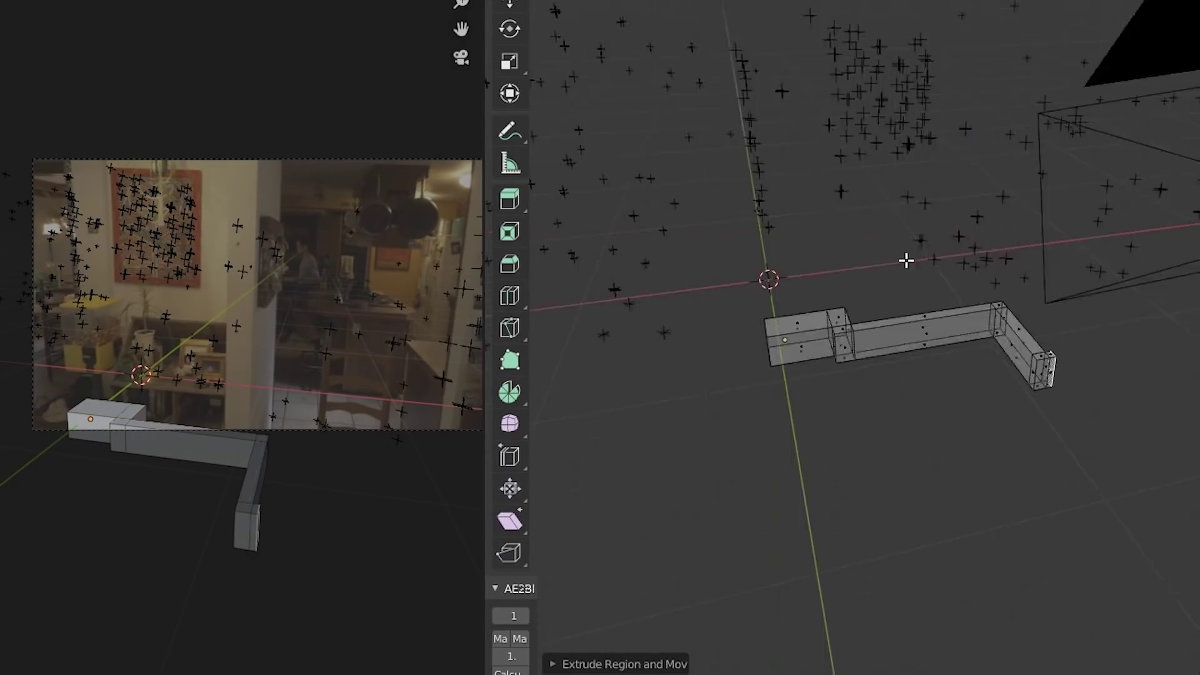
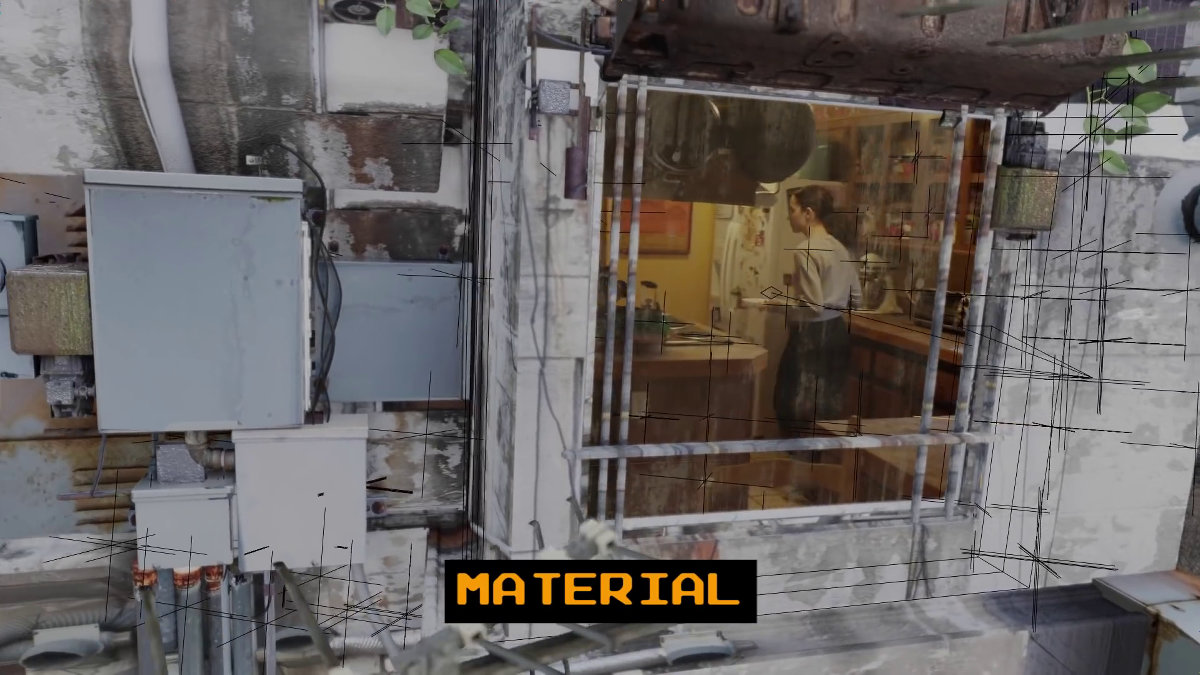
This scene, shot from room to room, has a complex three-dimensional structure and varies in depth depending on the location, so you will be hit with an amount of points that cannot be compared to the original 3D file.
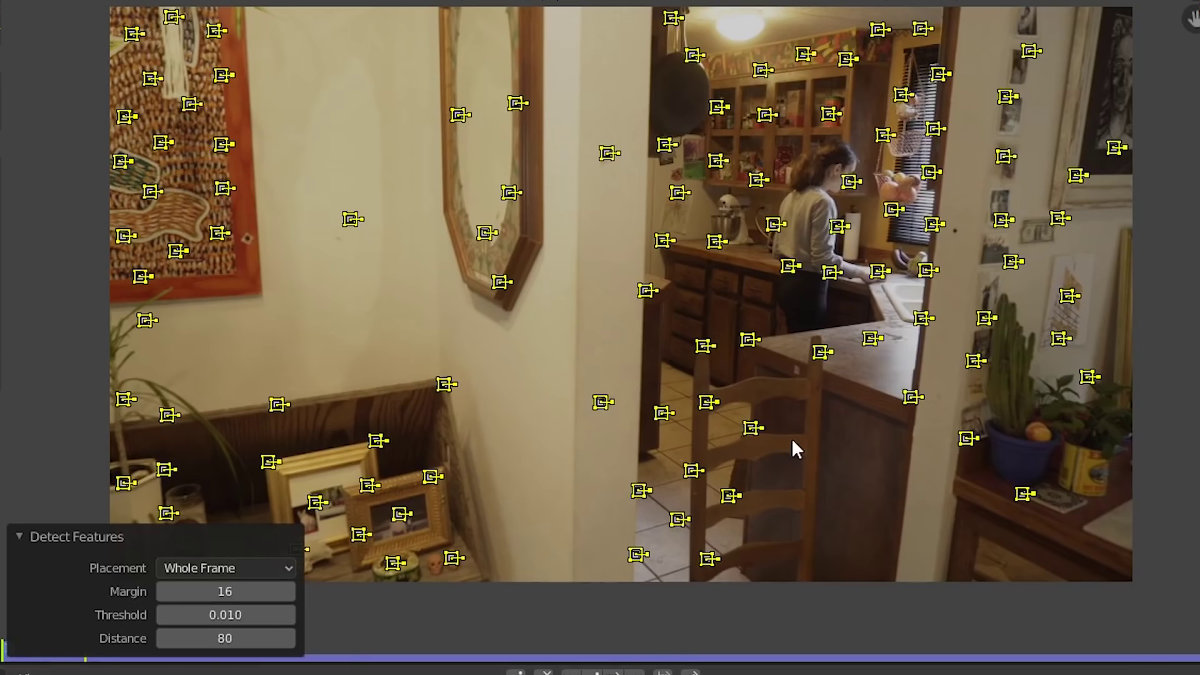
As the camera moves, a red trail shows how the points moved.
There are points that can't be tracked well, so erase unnecessary points manually to reduce noise.
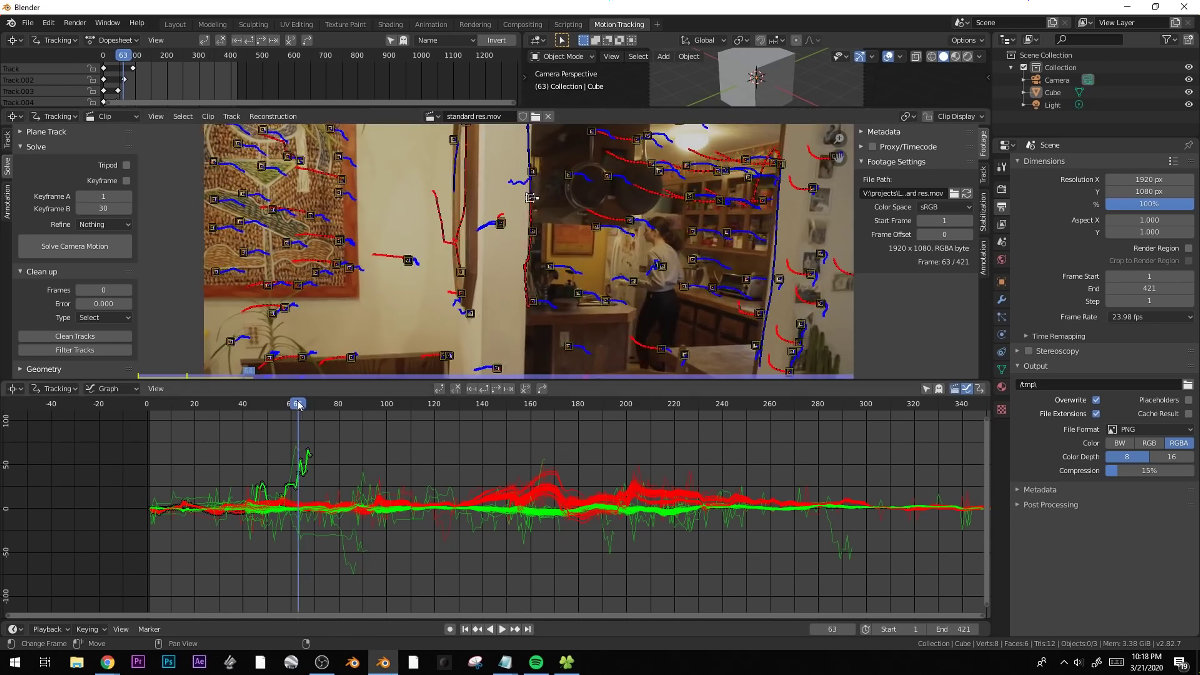
In the upper right corner of the screen, you can see where in the space you hit the point.

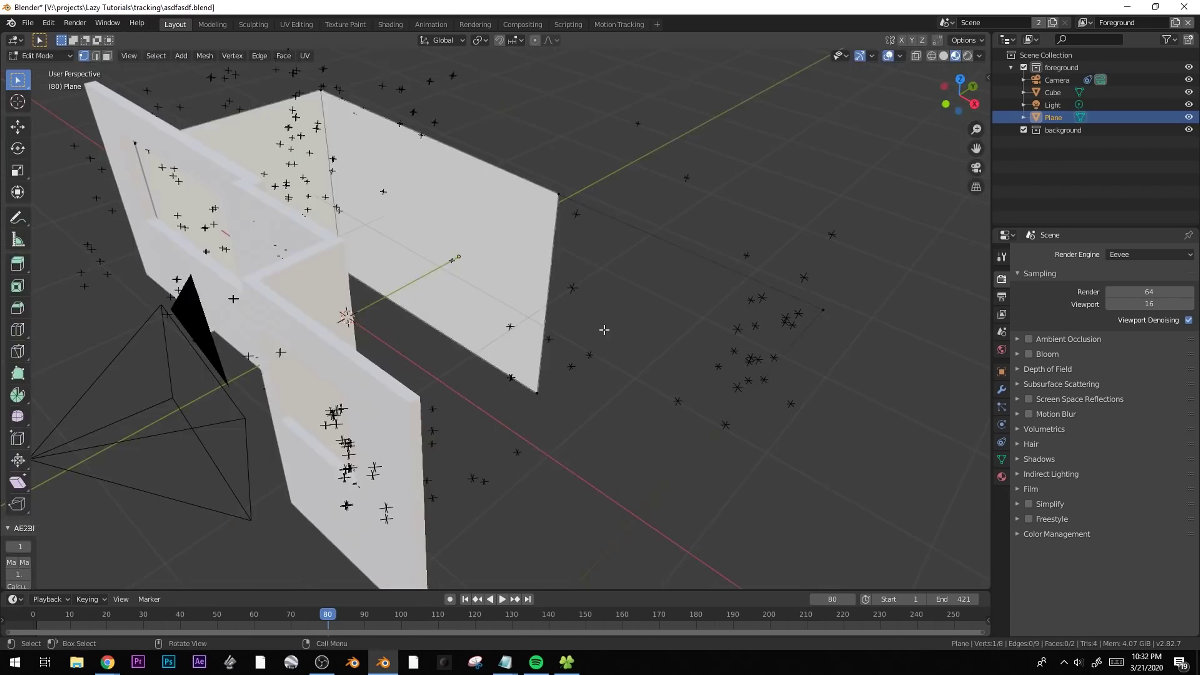
Similar to the first, select some points and specify the origin and floor...
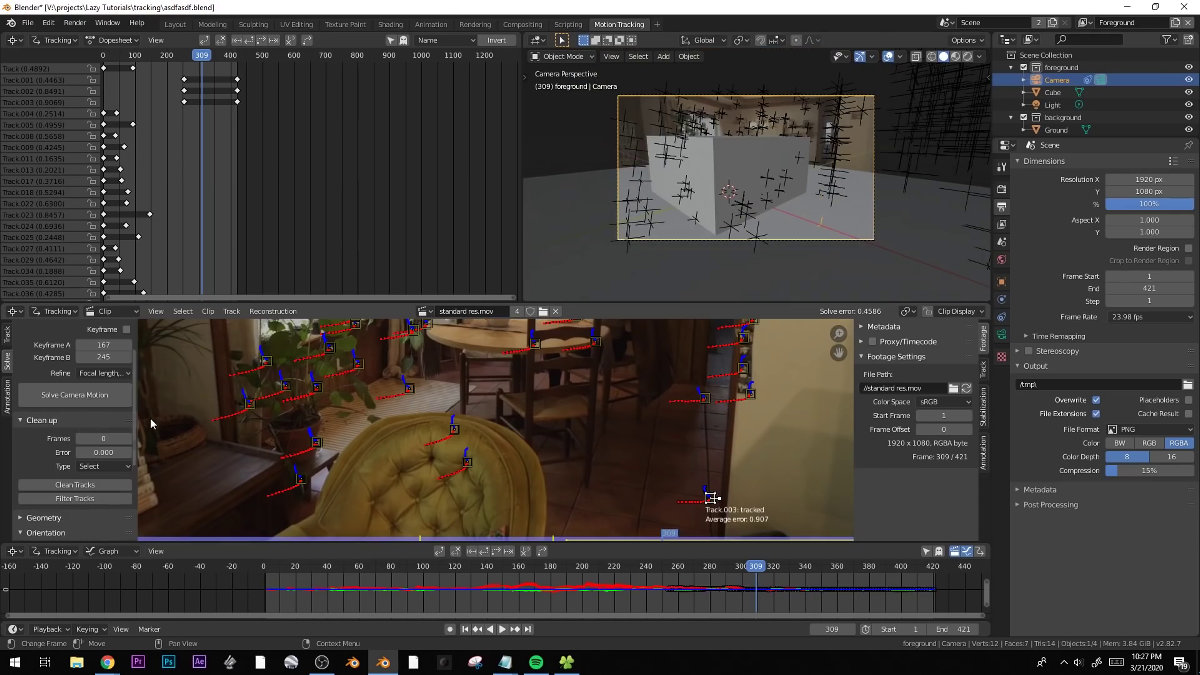
Specify the camera position.
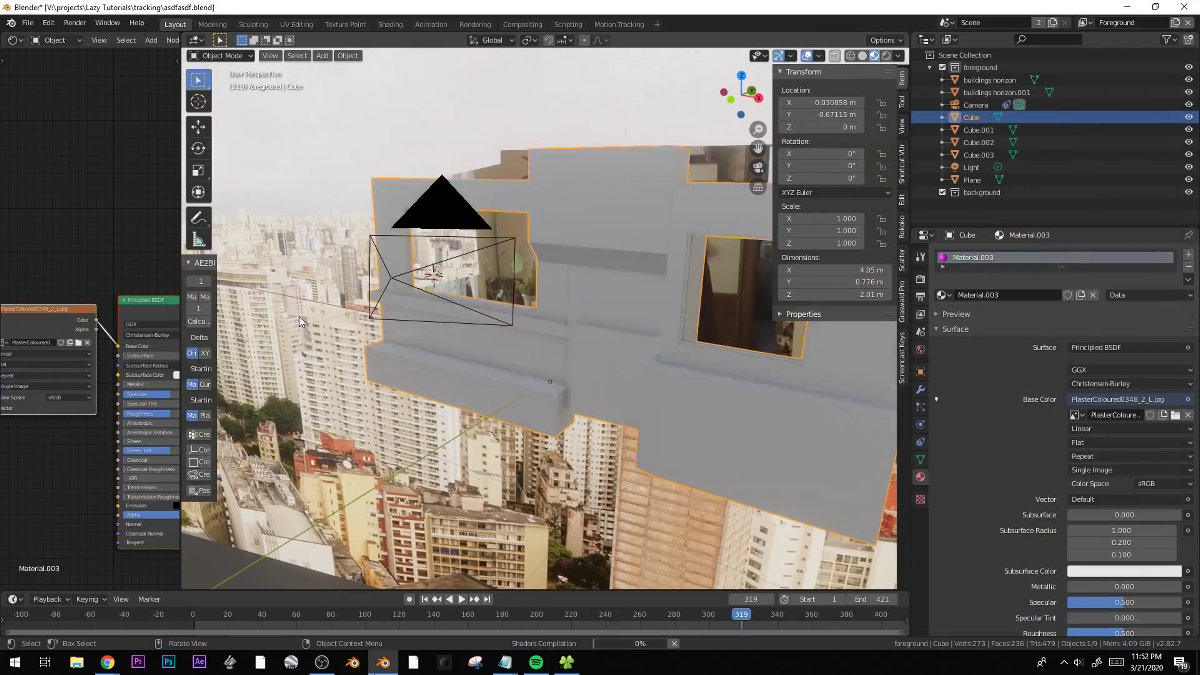
I will make a wall in this state.
If you make a wall or window between the camera and the room...
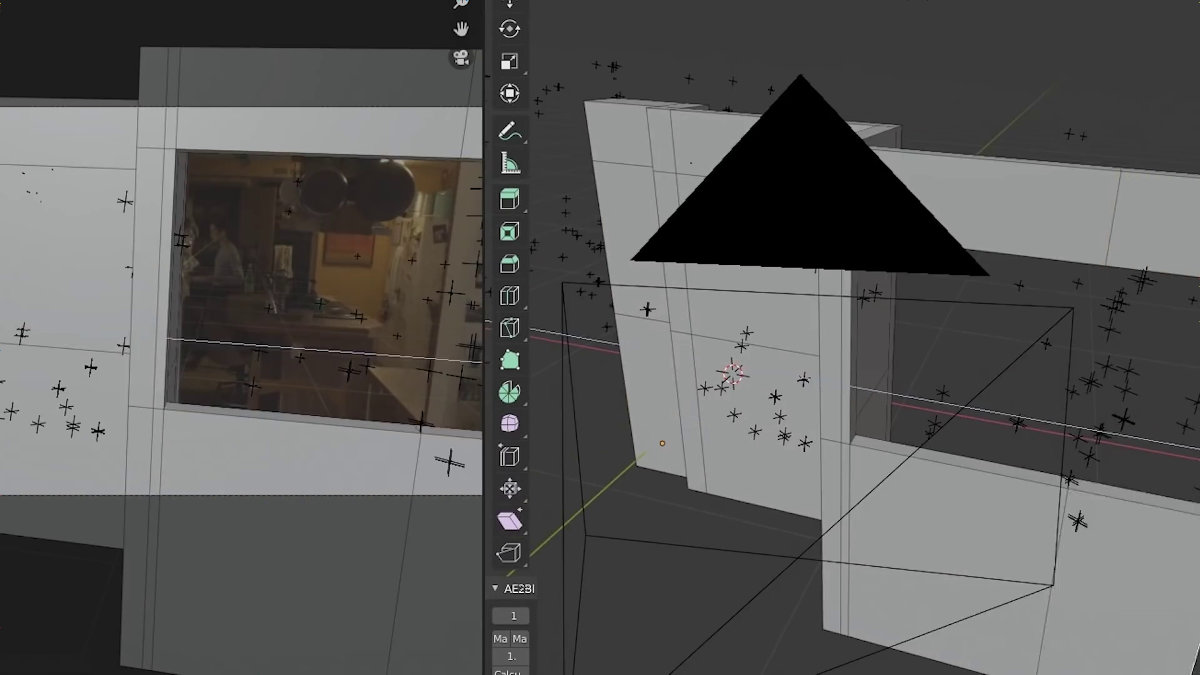
Like this.
Select the object type and material.
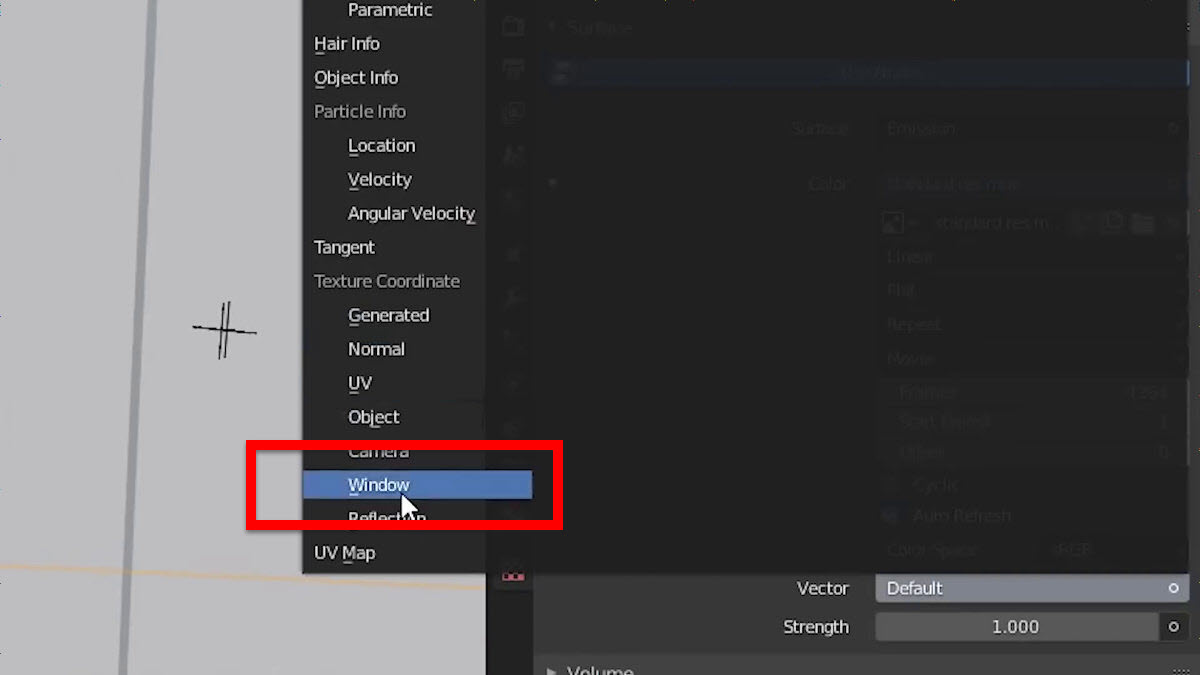
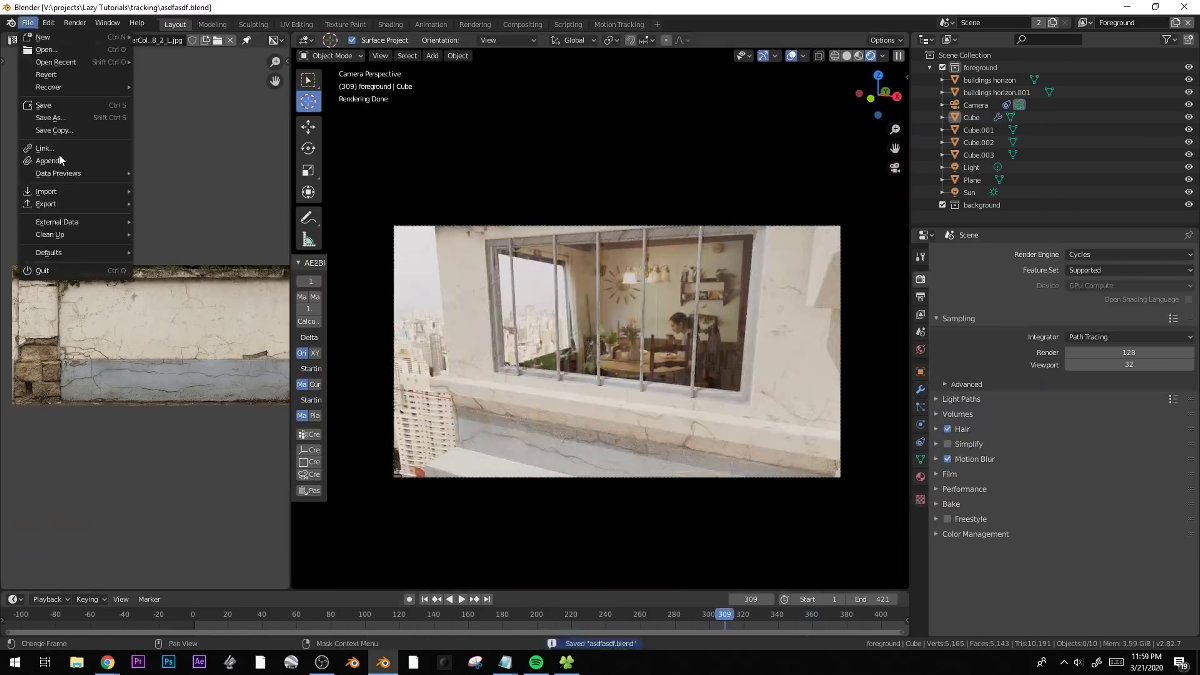
Select the window position……
Designate the view from there.
Like this.
I will paint the wall.
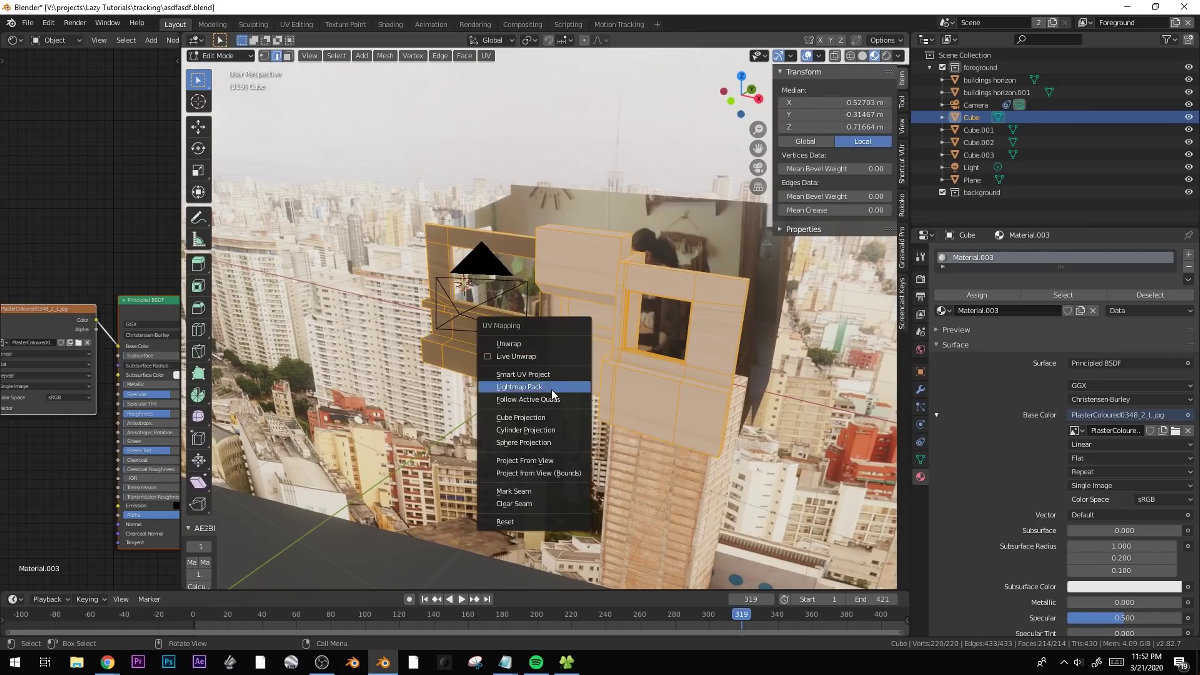
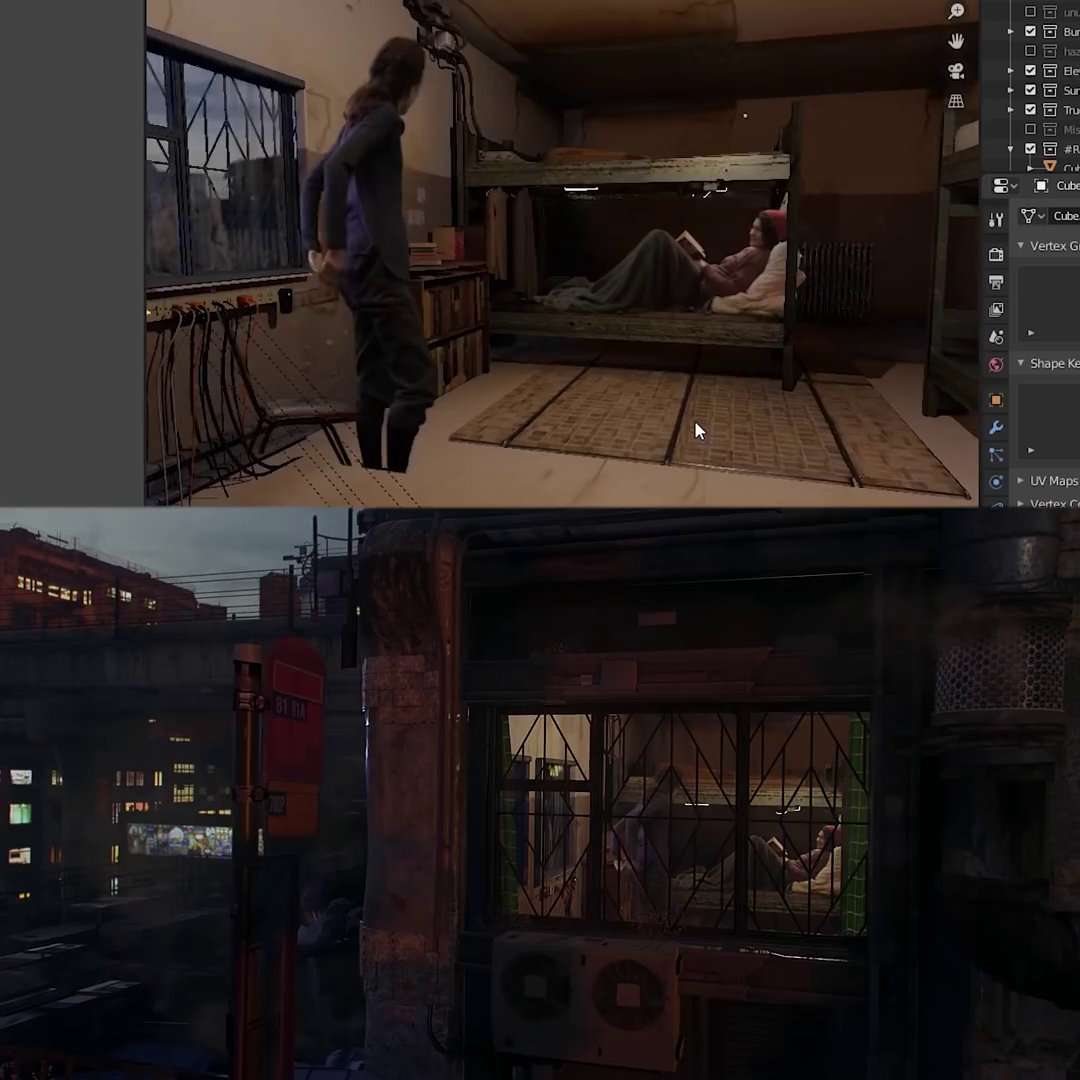
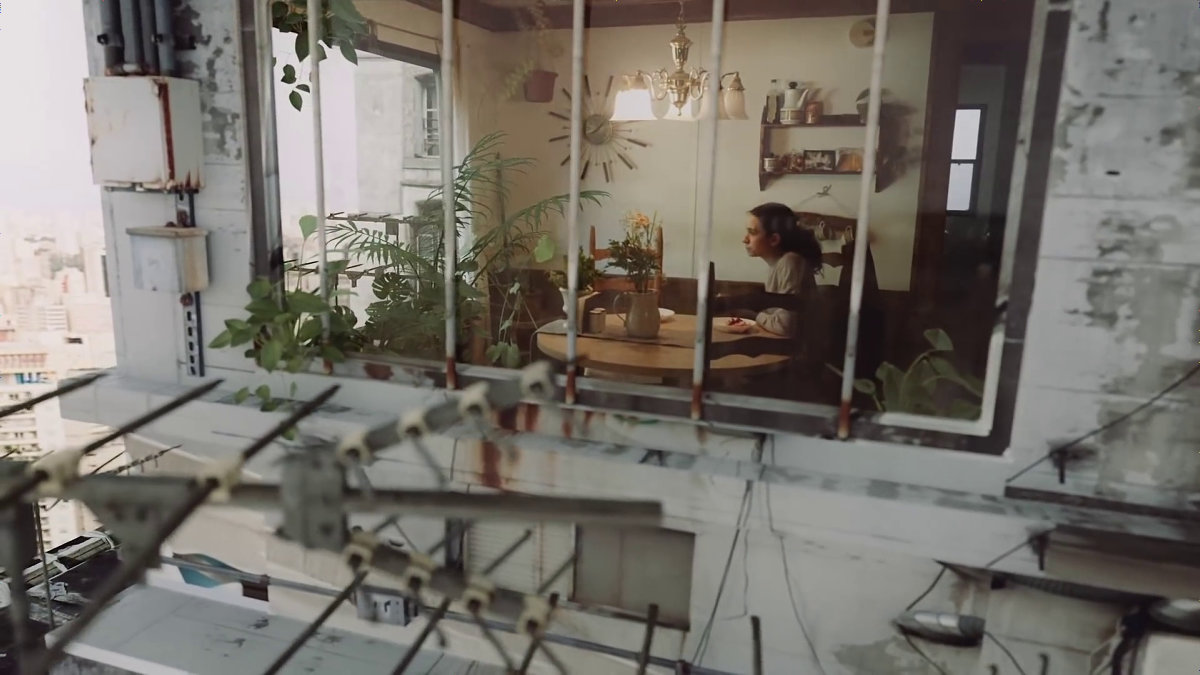
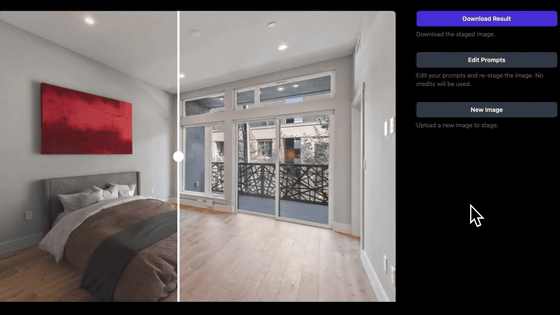
Actually, only the inside of the room was photographed, but it was as if it was photographed from outside the window.
Since it's on a higher floor, put a lattice on the window...
Ornamental plants are also arranged.

I will add more textures.
Finally, with this kind of feeling, I was able to combine the images without the green bag.
Related Posts:
in Video, Posted by darkhorse_log