Headless Chrome appears in GCP that makes it easy to crawl websites and shoot screenshots
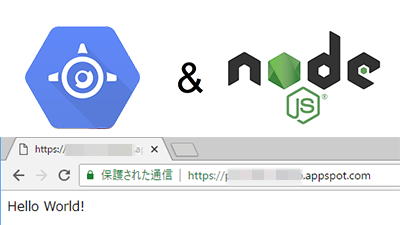
" Google App Engine " which is one of Google's cloud "Google Cloud Platform (GCP)" service corresponds to Node.js which is the execution environment of JavaScript in June, 2018, and various Nodes The. js application now works with App Engine. One of them is " Puppeteer ", and with this Puppeteer you can easily use Headless Chrome which does not render the GUI, so that you can easily crawl Web sites and shoot screenshots etc. .
Introducing headless Chrome support in Cloud Functions and App Engine | Google Cloud Blog
https://cloud.google.com/blog/products/gcp/introducing-headless-chrome-support-in-cloud-functions-and-app-engine
In Headless Chrome, "Taking screenshots of Web pages" "Building and rendering DOM" "Generating PDF" "Implementing Web site crawler" "Perform end-to-end performance and UI test" Almost all the functions of the web browser are executable. On the other hand, Headless Chrome does not render GUI, so command operation is required instead of light operation. It is a library called "Puppeteer" that makes this complicated operation easy.
The headless mode itself is installed as standard from Google Chrome 59 released in June 2017, and it was not impossible to run headless Chrome from App Engine on the App Engine before, but complicated setting is necessary It was. Because App Engine supports Node.js, Puppeteer can be used even in a serverless environment, so it became possible to operate Headless Chrome very easily compared to the past .
In the official Google documentation, there was a tutorial on using App Engine on Puppeteer to shoot screenshots, so I actually tried how easy it is to use.
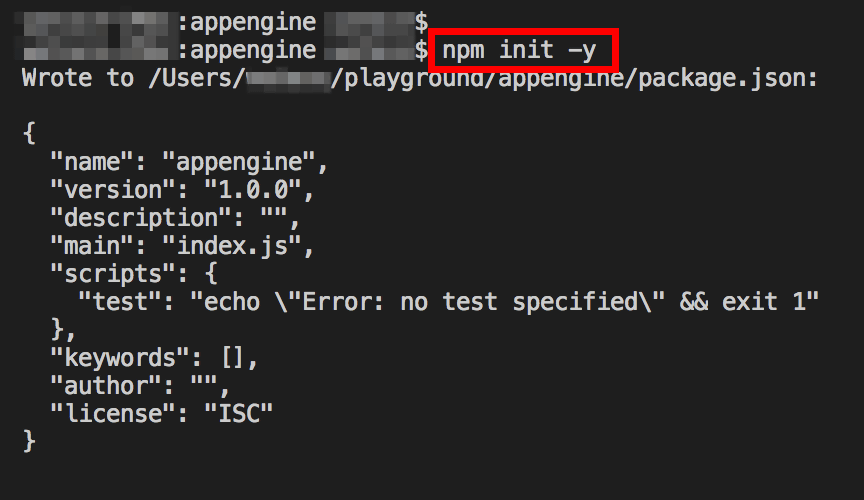
Create a folder named "appengine" in an arbitrary place, move to a folder created by terminal software such as command prompt, and enter "command npm init - y" to generate "package.json". npm is a package management tool installed at the same time as Node.js. If you have not installed it , install Node.js first.
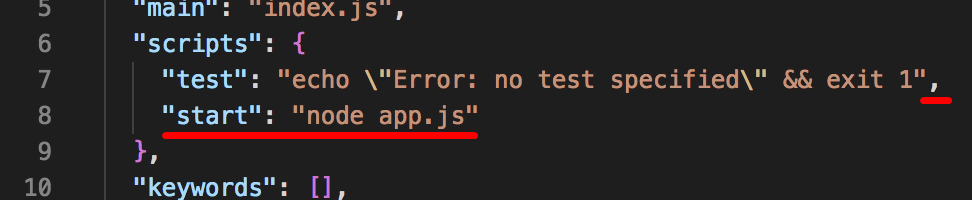
Next, open the "package.json" generated earlier, in the "scripts" part of lines 6 to 8 ... ...
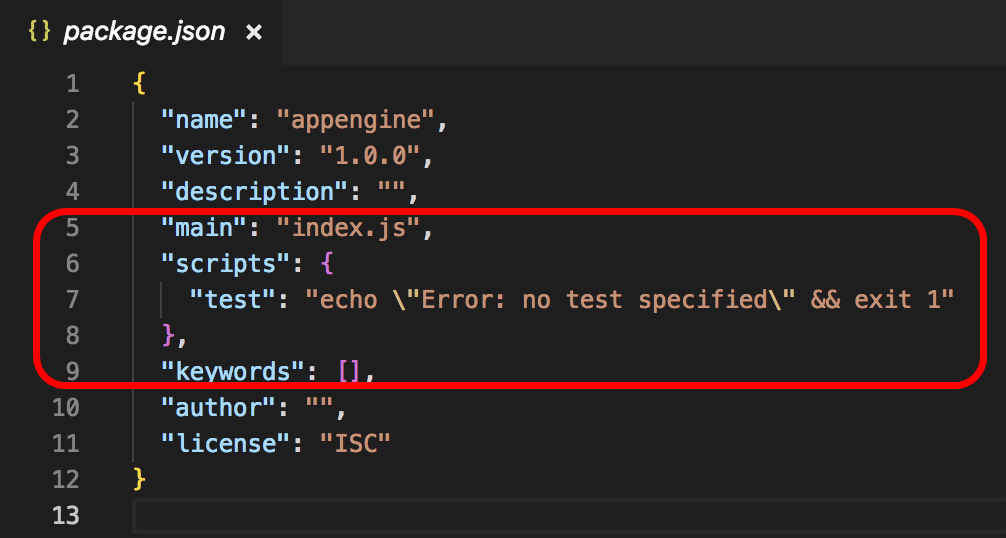
I will add it as follows.
And again at the terminal
[code] npm install express puppeteer [/ code]
And install the necessary libraries.
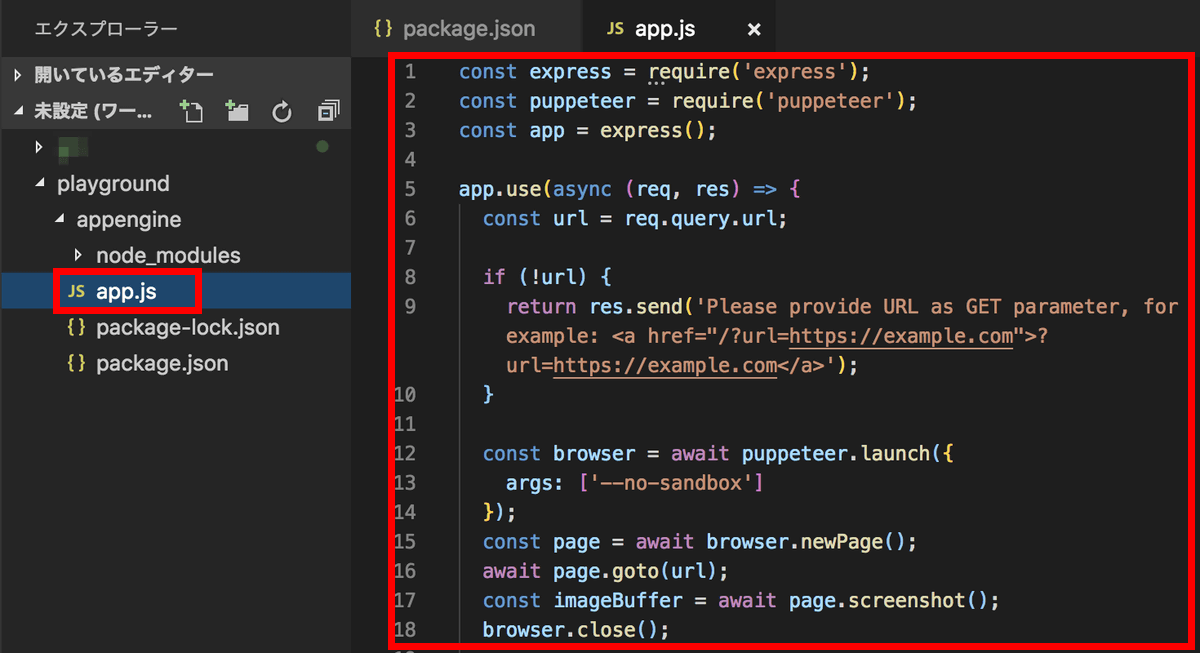
Create "app.js" in the same location as package.json, copy and paste the contents of the sample file .
That's all there is to it. I will move it locally on a trial. To the terminal
[code] npm start [/ code]
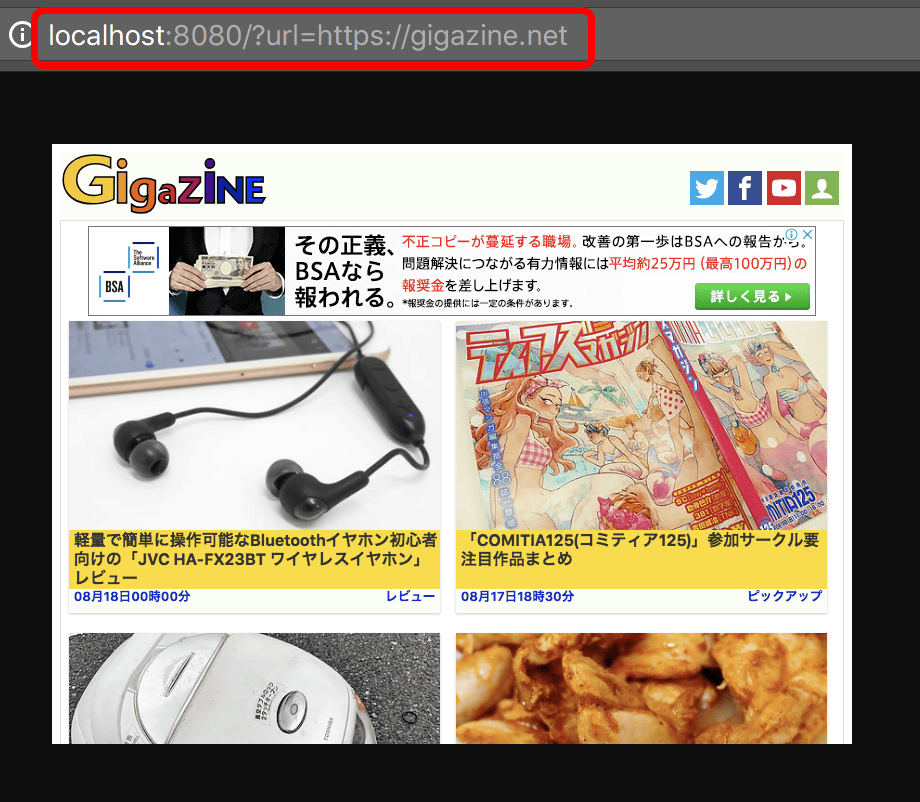
After entering the server, you can see that when you visit " http: // localhost: 8080 /? Url = https: // gigazine.net ", a screen shot of the site is generated.
All you have to do is deploy it to App Engine. Create a file named "app.yaml" in the same folder, open it with a text editor and complete it as shown below.
[code] runtime: nodejs 8
instance_class: F 4 _ 1 G [/ code]
Then execute the following command.
[code] gcloud app deploy [/ code]
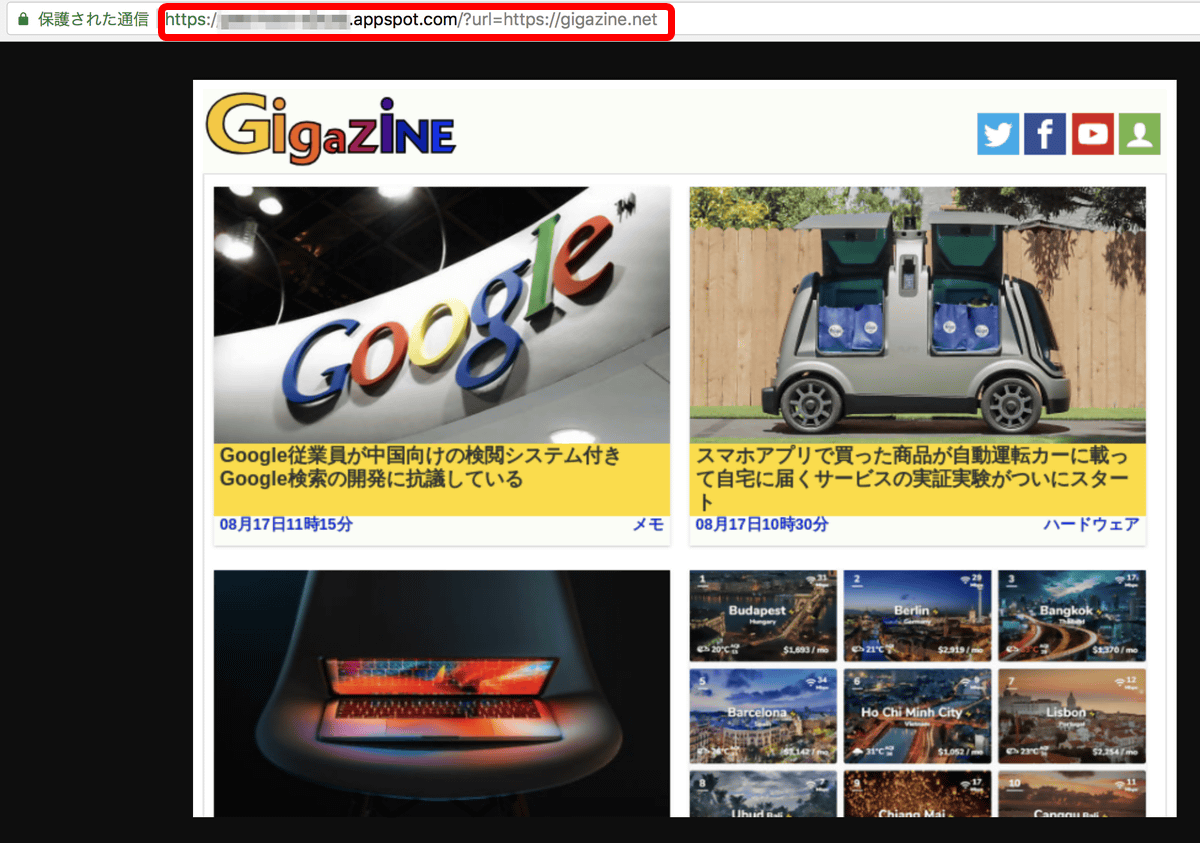
It will be deployed on App Engine and accessible with url like "https: // [project ID] .appspot.com /? Url = https: // gigazine.net/". Note that gcloud is a tool installed at the same time you install Google Cloud SDK .
Also, in addition to App Engine, Cloud Functions now supports version 8 of Node.js, so headless Chrome can be operated in the same way.
Related Posts:
in Web Service, Review, Web Application, Posted by log1d_ts