HTML5 design tool "Particle Develop" that can create commercial free-use particle representation
Such as flames, snow, smoke, light,Particle systemEasily create something that expresses with using the website free of charge, and even if you use it for commercial use as it is OK design tool "Particle Develop"Has been published. I tried using what I can do.
HTML5 design tool Particle Develop - ICS
http://ics-web.jp/projects/particle-develop/
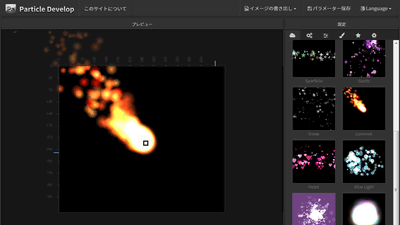
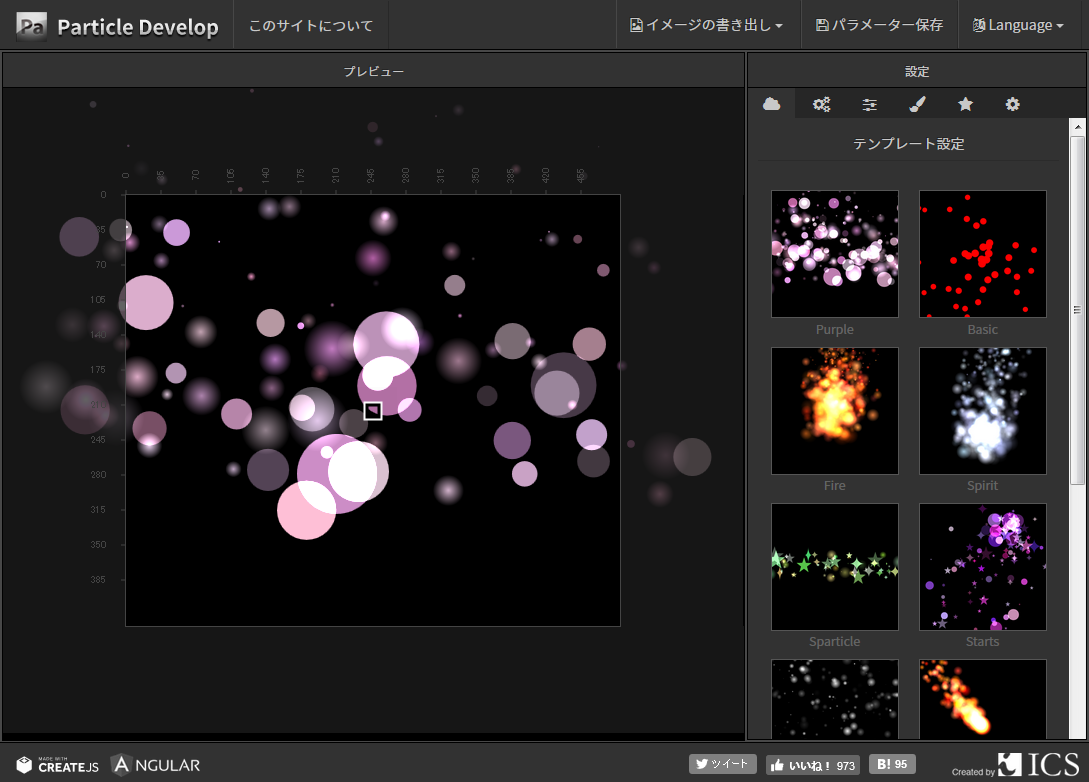
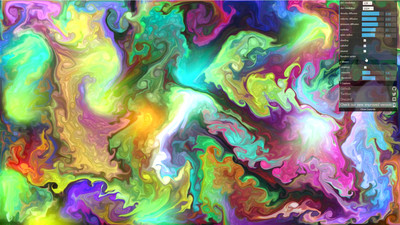
This is "Particle Develop". On the left side of the screen, the particle representation created by you is previewed and on the right is the template of particles. There are 12 kinds of templates at the time of article creation.
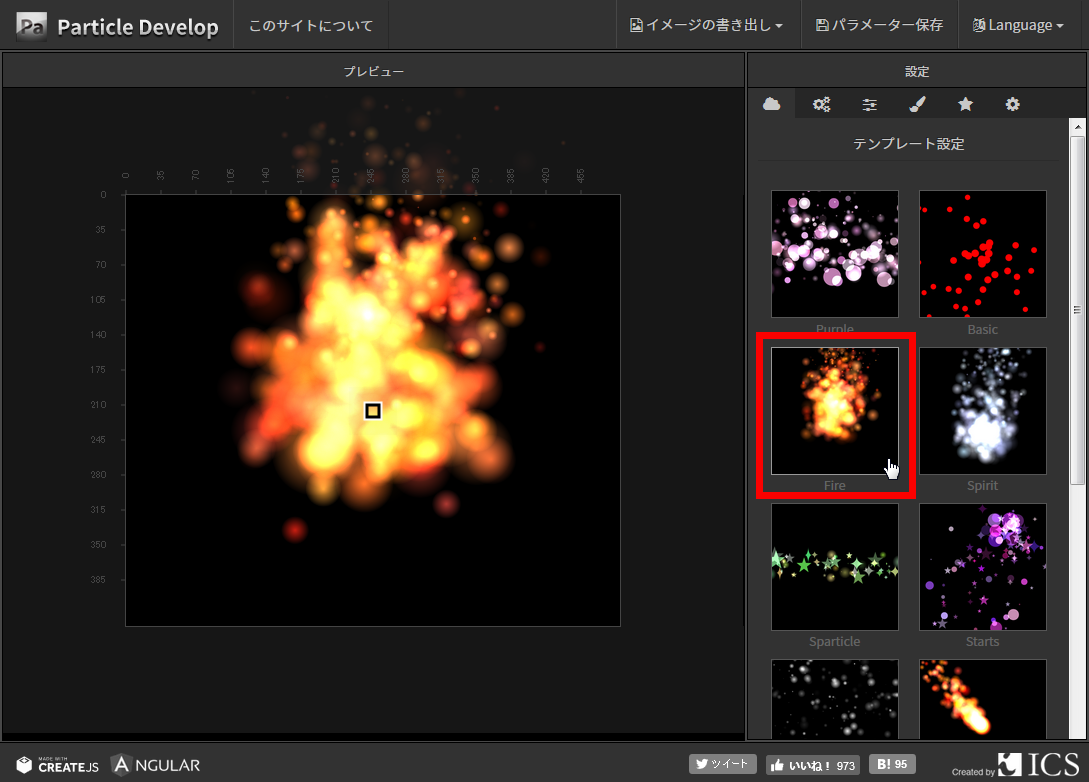
Try clicking the template called "Fire" like this. It is OK if you first select the template you want.
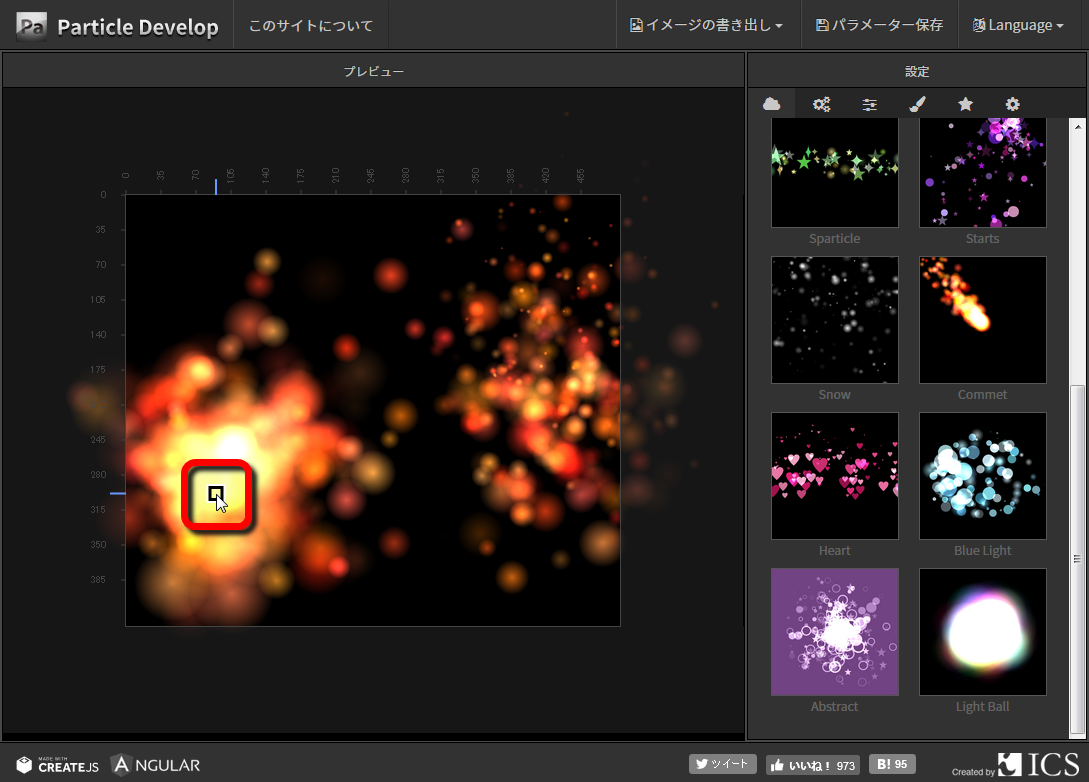
Square icons in the red frame of the preview screen can be moved by dragging and dropping. This square icon seems to be a source of particles.
Particle representation can be changed from the menu on the right of the screen. Click on the gear icon in the red frame section, the emitter setting screen will appear.

· The "occurrence position" can be adjusted as to how much particles are generated from the rectangular icon at the center of the screen
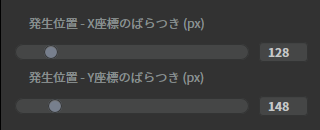
If you raise the numerical value more than the initial setting, particles will appear from the whole screen with such feeling.
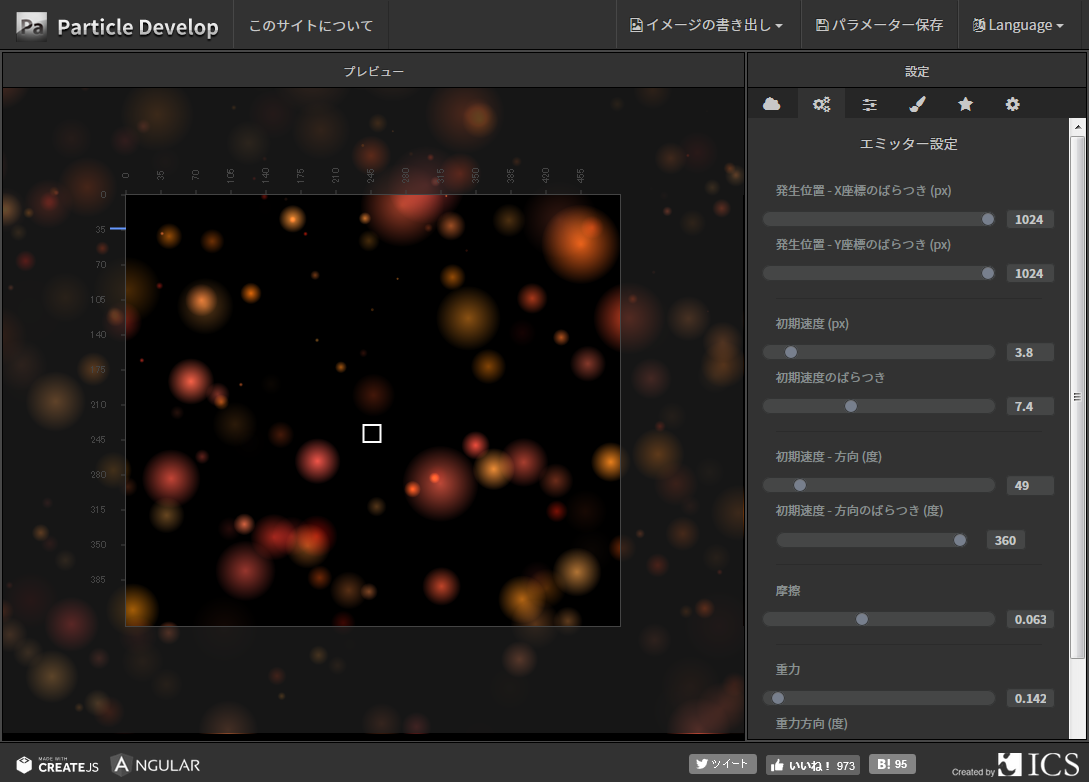
· At "Initial speed", you can change the speed at which particles diffuse
· In "Initial speed variation", it is possible to change the degree of variation in initial velocity for each particle generated
· In "Initial speed - Direction (degree)", it is possible to change the diffusion direction after particles are generated
· In "initial speed - dispersion in direction (degree)", it is possible to change the degree of variation in the direction in which particles diffuse

· "Friction" can speed up particle velocity reduction by increasing the numerical value
· By changing the numerical value of 'gravity', it is possible to lighten or make heavy the movement of particles
· "Gravity direction (degree)" can be set in which direction the entire particle flows

· "Number of occurrences per second (pieces / second)" can set the number of particles generated per second

Clicking the red frame part opens the "Particle setting" screen. The setting items are as follows.
· "Scale at start" allows you to change the particle size at the time of occurrence
· "Scale variance at start" allows you to change the dispersion degree of particle size at occurrence
· "Scale at the end" allows you to change the size of the moment particles disappear
· In "scaling variation at the end", the degree of variance in size at the moment particles disappear can be changed
· In "Life (number of frames)", it is possible to change how many frames the effect by particles is expressed
- In "Life variance (number of frames)", the degree of variation in the number of frames can be changed

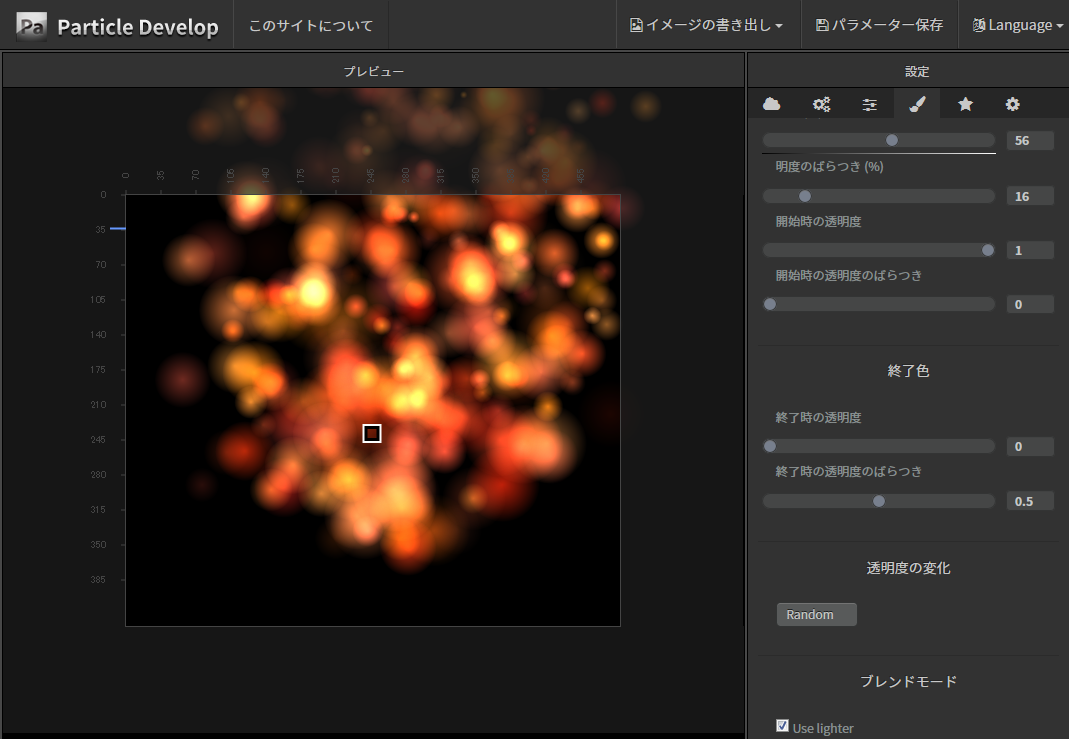
Click the red frame to open the color setting screen. "Start color" to change the color immediately after particles are generated ... ...
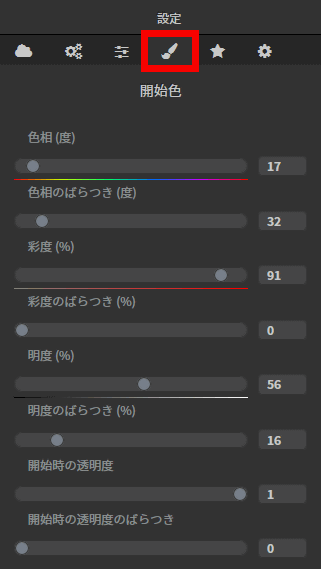
"End color" to decide the color of the moment the particles disappear

"Change in transparency"

"Blend mode" etc. can be set.
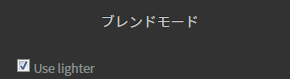
It is like this when blending mode is on.
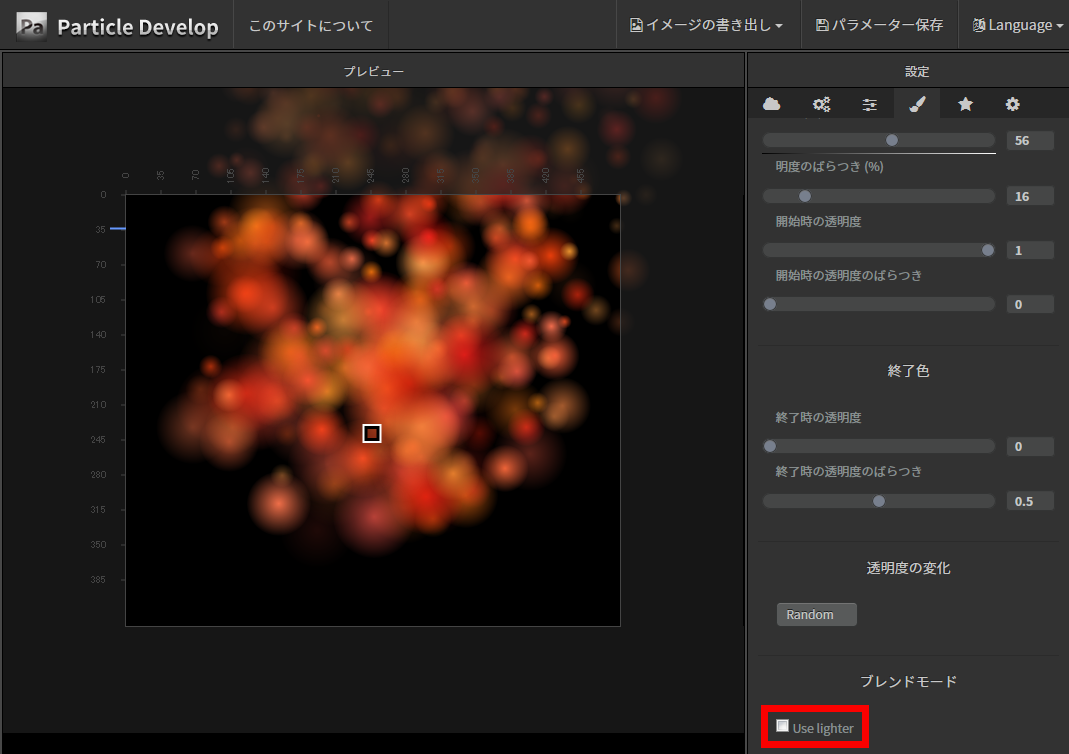
When it is turned off, the light goes out of the particle.
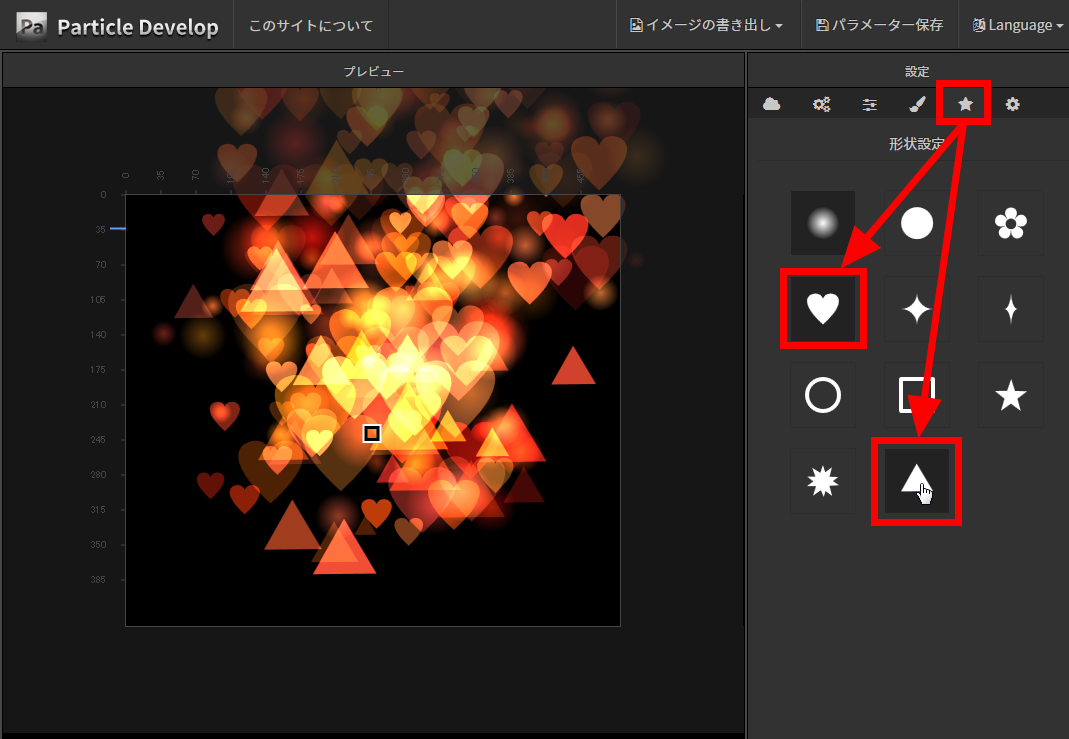
In addition, you can change the shape of particles and add them by clicking the star icon in the red frame part.
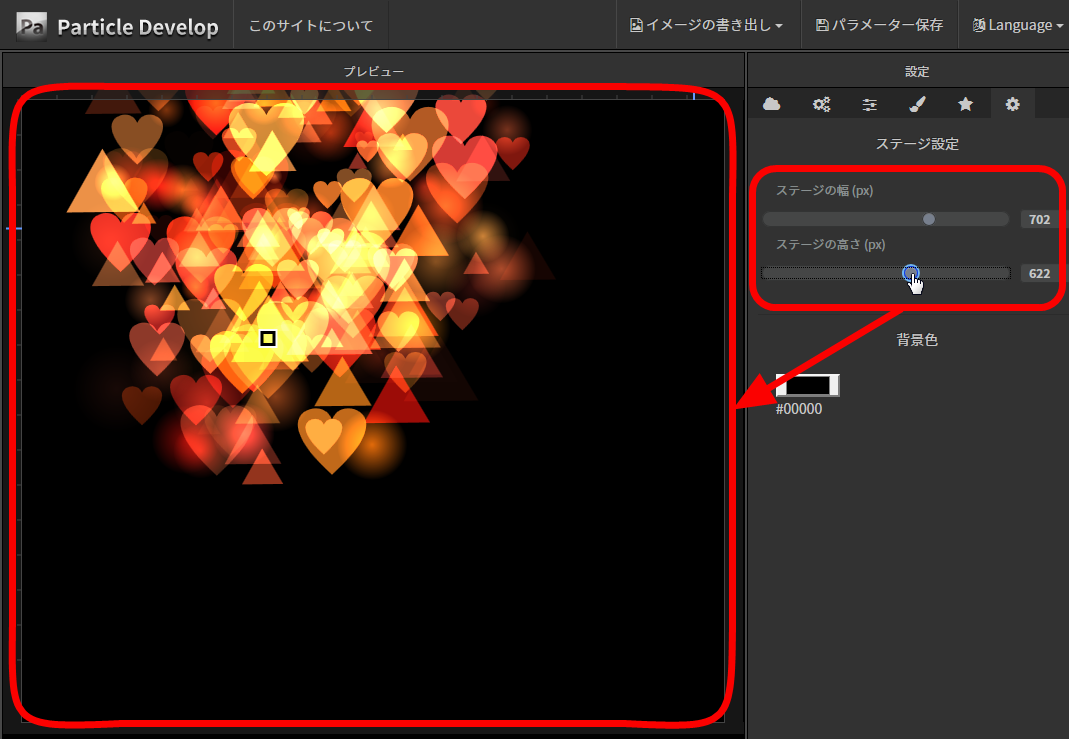
Click the red frame part icon. Here you can change the size of the "stage" which is the particle display area.

By changing the width and height of the stage, the stage size can be changed.
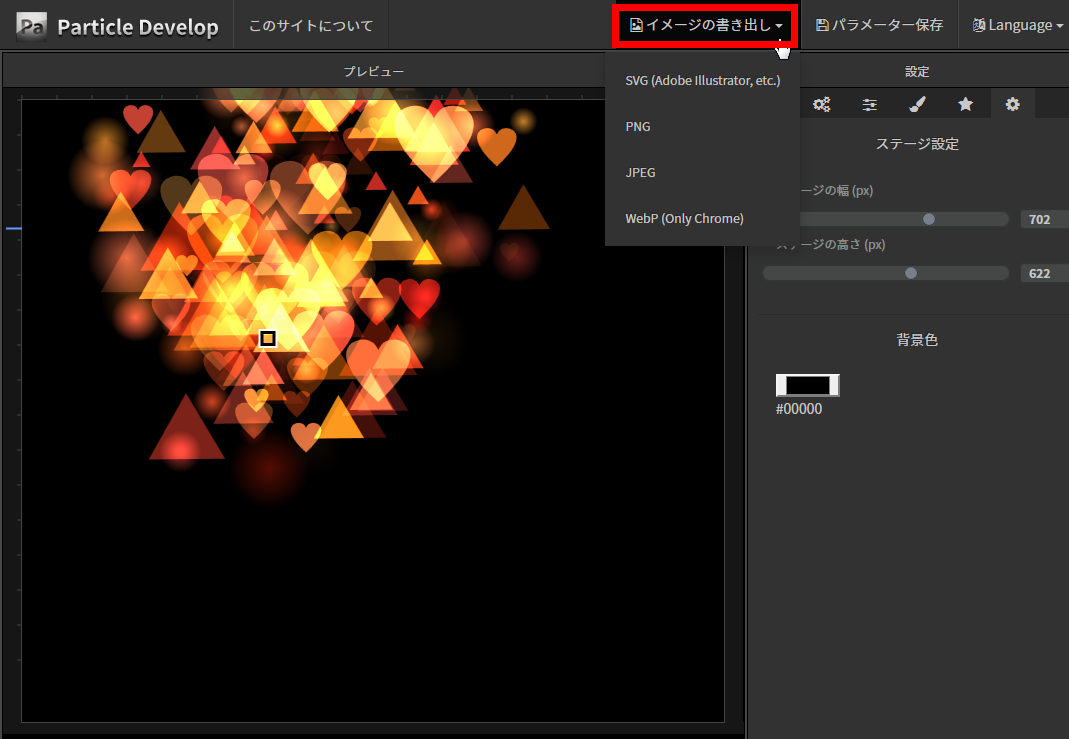
Effects created can be downloaded from "Export images". There are 4 download formats SVG, PNG, JPEG, WebP.
To save the file, it is necessary to cancel the pop-up block. In Chrome, pop-up block can be released by clicking "Allow" from "Settings" → "Privacy and security" → "Content setting" → "Pop up". You can also go to the popup setting screen at once by entering "chrome: // settings / content / popups" in Chrome URL bar and pressing the Enter key.

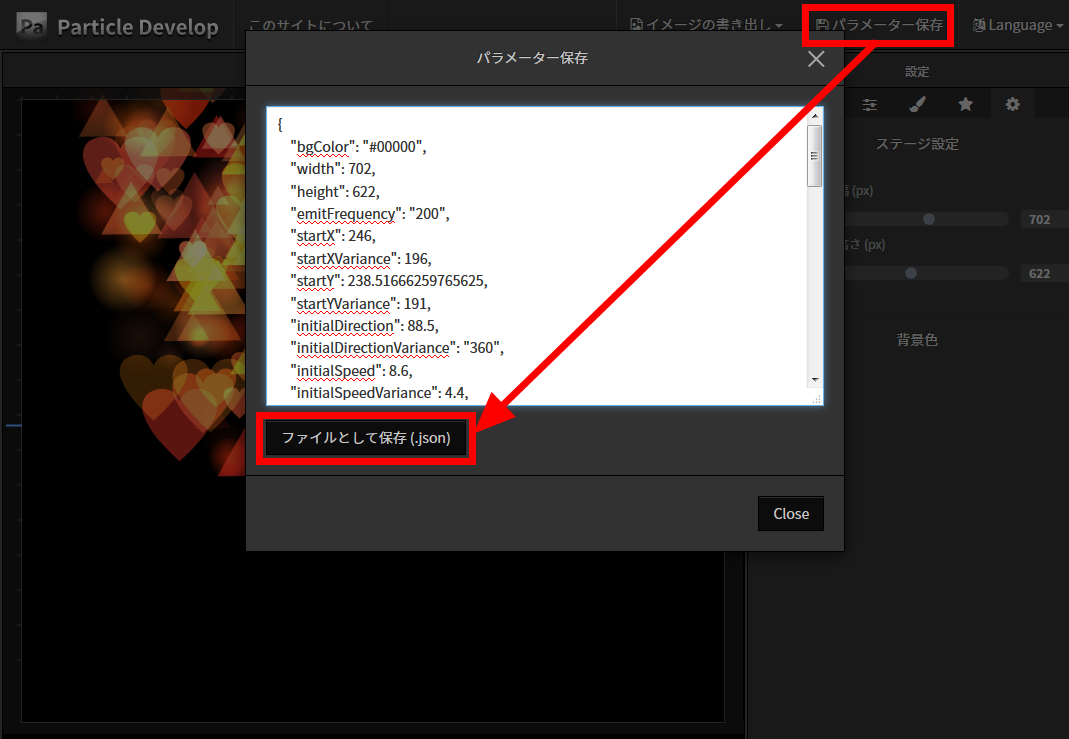
You can also save the created particle representation as JSON file by clicking "Save as parameter" from "Save Parameter".
Related Posts:

in Review, Web Service, Design, Posted by logu_ii