About anti-virus software "avast! Antivirus Home Edition" that is unlikely to be free of charge
Real-time protection of various files by resident, resident protection of e-mail which does not require special setting, infection protection from various messengers, infection protection from P2P network such as Winny, protection against attack from the network IDS (Intrusion Detection System ) Function, checking whether the page you are watching in various browsers such as IE · Firefox · Opera · Safari · Chrome is not infected Web shield, automatic update by incremental update, scanning from right-click menu, screensaver scanned , Anti-Spyware / Anti-Rootkit, Self-Defense System, Virus Repair Database File "VRDB", and so on are still packed to such extent that this anti-virus software "Avast! Antivirus Home Edition"is.
It is compatible with Windows 95/98 / Me / NT / 2000 / XP / Vista / 7 for free only for non-commercial use at home,Linux versionAlso provided free of charge. Development is based in Prague, Czech RepublicALWIL SoftwareIt is very famous as a living witness presence that software companies can succeed without being in Silicon Valley.
So, downloading, installing, using, etc. are below.
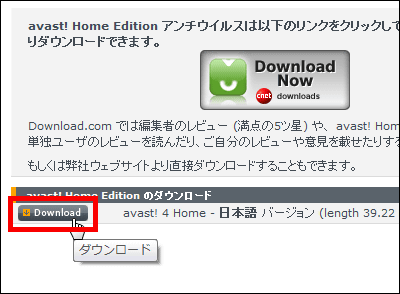
Free Antivirus Download - avast! Home Edition
http://www.avast.com/jpn/download-avast-home.html
Click "Download" on the above page to download the Japanese version of the installer. It is nearly 40 MB.
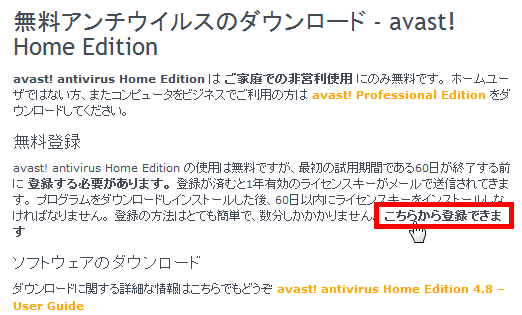
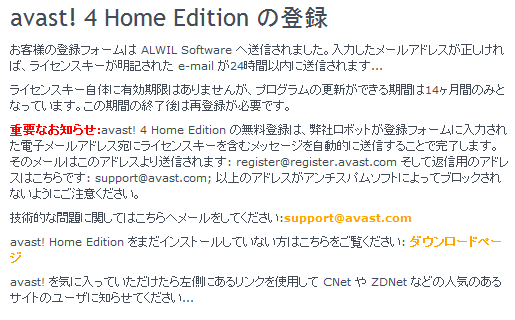
Even if you do not register as a free user for 60 days it will work in demo mode, but if you complete user registration it will be useful as a valid license key is issued for one year so that the "You can register from hereLet's access and register it.
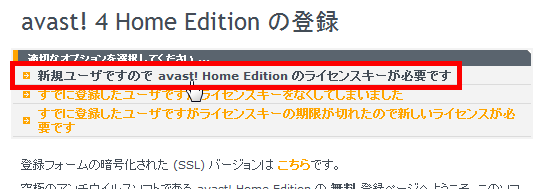
Click "I need a license key of avast! Home Edition as a new user"
E-mail address to send license key and click "Register" when you input each item

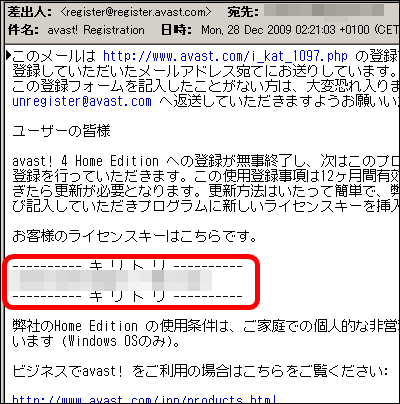
Completion of registration. Mail will automatically come to your email address so let's check it.
The mail has arrived like this. It is the free license key that is sandwiched between "kiritori". I will use it later.
It should have been done soon so click on the installer to launch
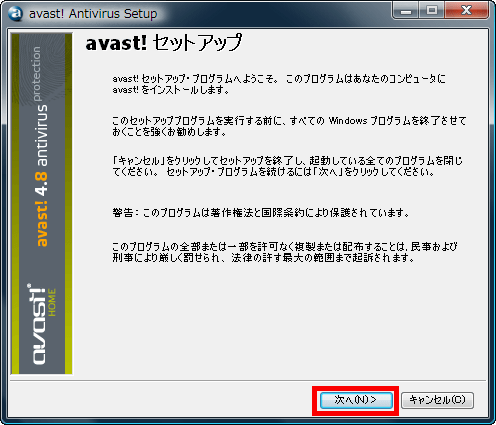
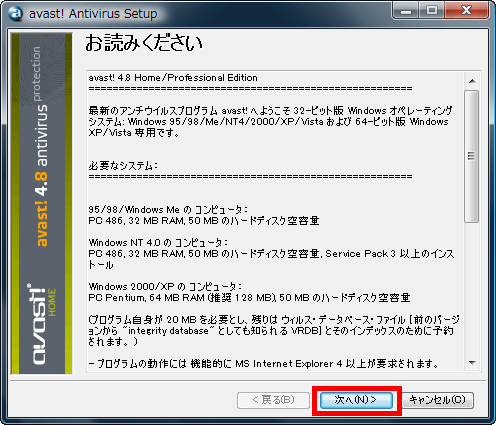
Click "Next"
Click "Next"
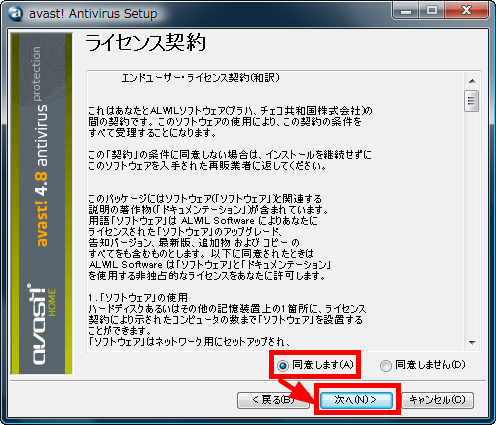
Please check "I agree" and click "Next"
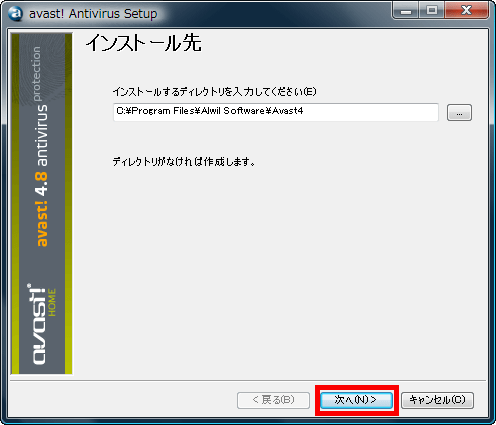
Click "Next"
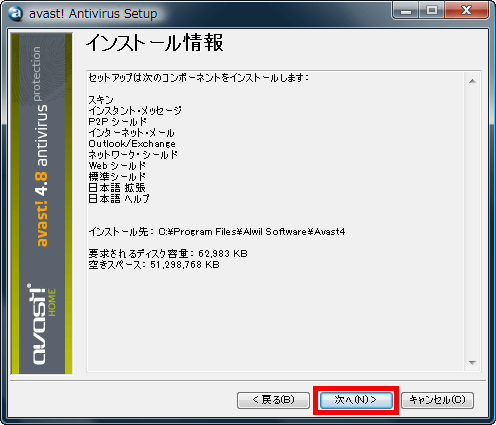
Click "Next"

Click "Next"
Installing

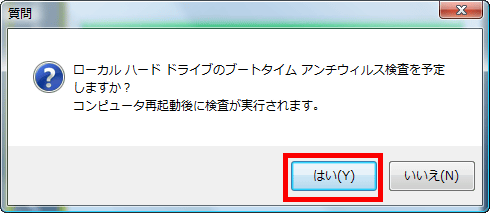
Click "Yes"
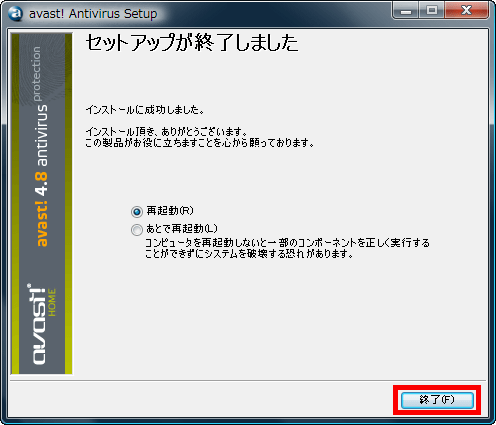
Click "Finish" to restart Windows.
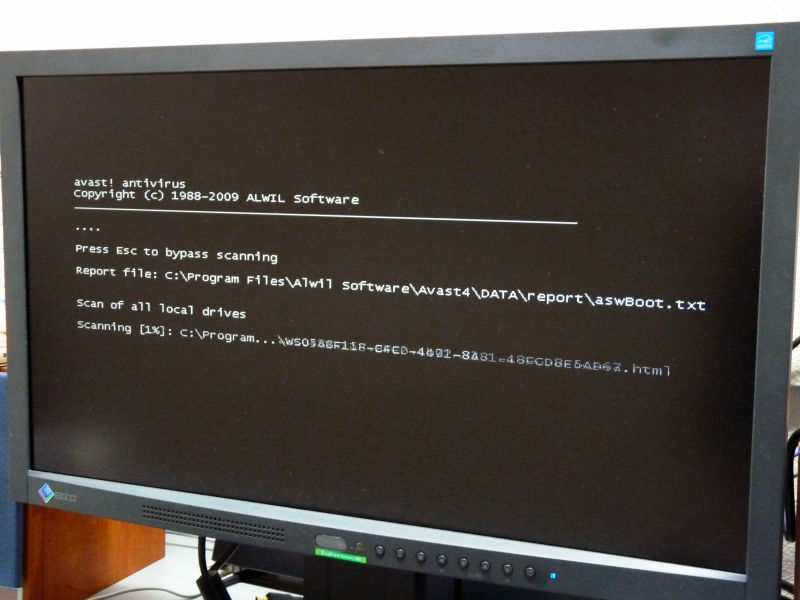
Immediately after rebooting, the first boot time check will start in this way. If the number of files is too large to end, it is possible to skip by pressing the "Esc" key. However, since it is a necessary inspection to ensure security, it is safe to wait until it is over.
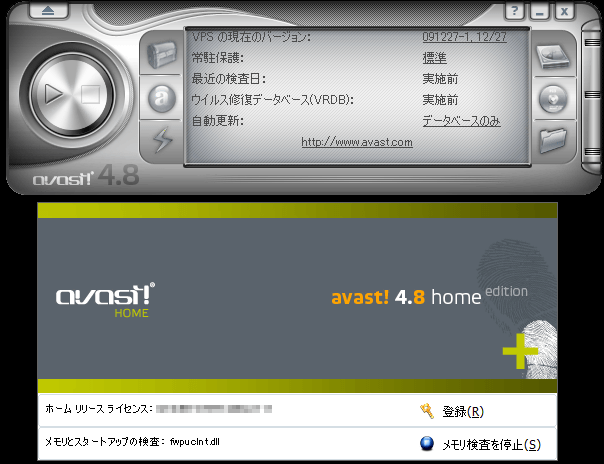
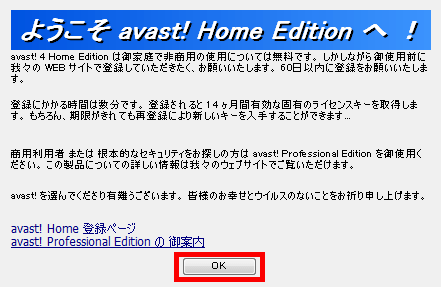
When the boot time check finishes successfully and the reboot is over it will automatically start avast in this way. Click "OK".
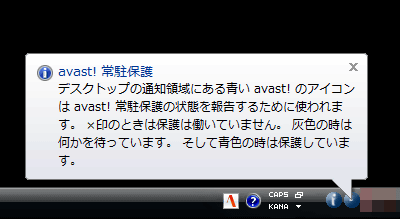
The blue and round icon (sometimes turning round and round animation) written as "a" in the task tray is avast's task tray icon. It resides and protects the system in real time.
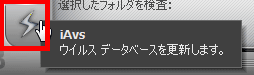
The adjacent "i" icon indicates that the function "VRDB" is running, it runs in the background while the screen saver is running, and creates a virus repair database. This function is a pretty Suguremono function that saves undamaged files up to the past 3 versions, updates once every three weeks, and when the file is infected with a virus it uses this database to restore it to its original state. Any screensaver is OK.

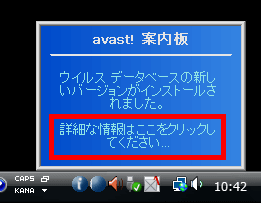
The virus database was updated immediately after the first launch. Let's click on it.
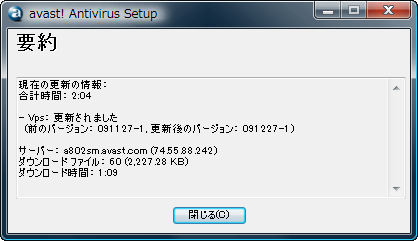
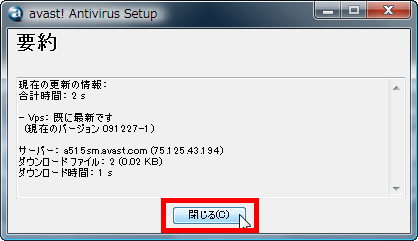
Update information is displayed like this. The update file is issued at least twice a week. In addition, automatic update is impossible in an environment not connected to the Internet,This pageBy downloading avast! 4.x VPS (about 31 MB) and running it, it is possible to update the update file.
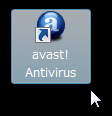
Let's actually start avast and let's scan the virus. Click the icon on the desktop to start it.
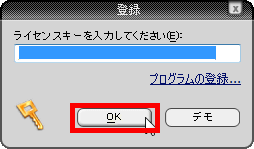
Enter the license key and click "OK"
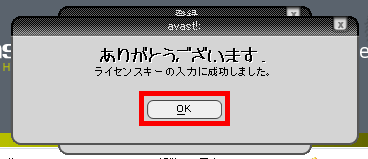
Click "OK"
During startup. It takes time to check memory and startup items. If you want to start up immediately after skipping the exam, click "Stop Memory Check" in the lower right.

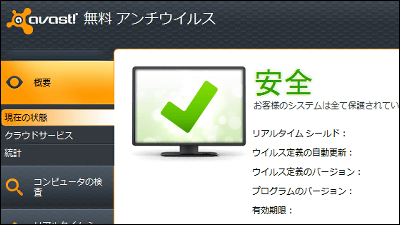
It is like this at the first start. On the left is the explanation window of how to use, the apparent software like avast music player or DVD player on the right is avast.
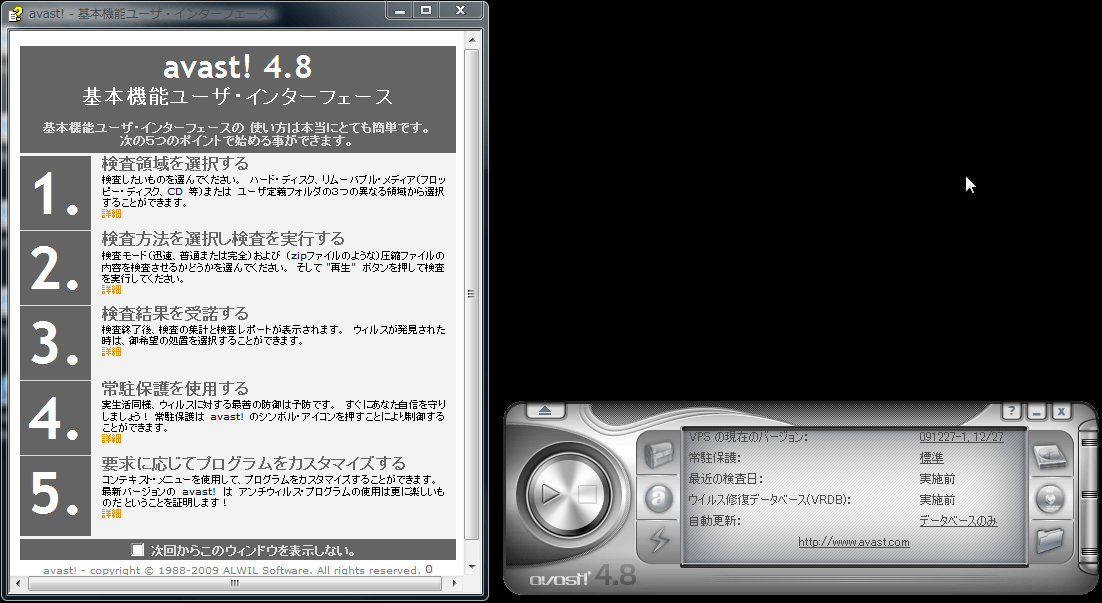
Since this window is an obstacle, leave a check and close it.

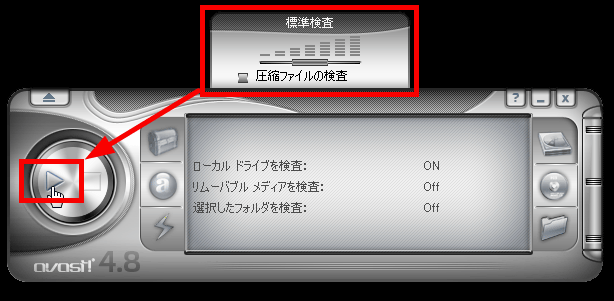
Click here to actually inspect the inside of the hard disk

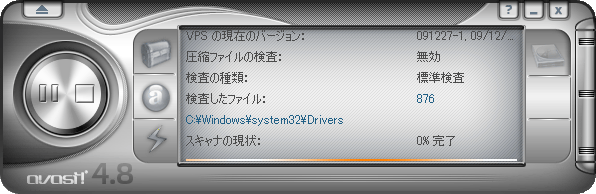
Adjust the inspection level with the slider and click the play button button on the left to start the inspection.
This looks like this. Avast can check ZIP · ARJ · RAR · MIME (binhex, base64, uuencode etc.), CAB · TAR · GZIP · SFX subspecies (executable file including these compressed files) · alternate stream of NTFS partition etc, Even huge files exceeding 2 GB and 4 GB can be inspected.
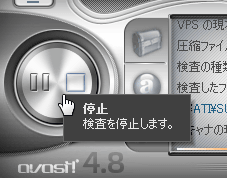
To stop, stop by clicking "stop" button. Also, temporary suspension is also possible.
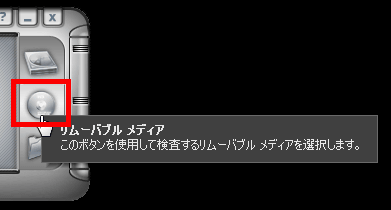
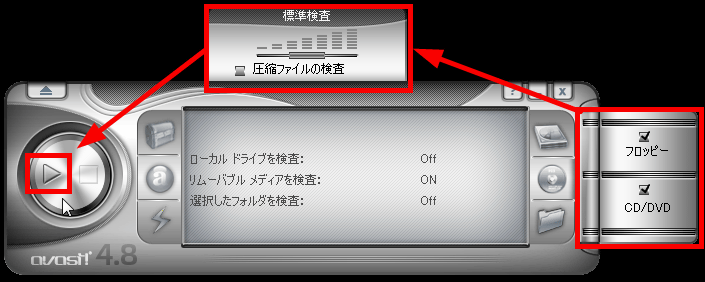
Click here to check removable media such as floppy · USB memory and CD / DVD drive
Check what you want to check and set the level with the slider, then click the start button OK
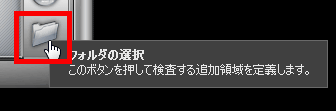
Click here to make selections for each folder.
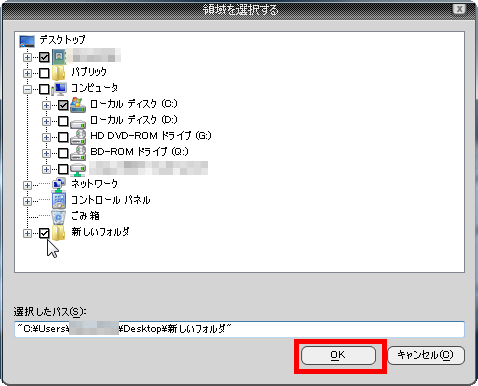
Just put a check mark like this and click "OK", the rest of the procedure is the same.
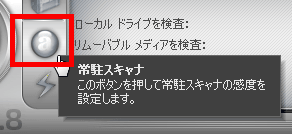
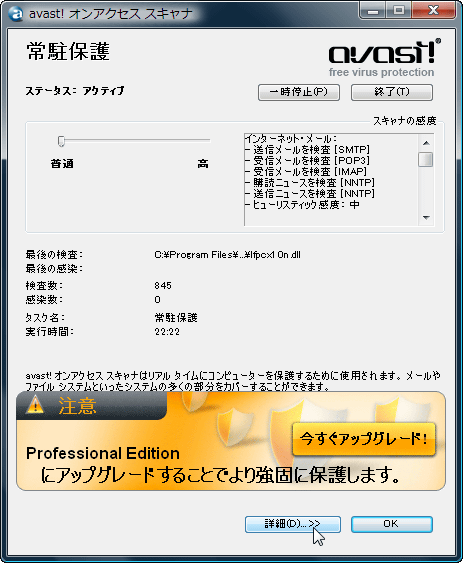
You can further adjust the level of the resident scanner by clicking on this button.
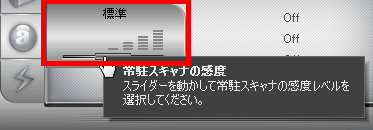
The sensitivity level can be adjusted to about like this. In addition, more detailed adjustments are paid versionProfessional Edition(One license $ 39.95 per yearIt can be set from the task of the high-function user interface which is installed only in the Payload version), and the schedule function is also possible in the charged version.
Click this button to update the definition file.
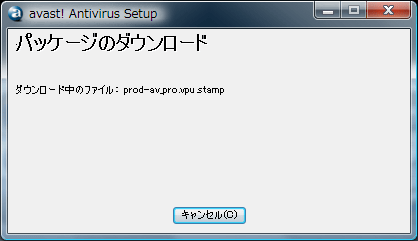
Downloading
Update completed. Normally it will be automatically updated so you do not need to click on it in particular.
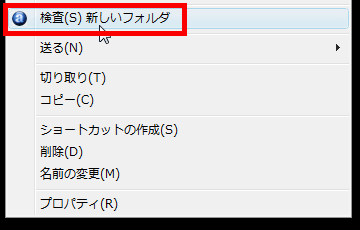
In addition, the item "examination" is added to the right click menu in this way, and if this is chosen, the scan is executed automatically by avast.
When a virus is found, such a window is displayed together with a characteristic siren sound. It is quite bad to my heart.

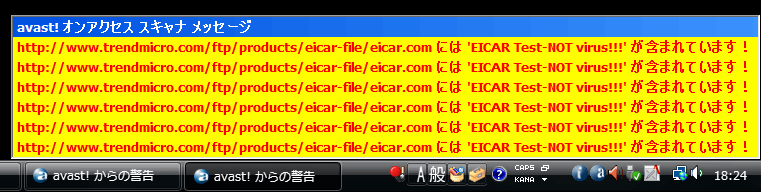
At the time of discovery, such a message also appears at the same time to the lower right of the desktop.

It becomes like this when infected a lot. It is an emergency.
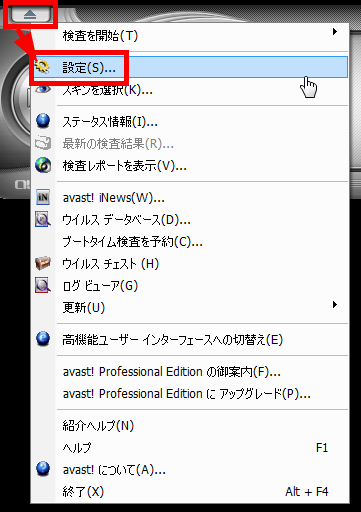
Next, to make various settings, click the button on the upper left and select "Settings".
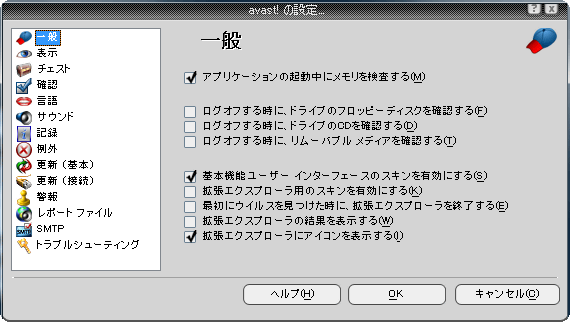
Various settings can be made from "General", if you delete the avast icon that comes up when right clicking, you can omit the check at the bottom.
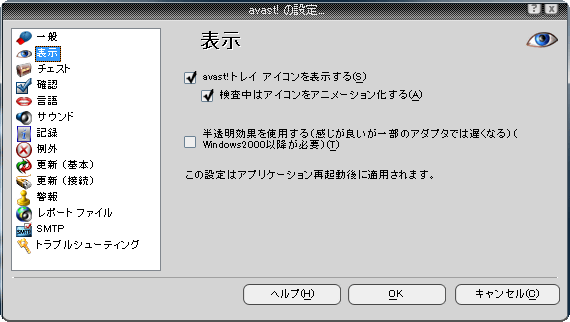
It is possible from this "display" to delete the tray icon.
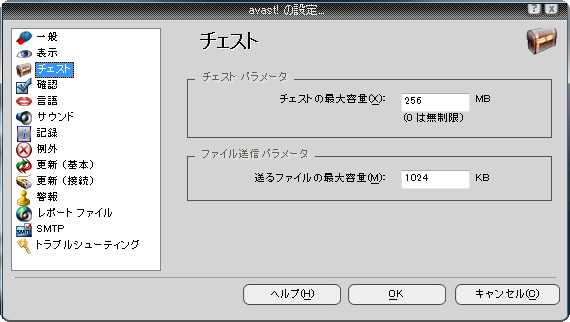
The maximum capacity for the chest function to isolate the virus can be set with this "chest".
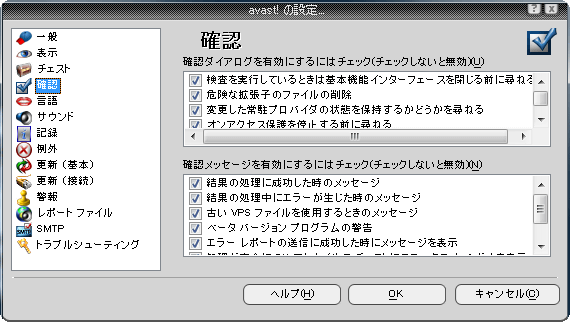
It is possible to turn it off from this "confirmation" when the pop-up window which is displayed dusty every time I do something is annoying.
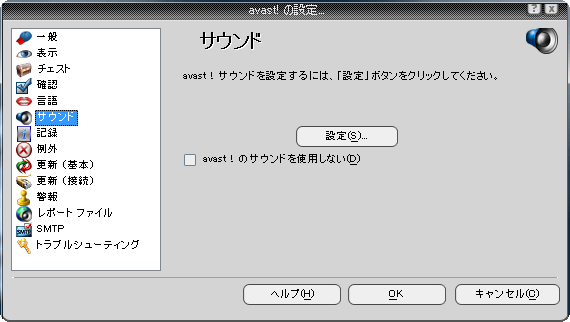
If you turn off various sounds of avast that can be said to be characteristic, check "Do not use the sound of avast!" From "sound" is OK.
What can be recorded in the log file, how much capacity you want can be recorded with "record".

As the name implies, you can set a location that you do not inspect.

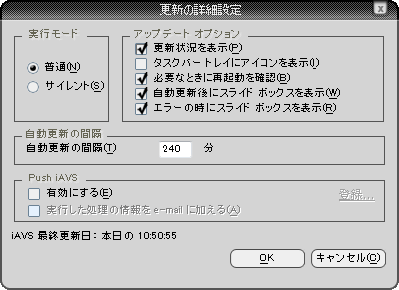
From "Update (Basic)" you can set update condition of definition file and so on. Click "Details" if you want to set it more precisely.
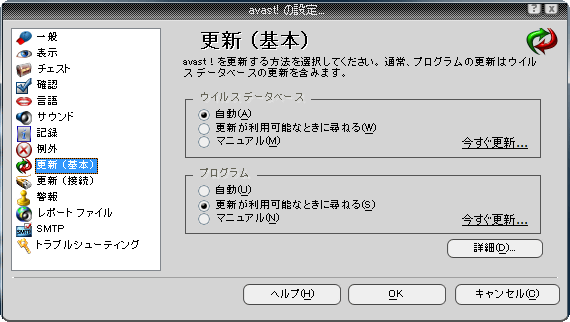
You can set the interval of automatic update with this feeling. Incidentally,PUSH update function only for paid versionIt is a pretty nice feeling function that the definition file "pushed" is sent as haste when the definition file is updated on the avast side, rather than checking whether there is an update from here.
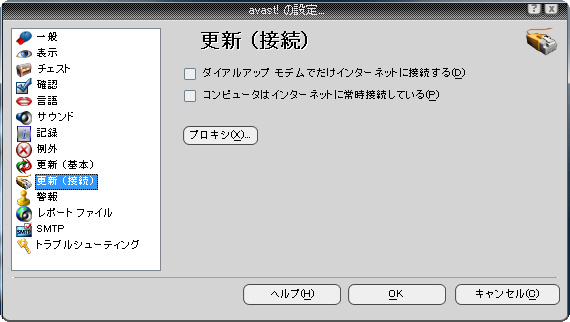
In "update (connection)", settings via a proxy server etc. are possible.
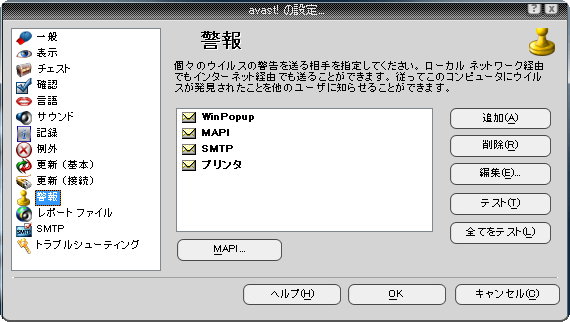
"Alarm" is a function of where notifications are sent when a virus is found.
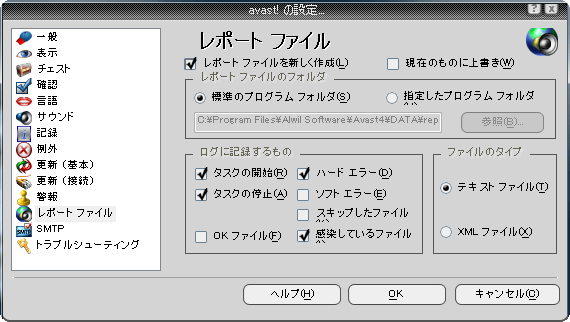
From "report file" you can turn on the function that creates a report that summarizes various logs.
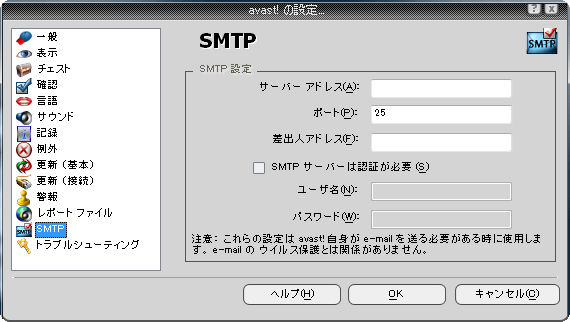
"SMTP" specifies which SMTP server to use when sending mail by "Alarm" earlier.
"Troubleshooting" is a setting that prevents various troubles in advance as its name. If you are using software to start up in full screen such as games, it is convenient if you put a check at the top.

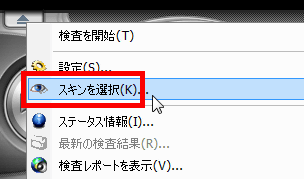
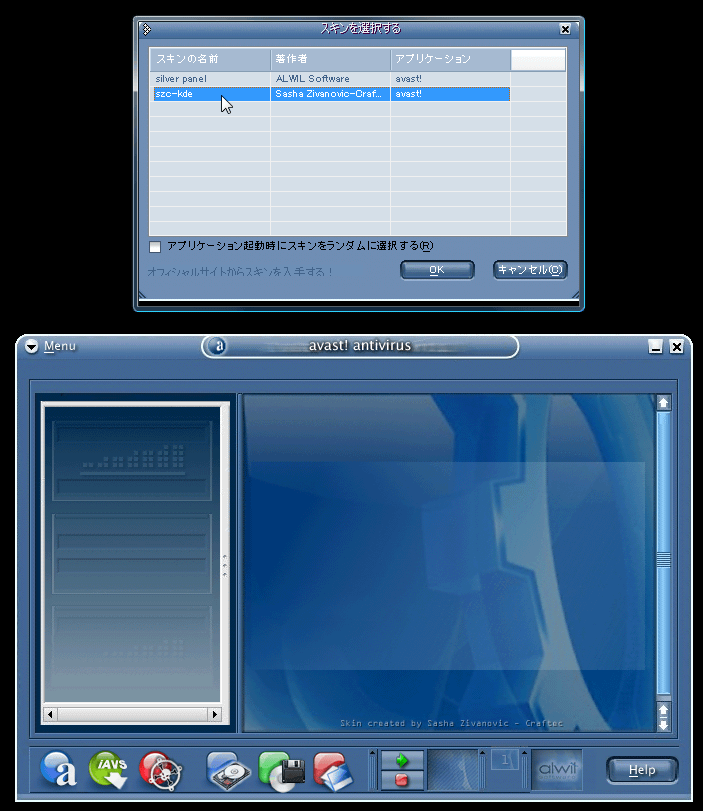
Also, it is possible to change the appearance from "skin".
Another skin that is installed by default is kore. Also from this pageVarious skinsIt is possible to obtain.
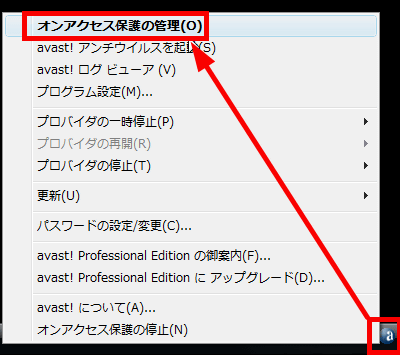
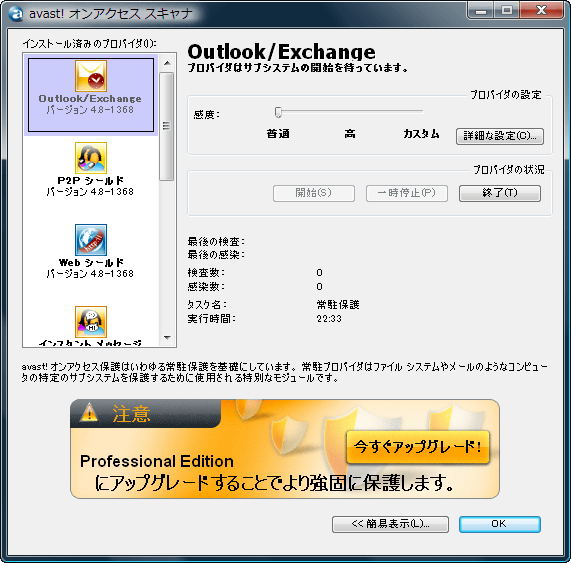
Furthermore, to set up various defense functions separately Right-click the task tray icon and select "Manage on-access protection".
Click "details" at the bottom right corner
Click here for "Outlook / Exchange" settings from "Advanced settings"
From the "Scanner" tab you can choose which messages to check

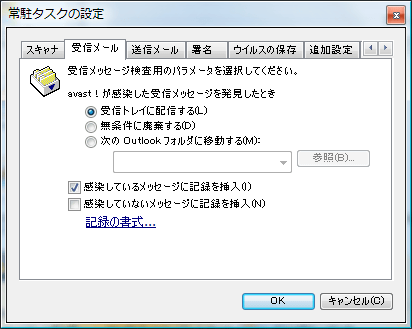
From the "Received Mail" tab, you can set how to handle infected messages
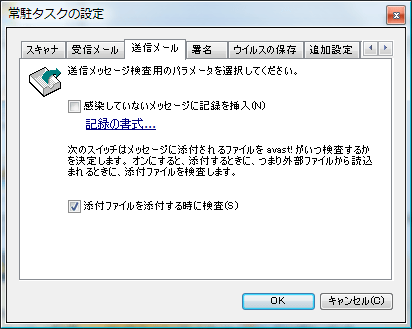
On the "Outgoing Mail" tab you can choose whether or not to check attached files when sending
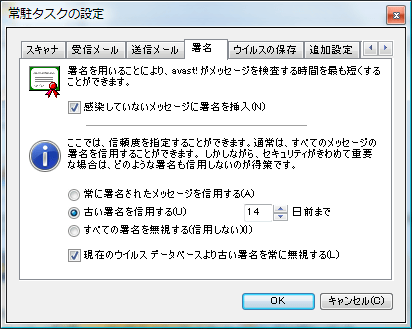
On the "Signature" tab, you can turn off the inspected signature that is automatically inserted when sending a message.
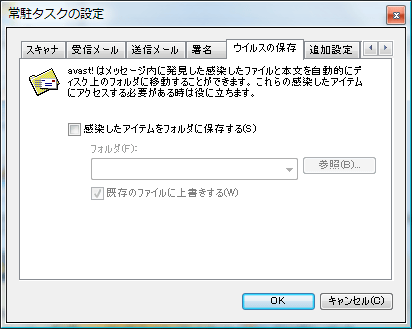
On the "Save virus" tab, you can set where to save infected items
From the "additional settings" tab, you can turn on / off the splash screen appearing at startup and on / off tray icon

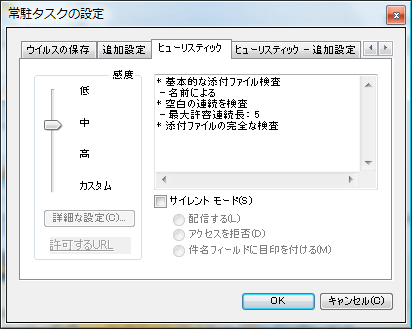
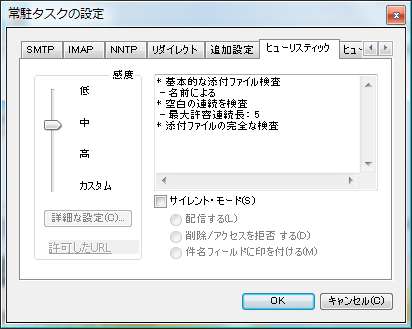
In the "Heuristics" tab you can set how you want to inspect
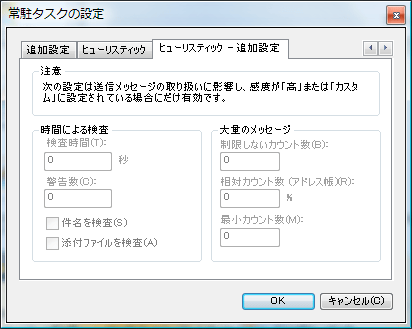
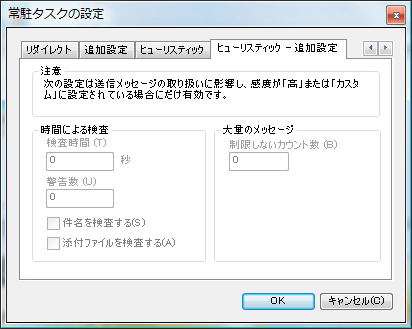
The "Heuristic additional setting" tab can be set only when "Sensitivity" is "High" or "Custom", and it is possible to change how to handle inspection by time and how to process a large number of messages. Since avast operates in multithreading at the time of mail scanning, it scans lightly and sparingly.
Next is "P2P" shield. Let's click on "advanced settings".
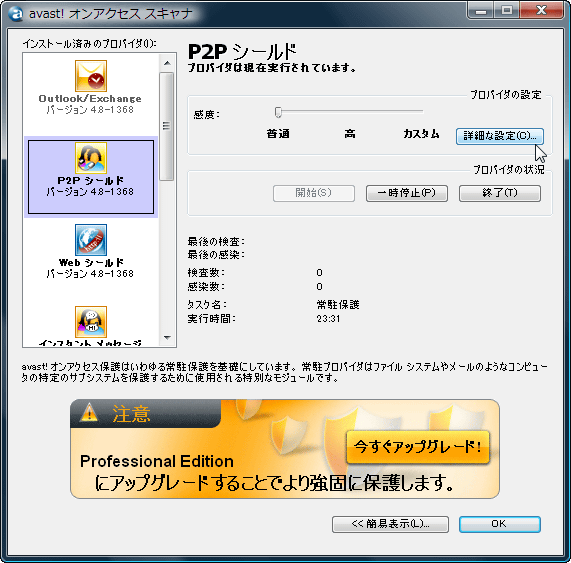
In this way it is possible to check received files for various P2P softwares. "Winny 2" from Japan is also registered.

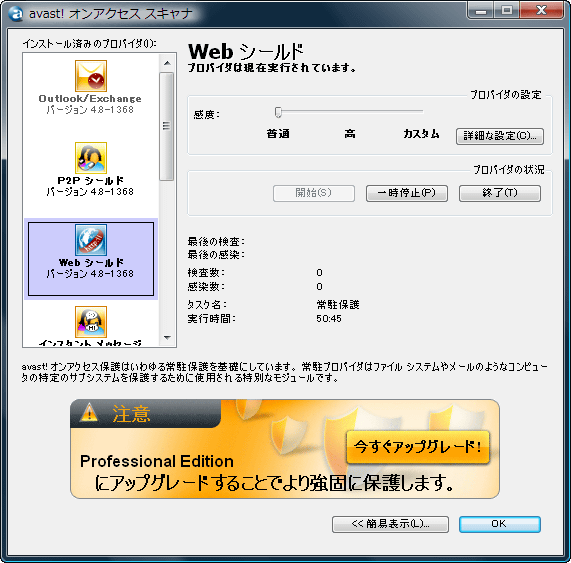
"Web shield" is a setting as to what kind of protection is done while watching the page. Click "Detailed setting".
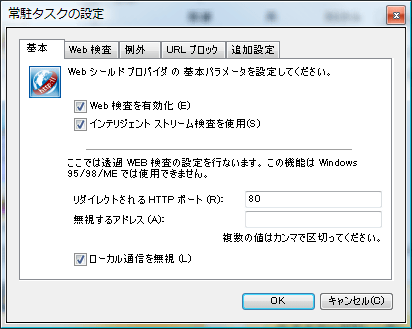
On the "Basic" tab, you can change settings such as not checking communication within the LAN.
From the "Web inspection" tab, you can set the file to be inspected.

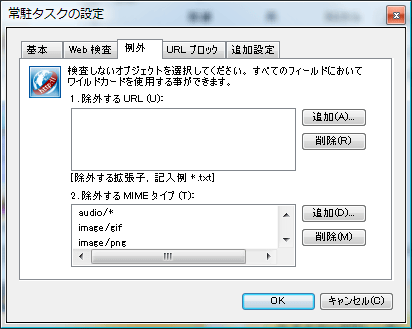
On the Exceptions tab, you can set the type of files you do not want to inspect. By default, various image files and music files are excluded.
As the name implies, the "URL block" tab refuses access to the domain itself and disconnects it.

"Additional settings" tab allows you to set "silent mode", and turning it on always disconnects viruses when found.

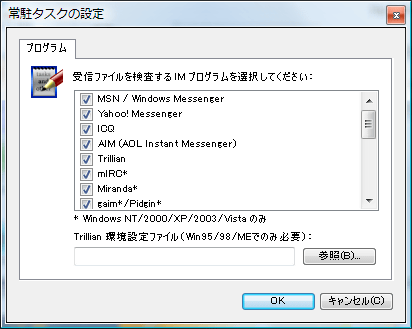
"Instant Messaging" allows setting for Messenger such as Windows Live Messenger. Click "Detailed setting".
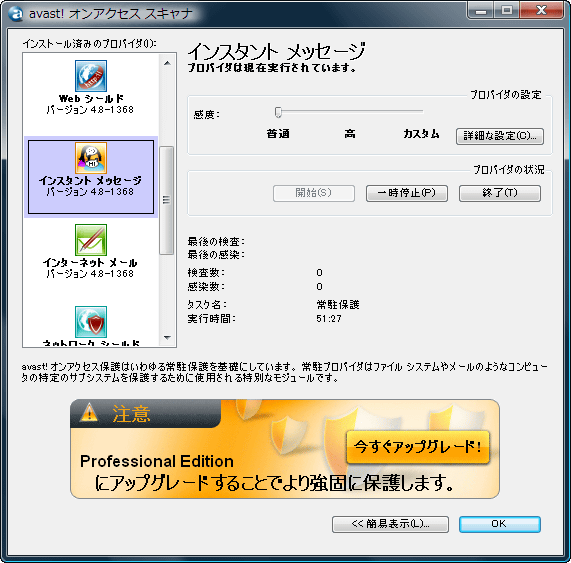
In this way, it is compatible with various IM software.
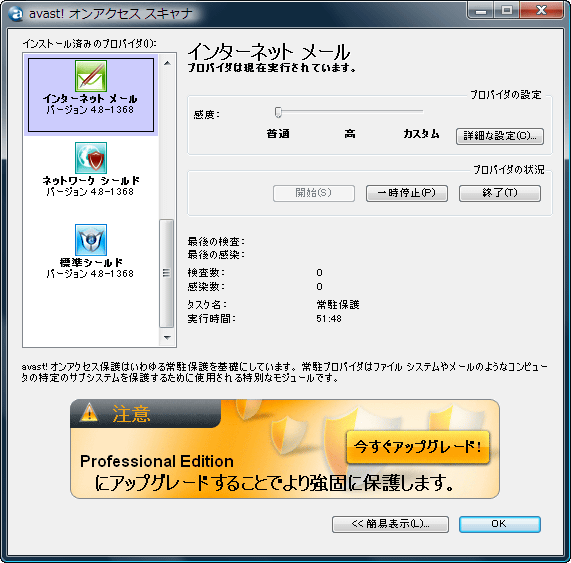
"Internet Mail" is a scan mainly when sending and receiving mail. Click "Detailed setting".
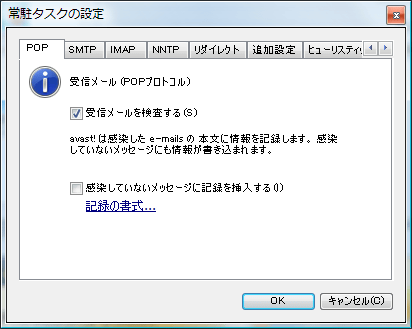
The "POP" tab is used to check whether POP 3 of mail reception is checked or not.
"SMTP" tab is a setting as to whether SMTP of mail transmission is checked or not.

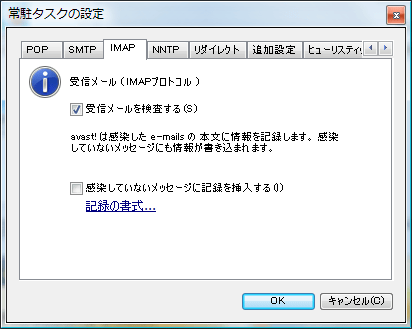
Whether to check the IMAP tab for IMAP protocol.
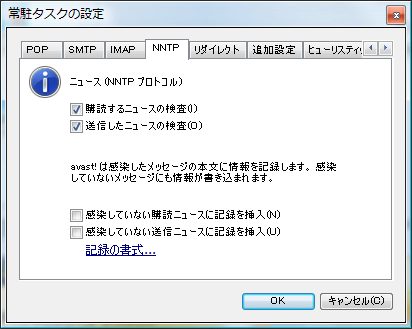
The "NNTP" tab is a setting as to whether to check in the case of so-called newsgroups which are now obsolete in Japan.
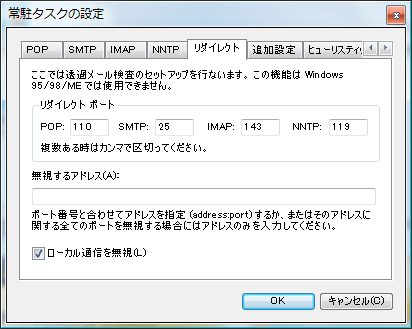
The "redirect" tab is a so-called transparent scan setting, which means that setting for each mail software is no longer necessary.
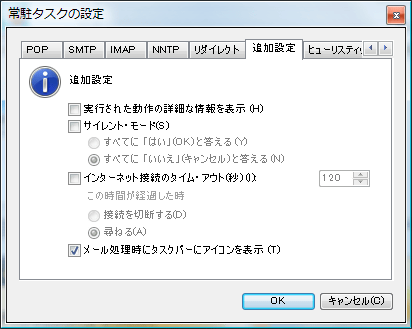
From the "Additional settings" tab, you can set the silent mode and task bar icon display etc.
The "Heuristics" tab is a detailed setting such as attached file inspection.
The "Heuristic additional setting" tab can be set only when "Sensitivity" is "High" or "Custom", and it is possible to change how to handle inspection by time and how to process a large number of messages.
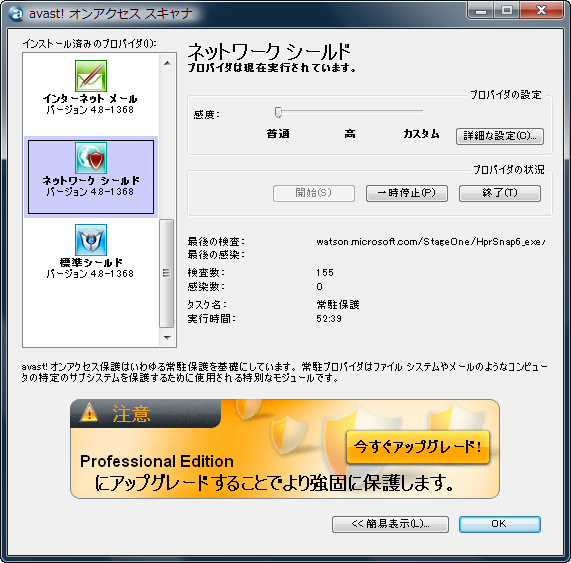
"Network shield" is a type of protecting the so-called attack in the LAN. Click "Detailed setting".
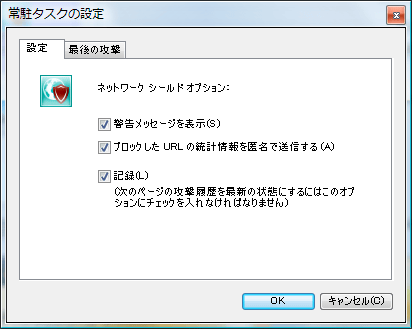
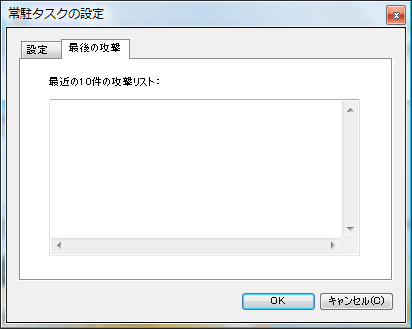
On the "Settings" tab, you can customize the display of warning messages and so on. If you check "Record", it will be displayed on the next "Last Attack" tab.
"Last attack" tab. What a name it is cool.
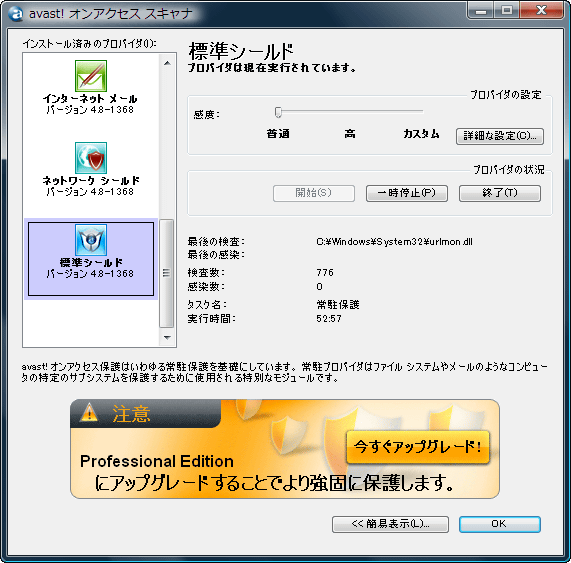
"Standard shield" is the setting of a general defense system, as its name suggests. Click "Detailed setting".
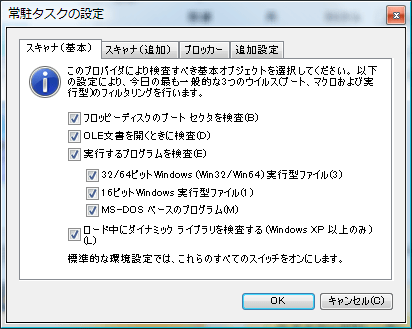
On the "Scanner" tab, you can set what kind of file to scan.
From the "Scanner (Add)" tab, it is possible to set more detailed settings on what files are scanned.

From the "Blocker" tab you can set what to block.

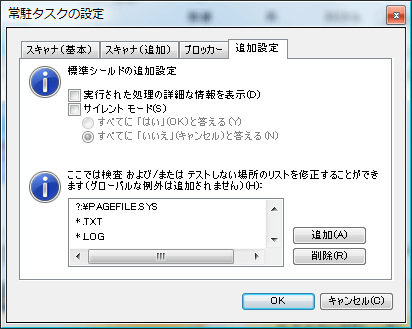
On the "Additional Settings" tab, you can set up silent mode, places where inspections and tests are not done.
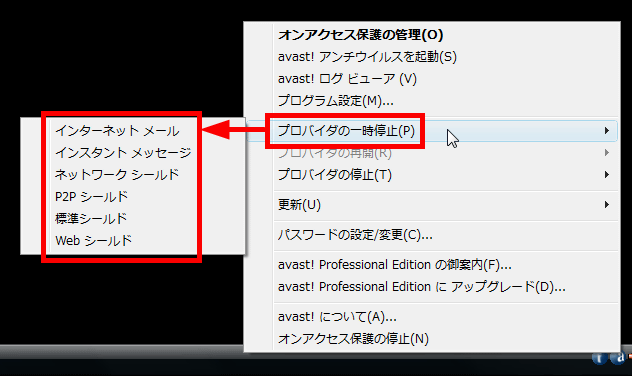
By the way, by right clicking on the task tray icon, each function can be paused individually.
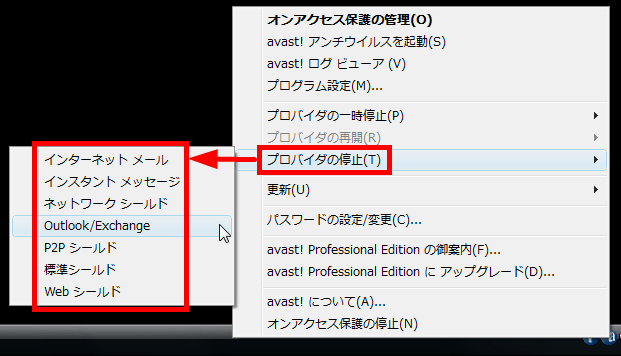
It is also possible to stop it.
Related Posts: