'Dualshock Calibration GUI' is a web app that can improve the drift phenomenon of genuine PS4 and PS5 controllers.
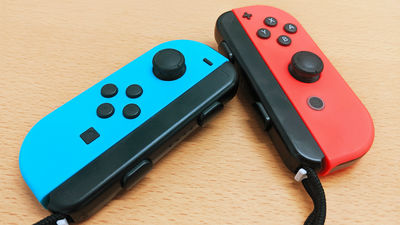
If you use the original PlayStation 4 controller '
Dualshock Calibration in the browser
https://blog.the.al/2024/04/09/dualshock-calibration-in-the-browser.html
The causes of the drift phenomenon can be divided into two patterns: 'Due to deterioration of parts, the analog stick cannot be fixed to the reference point' and 'The reference point of the analog stick is misaligned, and the analog stick is recognized as moving in one direction even when it is not being moved.' If the cause is deterioration of parts, the part needs to be replaced, but if the reference point of the analog stick is simply misaligned, it may be possible to repair it by calibrating the controller. DualShock Calibration GUI is a calibration script that Al , who is familiar with game controllers, distributed to repair shops, which has been modified so that anyone can use it, and you can calibrate DUALSHOCK 4 and DualSense without complicated operations.
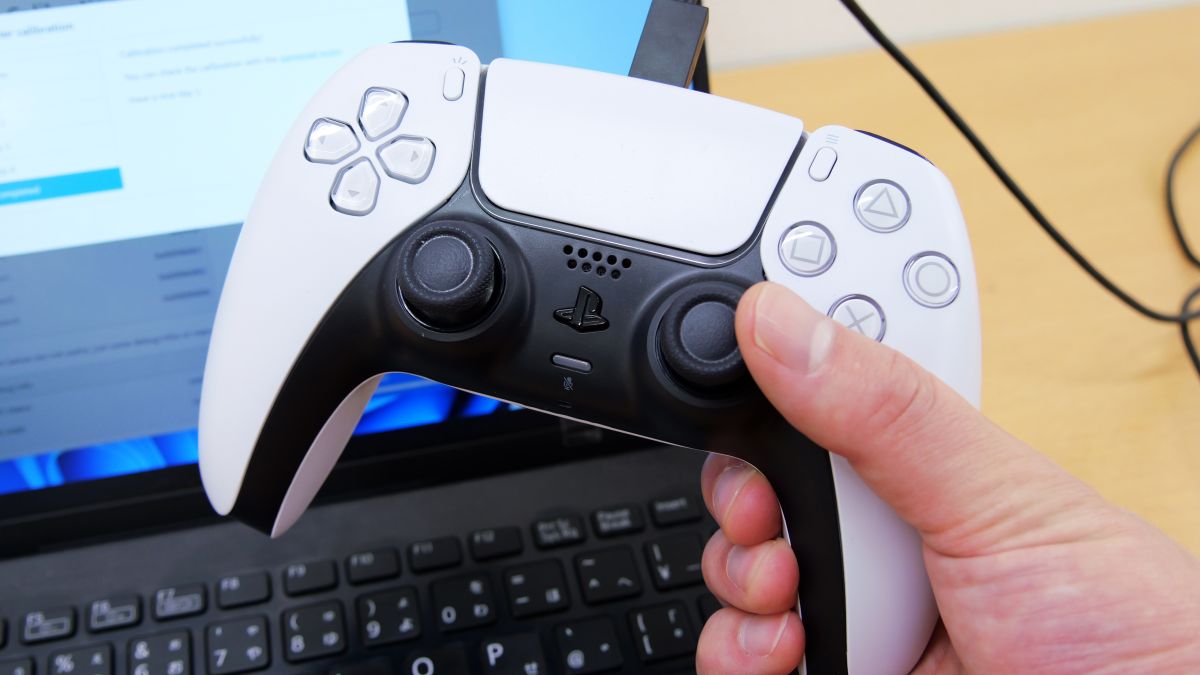
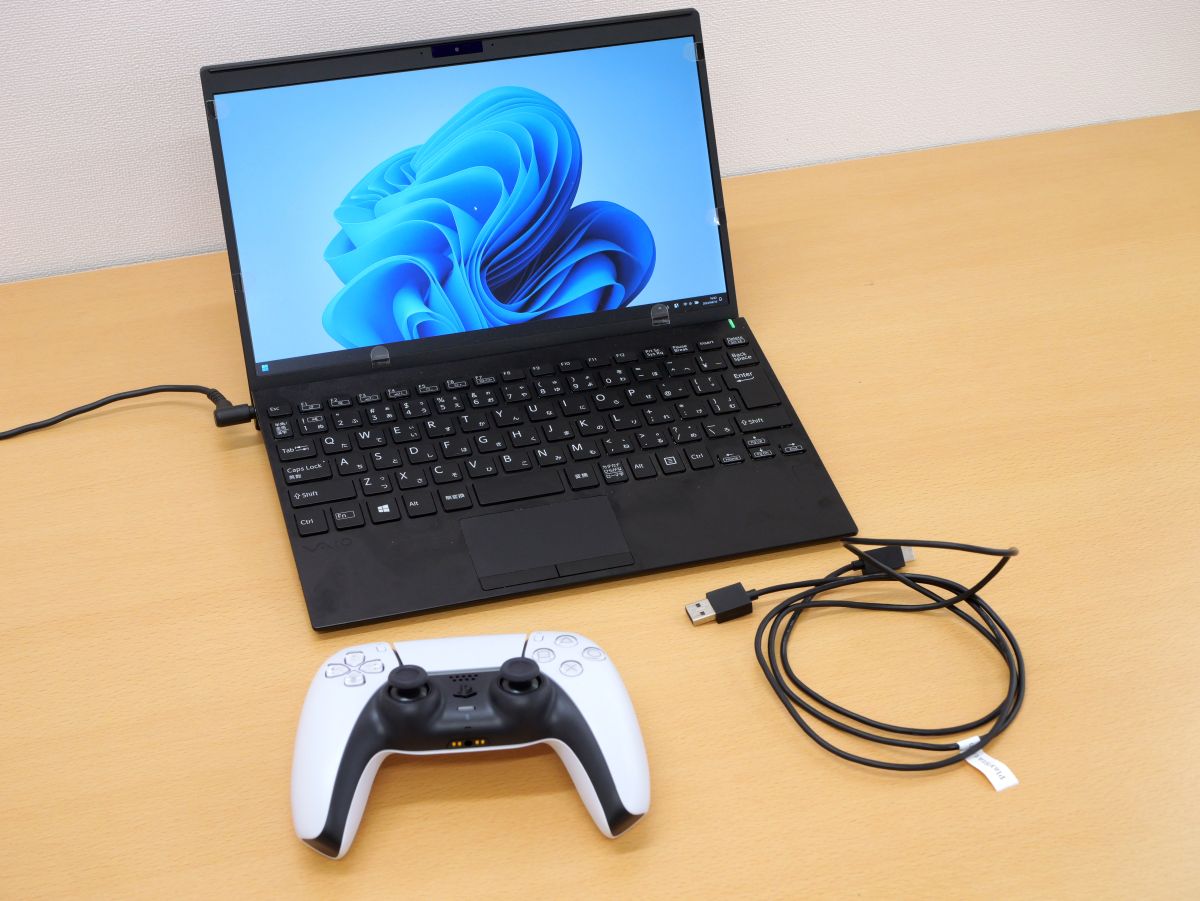
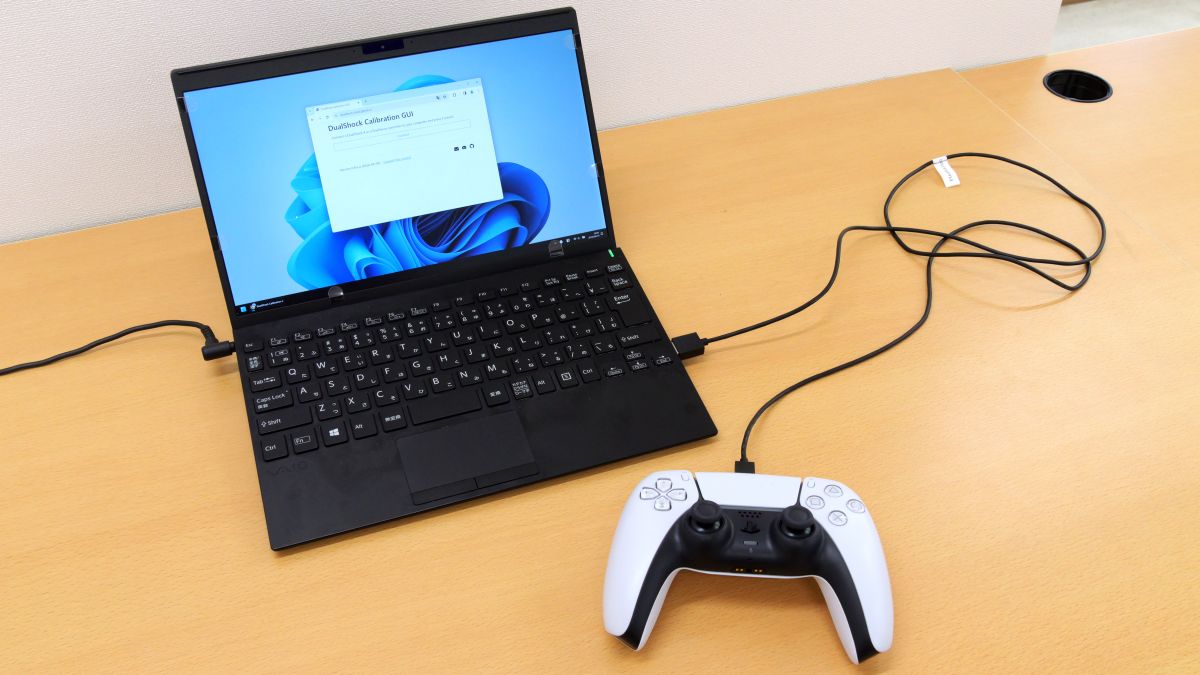
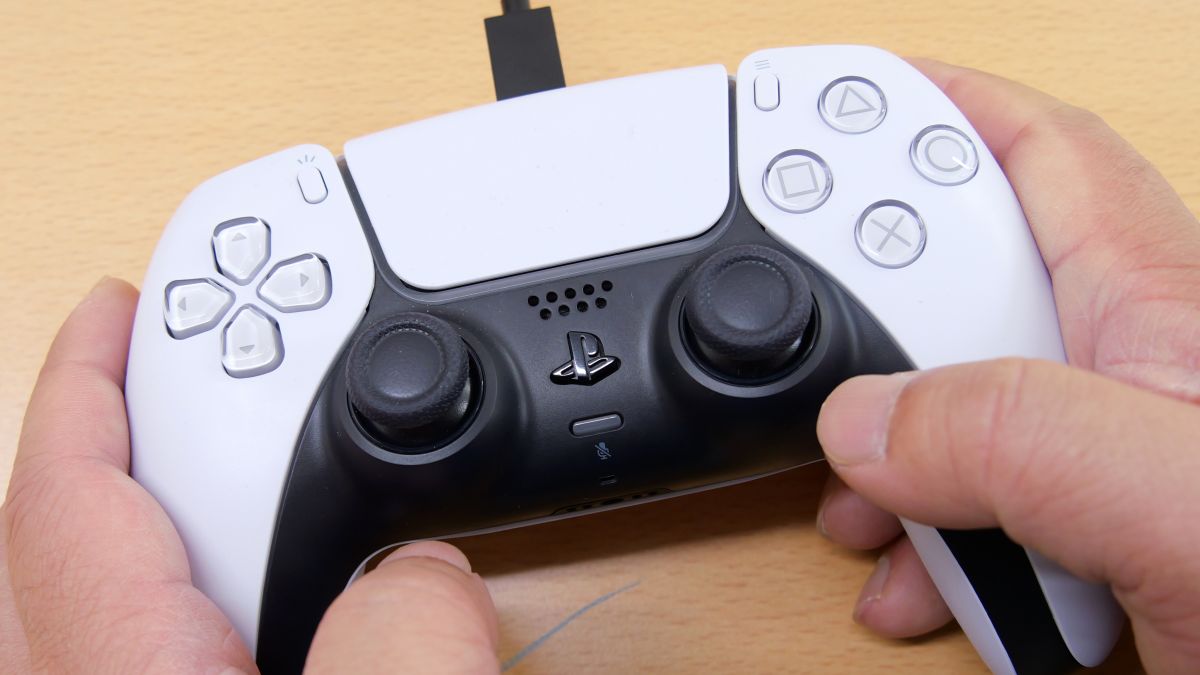
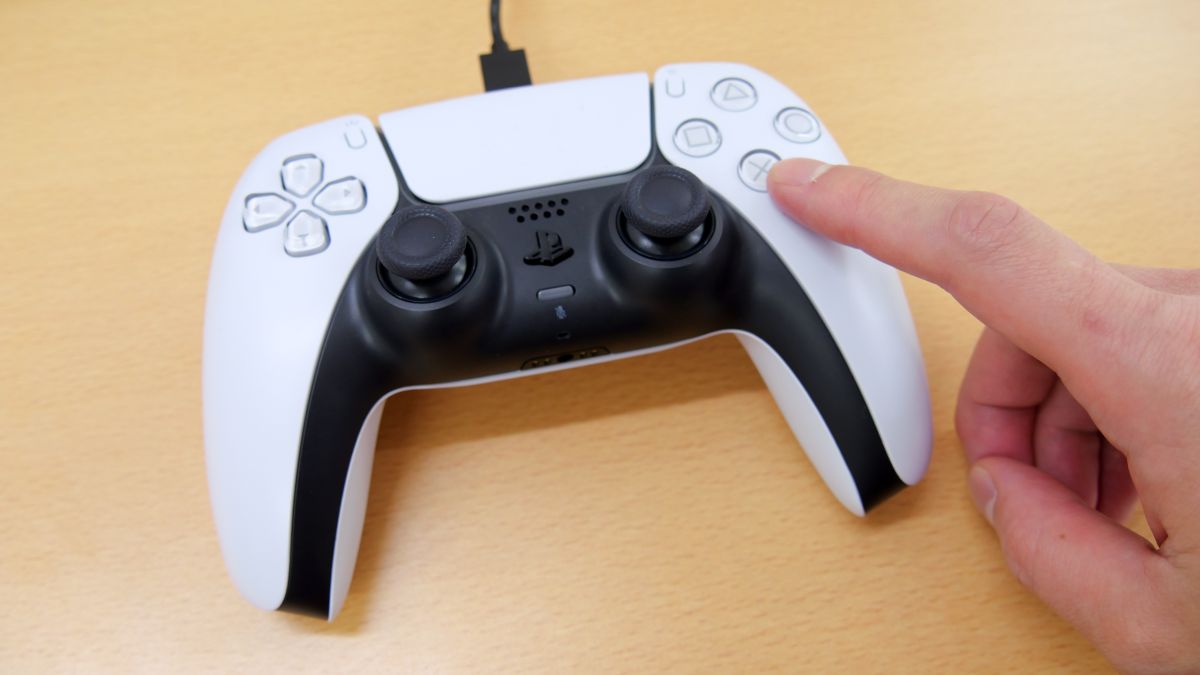
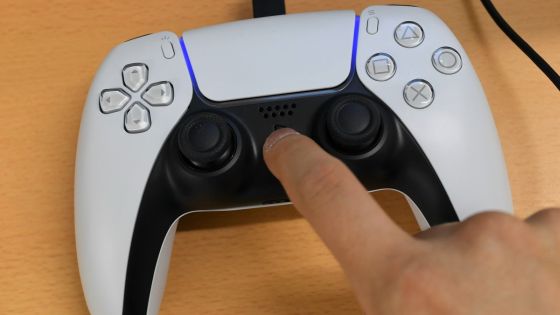
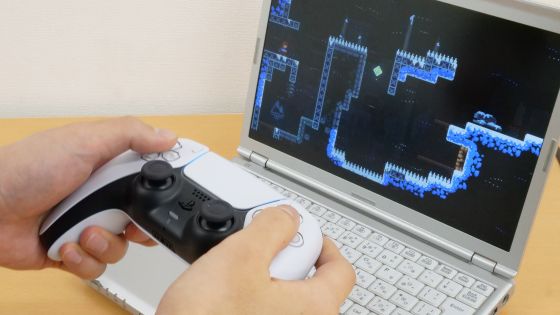
To calibrate the controller with DualShock Calibration GUI, first prepare a PC, controller, and USB cable. The controller must be fully charged beforehand. This time we used a DualSense, but the procedure is the same for DUALSHOCK 4.
Once you have prepared your controller and USB cable, click the link below to access the DualShock Calibration GUI. Since the DualShock Calibration GUI uses a technology called
DualShock Calibration GUI
https://dualshock-tools.github.io/
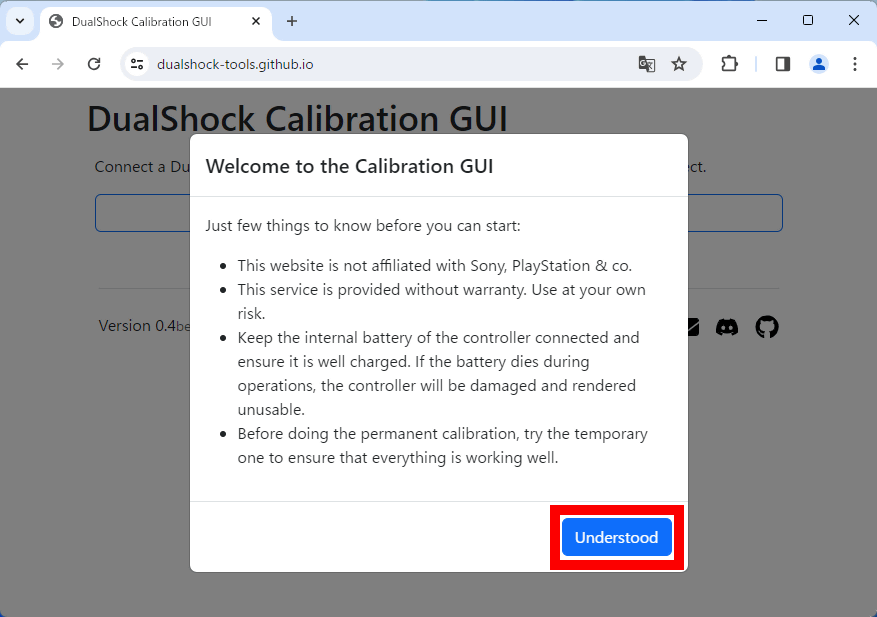
When you access the DualShock Calibration GUI in Chrome, you will see messages such as 'This service is not guaranteed' and 'If the controller's battery runs out during operation, it will become unusable.' Read the messages carefully and then click 'Understood.'
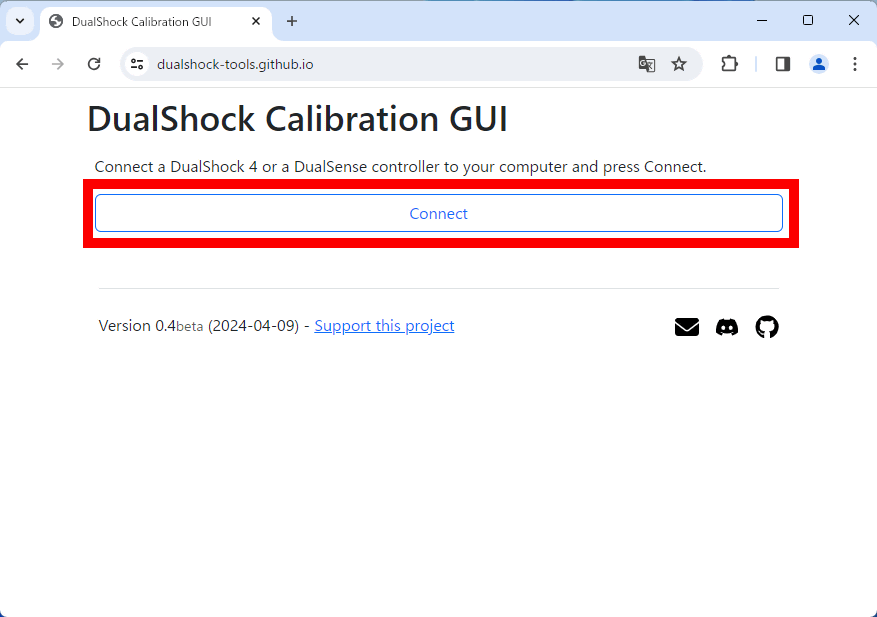
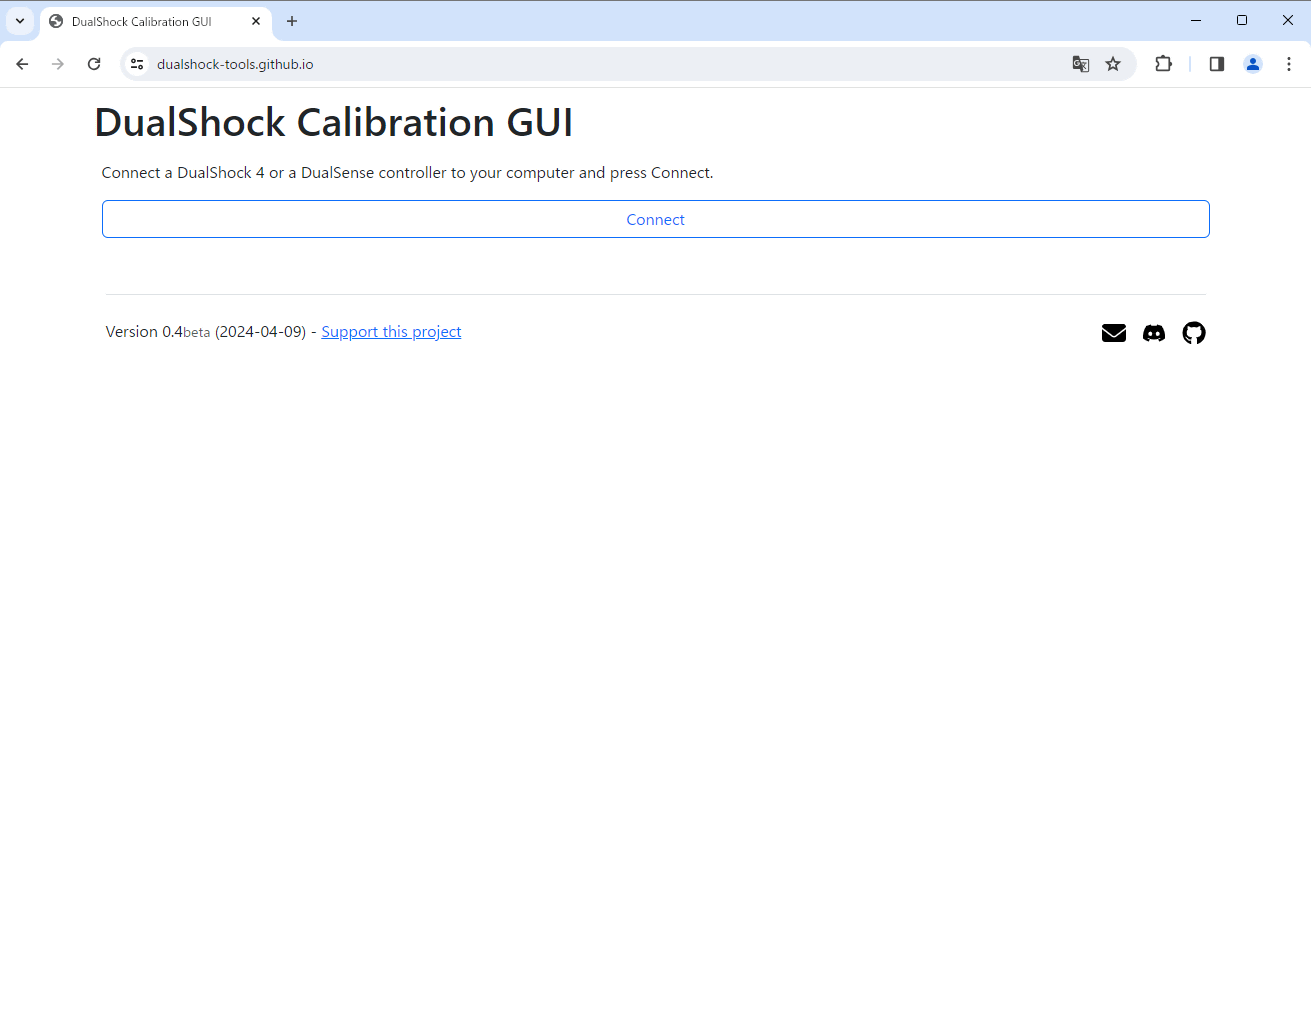
When the following screen appears, connect the controller to your PC.
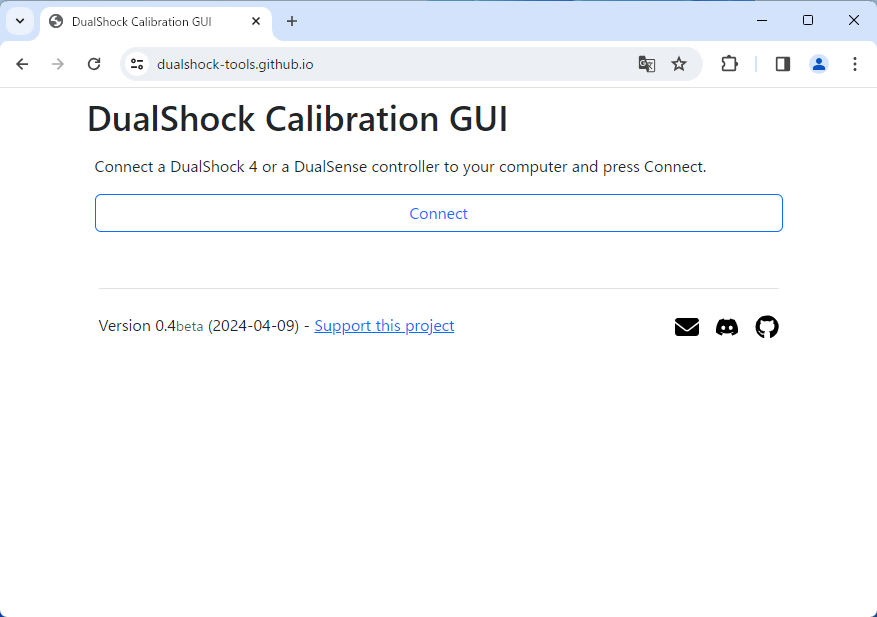
Connect the PC and controller with a USB cable.
Once connected, click 'Connect'.
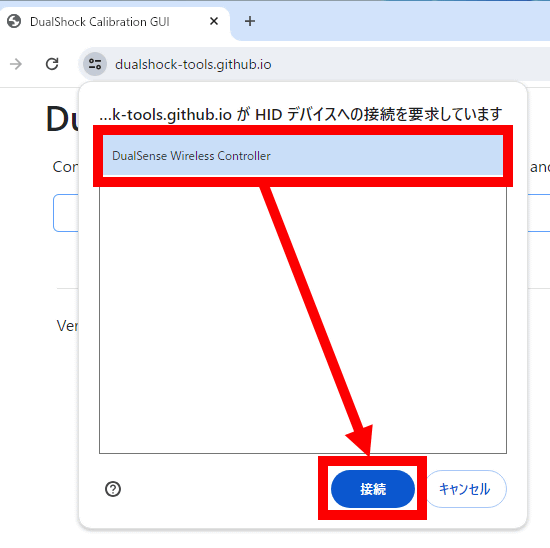
When the following screen appears, click the name of the controller you want to connect and click 'Connect'.
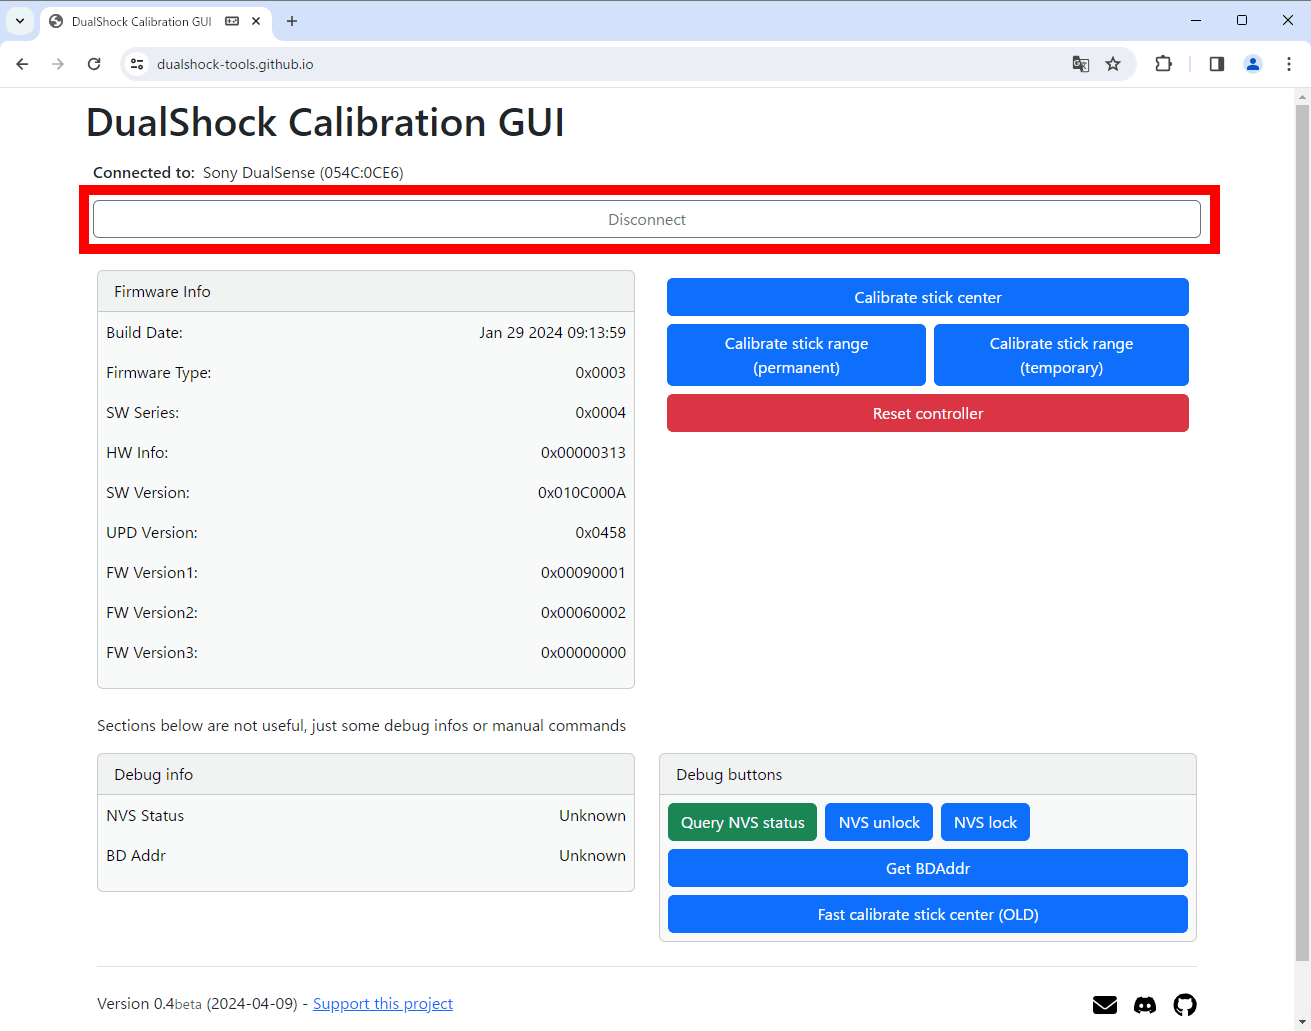
The controller firmware information and various menus will then be displayed on the screen.
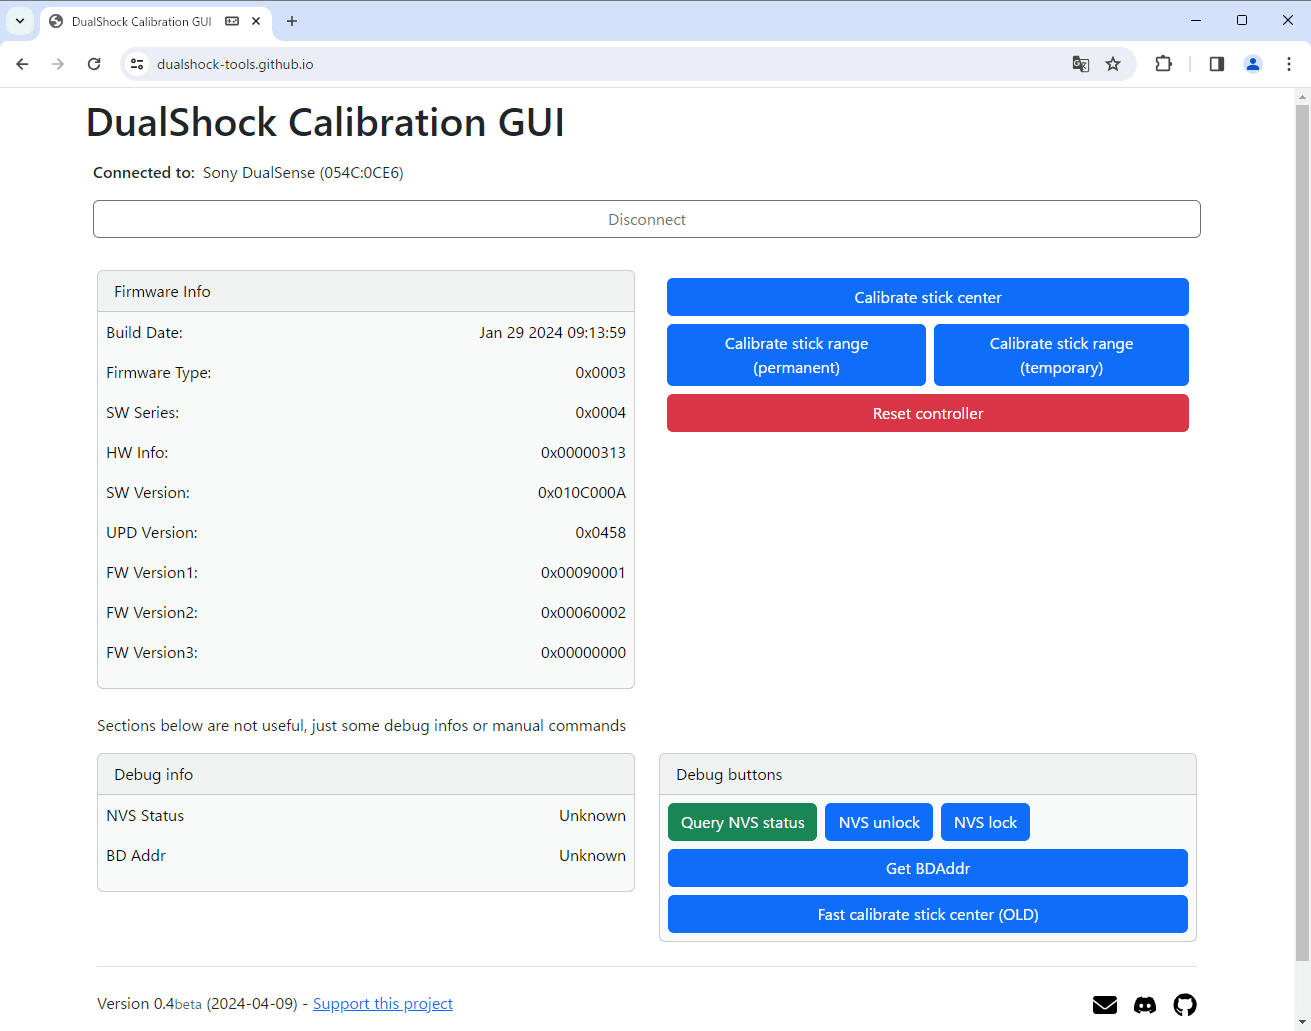
Click 'Calibrate stick center' to calibrate the controller.
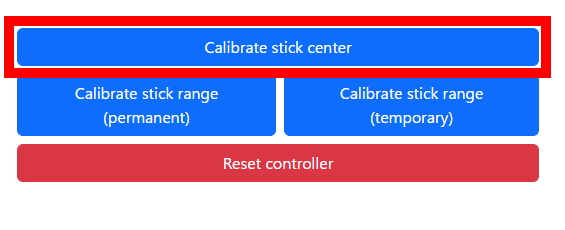
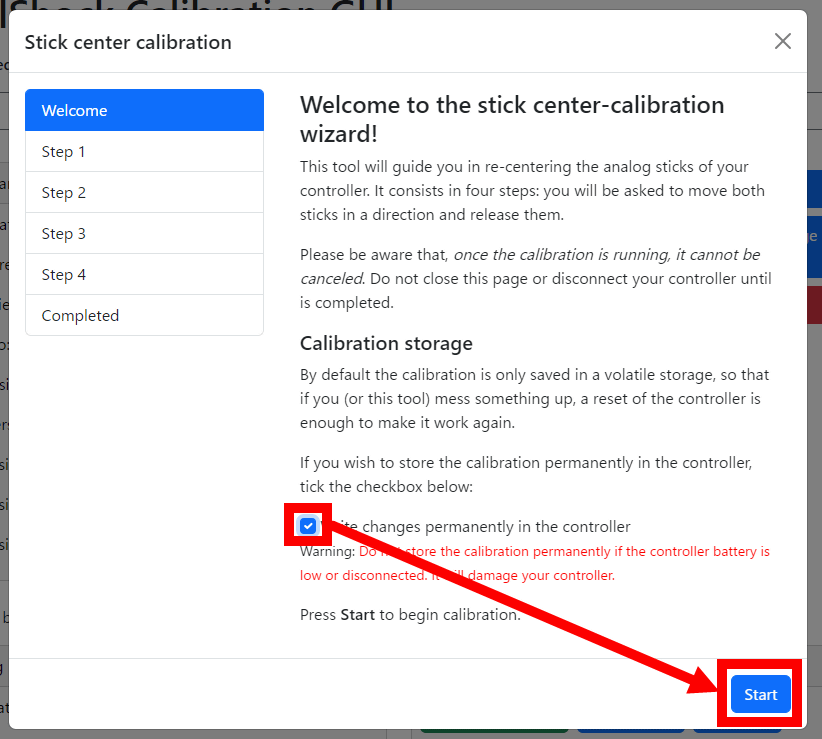
Check the box in the red frame to save the calibration results in the controller and click 'Start.' If you do not check the box, the calibration results will be saved in 'storage that erases data when the power is turned off.' For this reason, if you are unsure about the calibration operation, we recommend that you run the calibration once without checking the box, and then check the box and run the calibration again once you have confirmed an improvement.
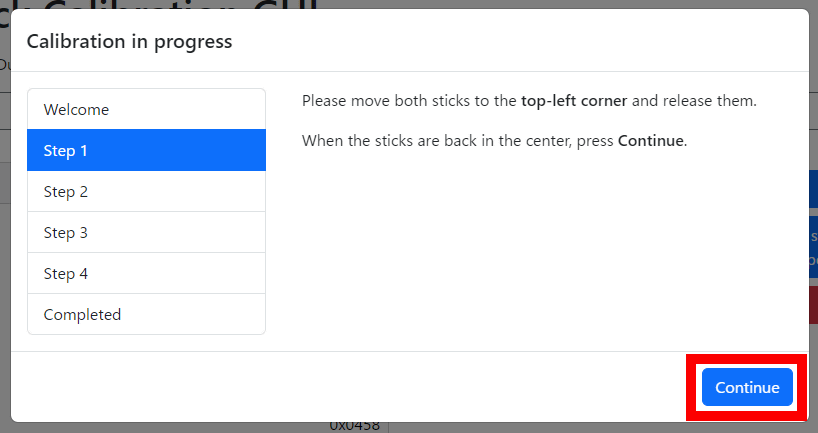
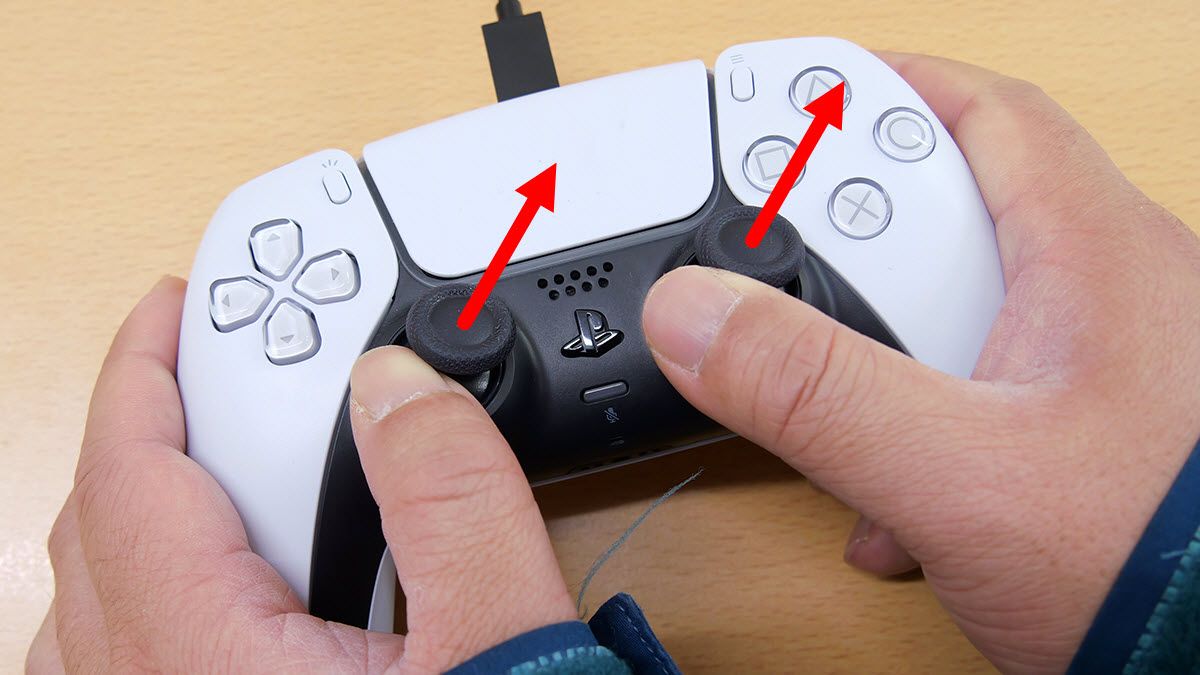
When you click 'Start,' you'll be instructed to tilt both sticks upward and to the left and then return them to their original positions.
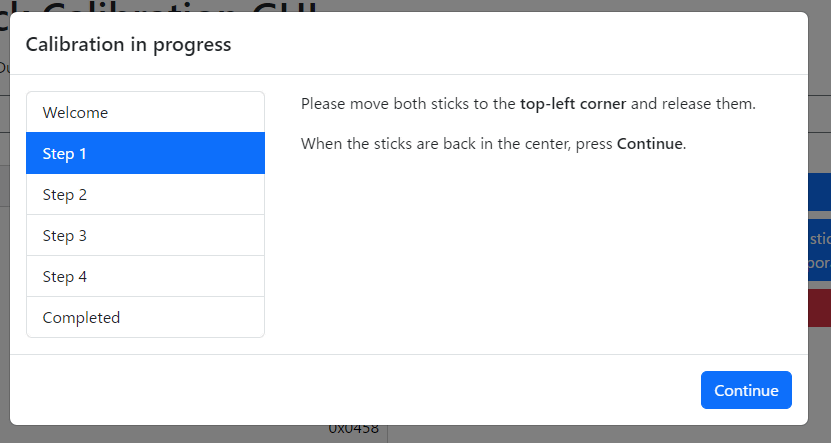
Follow the instructions and tilt it to the upper left.

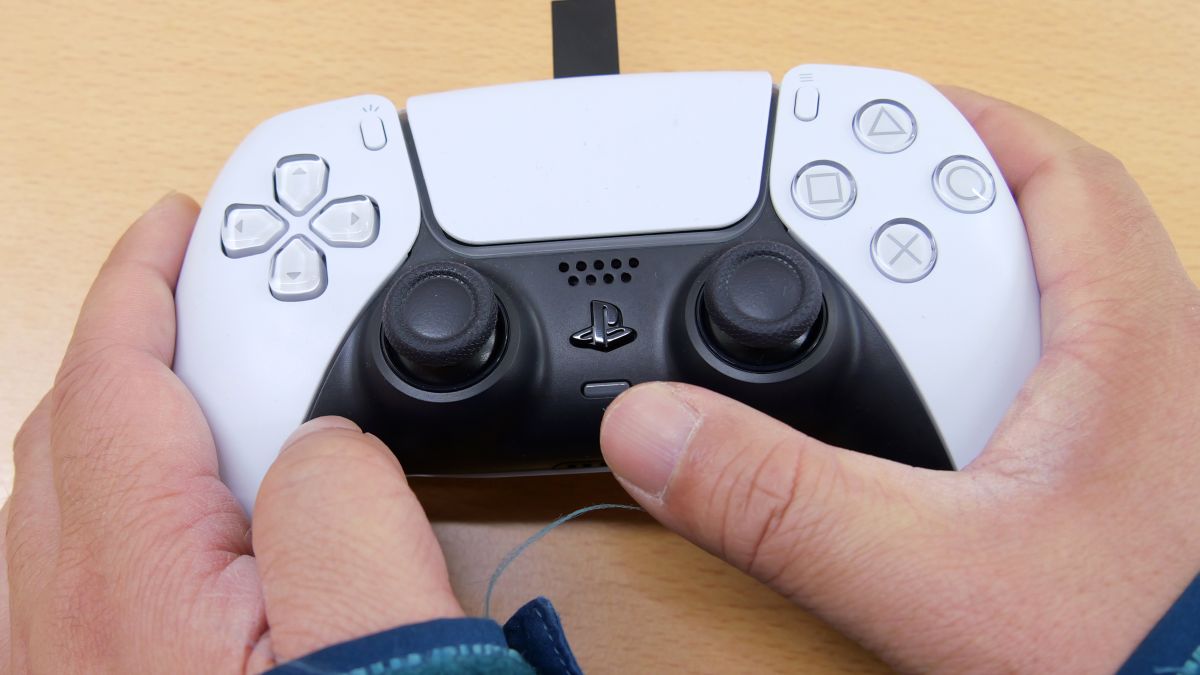
I'll put it back.
Tilt the stick back and click 'Continue'.
You'll then be asked to flip it back up and to the right.
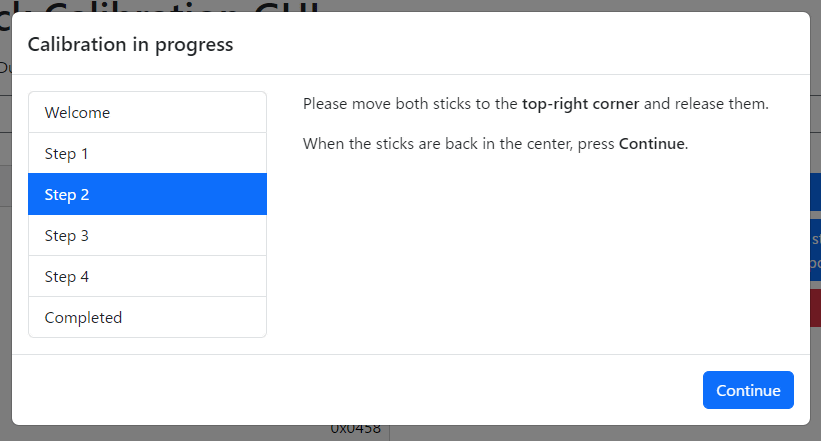
Tilt it to the top right.
I'll put it back.
Click “Continue”.

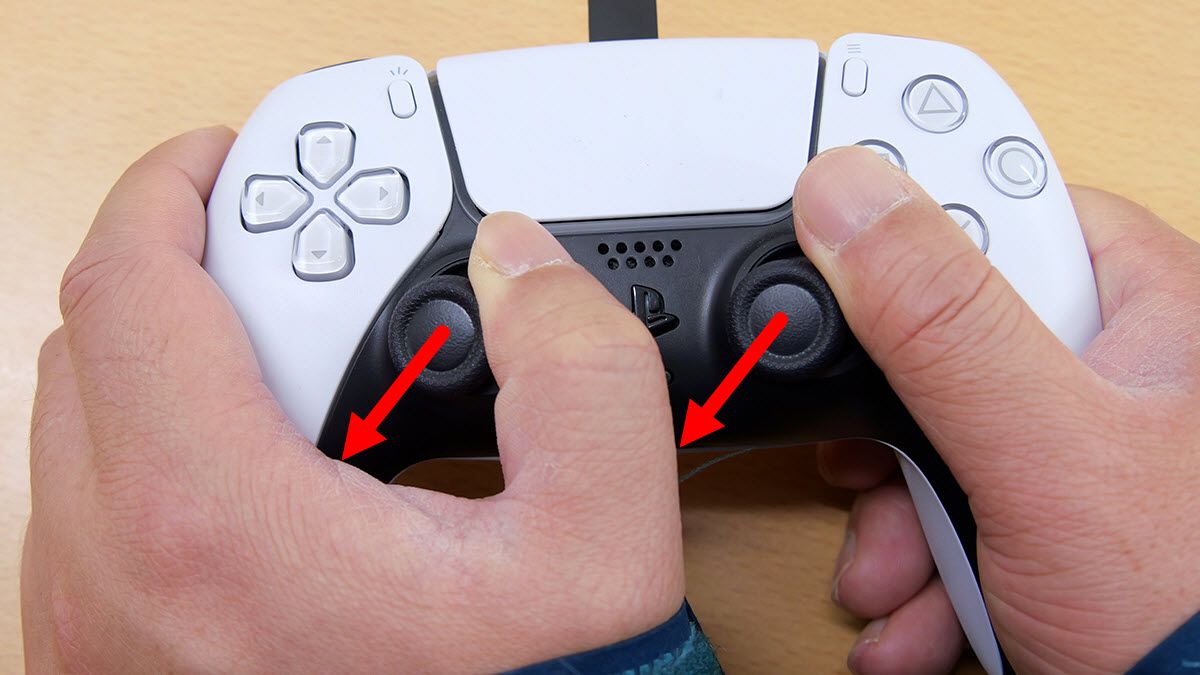
This time, tilt it back down and to the left.
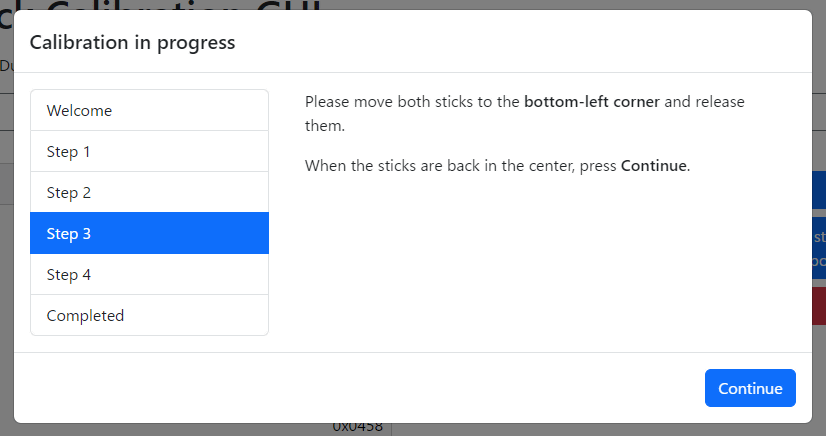
Push both sticks down and to the left.
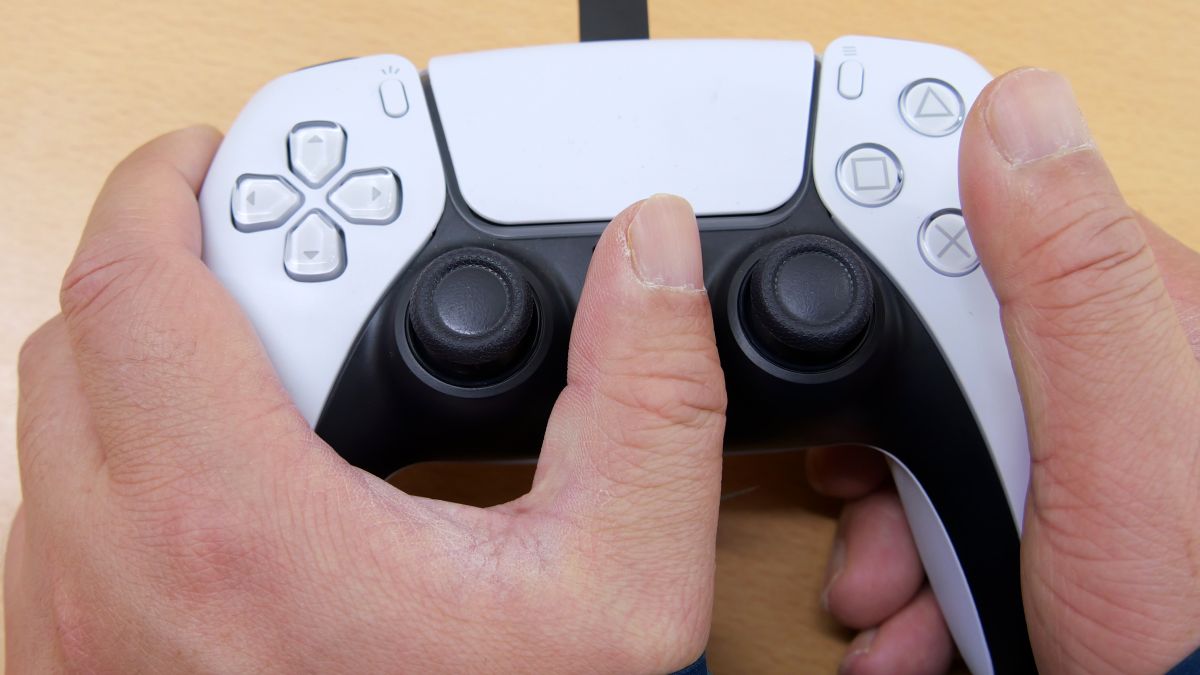
I'll put it back.
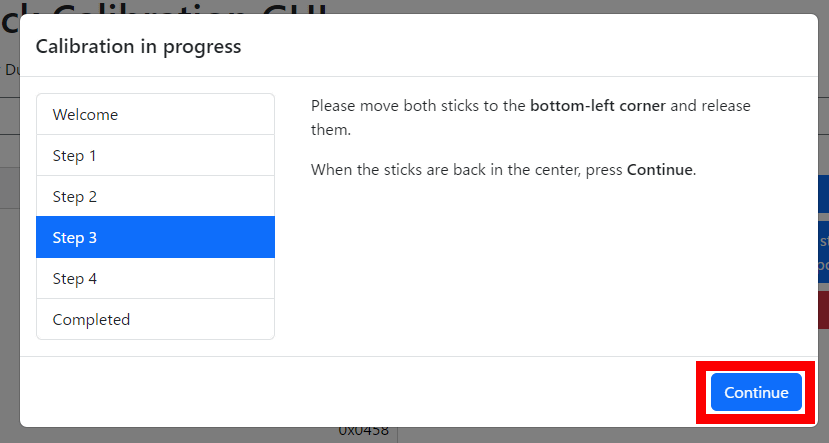
Click “Continue”.
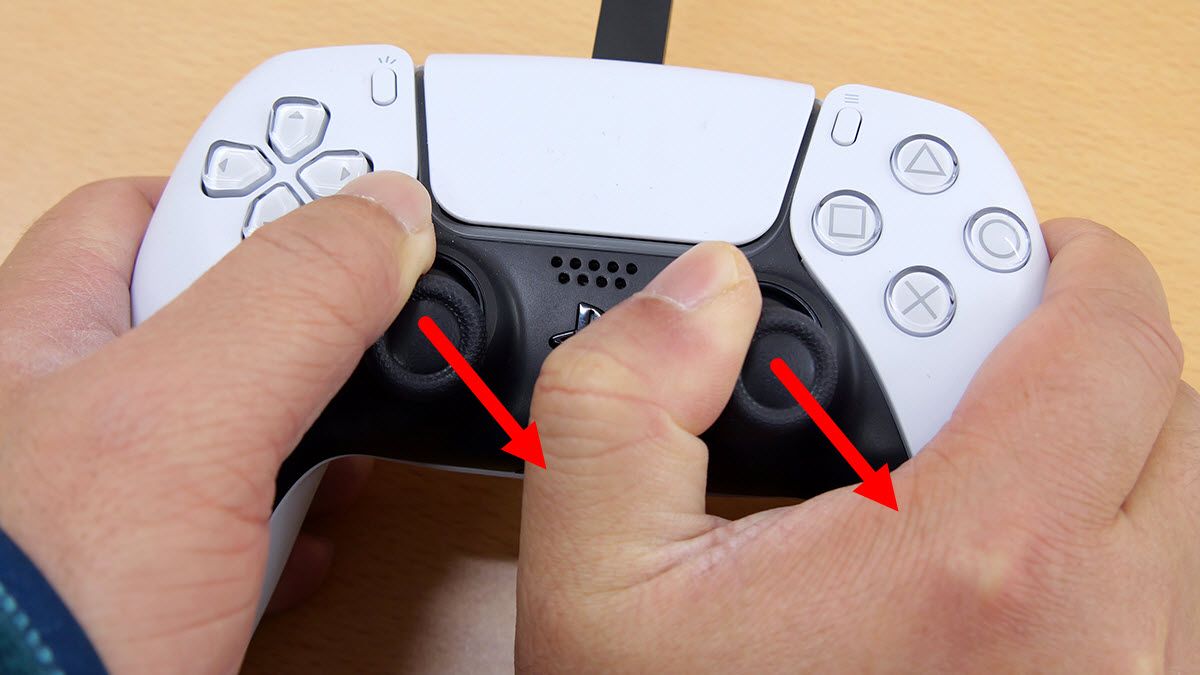
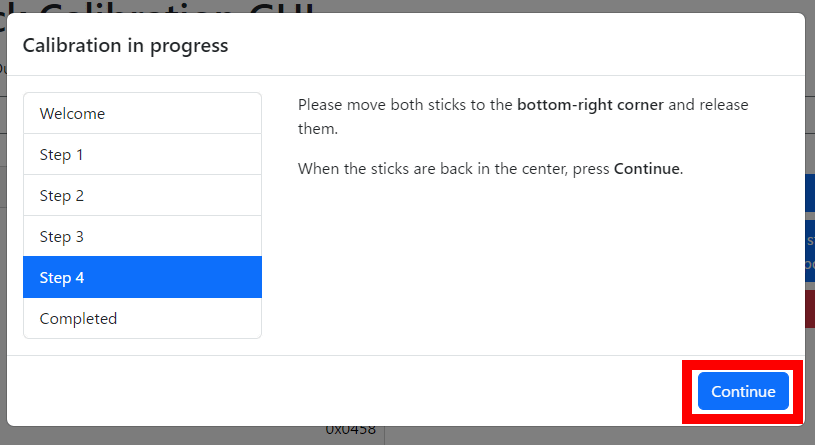
Finally, you will be asked to push it back down and to the right.
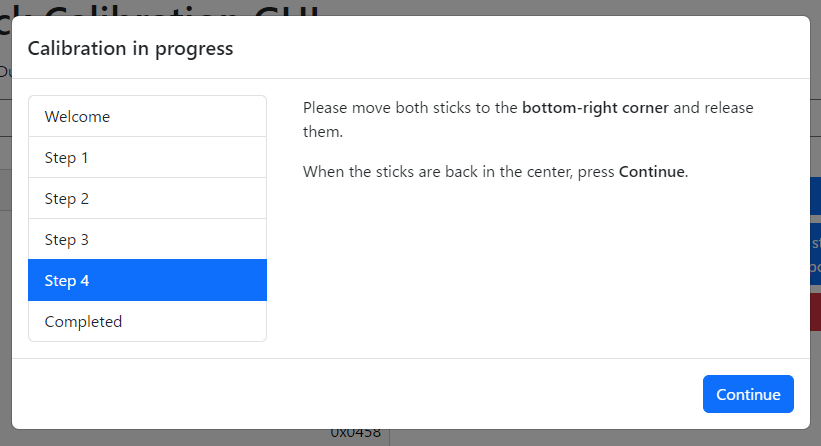
Tilt it down and to the right.
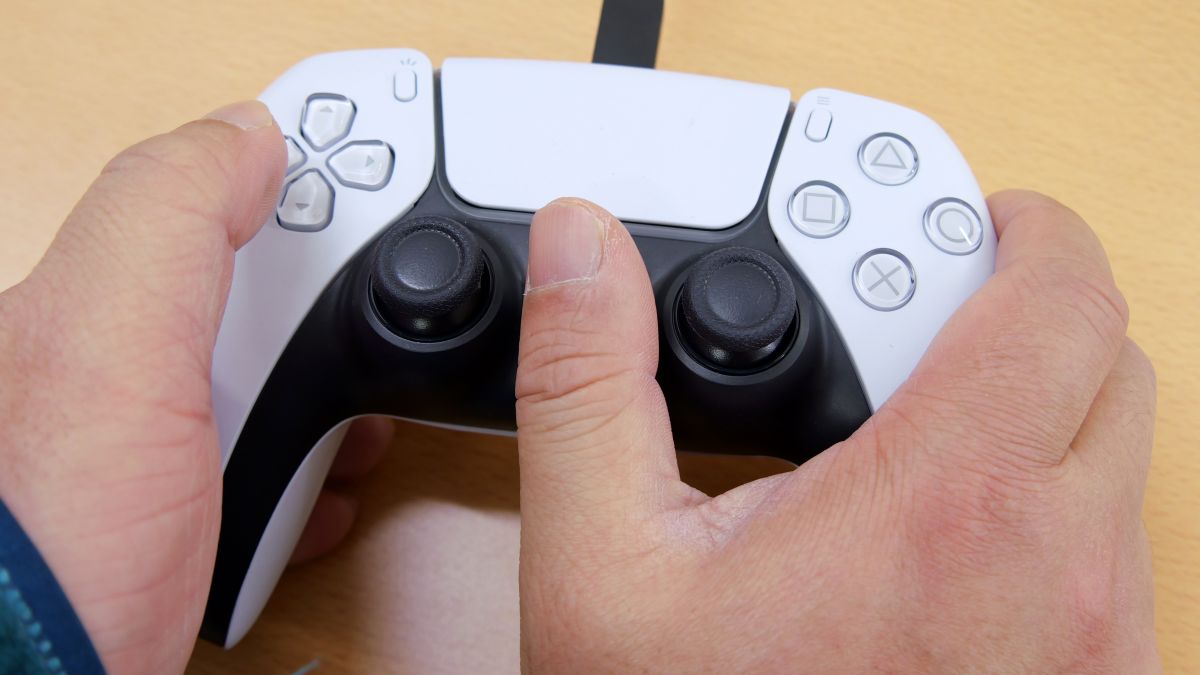
I'll put it back.
Click “Continue”.
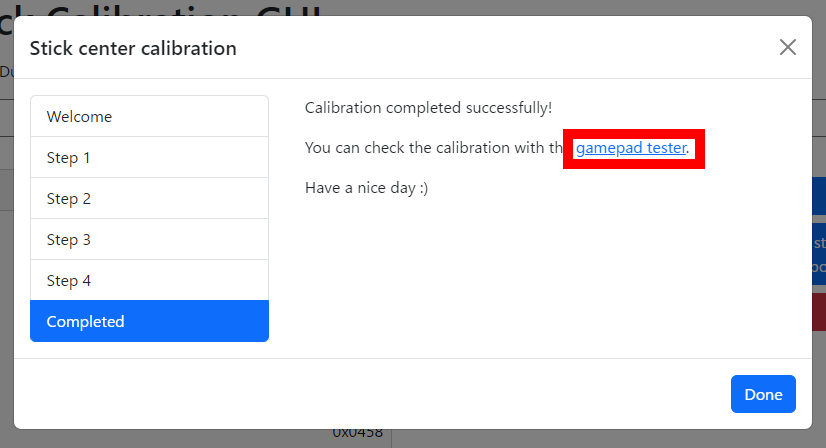
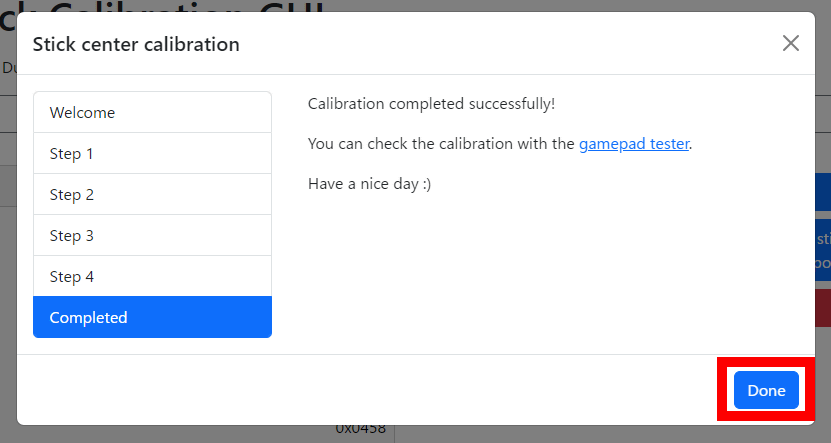
Now the new reference point has been written to the controller. You can test the controller by clicking on the part marked 'gamepad tester'.
This will take you to
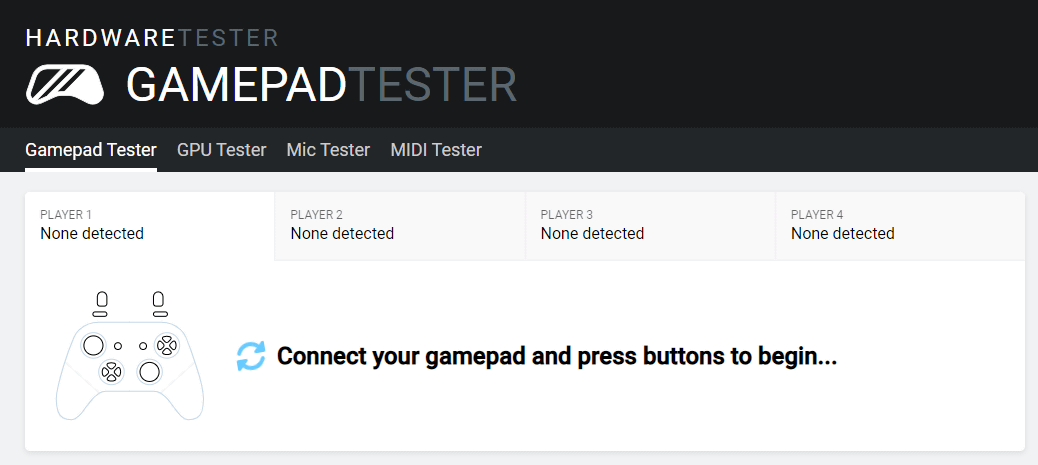
To test the controller's functionality, first press any button.
The screen will then show the status of each button and analog stick on the controller. The illustration on the right is not a DualSense, but that's fine. Note the two circles in the area enclosed in a red frame at the bottom left, and the black dots inside the circles indicate the current location of the analog sticks. If the black dots appear in the center when you're not touching the analog sticks, the software is designed to prevent drift. If the black dots appear in the center but drift occurs, it's likely that a part needs replacing.

To disconnect the controller, return to the DualShock Calibration GUI screen and click 'Done.'
Click “Disconnect.”
When the screen below appears, you can disconnect the controller from the PC.
The calibration process is complete once you disconnect the controller from the PC.

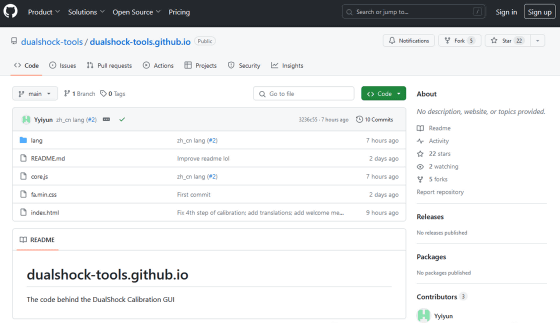
The code used in the DualShock Calibration GUI can be found at the following link:
GitHub - dualshock-tools/dualshock-tools.github.io
https://github.com/dualshock-tools/dualshock-tools.github.io
◆ Forum is currently open
A forum related to this article has been set up on the official GIGAZINE Discord server . Anyone can post freely, so please feel free to comment! If you do not have a Discord account, please refer to the account creation procedure explanation article to create an account!
• Discord | 'Have you ever encountered the drift phenomenon of a game controller? Which game console's controller did you encounter it with?' | GIGAZINE
https://discord.com/channels/1037961069903216680/1227909840991686786
Related Posts:

in Review, Software, Web Application, Hardware, Game, Posted by log1o_hf