The making process of the split, grid-array, wireless DIY keyboard 'Bayleaf'

There are many different types of keyboards, such as key size, key feel, and key layout, so it can be difficult to find one that perfectly suits your senses. One way to solve this is to make your own keyboard, but in order to fully customize the keyboard, you need electronic engineering and many hardware-related skills. Brand designer Sebastian Gratz explains how to make a homemade keyboard that is wireless and split into left and right halves, making it compact and easy to place.
Bayleaf Wireless Keyboard Build
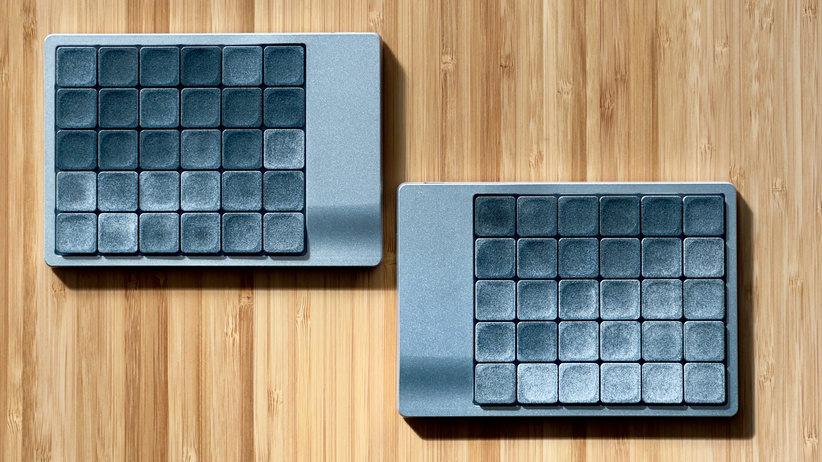
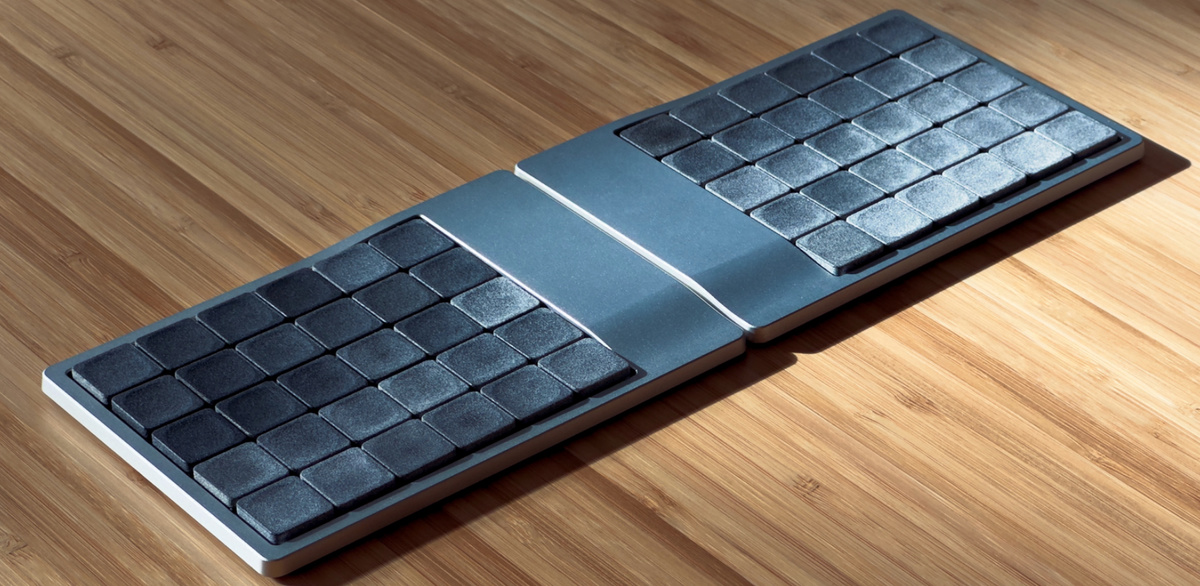
The keyboard 'Bayleaf' created by Mr. Gratz looks like this. The size of the two keyboards is 139mm wide, 93mm high, and 5mm thick at its thickest point, making it compact. It also weighs 180g, making it small and quite lightweight.
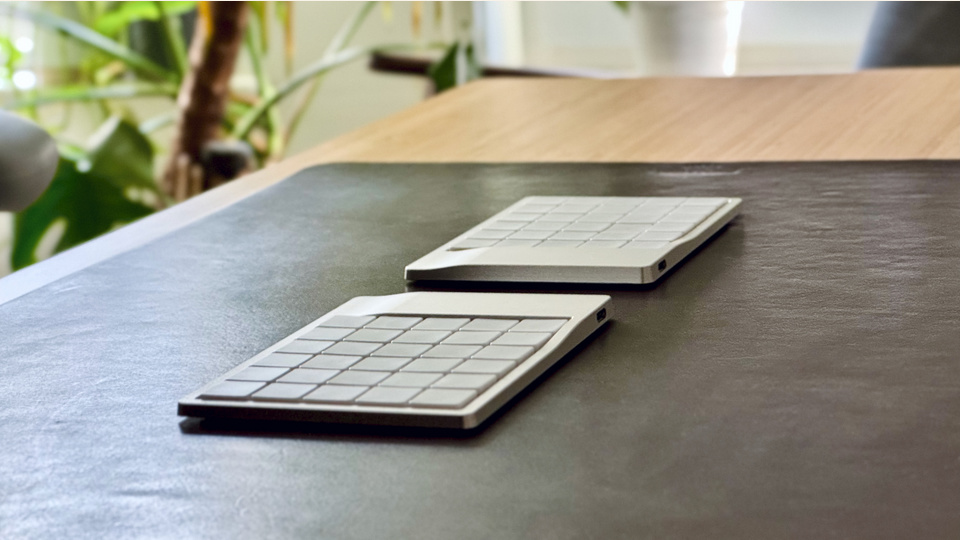
There are five keys arranged vertically and six horizontally, and they are color-coded with different shades of black; no indication of the type of key is given.
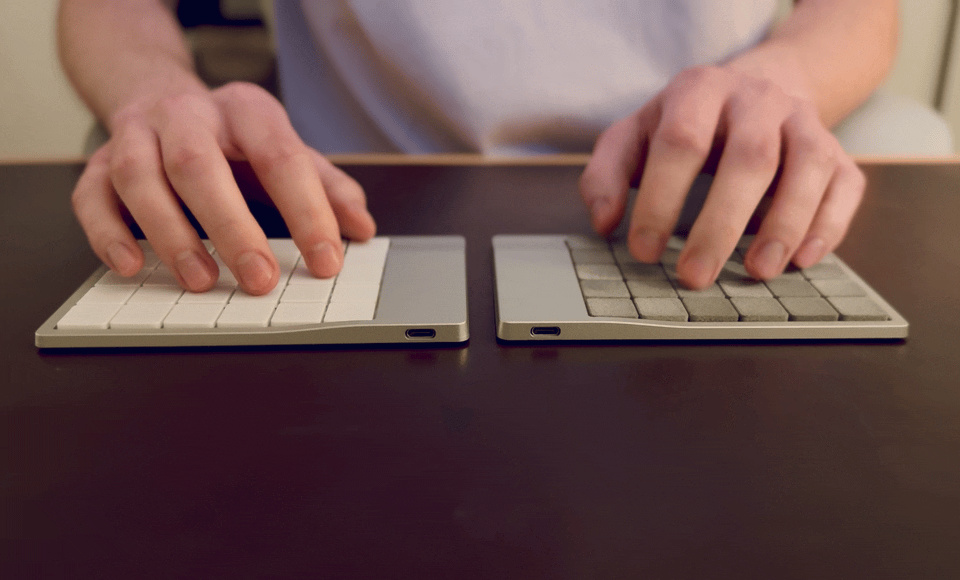
It looks like you're actually placing your hands on the Bayleaf keys and typing.
Although Gratz enjoys building software and hardware as a hobby, assembling a keyboard was his first experience, and he had to learn electronics, conductive materials, design for manufacturing, and many other hardware-related skills.
The main concept of Bayleaf is that it is wireless and split. When playing PC games, the left hand is often on the keyboard and the right hand is on the mouse, so the idea is to secure space for the mouse by moving the keyboard to the right. The keyboard is made for a desktop PC, but since Graz also uses a MacBook on a daily basis, it is not a full-size keyboard but is adjusted to a 60% layout with the Fn key and arrow keys omitted. Regarding Bayleaf, Graz said, 'To be honest, this is a design that emphasizes form over function. It's okay if some functions have problems in order to get a finished commercial look.'
Gratz started by creating the design below. The dimensions have not been refined at this point, as the design is not finalized and it is not yet known how the components will fit together.
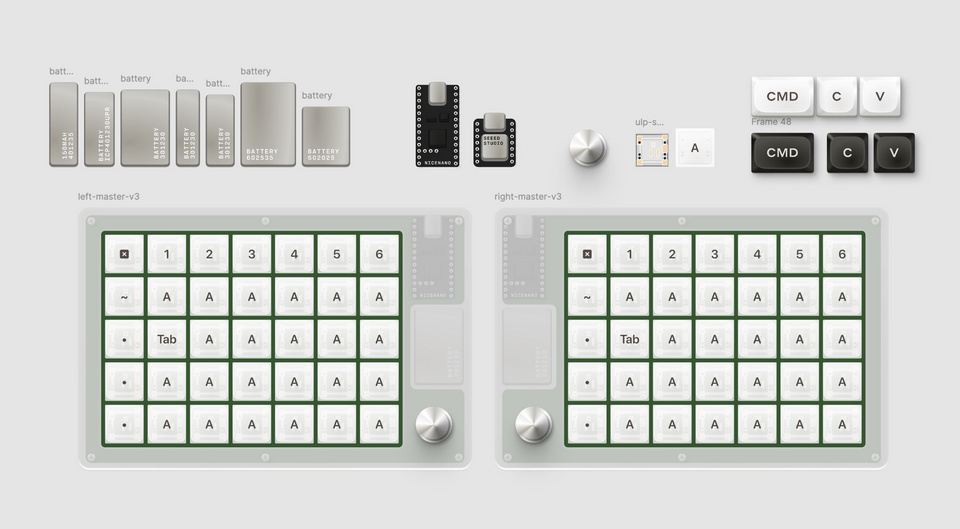
Below is the schematic for Bayleaf. The switch is a simple keyboard matrix, which is standard for small microcontrollers (MCUs) . Each row and column is connected to a unique MCU pin that recognizes a keyboard key.

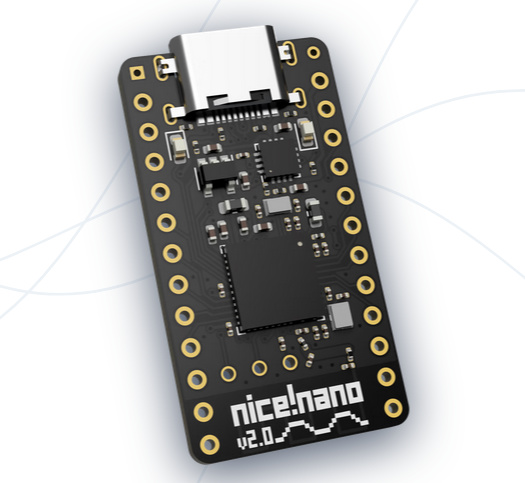
The actual design was built around a MCU called
The keyboard case is made of aluminum, aiming for a commercial product-like finish. The design required the use of parametric design software, and since Gratz had no experience with this type of software, he had a lot of trouble completing the design. In the end, about 100 patterns of the case were created before deciding on the design to be adopted. The case was manufactured using 'MJF/SLS', a 3D printing method that uses powder materials.
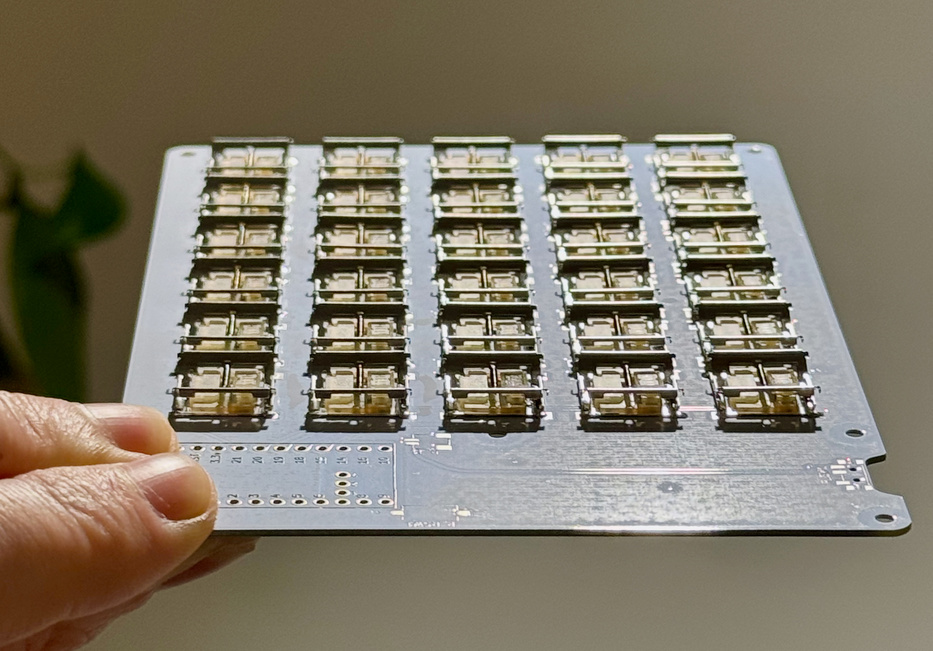
Once all the parts are ready, the assembly process begins. Here, the soldering on the thin aluminum plate causes warping due to heat, so measures must be taken, and it is difficult to wash off the chemicals used in soldering, making the process quite inefficient due to the first time working on it, says Gratz.
The internal design looks like this:
It took about two months to plan and design the Bayleaf, one month to practice assembly and learn the tools, and four days to actually assemble it. The cost of manufacturing the parts and materials, excluding shipping costs and the cost of the necessary tools, is about $400 (about 60,000 yen) for a pair of Bayleaf. According to Gratz, Bayleaf is planning new versions in the future, such as a more ergonomic design and a customized case. Since most of the source files are still in the works, the open source license is under consideration.
'It ultimately took about three months from concept to completion, but the bottom line is that planning and building it was a great learning experience. While the final product exceeded my expectations, my appetite for building is still unsatisfied. I look forward to arming myself with more skills and creating an even better version soon,' said Gratz.
Related Posts:


in Hardware, Posted by log1e_dh