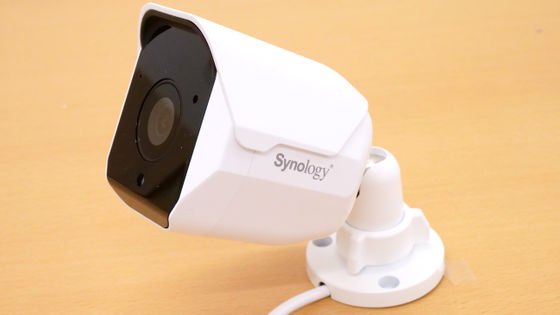
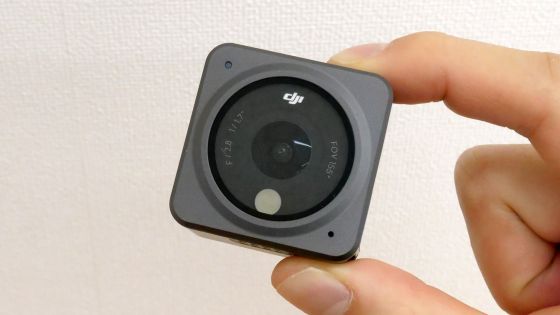
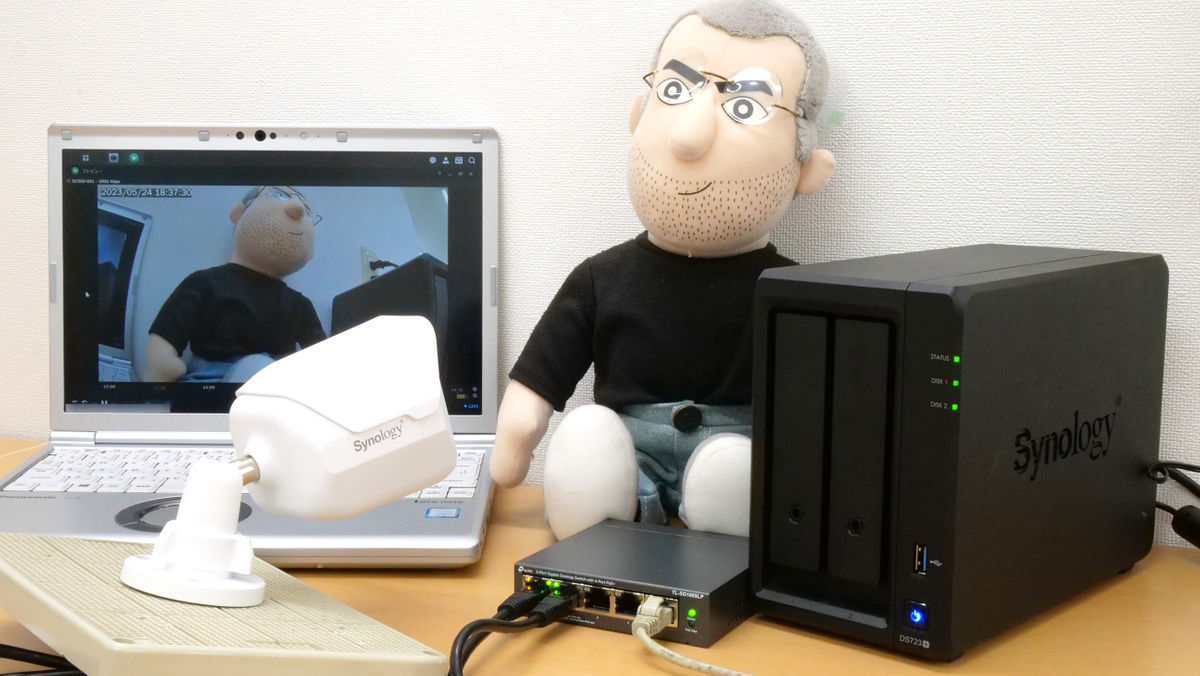
I tried setting up a Synology IP camera 'BC500' that can operate a surveillance camera without a monthly fee so that it can be actually used by connecting it to Synology's NAS
By combining with Synology NAS and Synology's monitoring tool '
BC500 and TC500 | Synology Inc.
https://www.synology.com/ja-jp/products/camera-500
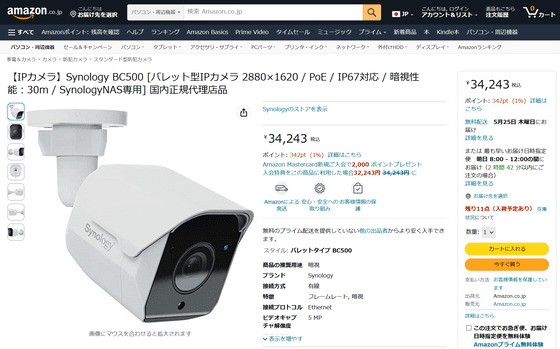
Amazon | [IP camera] Synology BC500 [Bullet type IP camera 2880 × 1620 / PoE / IP67 compatible / Night vision performance: 30m / SynologyNAS dedicated] Domestic authorized distributor | Synology | Server mail order
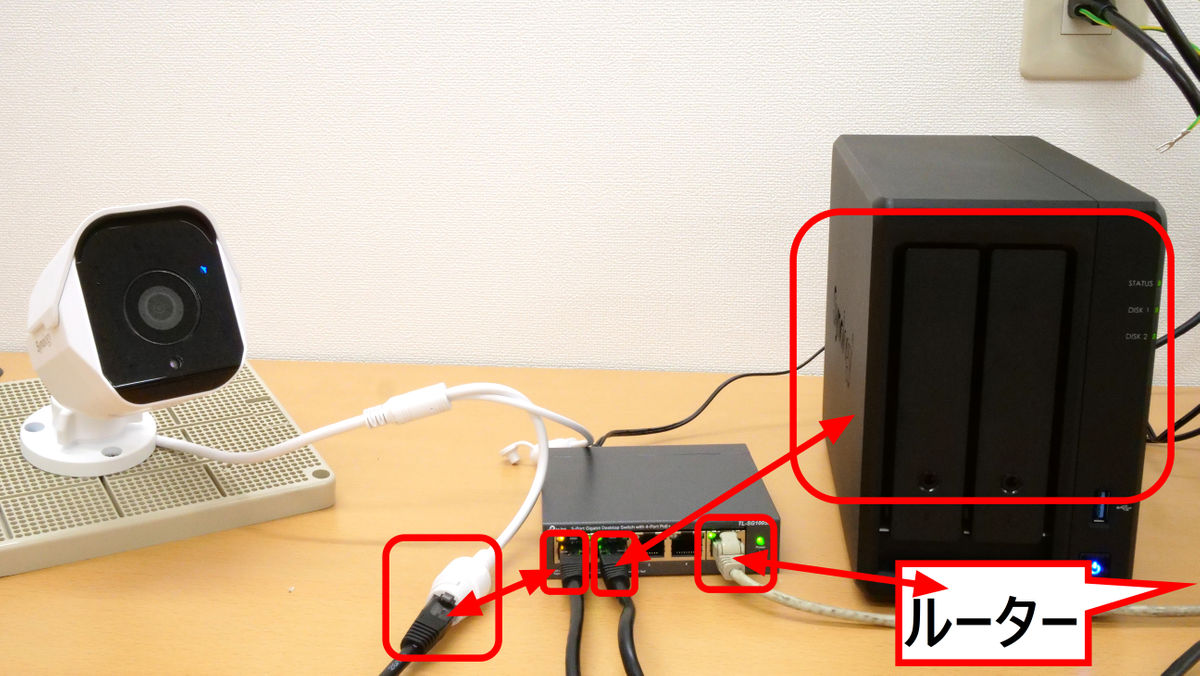
◆Hardware setup
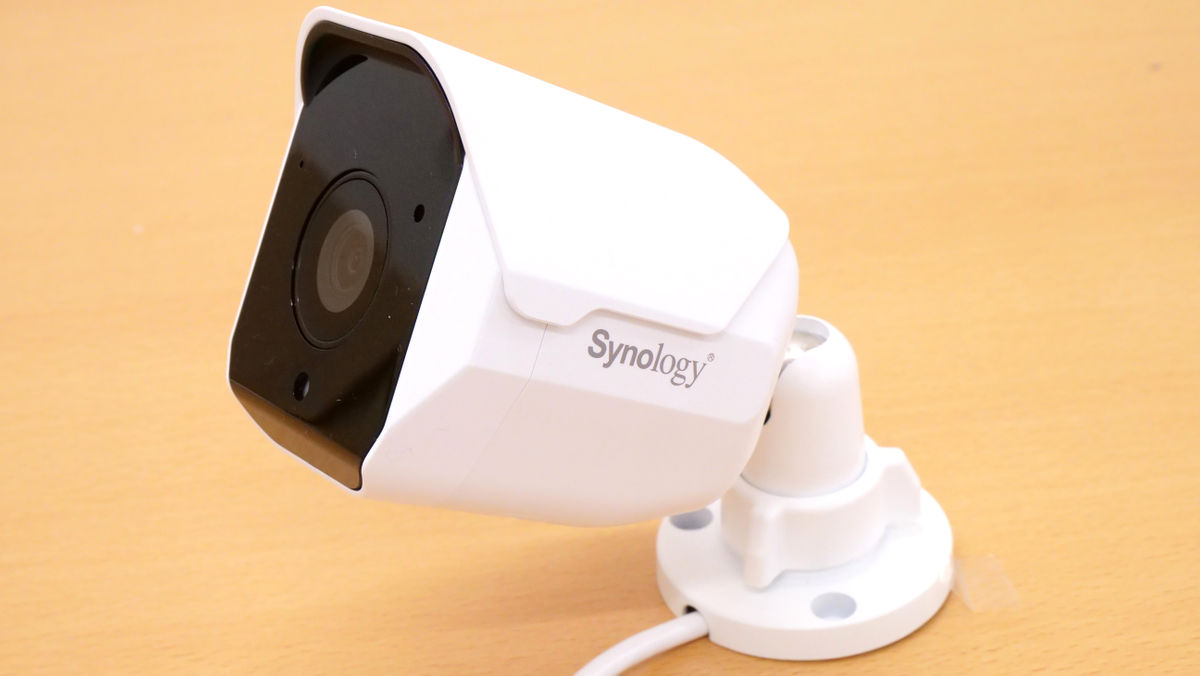
Start by setting up the hardware. We have three devices. The first is the BC500 body.
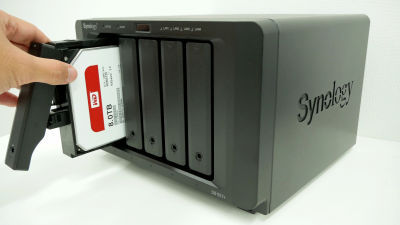
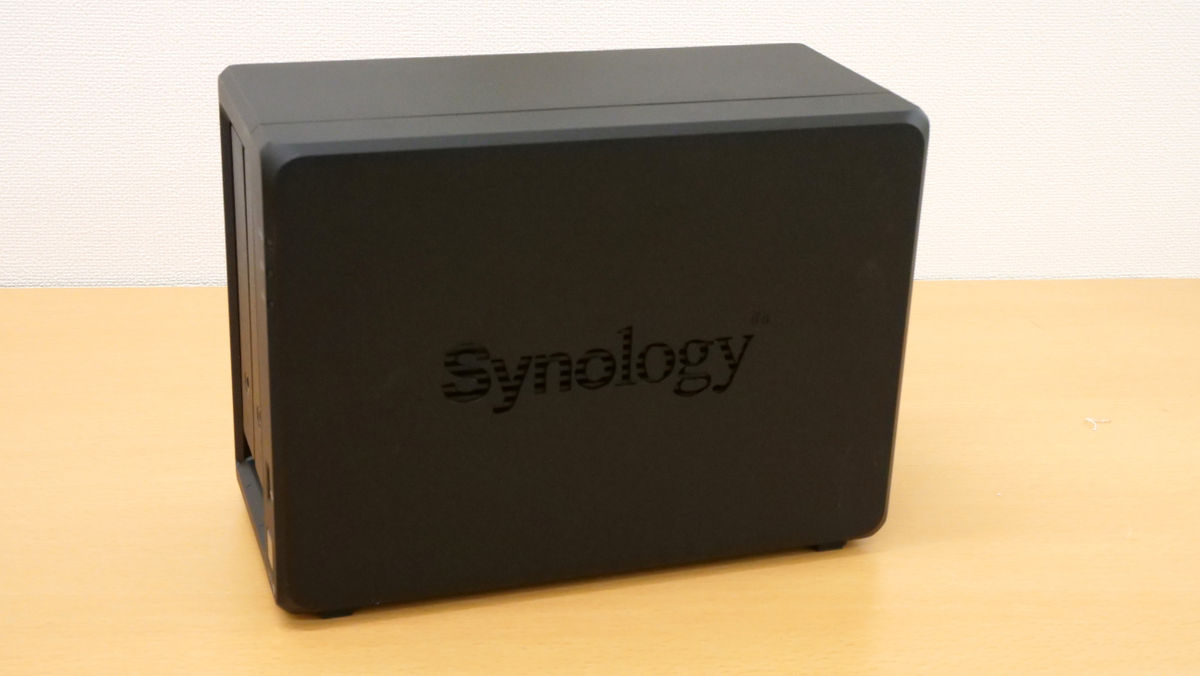
The second is Synology's NAS kit '
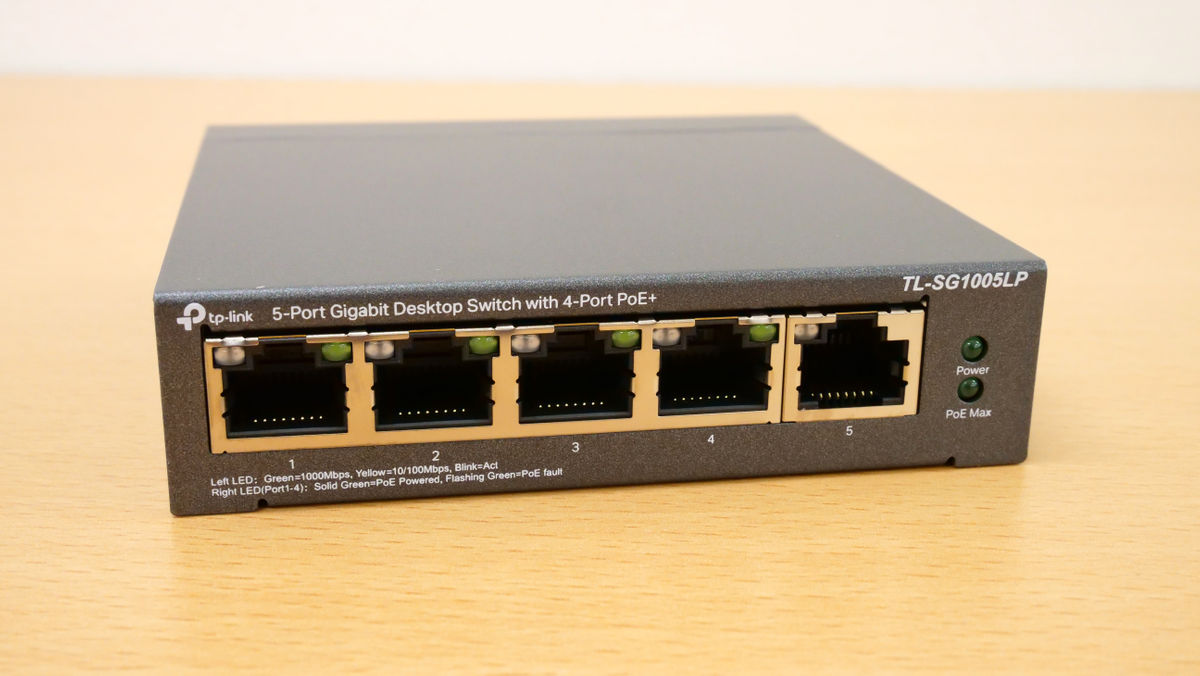
The last is TP-Link's PoE switch '
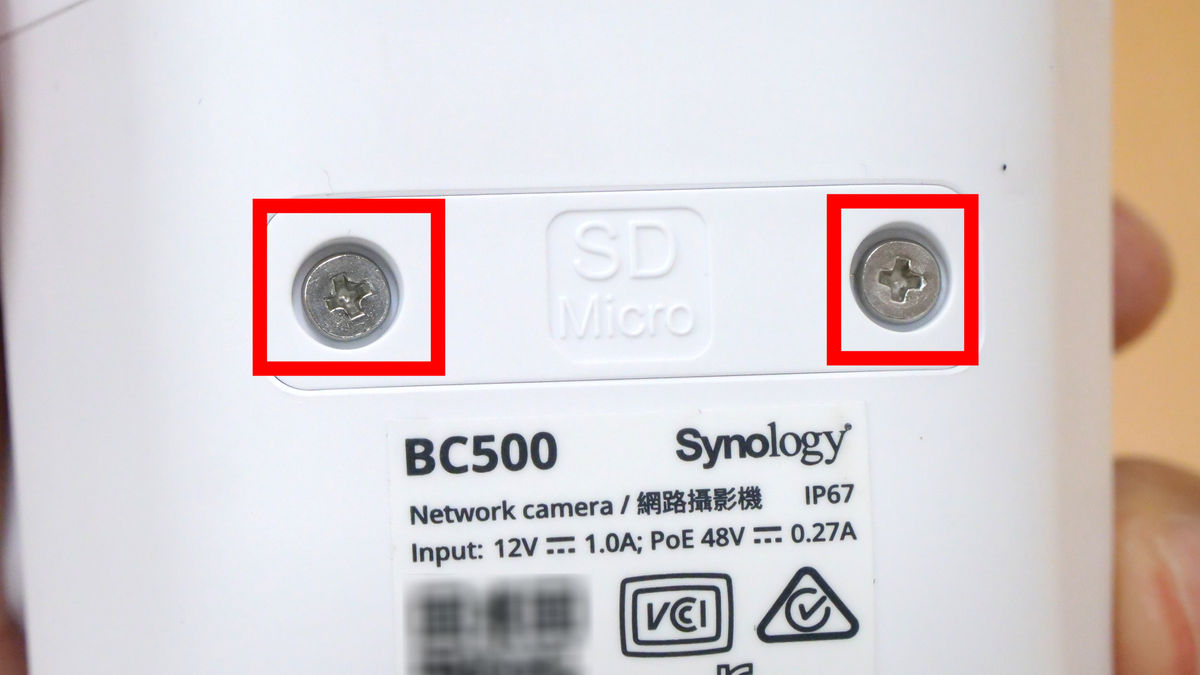
First, open the microSD card slot on the bottom of the BC500 with a screwdriver.
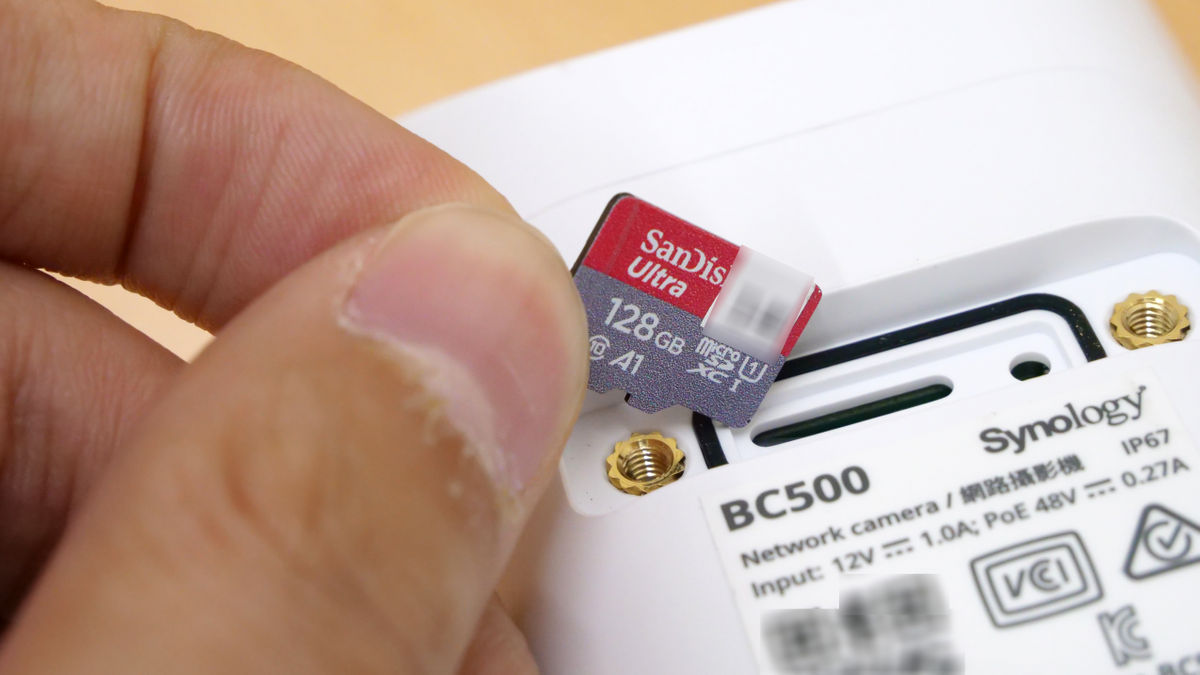
Insert a microSD card.
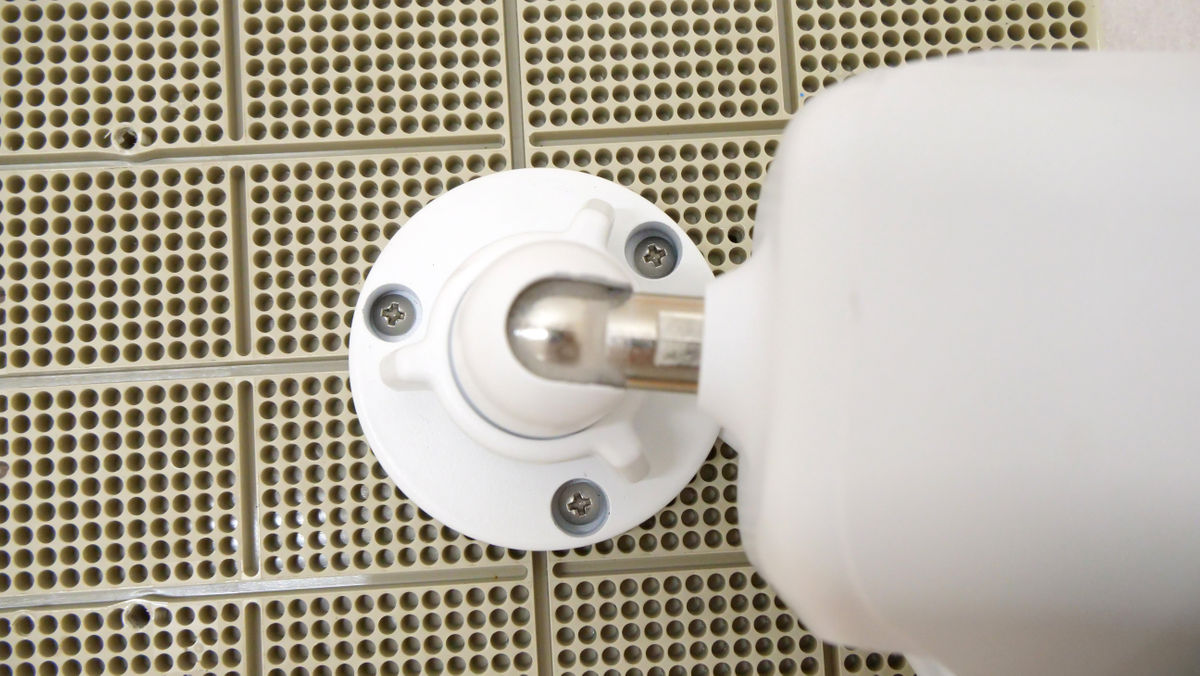
Attach the BC500 to
Next, connect the Ethernet cable extended from the router to the PoE switch.
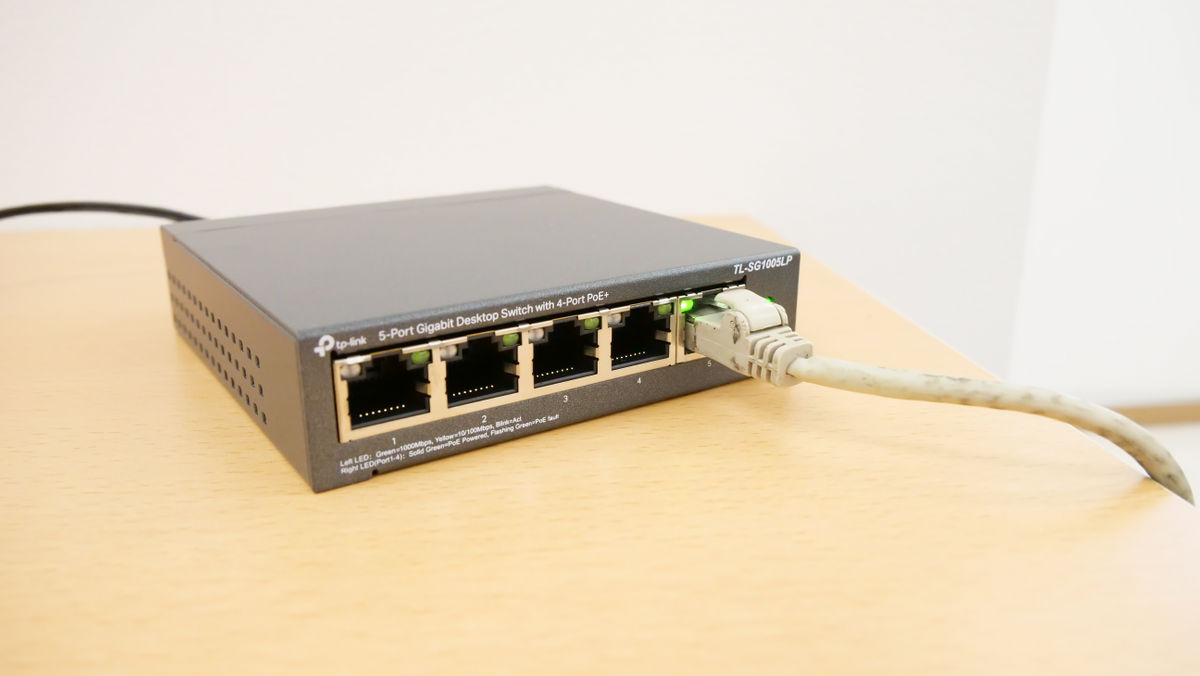
Then connect BC500 and PoE switch.
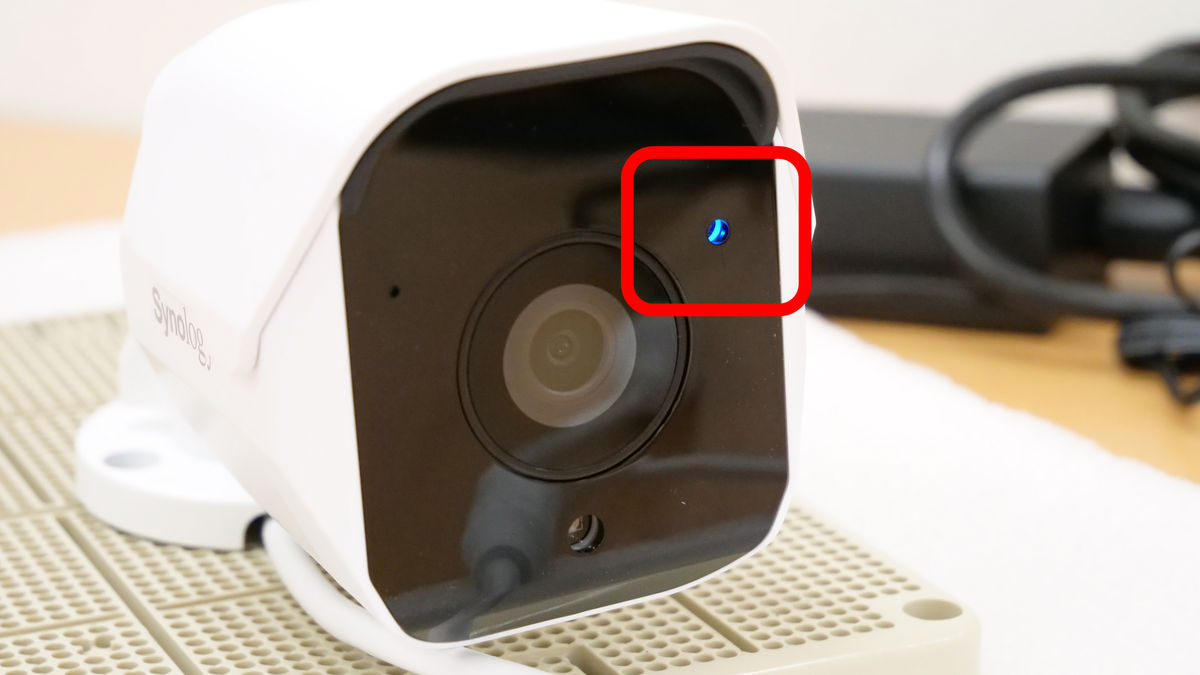
When powered, the indicator on the front of the BC500 lights blue.
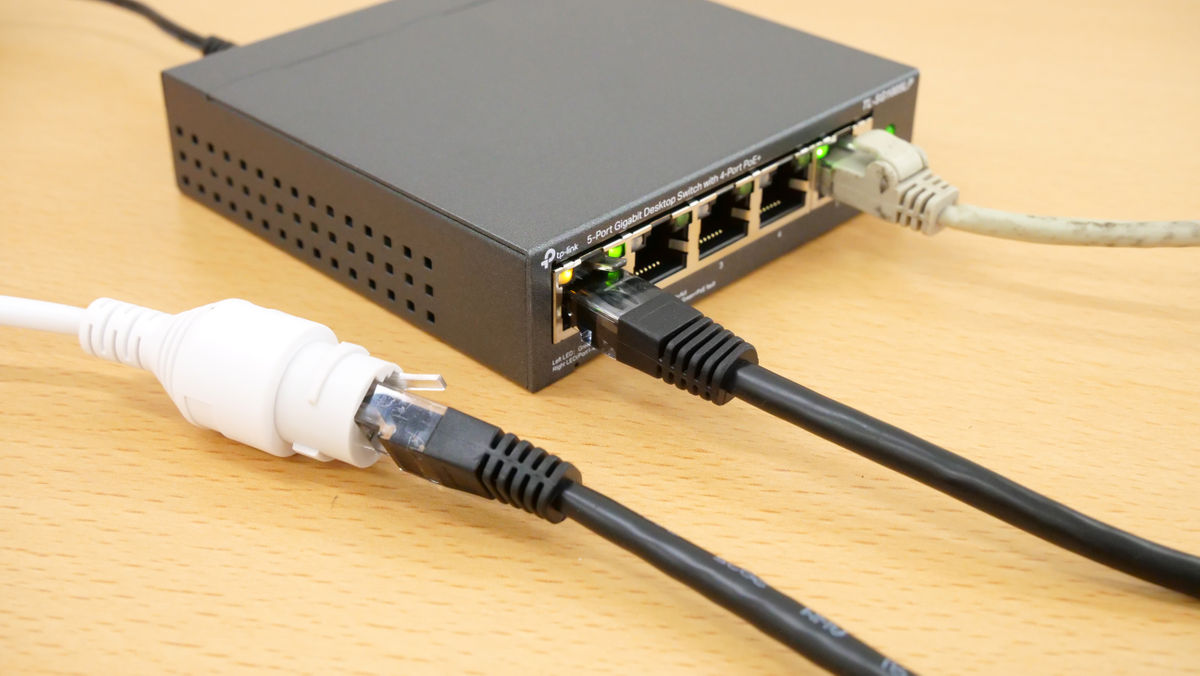
Finally, connect the PoE switch and NAS and you're done.
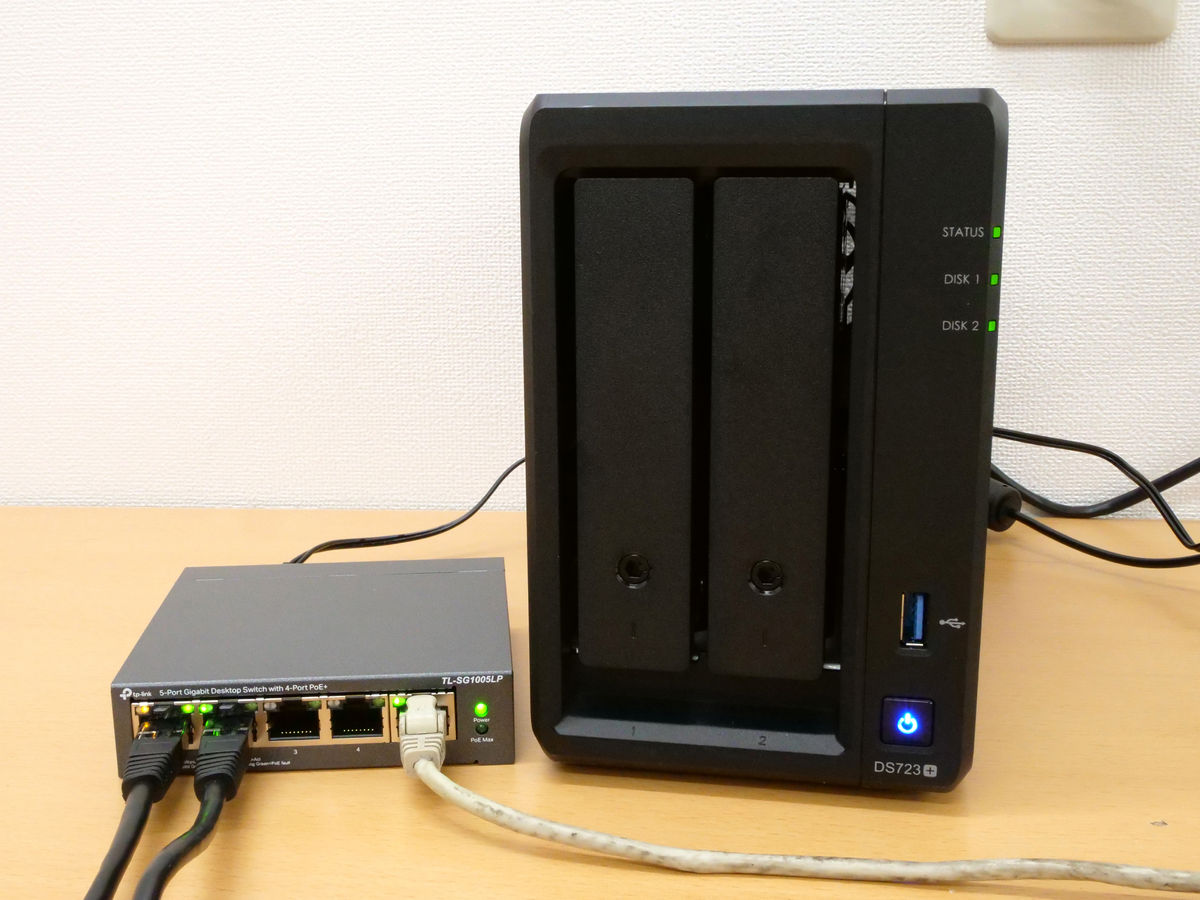
BC500, NAS, and router are connected to the PoE switch.
◆Software setup
Next, set up the software. First, access
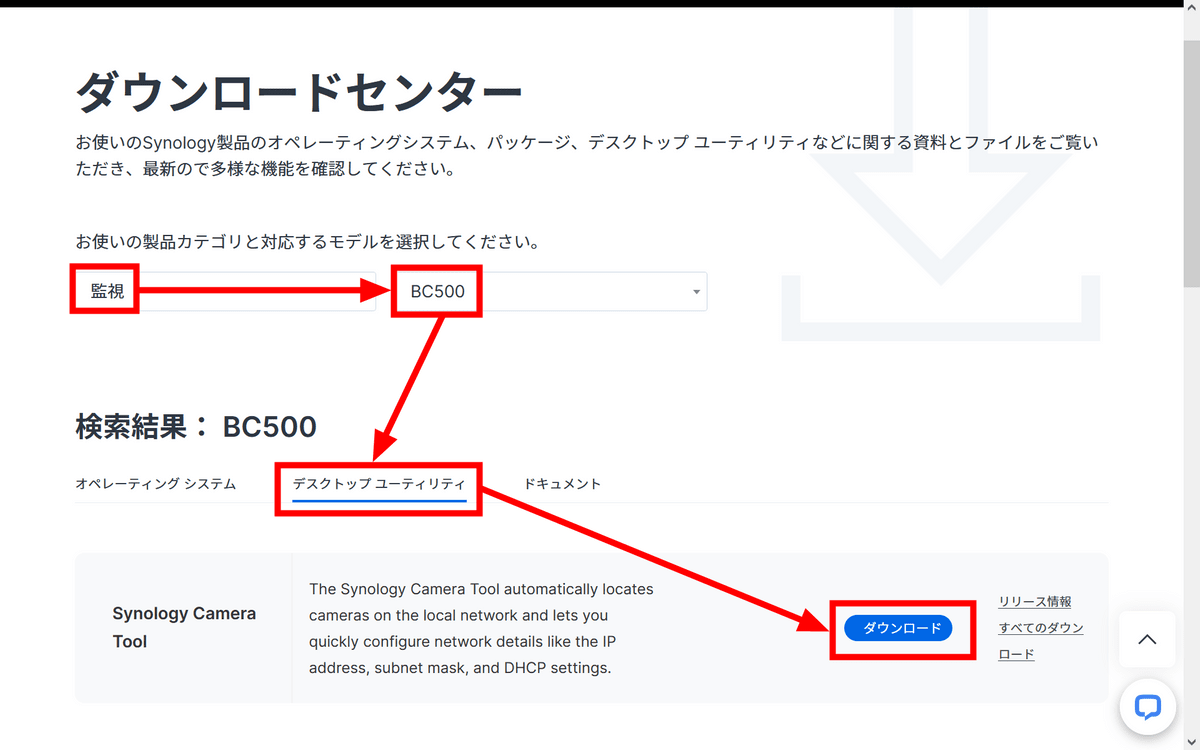
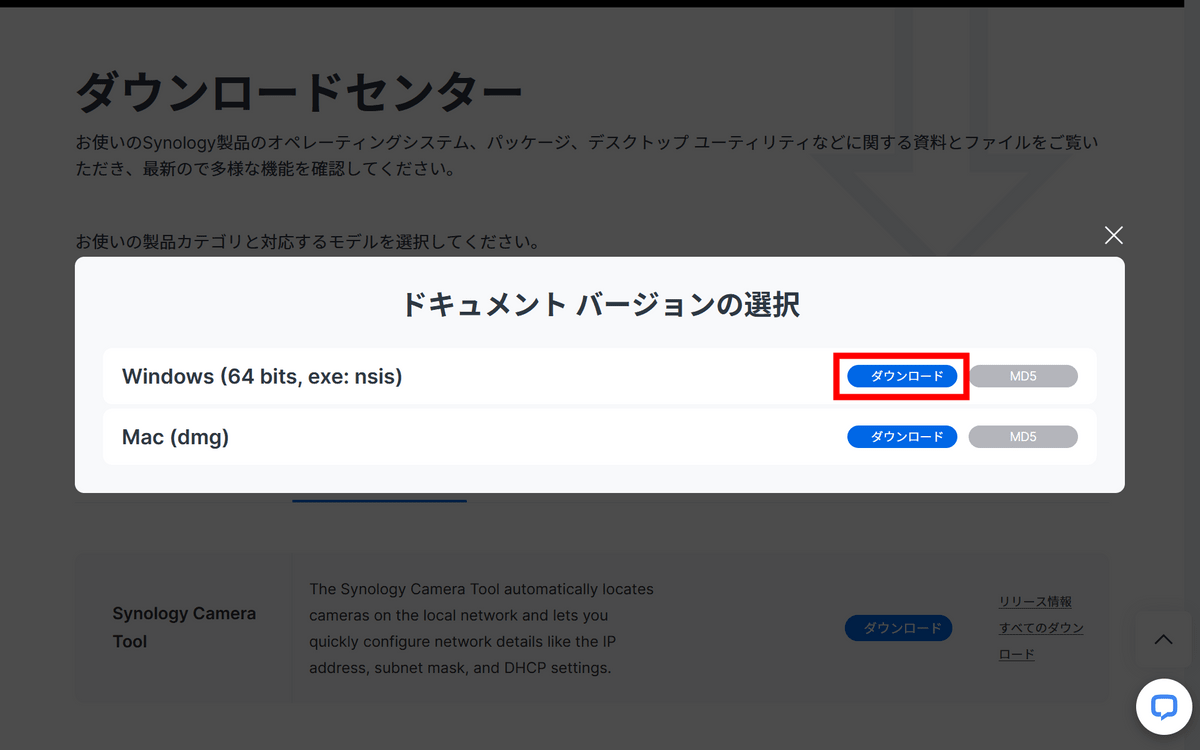
Since I am setting up on Windows this time, click 'Download' of 'Windows (64 bits, exe: nsis)'.
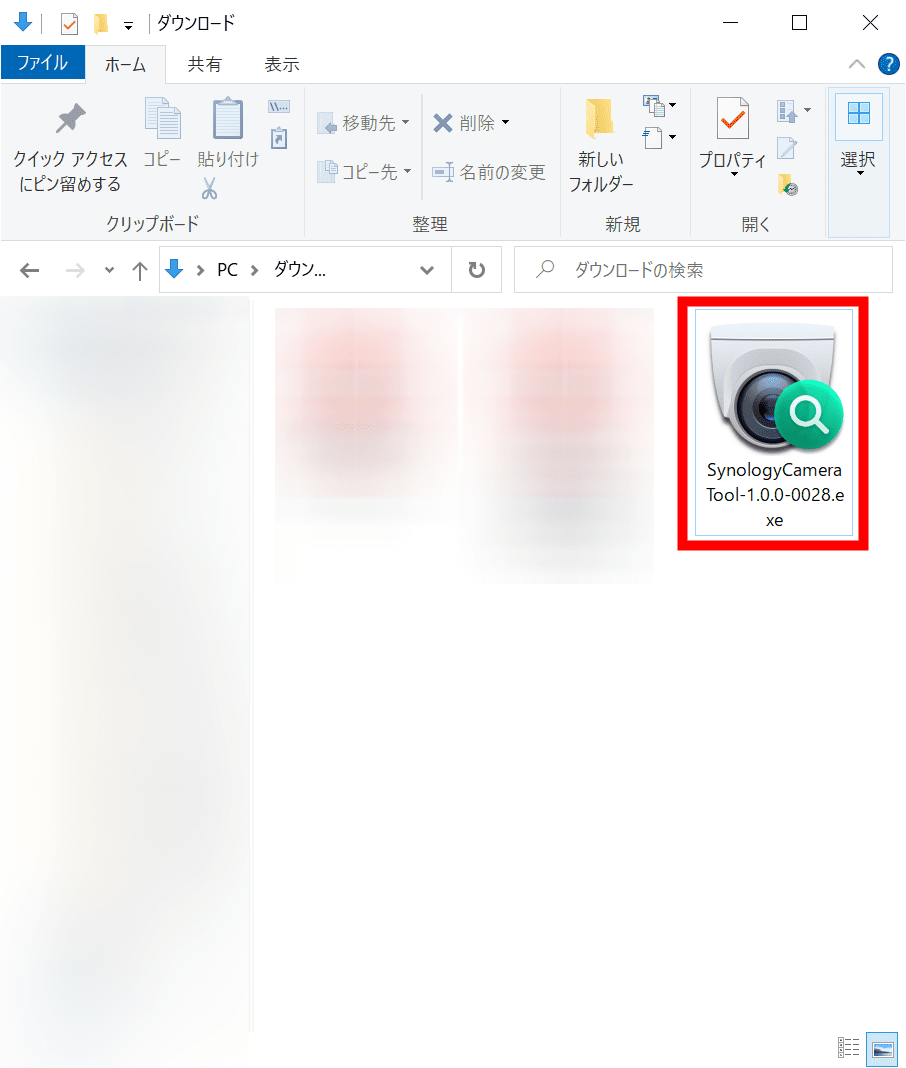
Run the downloaded 'SynologyCameraTool-1.0.0-0028.exe'.
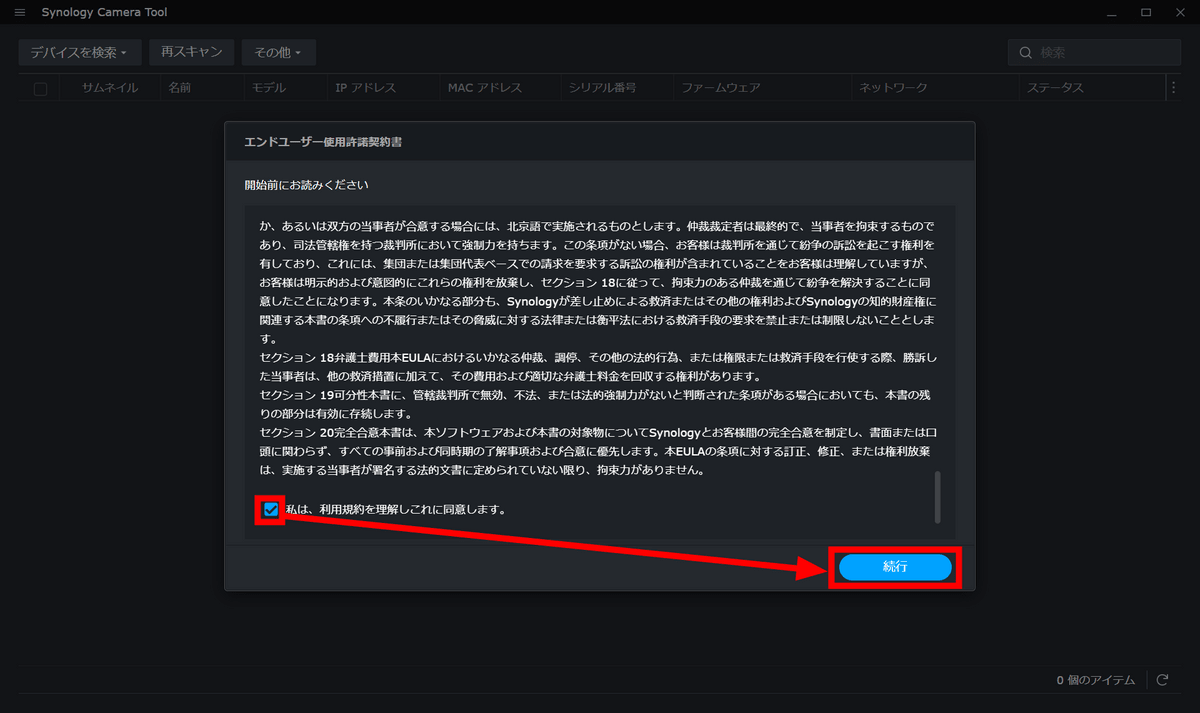
Since the terms of use are displayed, check the check box and click 'Continue'.
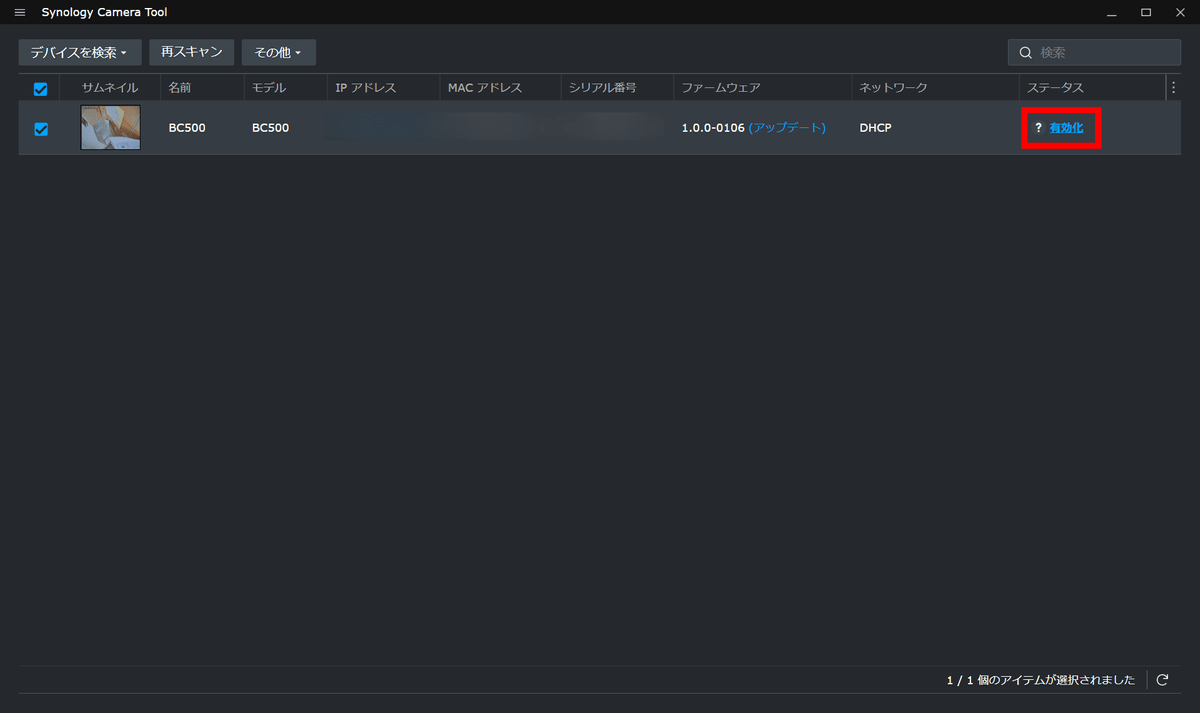
Since BC500 in the network is detected, click 'Activate'.
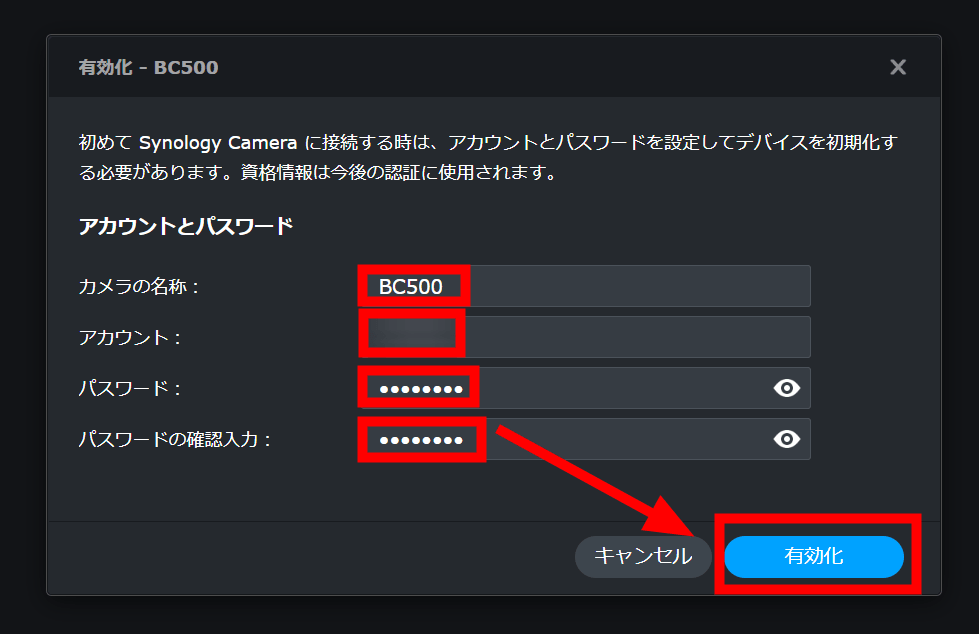
Enter your favorite character string in the camera name and account, set the password and click 'Activate'.
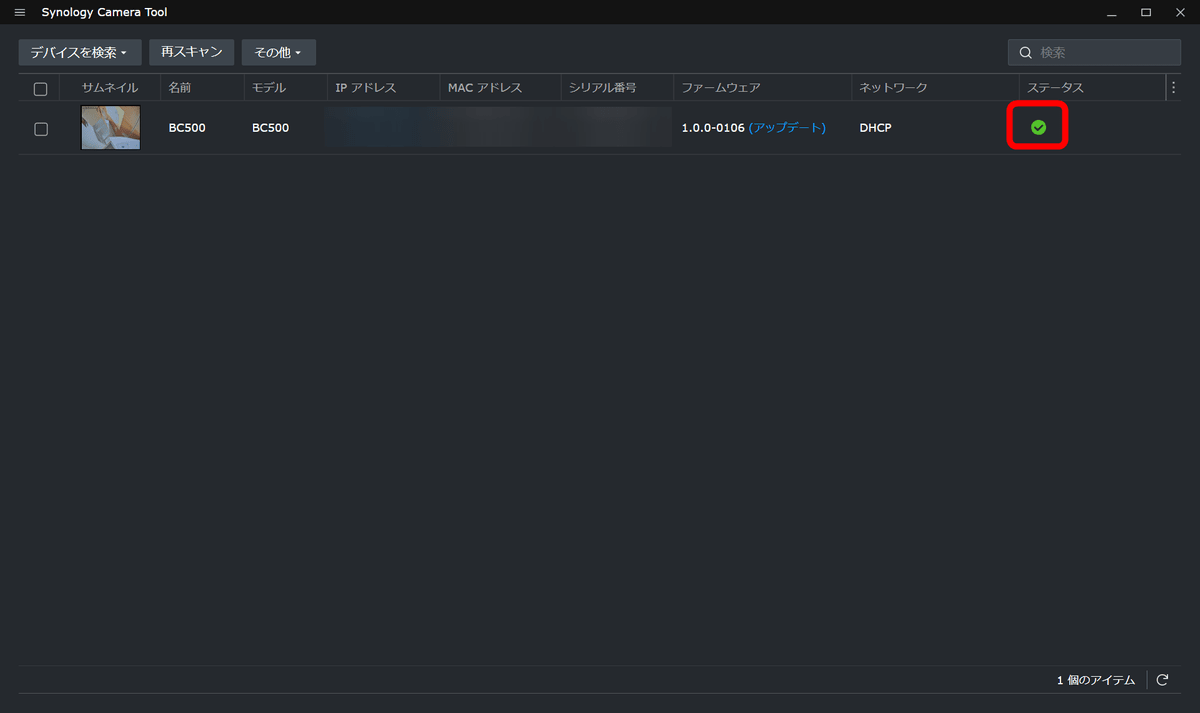
It is activated when you see a green checkmark in the status column.
Go to Synology's download center again and set the product category to 'NAS' and the model to 'DS723 +'.

Click 'Desktop Utility' and click 'Download' of 'Synology Assistant' at the top.

Click Download for Windows (exe).

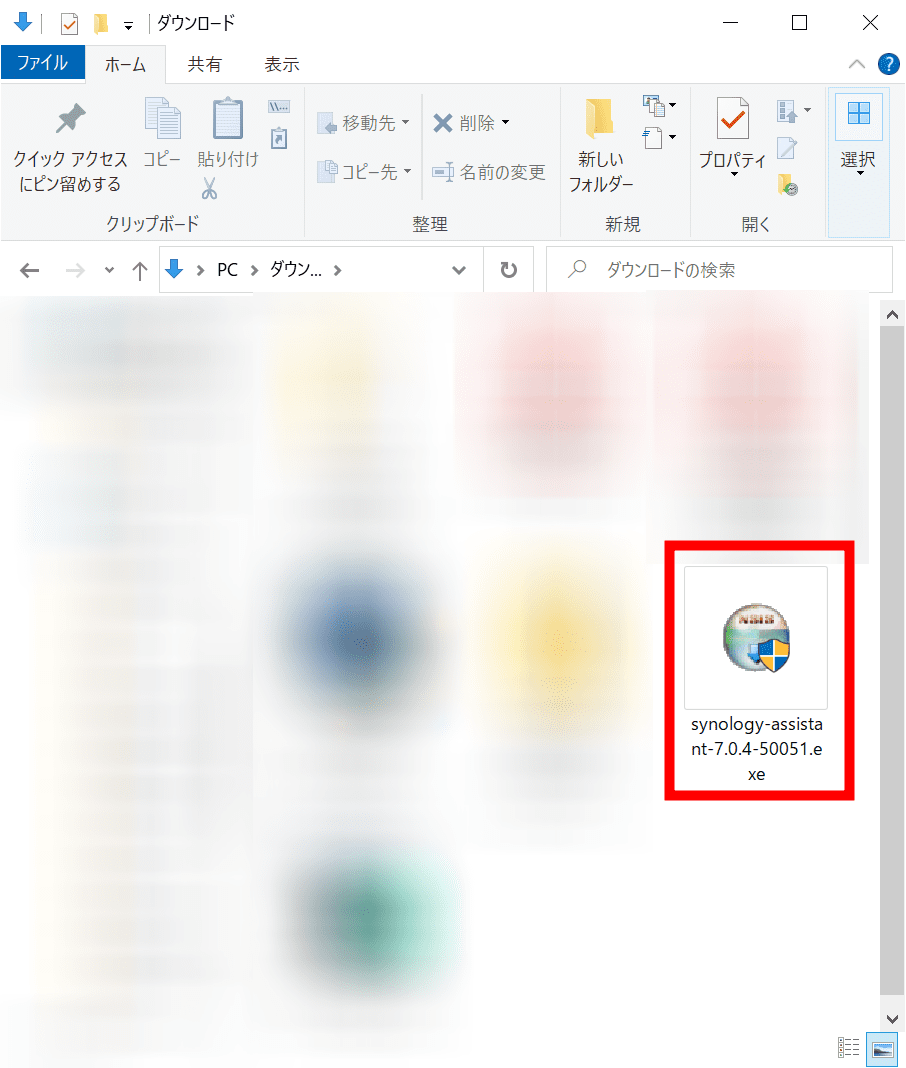
Execute the downloaded 'synology-assistant-7.0.4-50051.exe'.
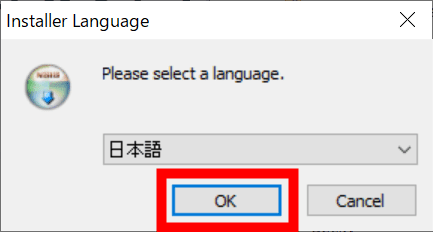
The installer will launch. Since Japanese is selected as the language, click 'OK'.
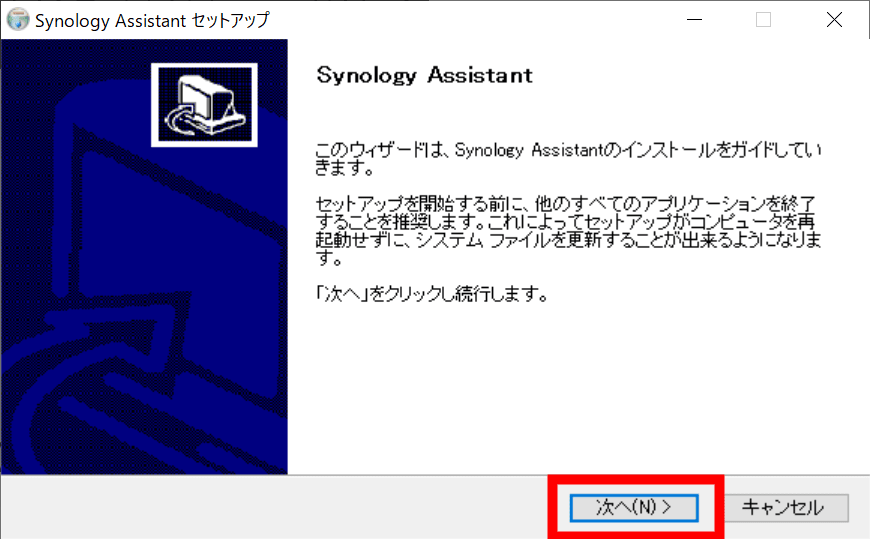
Click 'Next'.
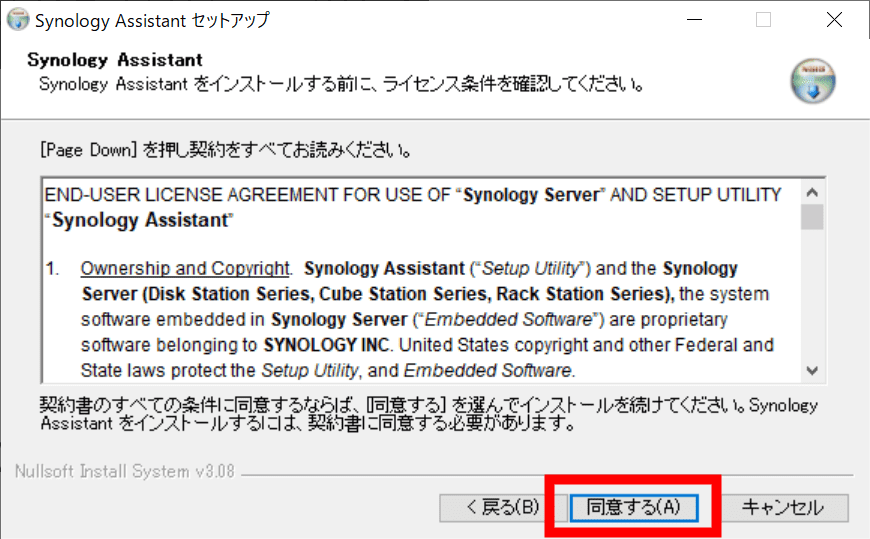
Click 'I agree'.
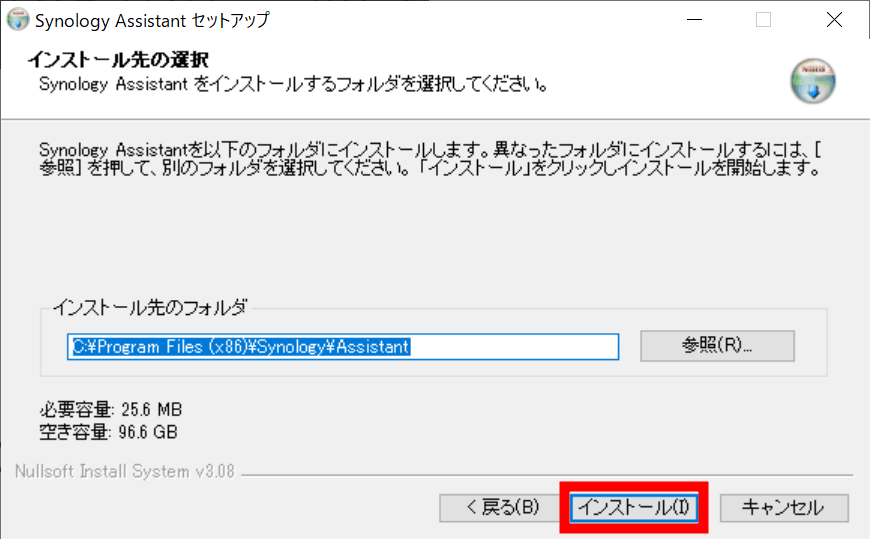
Click 'Install'.
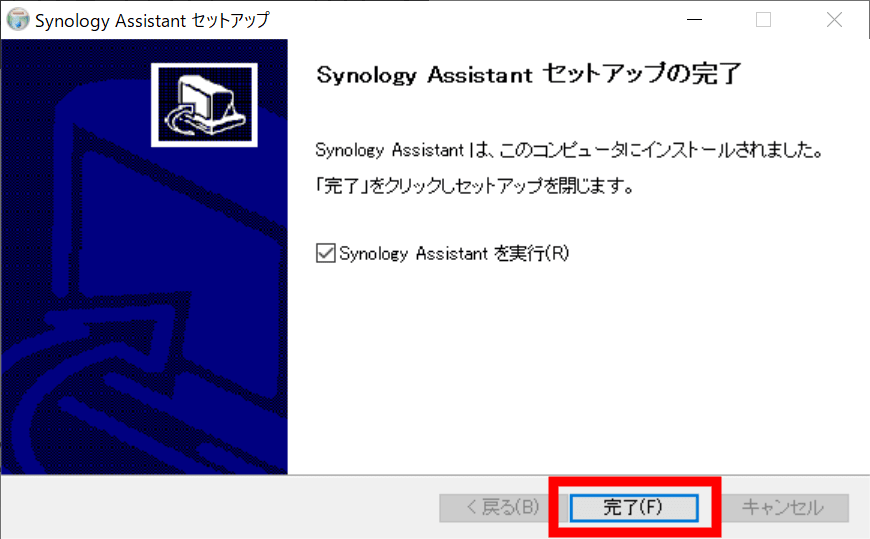
Click 'Finish'. Synology Assistant will launch.
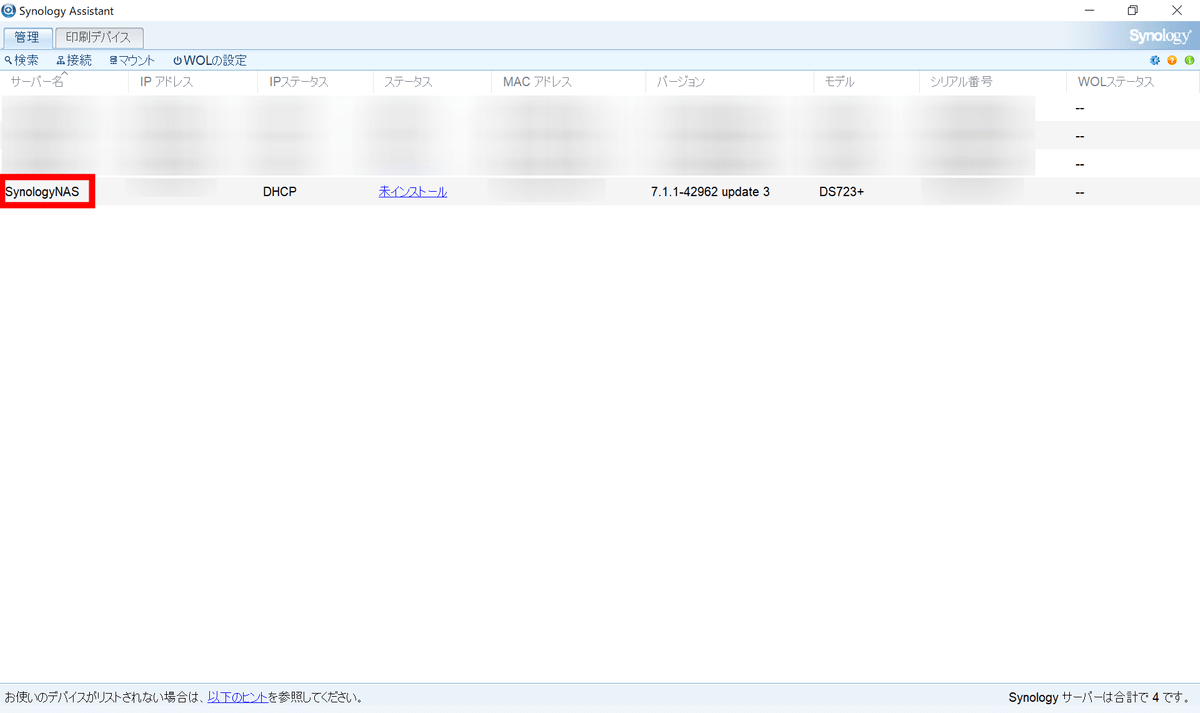
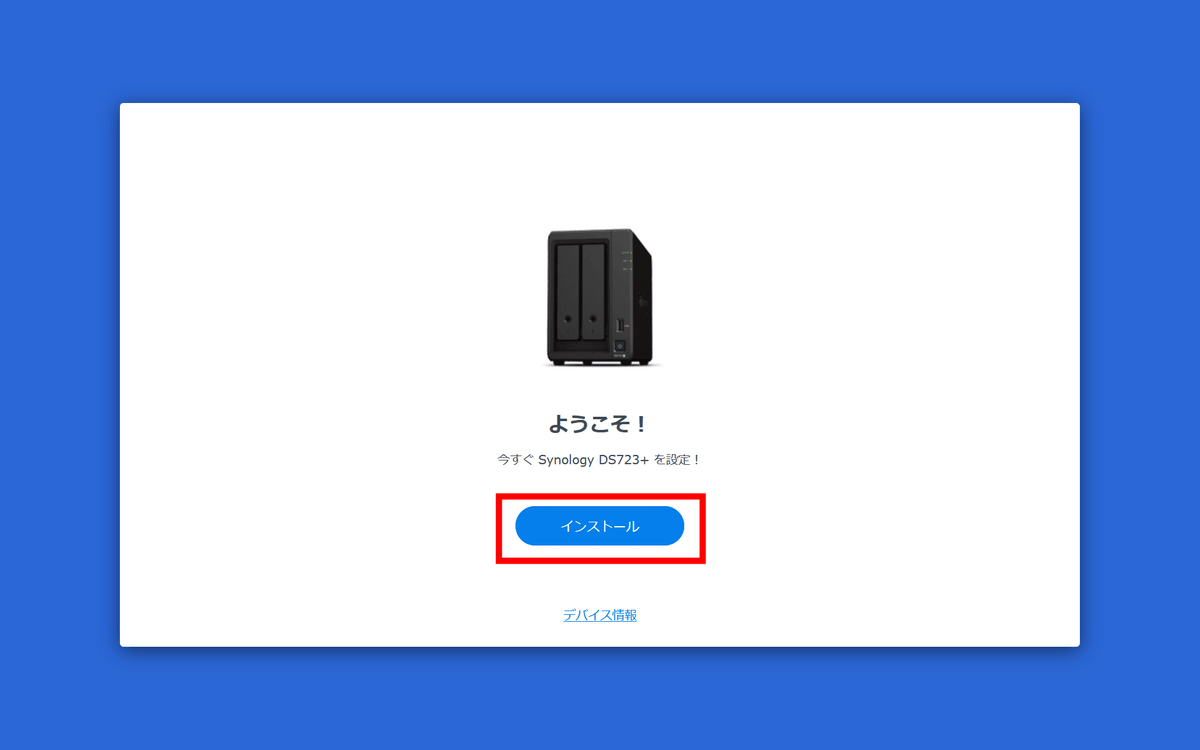
Since the equipment connected to the network is displayed, double click 'SynologyNAS'. A browser will launch and access Synology's
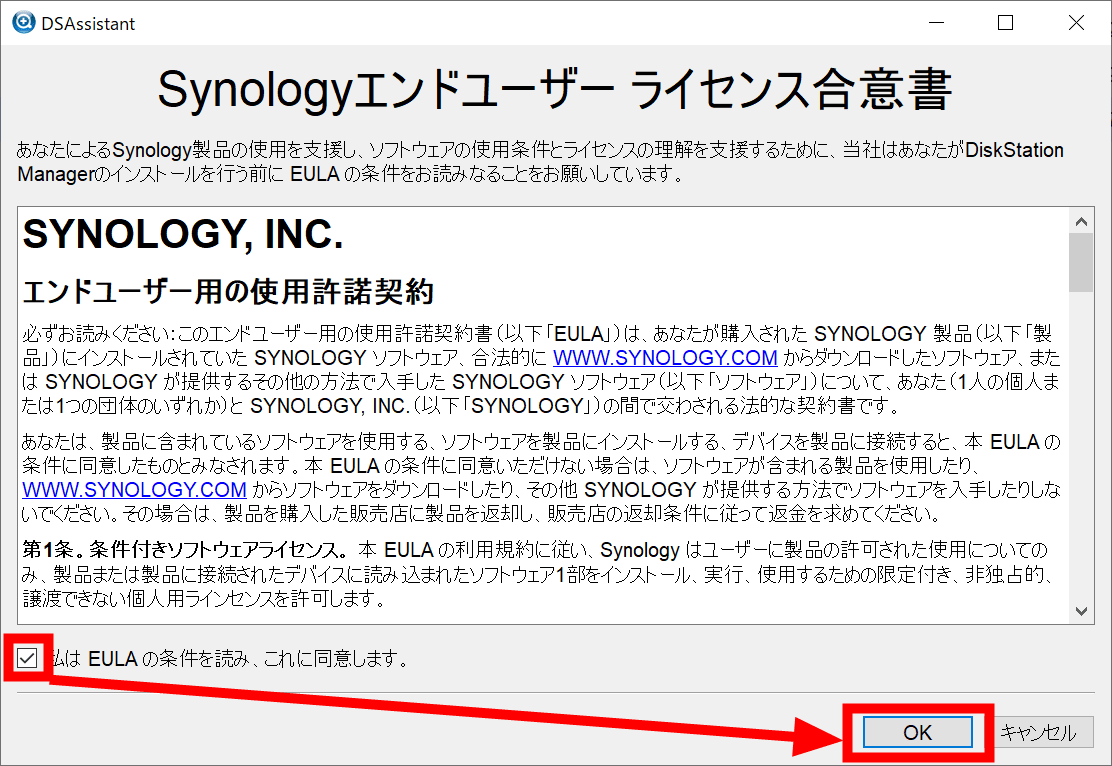
Since the license agreement is displayed, check the check box and click 'OK'.
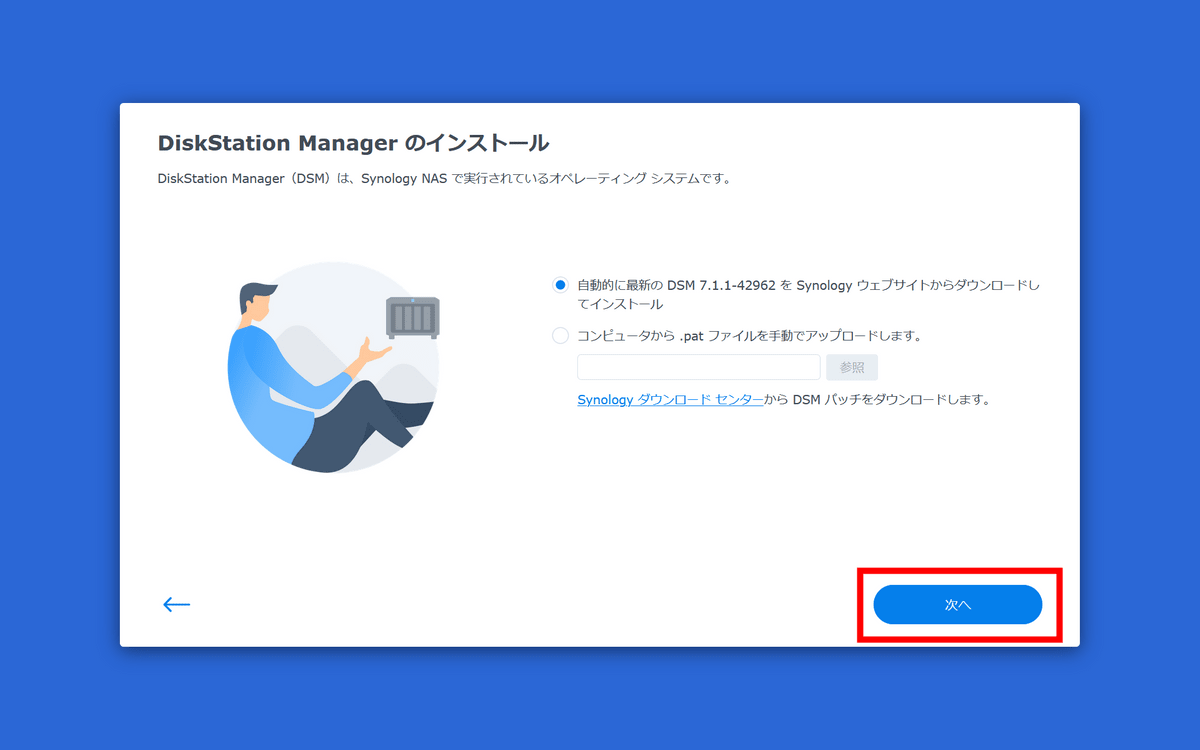
Click 'Install'.
Click 'Next'.
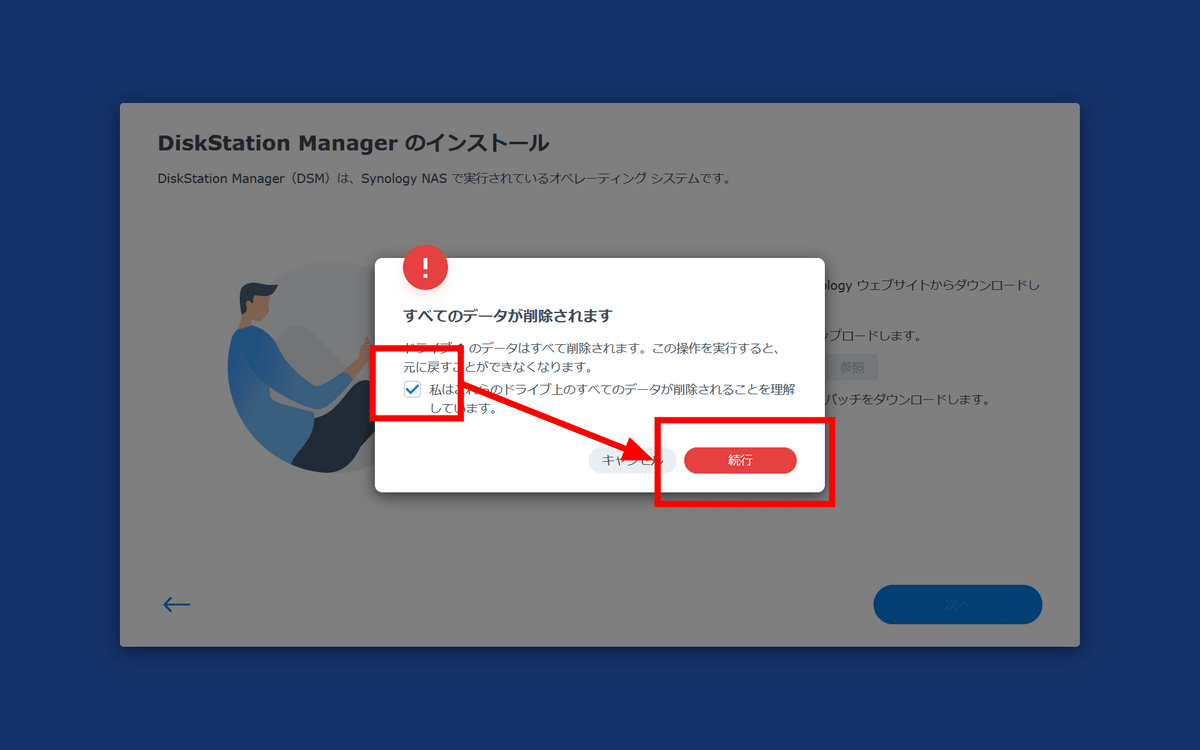
Check the checkbox and click 'Continue'.
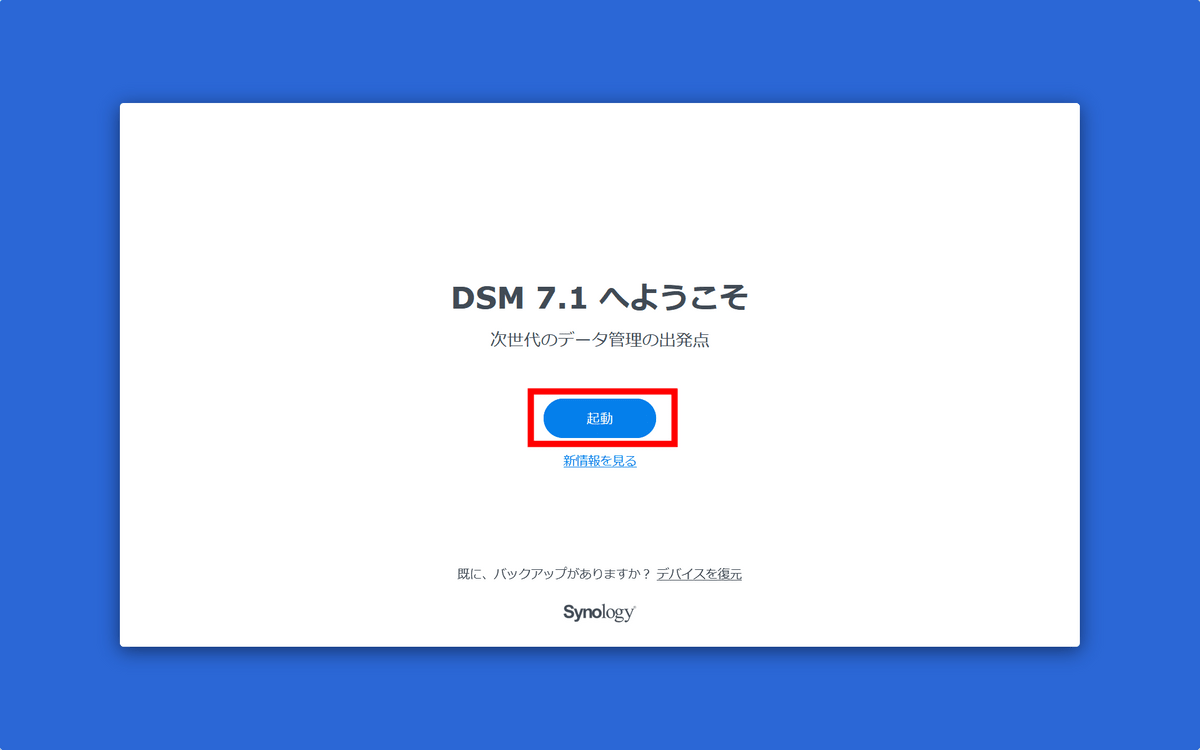
When the initial setup is completed, click 'Start'.
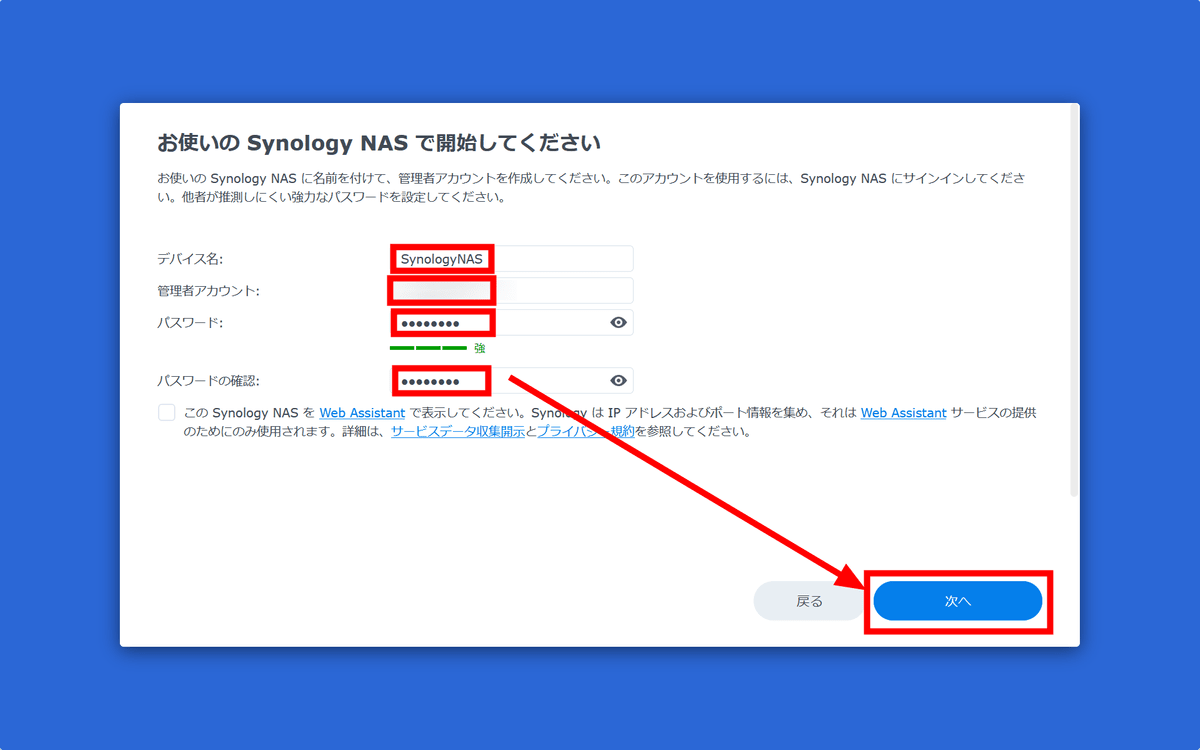
Enter a descriptive string for the device name. For this time, enter 'SynologyNAS', then enter your favorite character string for the administrator account and password and click 'Next'.
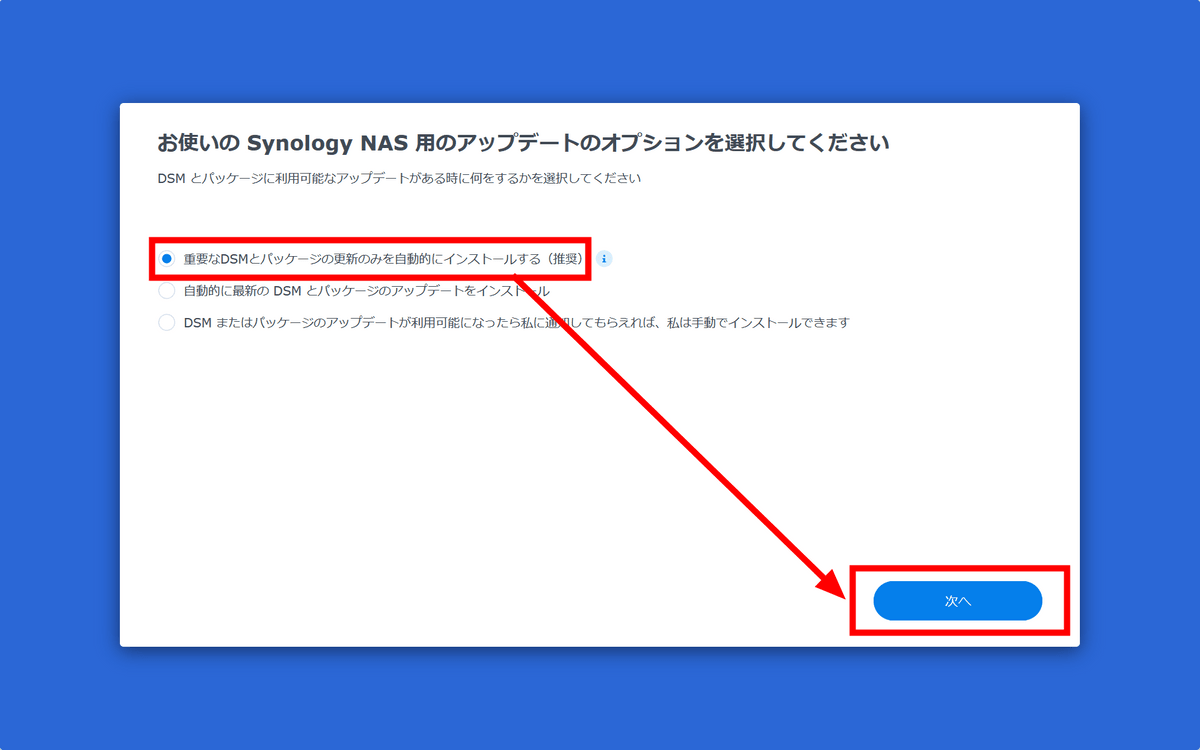
Select 'Automatically install only important DSM and package updates (recommended)' and click 'Next'.
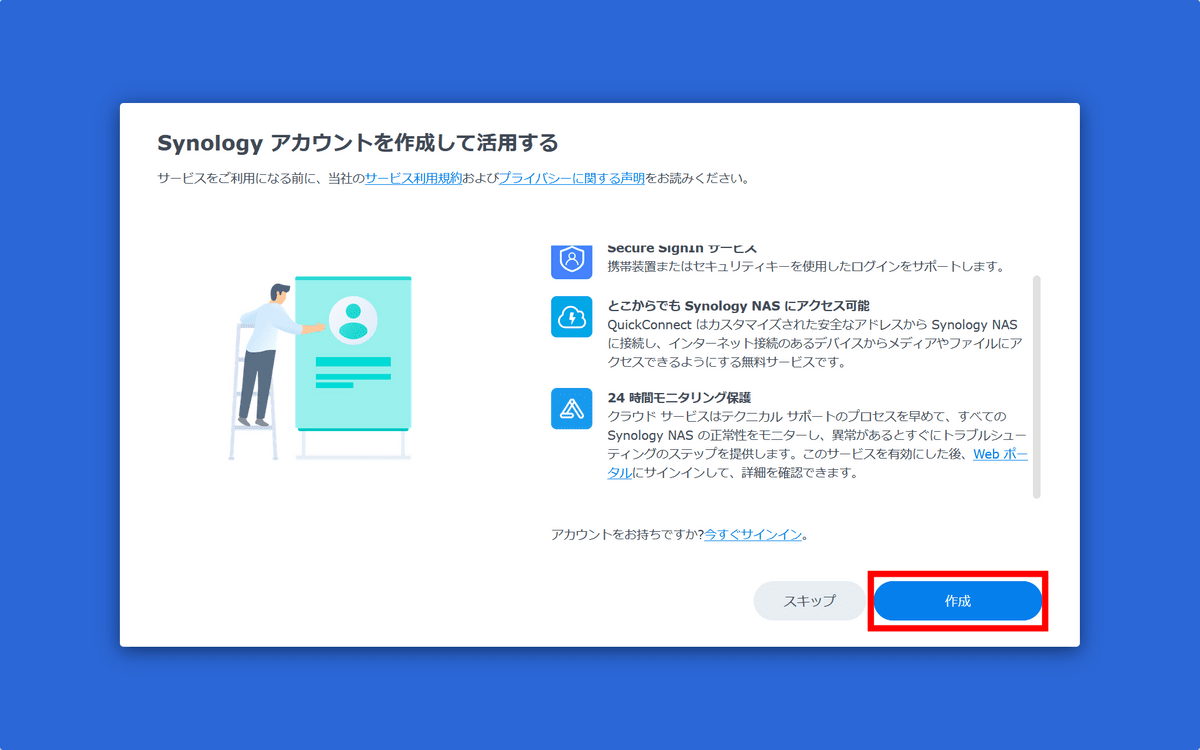
You will be asked to create a Synology account, so click 'Create'.
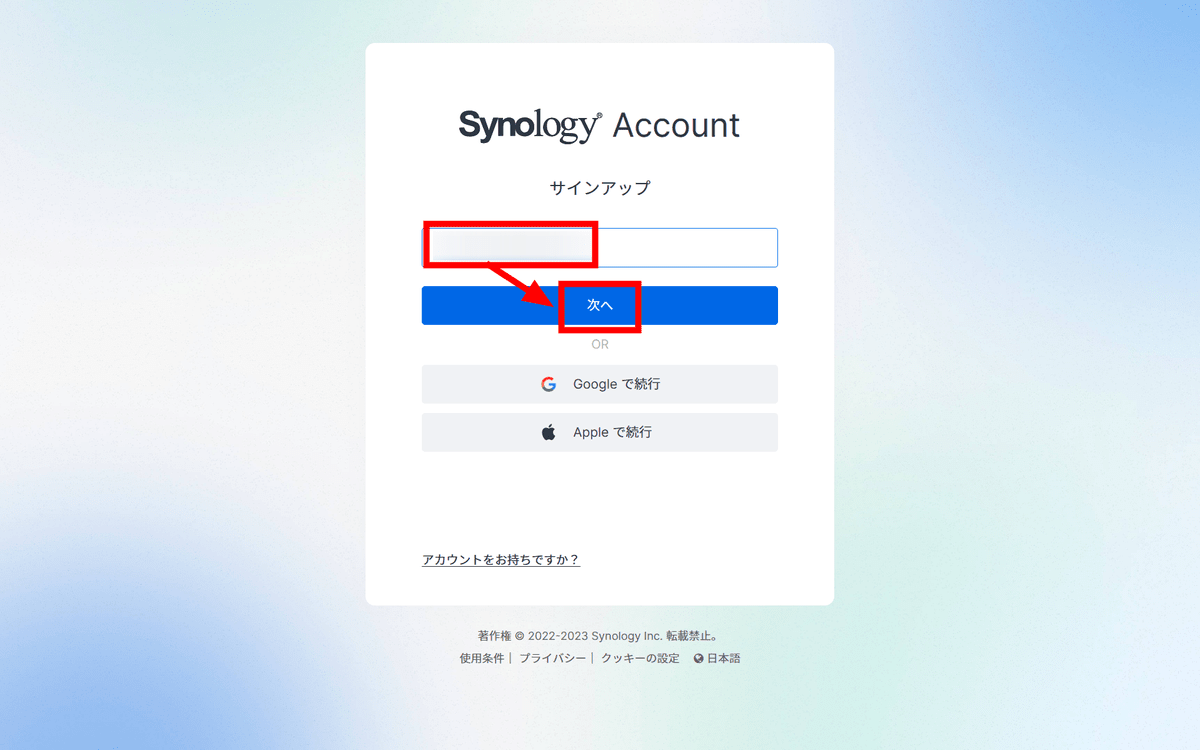
Enter your email address and click 'Next'.
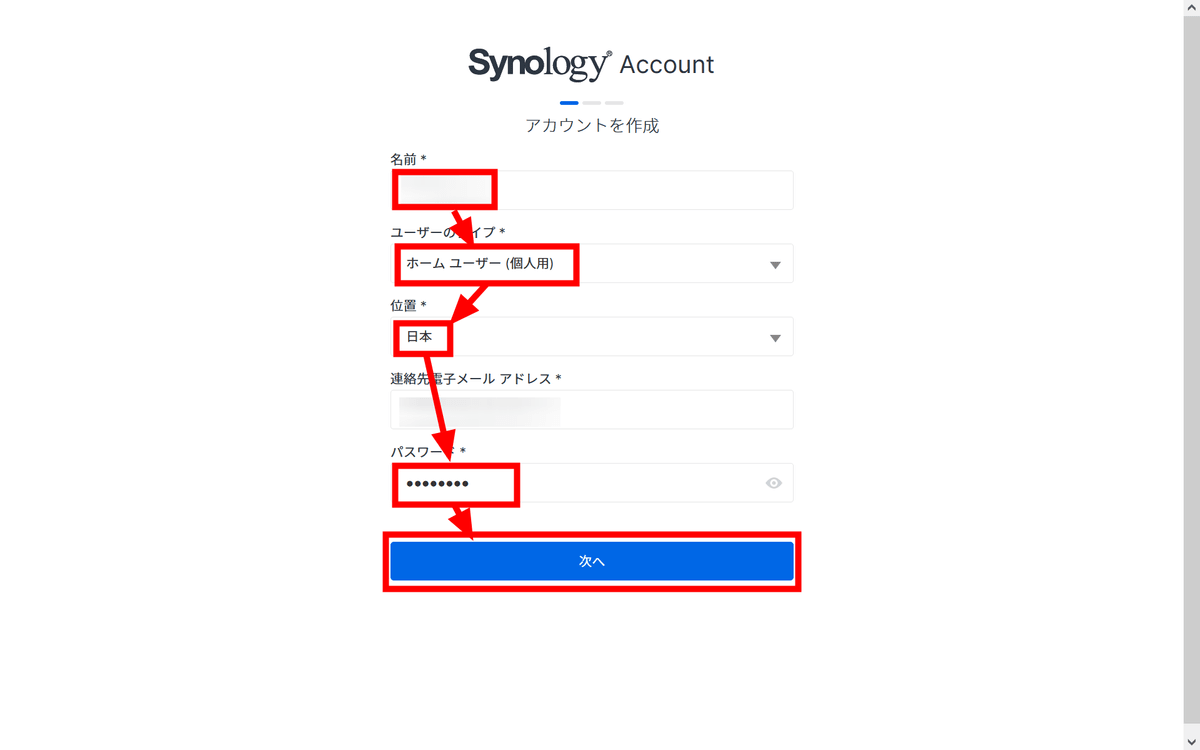
Enter the name, user type, location, password and click 'Next'.
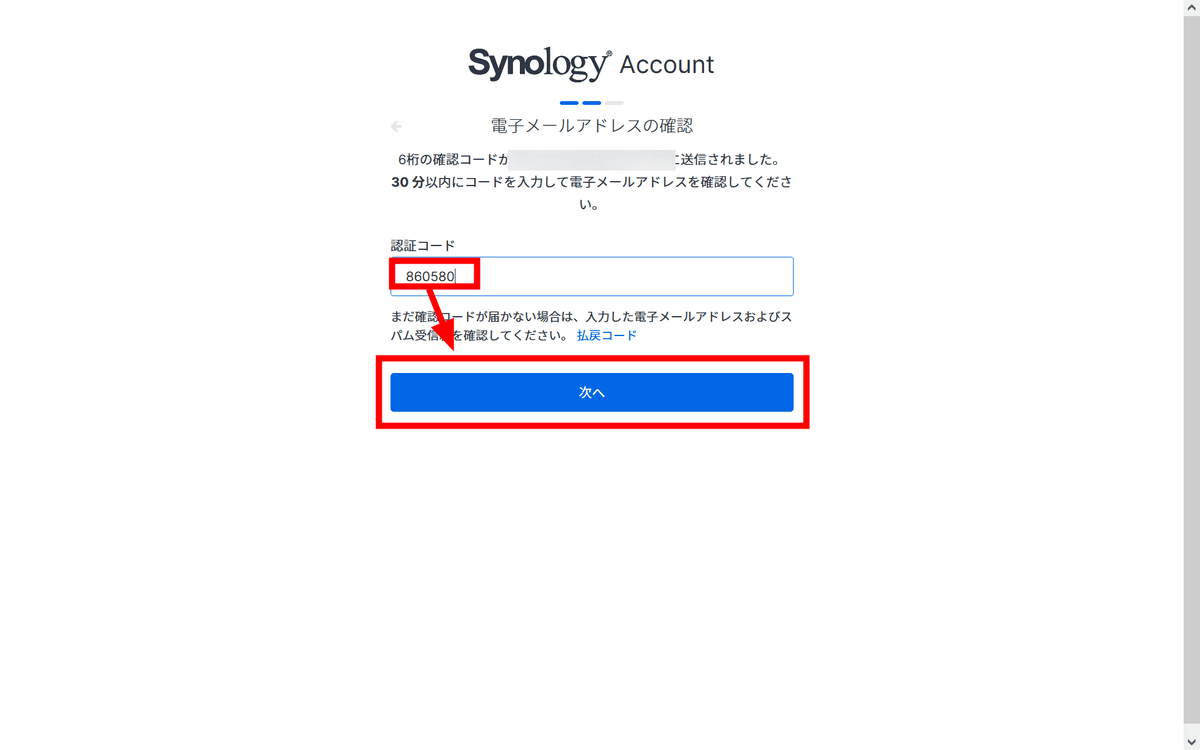
Enter the 6-digit authentication code sent to the email address and click 'Next'.
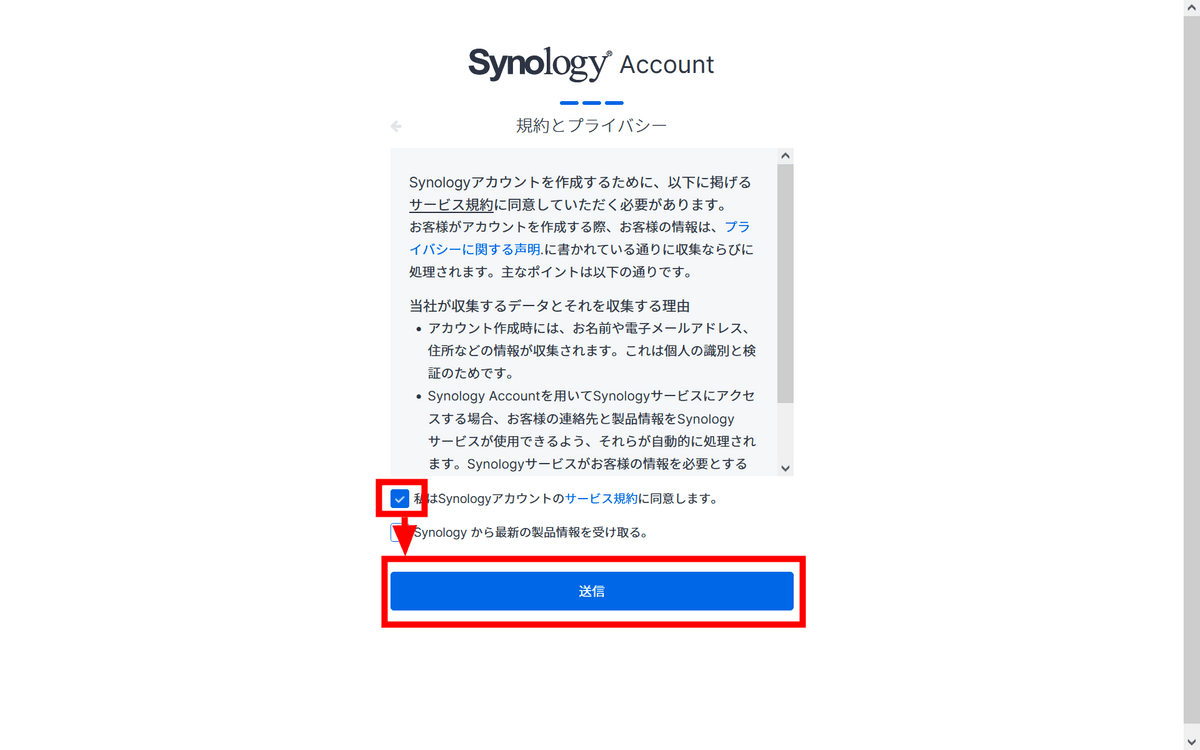
Check the terms of service agreement and click 'Send'.
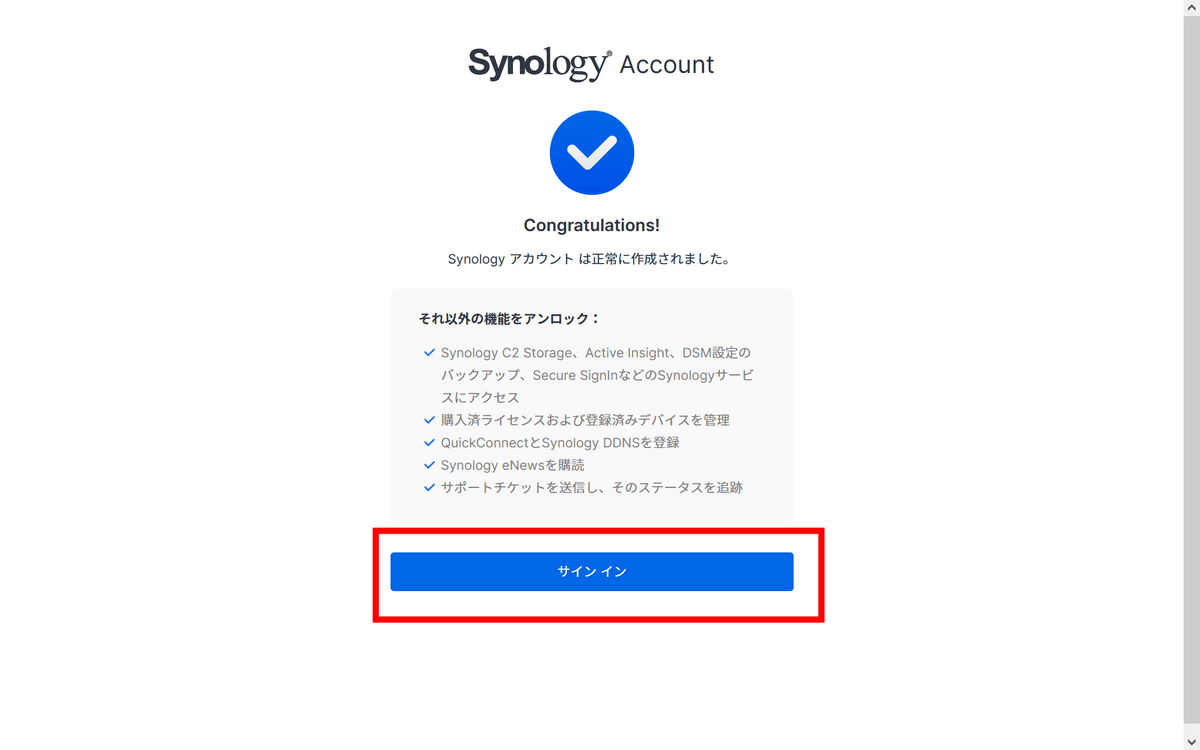
Click 'Sign in'.
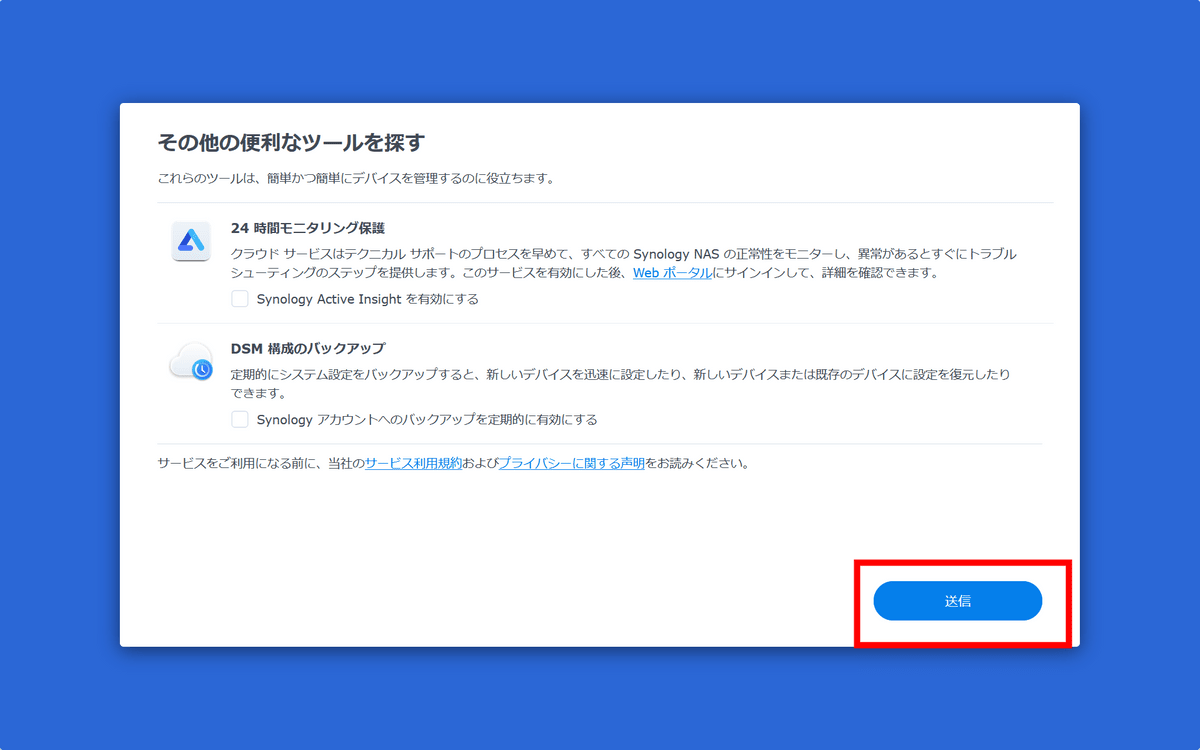
You will be prompted to activate '
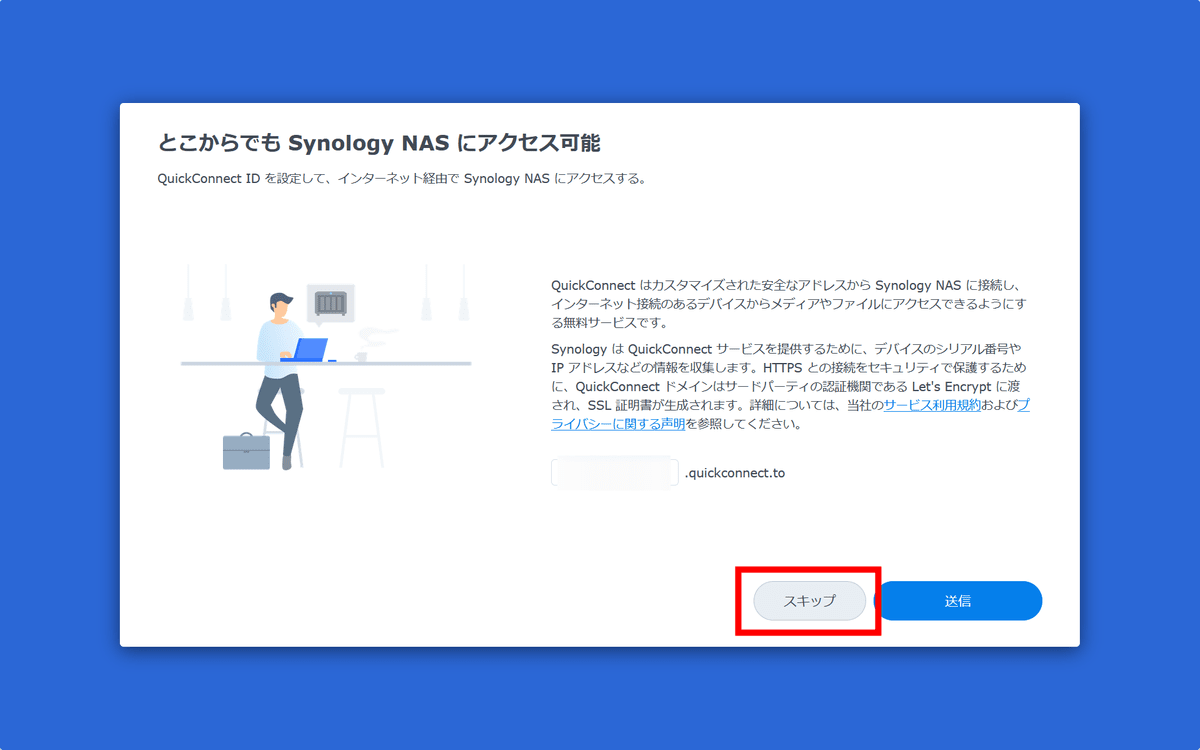
Click 'Send' without activating '24-hour monitoring protection' and 'DSM configuration backup' this time.
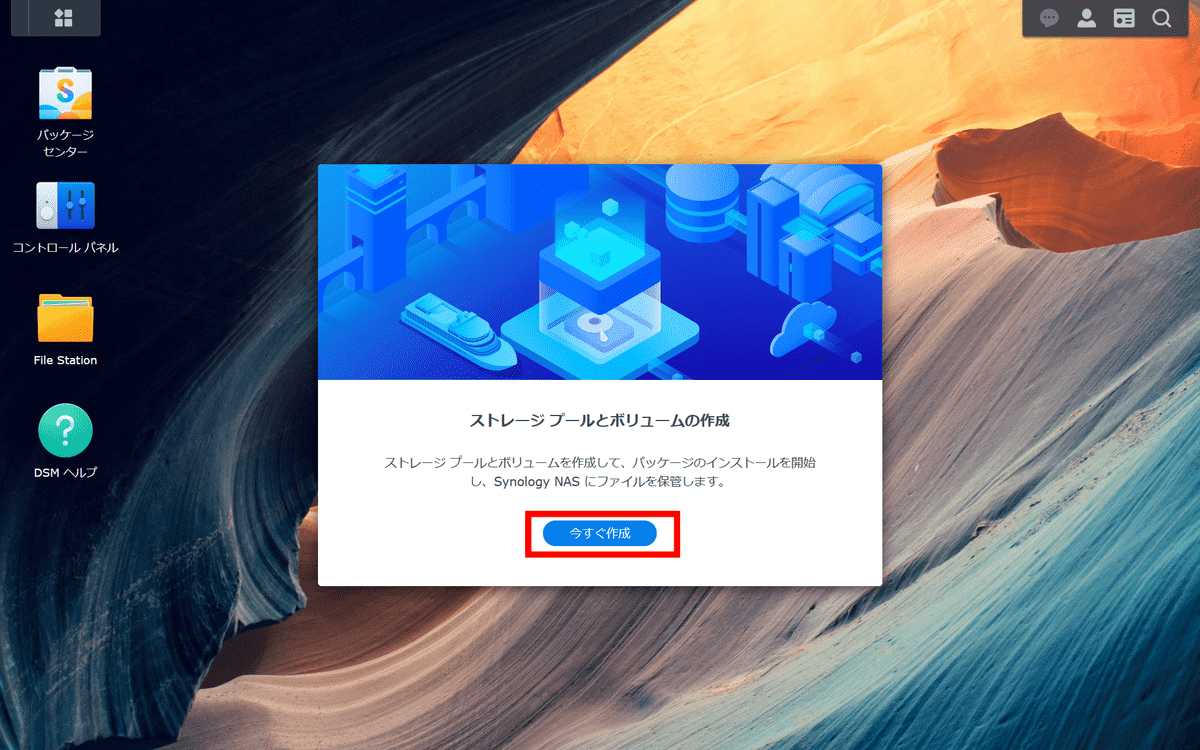
You will be prompted to create a storage pool and volume, so click 'Create Now'.
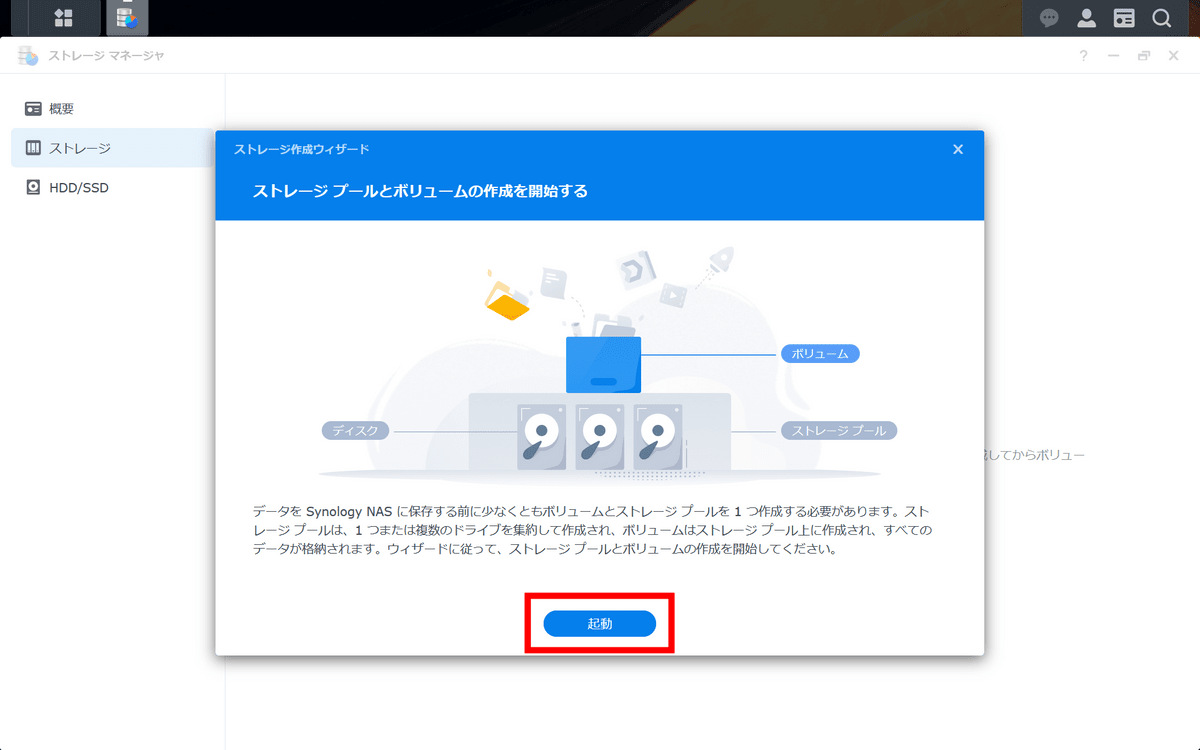
Click 'Start'.
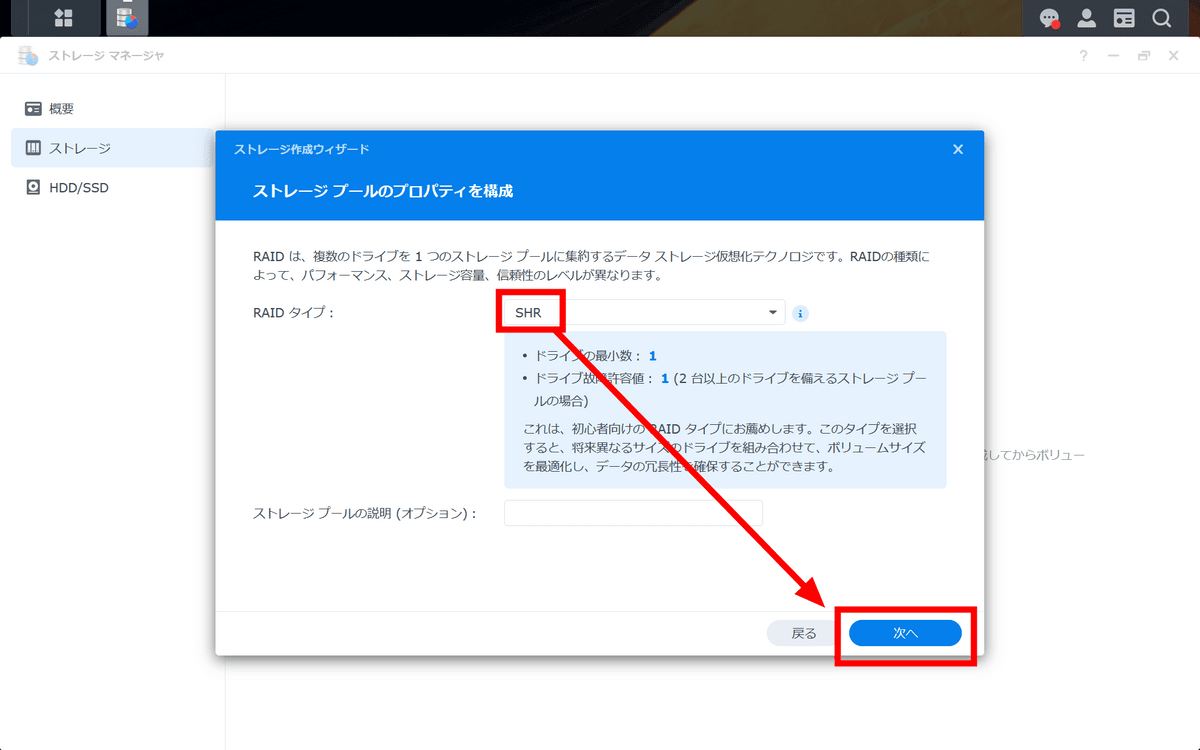
Select a RAID type. There are options such
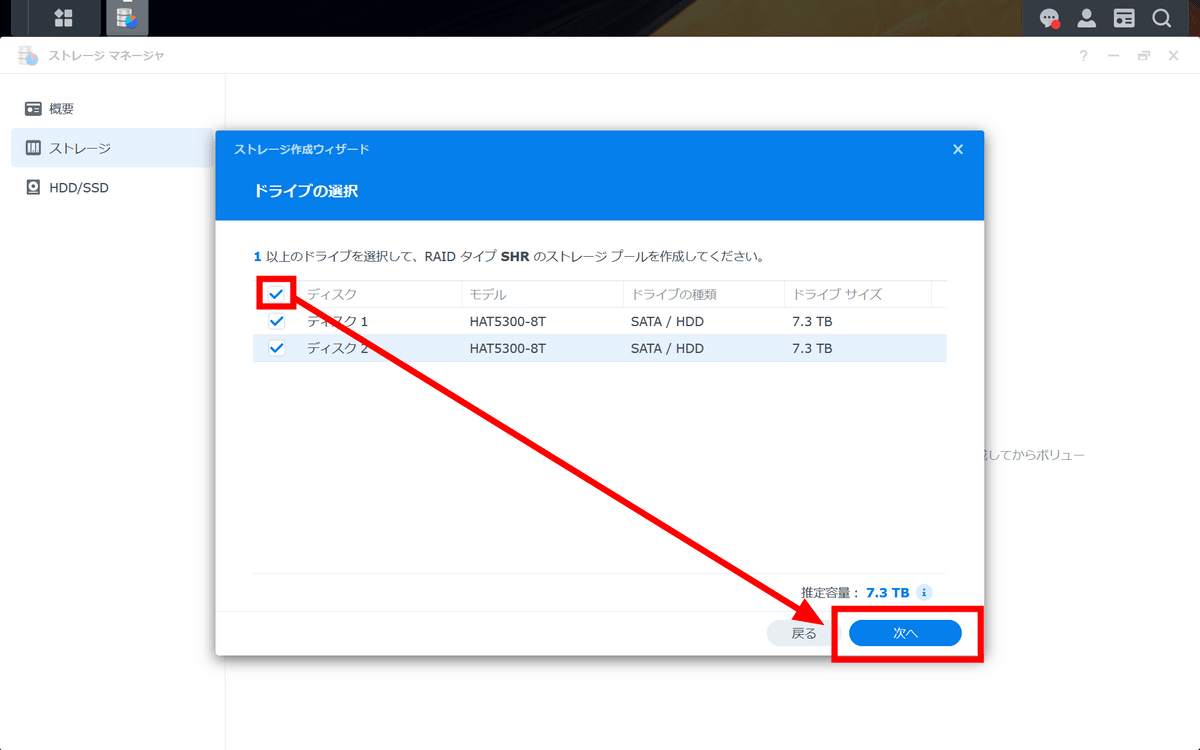
Select both drives and click 'Next'.
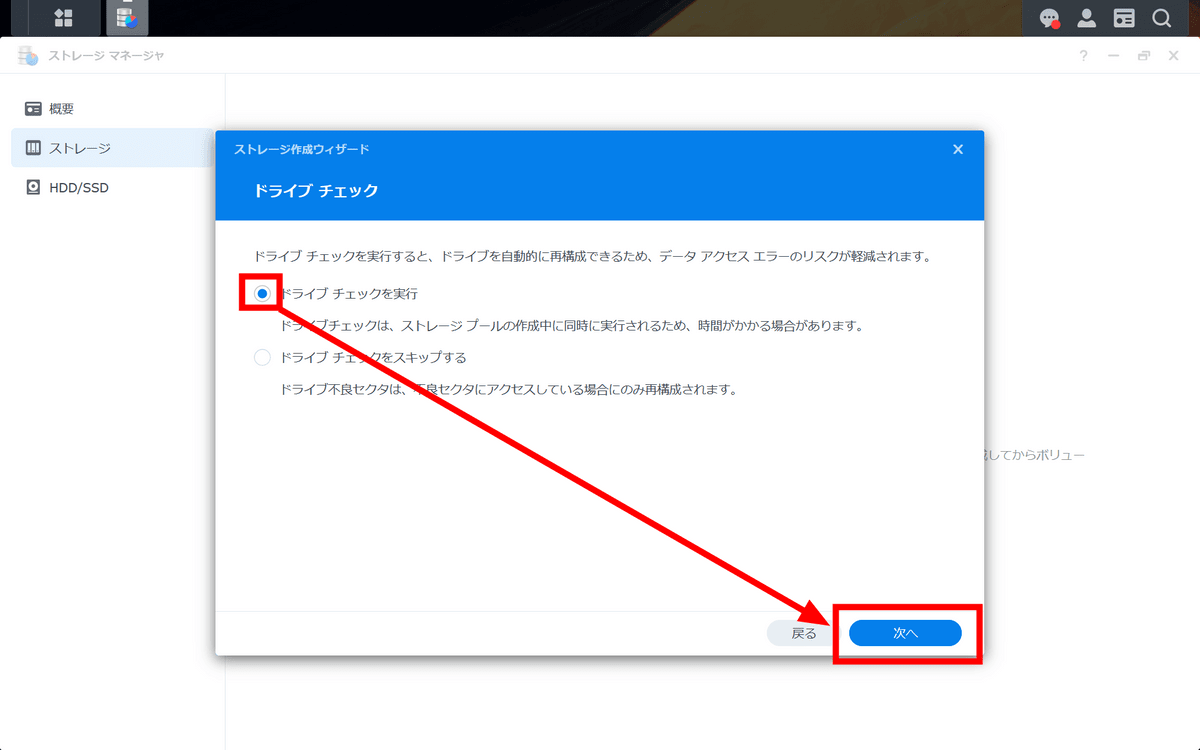
Select 'Run drive check' and click 'Next'.
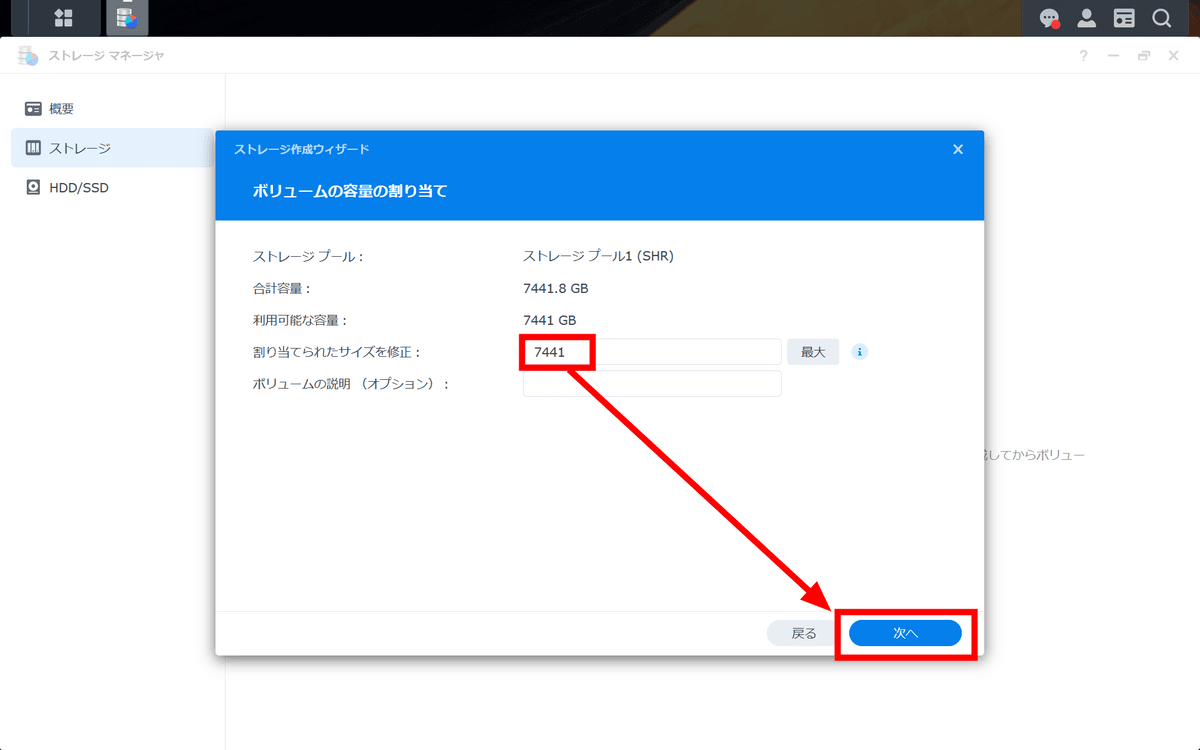
Enter the maximum available capacity in the item 'Modify allocated size' and click 'Next'.
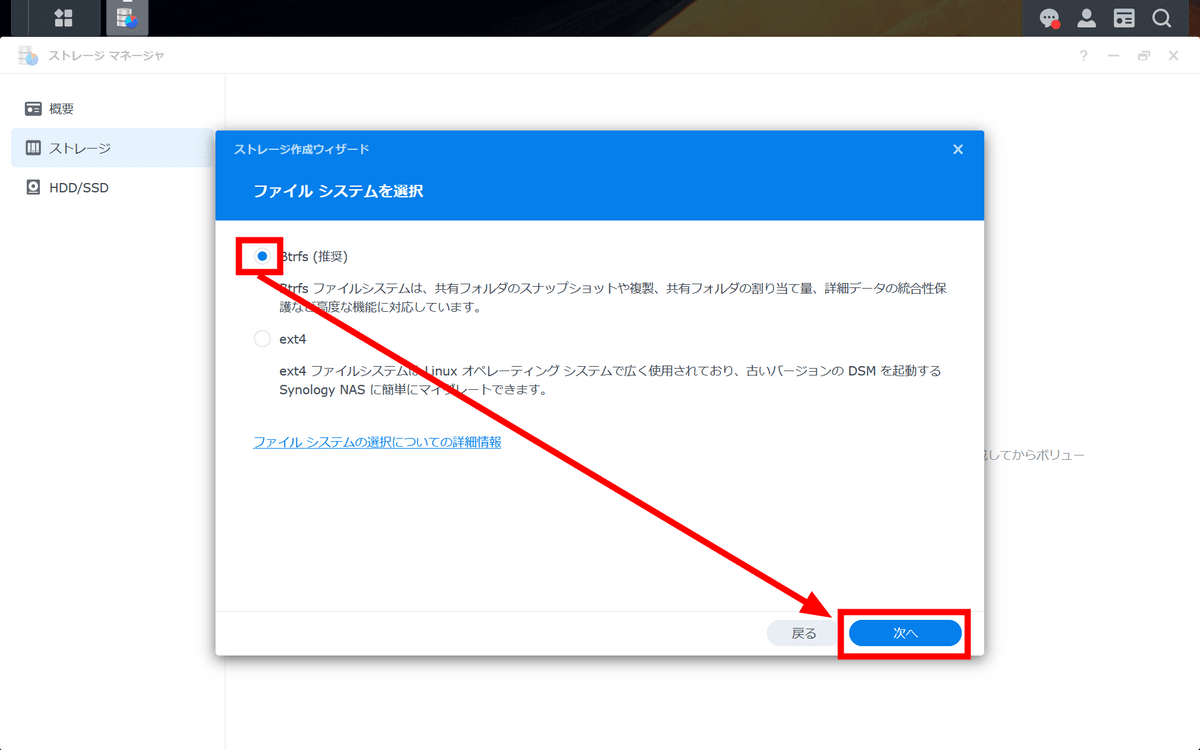
Select 'Btrfs' for the file system and click 'Next'.
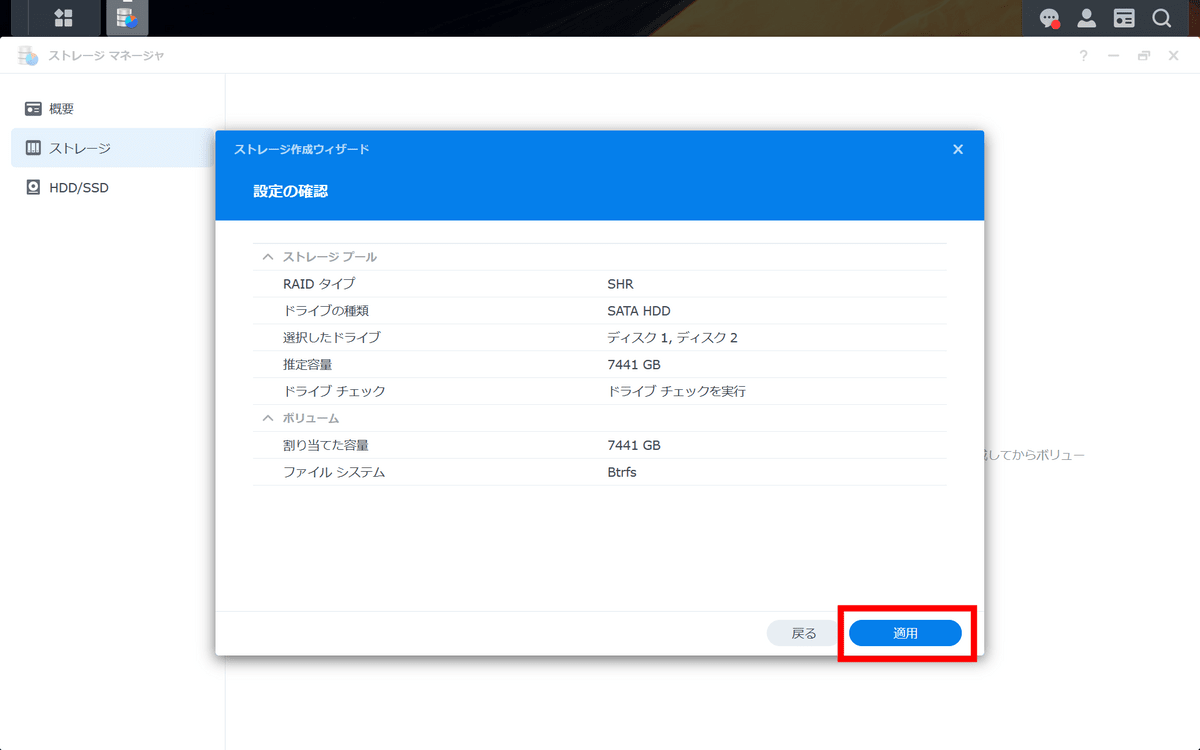
Click 'Apply'.
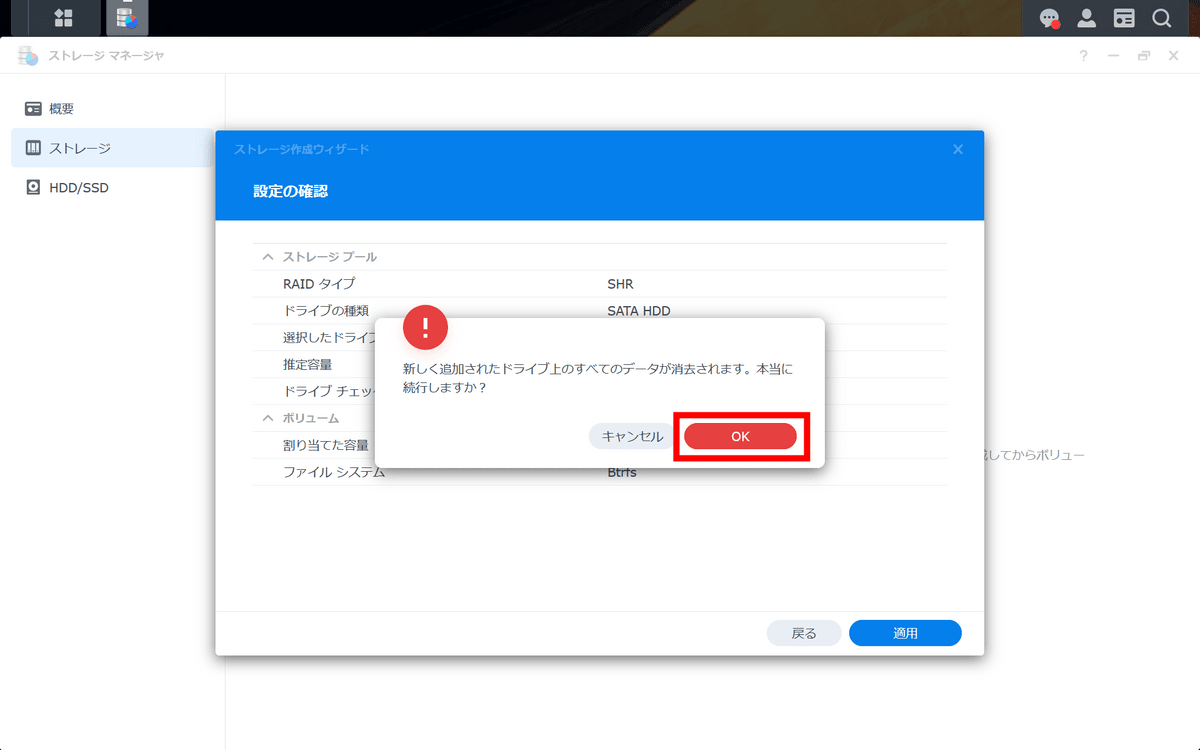
Click 'OK' to complete.
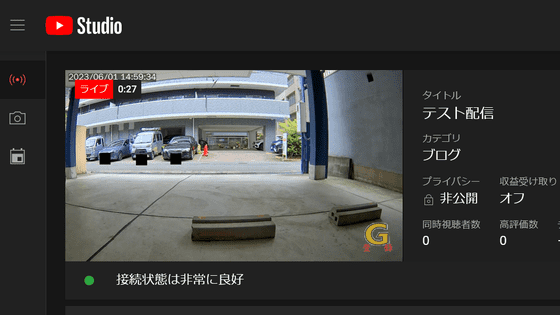
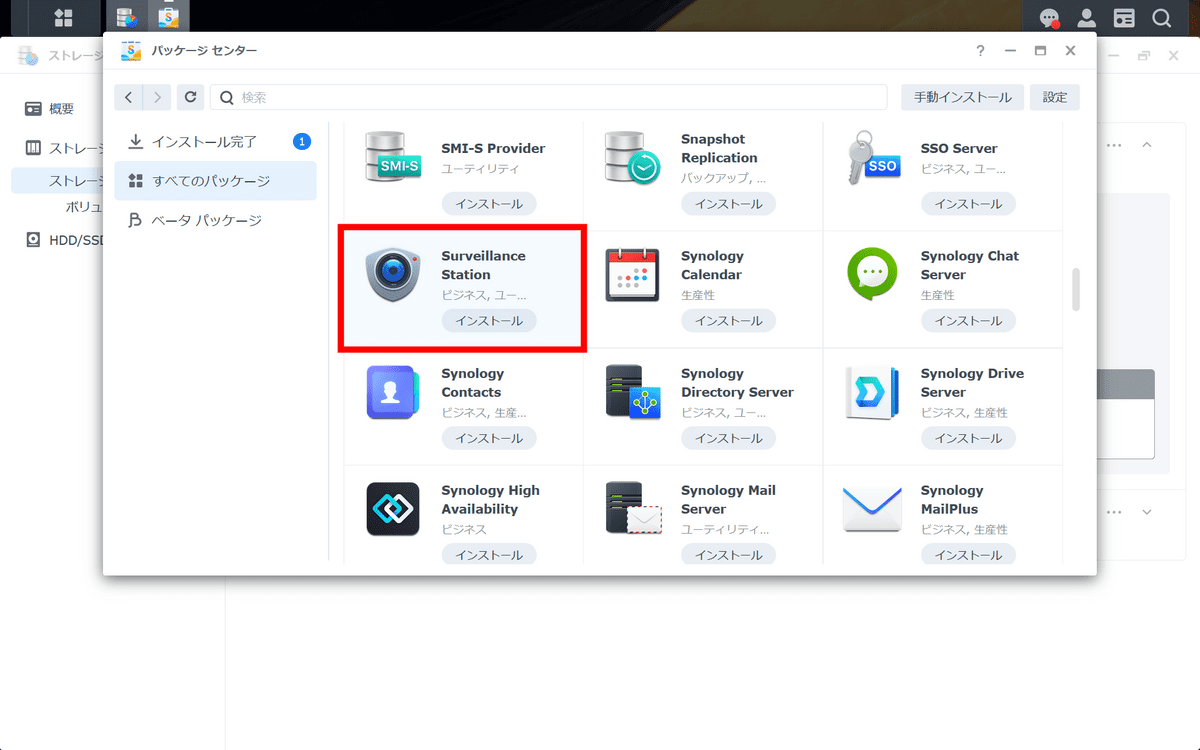
Next, we will introduce the camera management system 'Surveillance Station'. First, click 'Package Center'.

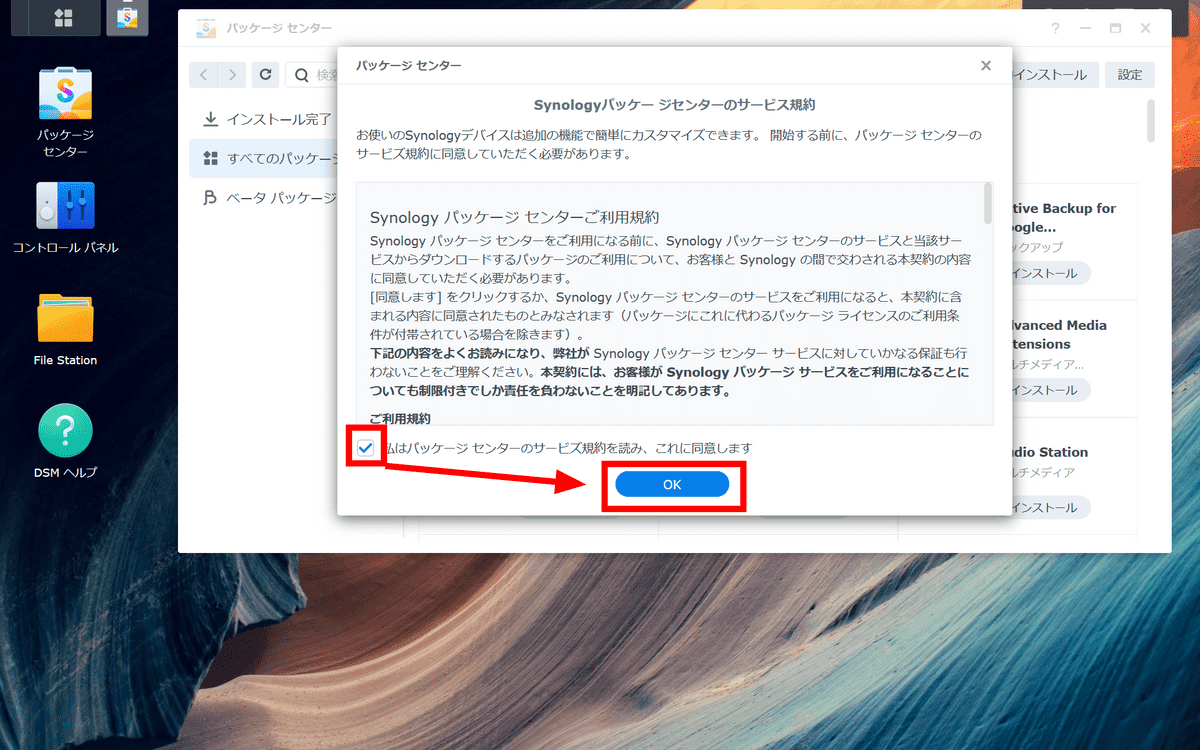
Since the terms of use of the package center are displayed, check it and click 'OK'.
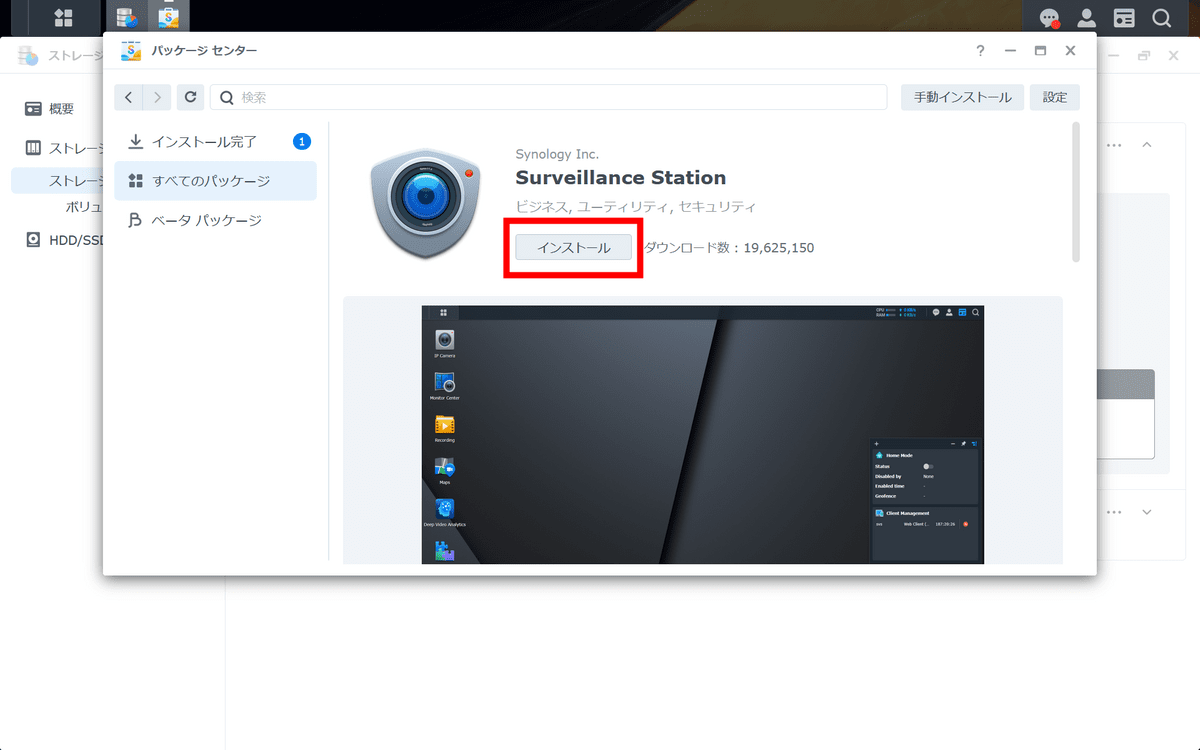
Find 'Surveillance Station' from the package center and click it.
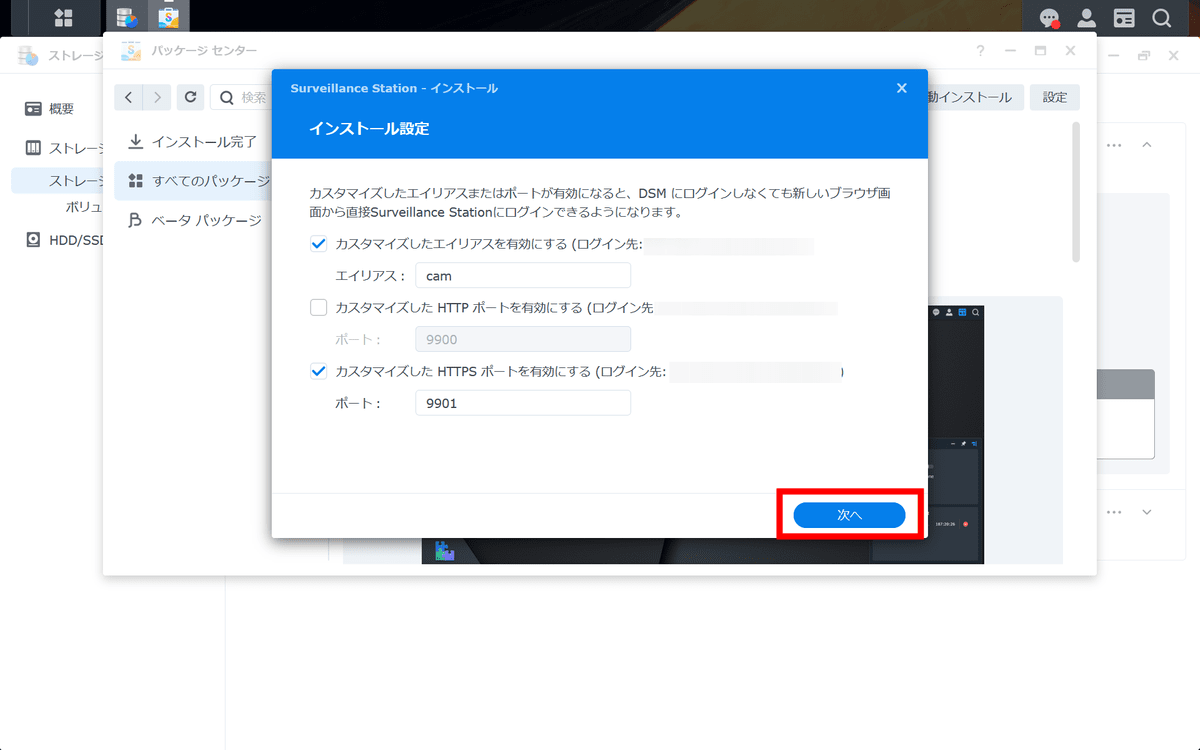
Click 'Install'.
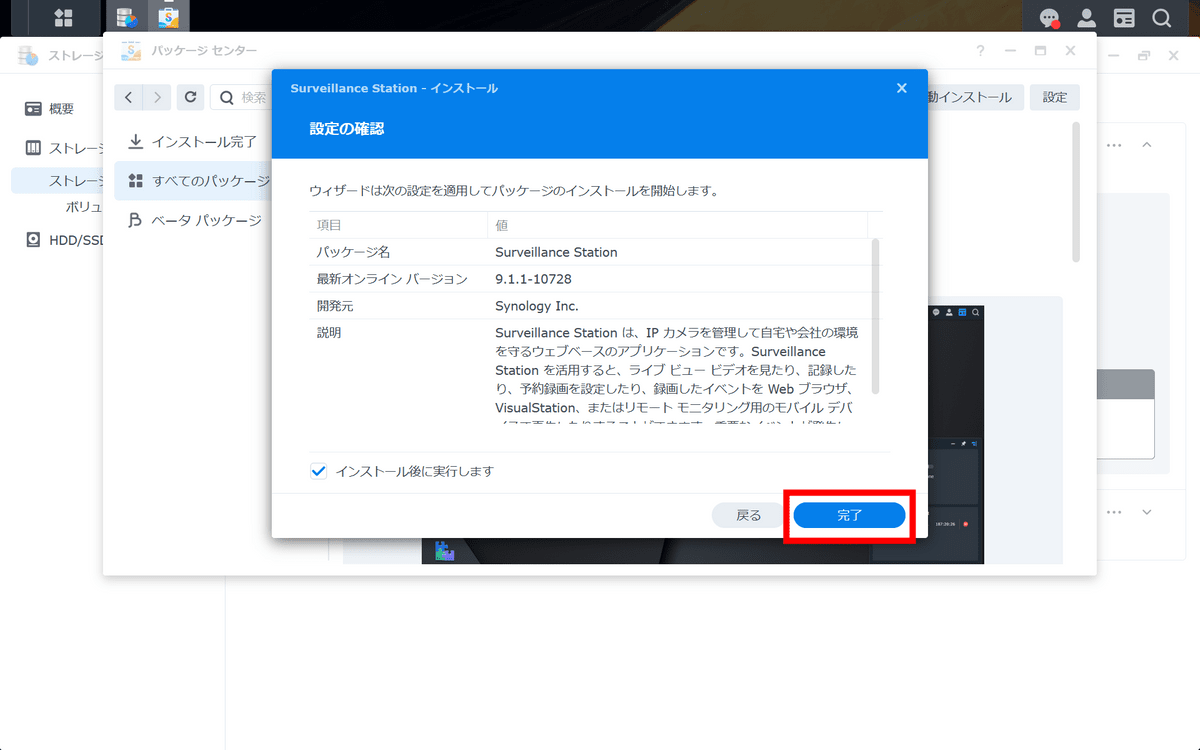
Click 'Next'.
Click 'Finish'.
Click Open when the installation is complete.

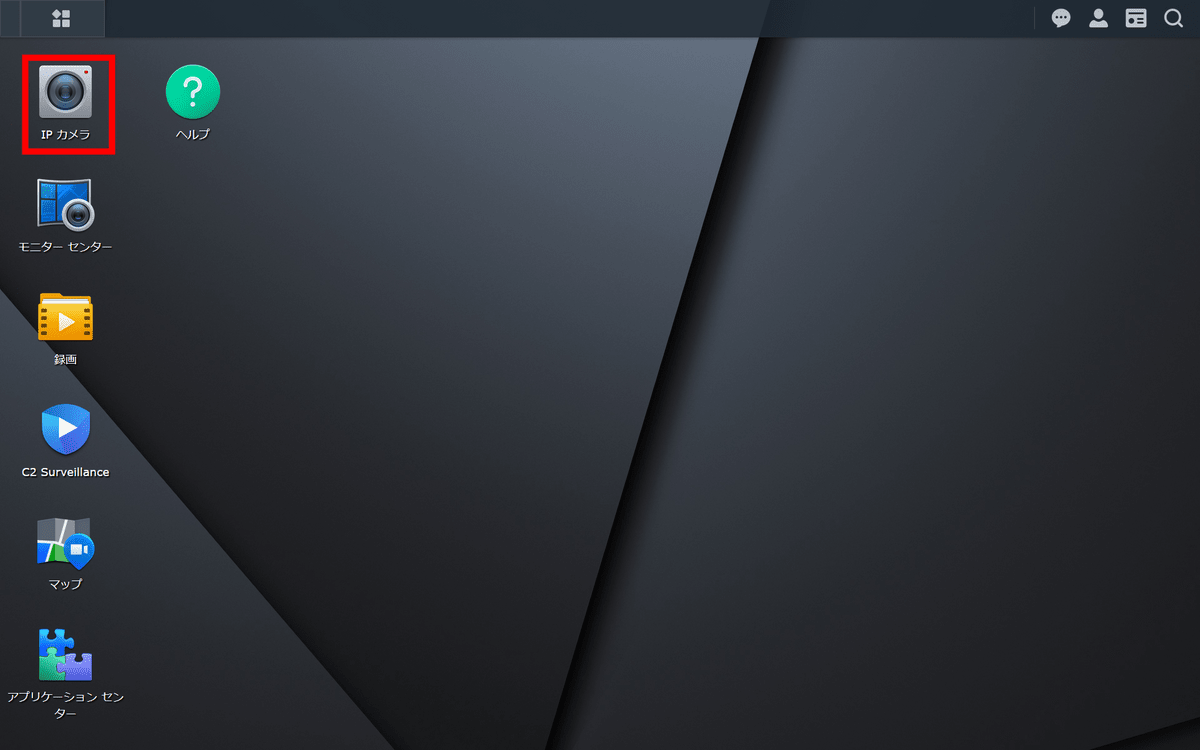
Surveillance Station looks like this. First, click 'IP Camera' to add a camera.
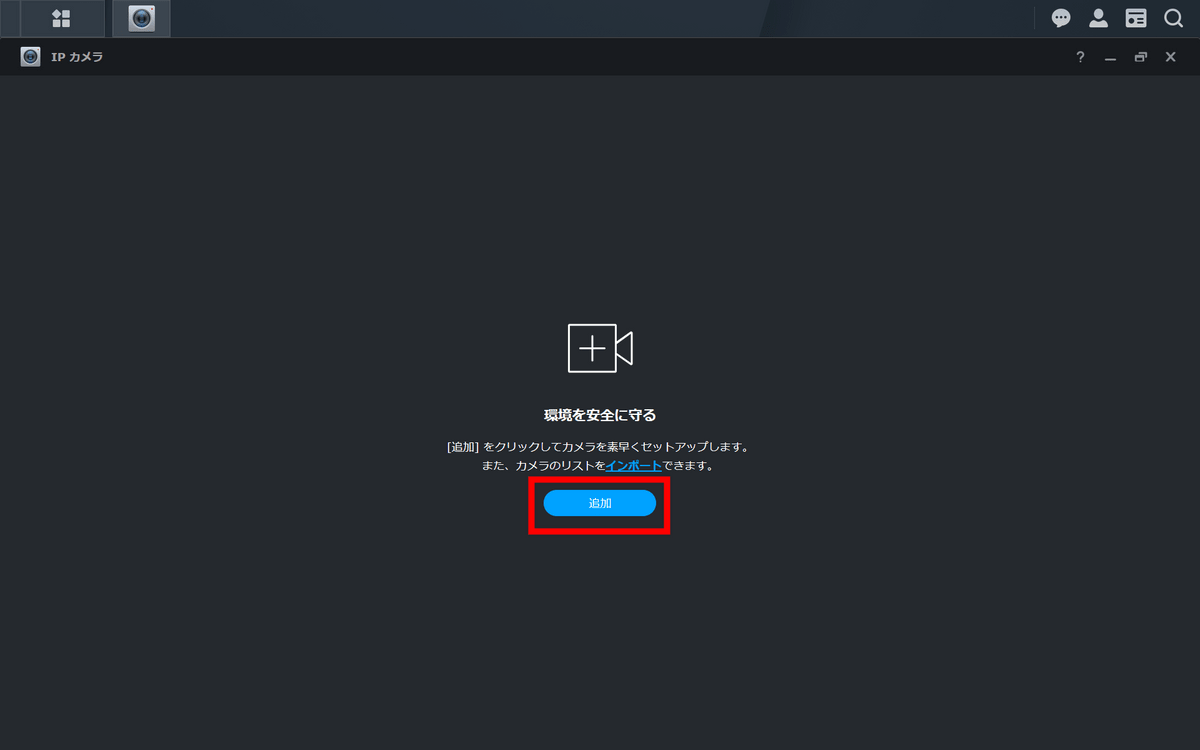
Click 'Add'.
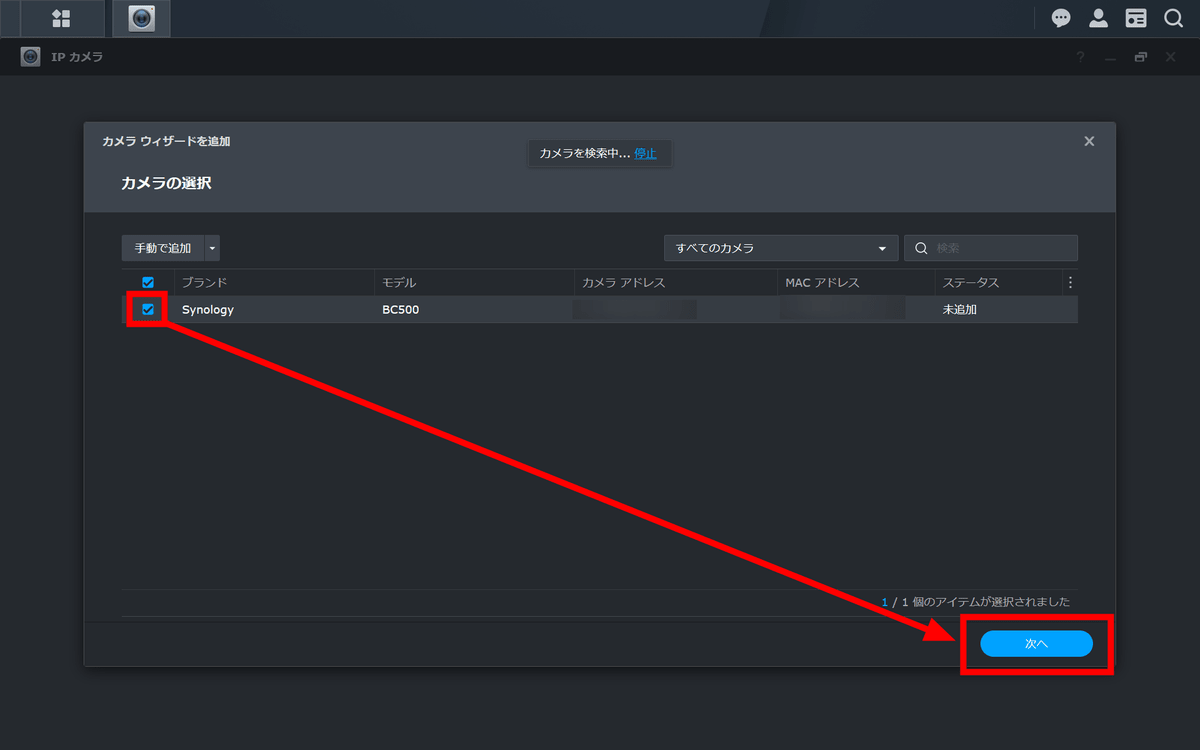
Select BC500 and click 'Next'.
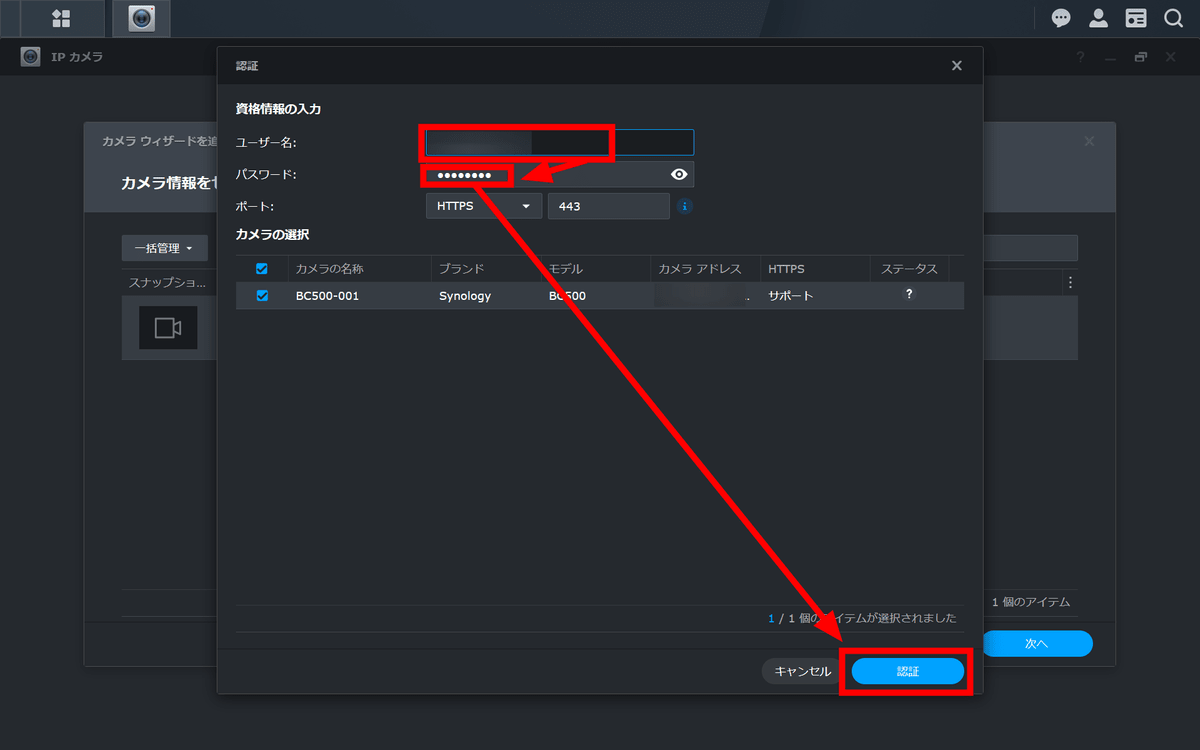
Click 'Authenticate'.
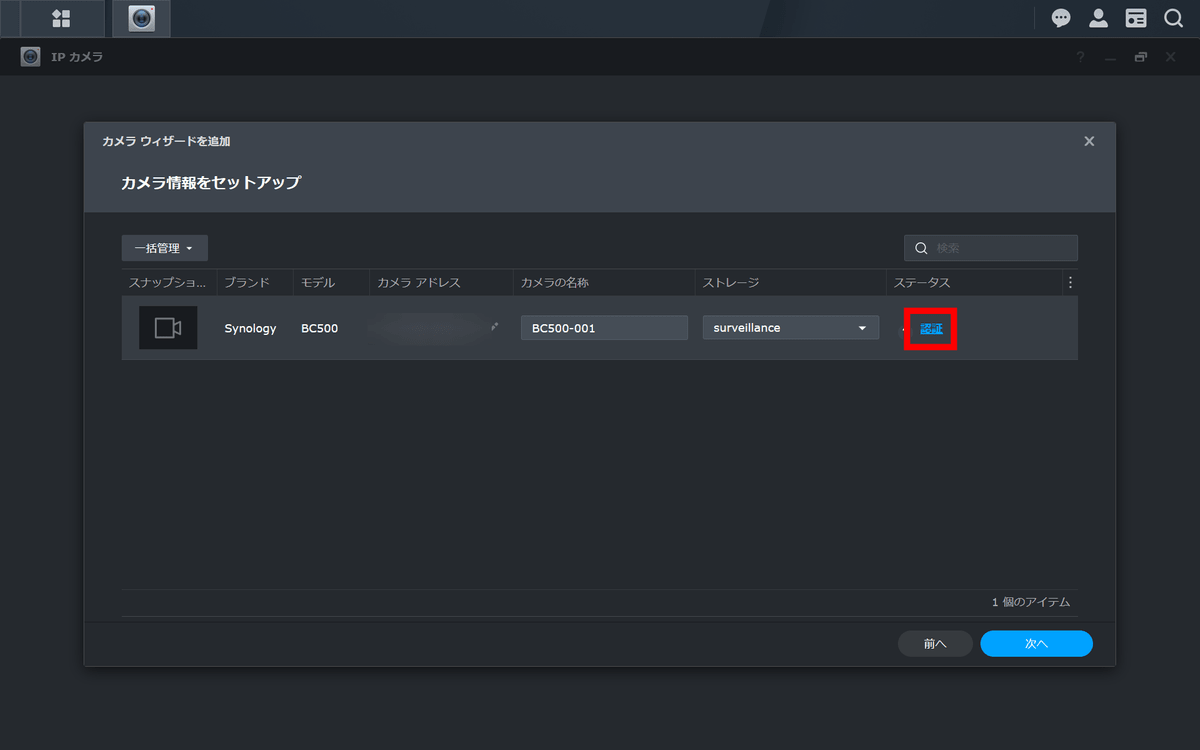
Enter the user name and password set for the camera with Synology Camera Tool and click 'Authenticate'.
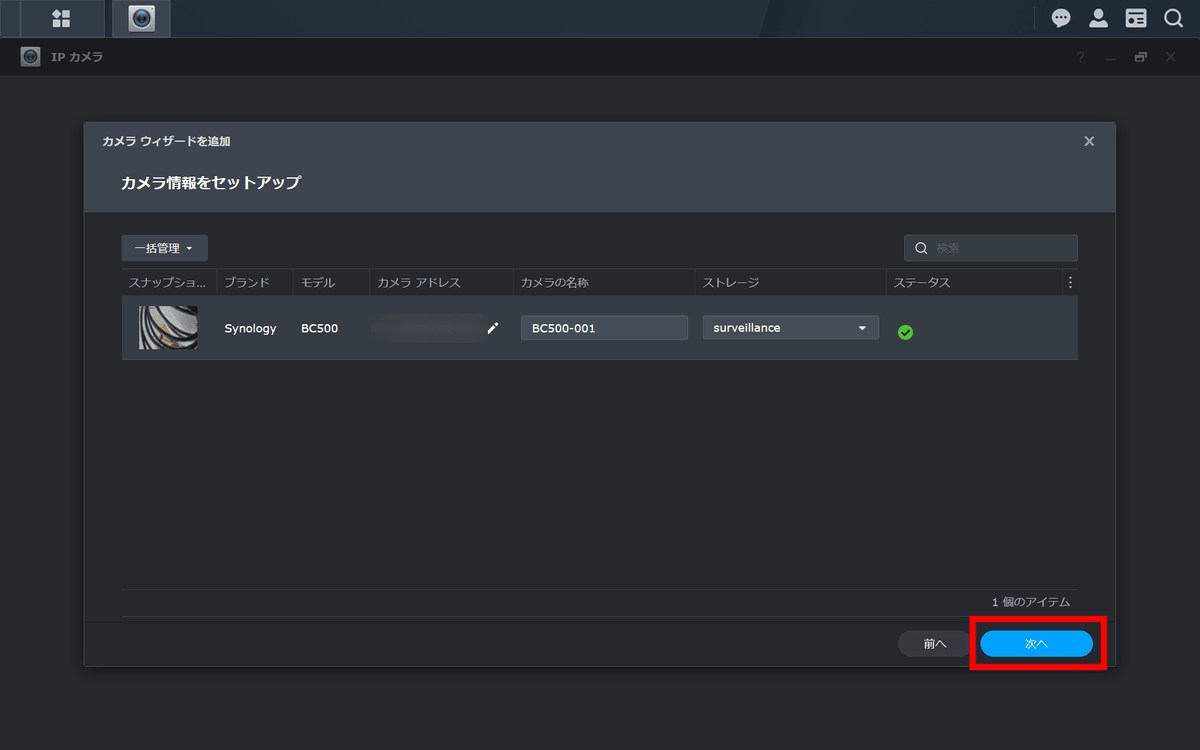
Click 'Next'.
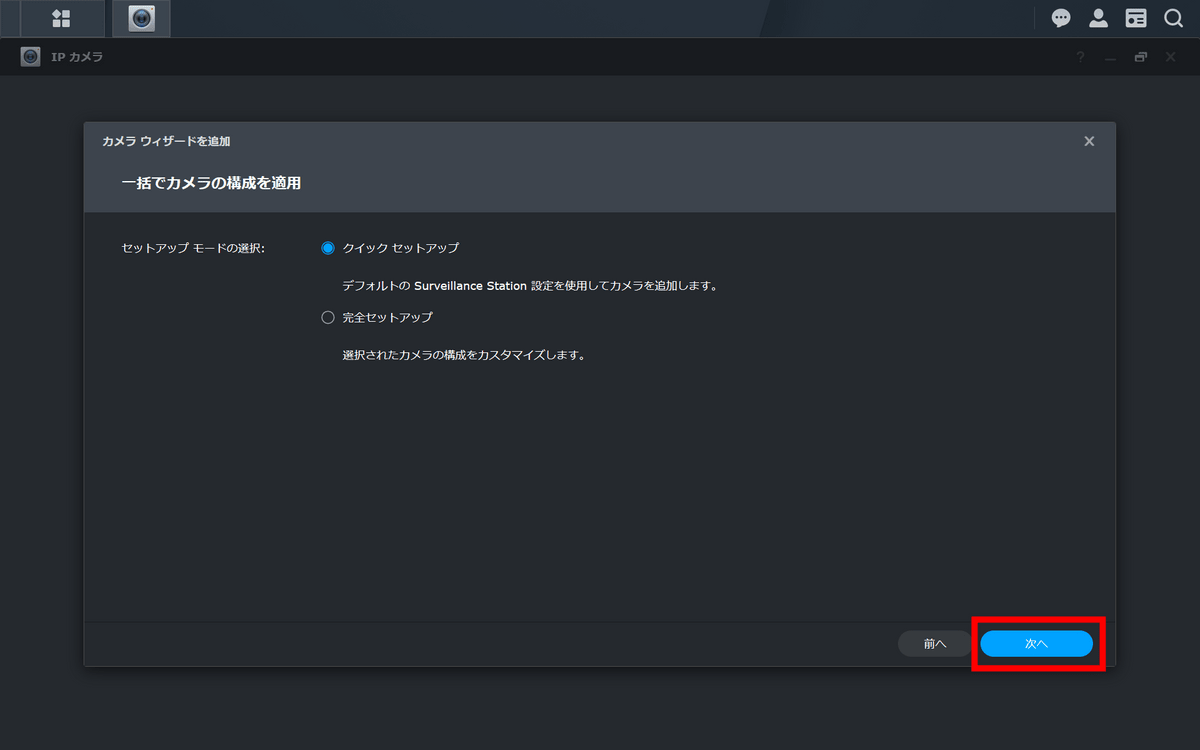
Click 'Next'.
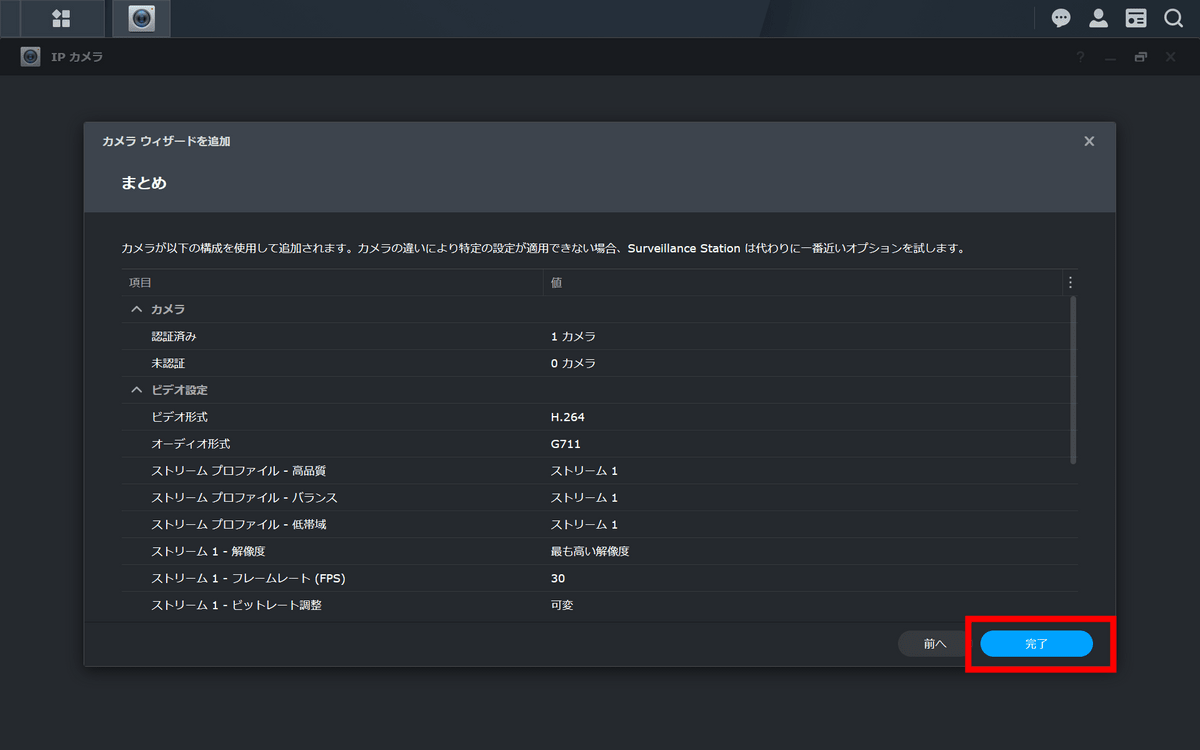
Click Done.
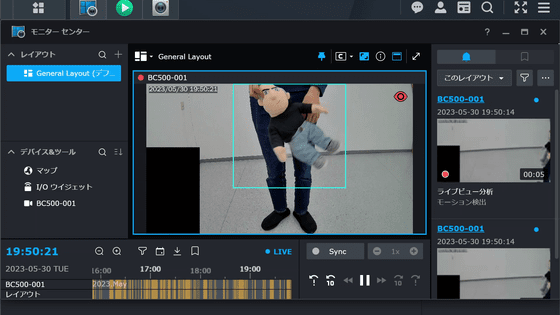
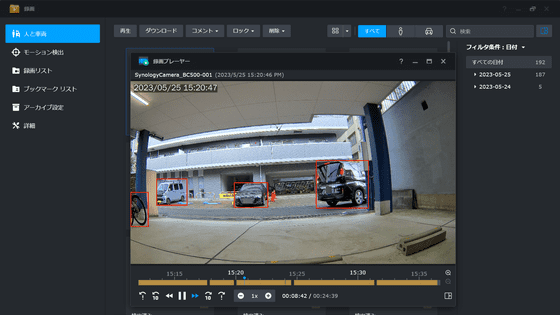
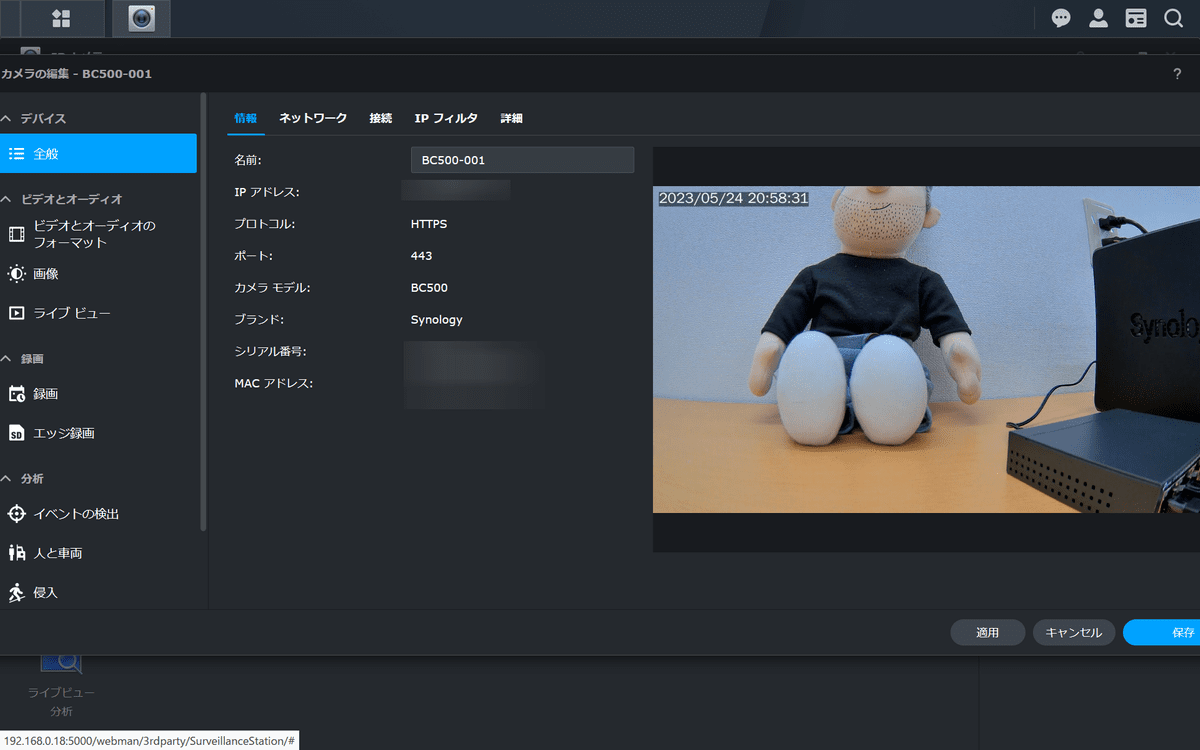
All setup is now complete. You can check the real-time video captured by the BC500 from your PC, and you will be able to touch various functions such as recording, zooming, and event detection. We will cover these features in more detail in our next article.
The price of BC500 is 34,243 yen including tax at Amazon.co.jp at the time of article posting.
Related Posts: