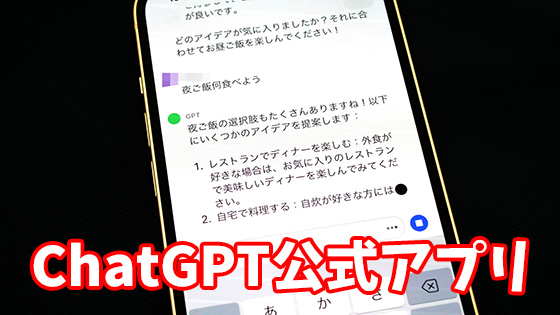
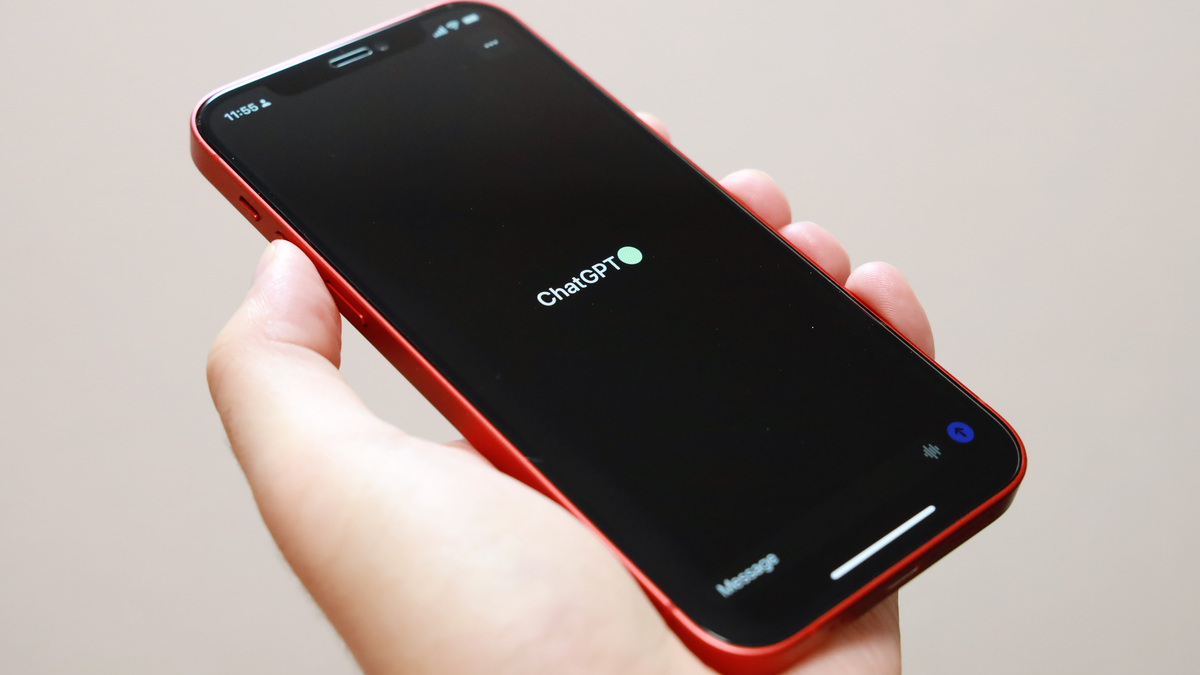
ChatGPT official iOS application that can be used for free can be installed in Japan, so I tried using it
On May 26, 2023, the area where
We expanded the ChatGPT iOS app to 30+ more countries today! Now serving users in Algeria, Argentina, Azerbaijan, Bolivia, Brazil, Canada, Chile, Costa Rica, Ecuador, Estonia, Ghana, India, Iraq, Israel, Japan, Jordan, Kazakhstan, Kuwait, Lebanon, Lithuania (????1/2)
—OpenAI (@OpenAI) May 25, 2023
ChatGPT's iOS version application can be installed from the following. Please note that even if you enter 'ChatGPT' in the search field of the App Store, similar applications will only appear and the essential ChatGPT could not be found easily.
ChatGPT on the App Store
https://apps.apple.com/app/openai-chatgpt/id6448311069
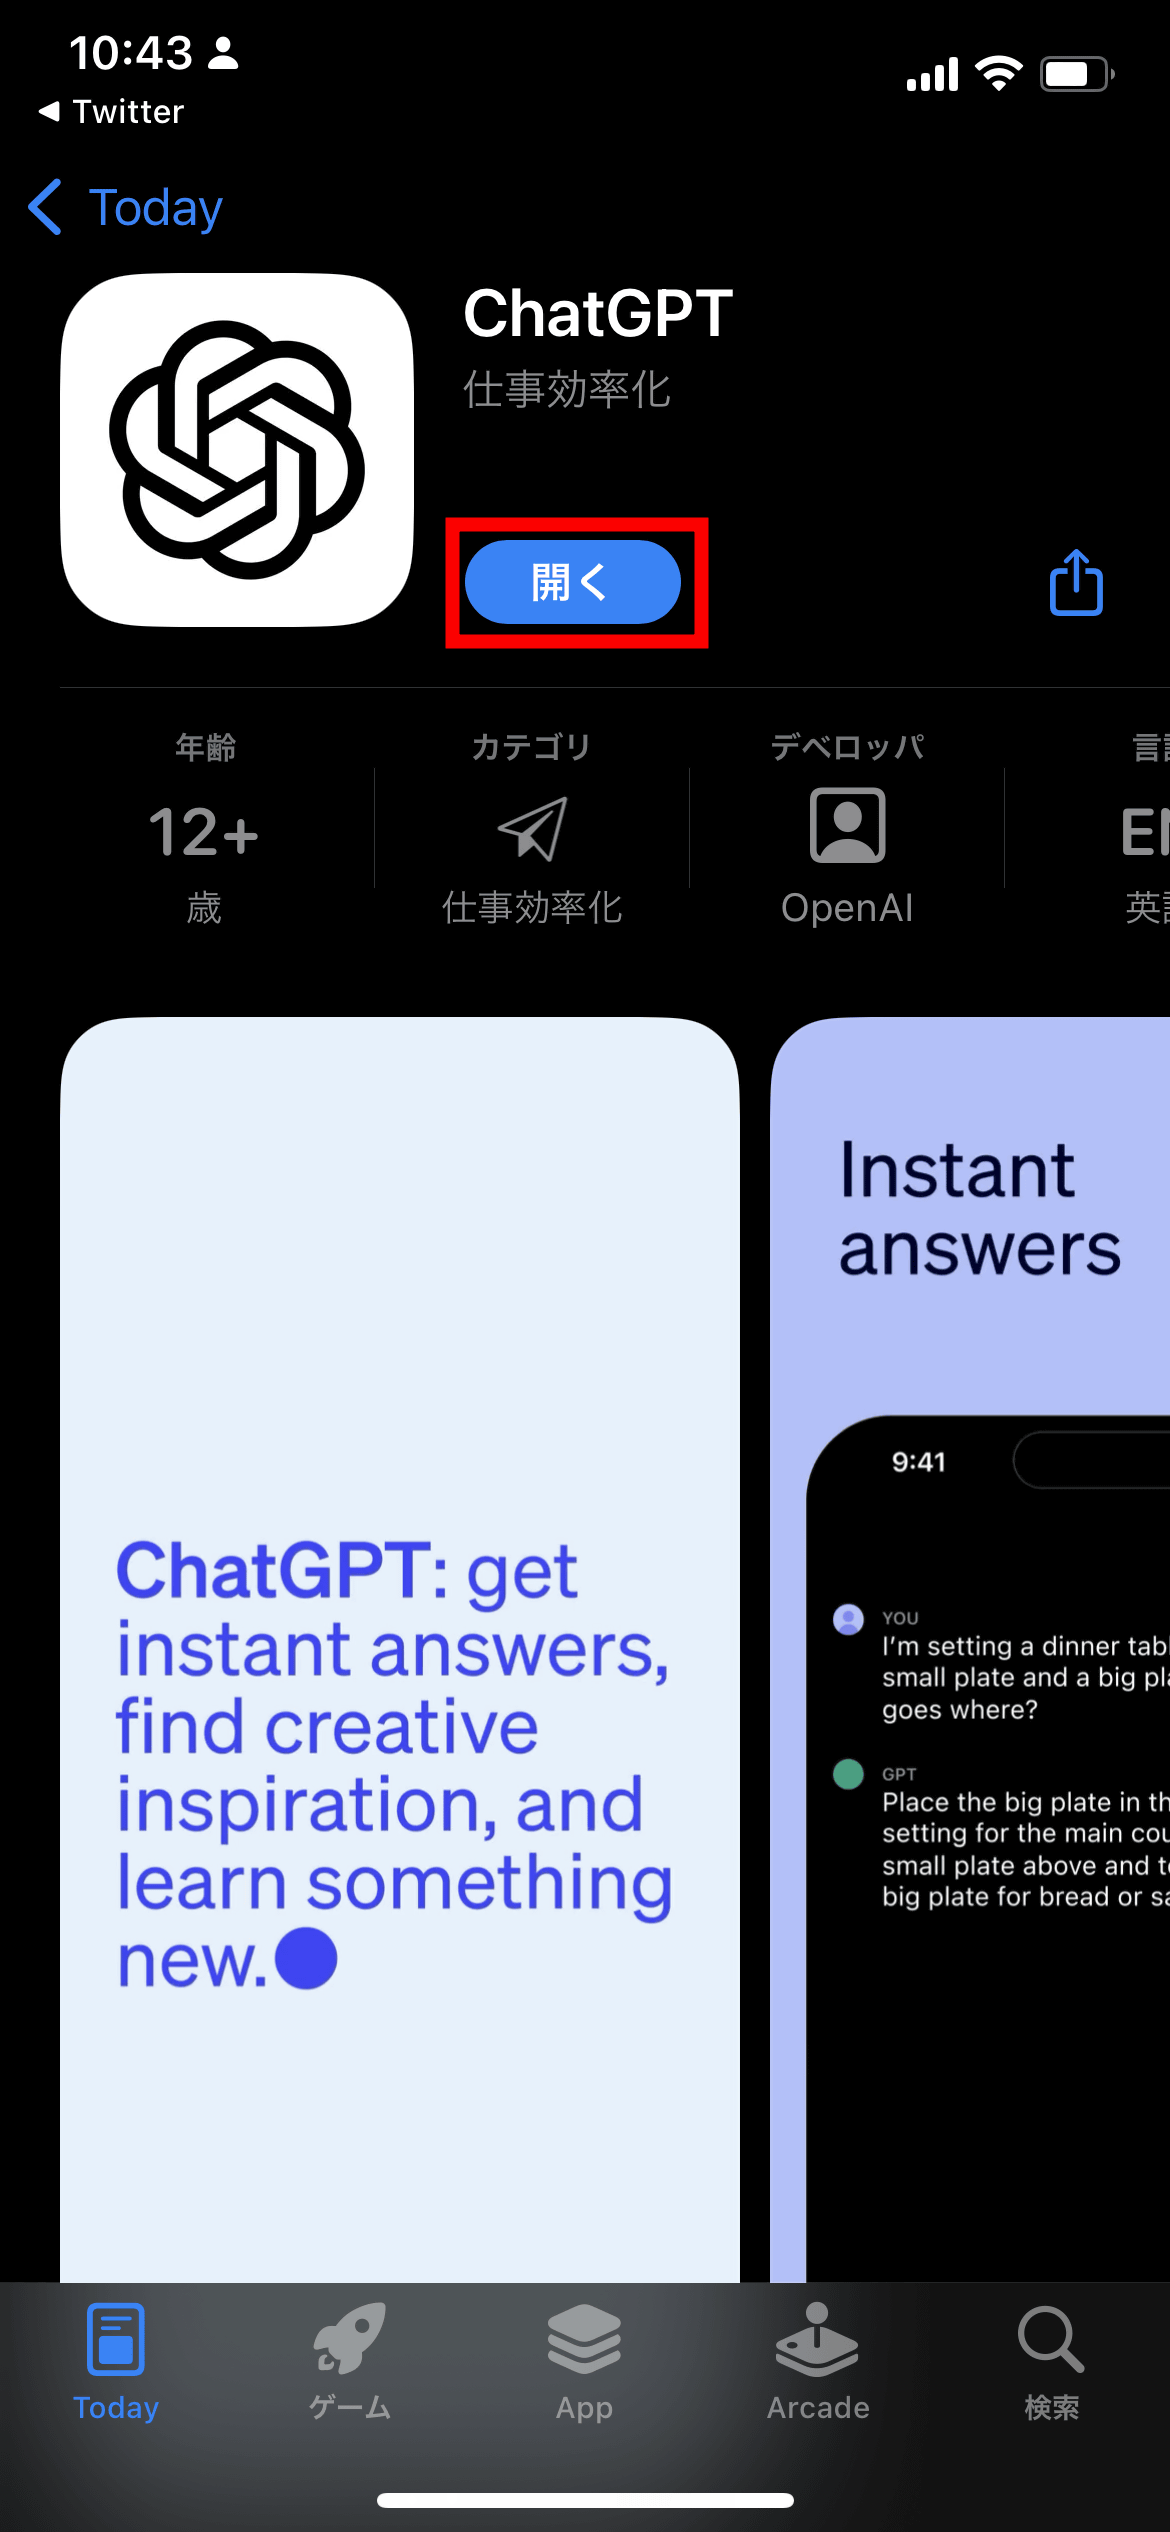
When you jump to the distribution page of the application, tap 'Get'.

Tap 'Open' when installation is completed.
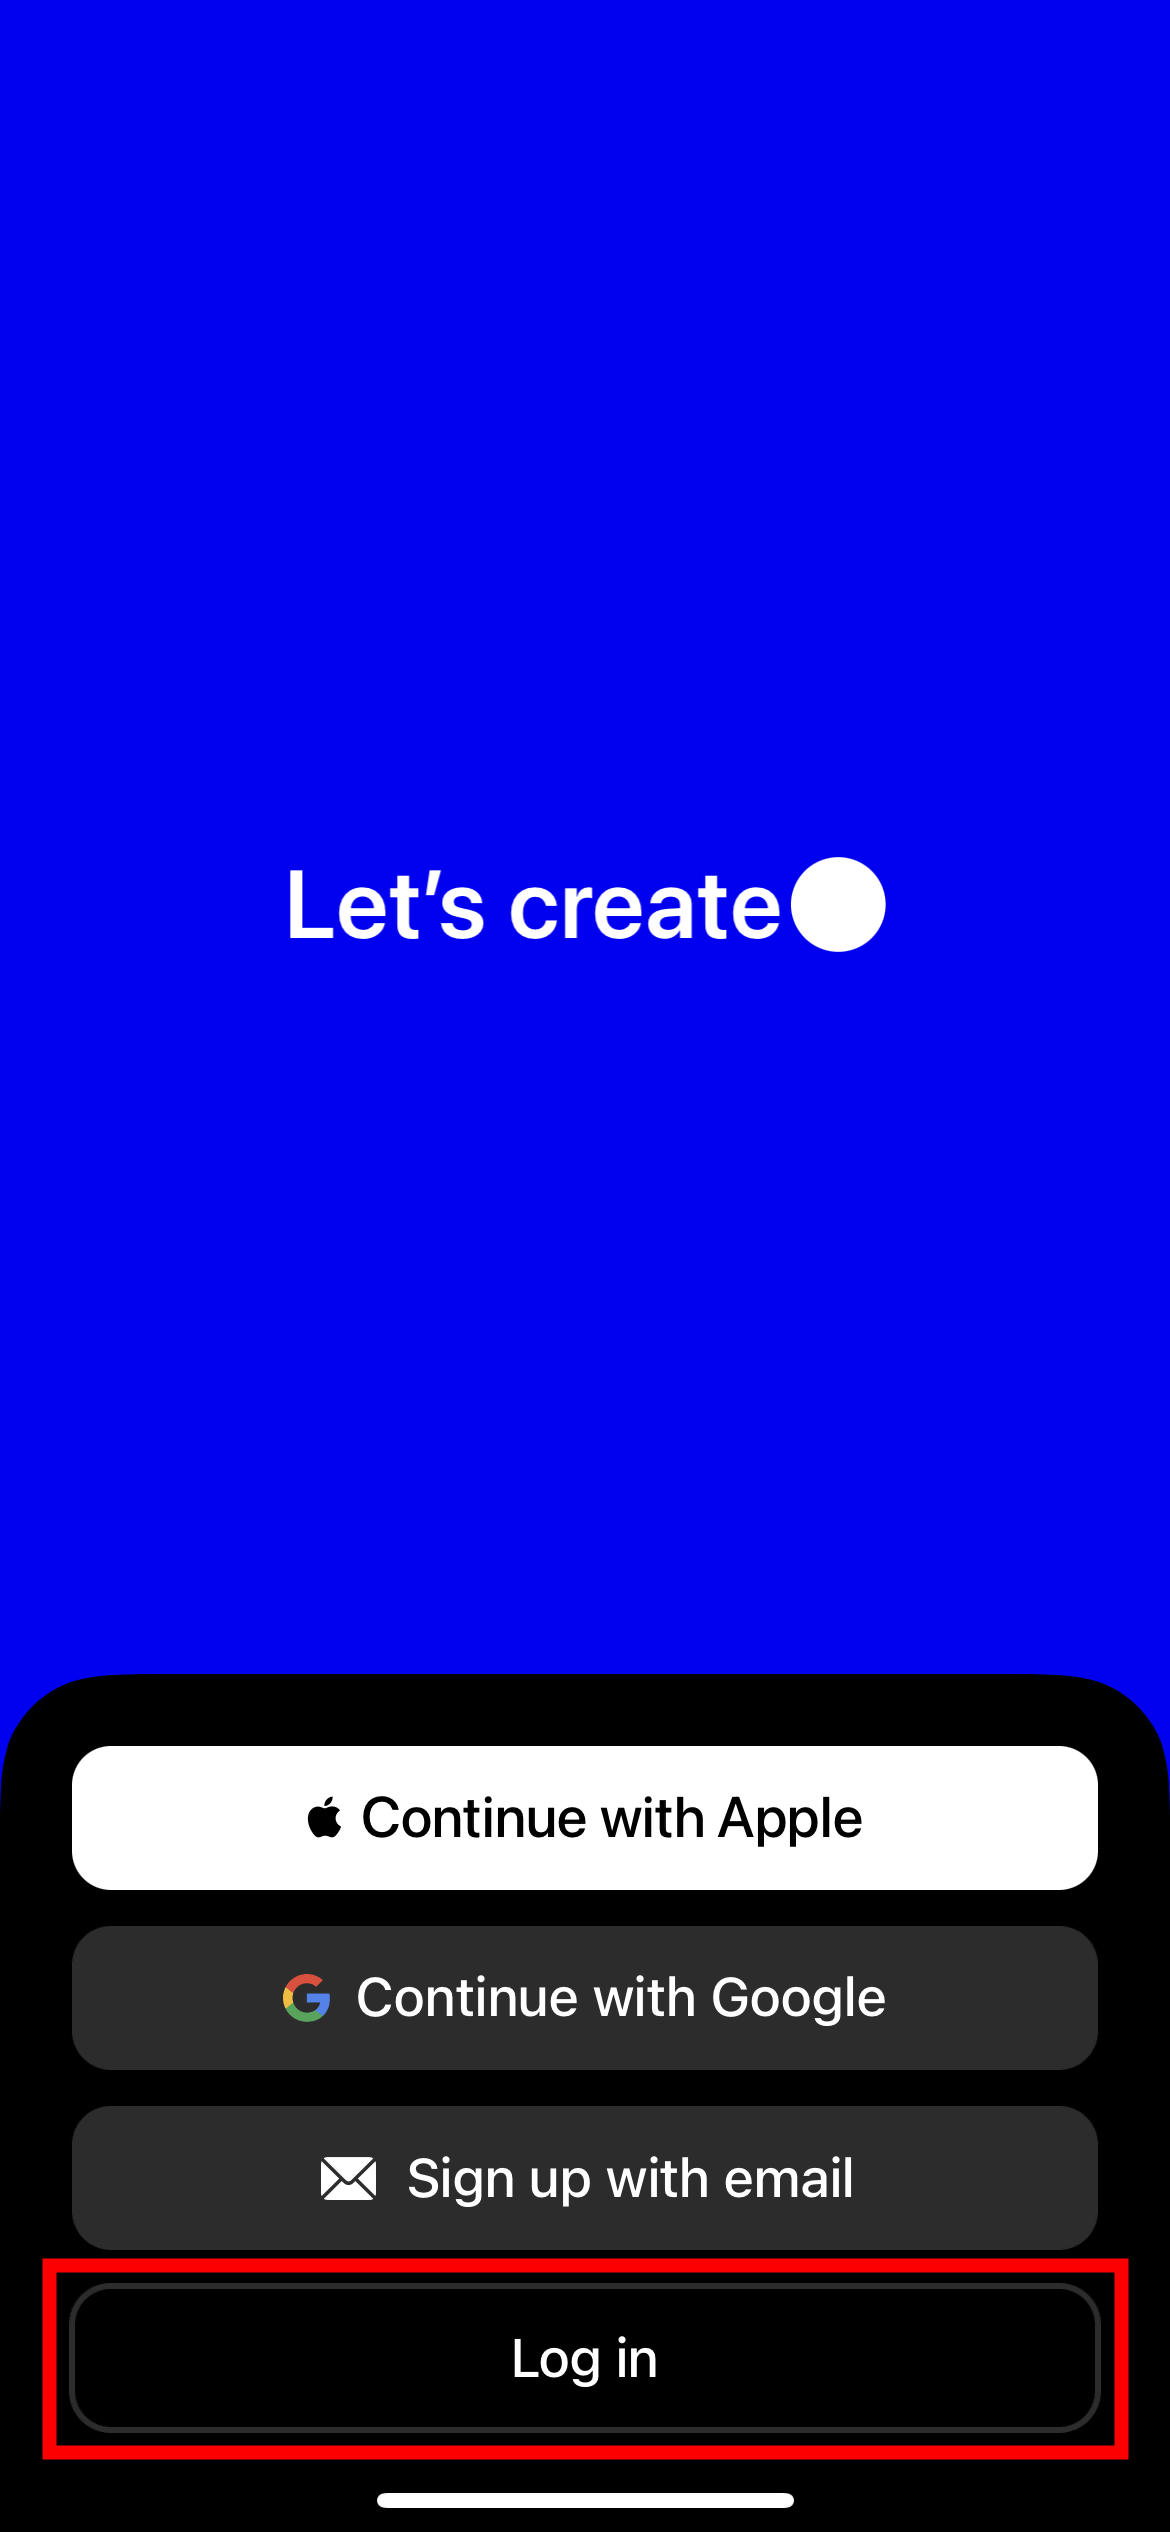
You will be asked to create an account or log in to your account the first time you launch it. When creating a new account, 'Continue with Apple (Create an account with an Apple account)' 'Continue with Google (Create an account with a Google account)' 'Sign up with email (Enter an email address and create an account) ', or tap 'Log in' if you already have an account. This time, I tapped 'Log in' to log in with an existing account.
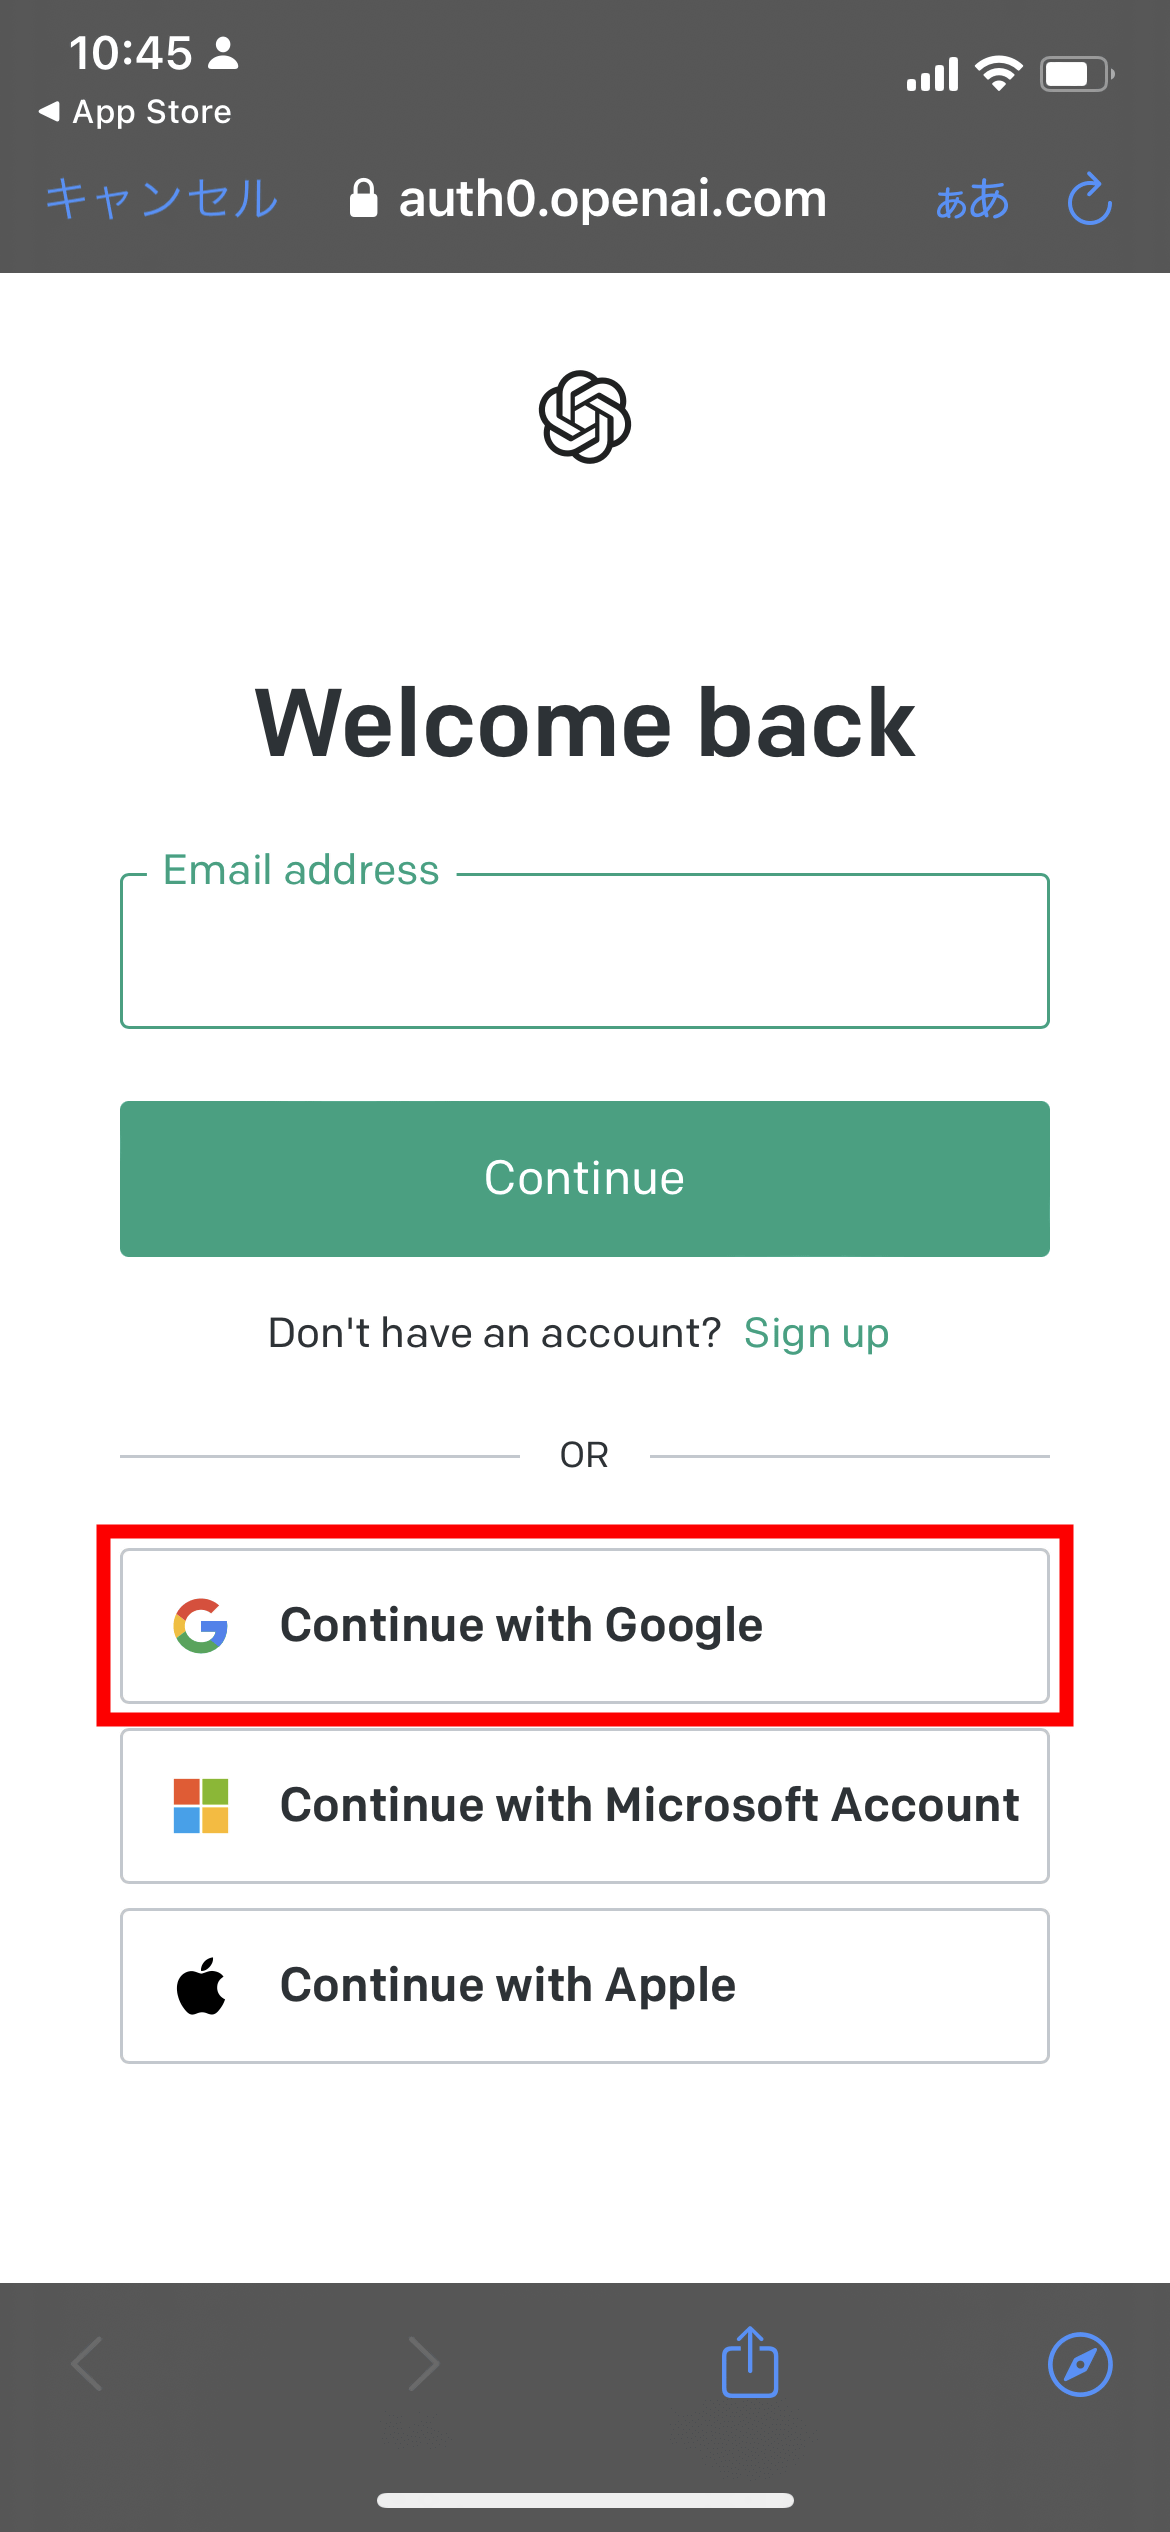
Since it was linked with the Google account, tap 'Continue with Google'.
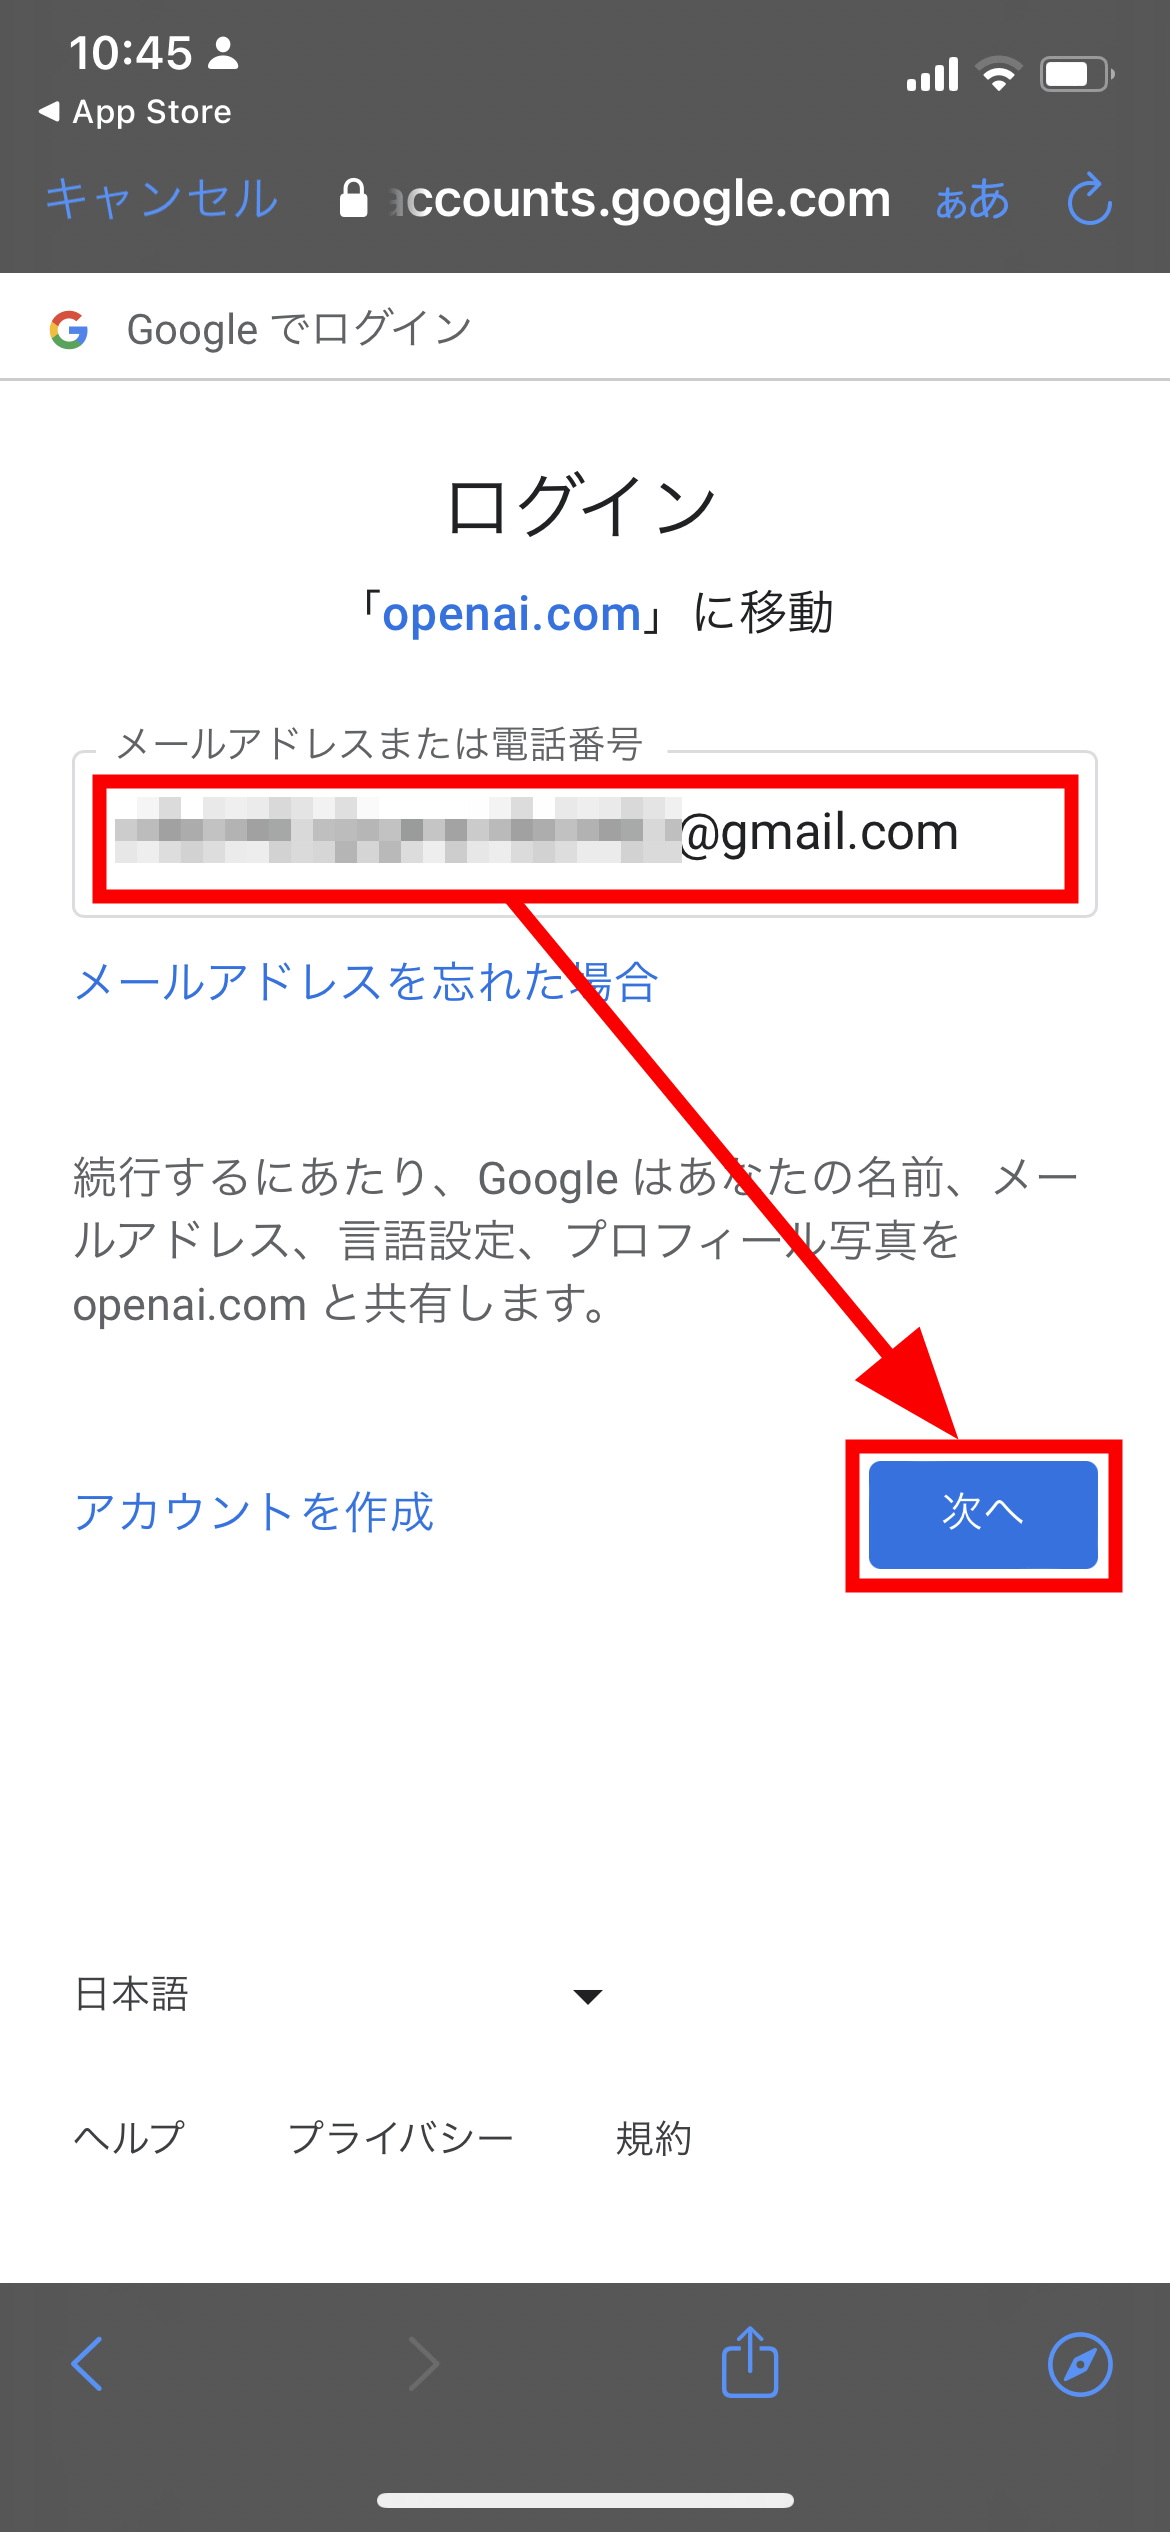
Enter your email address and tap 'Next'.
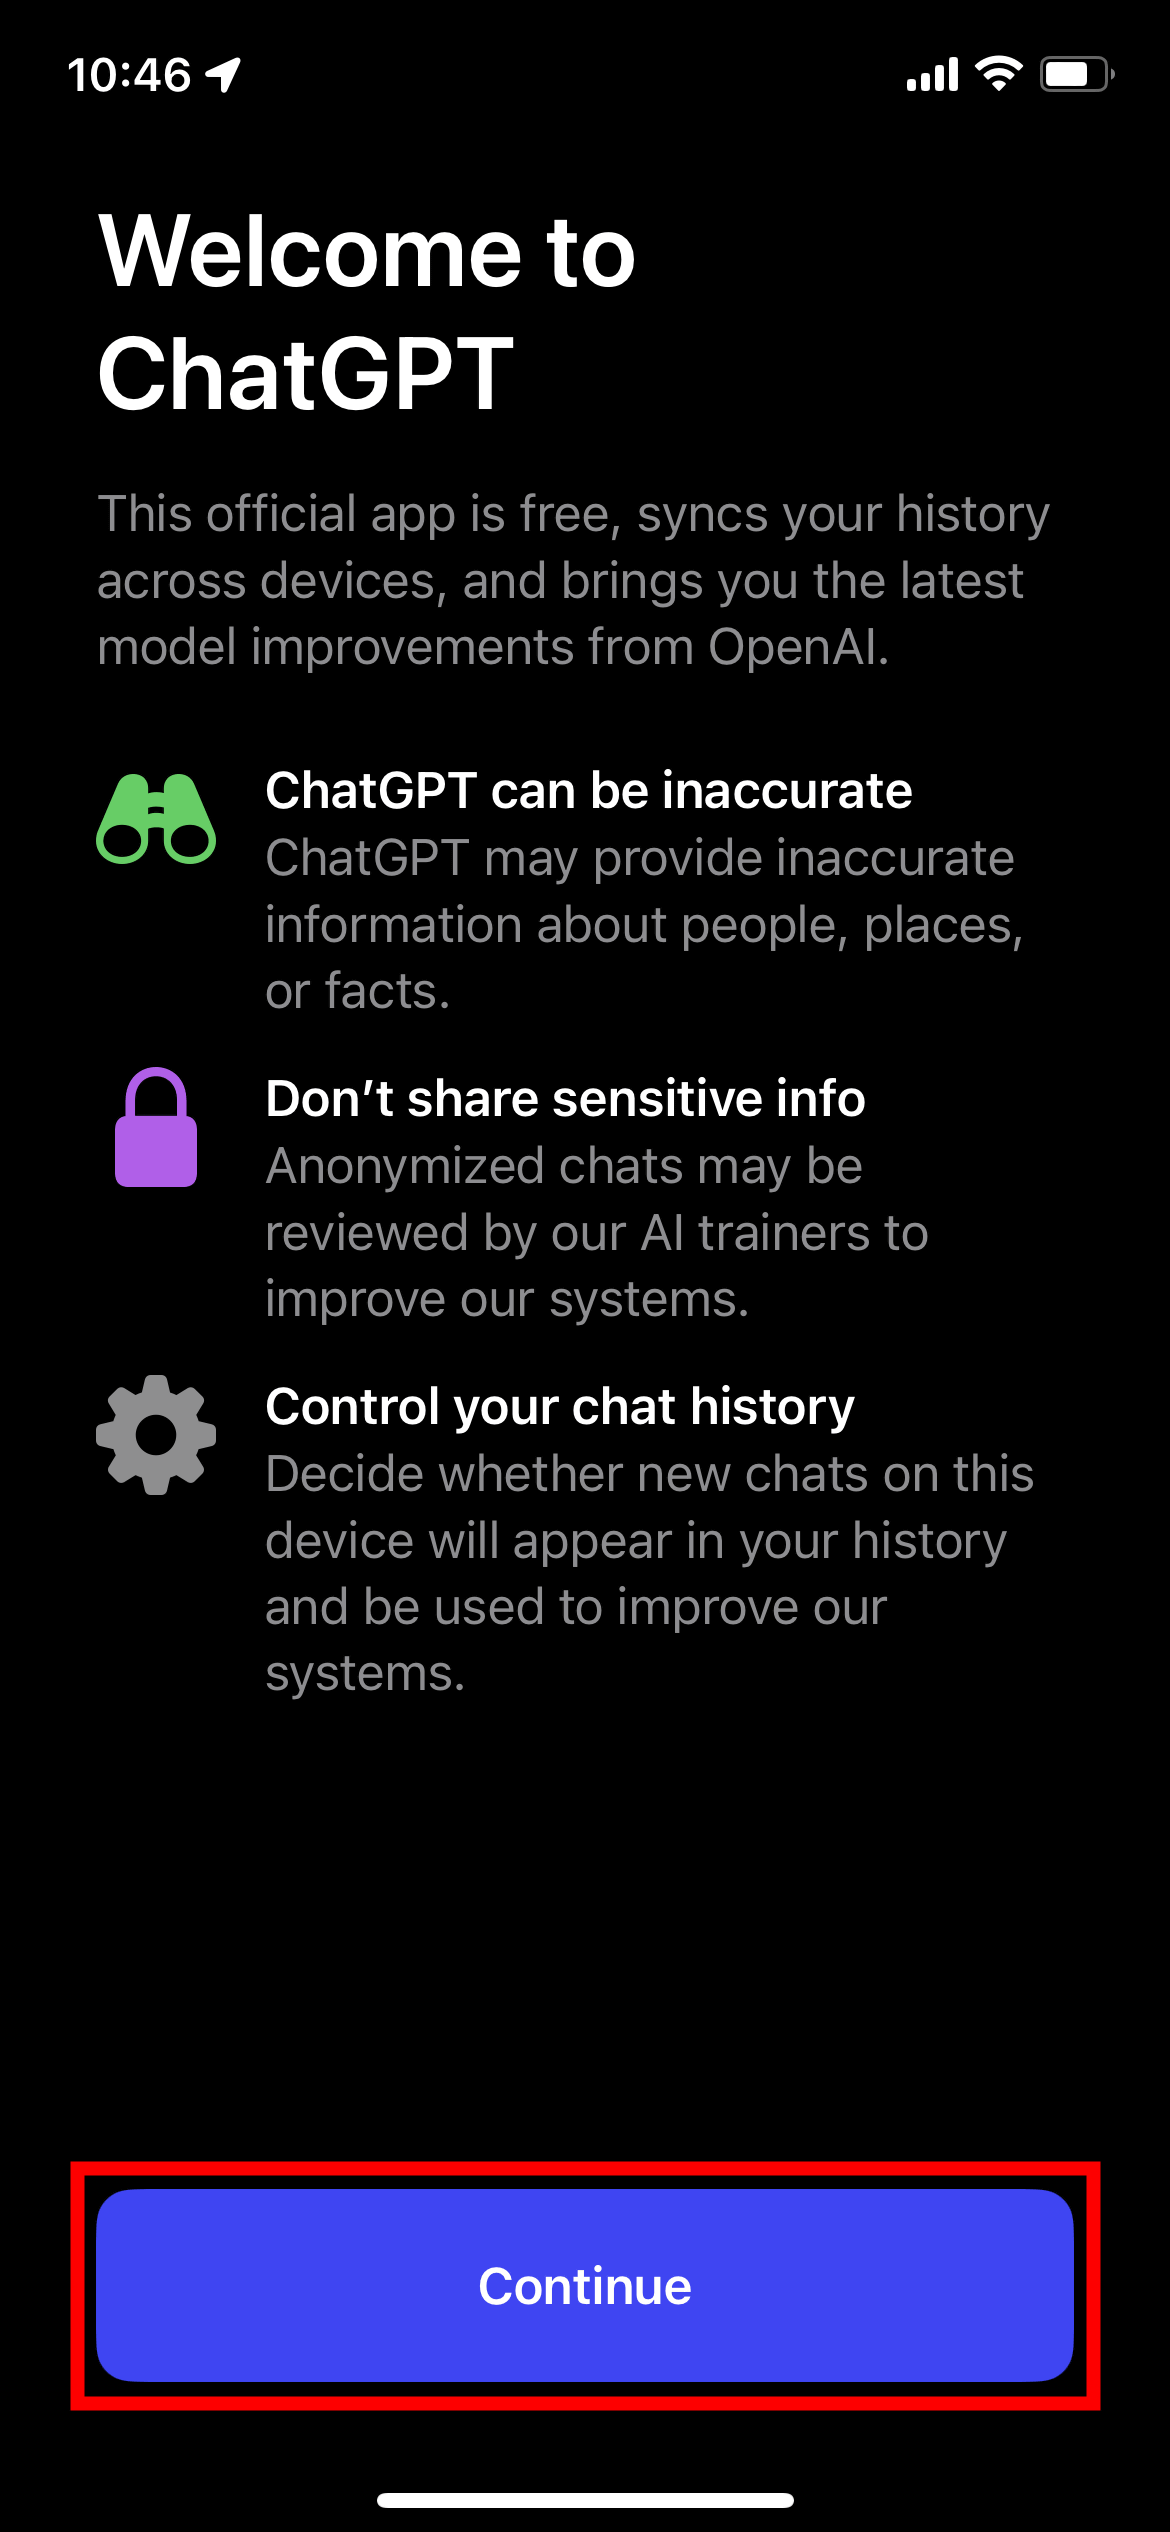
Tap 'Continue'.
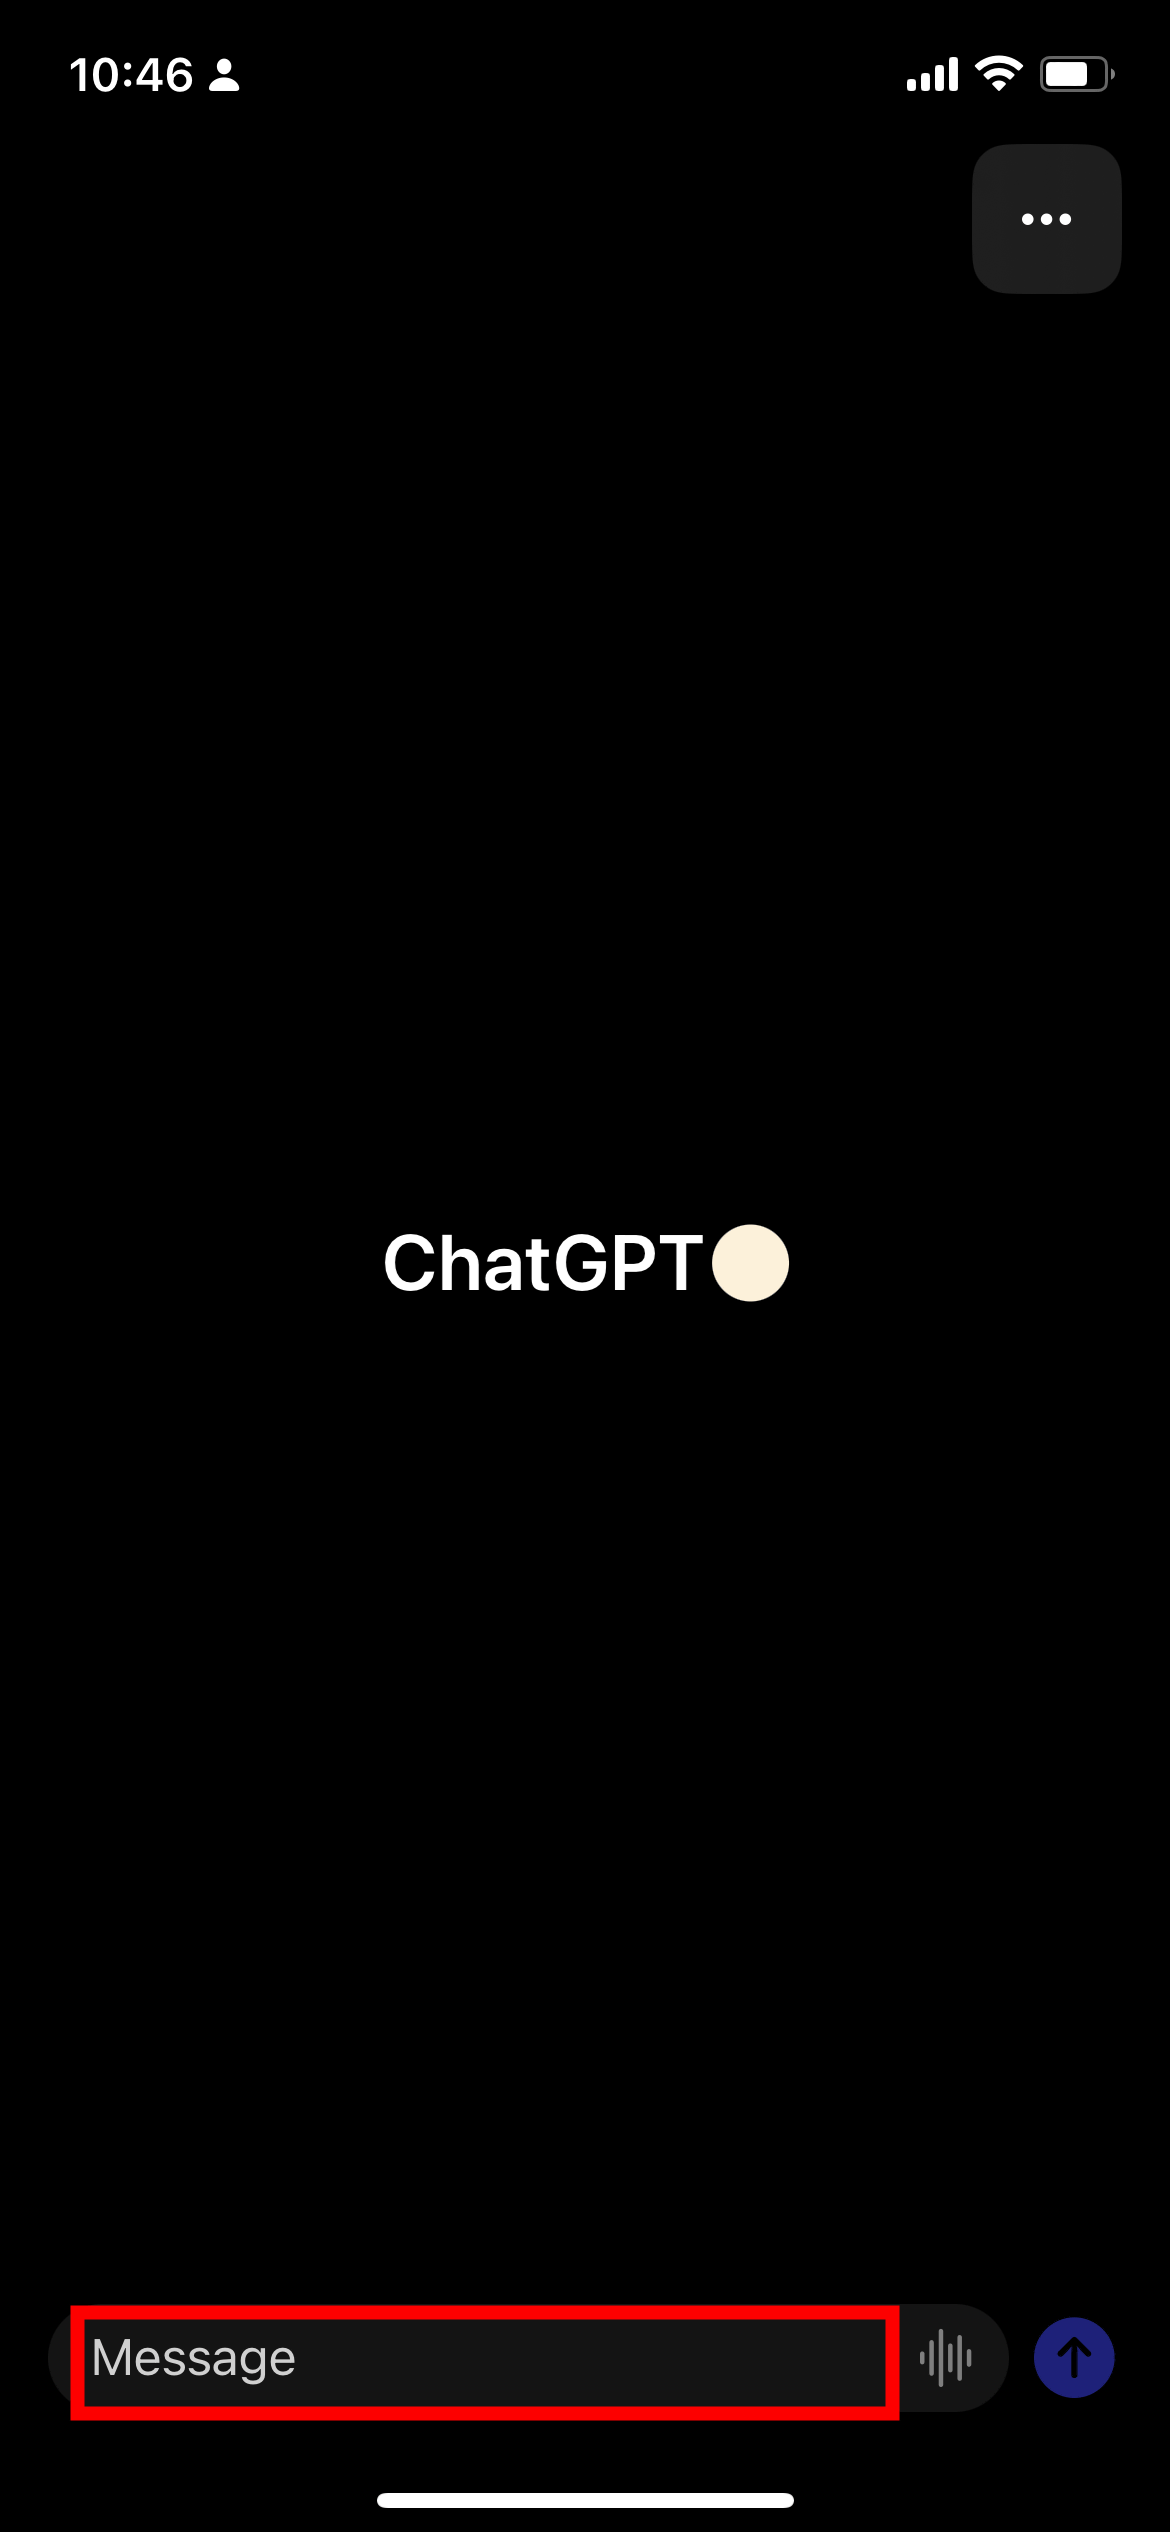
This is the basic screen of the iOS version ChatGPT application. Tap the text box labeled 'Message' at the bottom of the screen to start interacting with AI.
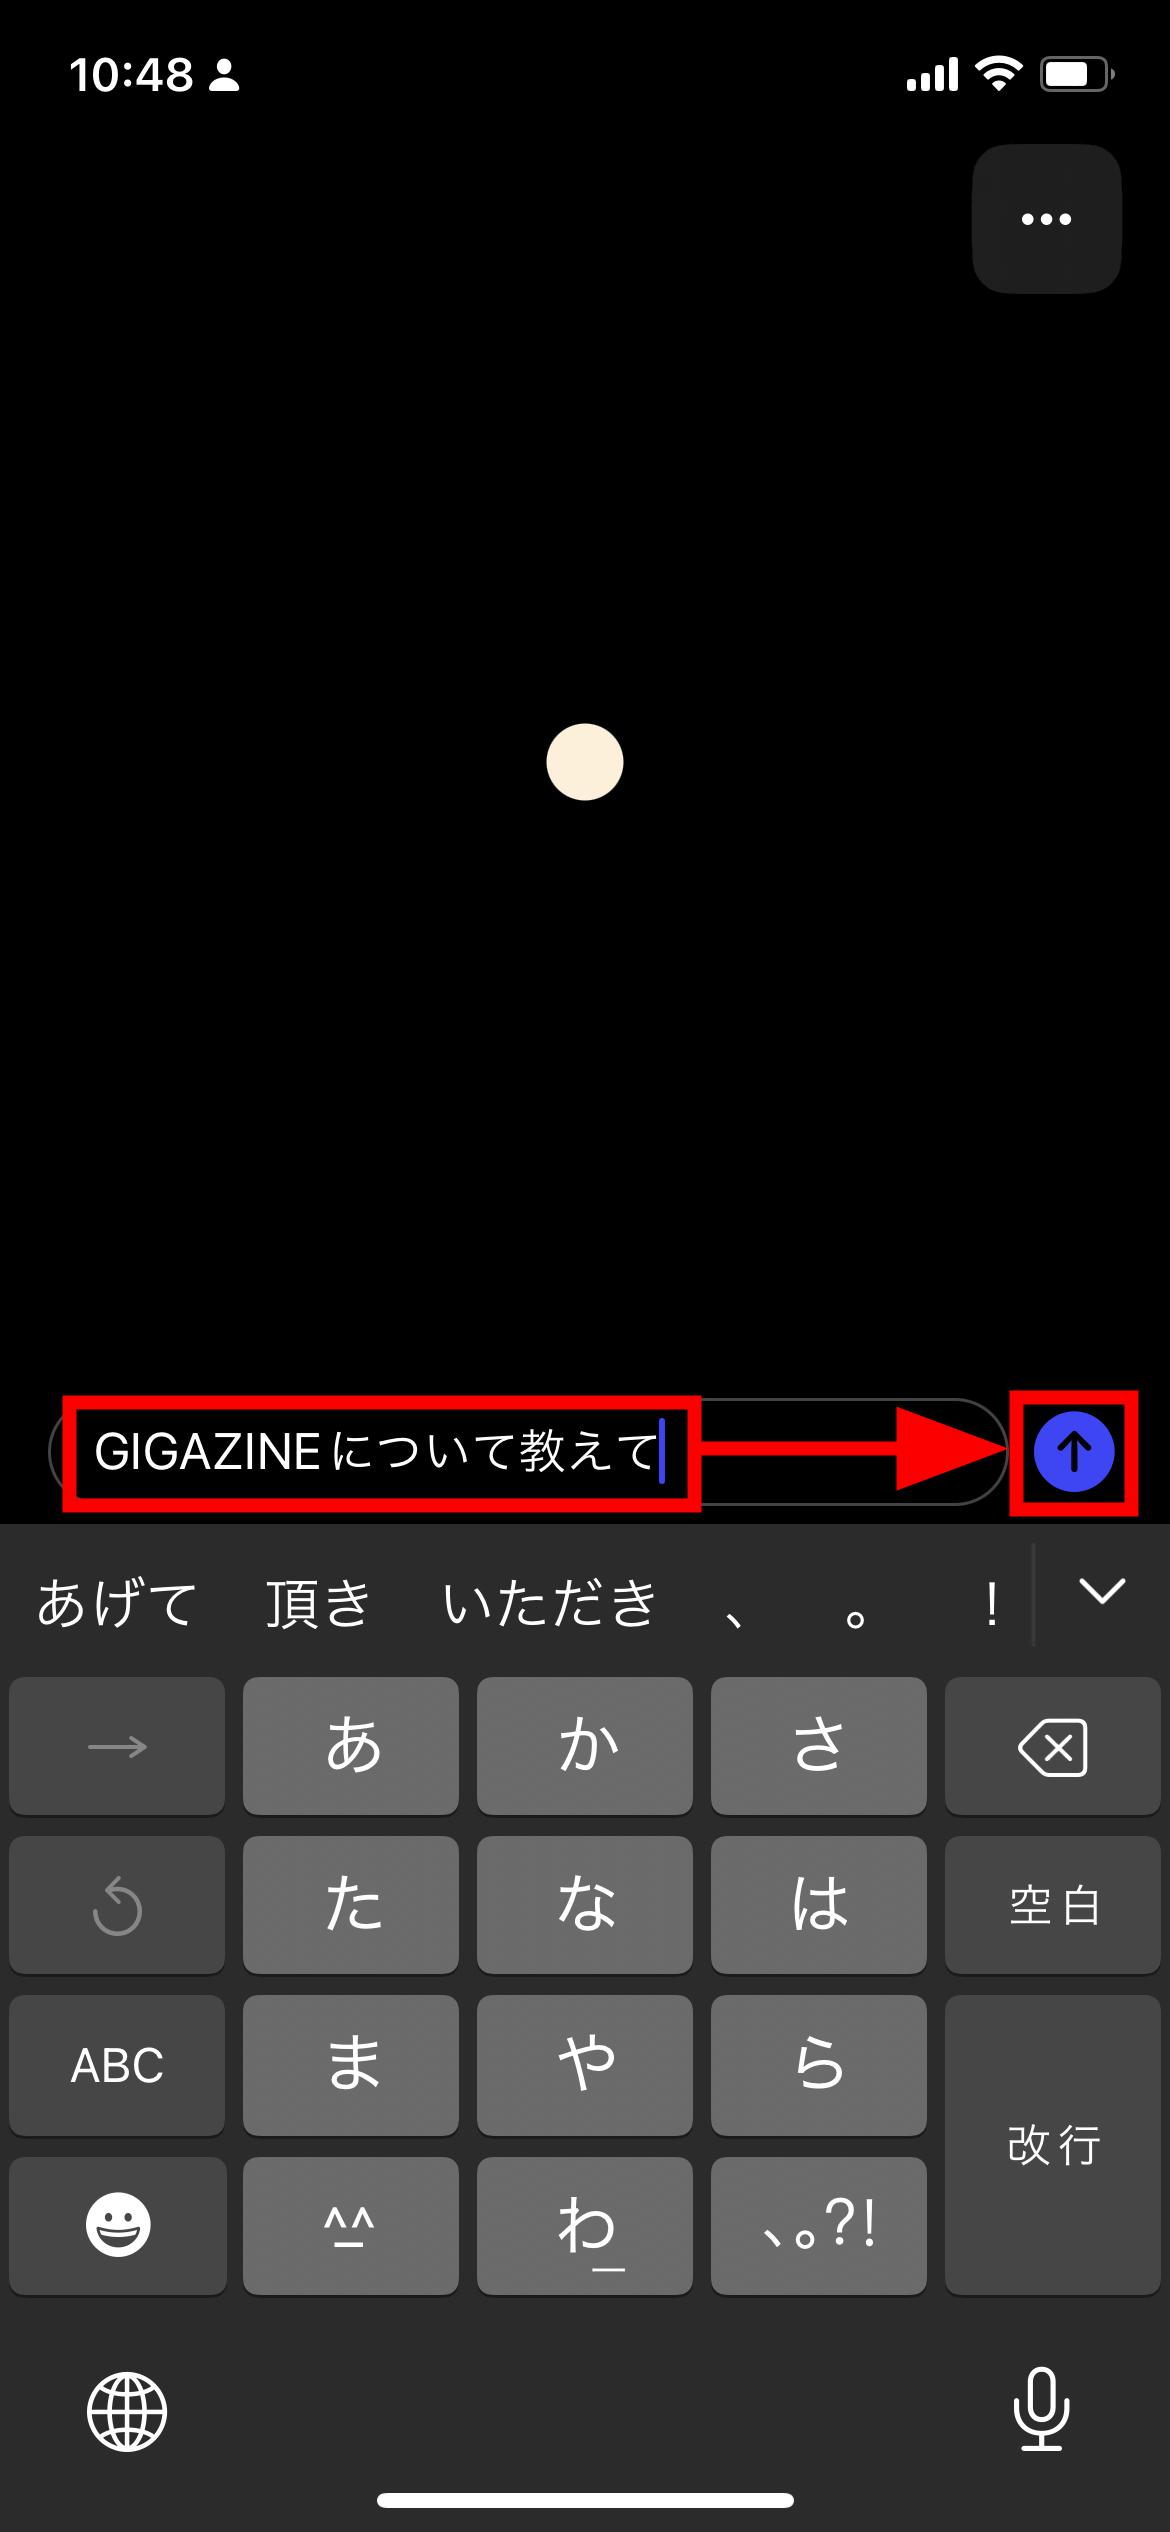
Enter freely what you want to ask AI and tap the send button.
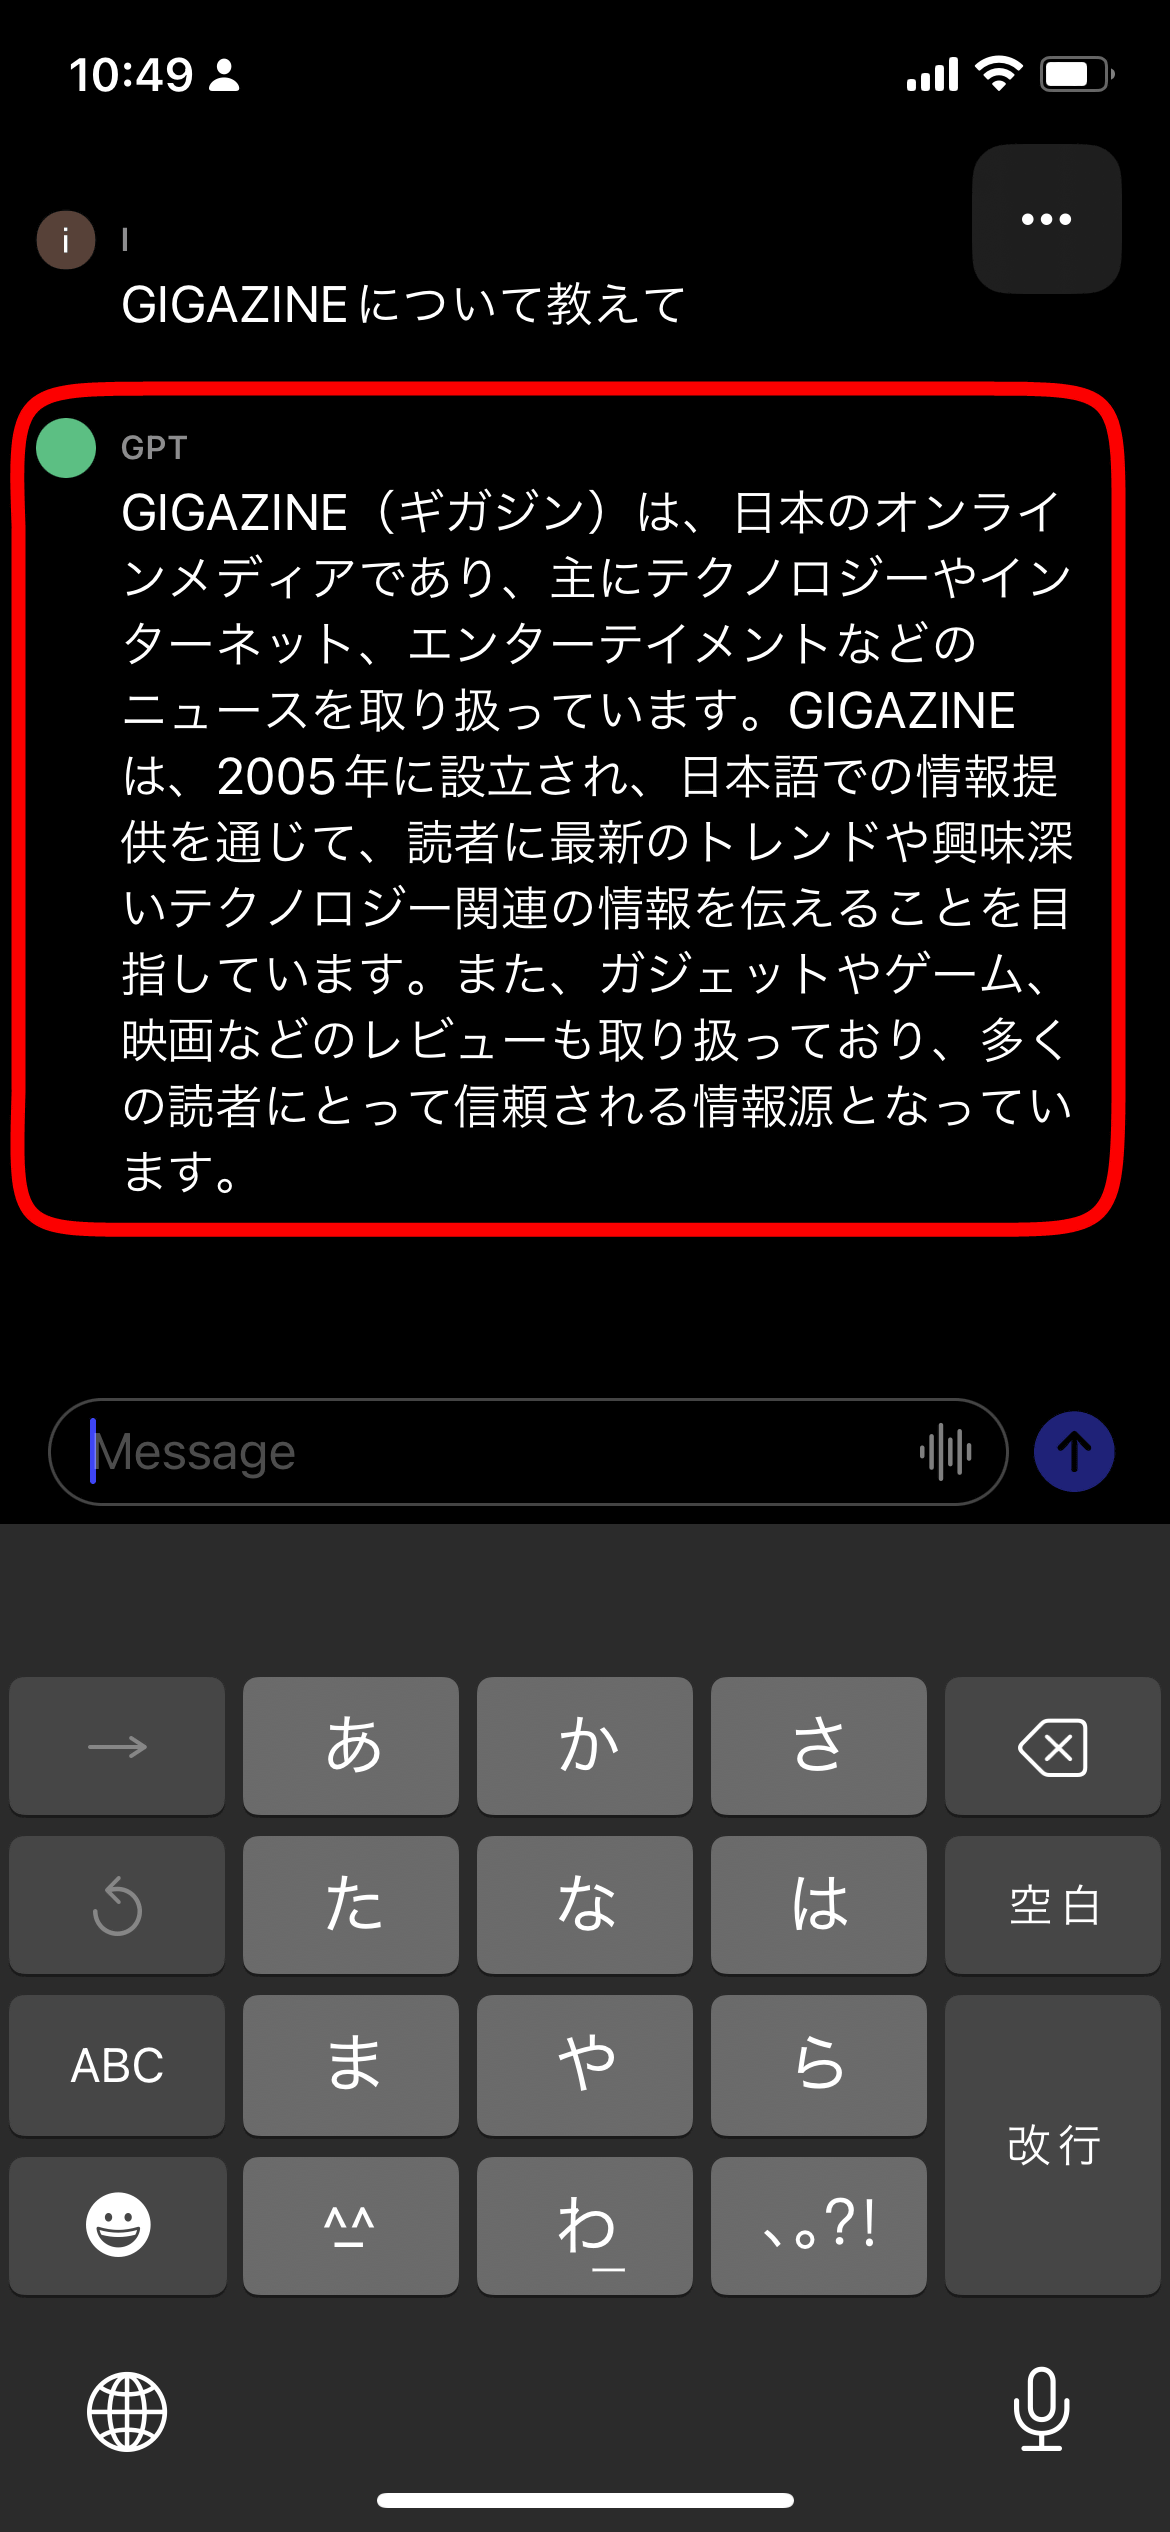
Then ChatGPT will flexibly answer your questions.
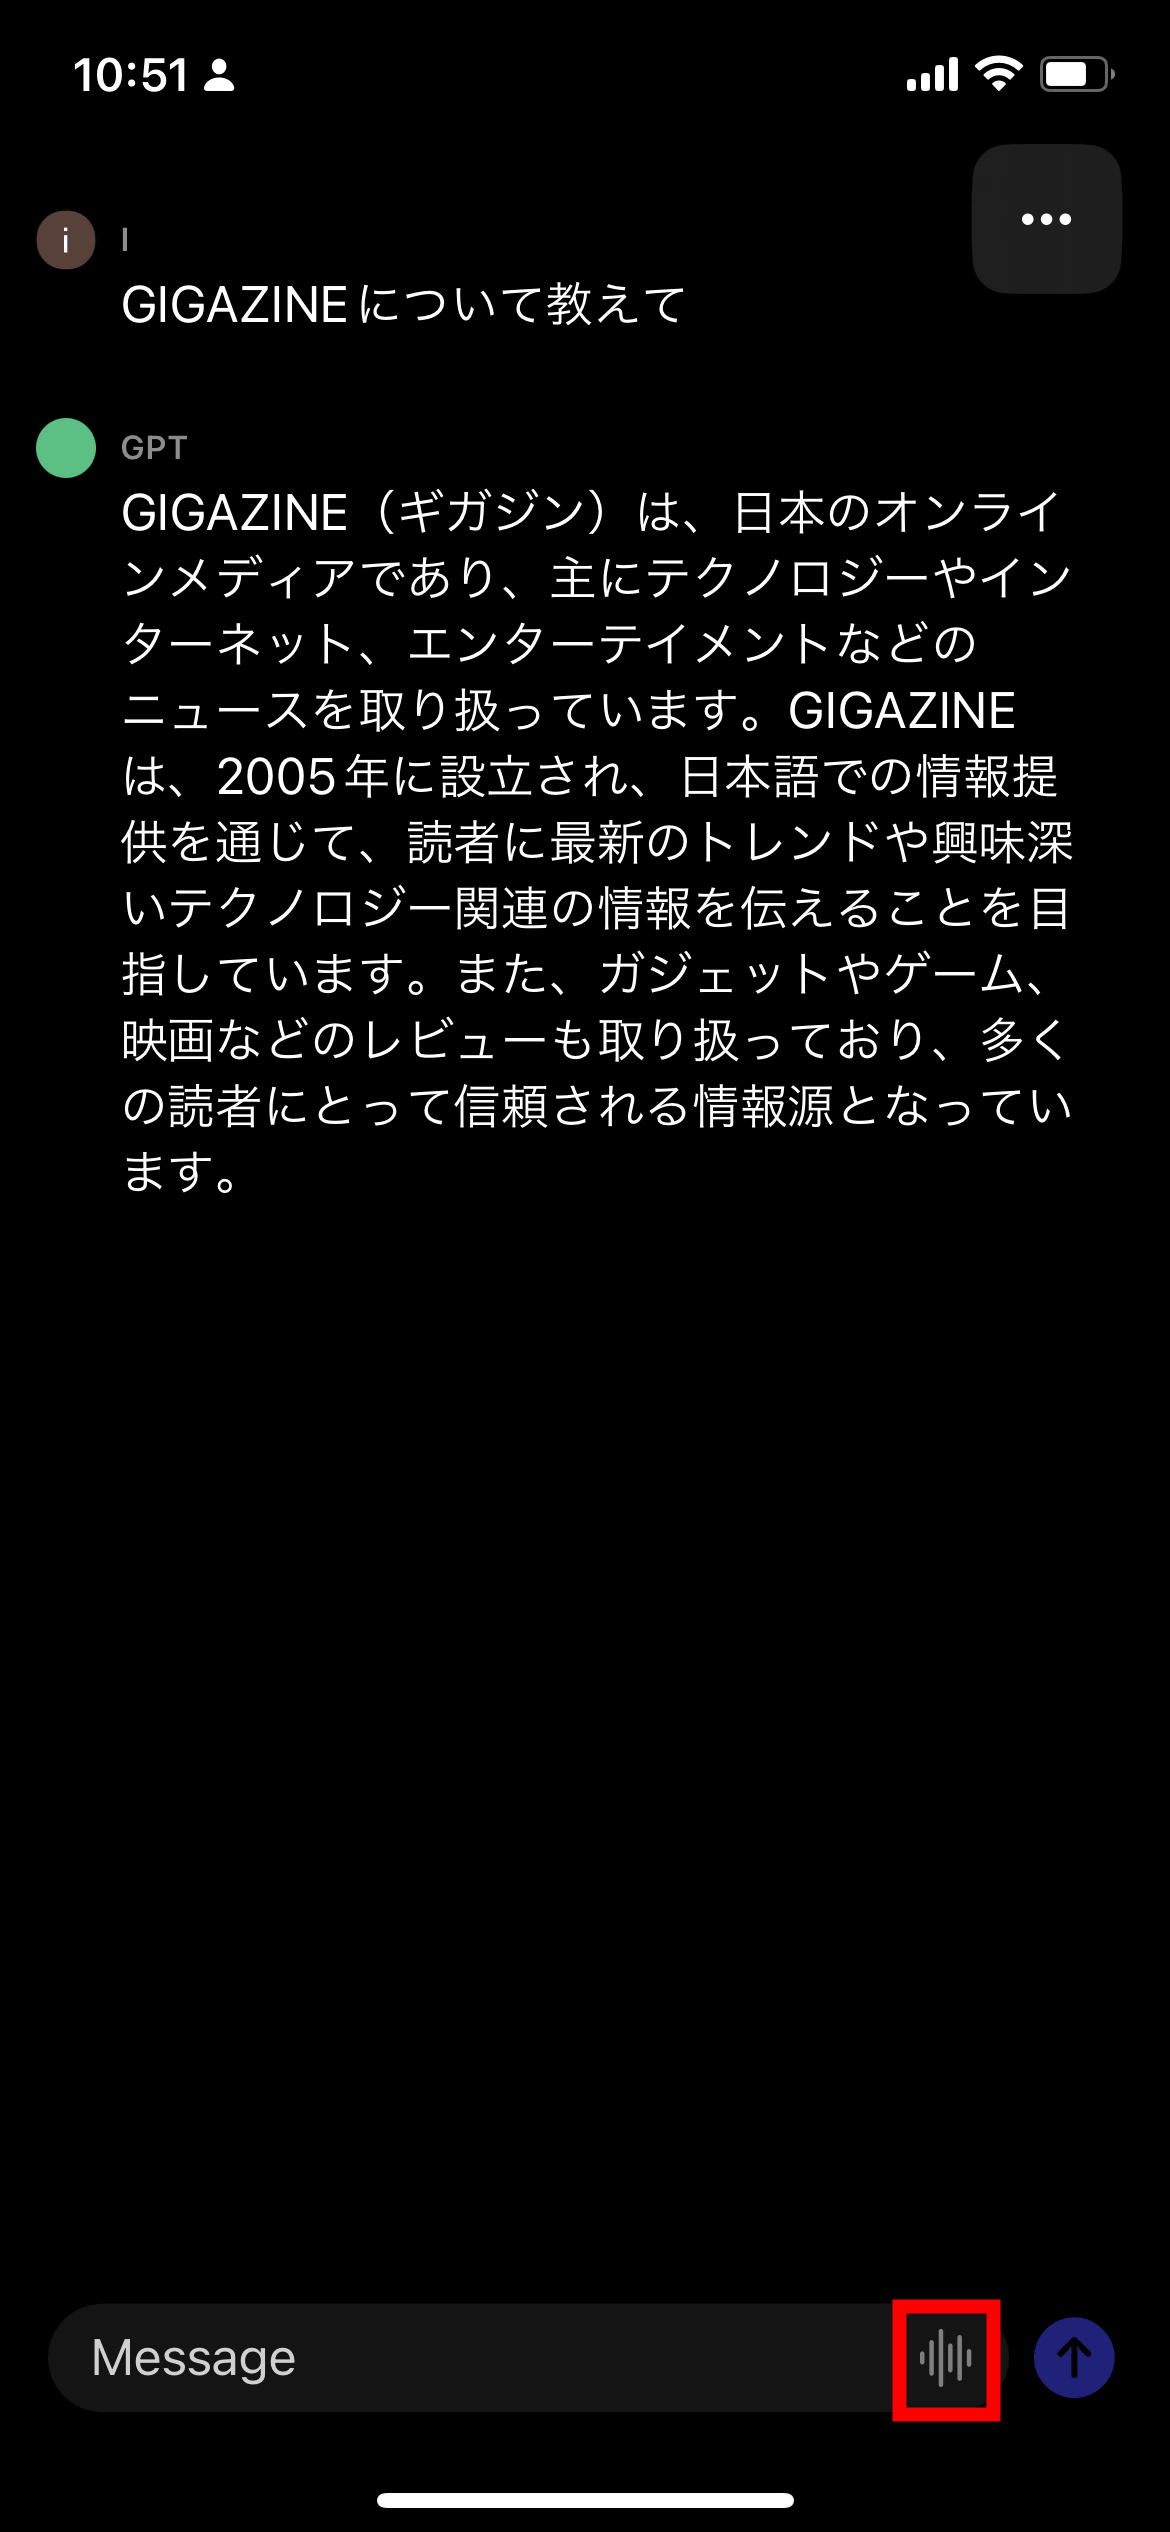
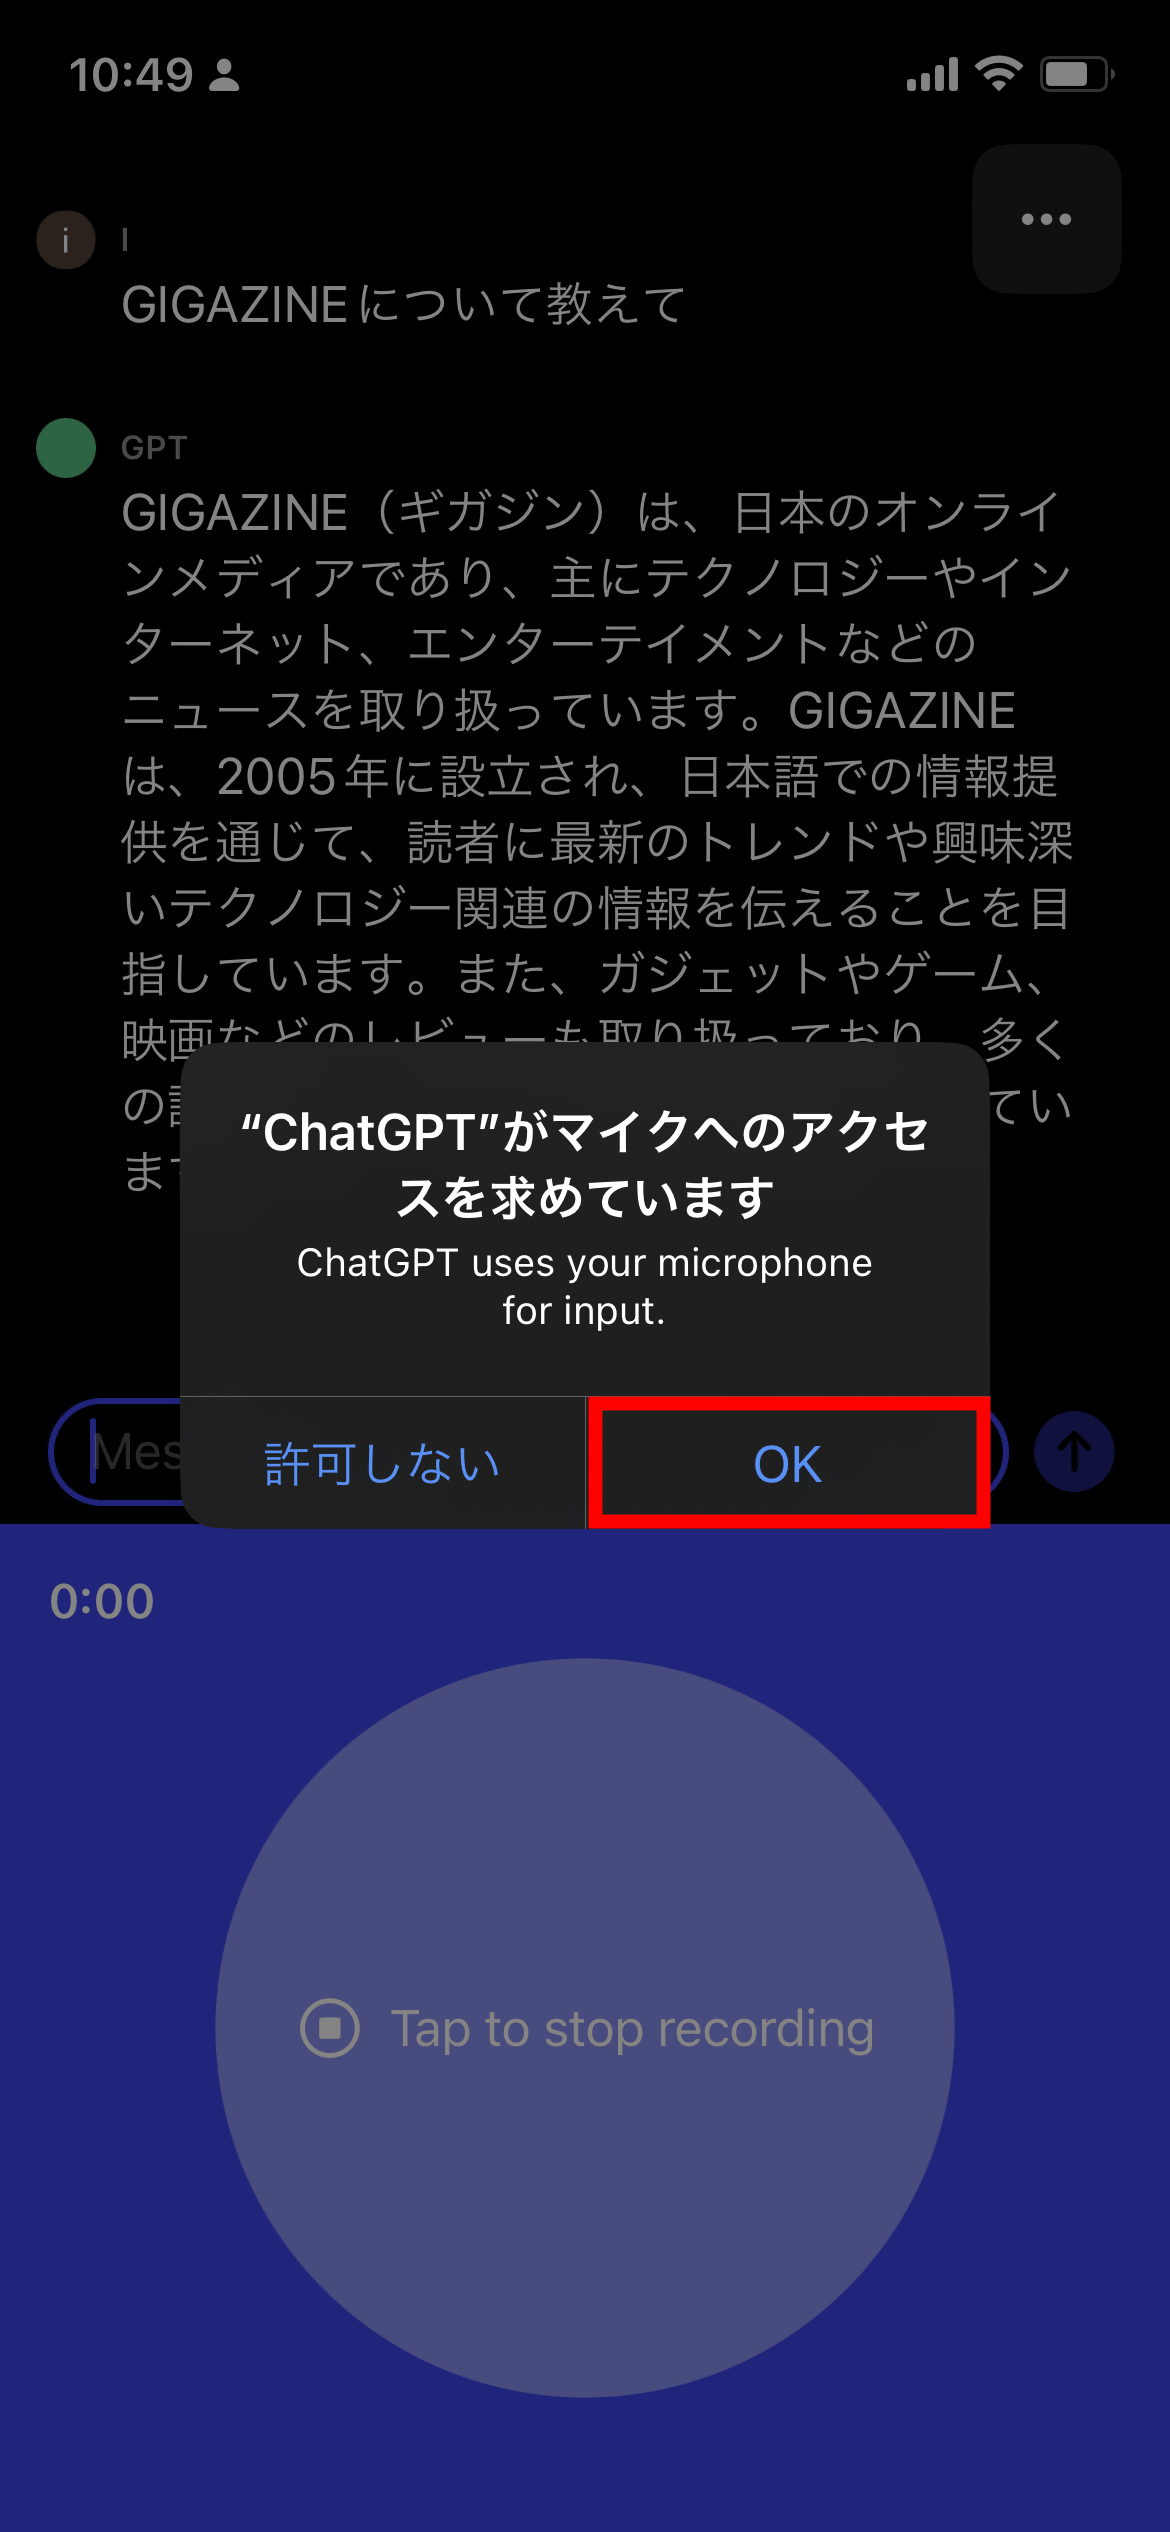
If text input is troublesome, tap the icon at the right end of the text box.
You will be asked for permission to access the microphone, so tap 'OK' to enable voice input. In addition, OpenAI's transcription AI '
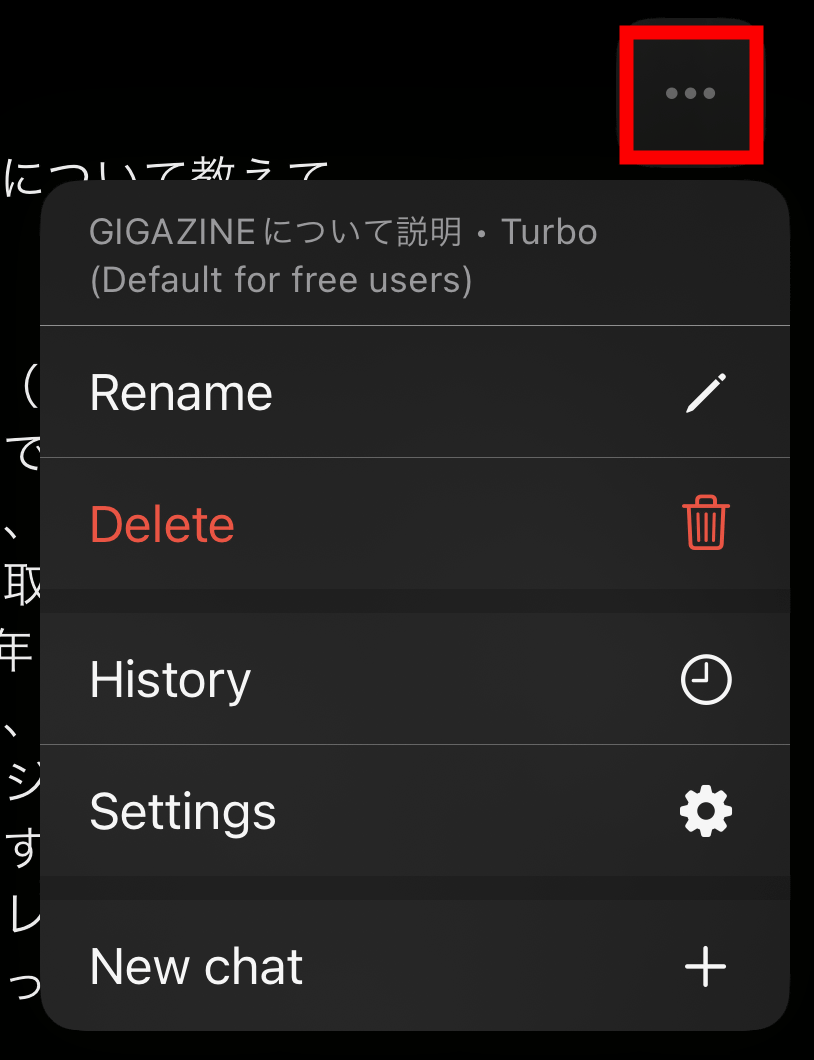
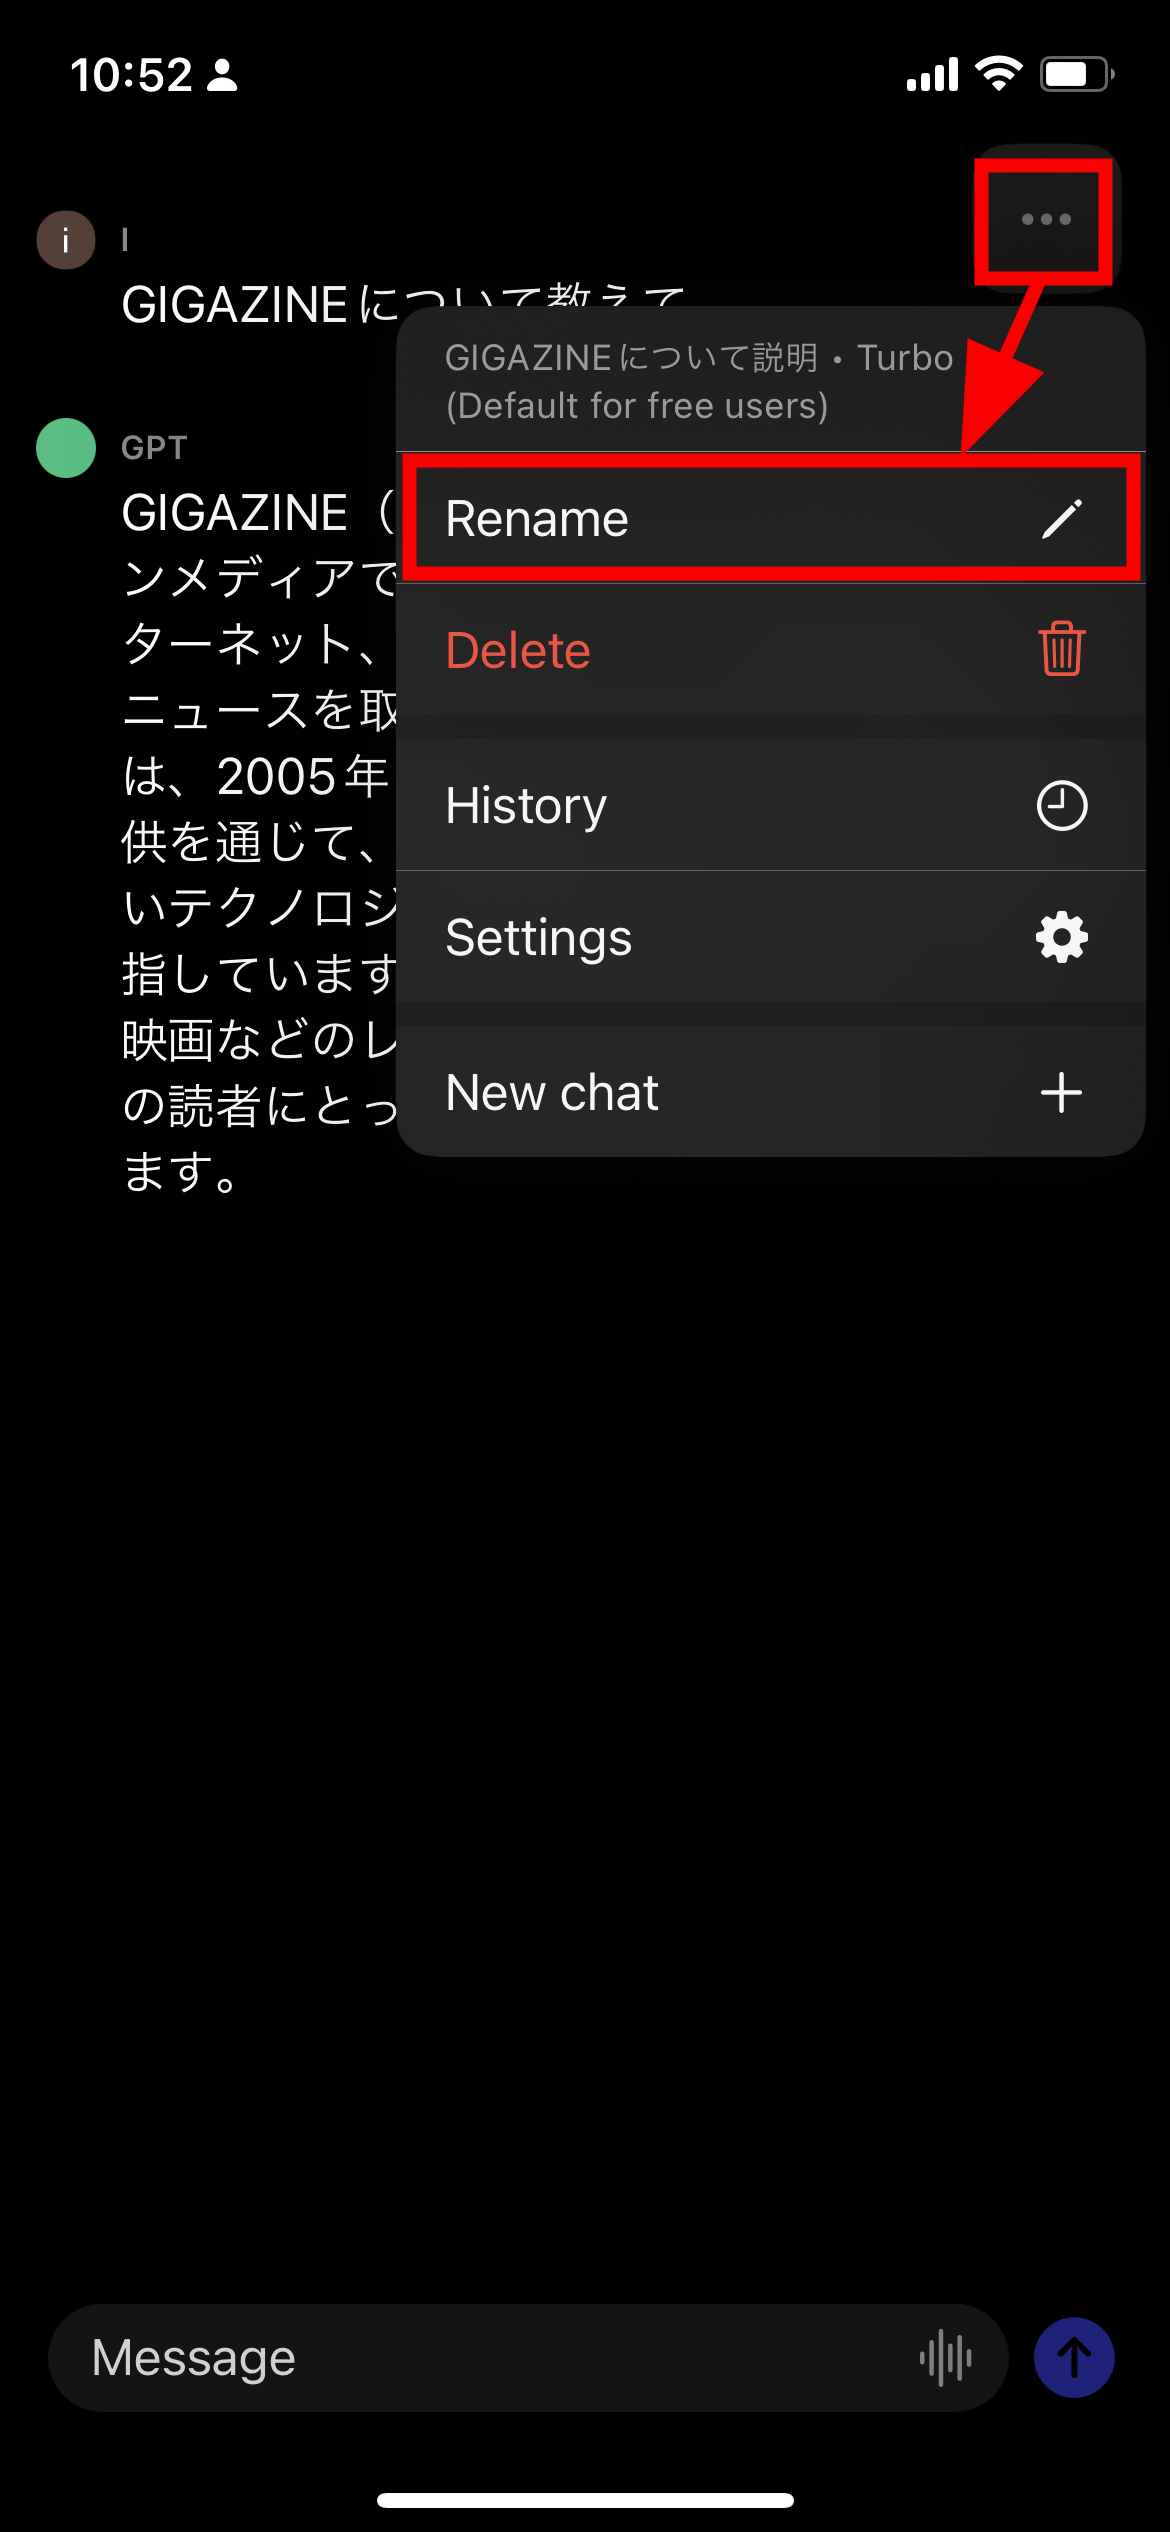
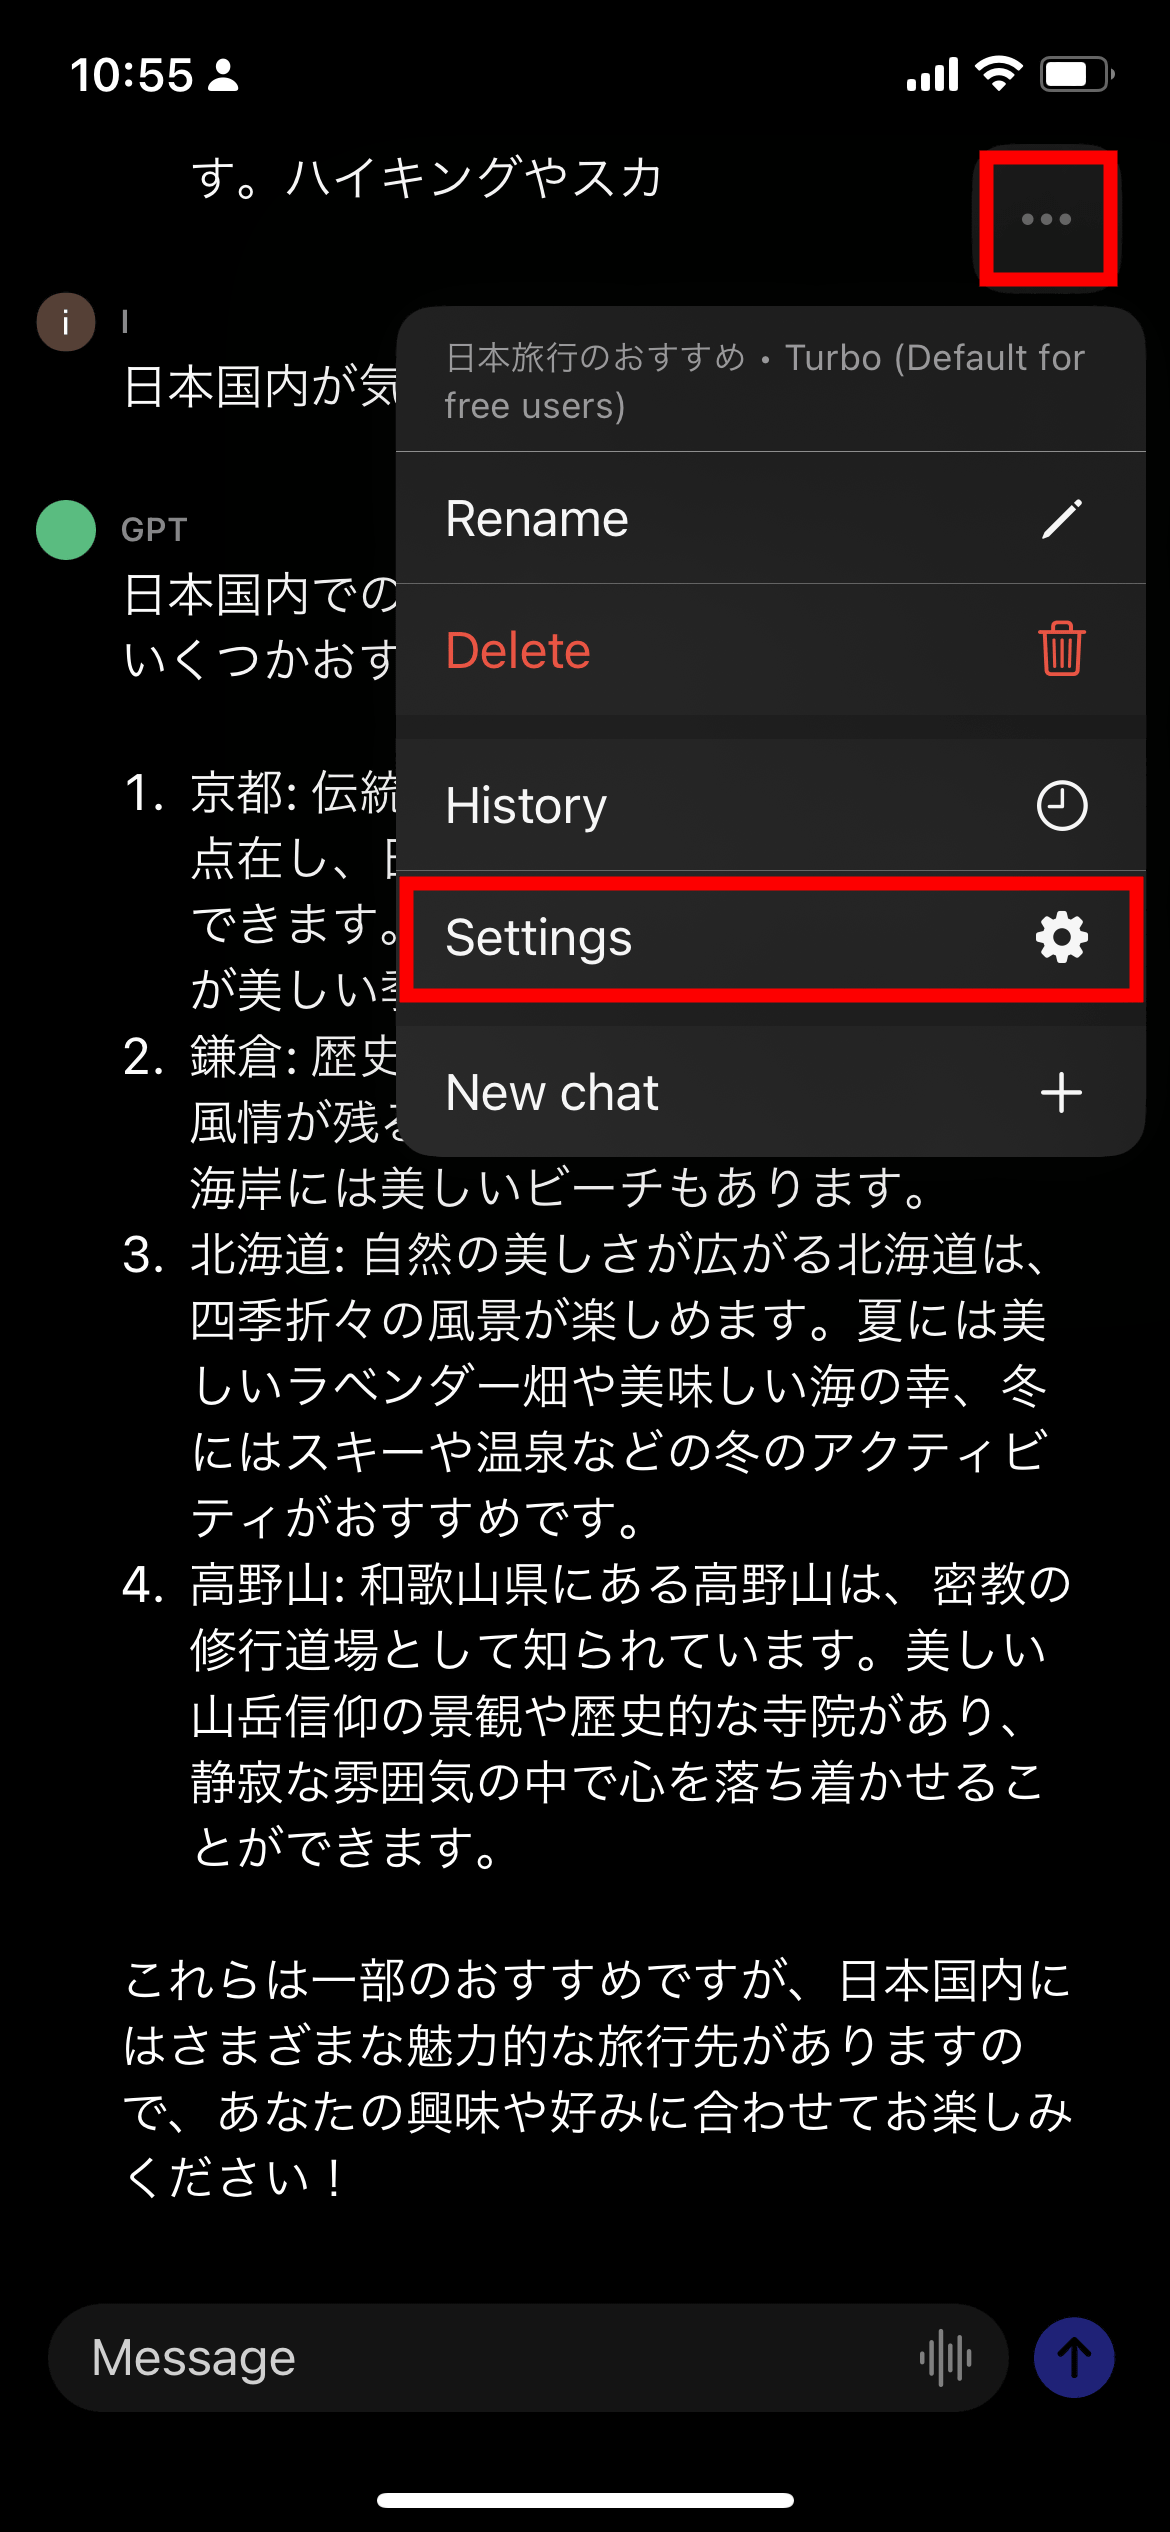
When you tap the three-point reader at the top right of the screen, 'Rename (edit the title of the conversation)', 'Delete (delete the conversation)', 'History (past conversation history)', 'Settings', 'New chat (create a new conversation) )” option appears.
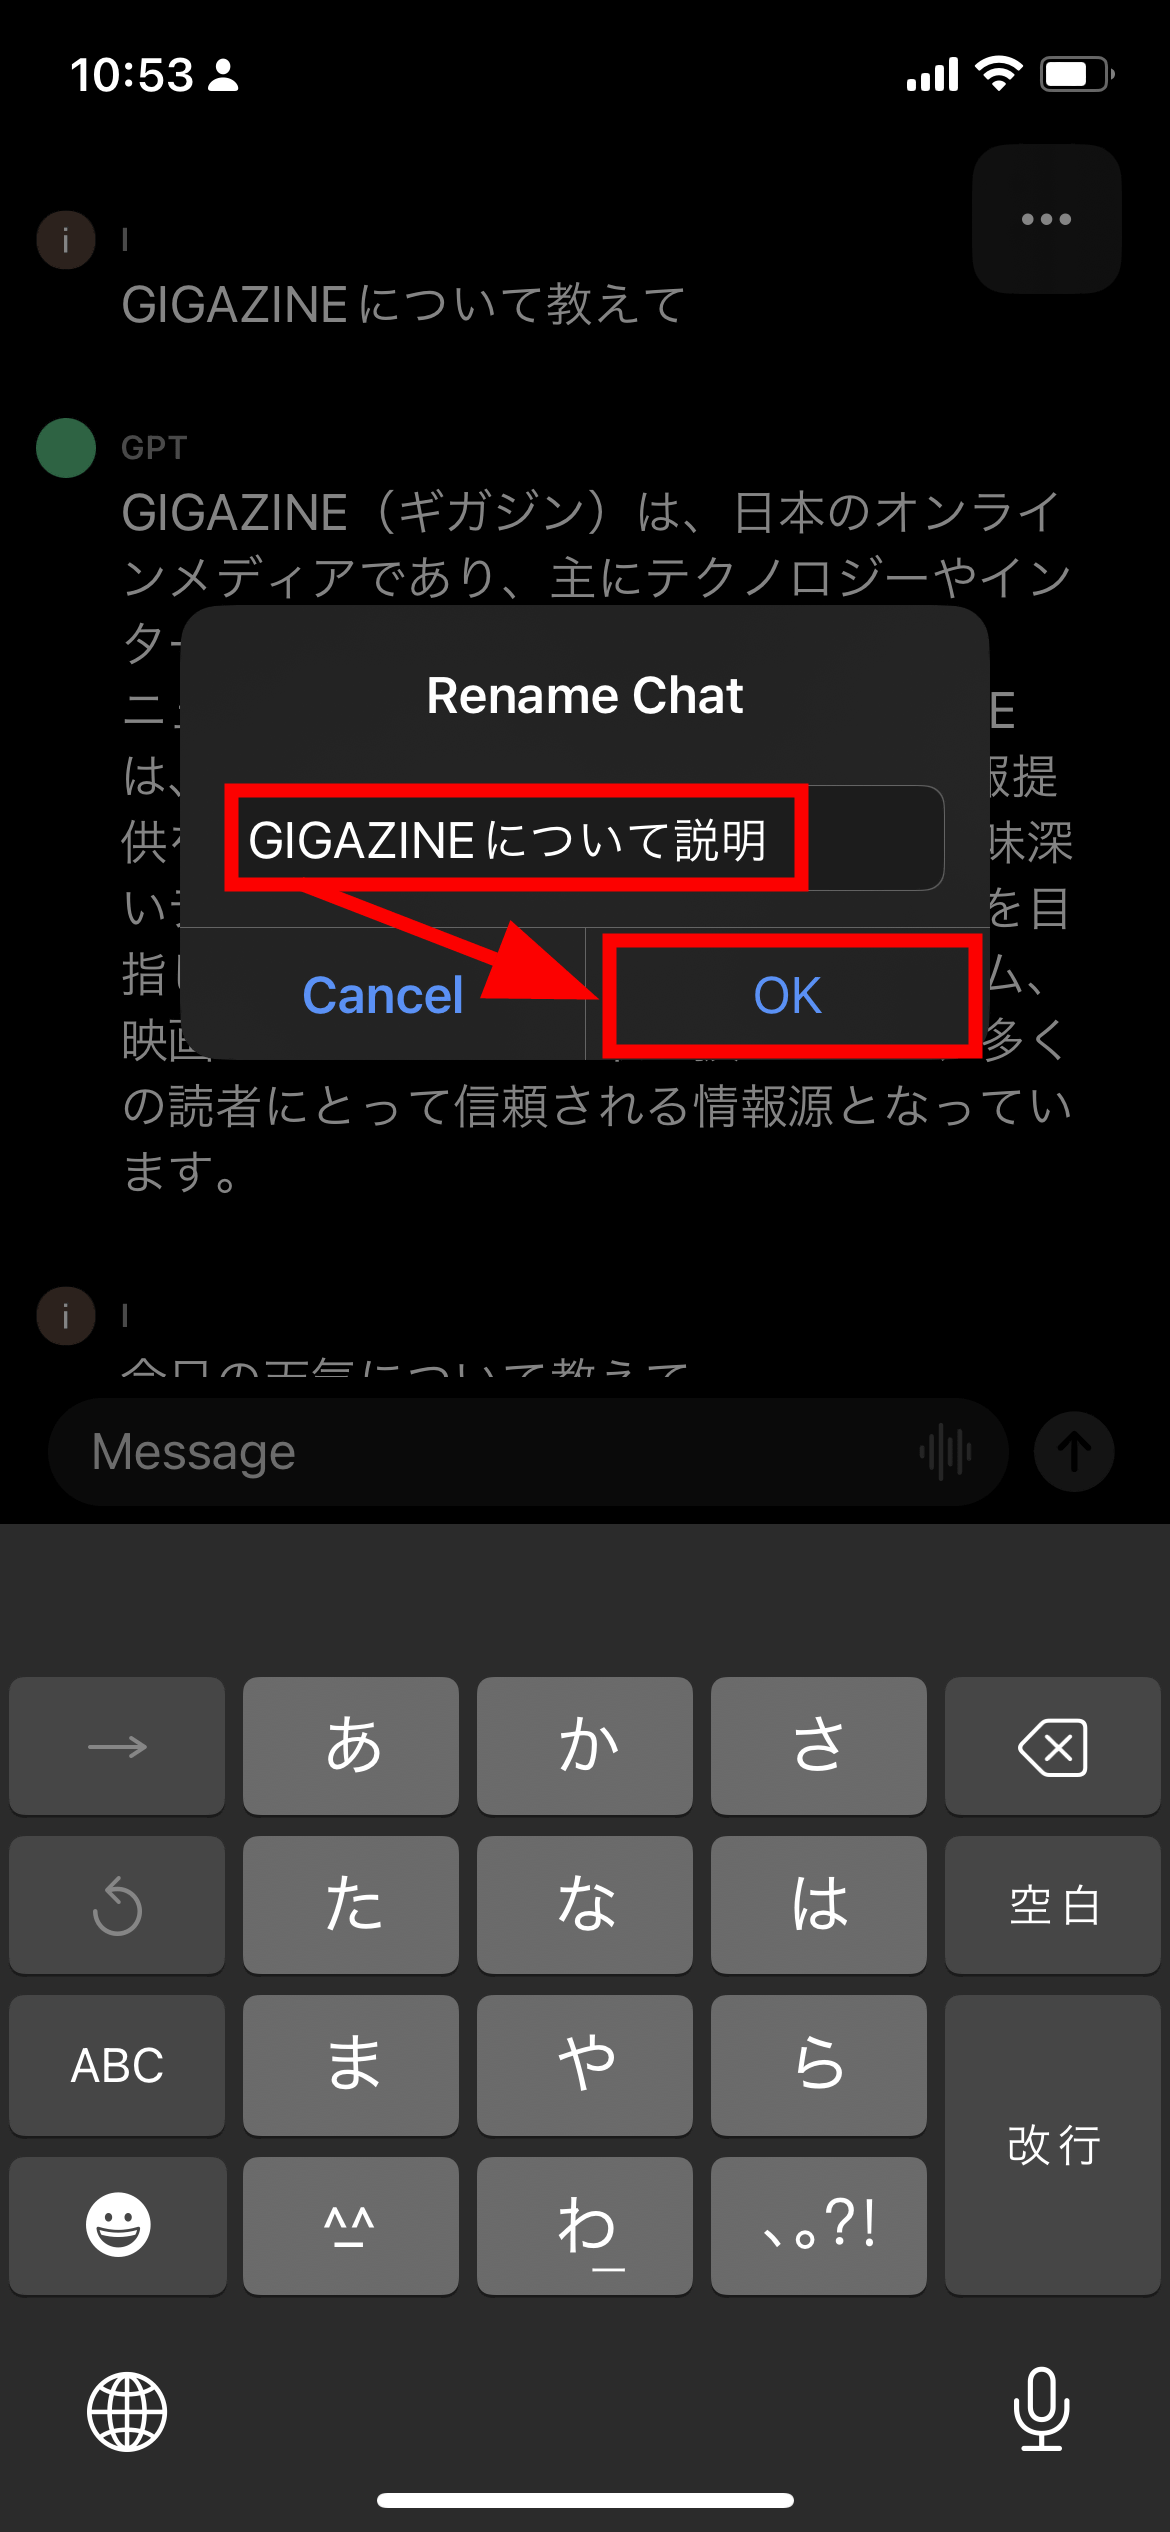
Tap 'Rename'.
Then you can edit the conversation title. The title is entered in advance from the conversation content, but editing is also possible.
Tap 'History'.

Then you can check the past conversation history as follows.
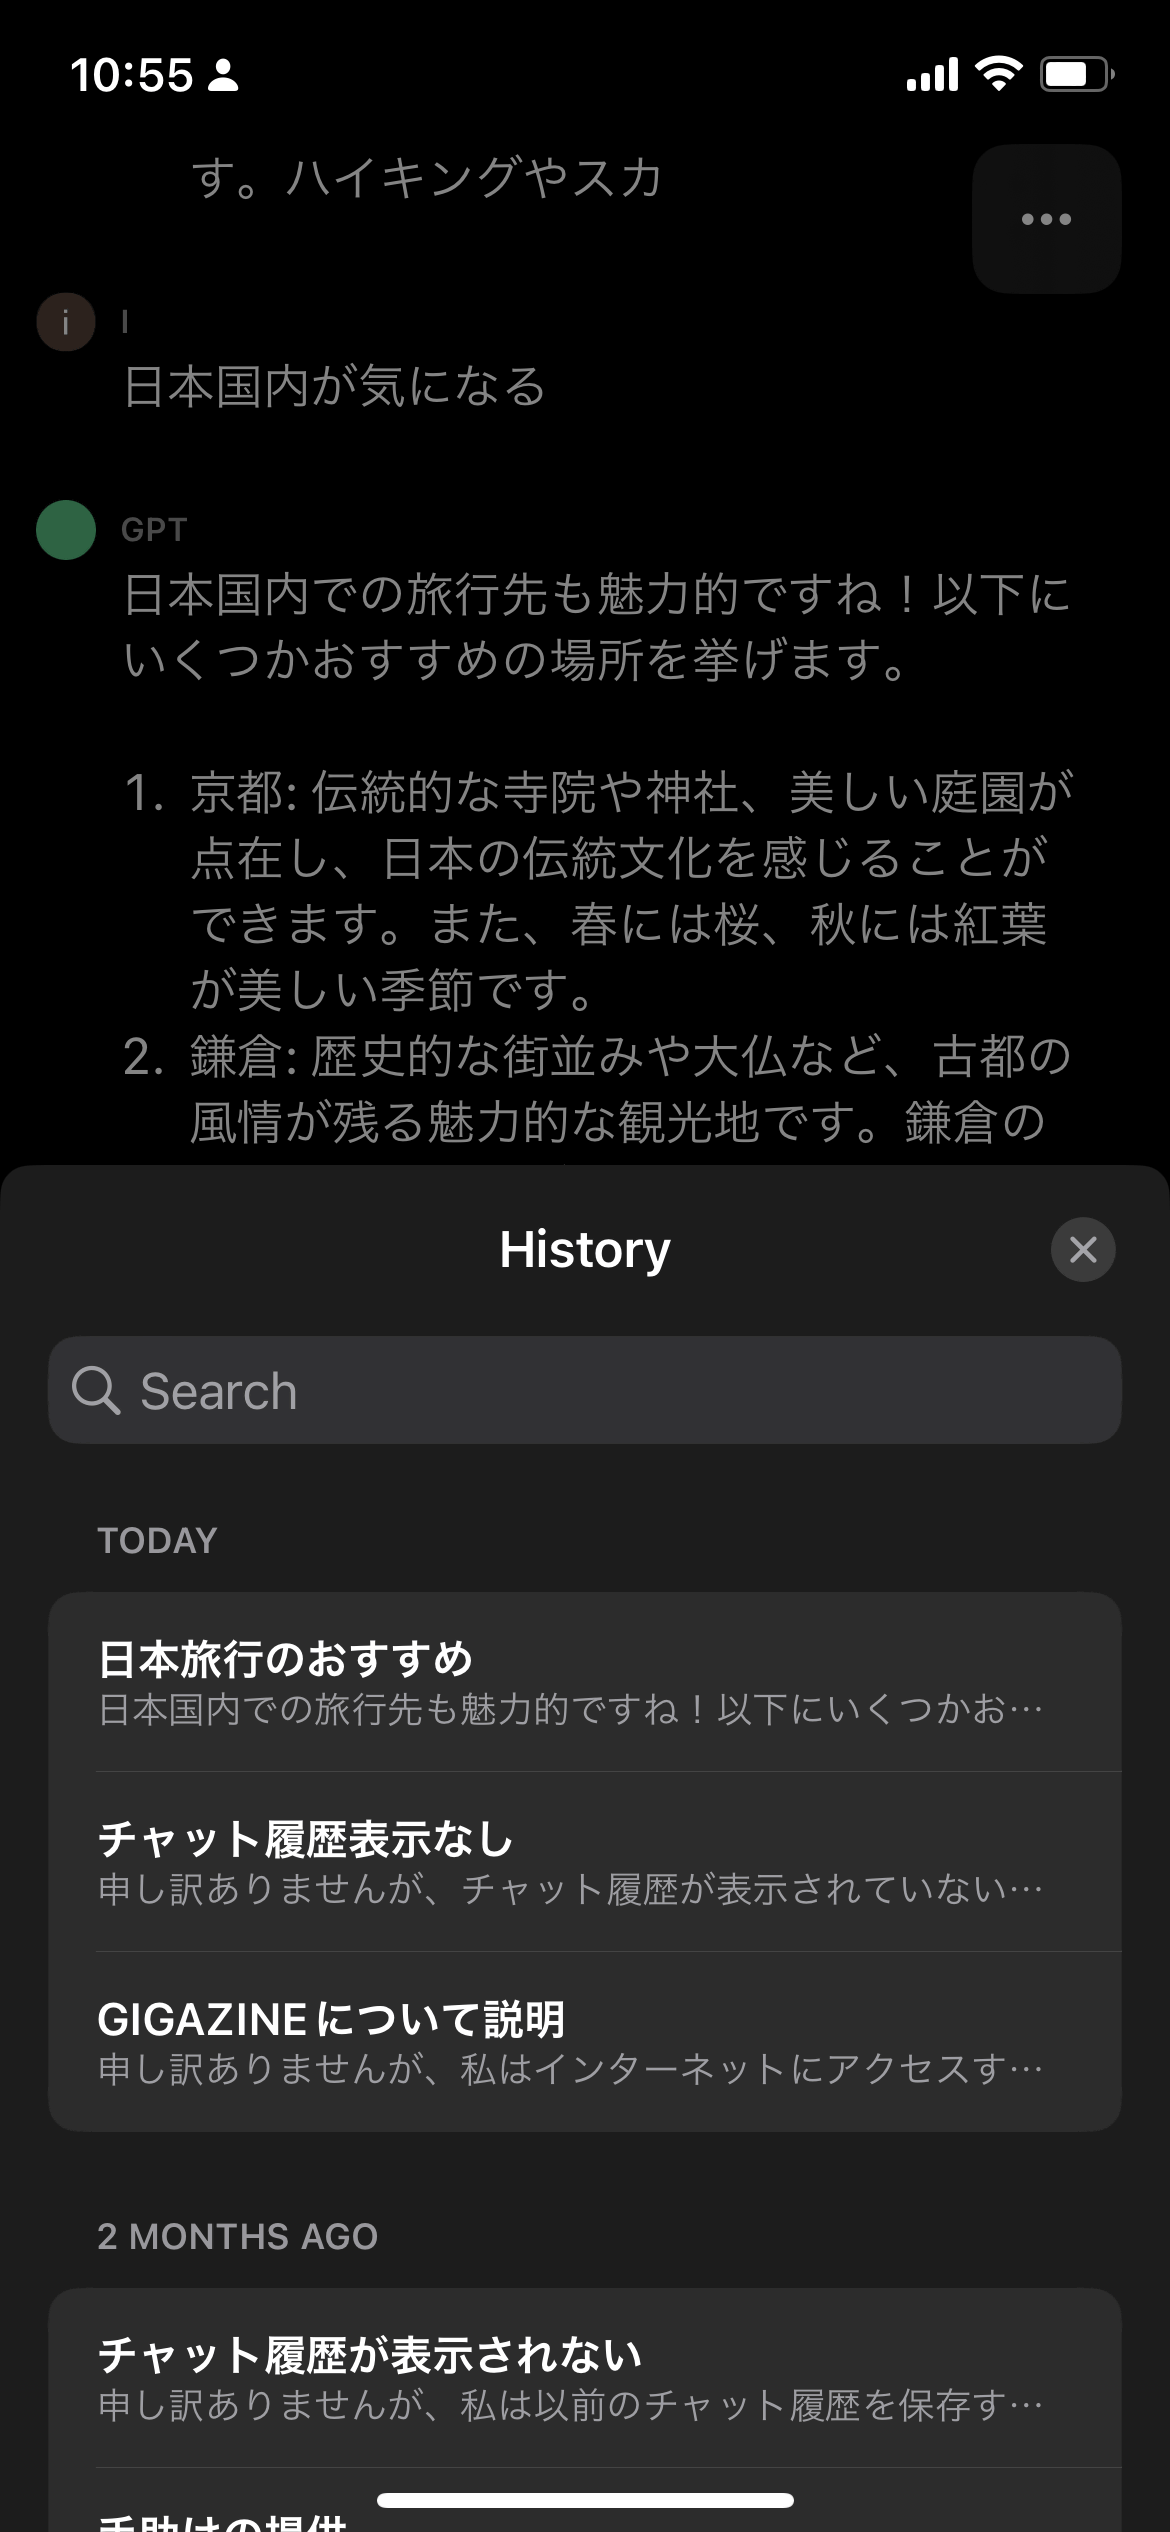
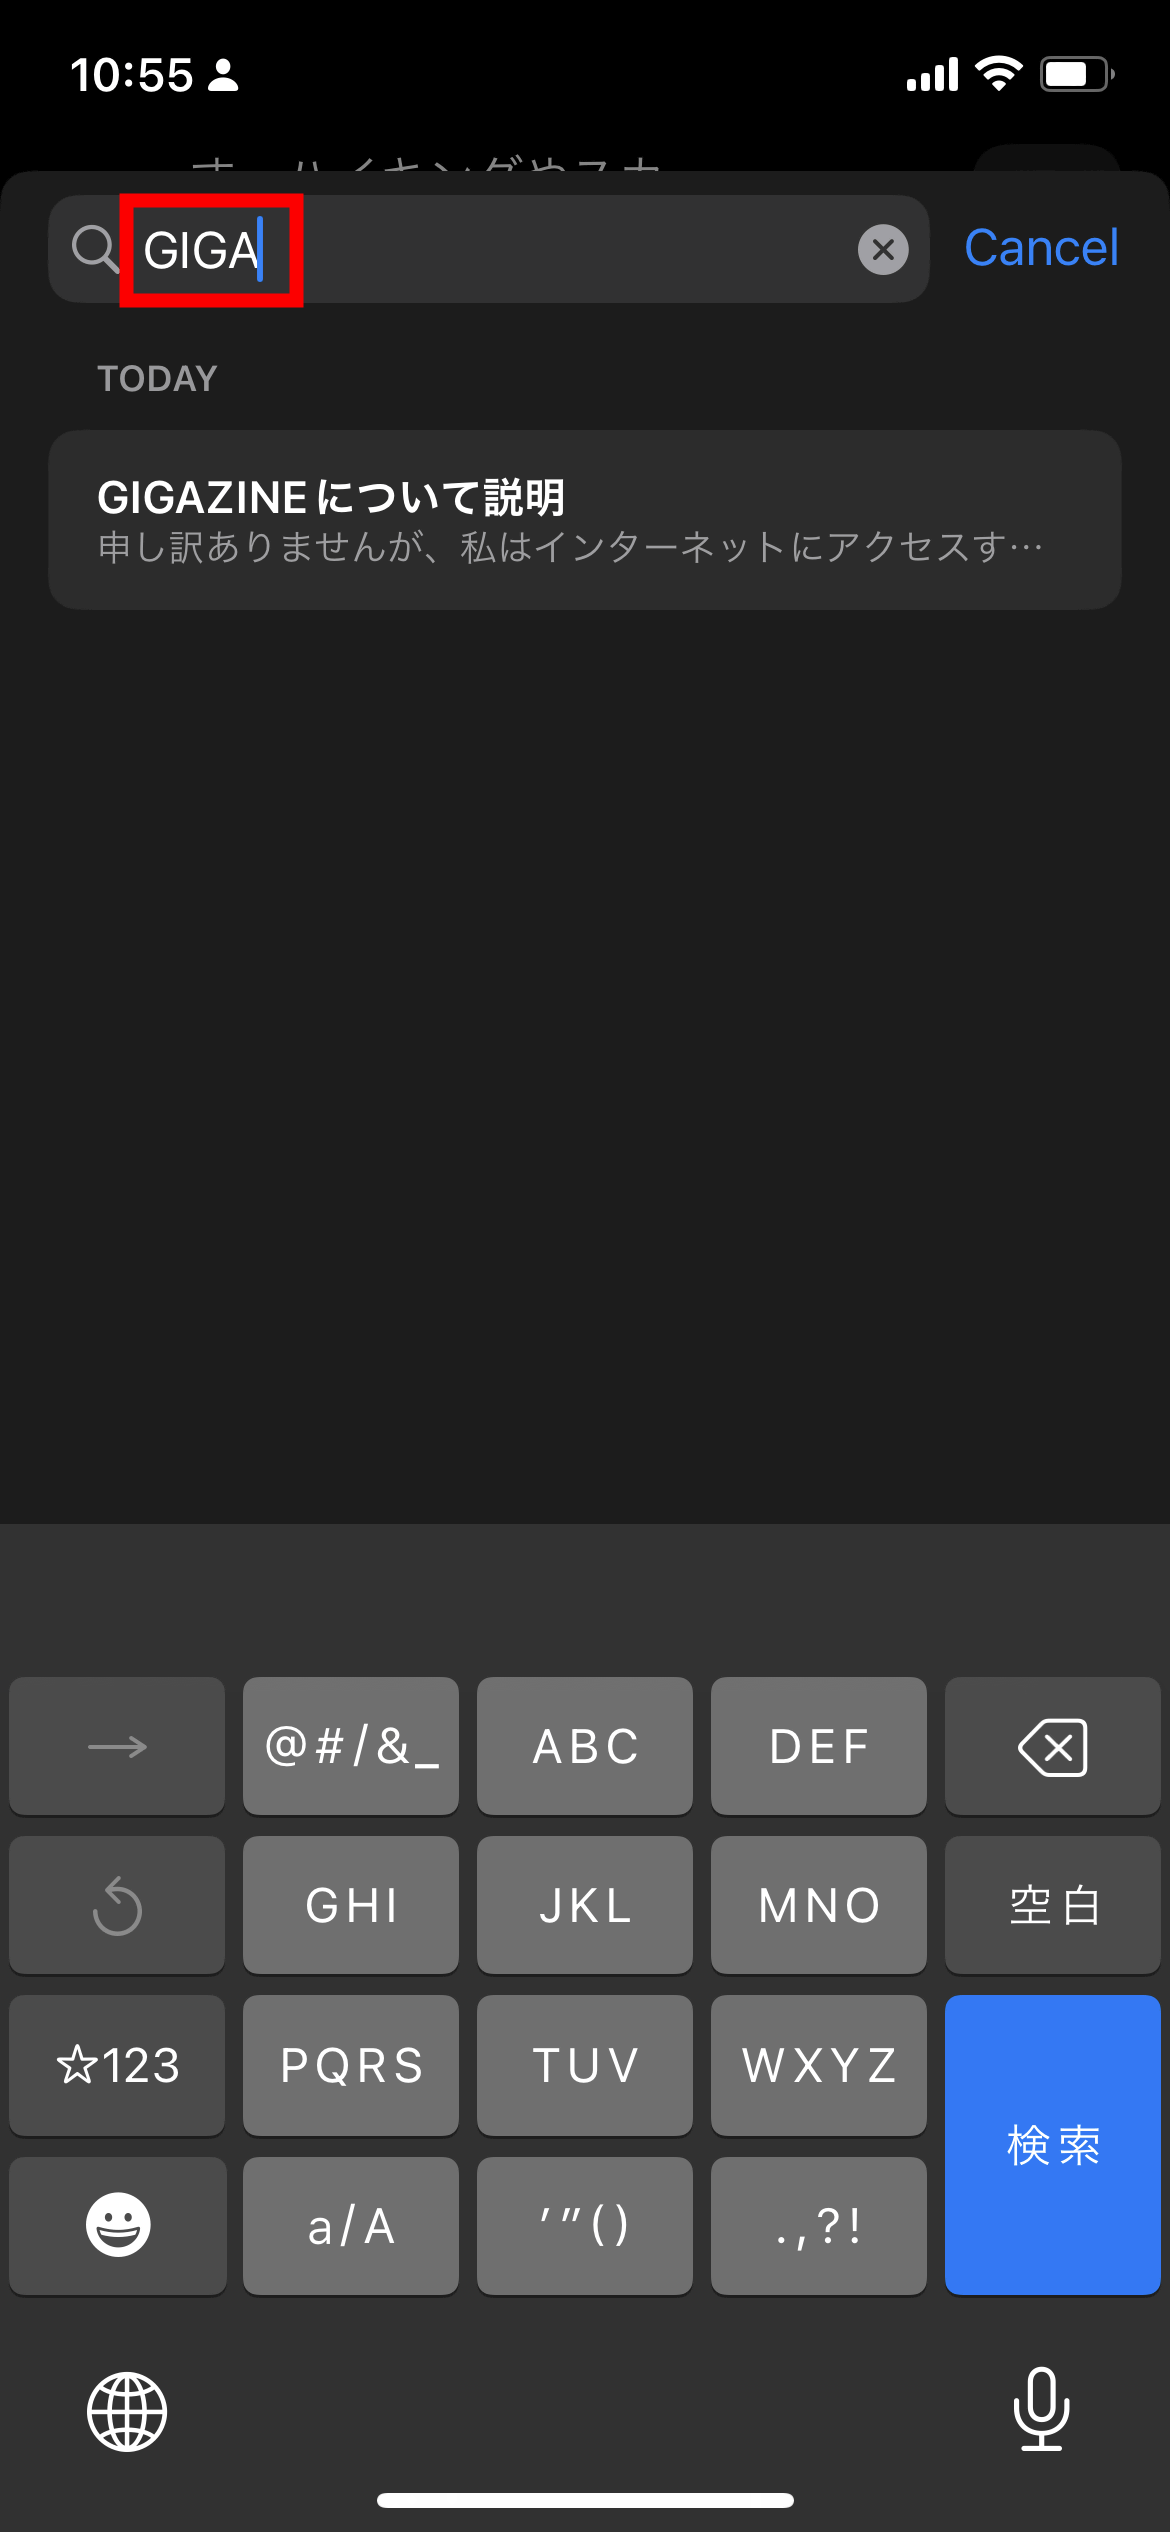
Of course, you can also search for conversations. Therefore, it is better to give titles that are easy to understand or search for, such as conversations that you want to look back on later.
Tap 'Settings'.
Then the setting screen will open. Here you can check the email address associated with your account, subscribe to
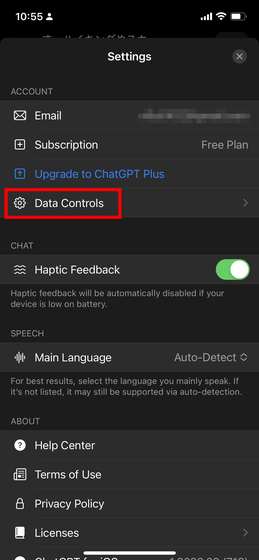
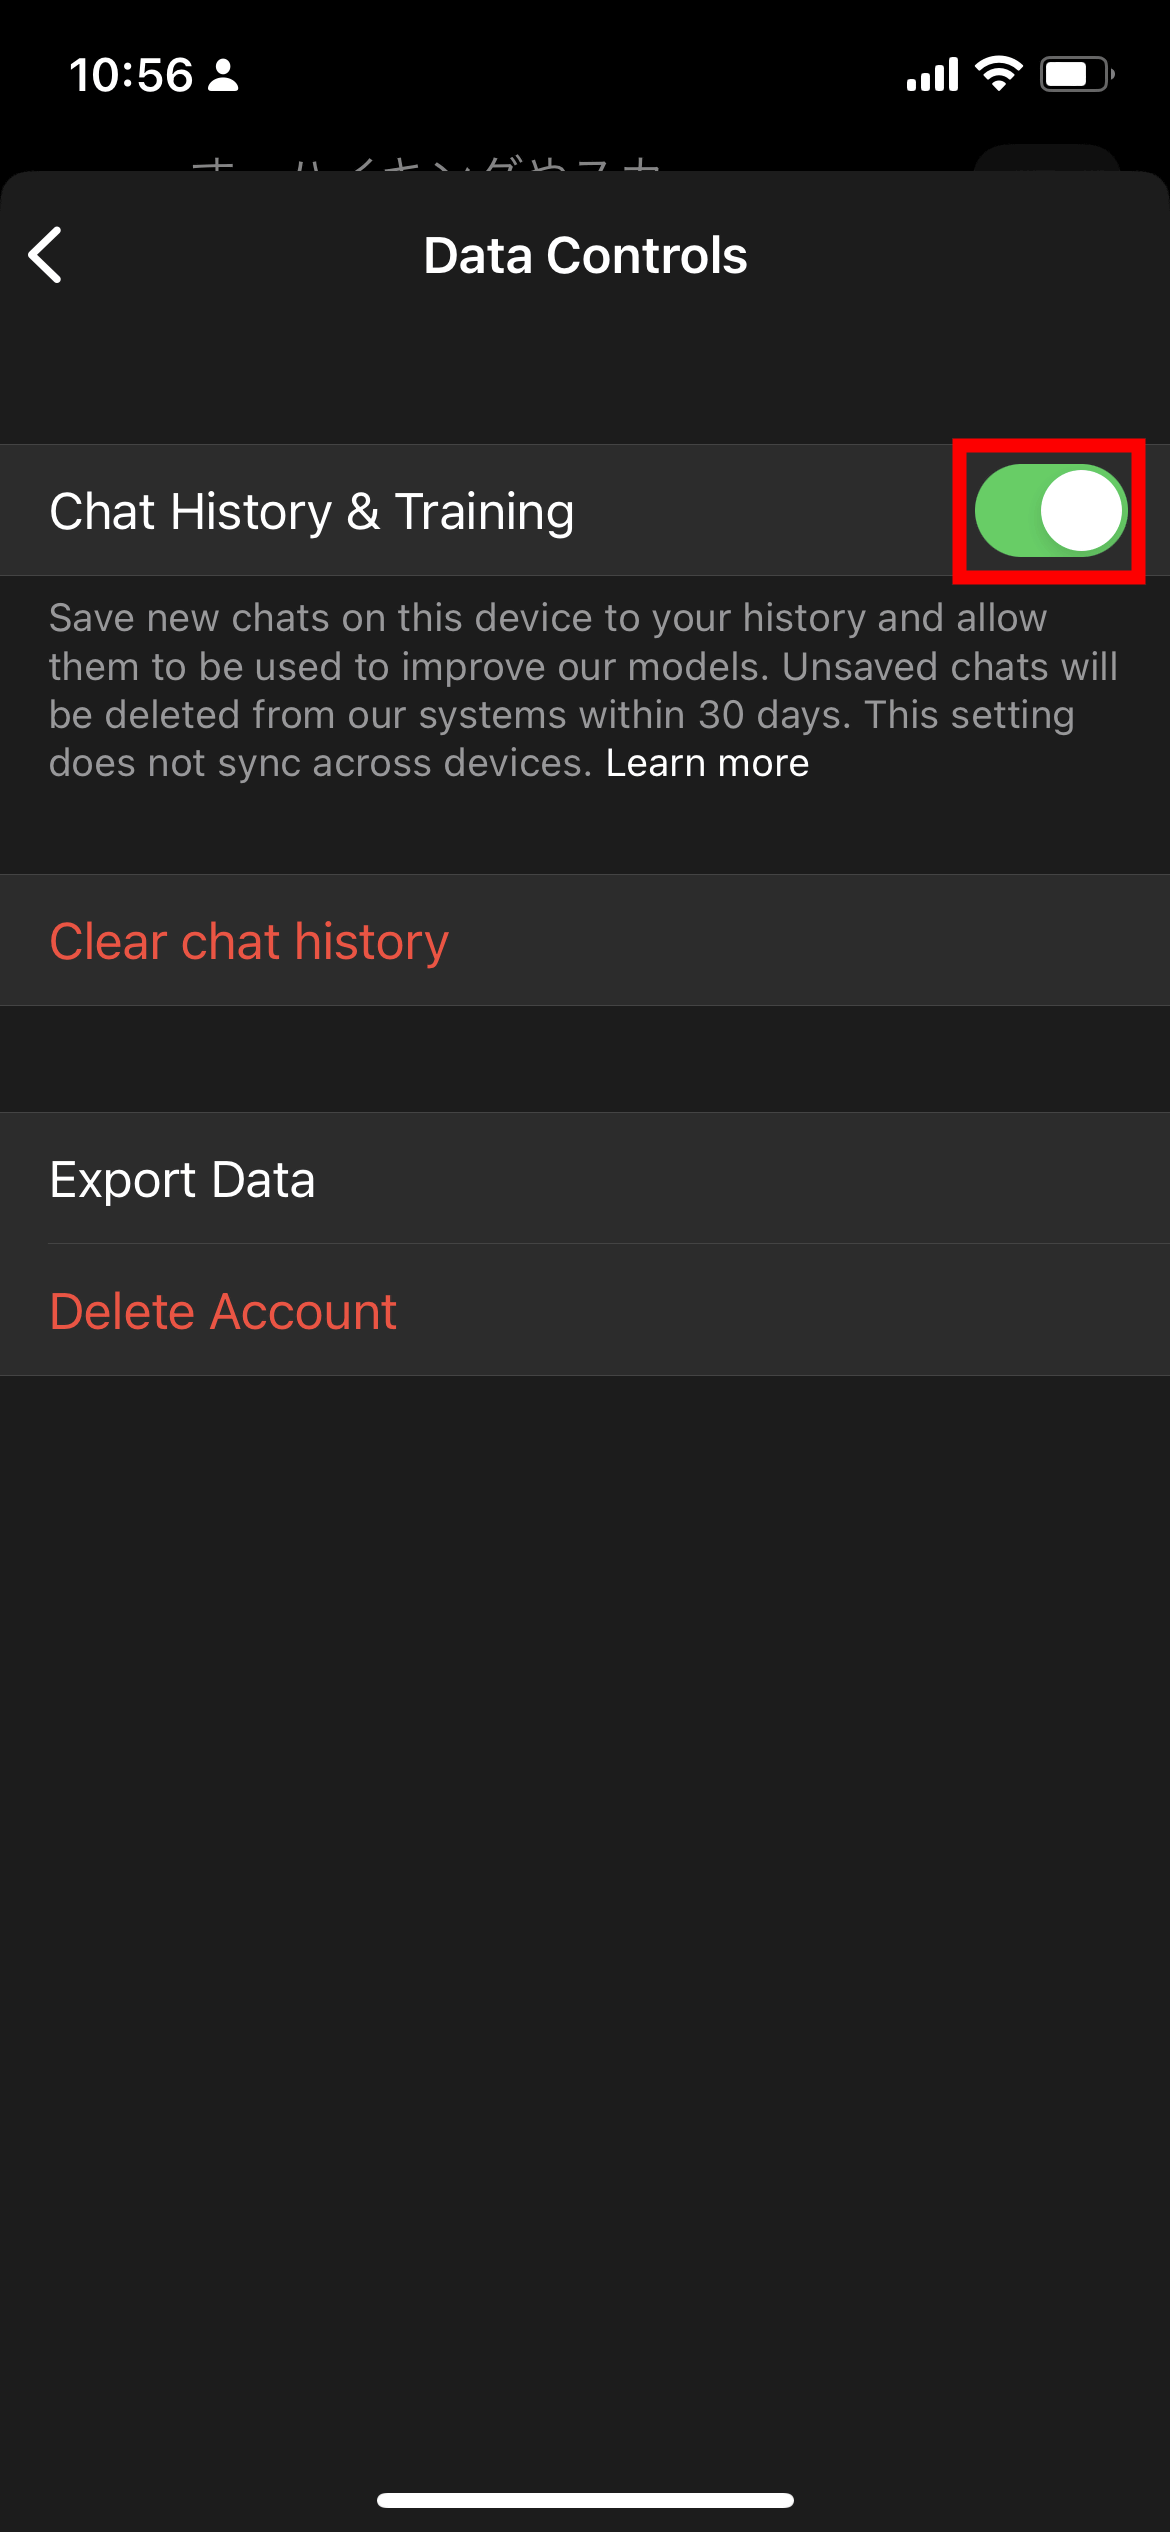
If you do not want to use the interaction with ChatGPT for ChatGPT training, tap the 'Chat History & Training' toggle and gray out the button OK. If you want to delete the conversation history, you can do it from 'Clear chat history', if you want to output the conversation in text format, you can do it from 'Export Data', and if you want to delete the account, you can do it from 'Delete Account'.
Please note that the plug-in function cannot be used with the iOS application version of ChatGPT.
Related Posts: