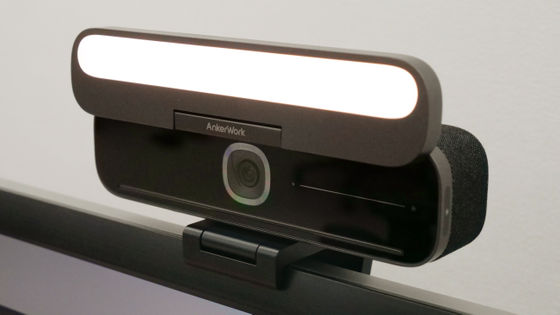
How to use the angle adjustment function and image quality adjustment function by linking the gimbal-equipped 4K web camera 'Insta360 Link' with the dedicated management application 'Insta360 Link Controller' Summary
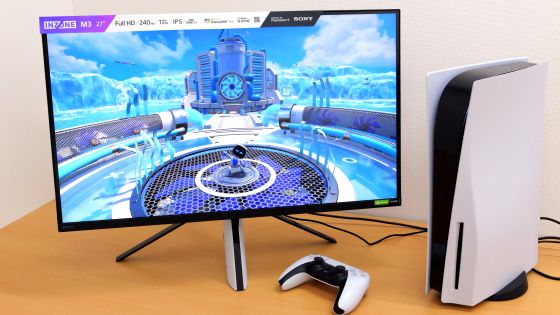
The 4K webcam '
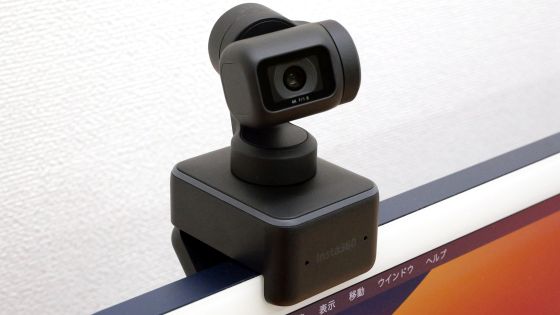
Insta360 Link - AI-powered 4K webcam
https://www.insta360.com/jp/product/insta360-link
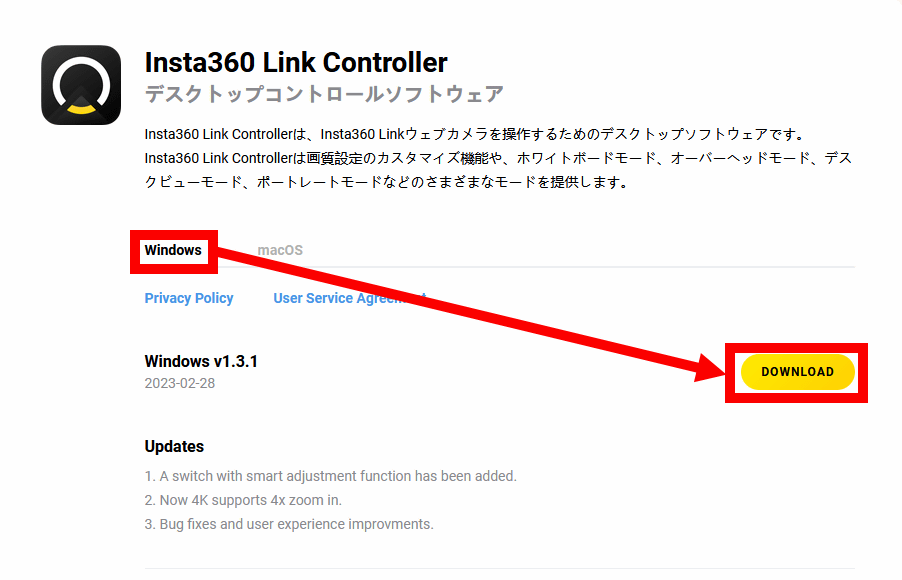
To install the Insta360 Link Controller, first click the link below to access the download page.
Action Camera | 360° Camera - App Download
https://www.insta360.com/jp/download/insta360-link
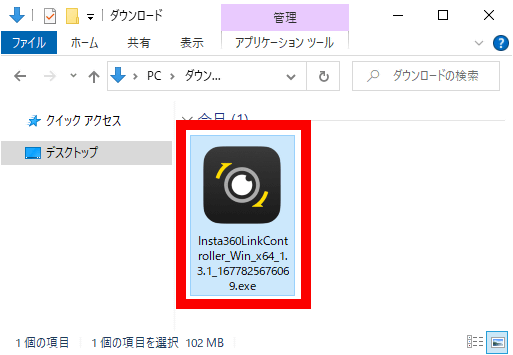
After accessing the download page, select 'Windows' and click 'DOWNLOAD' to download the installer (file size: 102 MB).
After the download is complete, double-click the installer to start it.
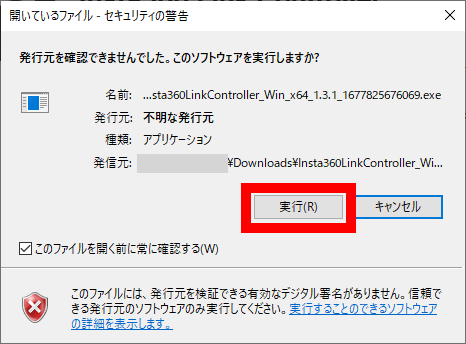
When the following warning screen is displayed, click 'Execute'.
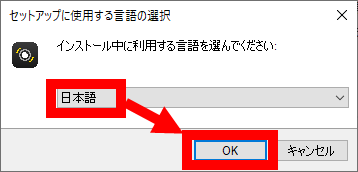
When the language selection screen is displayed, select 'Japanese' and click 'OK'.
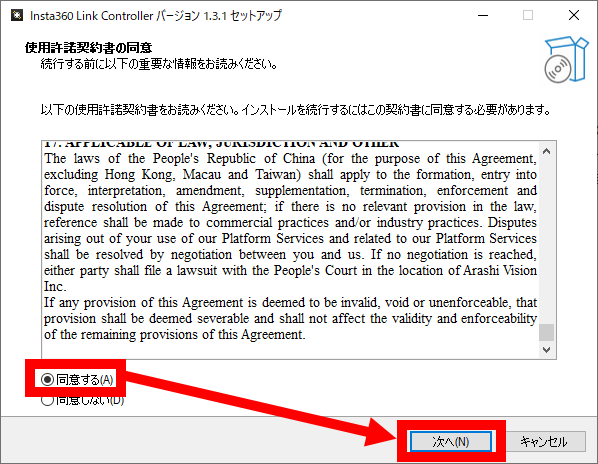
When the license agreement is displayed, read it carefully, check 'I agree' and click 'Next'.
Read the privacy policy carefully and click 'Next'.

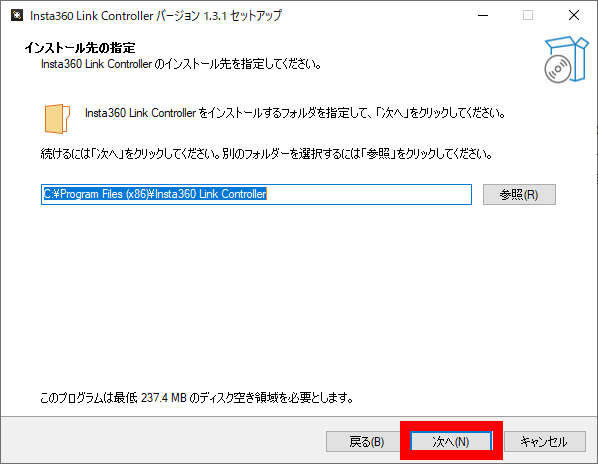
When the installation destination selection screen is displayed, click 'Next' without changing anything.
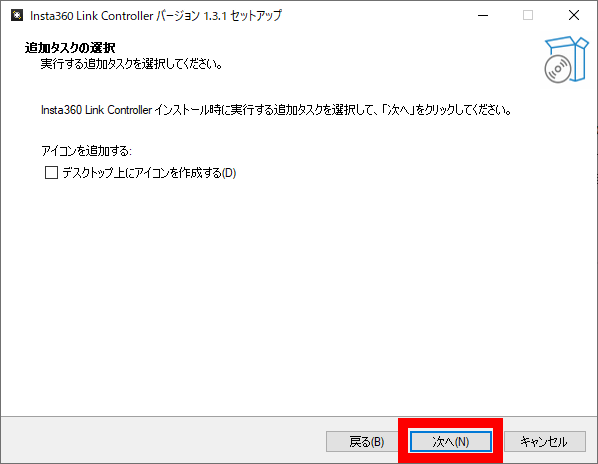
Click 'Next'.
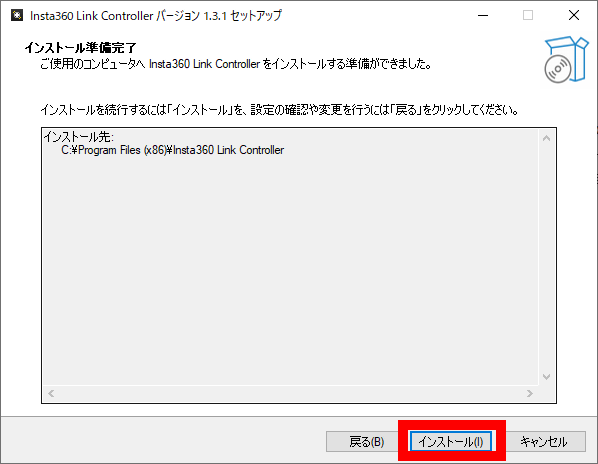
Click 'Install'.
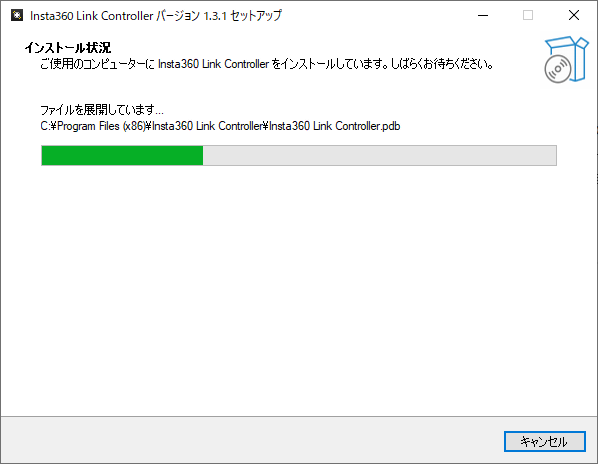
Wait for a while until the installation is completed.
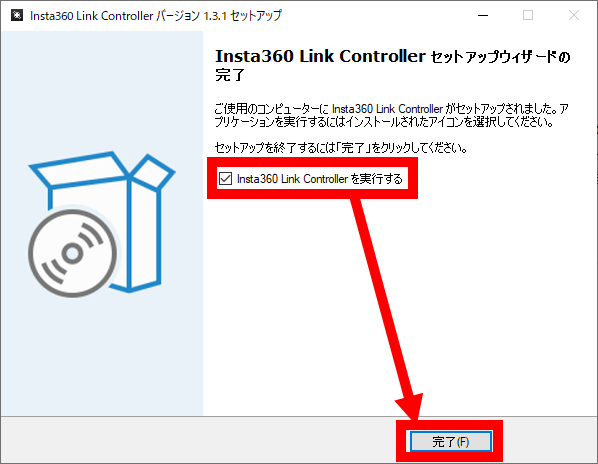
When the installation is complete, check 'Run Insta360 Link Controller' and click 'Finish' to close the installer.
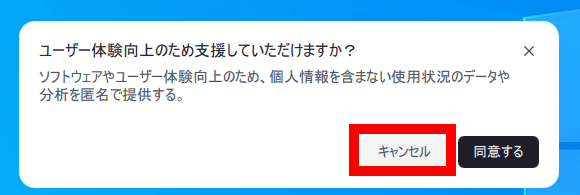
Once the installation is complete, a request for information screen will appear on your screen. This time I clicked 'Cancel'.
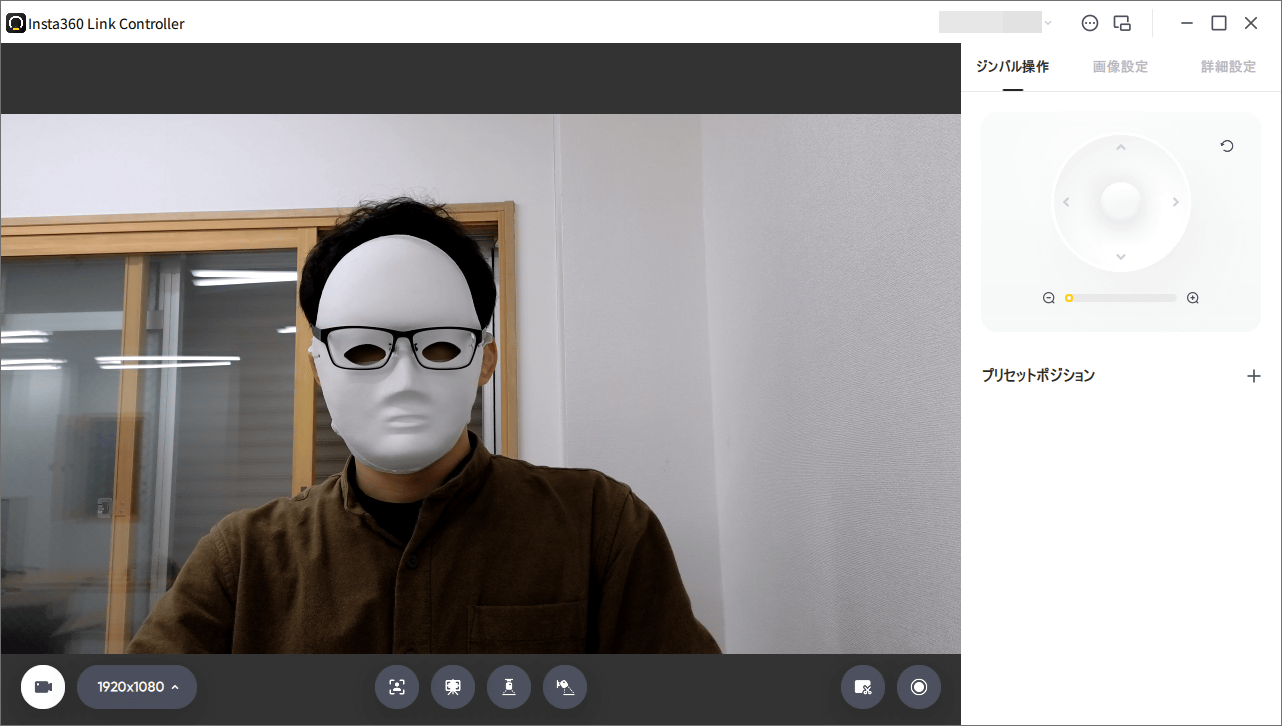
When the Insta360 Link Controller is running, you will see a control bar at the bottom of the screen as shown below.

To open the management screen, click the button at the bottom left of the control bar.

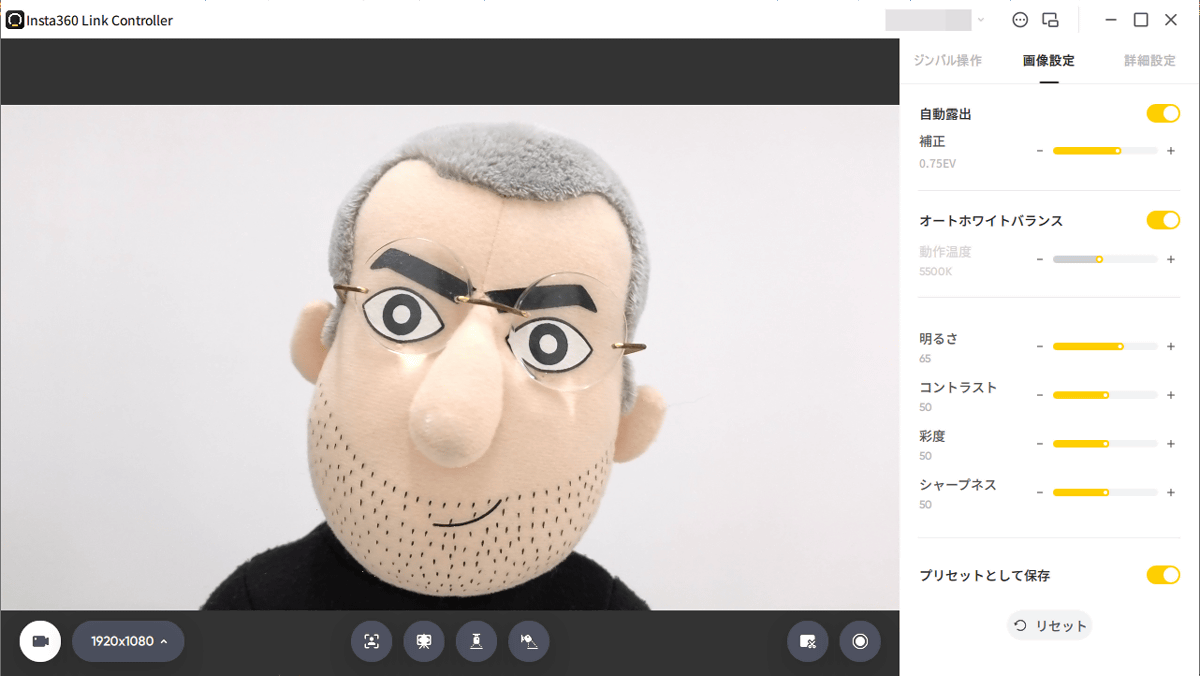
You will then be taken to the admin screen with a preview.
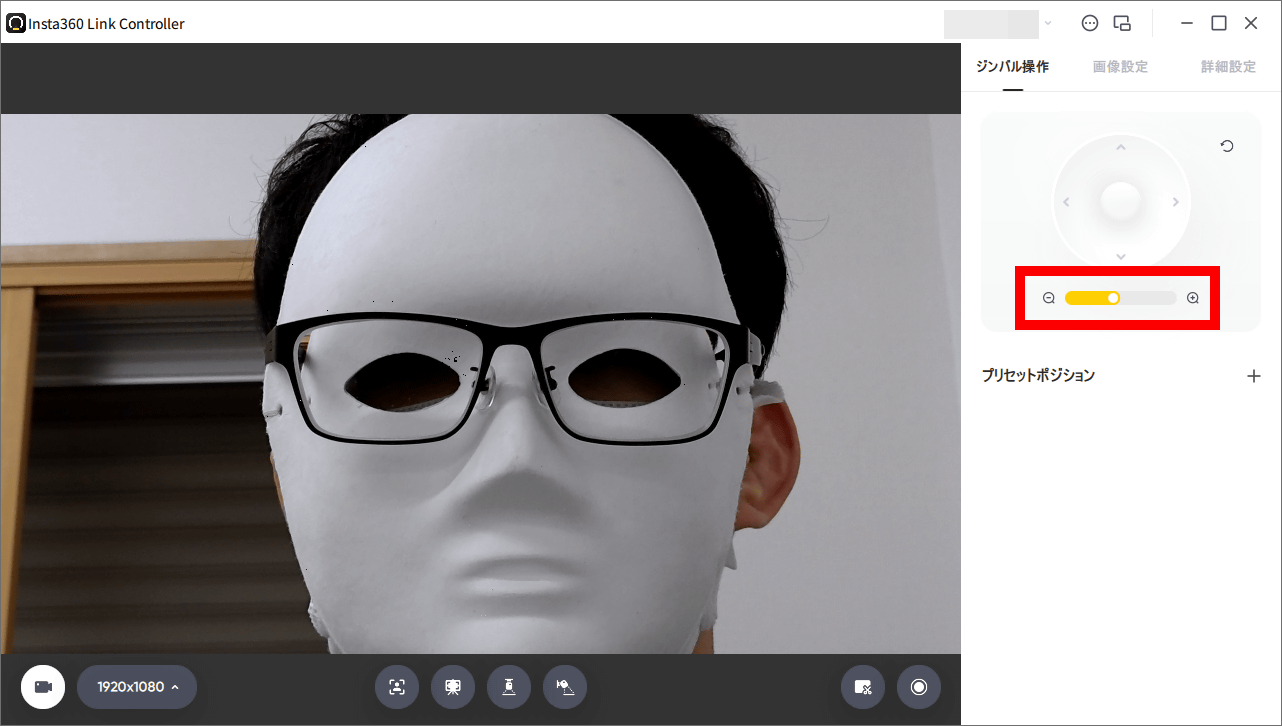
Drag in the preview or click the up/down/left/right buttons on the right side of the screen to adjust the camera angle up/down/left/right. Insta360 Link operates to ``shoot the front and keep it horizontal'', so if you want to shoot upwards or downwards, you need to adjust with the Insta360 Link Controller.
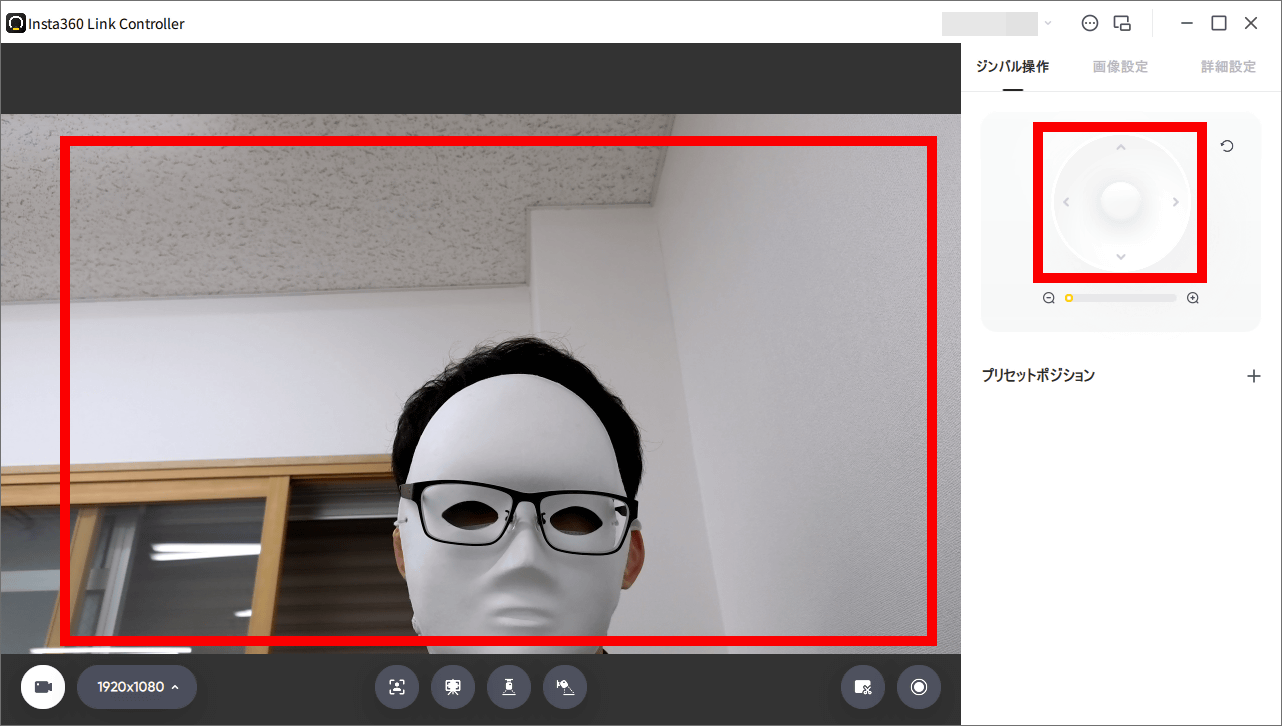
Use the zoom bar on the right side of the screen to zoom in on your subject.
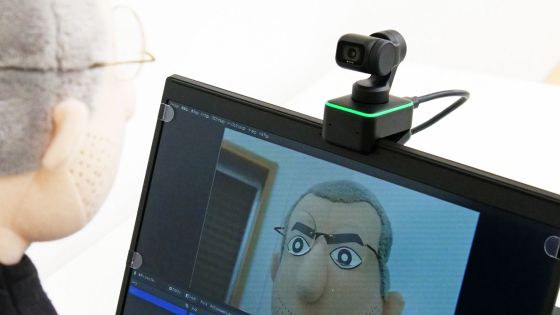
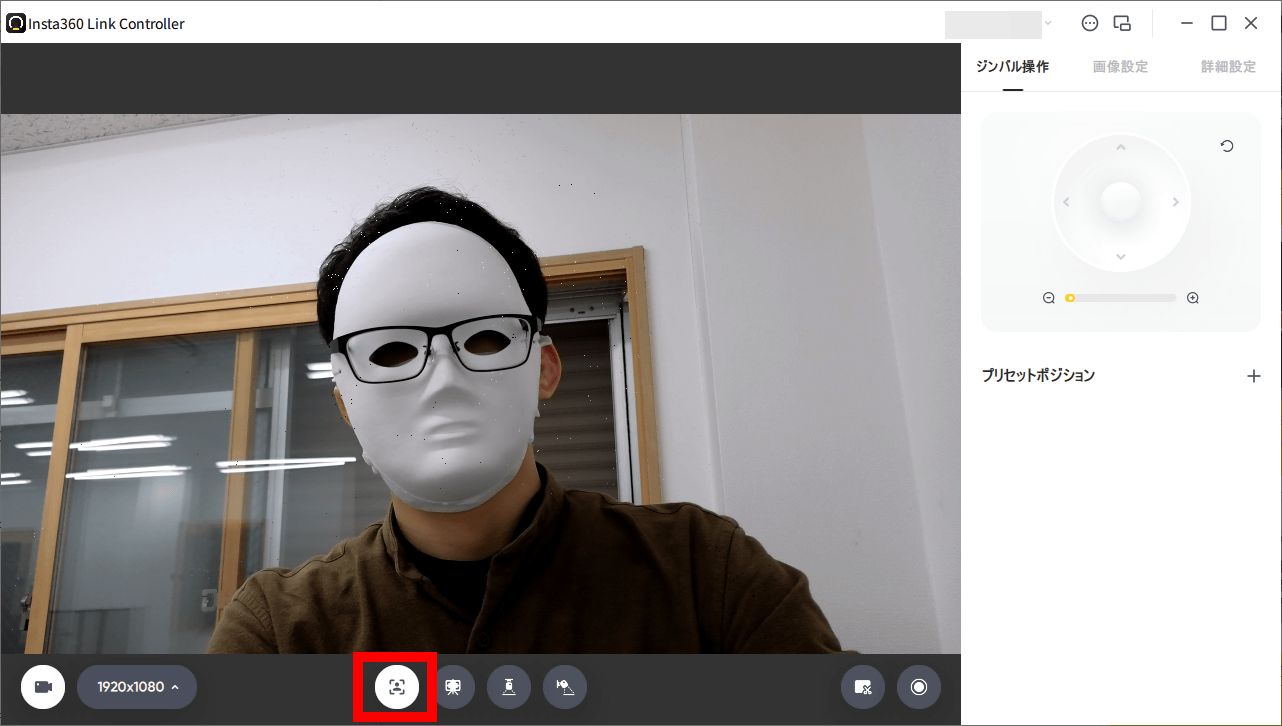
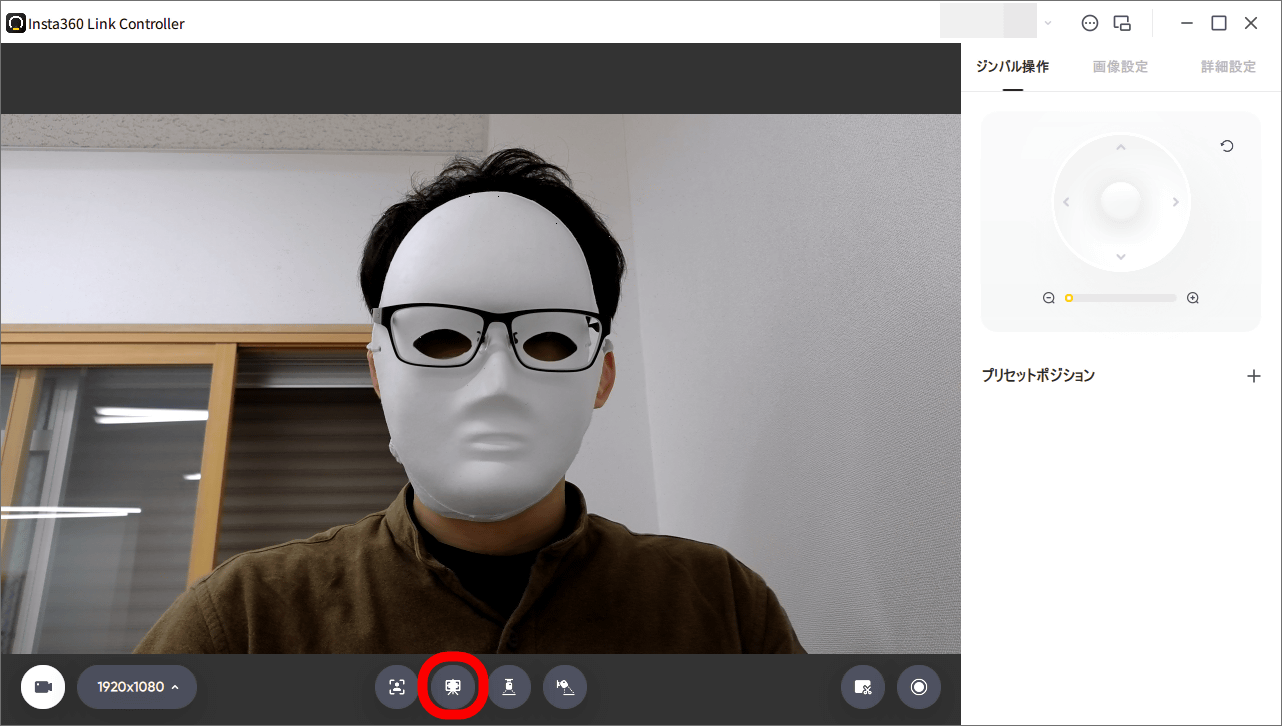
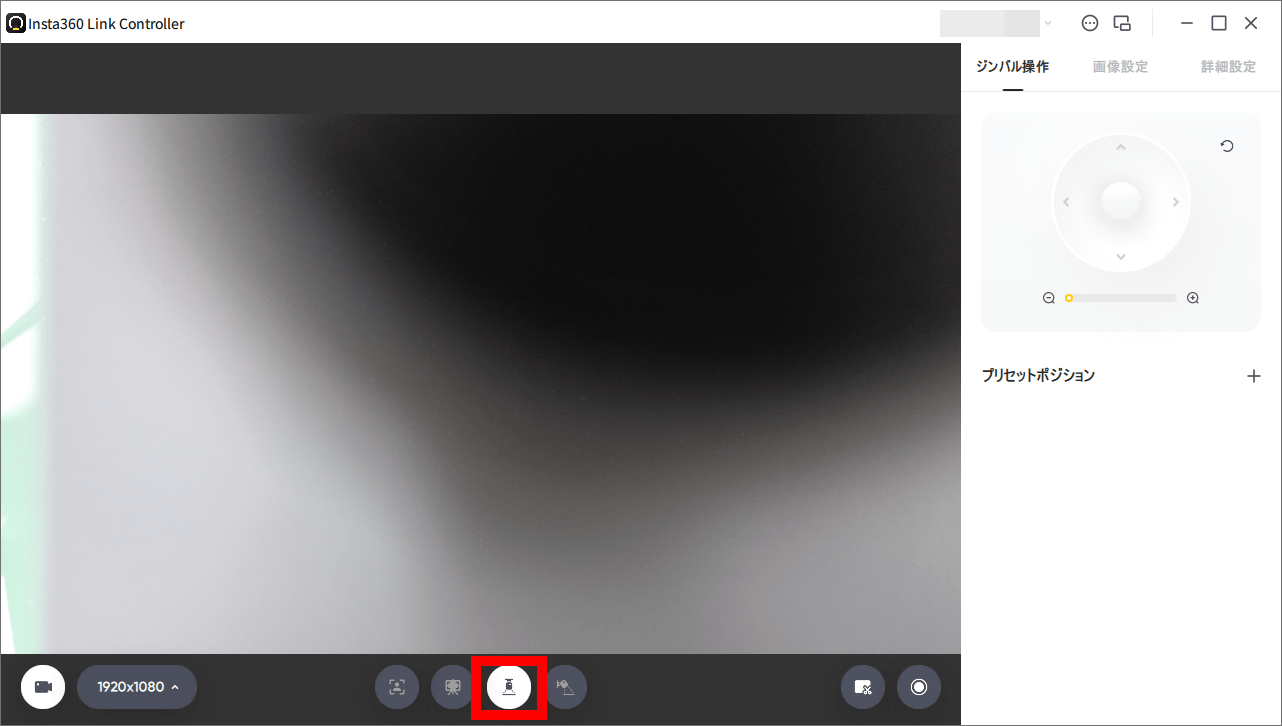
At the bottom of the screen there are buttons that allow you to access functions such as 'tracking', 'whiteboard', 'overhead' and 'desk view'. When you click 'Tracking', it changes to the mode of 'tracking the face and continuing to project the face in the center'.
Below is the video taken by actually switching to 'tracking' mode. I was able to shoot while keeping my face in the center.
'Whiteboard' mode is a mode that allows you to clearly project the whiteboard within the angle of view while correcting the angle.
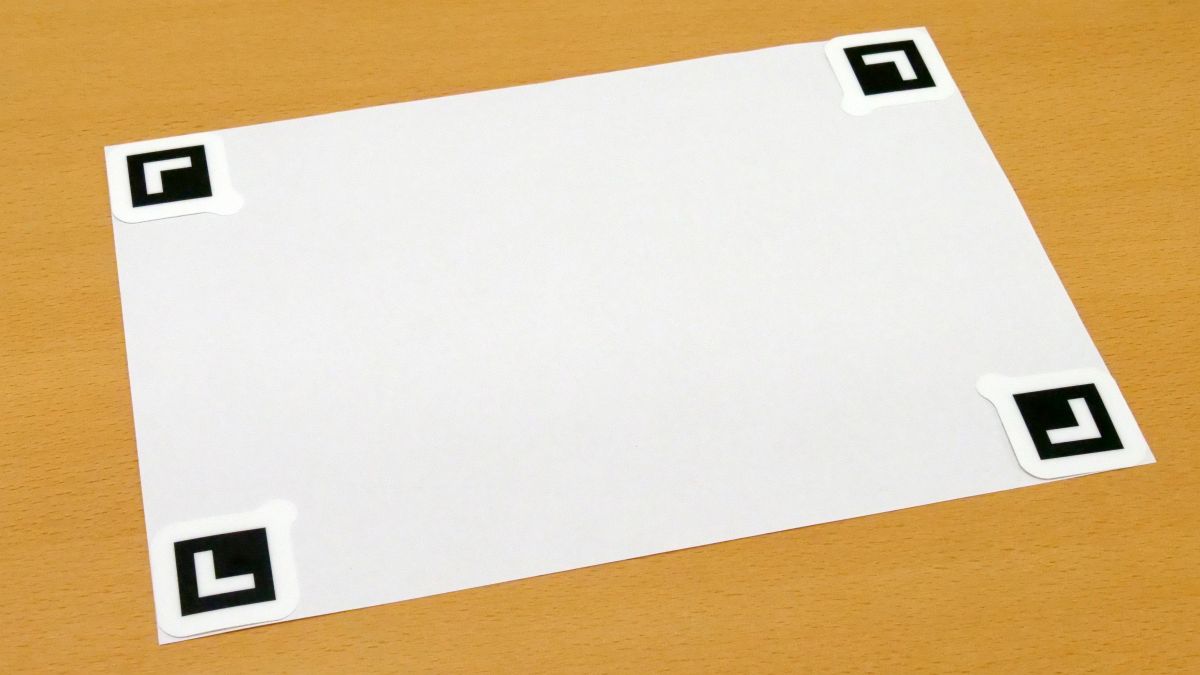
To use the 'whiteboard' mode, you must first attach the included markers to the whiteboard.
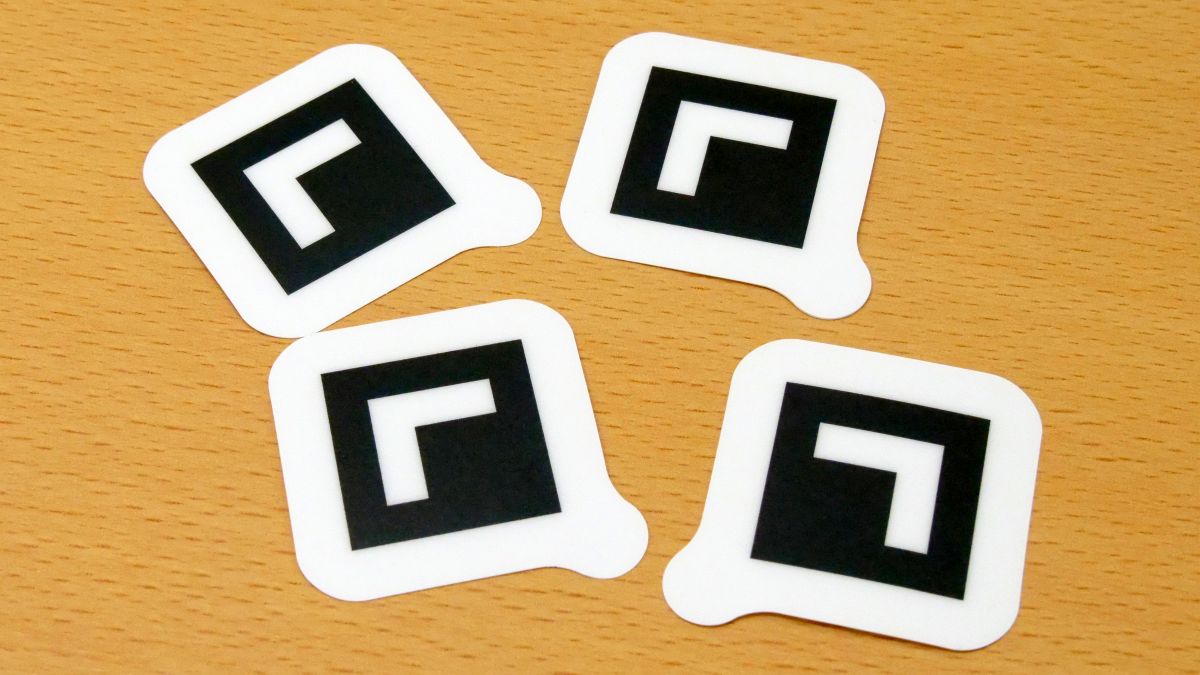
This time, I used A4 copy paper instead of a whiteboard. As shown in the picture below, it is OK if you paste markers on the four corners of the whiteboard.
Adhere the whiteboard to the wall as if it were an upright whiteboard.
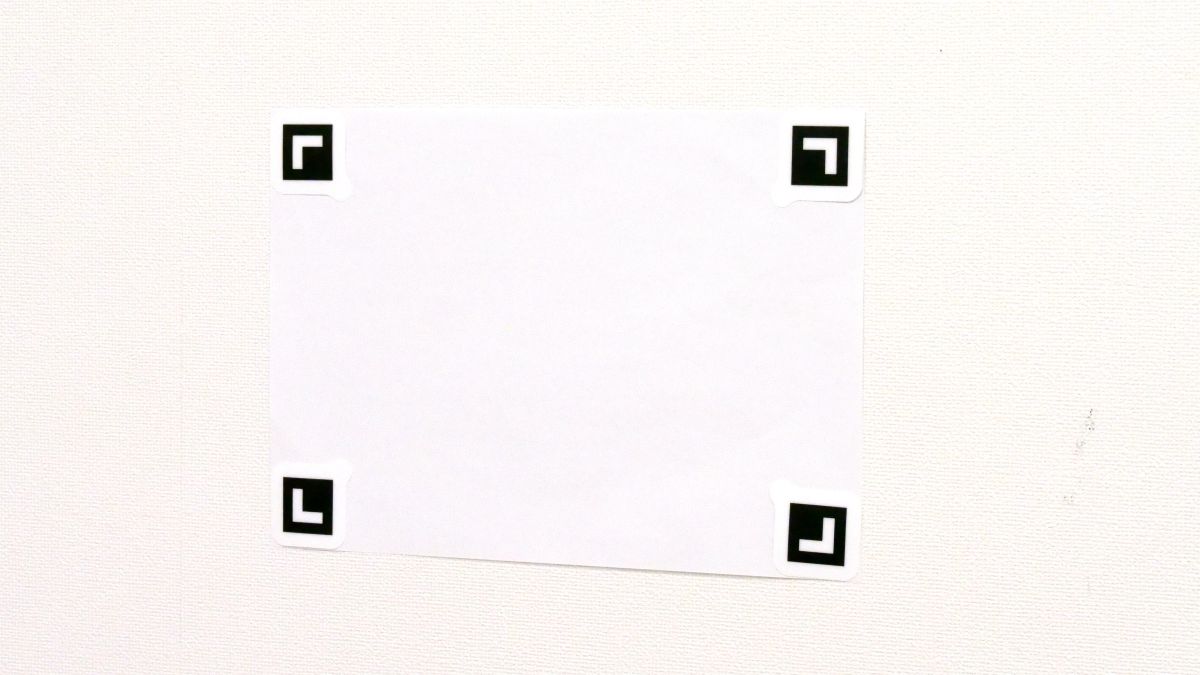
In this state, enable the 'whiteboard' mode.

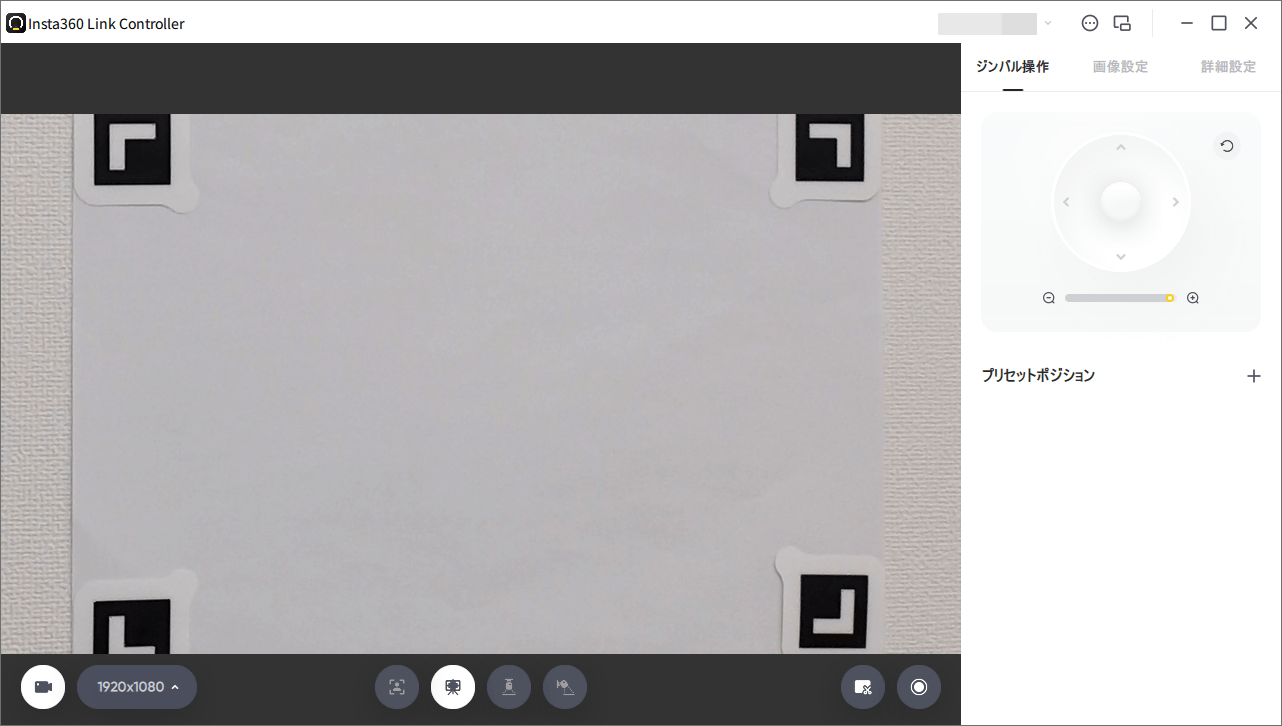
When the 'whiteboard' mode was activated, the whiteboard that was small in the angle of view was enlarged. Distortion correction is also effective.
Writing letters is like this. If you use the 'whiteboard' mode, you can shoot while switching between humans and whiteboards with just one camera, so it seems to be useful for online classes and briefings.

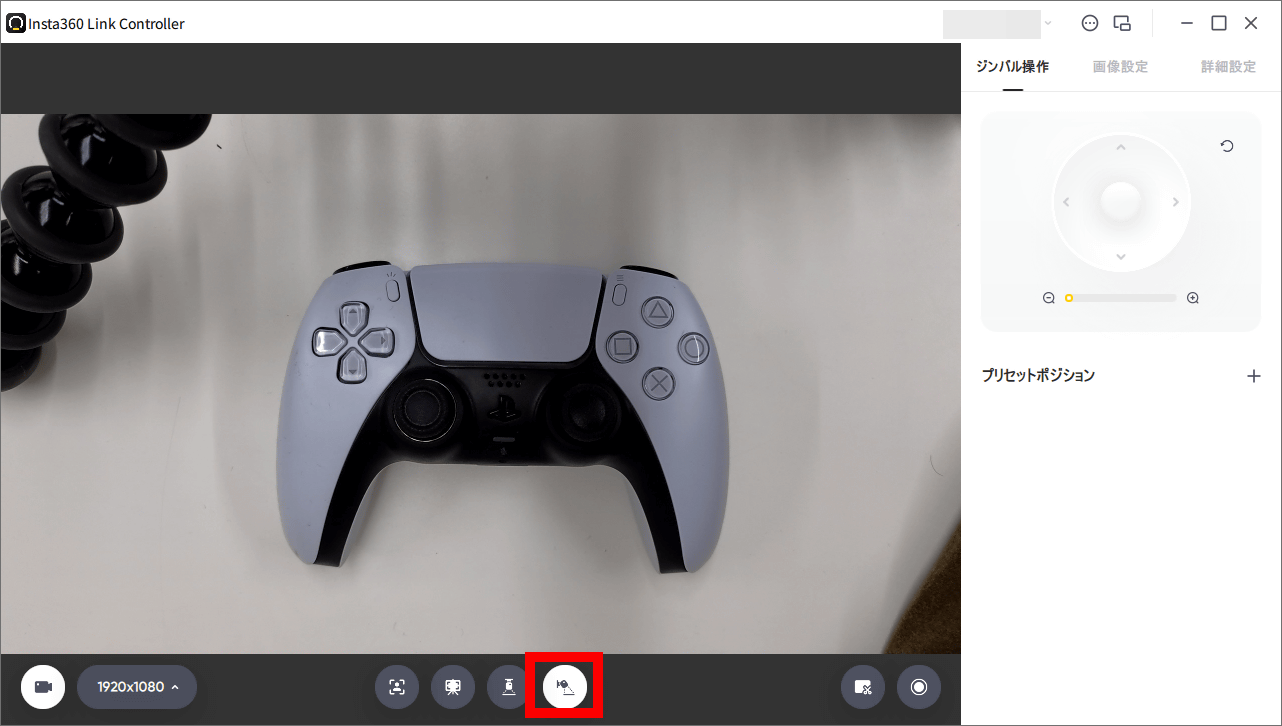
The 'overhead' mode is a function that allows you to shoot downwards and project small items and notebooks. Switching to 'overhead' mode will point the camera straight down.
However, if you use the 'overhead' mode with the Insta360 Link attached to a laptop or external display, it will look like the picture below, and only the base will be visible.

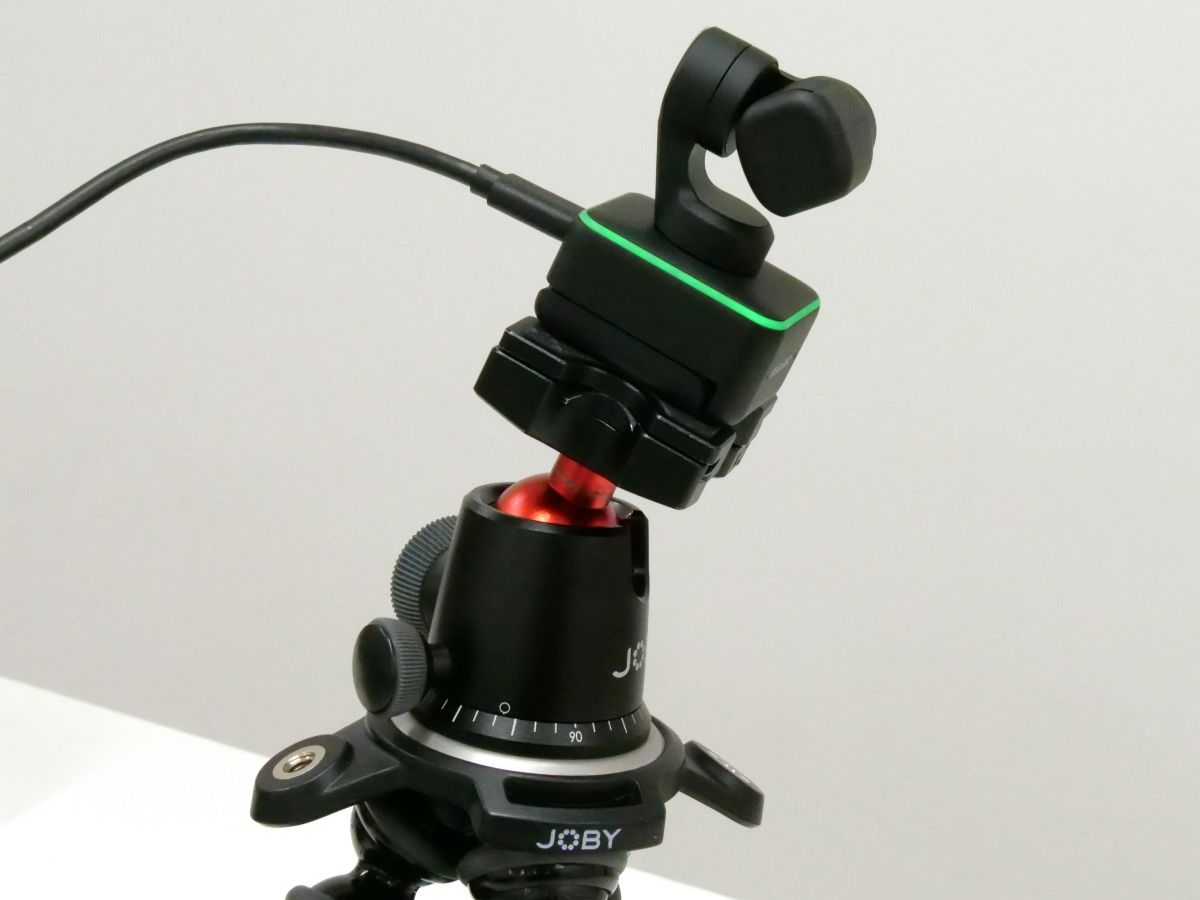
To make effective use of the 'overhead' mode, attach the Insta360 Link to a tripod such as the '
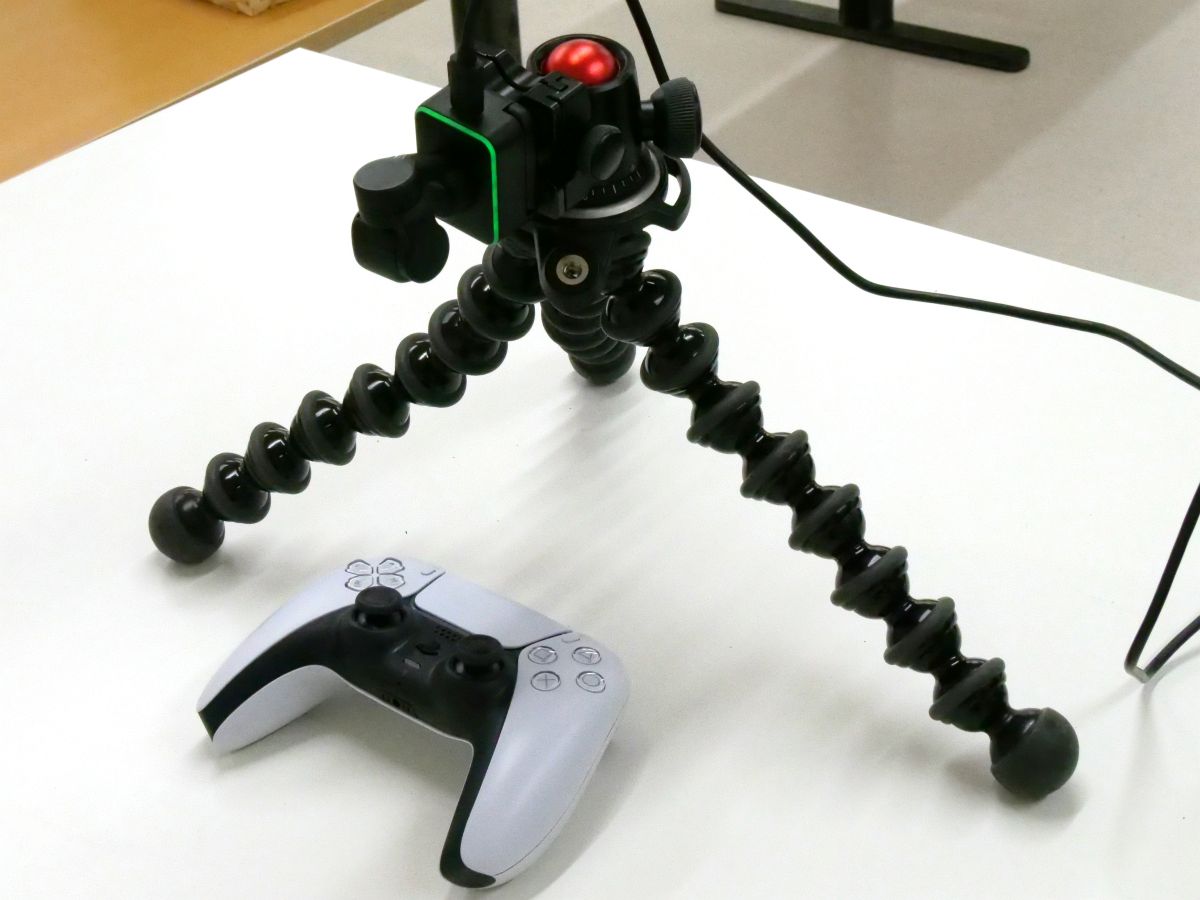
If you use a tripod, you can shoot 'small items on the desk' like this.
If you can't prepare a tripod, you can also use the 'desk view' mode to project the downward direction.
The orientation of the camera when it is in 'desk view' mode is like this. Projects diagonally downward instead of straight down.
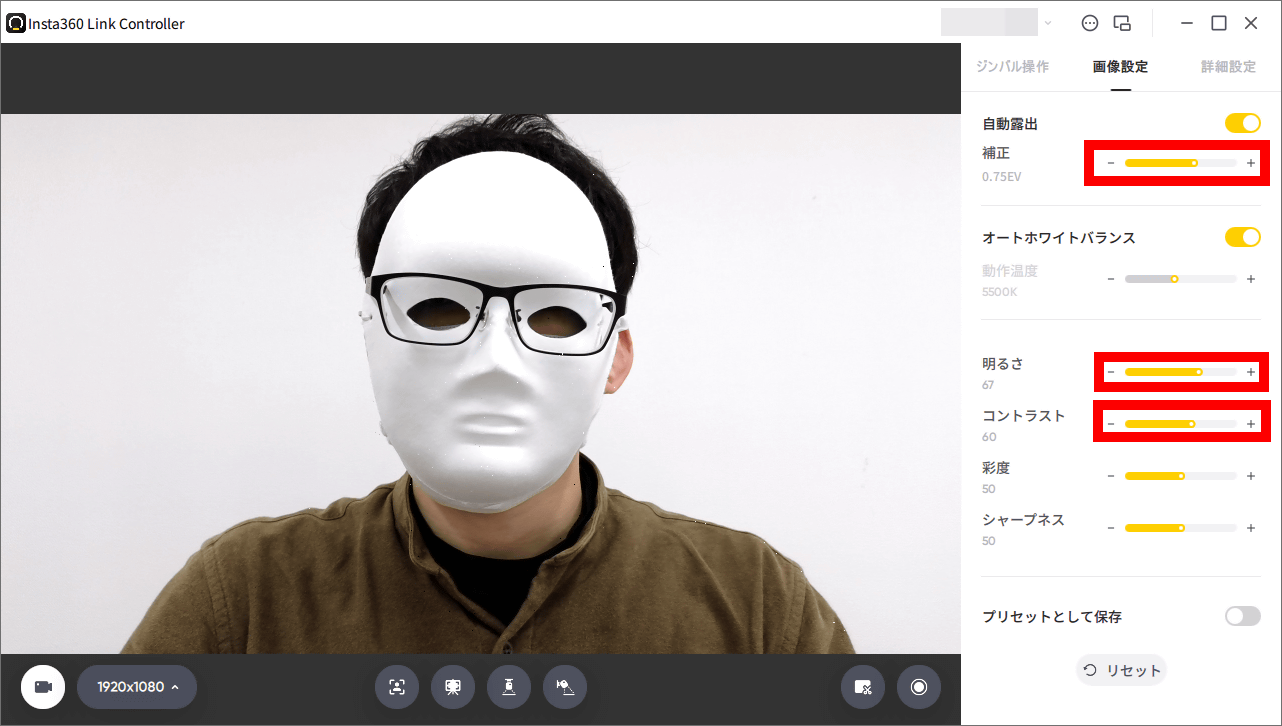
On the 'Image Settings' tab, you can adjust the brightness and contrast.

The results of correcting 'exposure', 'brightness' and 'contrast' are as follows.
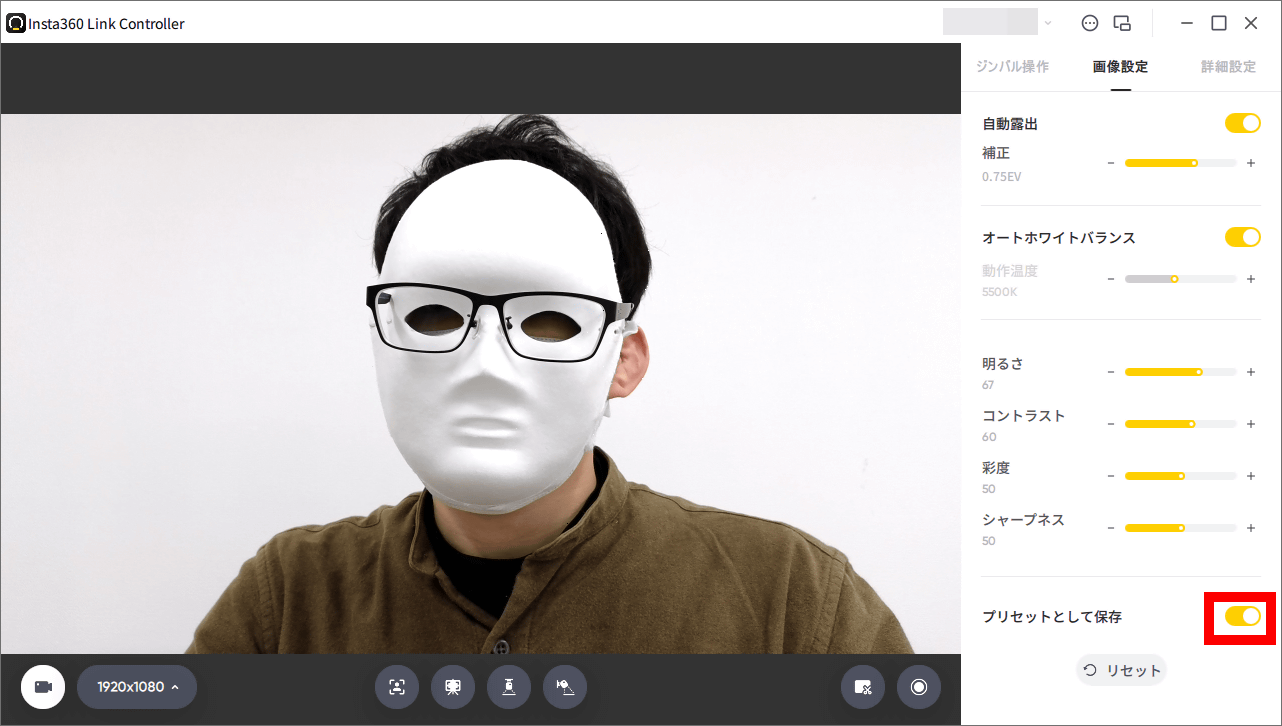
If you check 'Save as preset', the same settings will be applied at the next startup.
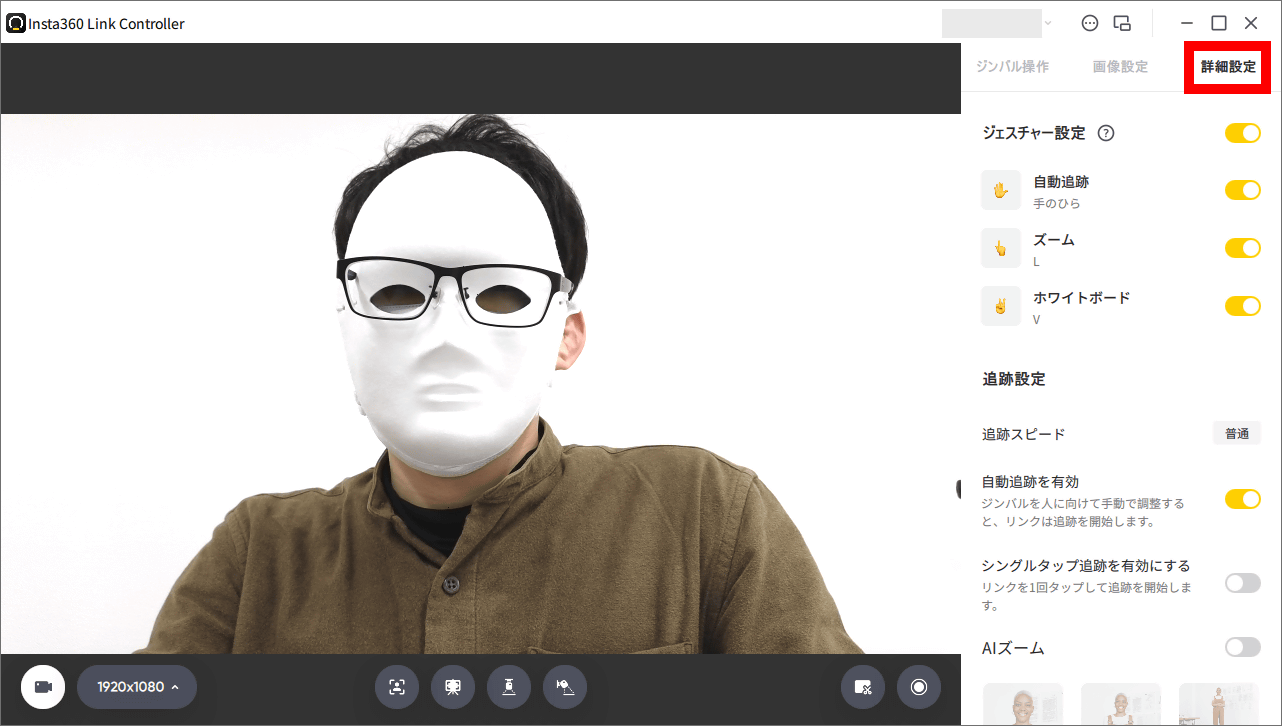
On the 'Advanced Settings' tab, you can enable/disable function switching using gestures, and adjust the tracking speed in 'tracking' mode.
The details of tracking mode are summarized in detail in the following article.
I tried all four methods of enabling the 4K webcam ``Insta360 Link'' ``function to keep projecting in the center even if the subject moves'' - GIGAZINE
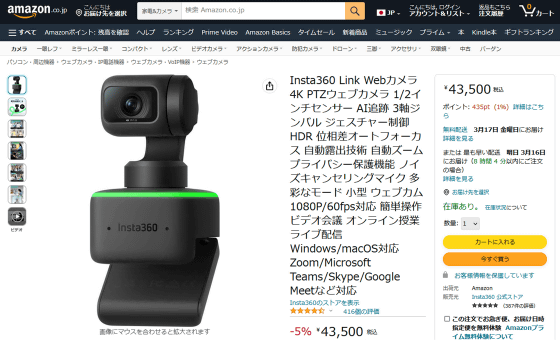
In addition, Insta360 Link is sold at the official online shop , and at the time of article creation, it is available at Amazon.co.jp for 43,500 yen including tax.
Amazon.co.uk: Insta360 Link Webcam: Computers & Peripherals
Related Posts: