Easy usage of 'e content certification' that content certification mail / delivery certification can be sent from PC at any time for 24 hours

Since the nearby post office does not handle content-certified mail, it is necessary to go to a post office a little far away, and it is not sent so frequently, so if you make a mistake in the format, you can rewrite, reprint, and stamp again. However, it was a hassle anyway, so I decided to switch to 'e-certification'. You don't have to line up at the counter, you can send it at any time for 24 hours, and you can pay with a credit card, so it's insanely easy.
◆ Creating an account for Web Yubin
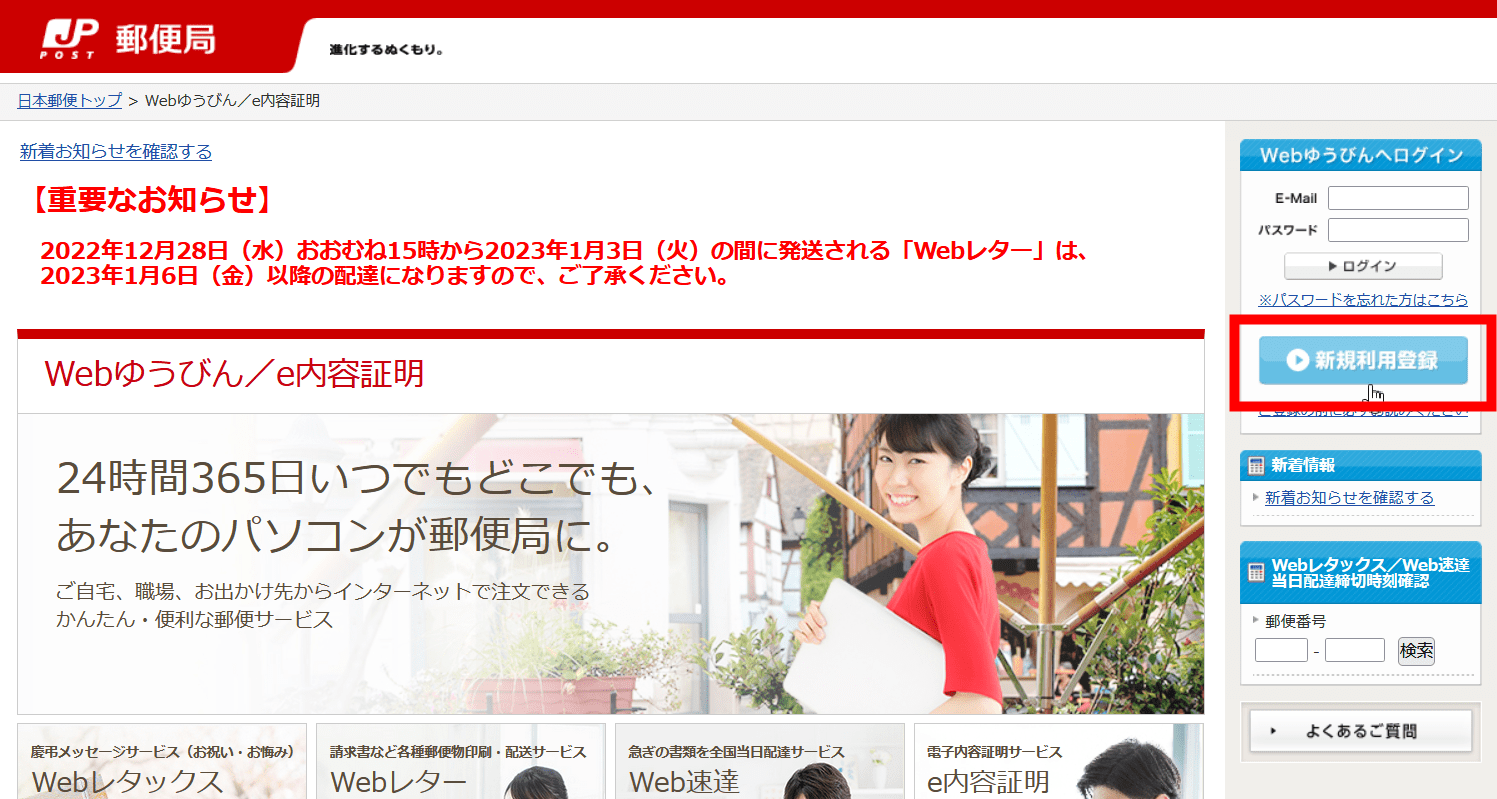
Web Yubin | Japan Post
Click 'New user registration' from the official website
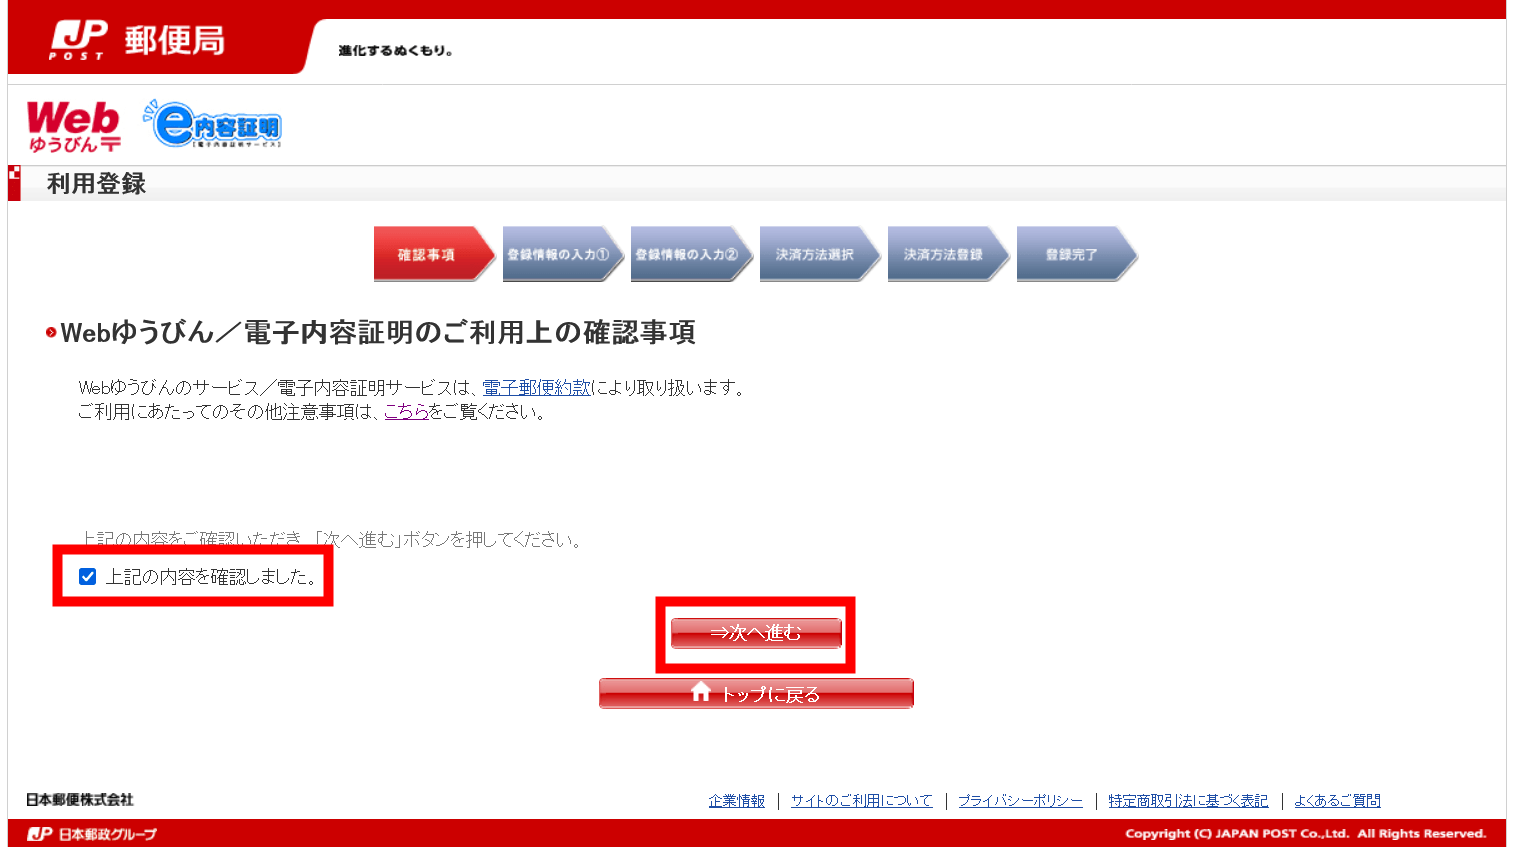
Check 'I have confirmed the above' and click 'Next'
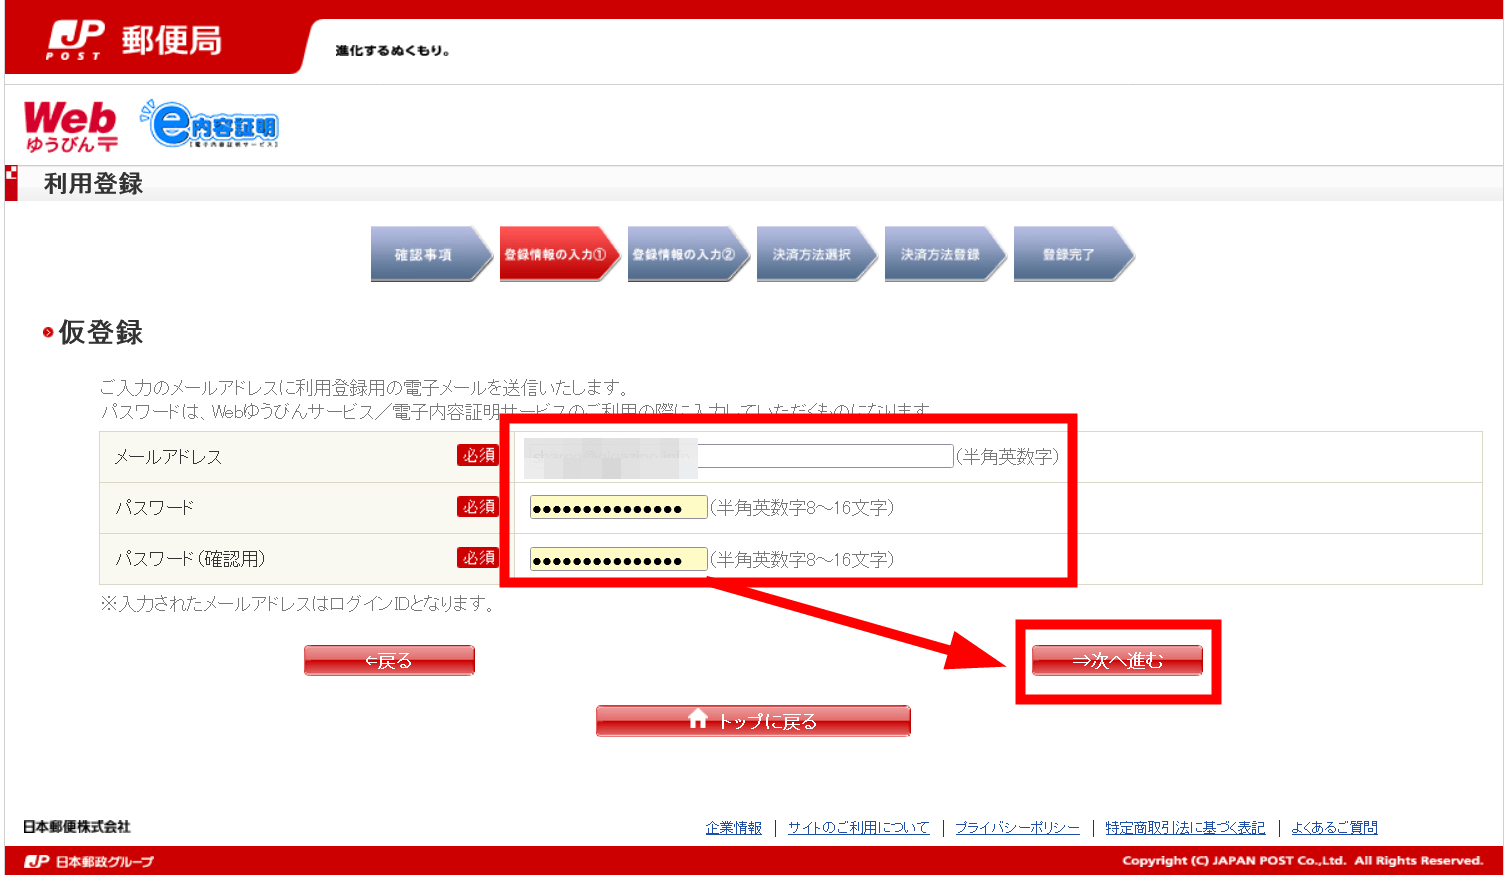
After entering your email address and password, click 'Next'
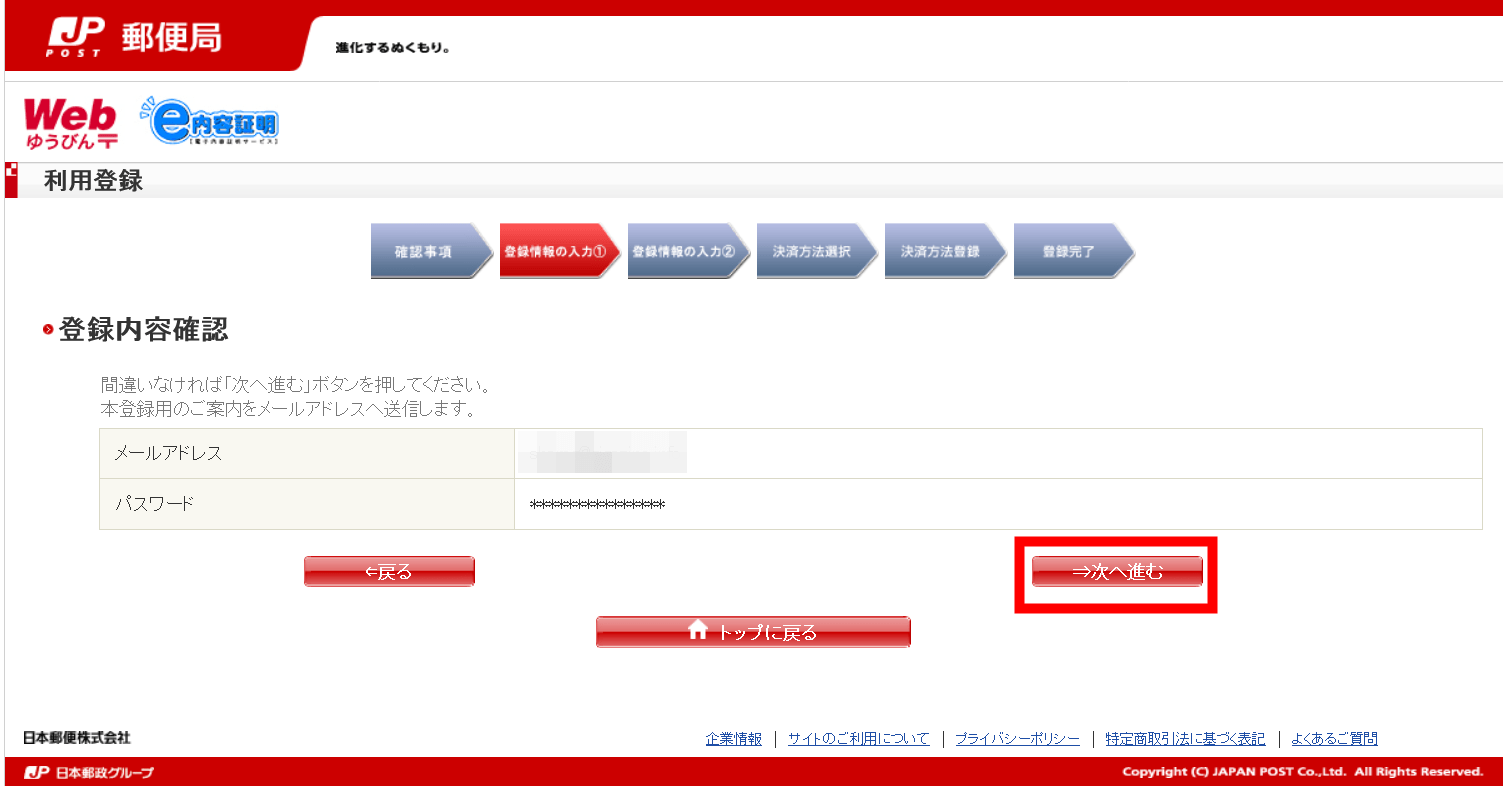
Click 'Next'
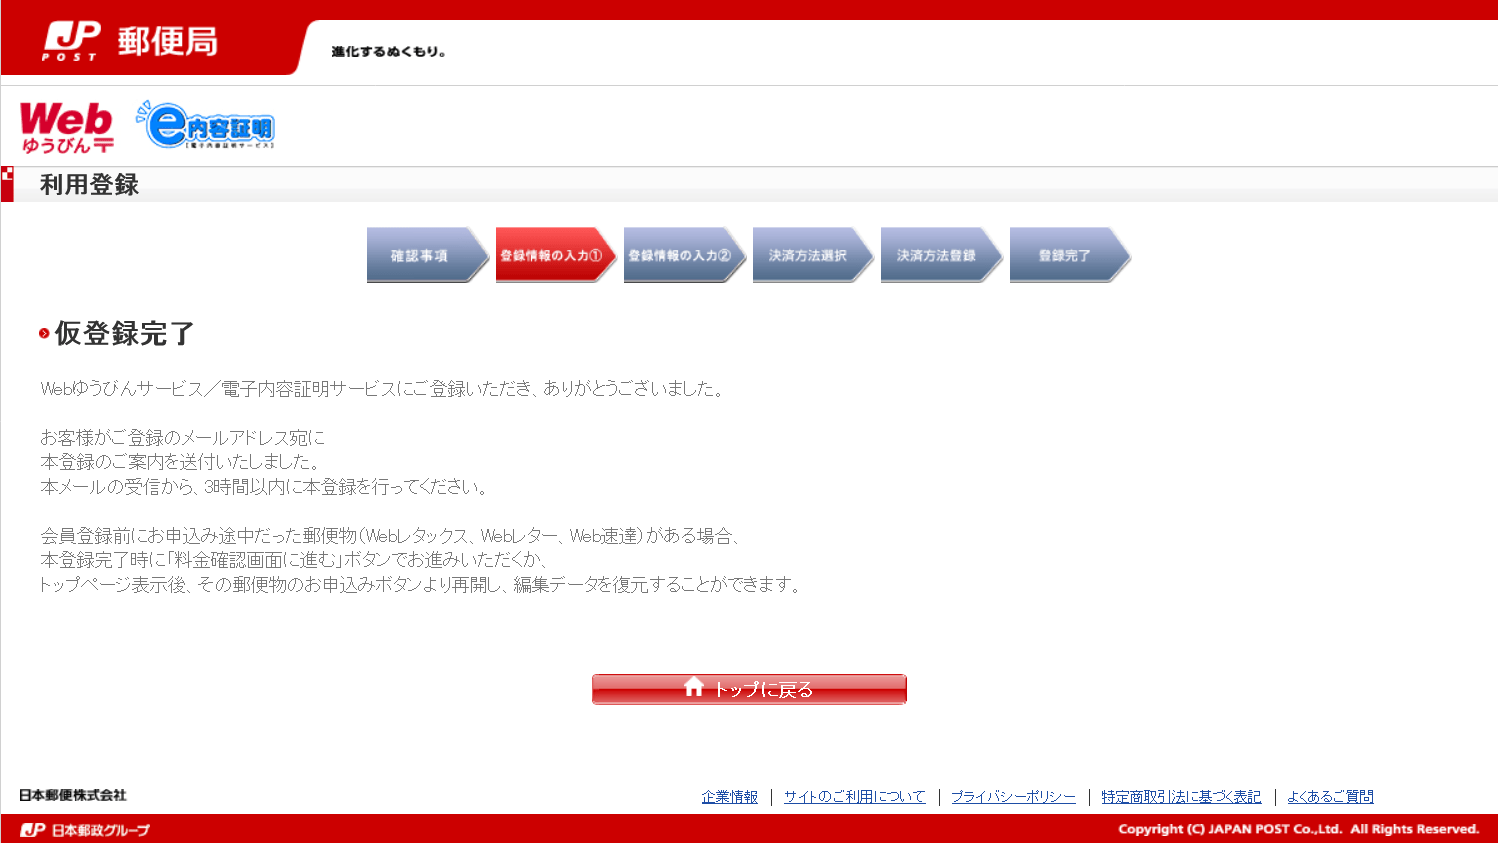
'Temporary registration completed' will be displayed, so check the e-mail sent to your e-mail address.
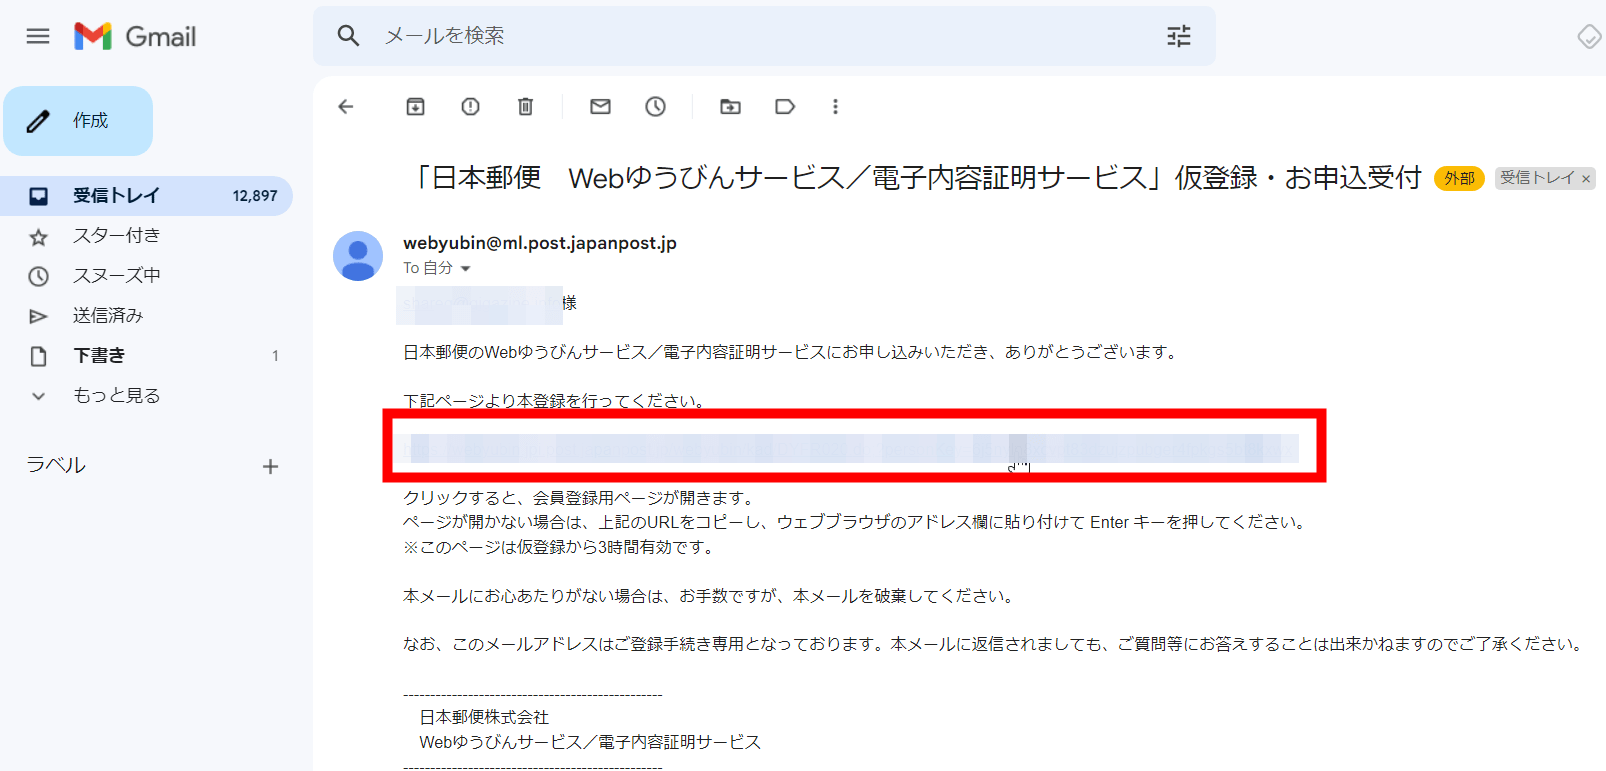
Click the link for main registration in the text
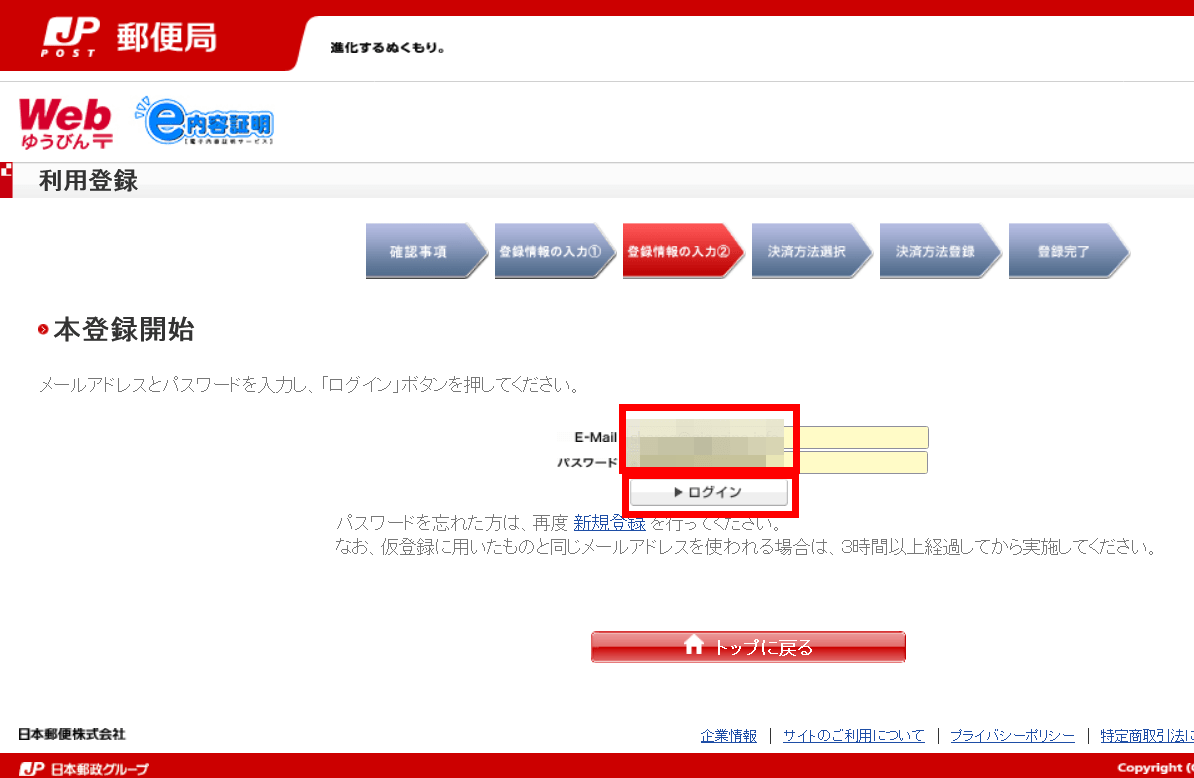
Enter your email address and password and click 'Login'
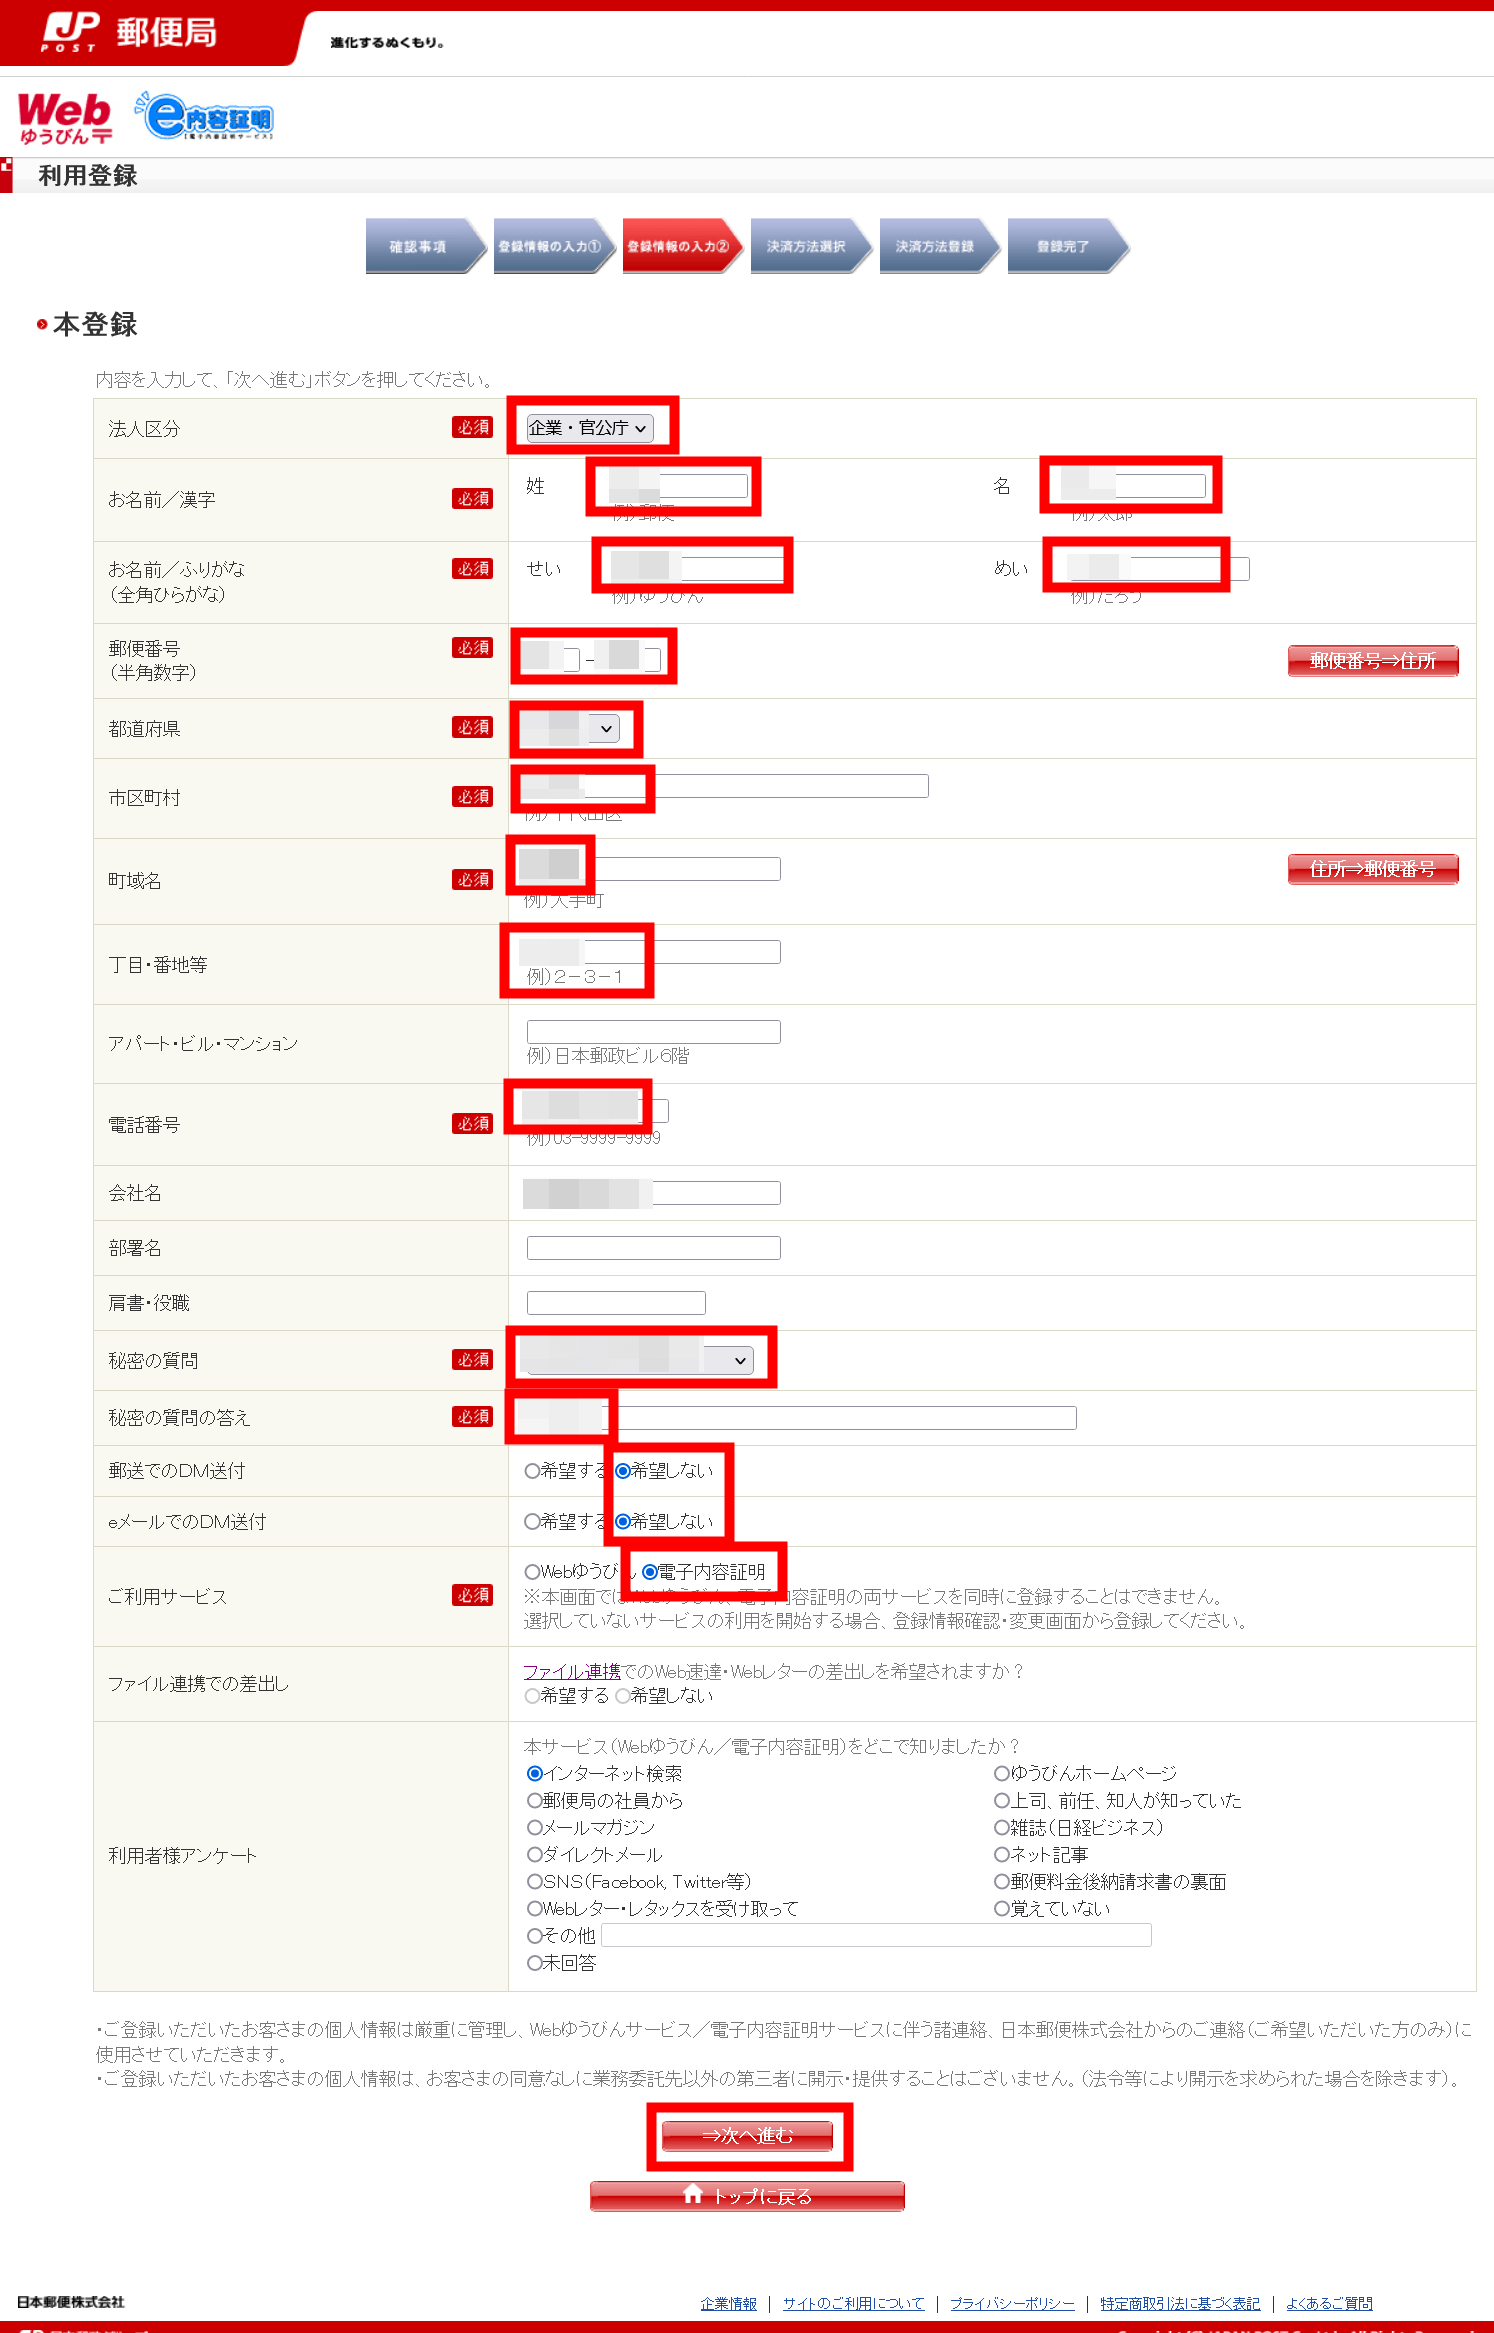
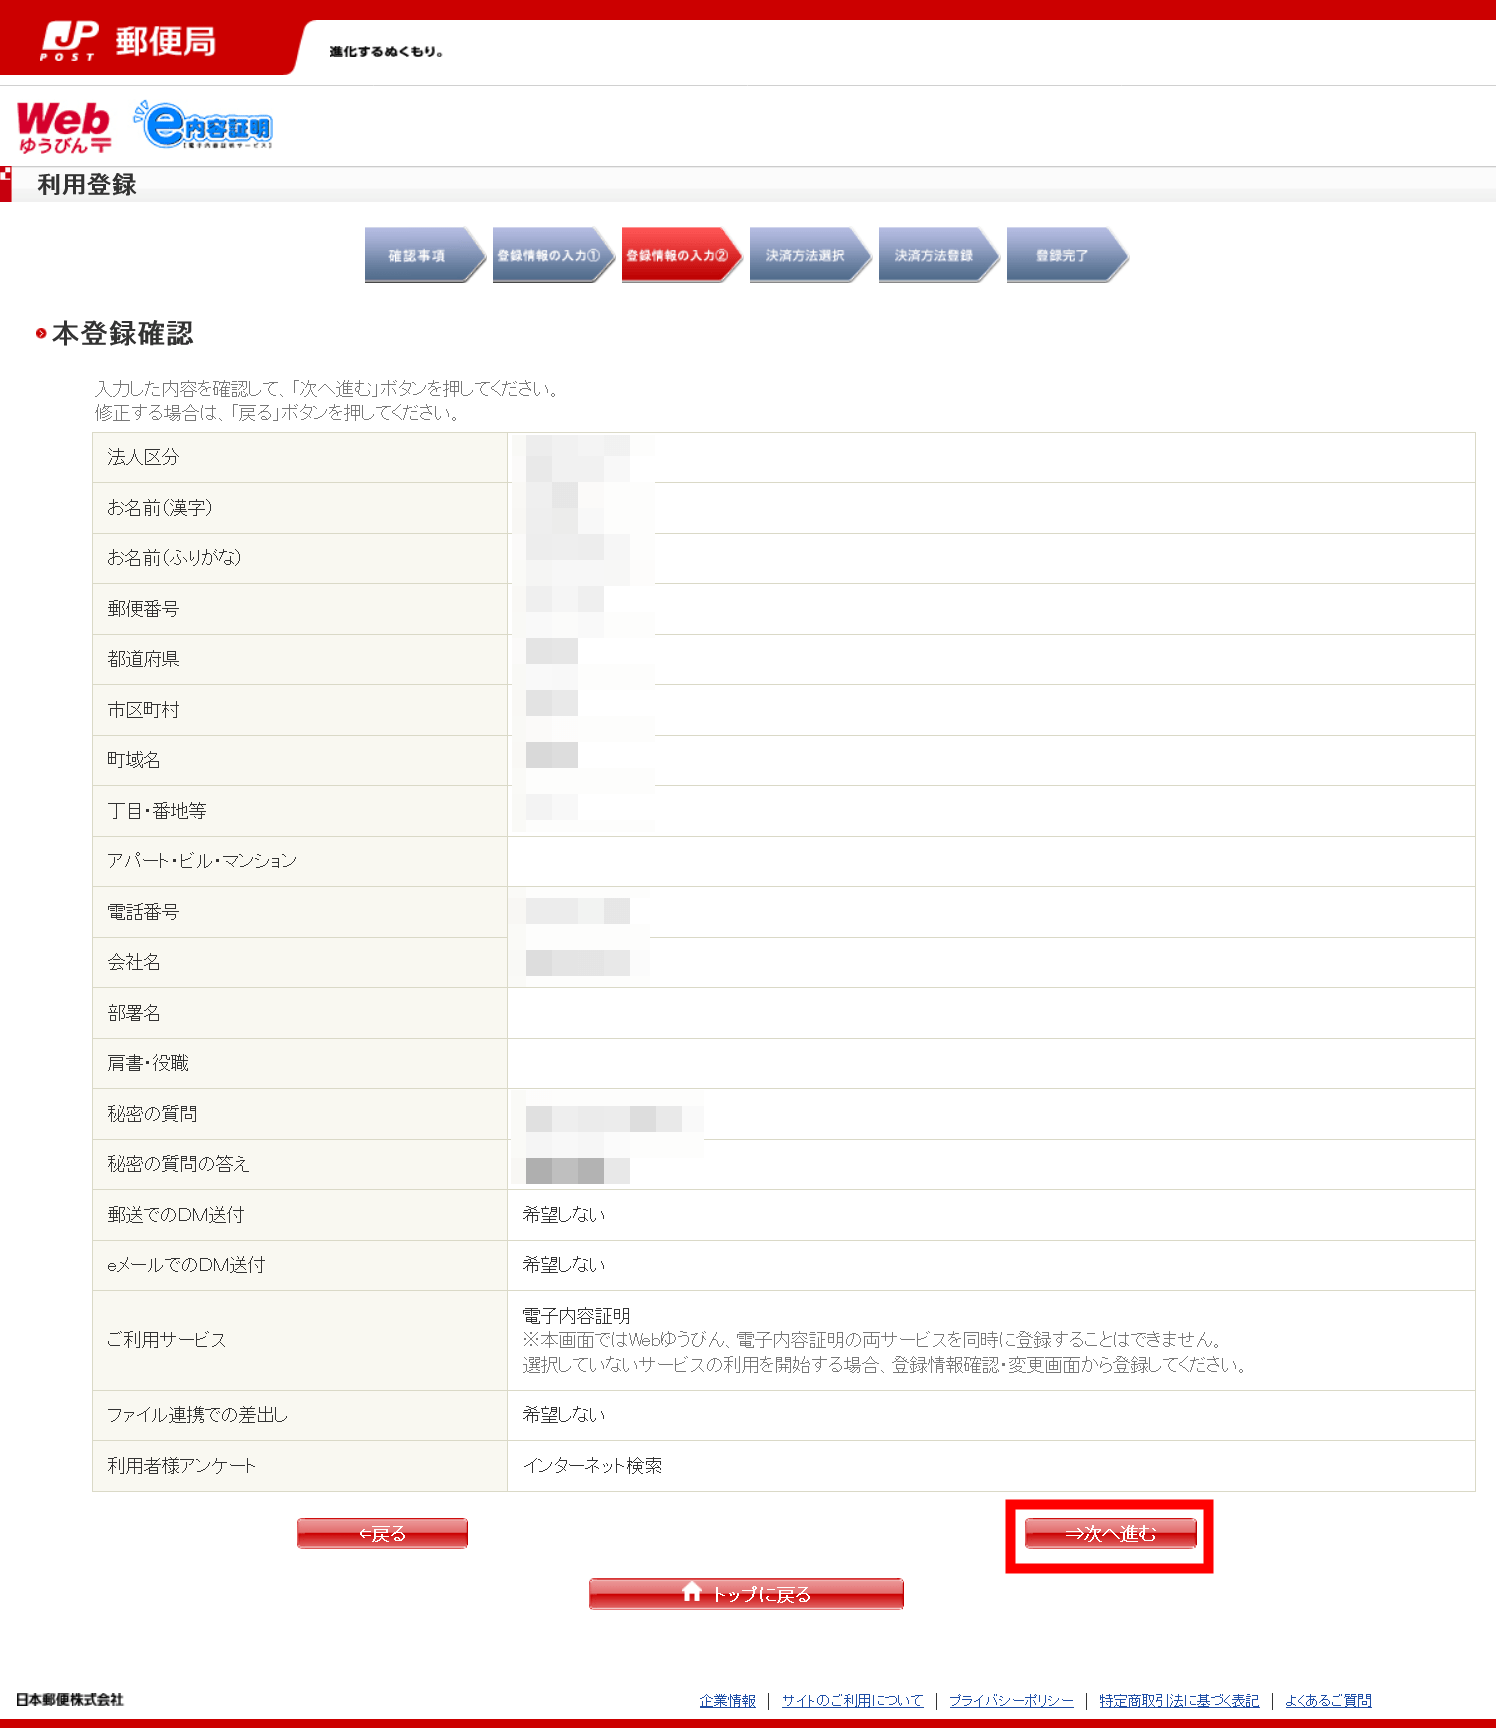
After entering 'Corporation Classification', 'First Name', 'First Name Phonetic', 'Zip Code', 'Prefecture', 'City', 'Town Area Name', 'Chome / Address', 'Telephone Number', 'Secret Question' and the answer, Select 'Do not wish' for both DM sending, select 'Electronic content certification' as the service to use, and click 'Next'
Click 'Next'
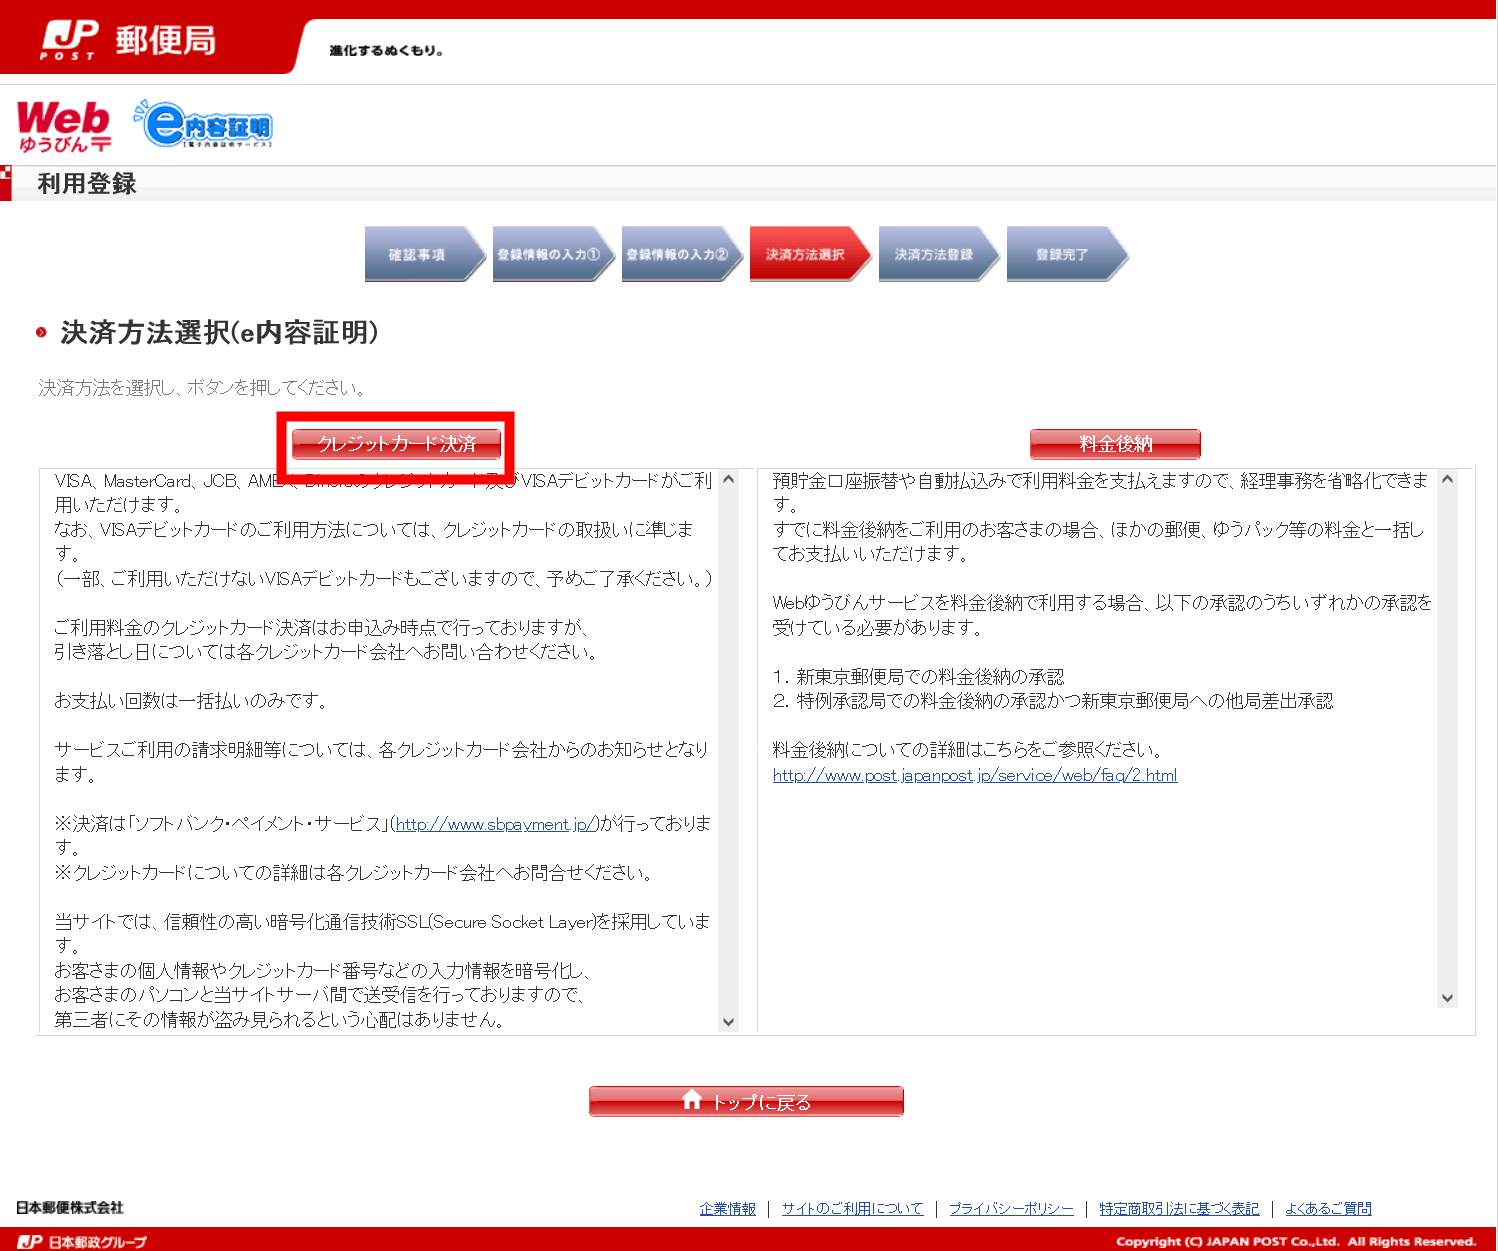
Click 'Credit Card Payment'
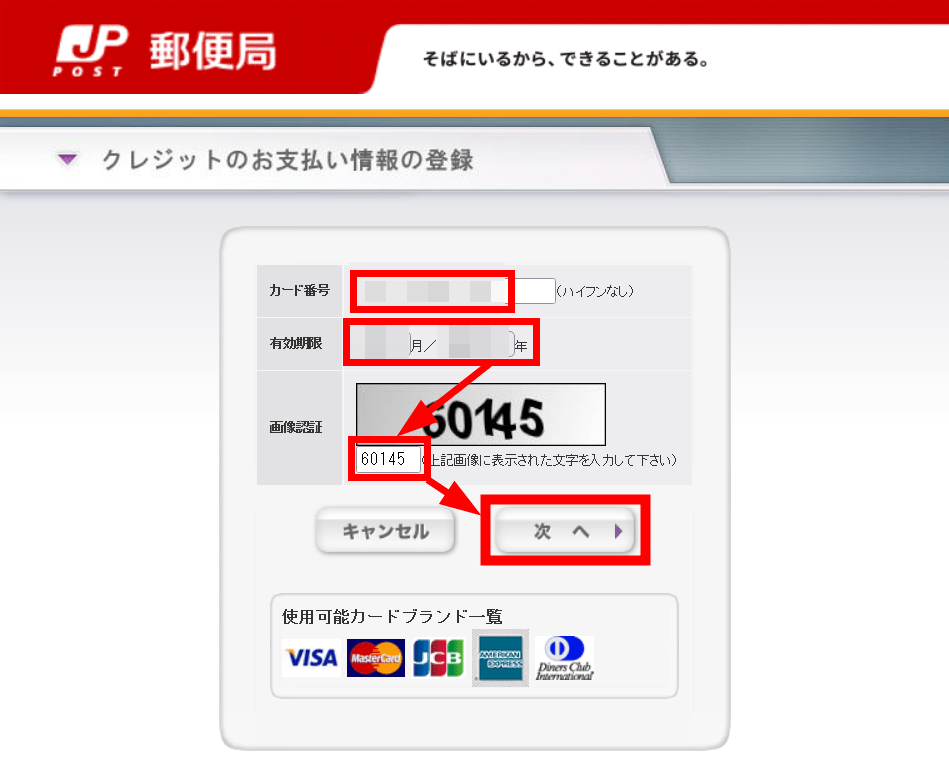
After entering the 'card number' and 'expiration date' of the credit card, enter the displayed 'image authentication' and click 'Next'
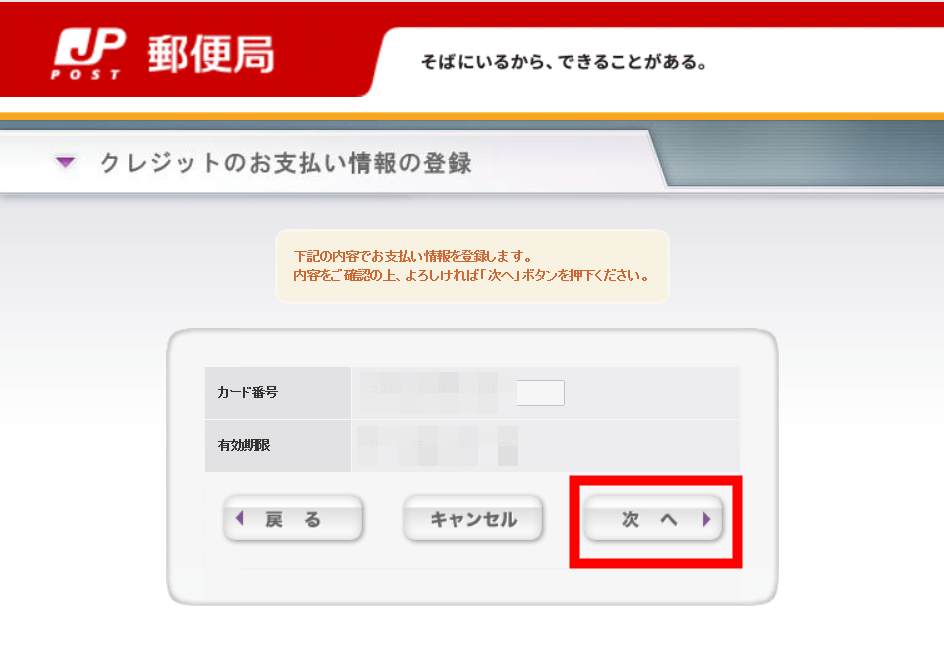
Click 'Next'
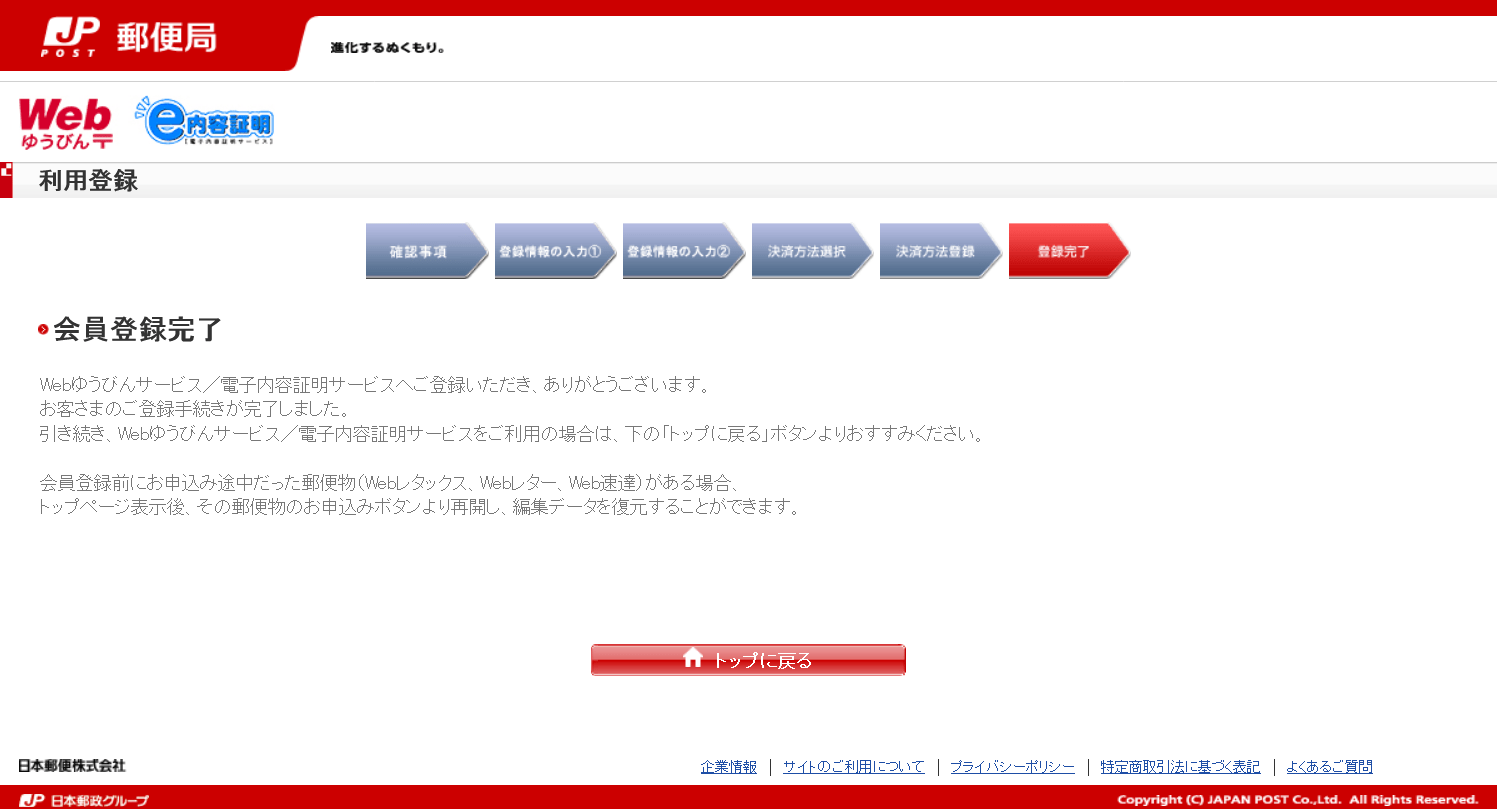
If this screen is displayed, it is completed.
◆Creation of content-certified mail
This time, we will create it in horizontal writing for the easiest way. First, go to the page below.
e-Content Certification (Electronic Content Certification) Operation Manual/Document File Template - Japan Post
Click 'e Content Certification Document File Template [A4 vertical/horizontal writing] (Word 14k bytes)' to download the Word file.
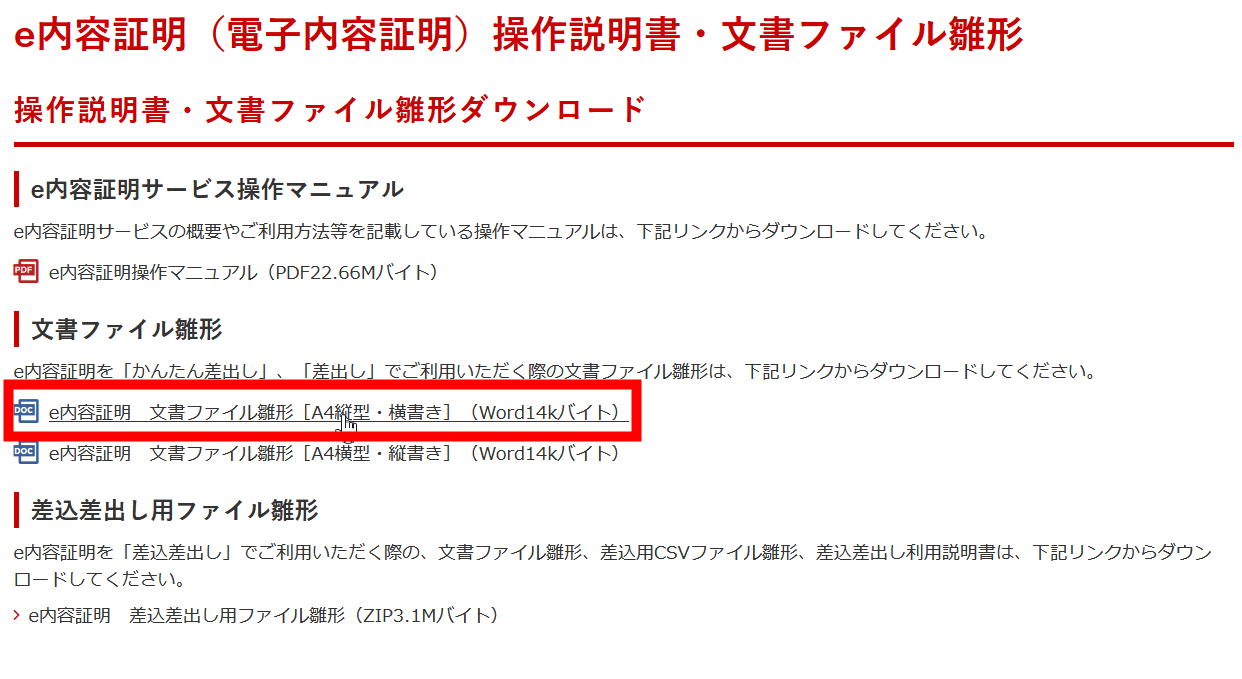
After that, open this Word file, write the text you want to send to the other party by content-certified mail, and save it with a different name. No sender or recipient signatures are required, they will be automatically inserted later.
You don't have to separate each character by how many characters, so this is very easy anyway. It's super easy, quick & easy.
◆ How to send content-certified mail with delivery certificate
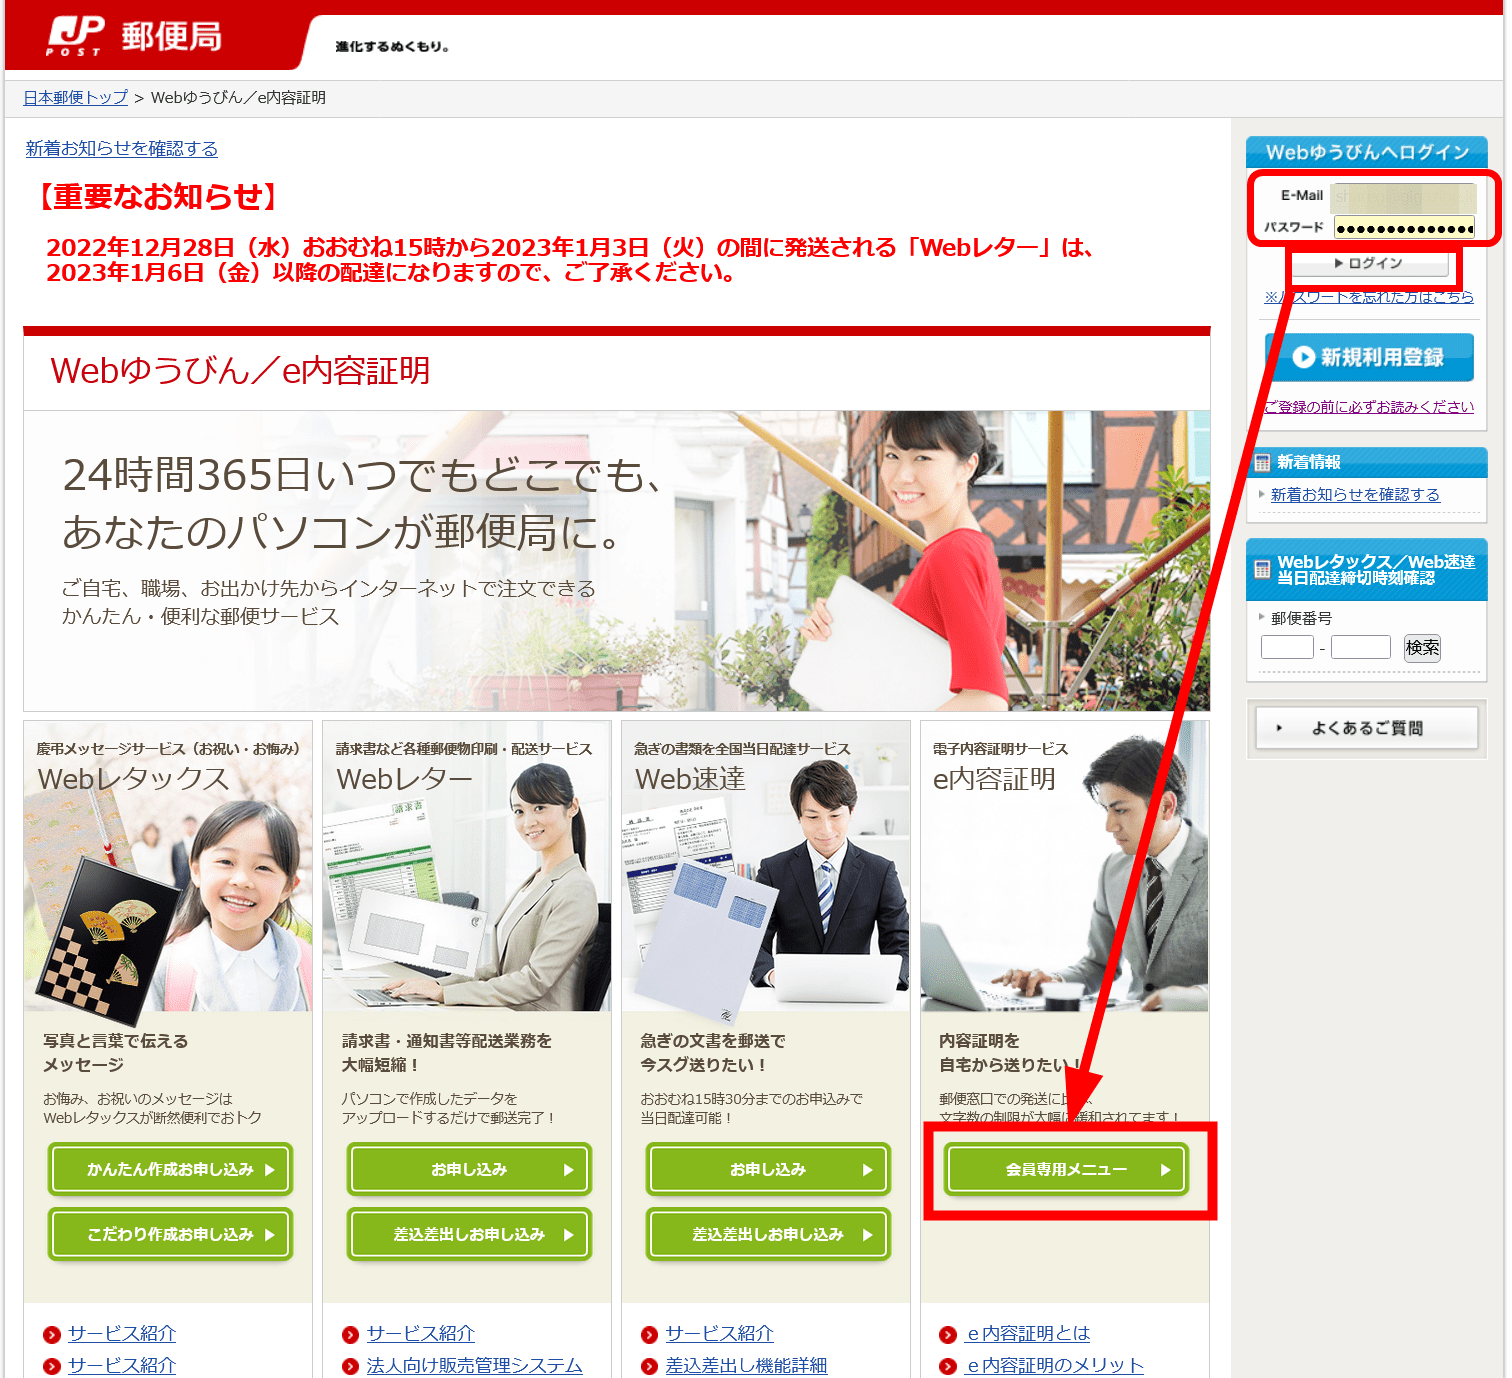
After logging in by entering your email address and password on the upper left of the official website, click 'Members Only Menu' in 'e-certification'
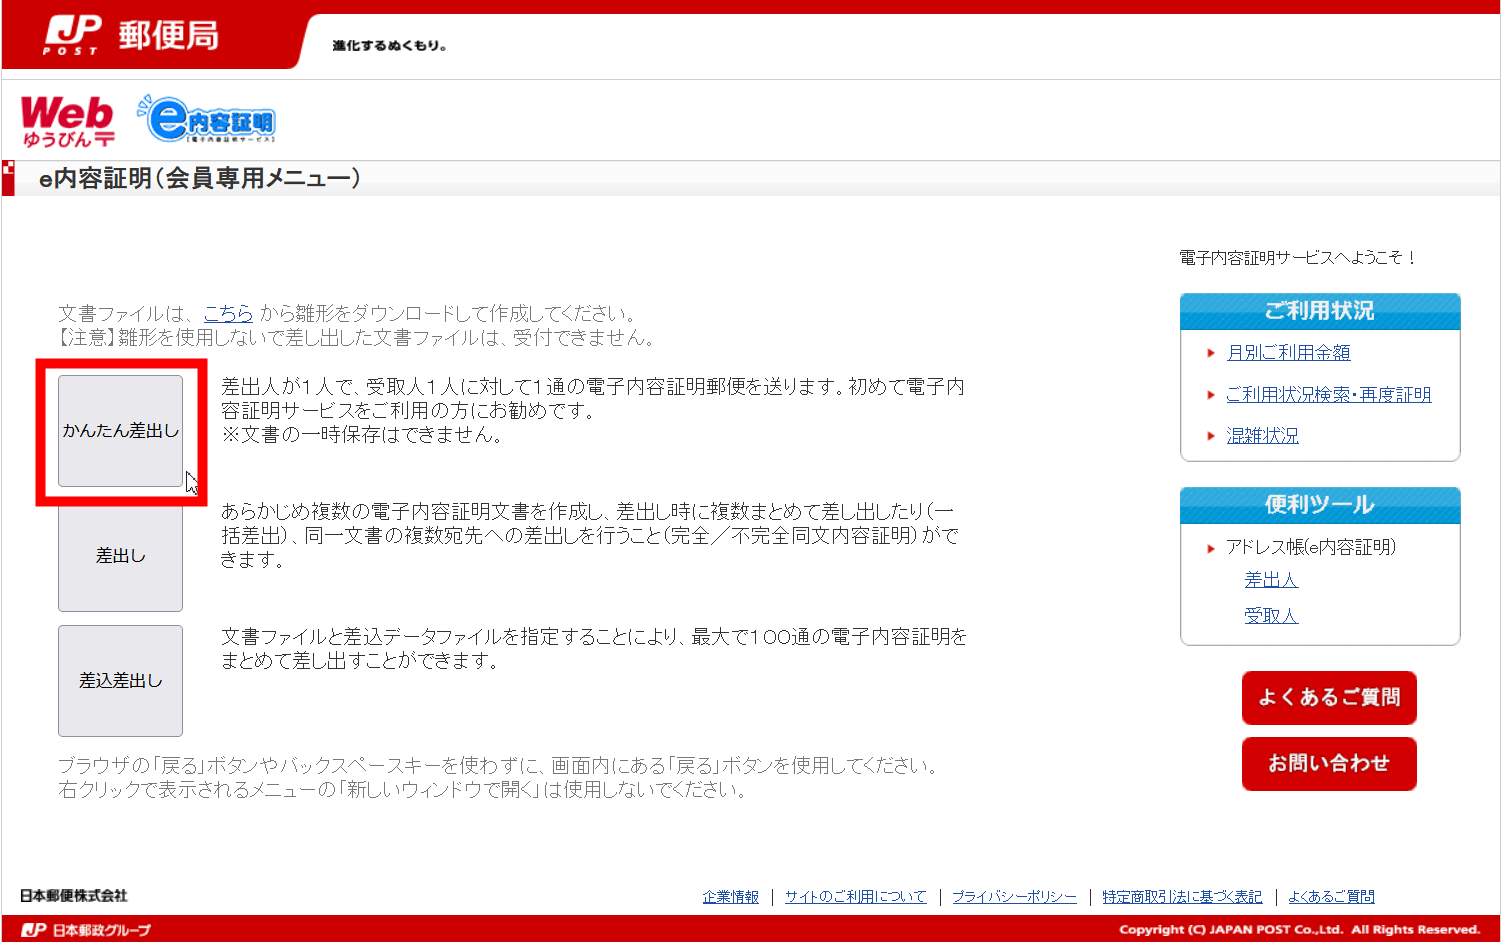
Since I will only send one this time, click 'Easy Send'
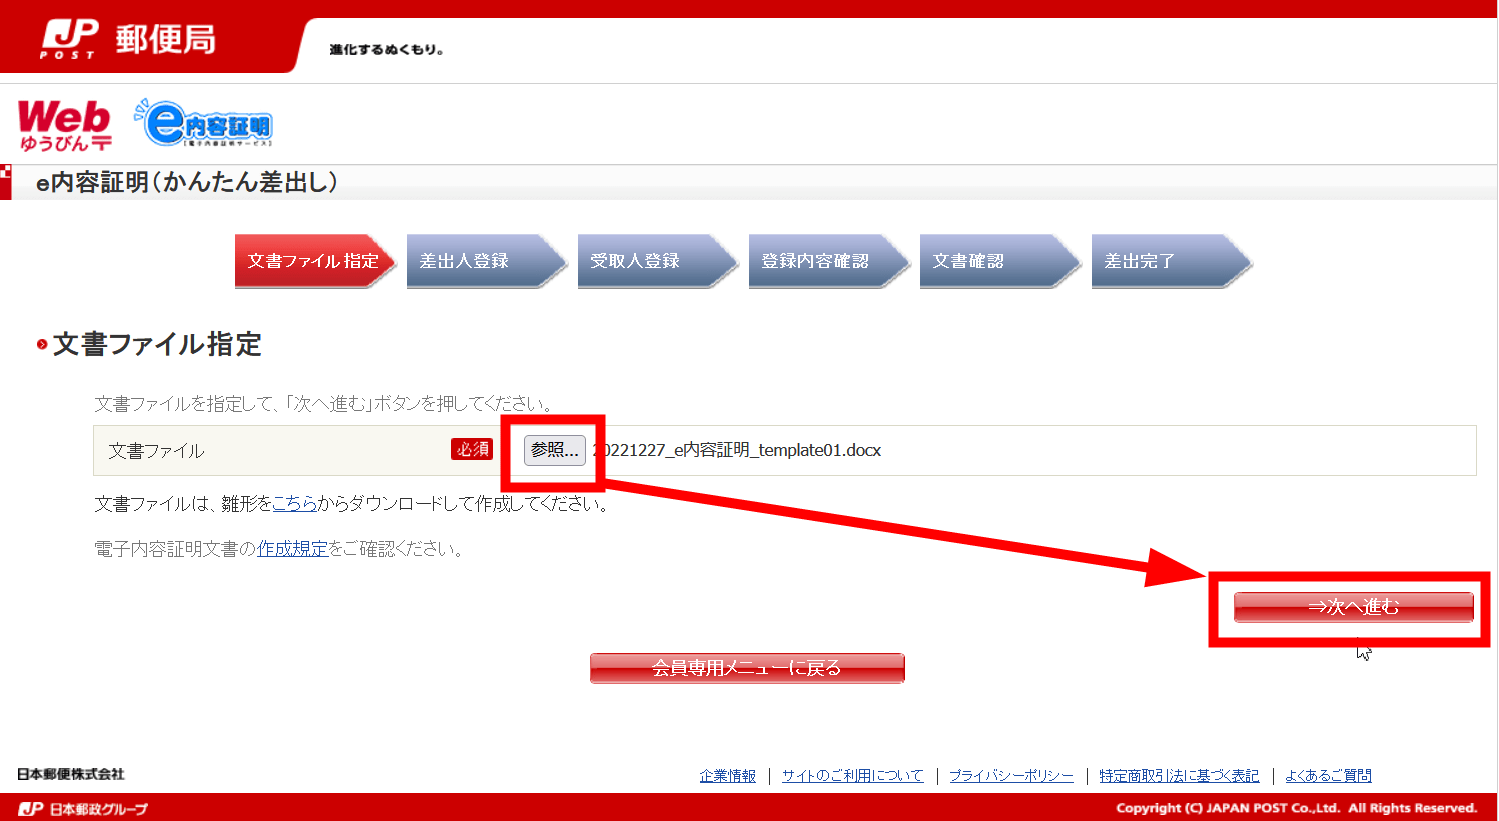
Click 'Browse' to select the previous Word file and click 'Next'
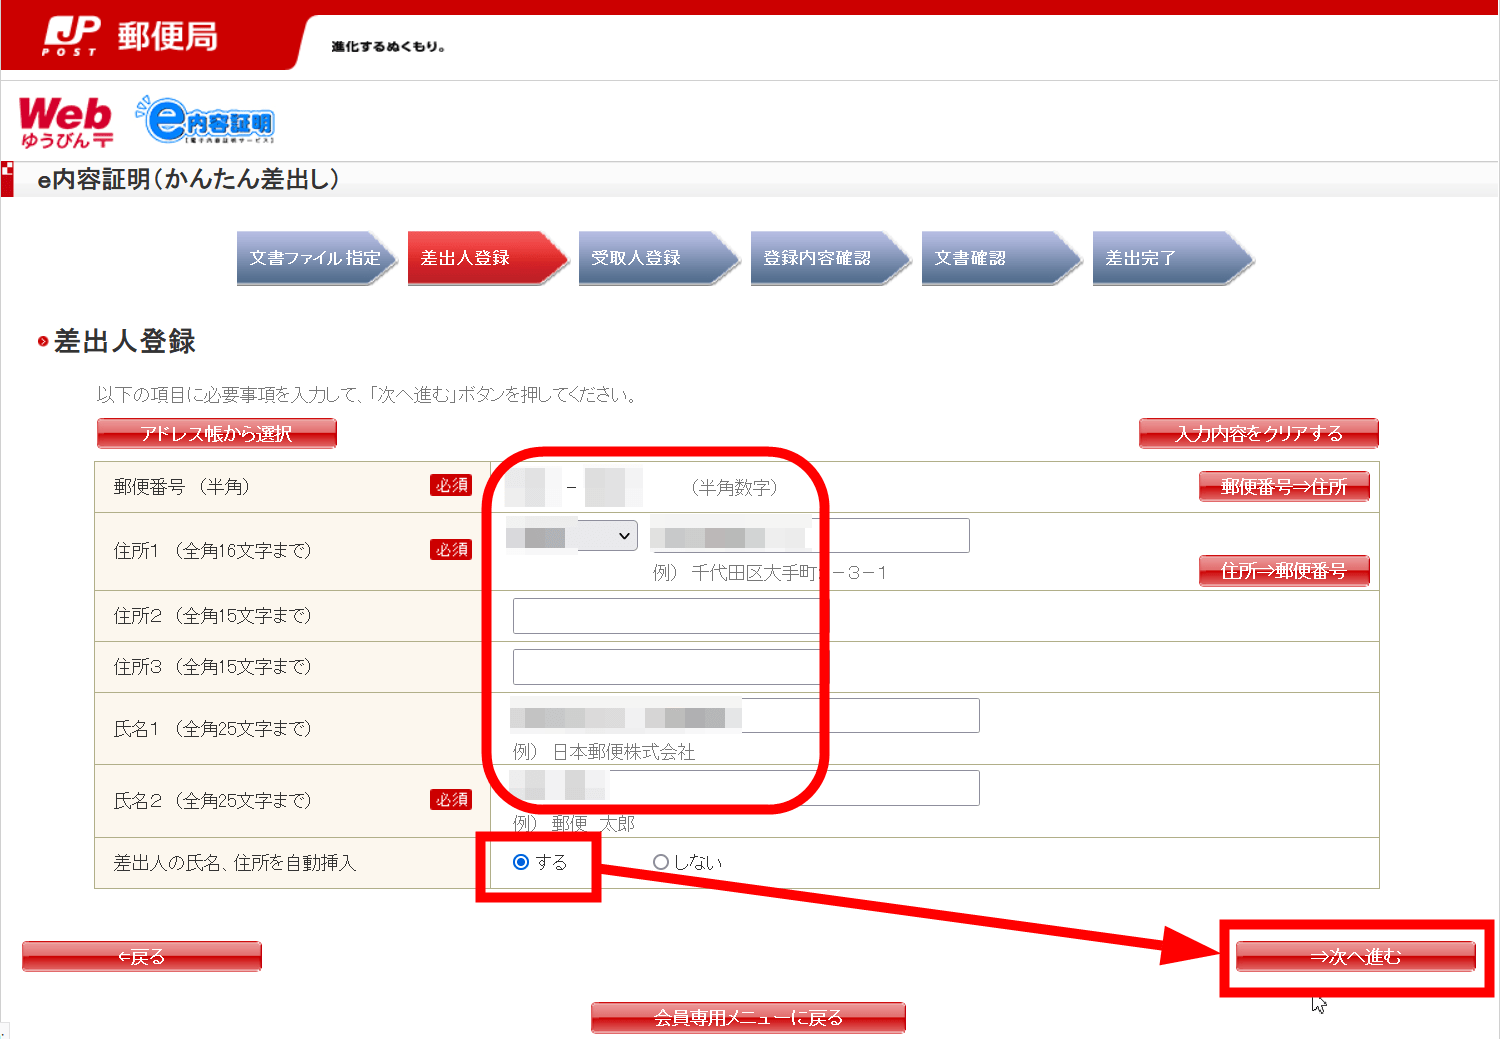
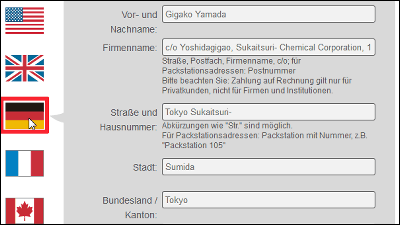
After entering your postal code, address, name, etc., select 'Yes' for 'Automatically insert sender's name and address' and click 'Next'
After entering the postal code, address, name, etc. of the person to whom you want to send the content-certified mail, enter the title, select 'Yes' for 'Automatically insert recipient's name and address', and then select 'Recipient's Select 'Yes' for 'Attach 'delivery certificate' to the original' and click 'Next'

Click 'Next'

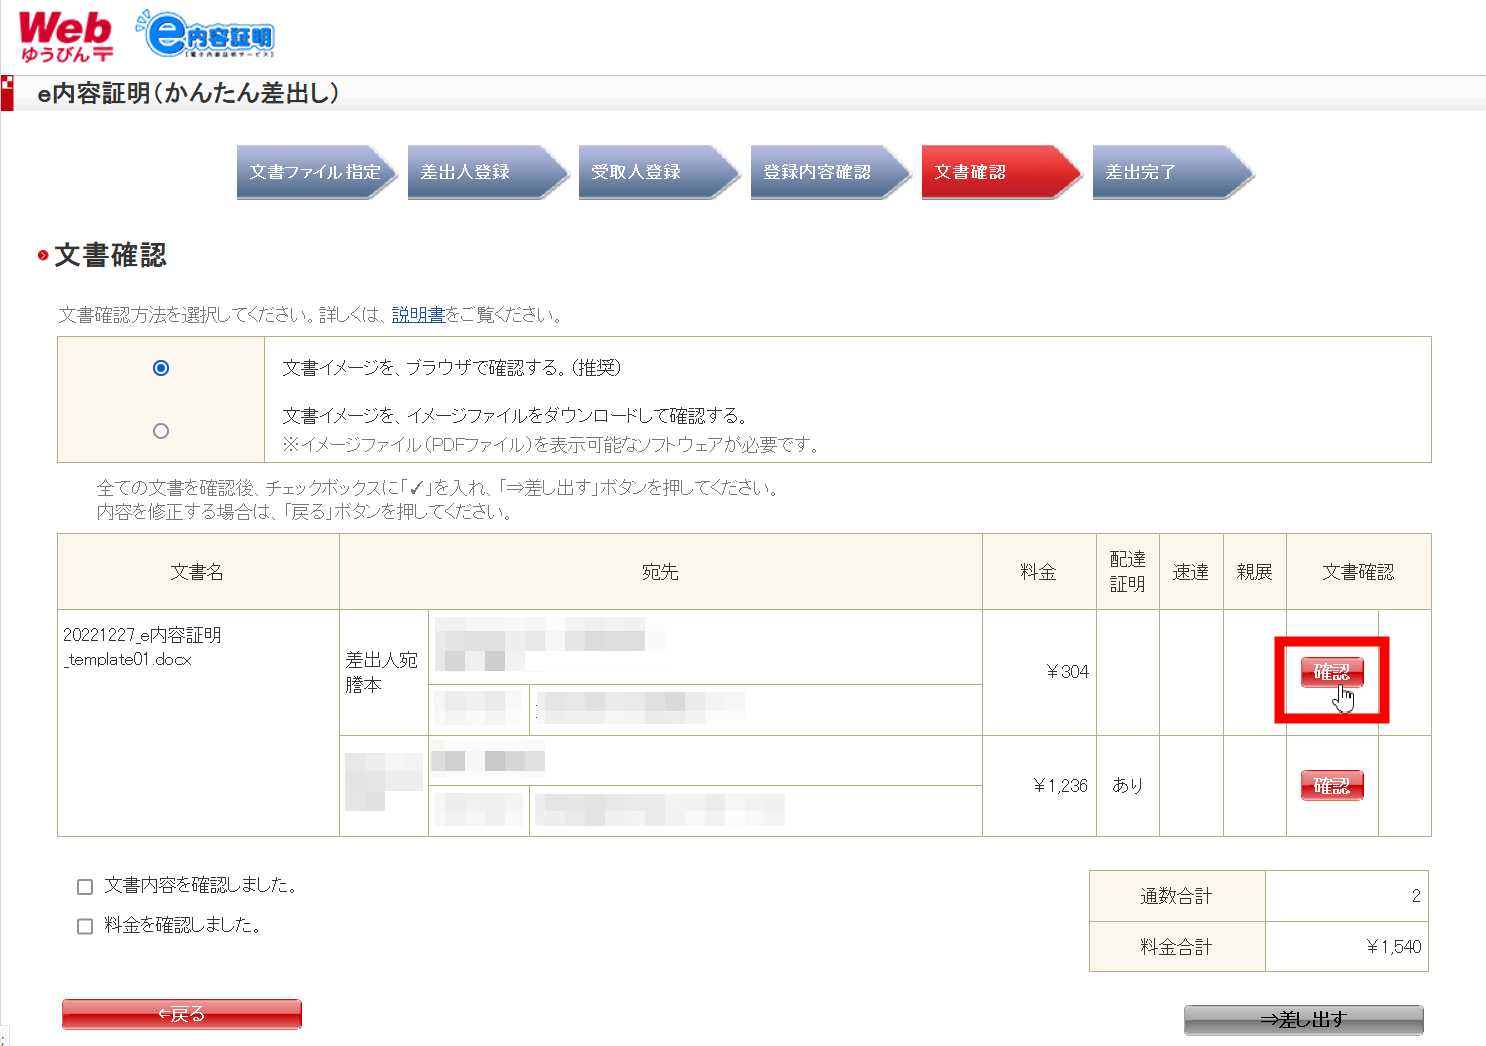
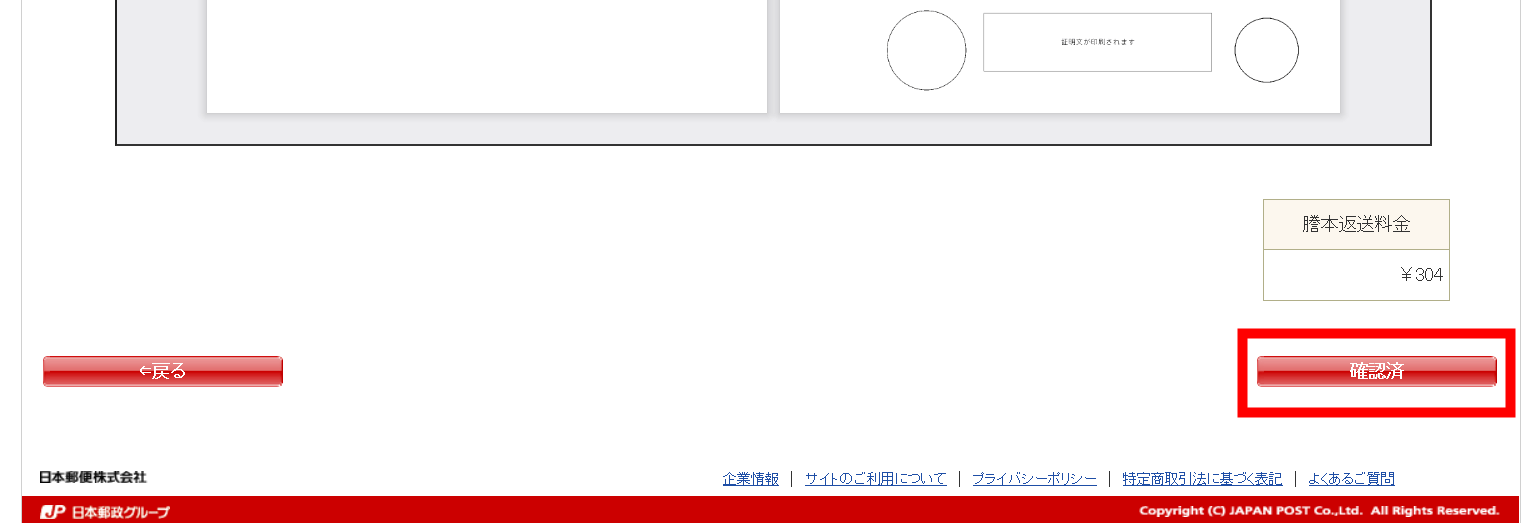
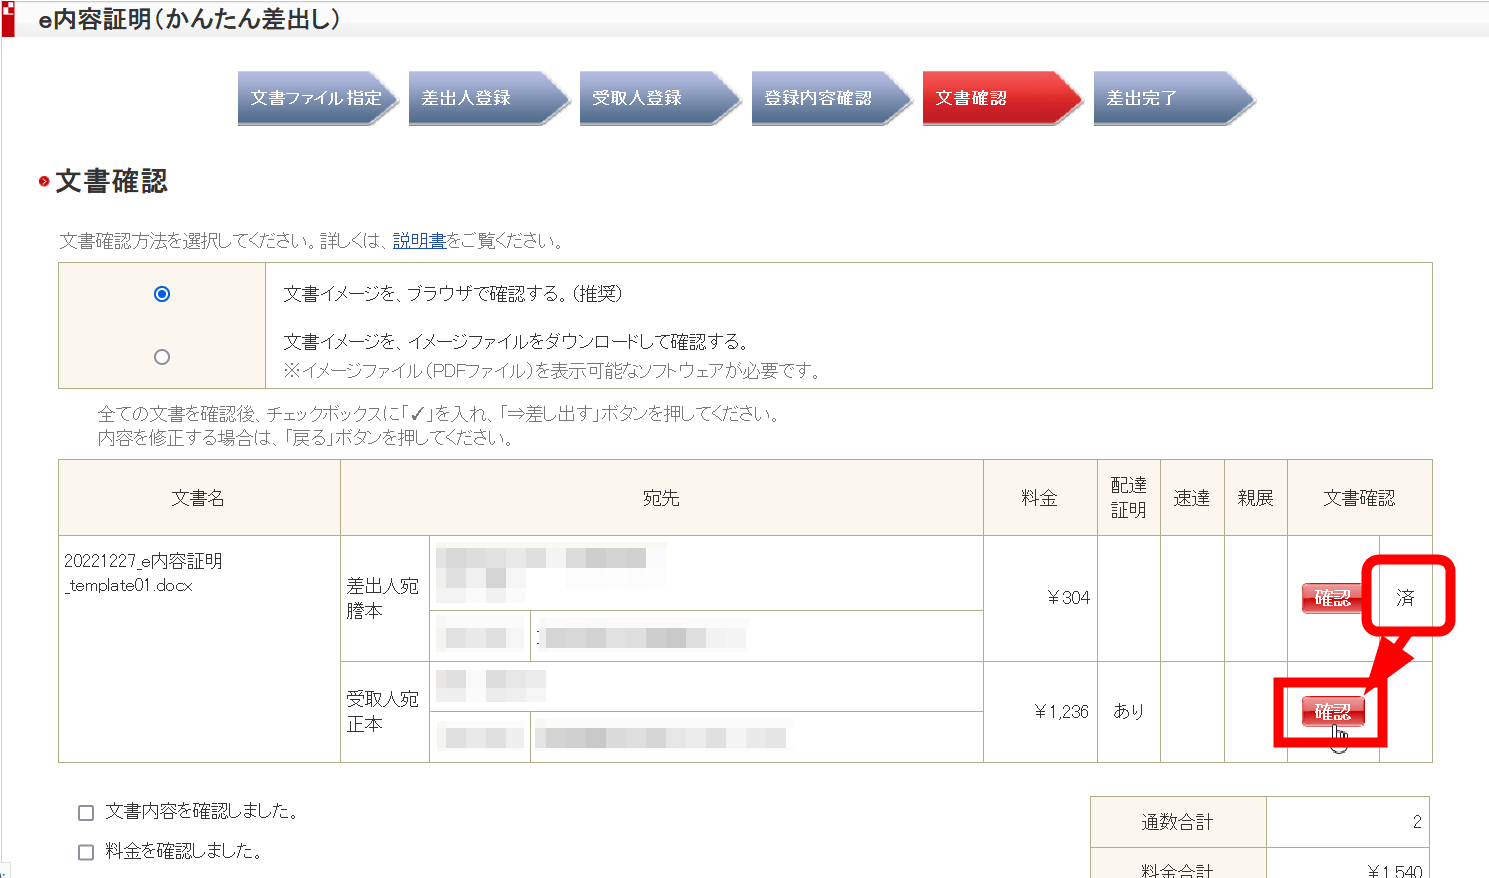
After waiting for a while, the following screen will be displayed, so first click 'Confirm' of 'Sender copy' sent to you later
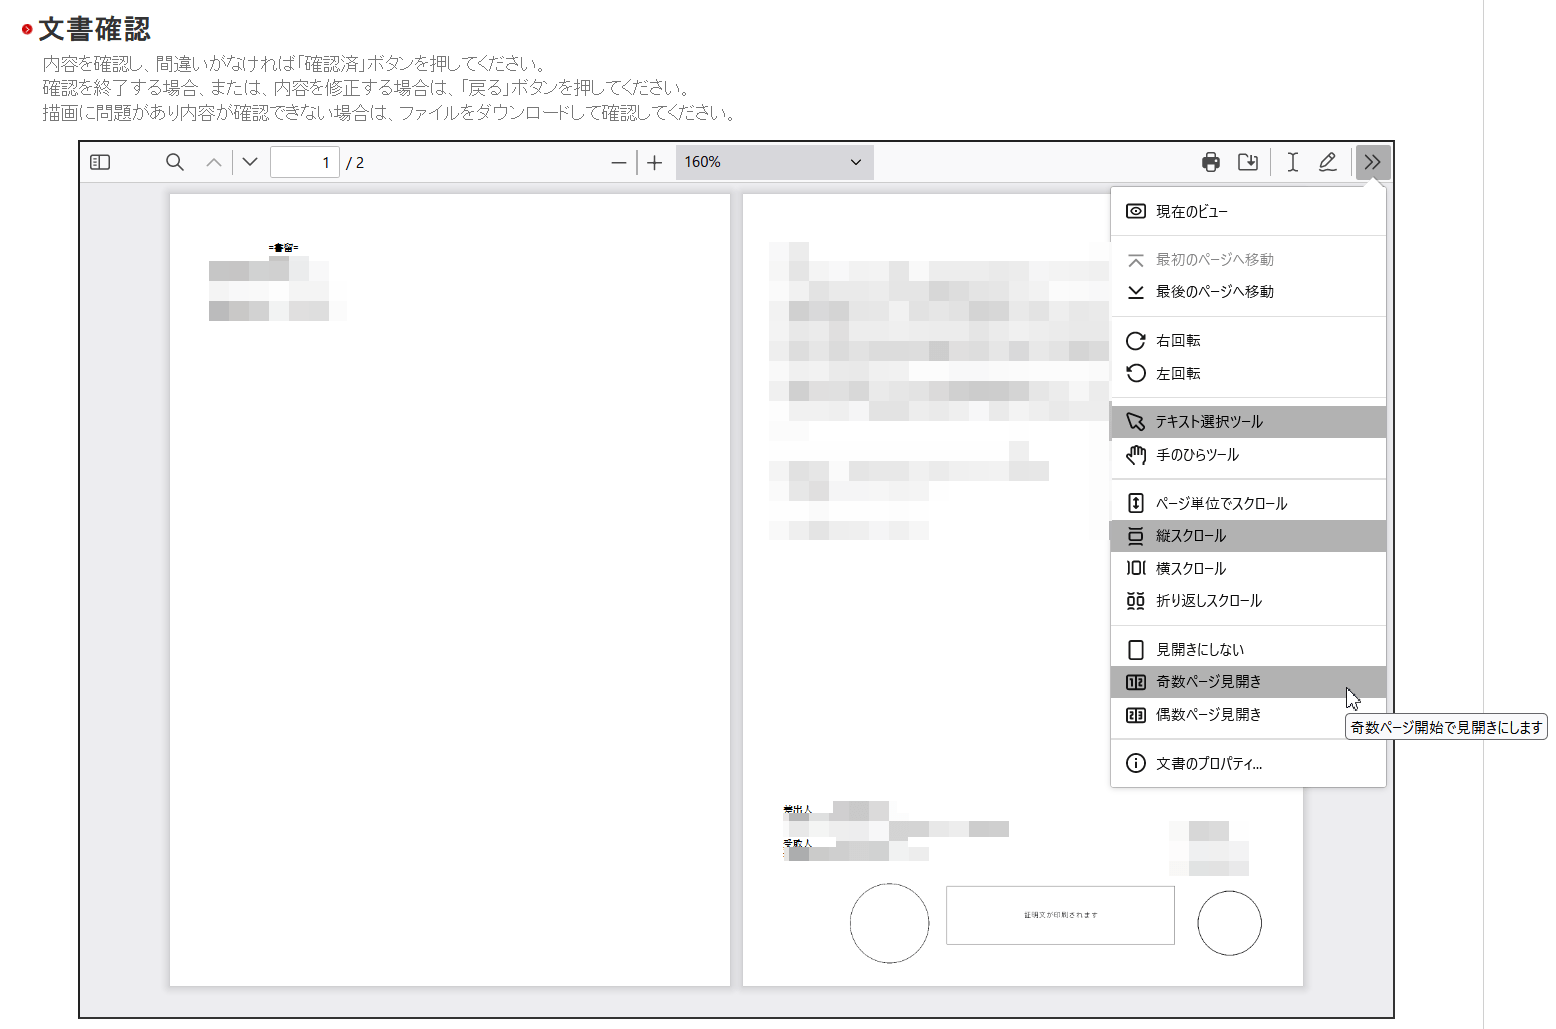
The content will be displayed, so check it by making it a double-page spread or enlarging it. In particular, check whether your name and address are automatically inserted at the end.
If everything is fine, click 'Confirmed' in the lower right corner
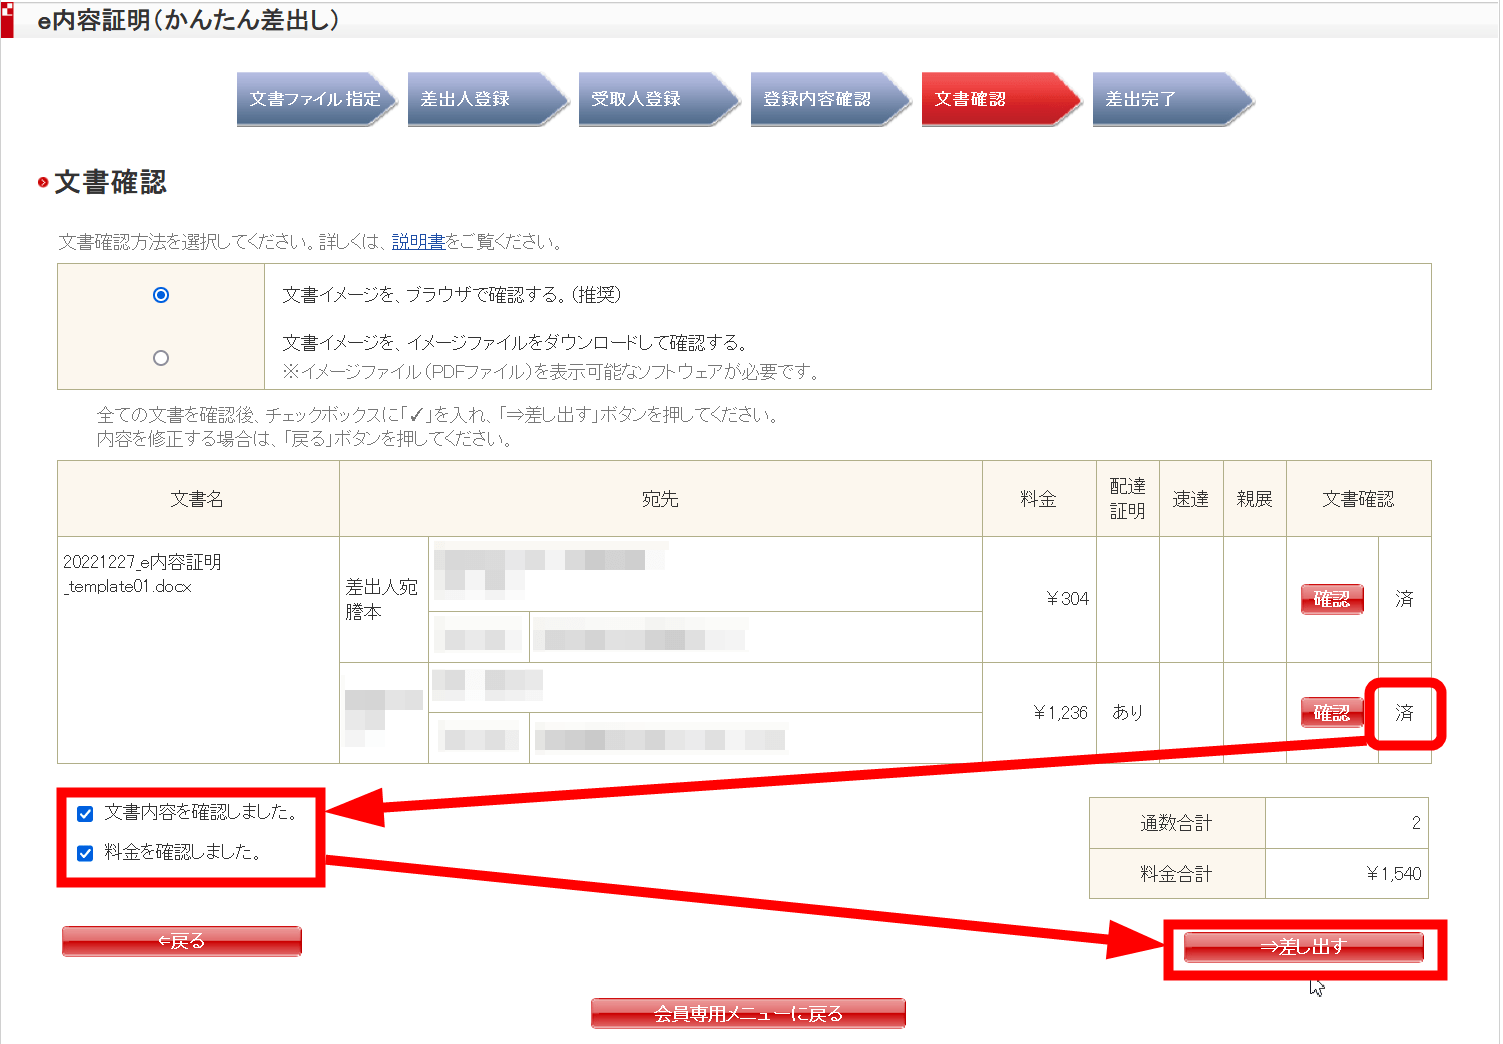
After confirming that 'Done' is displayed, click 'Confirm' next to 'Original copy to recipient'
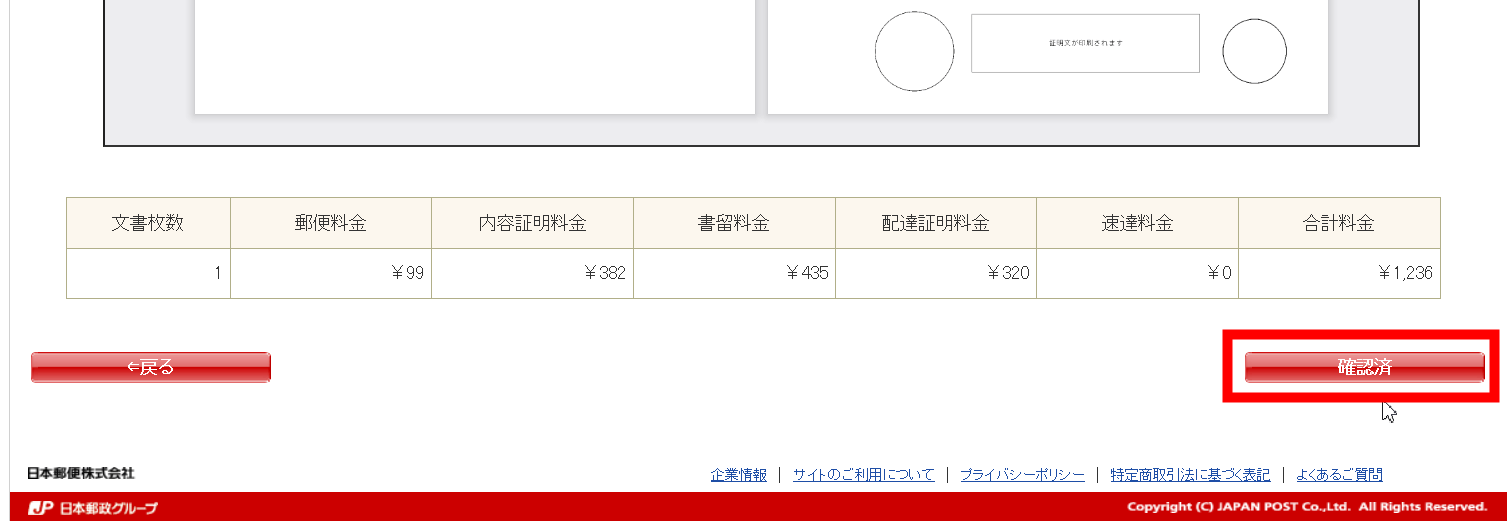
The content will be displayed, so check it by making it a double-page spread or enlarging it. Check whether your name and address are automatically inserted properly.
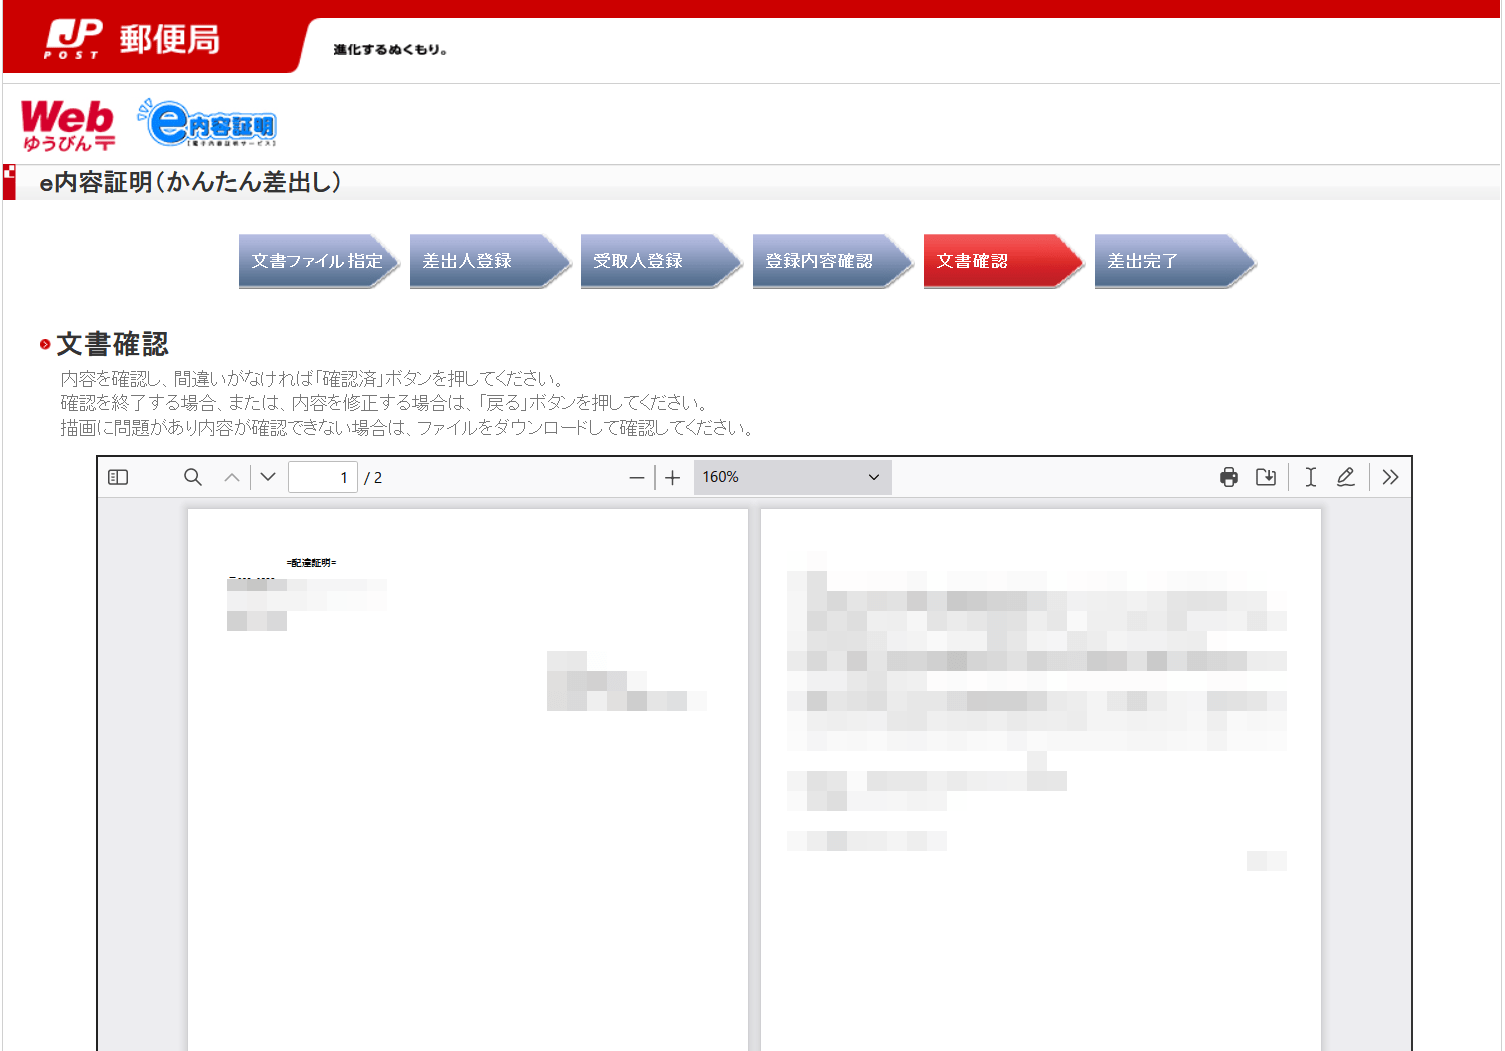
If everything is fine, click 'Confirmed' in the lower right corner
After confirming that 'Done' is displayed, check 'Document content confirmed' and 'Fee confirmed' and click 'Submit'
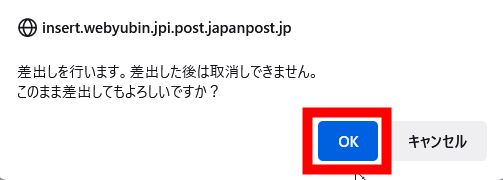
Click 'OK'
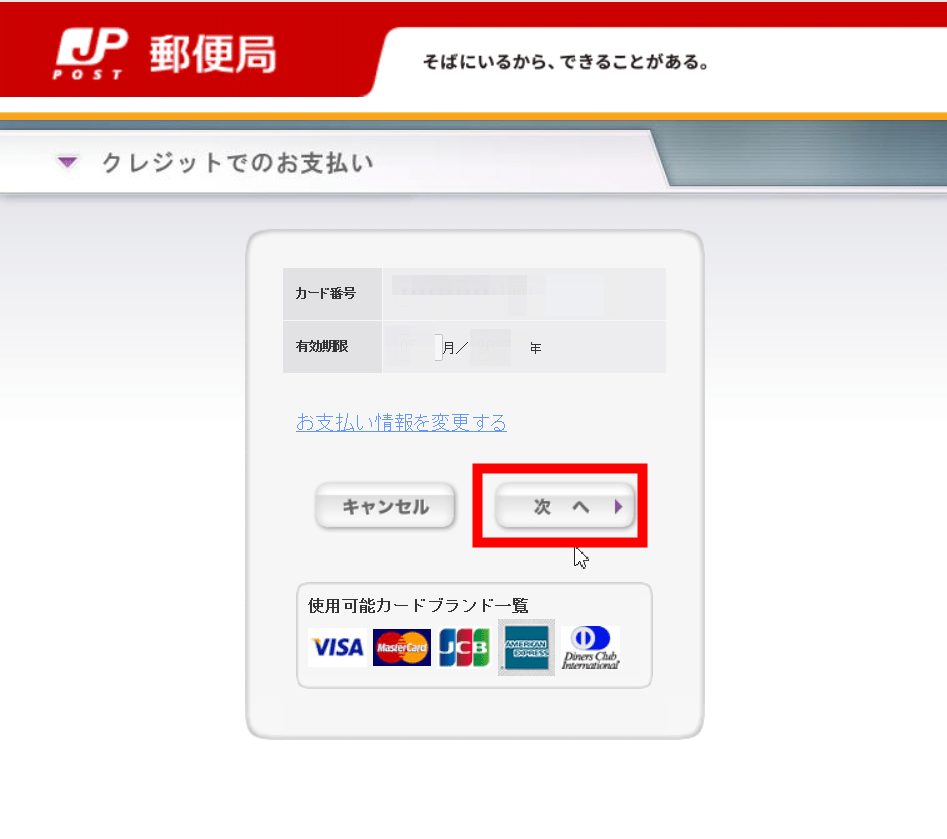
Since the credit card information is displayed, click 'Next'
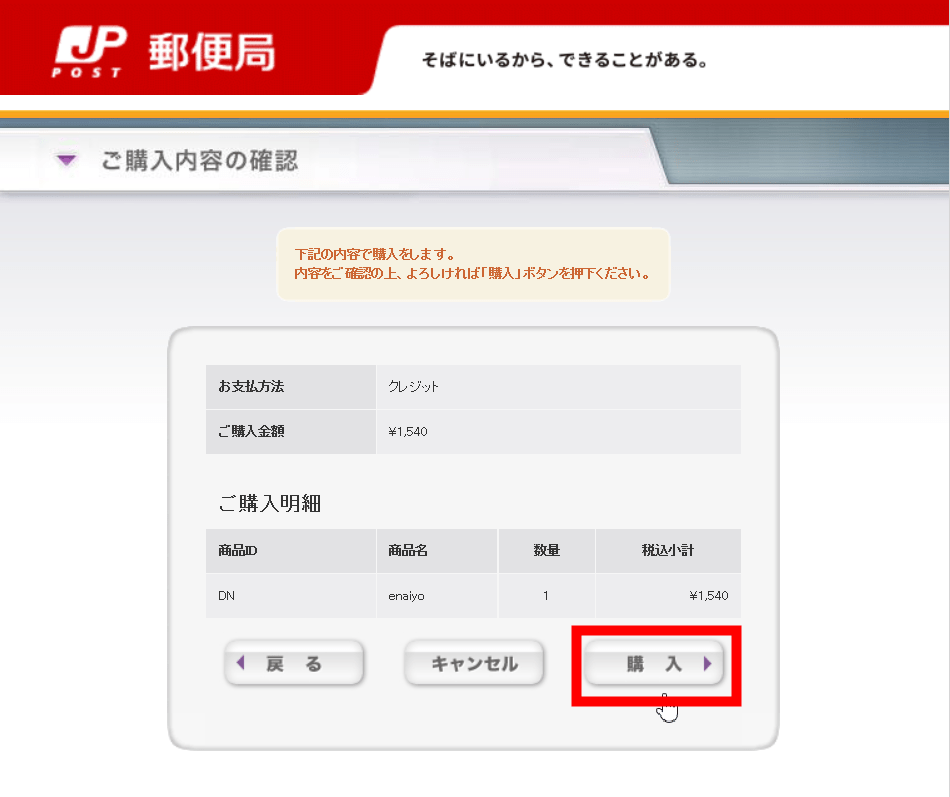
Click 'Buy'
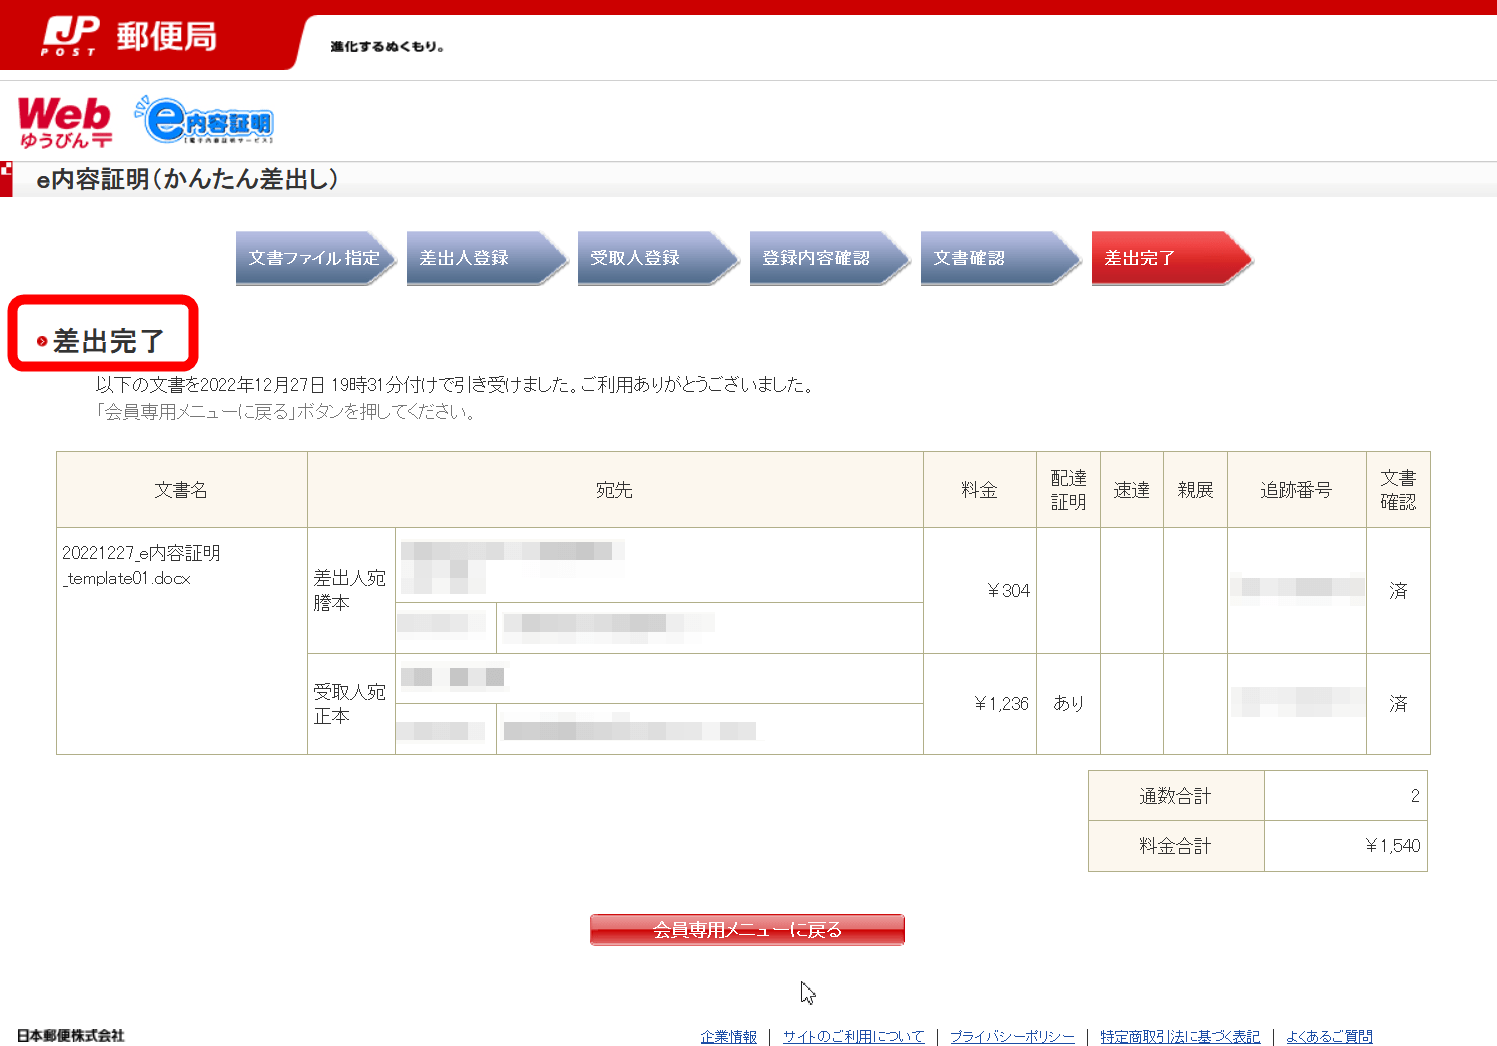
If 'submission completed' is displayed, it is completed. Let's wait for it to reach you and your partner.
Related Posts:

in Review, Web Service, Posted by darkhorse