Easy way to use 'uBlacklist' to block and hide disturbing sites and pages from Google search results
When you search on Google, you may end up with sites that you don't want to see, such as thin copy sites. 'UBlacklist ' is an add-on that allows you to specify such sites for each domain and prevent them from being displayed in search results. It is available in Firefox, Chrome, and Safari, so I tried using it in each.
GitHub --iorate / uBlacklist: Blocks specific sites from appearing in Google search results
◆ Firefox
First, go to the add-on distribution page and click 'Add to Firefox'.
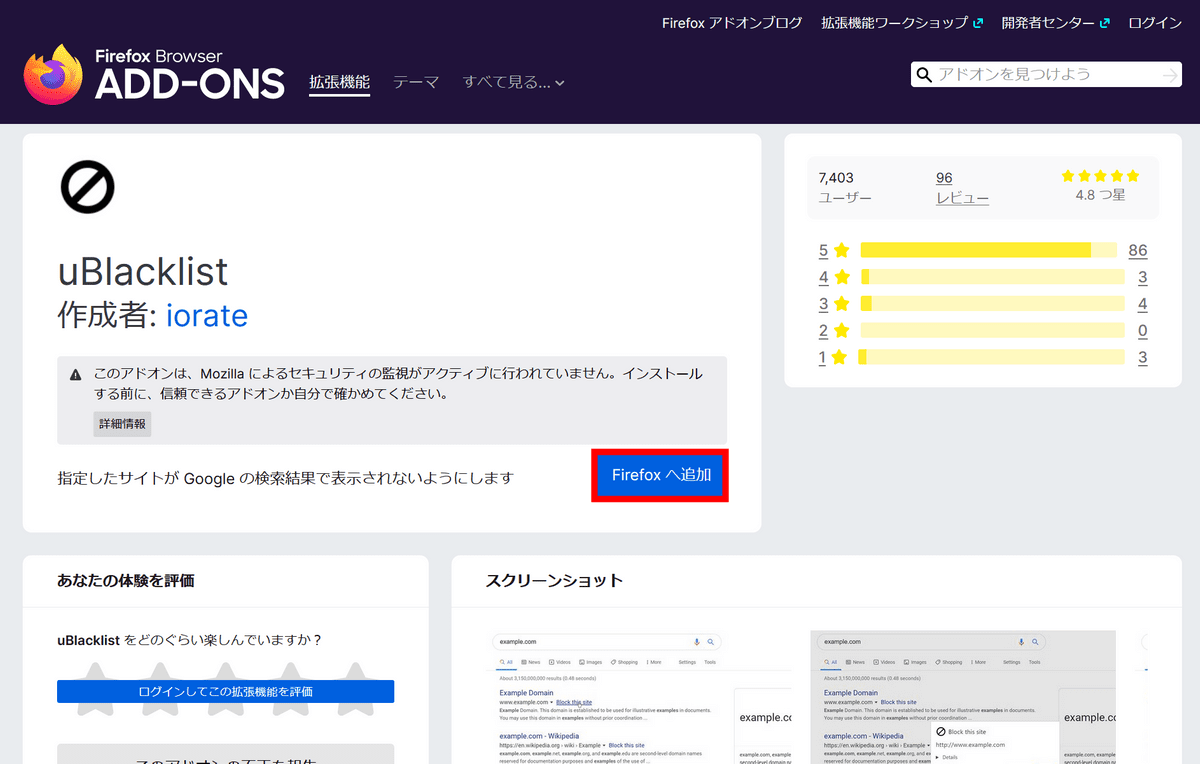
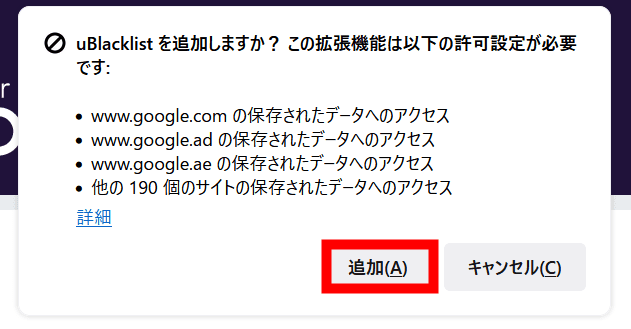
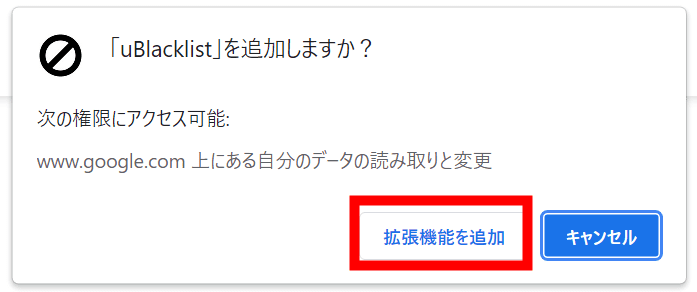
Installation is completed by clicking 'Add'.
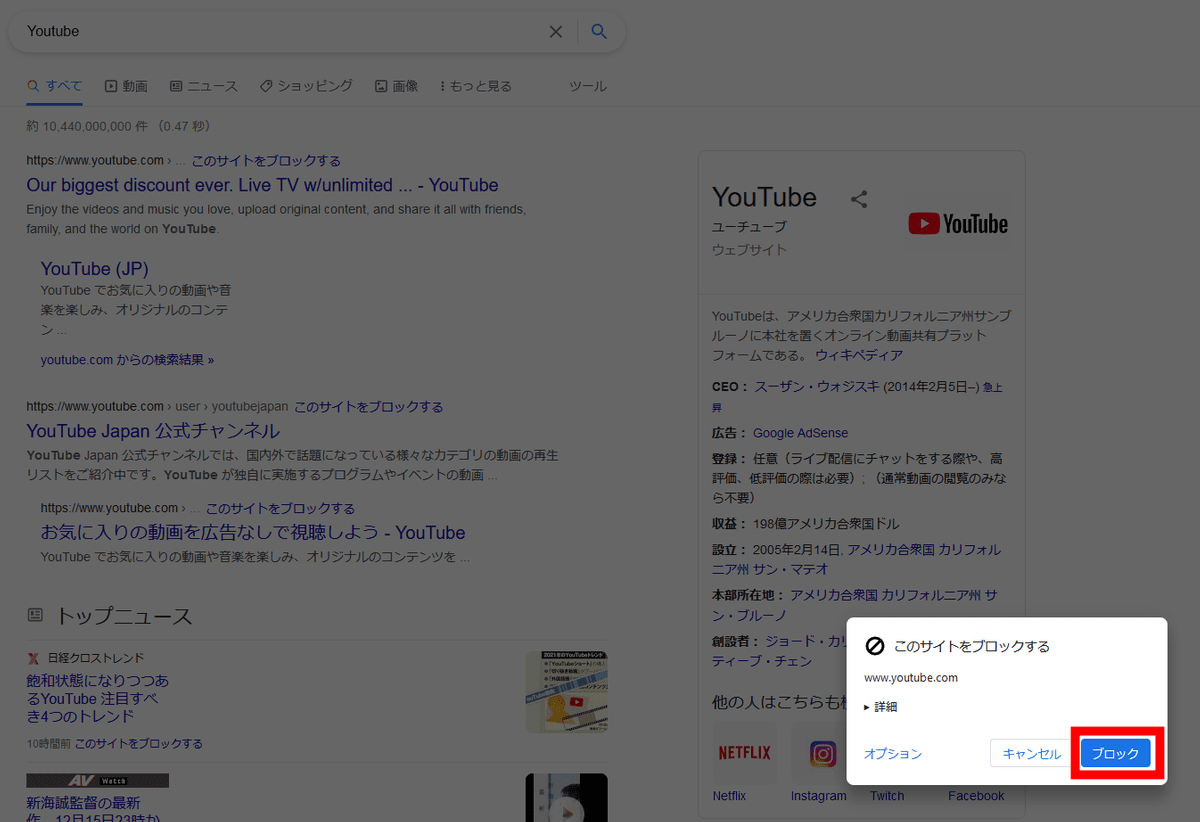
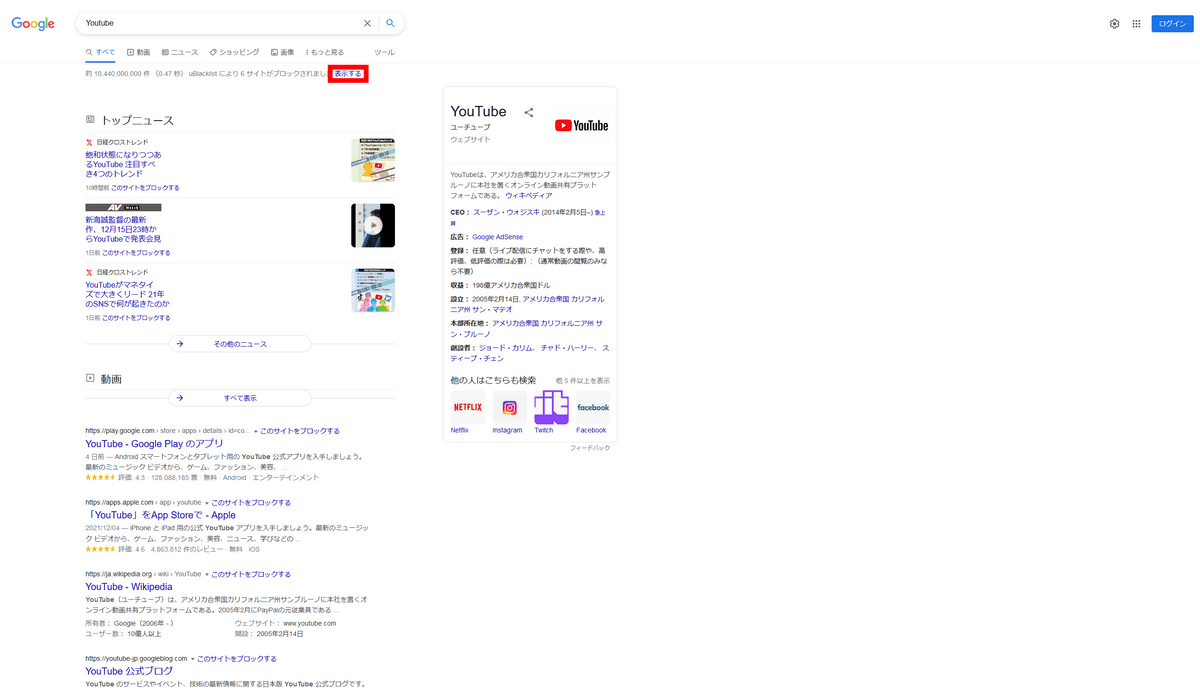
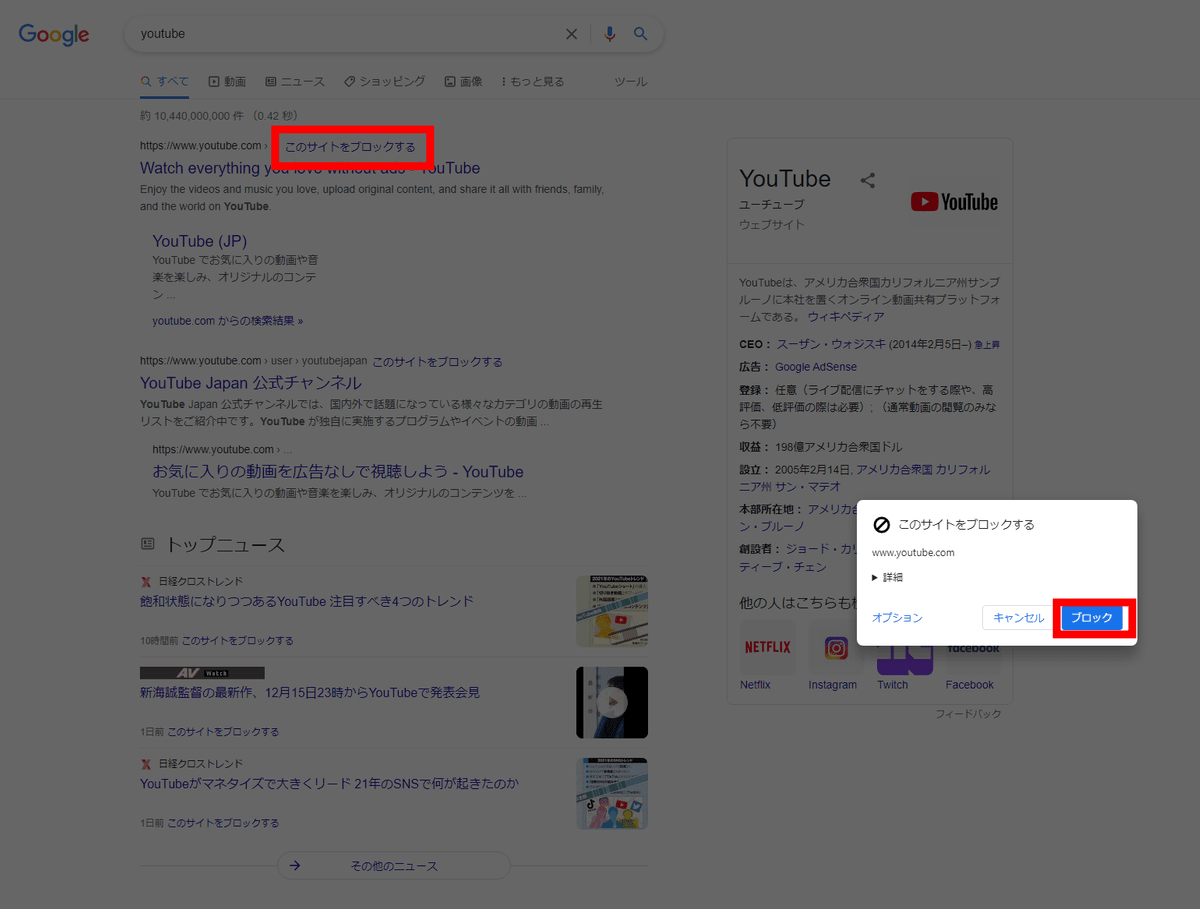
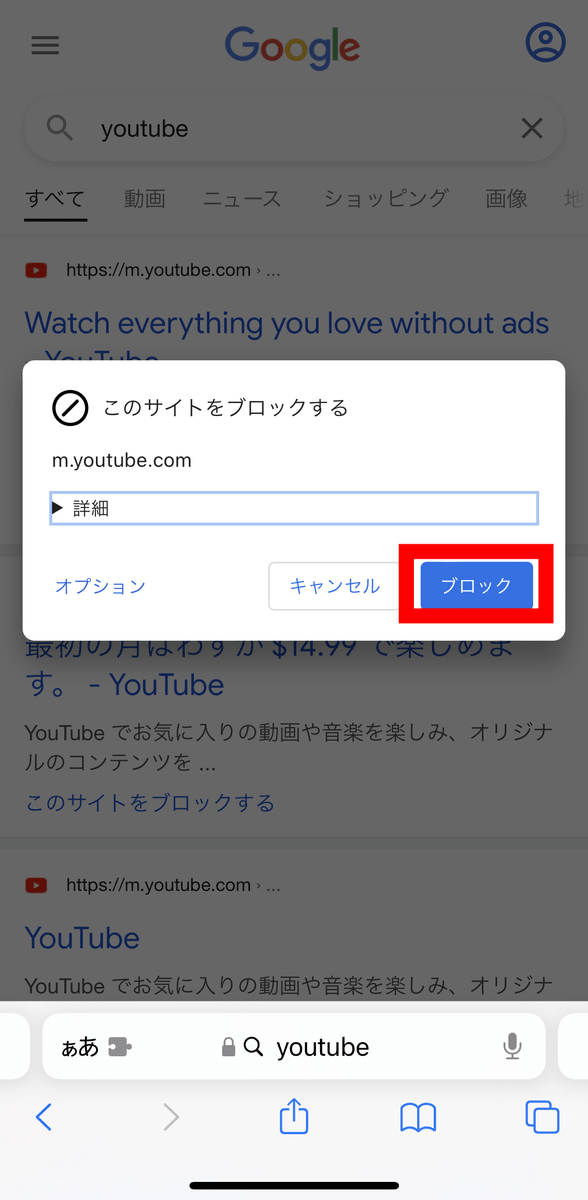
To block a specific site, click 'Block this site' in the search results.

Click 'Block' to complete.
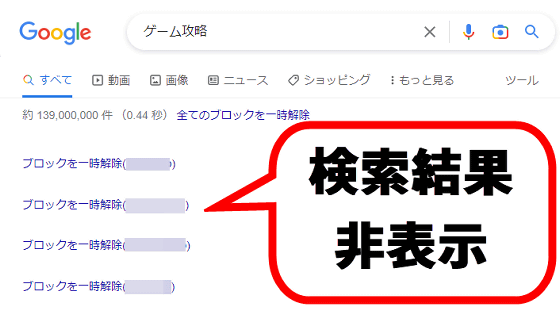
The selected site will no longer appear in the search results and will display 'The site was blocked by uBlacklist' at the top of the page. When you press 'Display' ...
The blocked site will be highlighted and temporarily displayed.
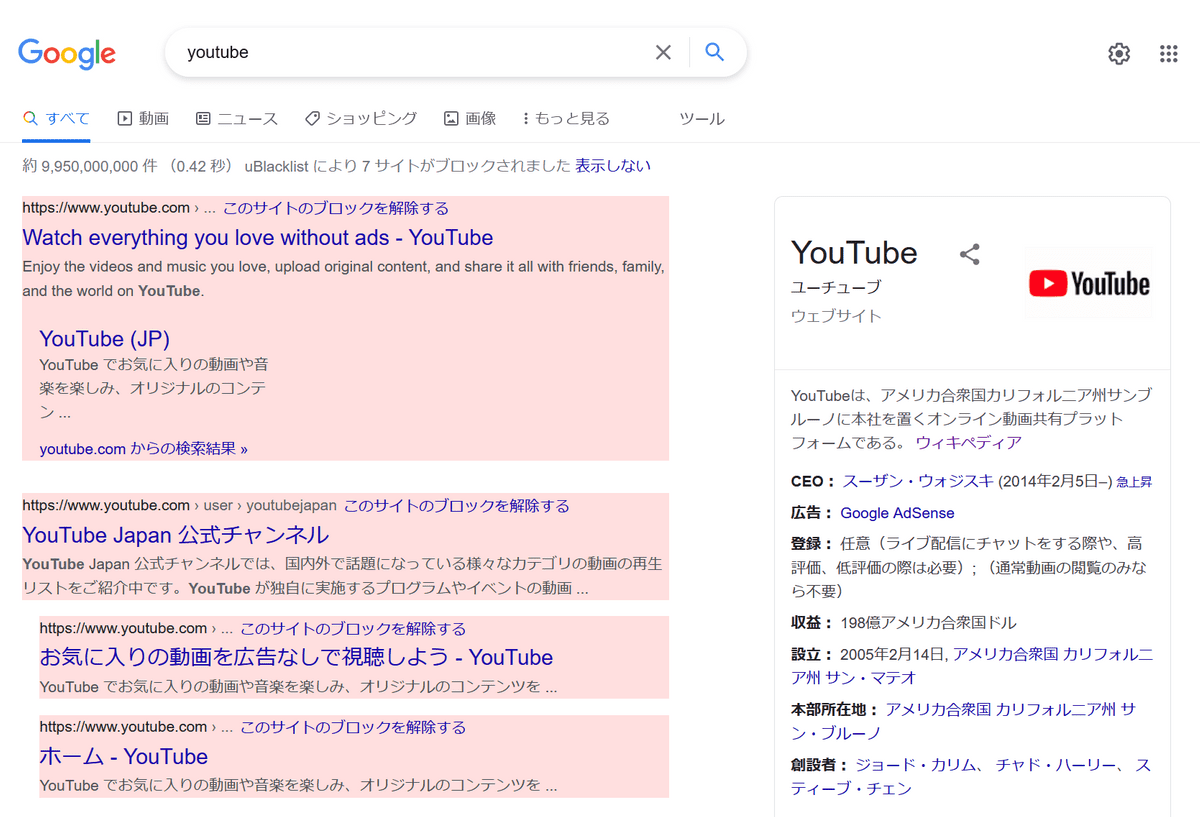
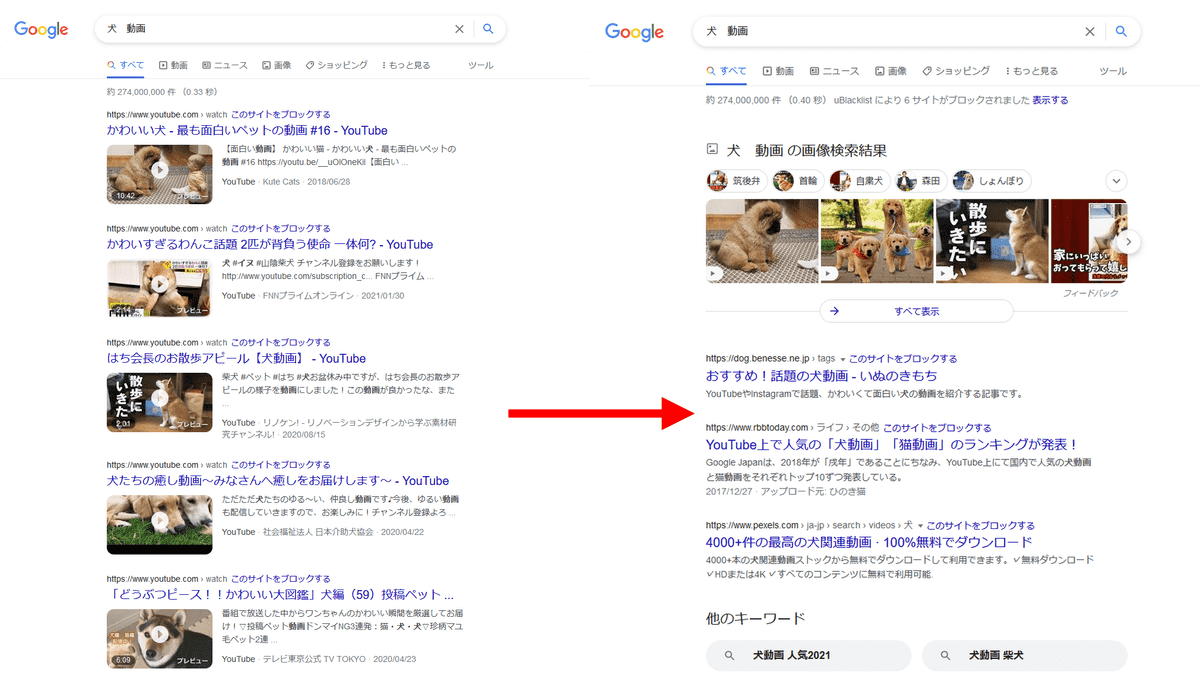
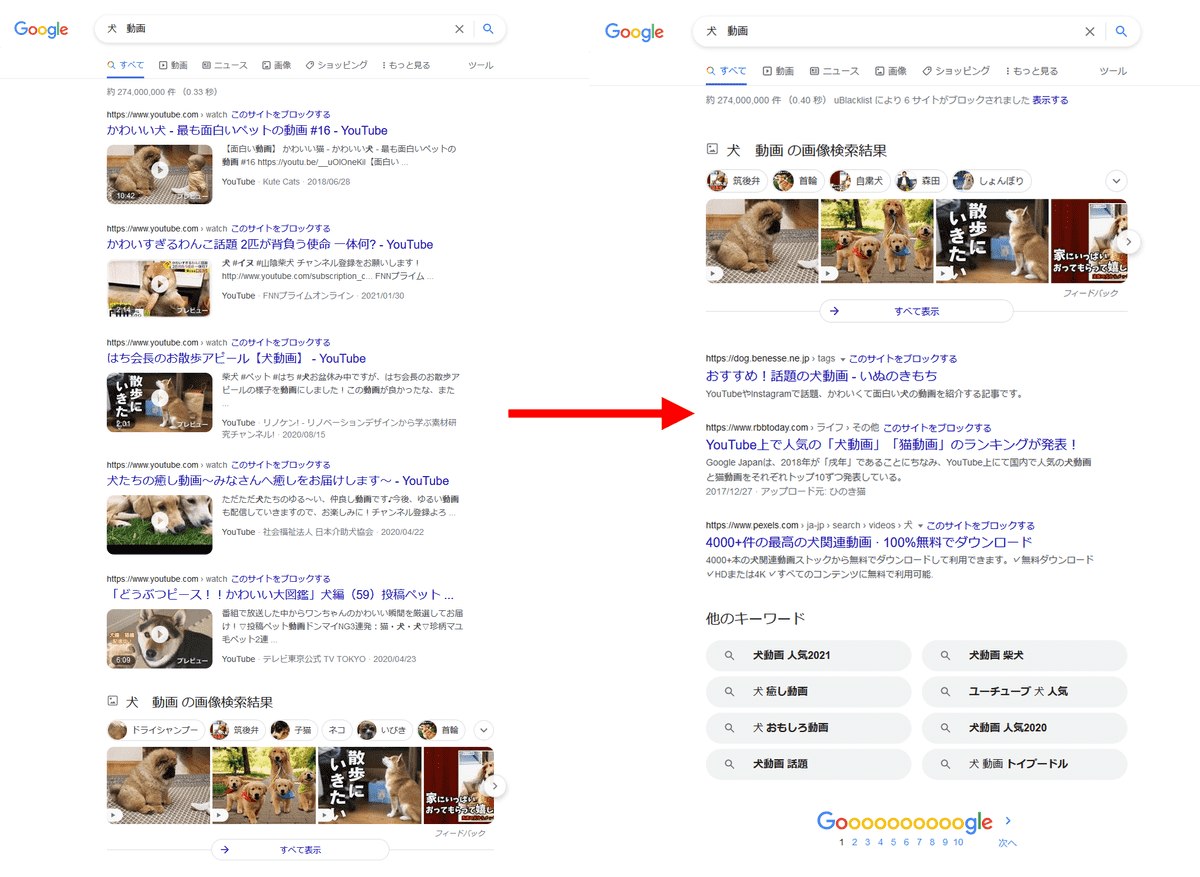
The left is before the block and the right is after the block. You can see that it disappears from the search results.
◆ Chrome
Go to Chrome's uBlacklist
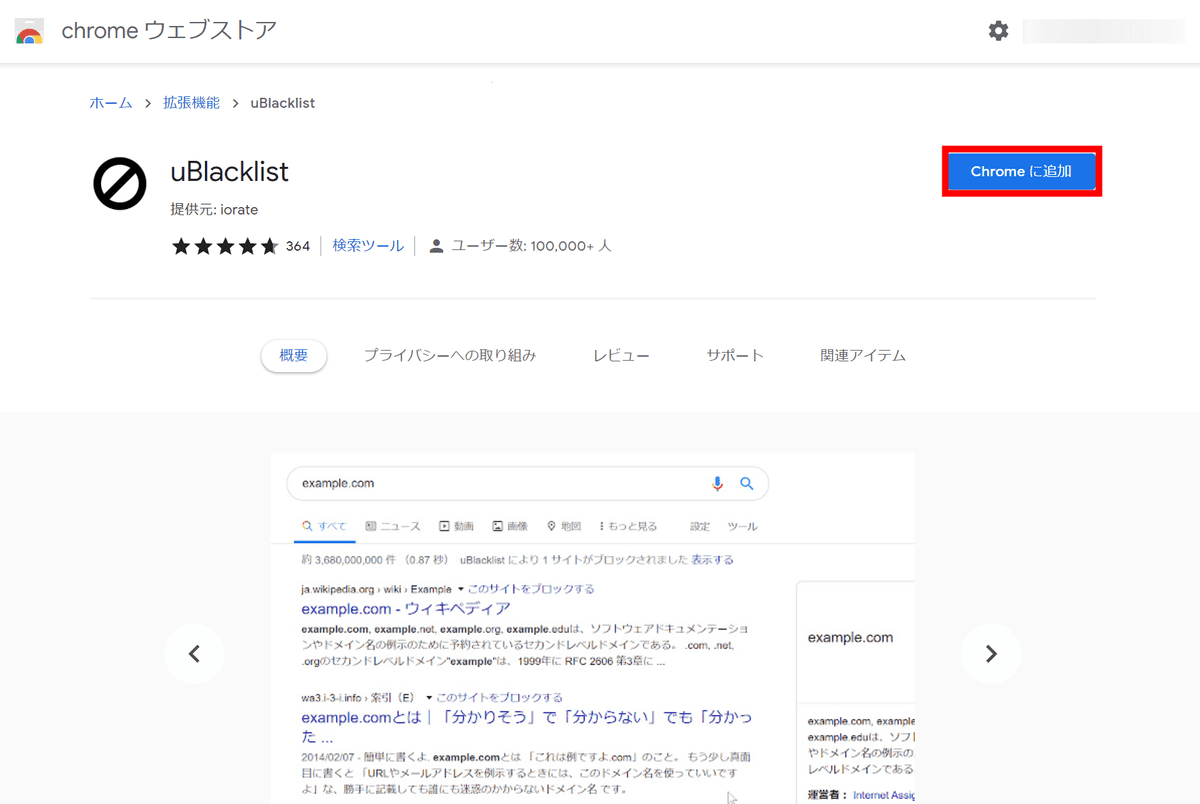
Click 'Add Extension' to complete the installation.
The usage is the same as Firefox. You can exclude it from your search results by clicking 'Block this site' and then 'Block'.
◆ Safari
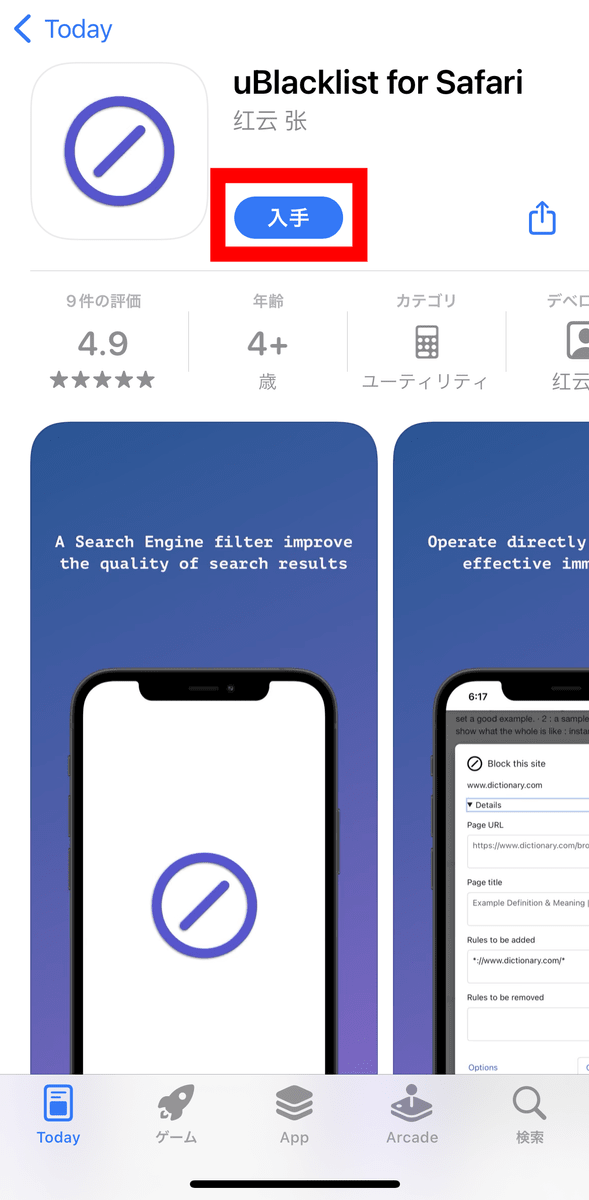
The iOS app is provided by the same developer.
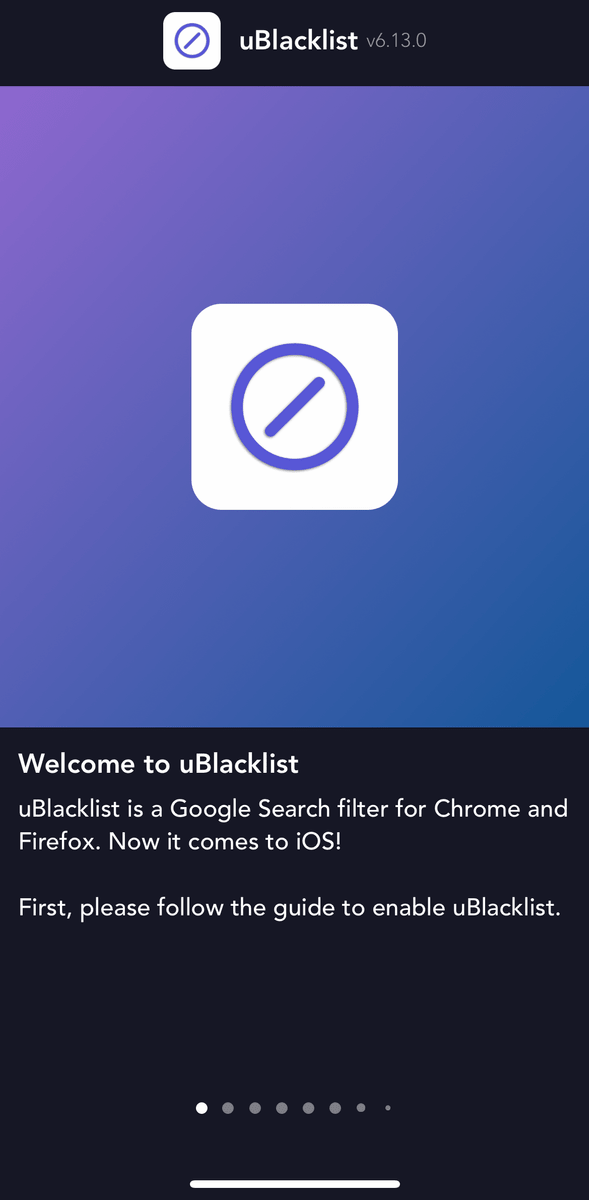
When you open the installed app, the installation procedure will be displayed.
First, open the 'Settings' app on your device and tap 'Safari'.
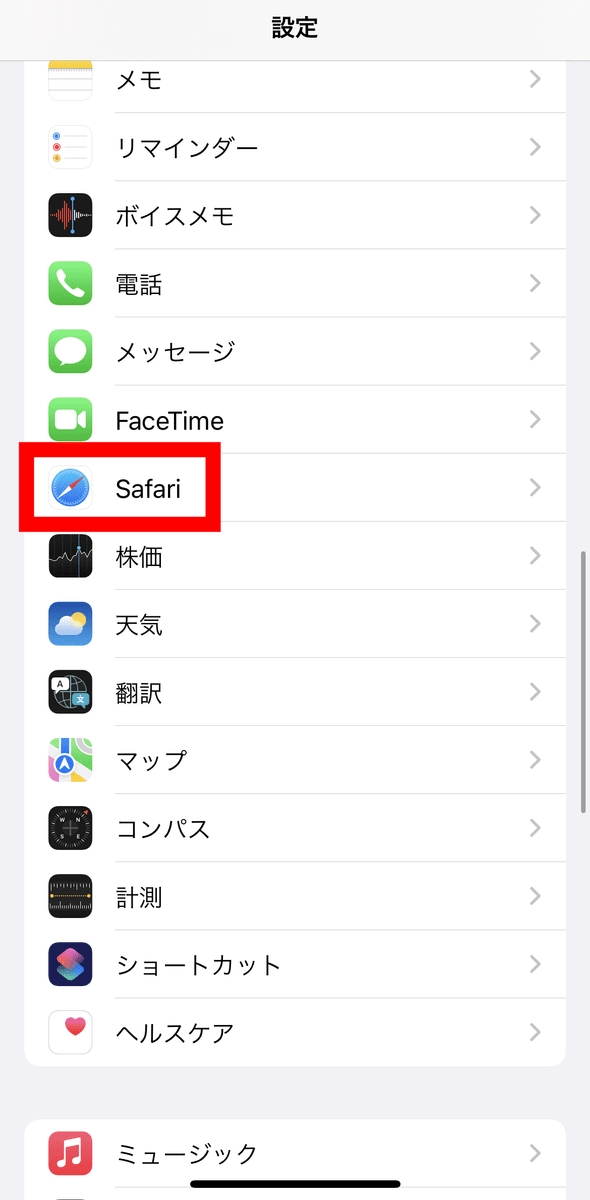
Tap 'Extension'.
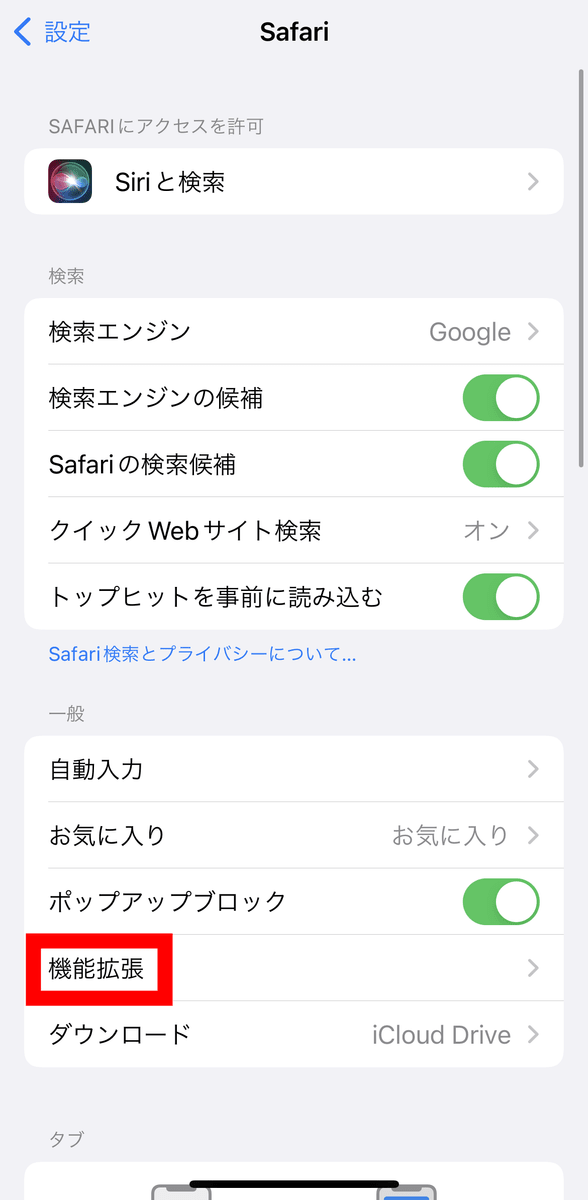
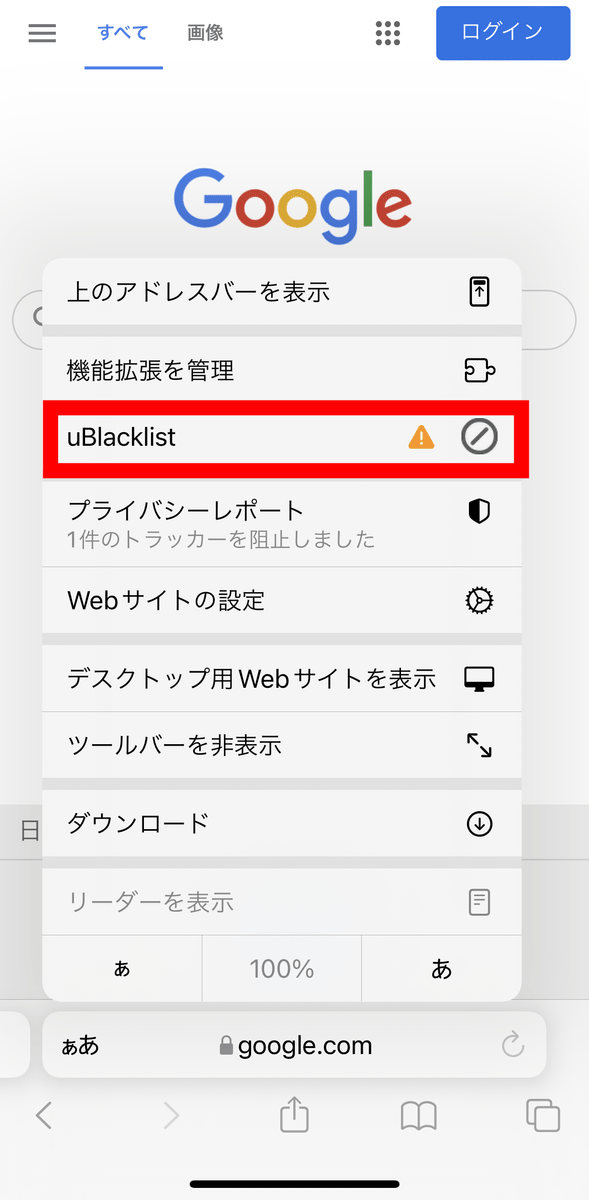
Tap 'uBlacklist'.
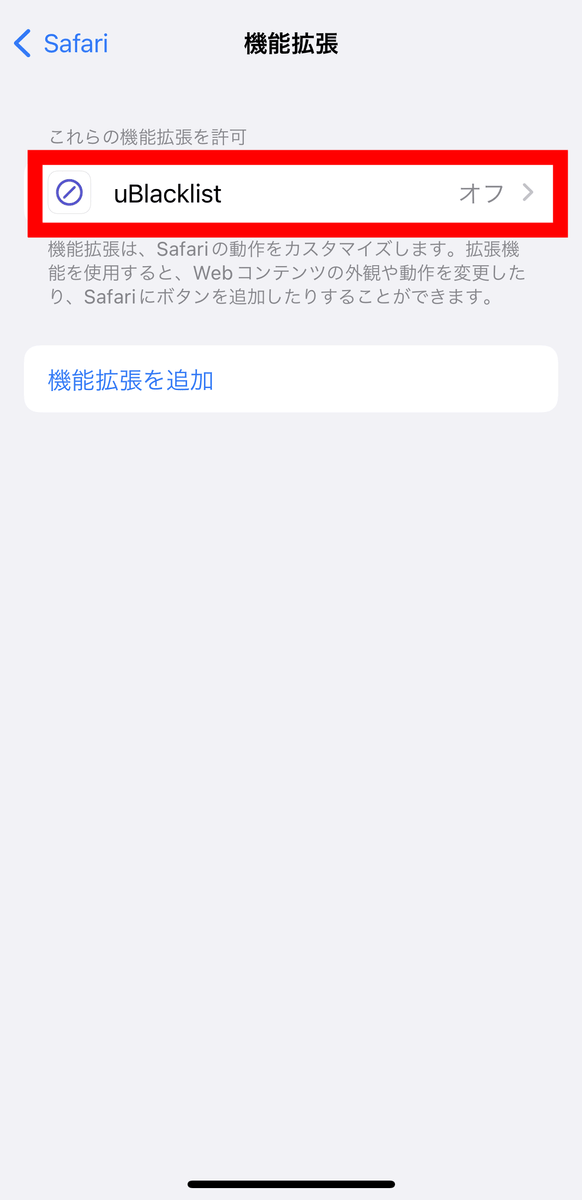
Tap the check box to turn it on.
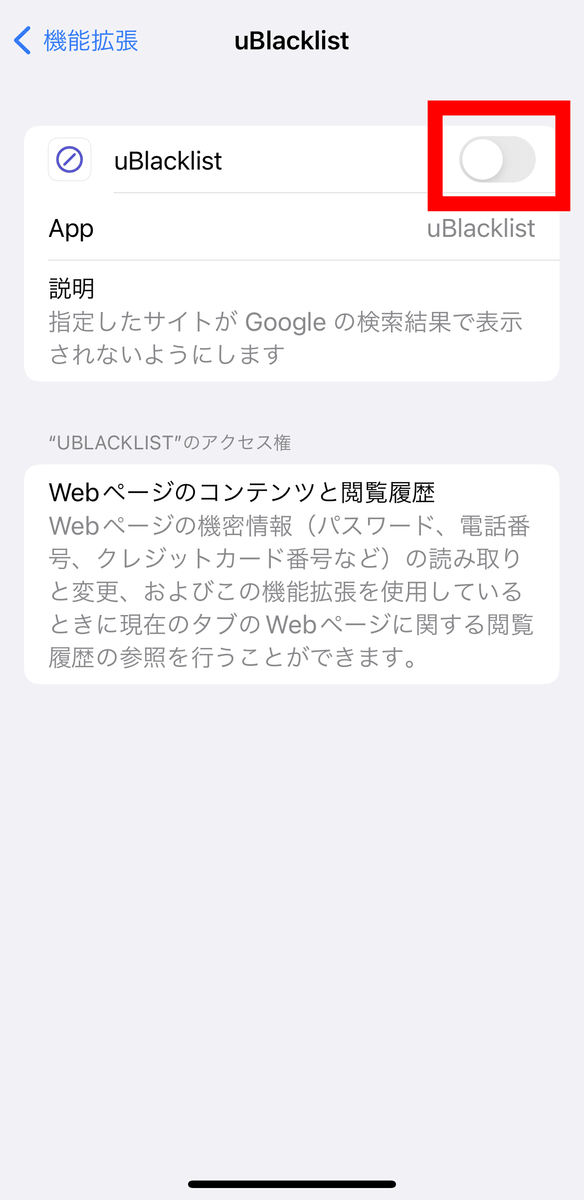

Tap 'uBlacklist'.
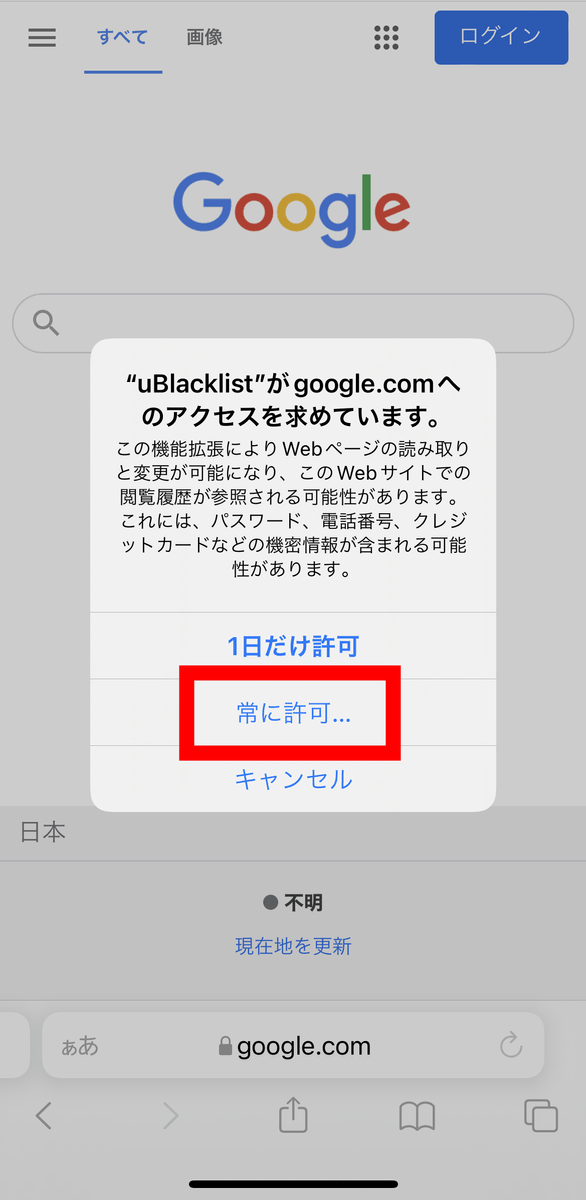
Tap 'Always allow'.
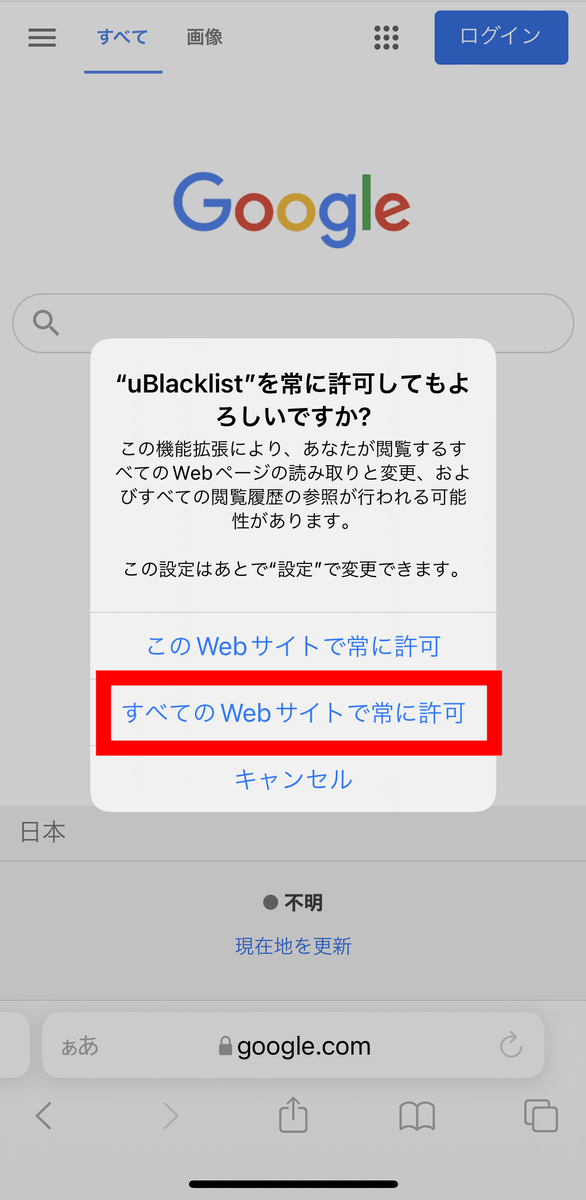
Tap 'Always allow on all websites' to complete the installation.
To block a specific site, tap 'Block this site' displayed in the search results.
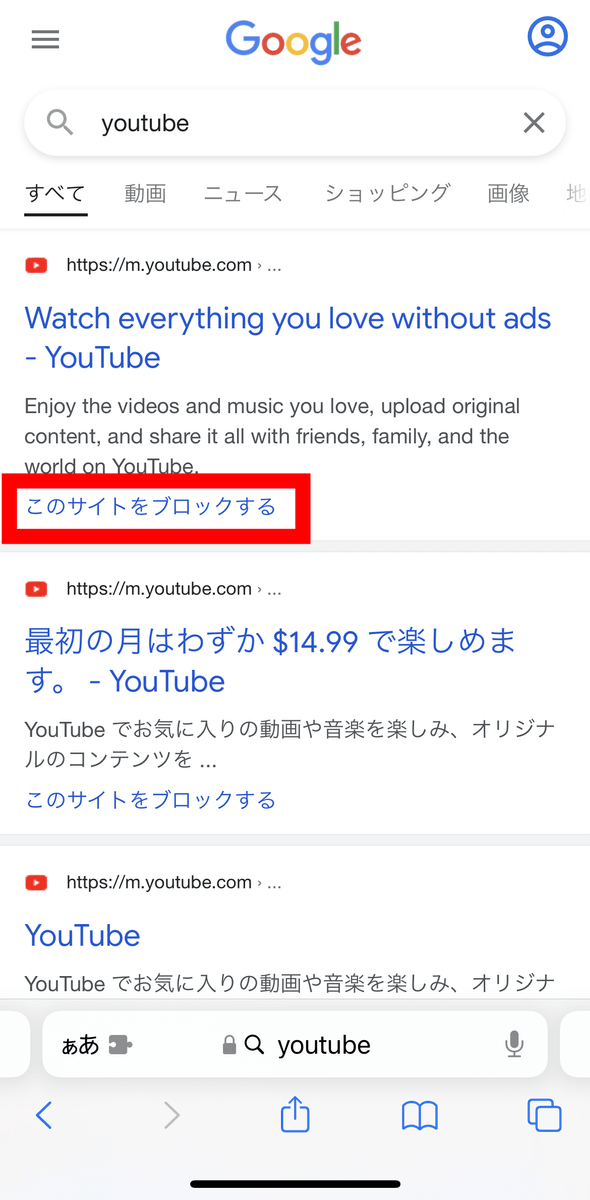
By tapping 'Block', the selected site will not be displayed in the search results.
◆ Other options
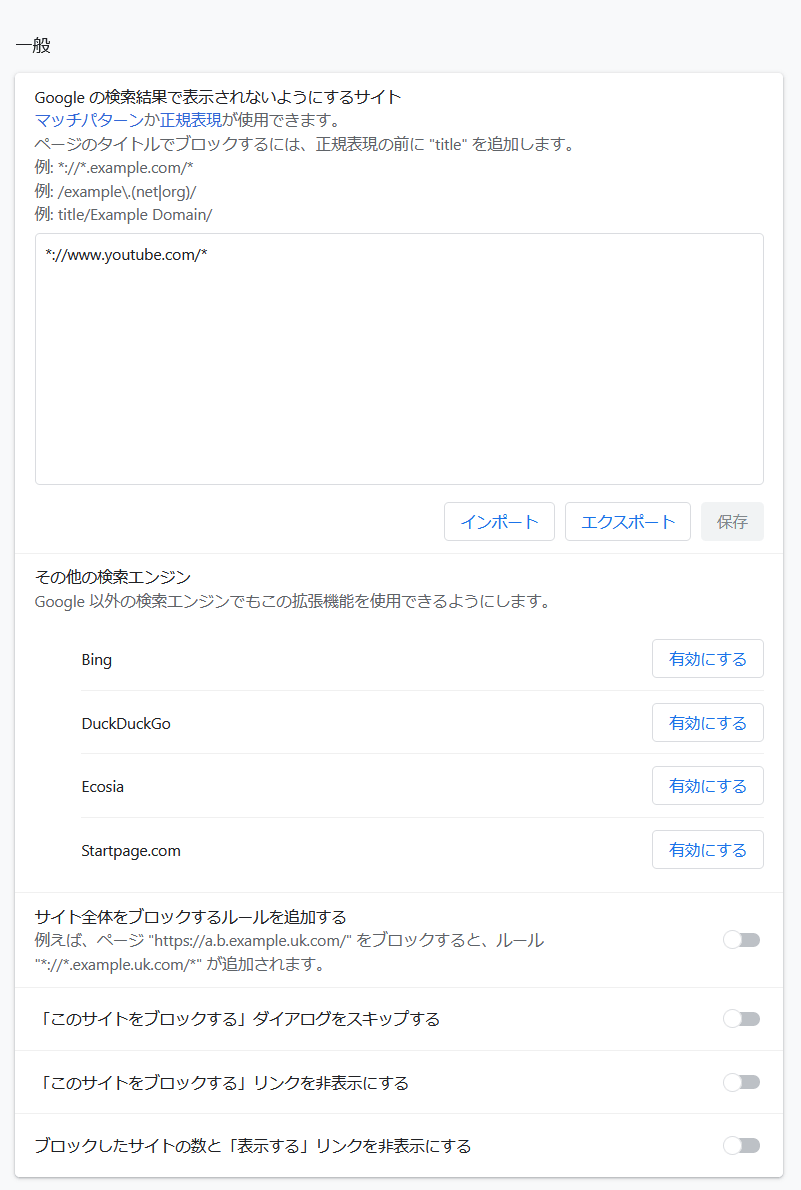
You can manage blocked sites from the option screen. You can also add or delete manually. Match patterns and regular expressions can also be used. You can also import / export in the blacklist text file format. You can also enable the feature on search engines other than Google.
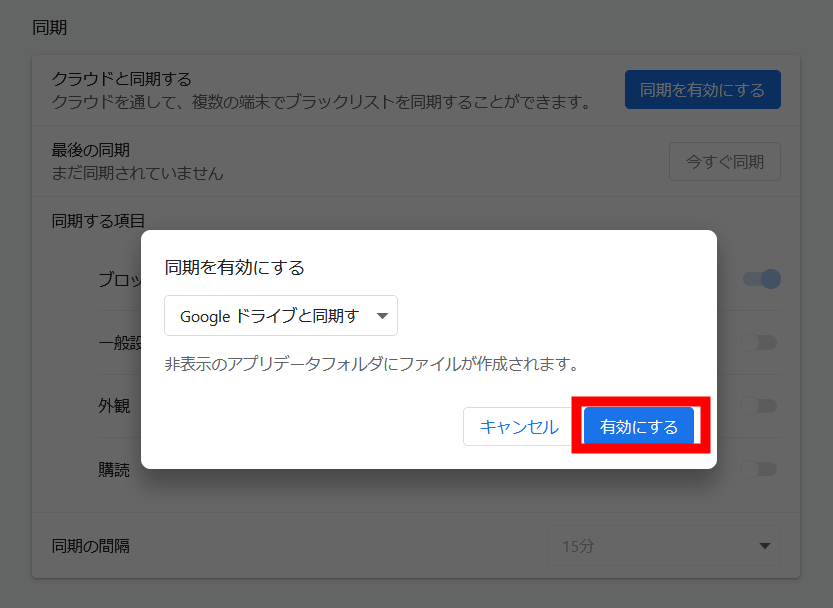
You can also sync your blacklist using Google Drive or Dropbox. First, click 'Enable Sync'.

Click 'Enable'.
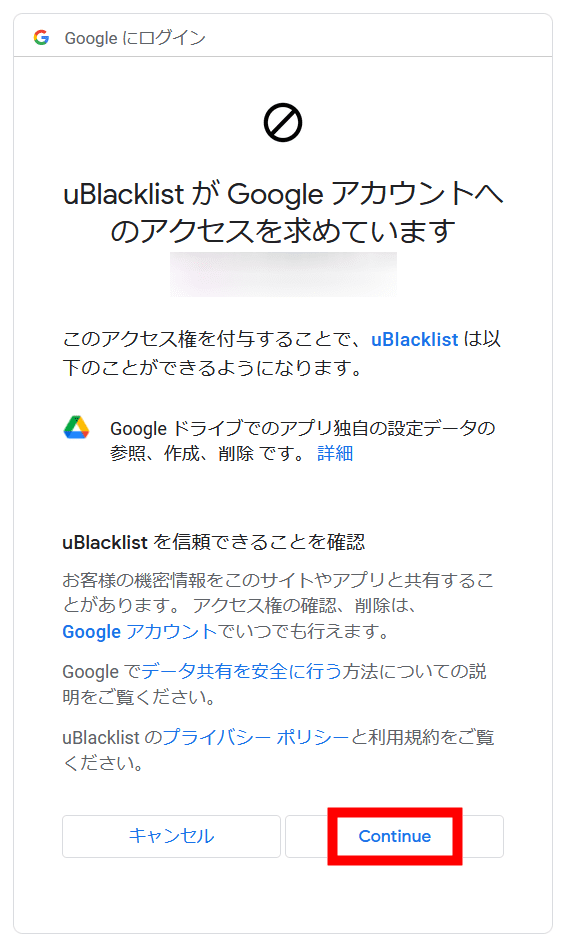
Click 'Allow'.

Click 'Continue' to complete the synchronization settings.
It is also possible to introduce a blacklist created by others.
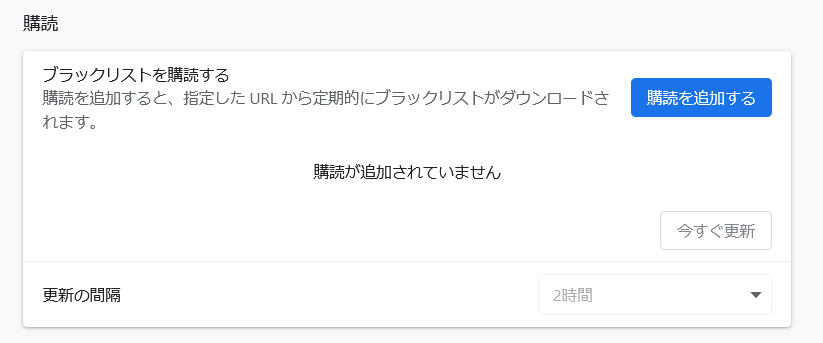
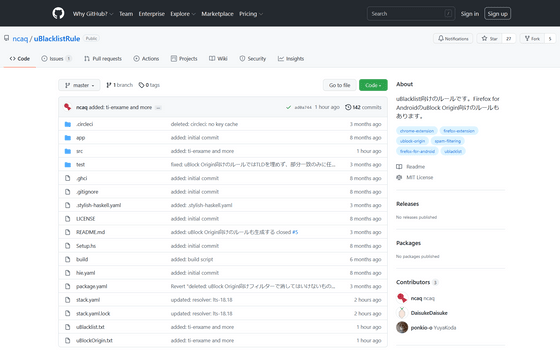
This time, I used the one created by
Click 'Add Subscription', decide on a name, enter the URL of the
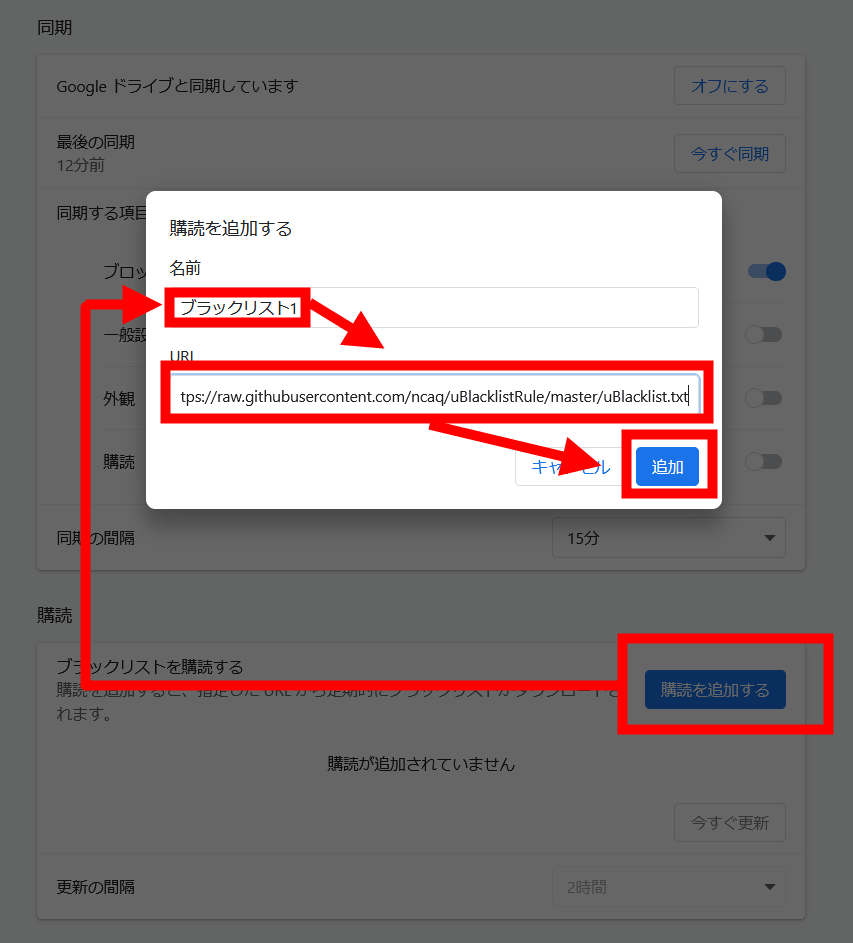
The contents of the blacklist look like this. Mr. ncaq's blacklist includes technical spam sites and copy / paste sites.

Related Posts:


in Review, Mobile, Web Service, Posted by log1p_kr