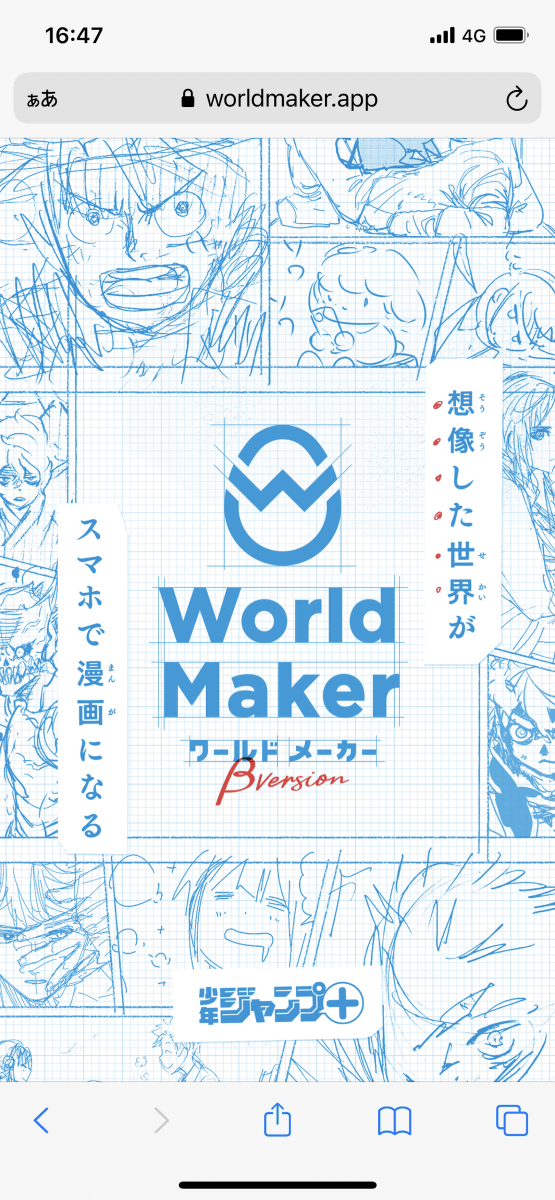
I tried using the web application 'World Maker' that can create a draft of a manga quickly even with zero picture mind published by Jump +
From Shonen Jump +, the beta version of the web application 'World Maker ' that allows you to create drafts (names) of manga has been released for free. With World Maker, even people who have no imagination can create names by combining characters and backgrounds, so I actually used it to check the function.
World Maker β | The imaginary world becomes a cartoon name by Jump +
◆ New user registration
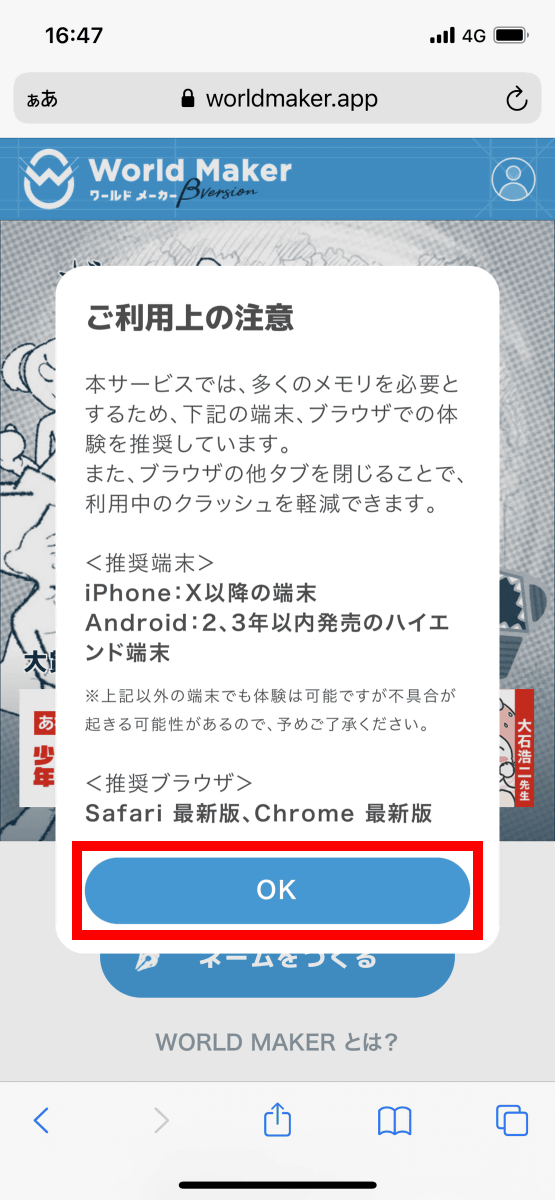
World Maker is a smartphone-only web application, so access the top page on your smartphone.
When you access the top page, a note saying 'It requires a lot of memory, so we recommend using it on smartphones released within 2 to 3 years' is displayed, so tap 'OK'. Tap 'OK'. In fact, with the iPhone 8 released in 2017, an error occurred on the way.
Then tap 'Create a name'.

Then you will be asked to log in on Twitter or register. This is my first time to use it, so tap 'New user registration'.
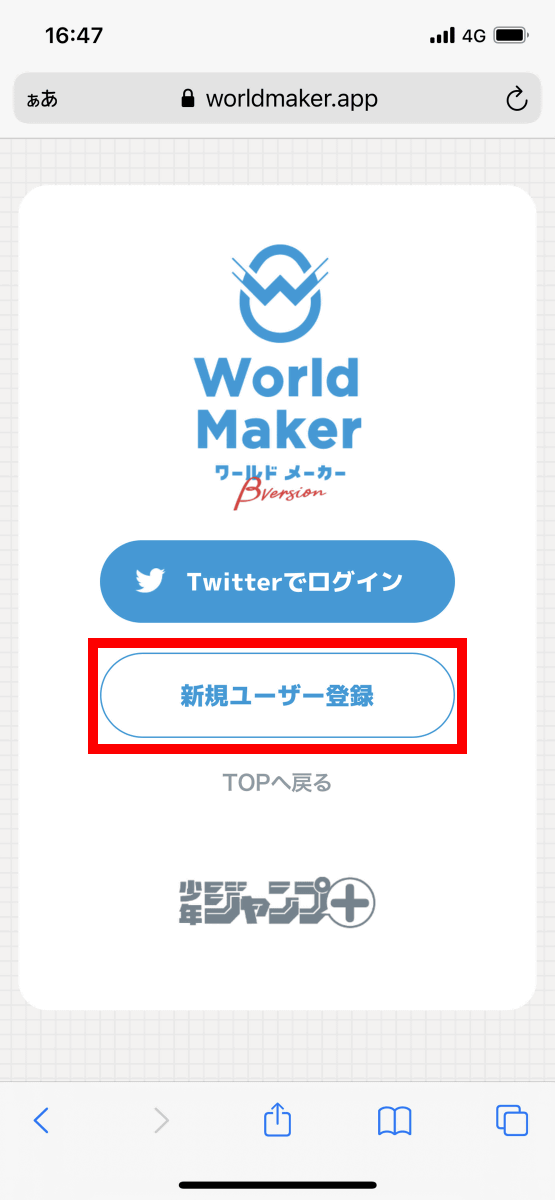
After reading the Terms of Service and Privacy Policy carefully, check the checkbox and tap 'Register on Twitter'.

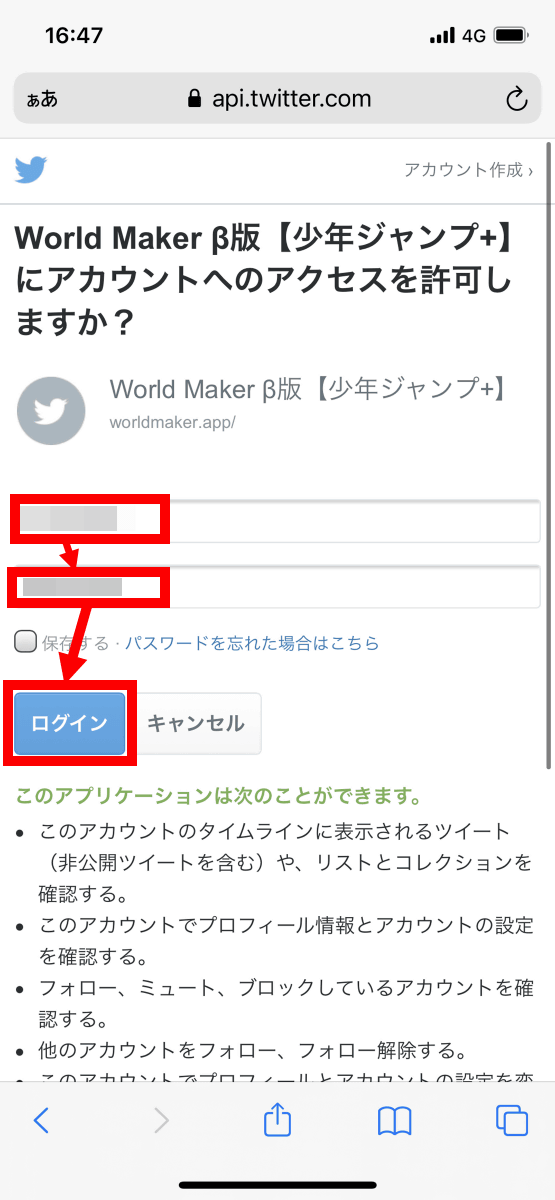
When the Twitter login screen is displayed, enter your user name and password and tap 'Login'. This completes new user registration.
◆ Create a name
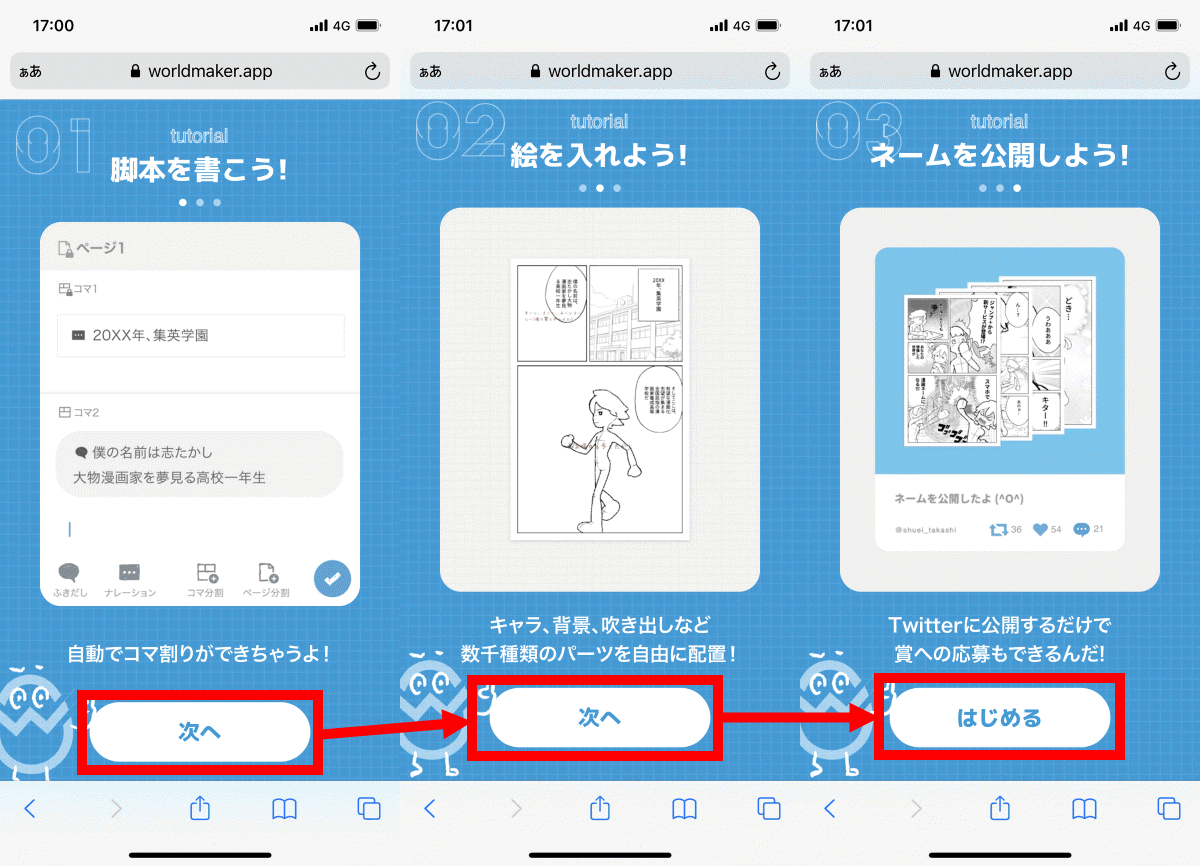
When new user registration is completed, how to use World Maker will be displayed. Tap 'Next' to continue reading, and then tap 'Start'.
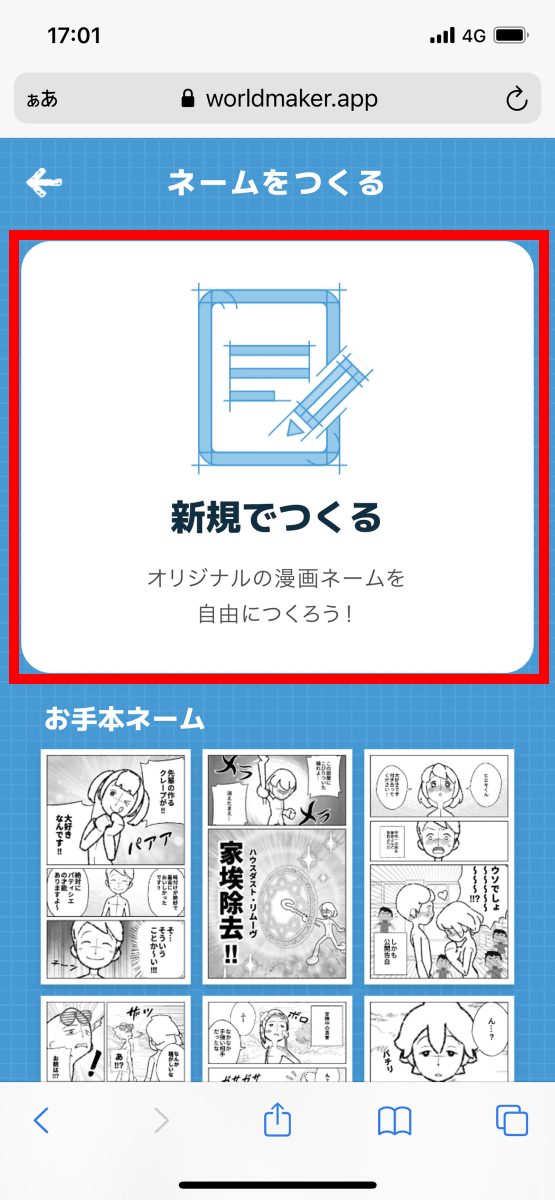
Tap 'Create new' to create a name.
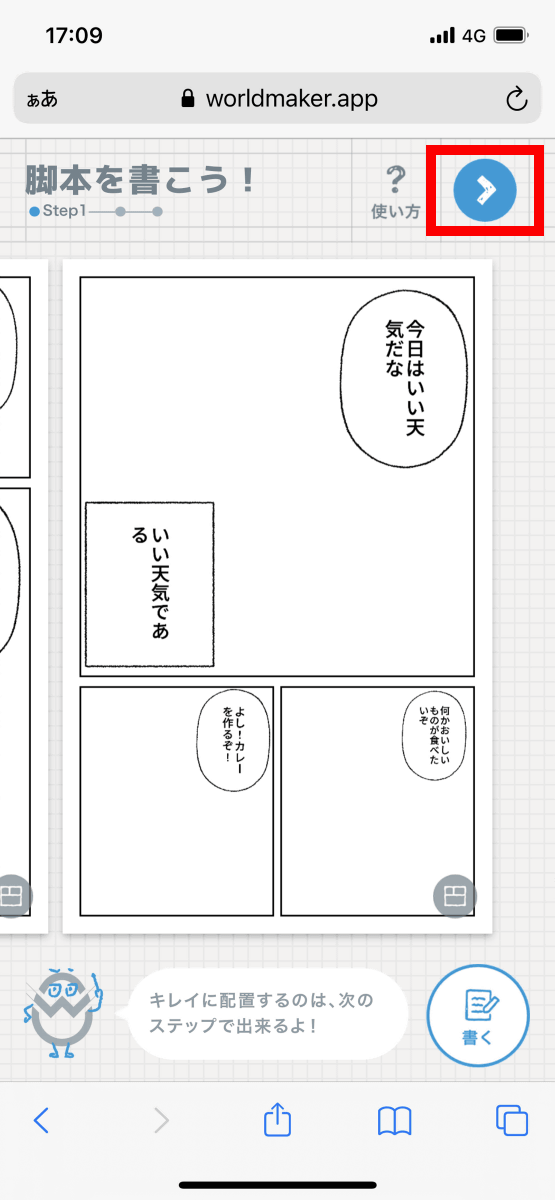
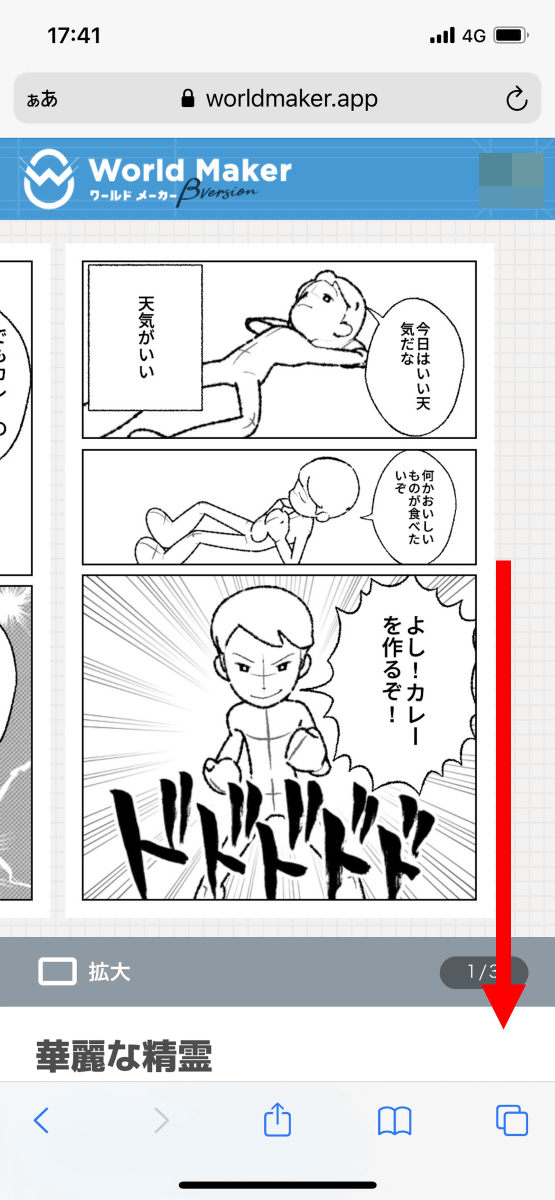
In World Maker, names are created in the order of 'Enter lines and narration to create a script' and 'Add characters and sound effects'. When you open the name creation screen, the script creation screen is displayed first, so enter the lines and narration. Then, you can check the script being created by tapping the check mark at the bottom right of the screen.
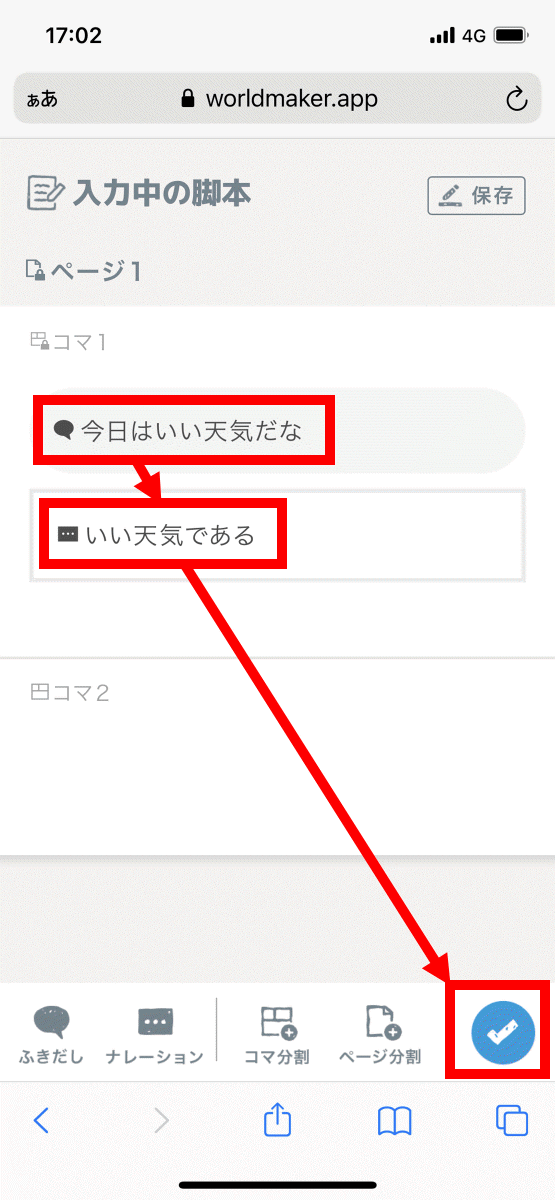
If you check the script you are writing, you will see the lines and narration. If you want to change the frame division, tap the icon in the red frame ...
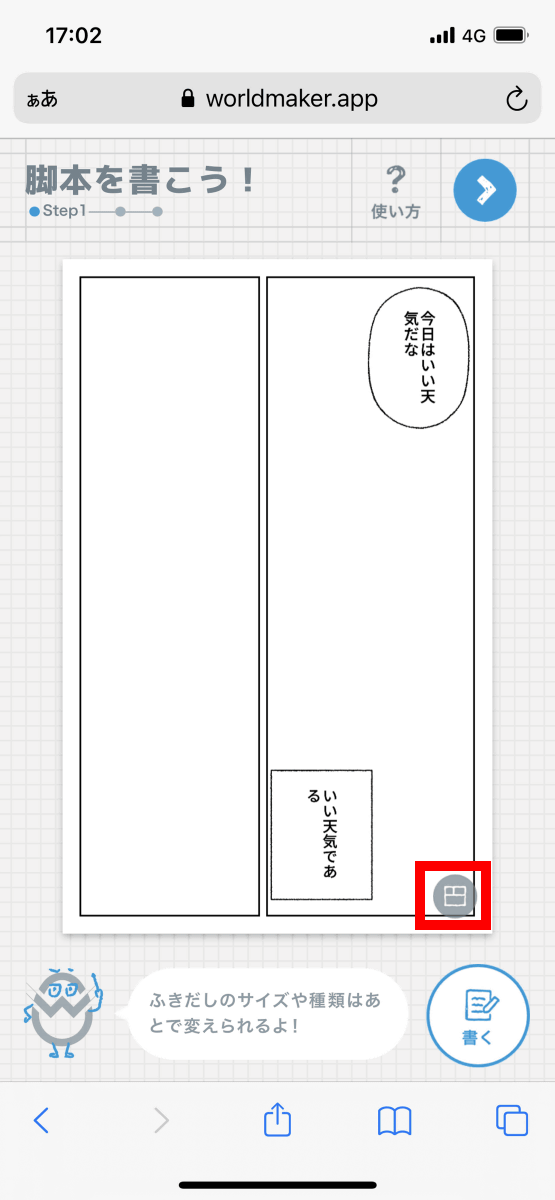
A list of frame divisions is displayed, and you can select your favorite frame division.
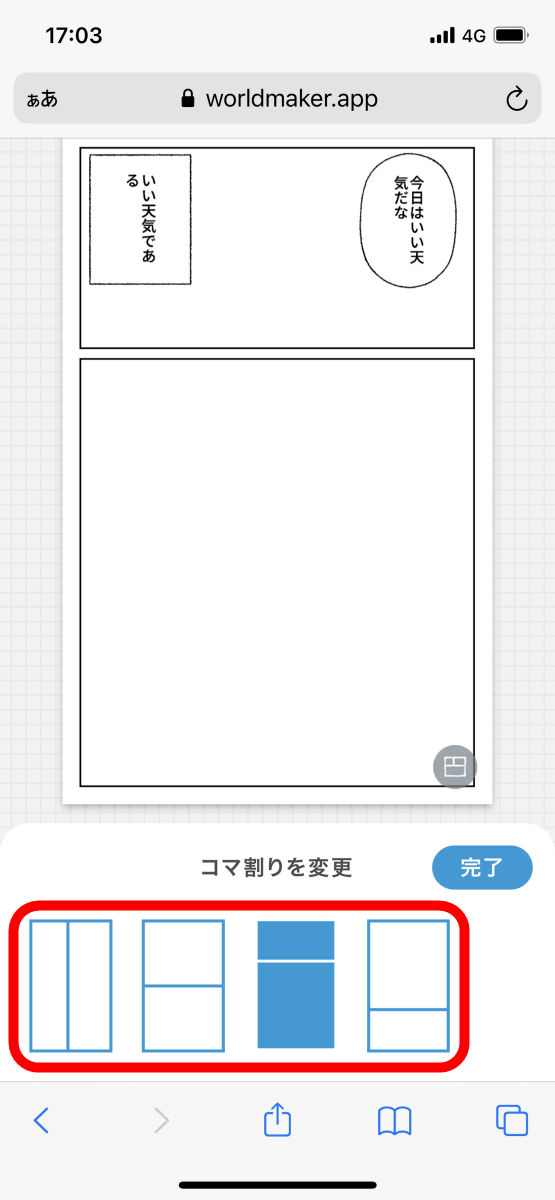
Tap 'Write' at the bottom right of the screen to add frames and pages and continue writing the script.
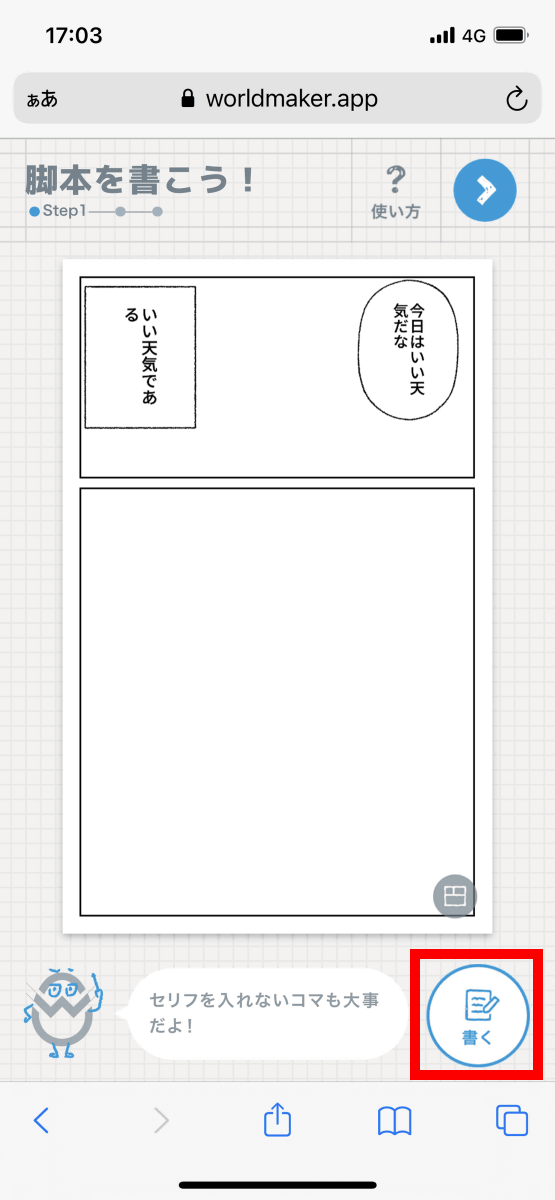
Then, the screen for entering lines and narration will be displayed again. While going back and forth between this screen and the frame division confirmation screen, tap 'Frame division' to create a new frame, or tap 'Page division' to add a new page to complete the script.
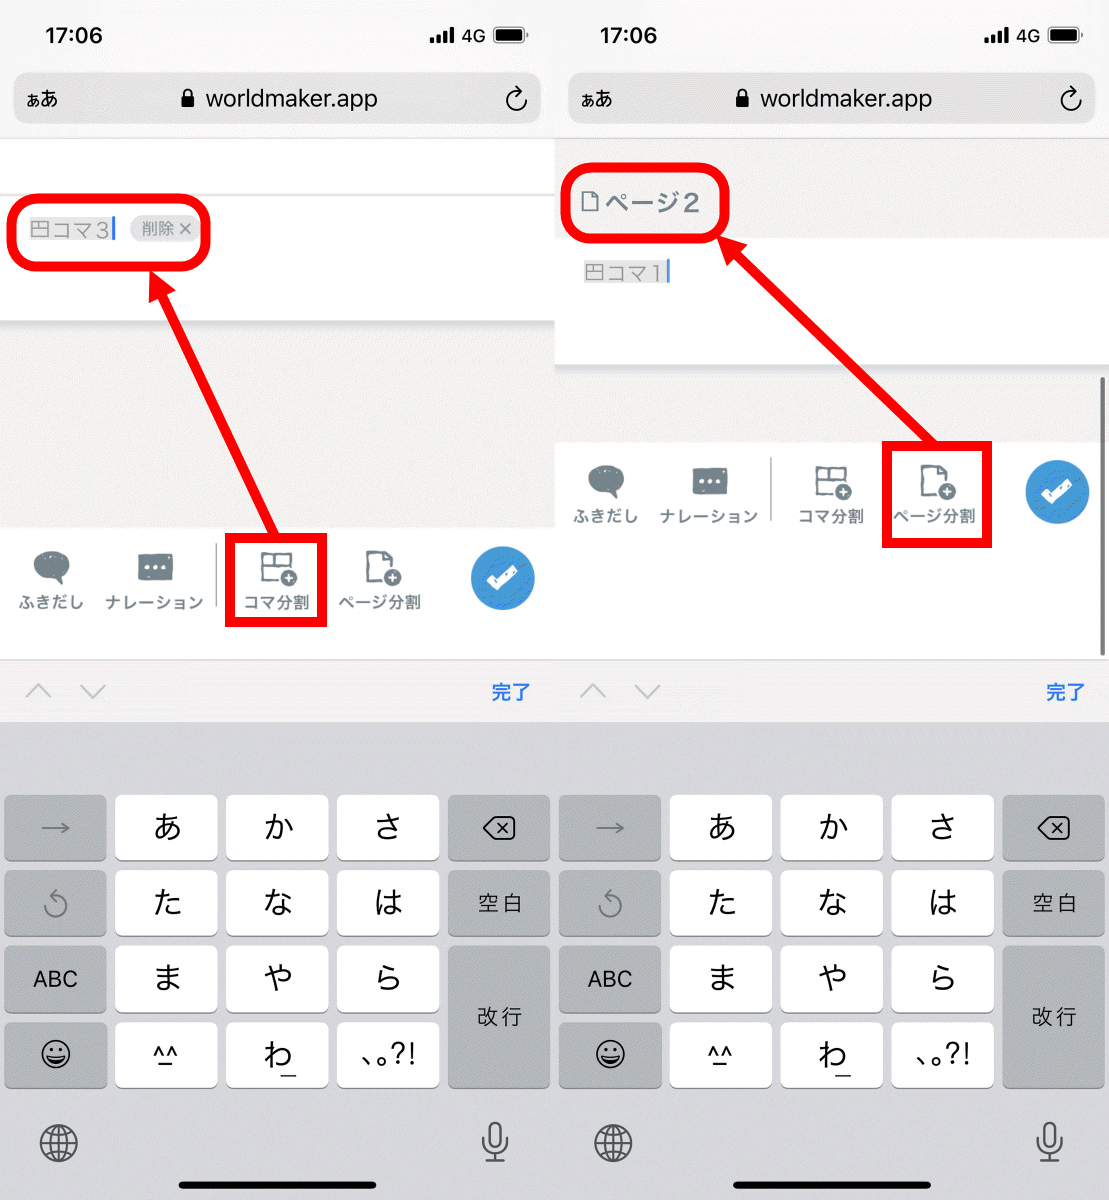
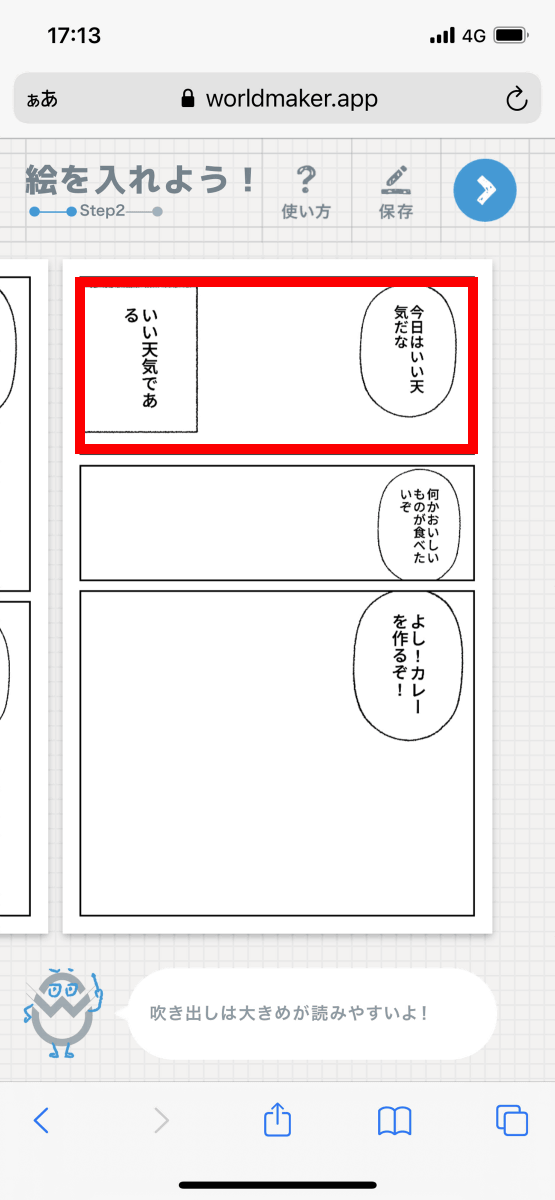
When the script is completed, tap the icon located at the upper right of the frame division confirmation screen to move to the screen where you can add characters, concentrated lines, etc.
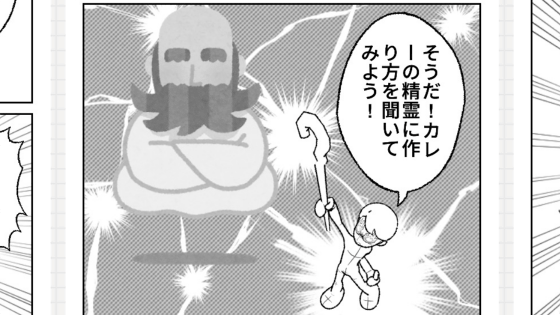
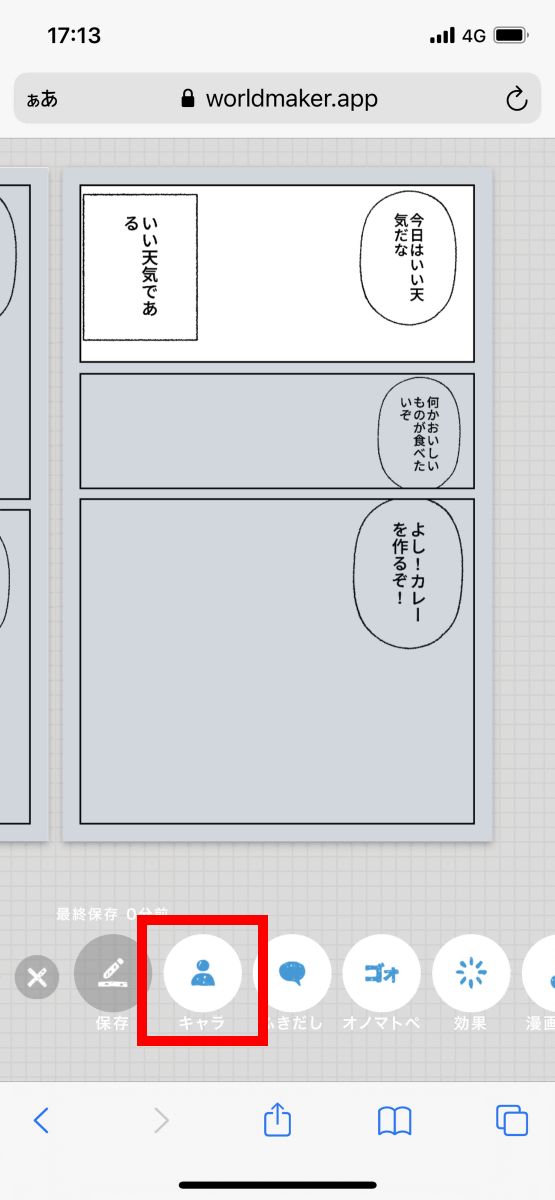
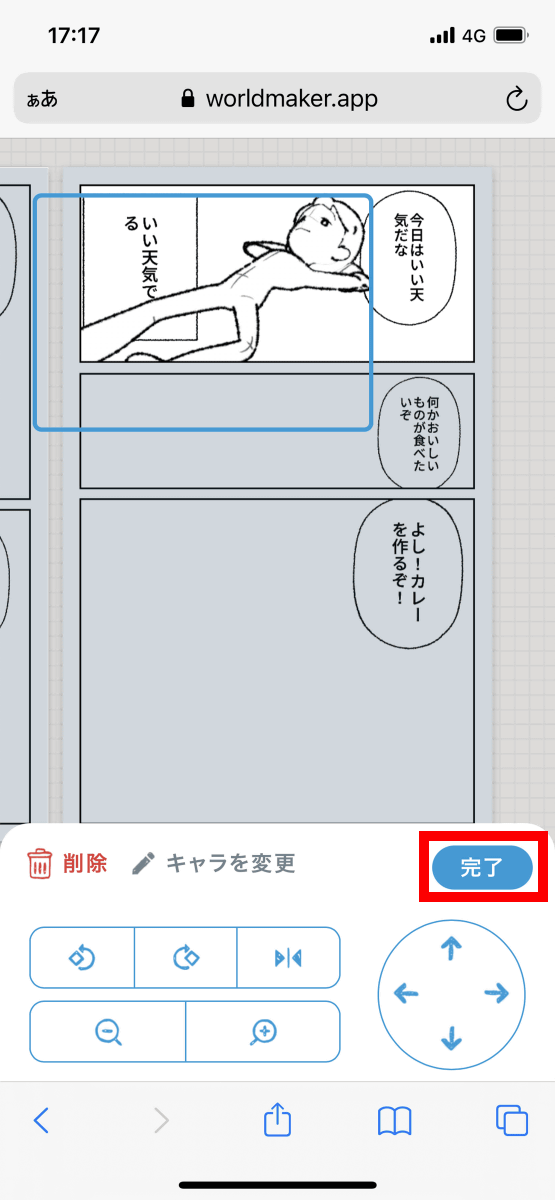
On this screen, you can add characters, concentrated lines, sound effects, etc. to each frame. First, tap the first frame to add a character to the first frame.
Next, tap 'Character' at the bottom of the screen ...
Select the character, pose, facial expression, and angle you want to add and tap 'Done'.

Finally, adjust the angle, size, and position with the controller at the bottom of the screen and tap 'Done' to add the character to the frame. Many character poses such as 'standing', 'joy', and 'sitting with legs crossed' are prepared, and many facial expressions such as 'crisp', 'gentle', and 'true face' are prepared, so many situations can be reproduced.
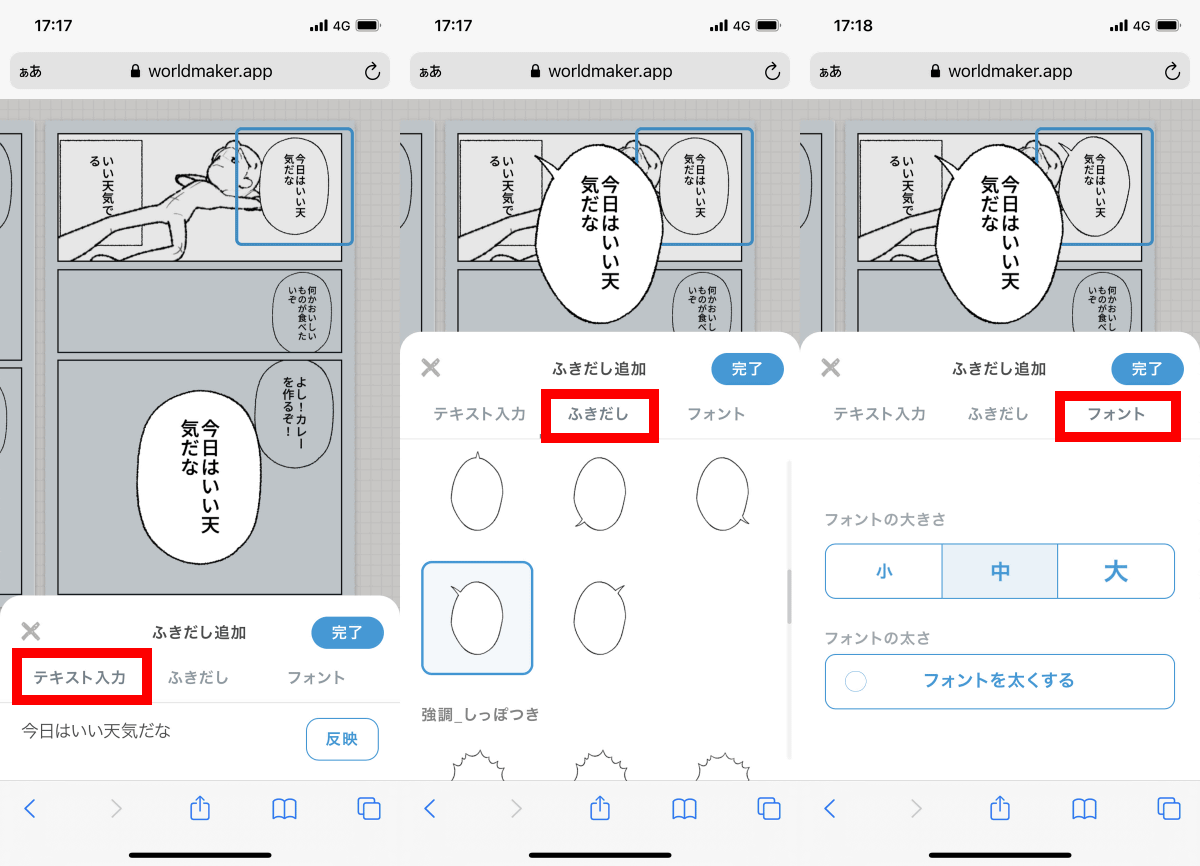
Next, in order to change the shape of the balloon, tap the balloon and then tap 'Change balloon' to open the balloon editing screen.
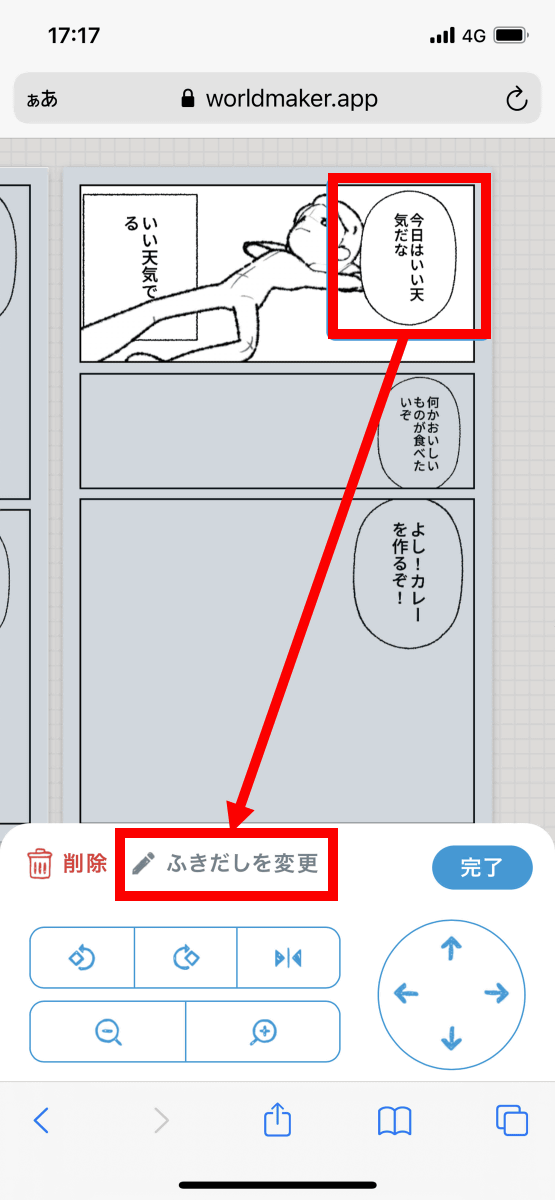
On the balloon edit screen, you can edit the contents, change the shape, and change the font size.
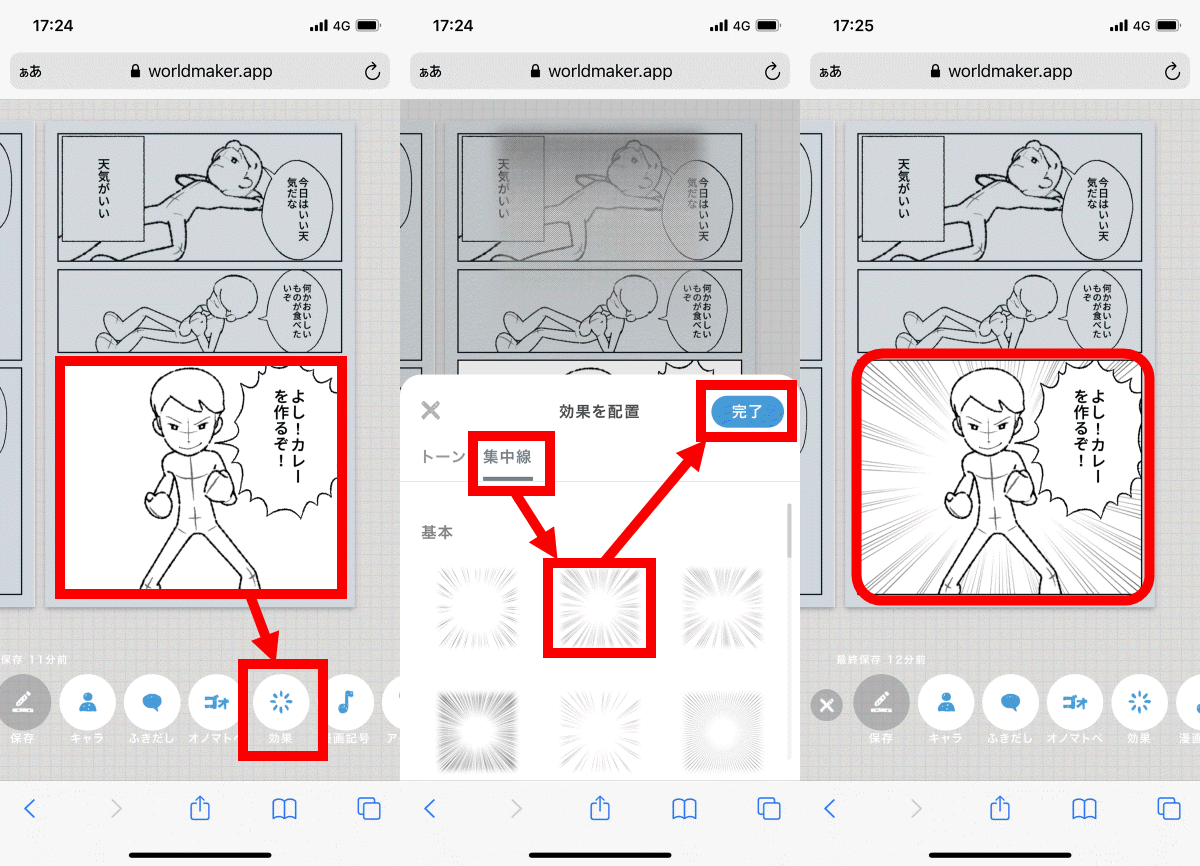
In addition to adding characters and changing balloons, you can also select and add tones from 'Effects' ...
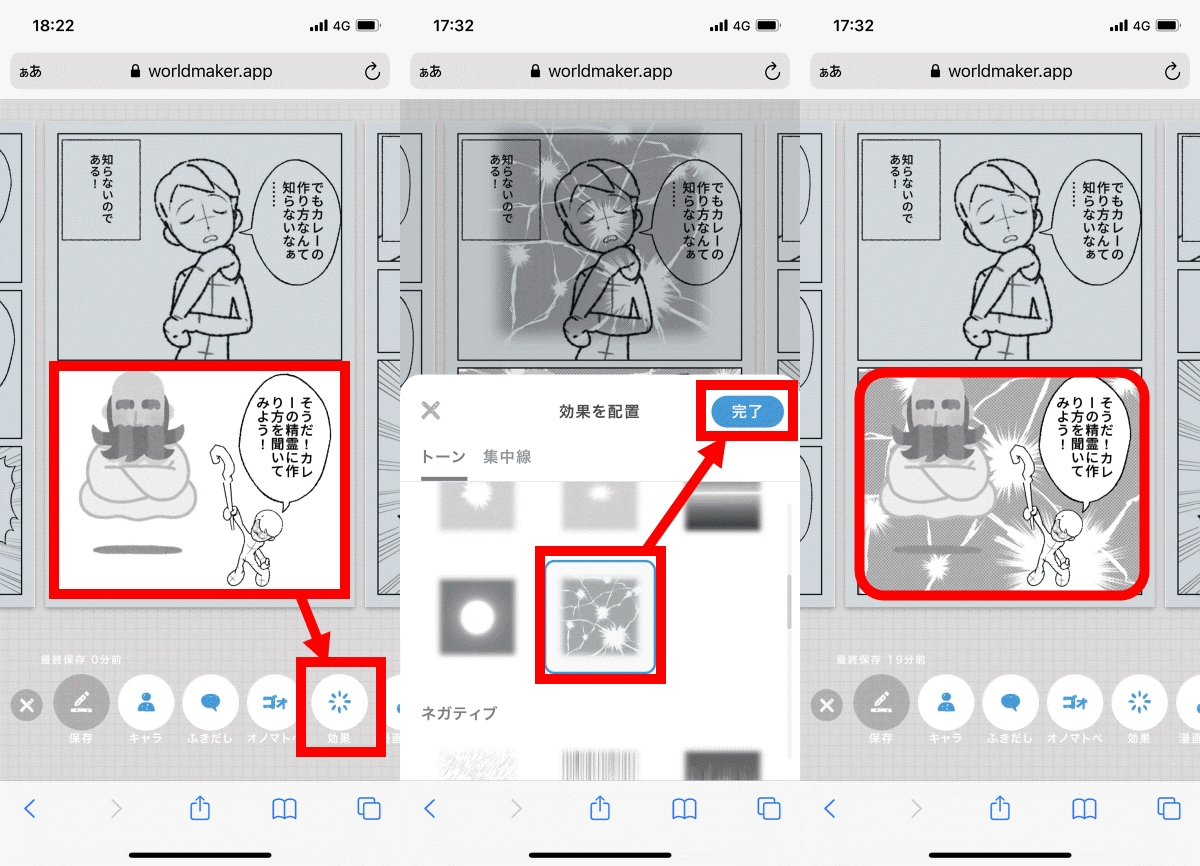
Add a concentrated line ...
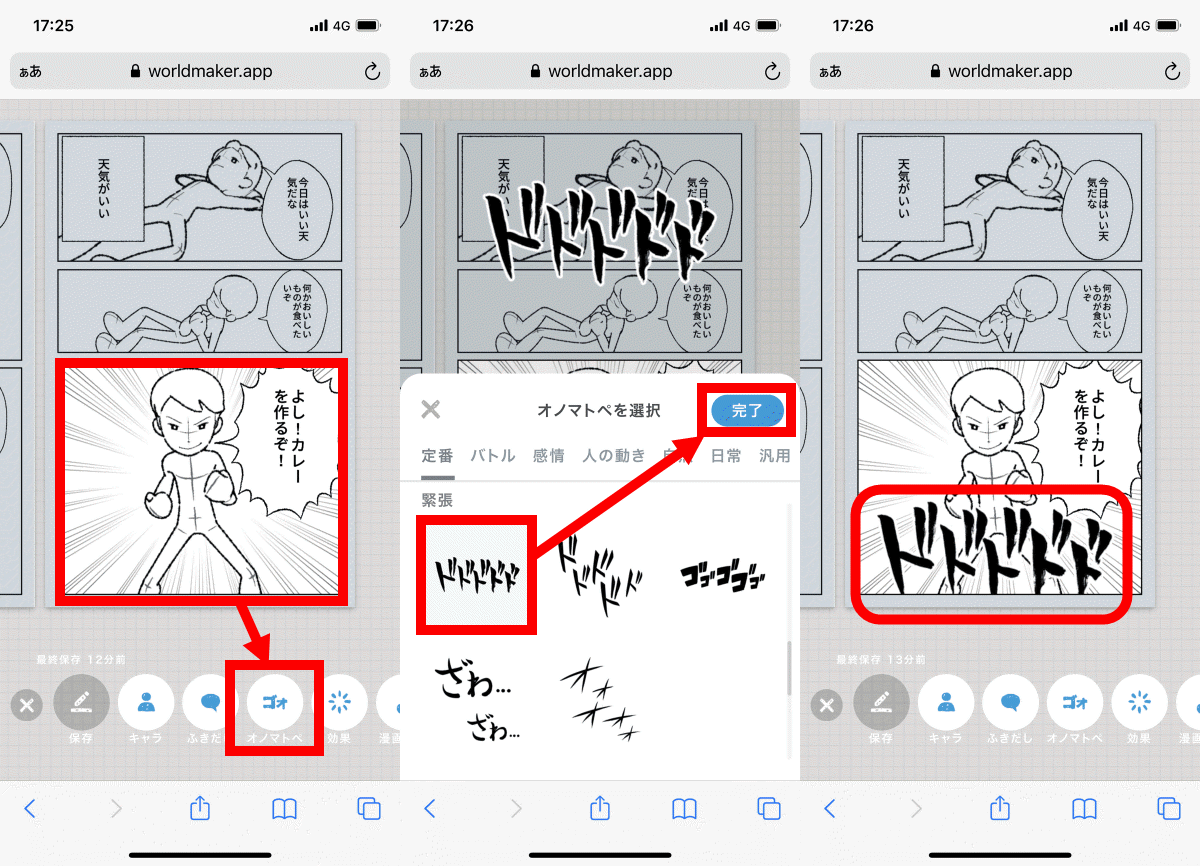
You can add sound effects.
After adding characters and sound effects and completing the name, tap the red frame mark at the top right of the screen.

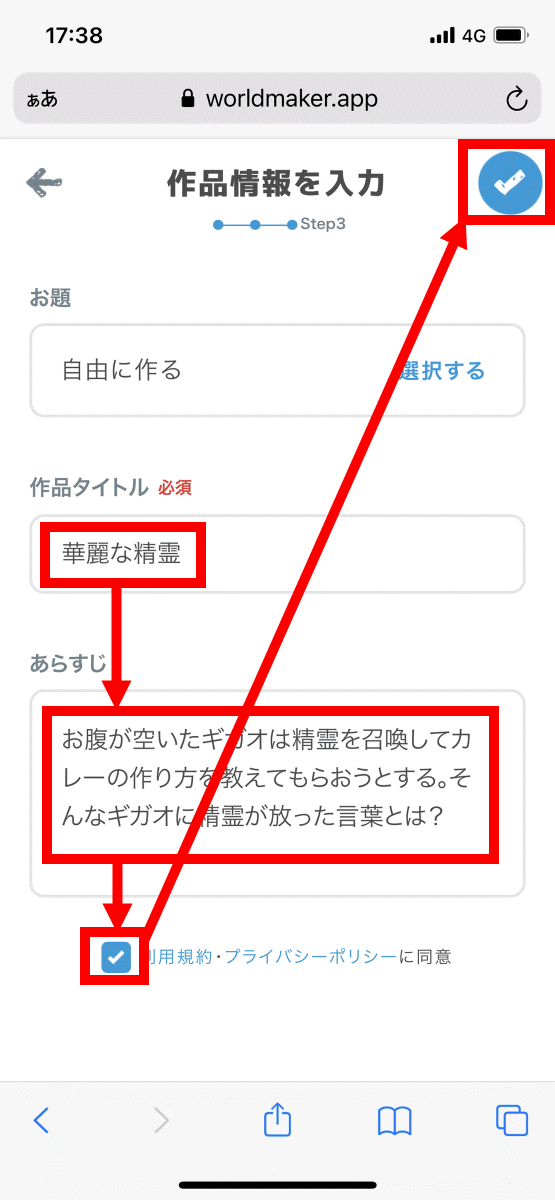
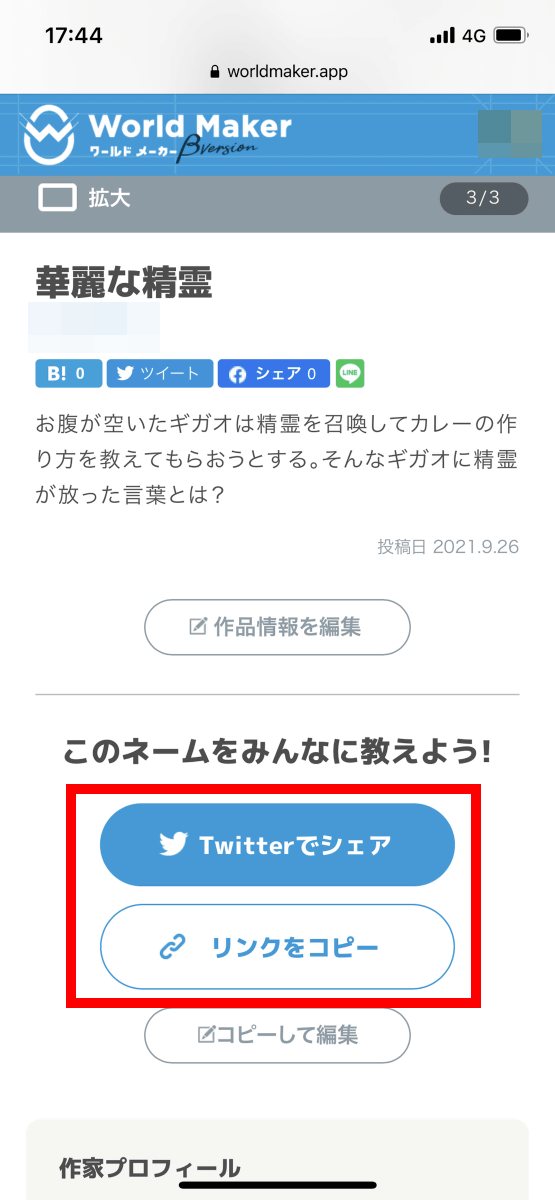
Then, the work information input screen will be displayed, so enter the title and synopsis of the work, read the terms of use and privacy policy carefully, check the check box, and tap the mark at the top right of the screen.
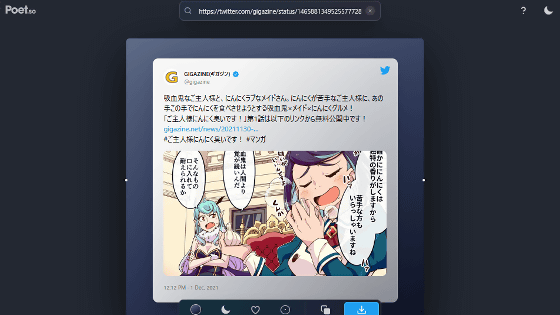
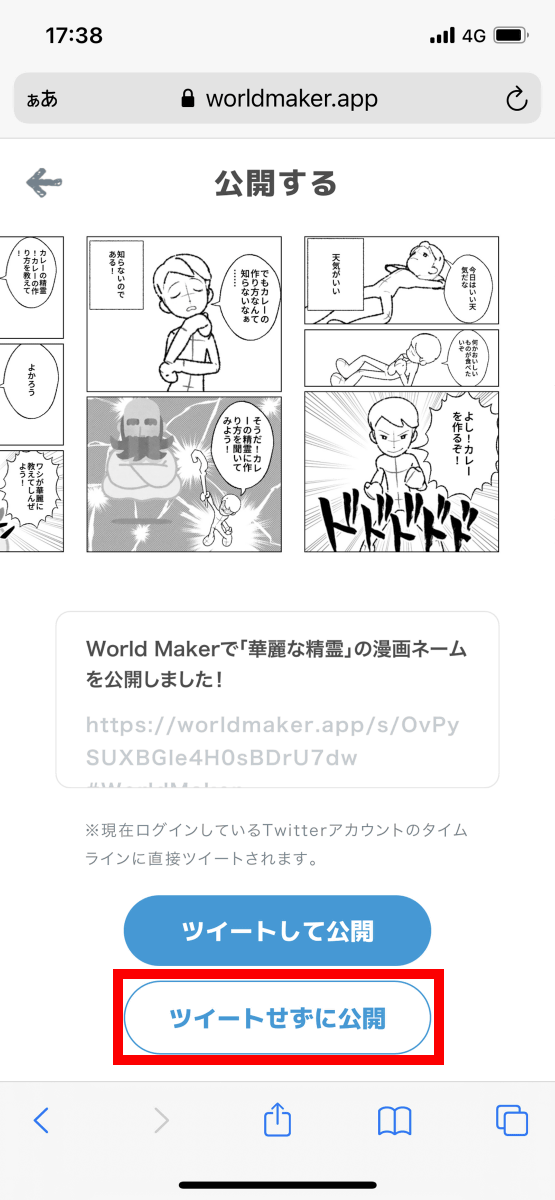
After that, you can publish the created name by tapping 'Tweet and publish' or 'Publish without tweeting'. This time, I will tap 'Publish without tweeting'.
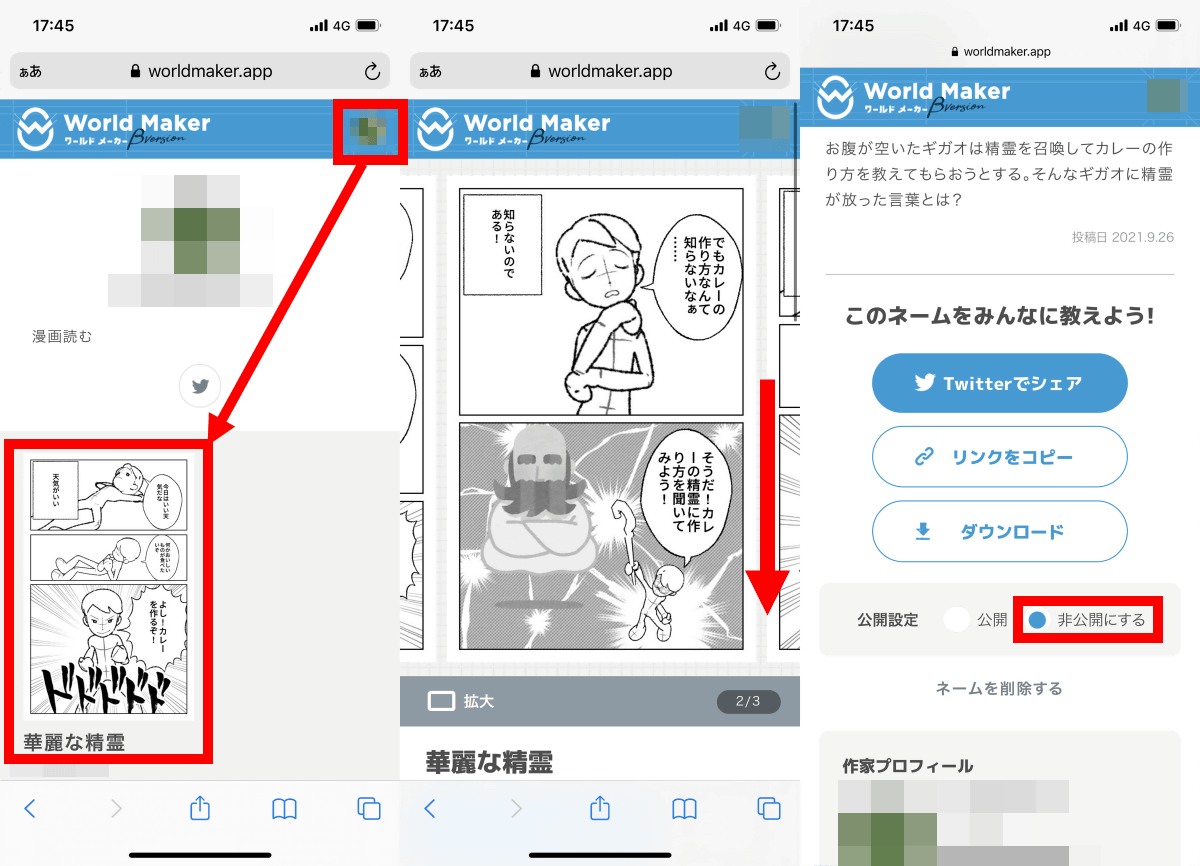
Then, the created name will be displayed, so scroll the screen downward.
If you scroll down, you will see 'Share on Twitter' where you can post the created name on Twitter and 'Copy Link' where you can copy the link to the name, so you can share the name in any way you like.
◆ Make the name private
If you want to switch to private after publishing the name by the above procedure, tap your icon displayed in the upper right of the screen of World Maker to display the name list, select the name you want to keep private Then select 'Make it private' at the bottom of the screen and it's OK.
Related Posts: